
Your kitchen window is the one surface in the room that can make a 10-foot galley feel twice as wide or turn a dated eat-in nook into the focal point, but only if you treat it as a design problem to solve, not a blank canvas to fill. The fix depends on your budget, lease terms, and how much natural light you actually get. Below are six distinct routes, from a $30 tension rod hack to a structural renovation, each with the exact trade-offs in maintenance, scale, and resale value.
Key takeaways
- Skip the curtain when your window is within 24 inches of the sink, as fabric will trap moisture and require weekly washing to avoid mildew.
- Mount interior shelves 4–6 inches below the window header to display daily-use items, keeping the sill clear for airflow and easy cleaning.
- Choose tension rods over adhesive hooks for renters, since they hold up to 10–15 pounds of lightweight curtains without leaving residue on frames.
- Budget for frame upgrades at $150–$400 per window if you plan to stay over five years, prioritizing wood or aluminum for durability over vinyl.
Bare Window vs Curtain: When to Skip the Fabric

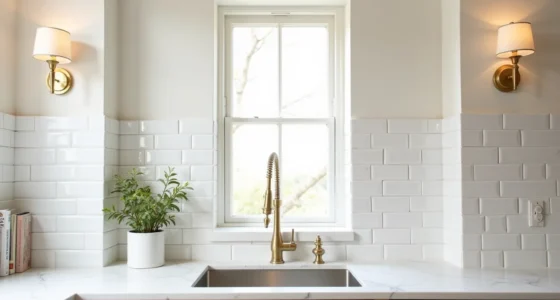
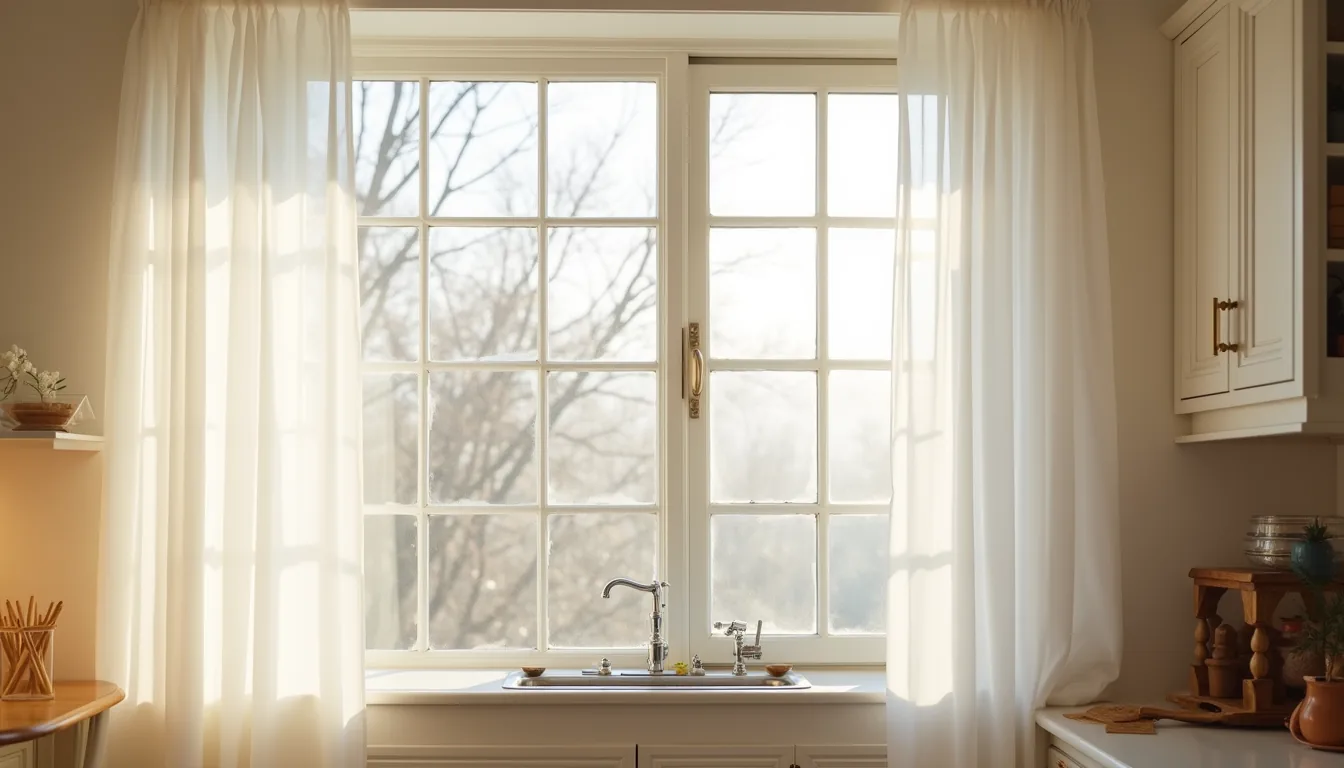
A completely bare window works best when the view is the feature and you can accept full light control loss. The glass panes and minimal frame in this setup let morning light flood across the countertop, which means you won’t get any glare filtering or UV protection for nearby cabinetry. You need a window that faces a private area, not a neighbor’s wall, and a frame with decent insulation, since fabric adds a thermal buffer you’ll lose.
This approach suits minimalist kitchens with clean sightlines and anyone who prioritizes an unobstructed exterior view over softness. Budget-wise, it costs nothing, but the real trade-off is privacy after dark: without curtains, you’ll rely on external blinds, frosted film, or simply accepting the exposure. If you cook at night regularly, keep a roller shade mounted inside the upper frame, bare during the day, functional when needed.
Window Shelf Styling for Storage and Display

A narrow wooden shelf mounted on the sill transforms dead space into usable storage without eating into countertop real estate. The setup works because it keeps frequently grabbed items, a ceramic pitcher, potted herb, and small glass jar, within arm’s reach of the prep zone while leaving the lower sill clear for airflow and cleaning. Choose items you use daily; decorative clutter here just adds dusting work to a surface that already collects grease.
For a small window, keep the shelf to the sill’s full width but limit it to three pieces max, anything more reads as visual noise. Medium windows suit two staggered heights of jars or canisters, while large windows can carry a run of matching vessels for a more composed look. Mount the shelf with brackets rated for at least 20 pounds and anchor into studs, not drywall alone, since herbs in ceramic pots get heavy when watered.
Expect to wipe the shelf weekly; condensation from cooking settles on anything near the glass.
Bright Sink Zone: Layering Light and Function
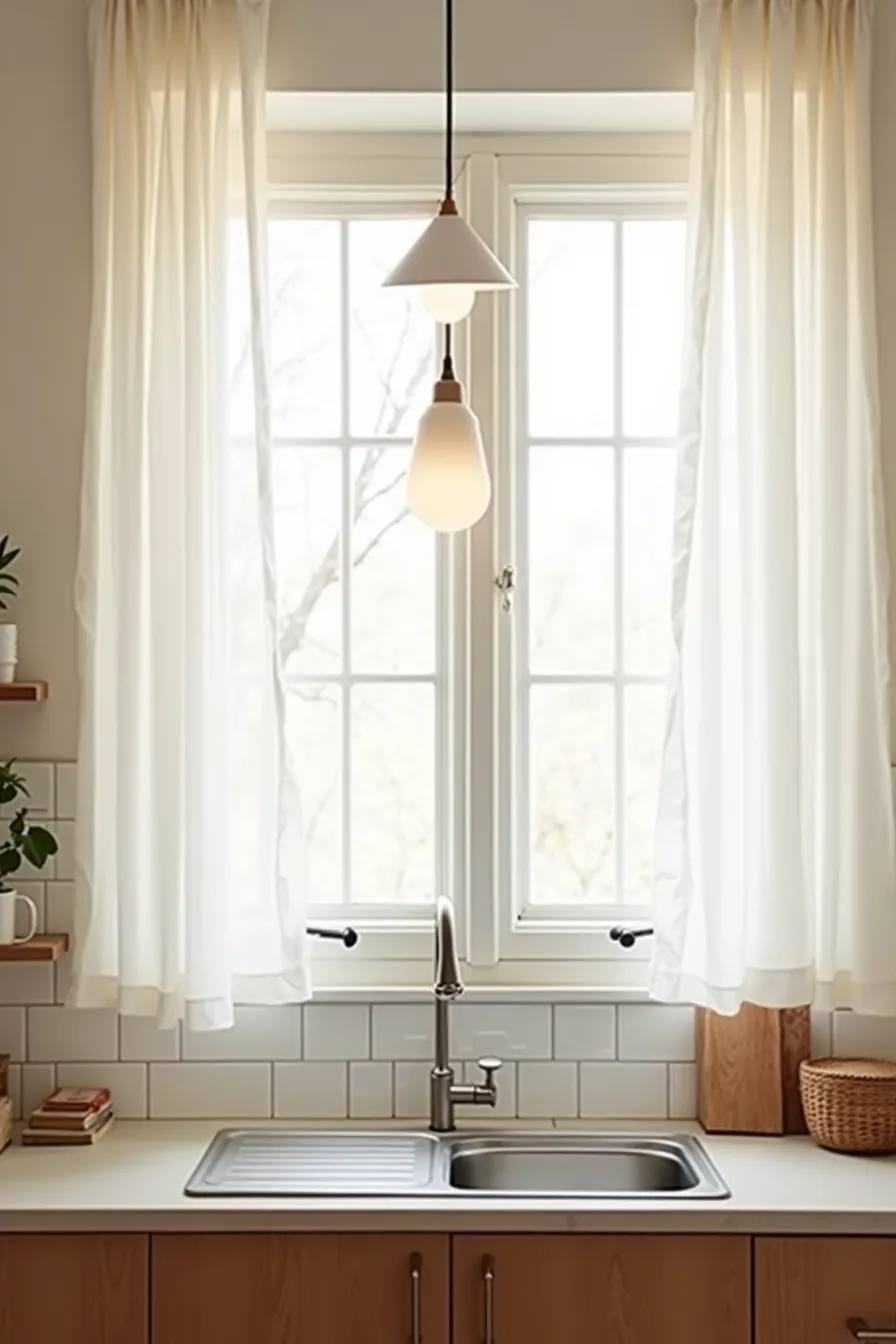
The sink zone becomes a bright focal point when you stack three light sources: the window’s daylight, a pendant light hung directly overhead, and the reflective surface of a subway tile backsplash. A pendant suspended 30–36 inches above the countertop centers the work area and eliminates the shadow your body casts while washing, which a single ceiling light can’t fix. The polished tile bounces both natural and artificial light back toward you, so the whole basin reads as brighter than the surrounding counter.
This arrangement suits a medium-to-large kitchen where the sink has its own bay or a clear ceiling path. Small kitchens benefit from a flush-mount fixture instead of a pendant, since a hanging lamp can crowd a compact prep zone and block your view out the window. Choose a matte stainless steel faucet here, it stays clean-looking longer than brass or black finishes, which show water spots within days.
Expect to wipe the backsplash monthly to maintain its reflective quality; cooking residue dulls tile grout faster than you think.
Renter-Friendly Window Treatments That Stick
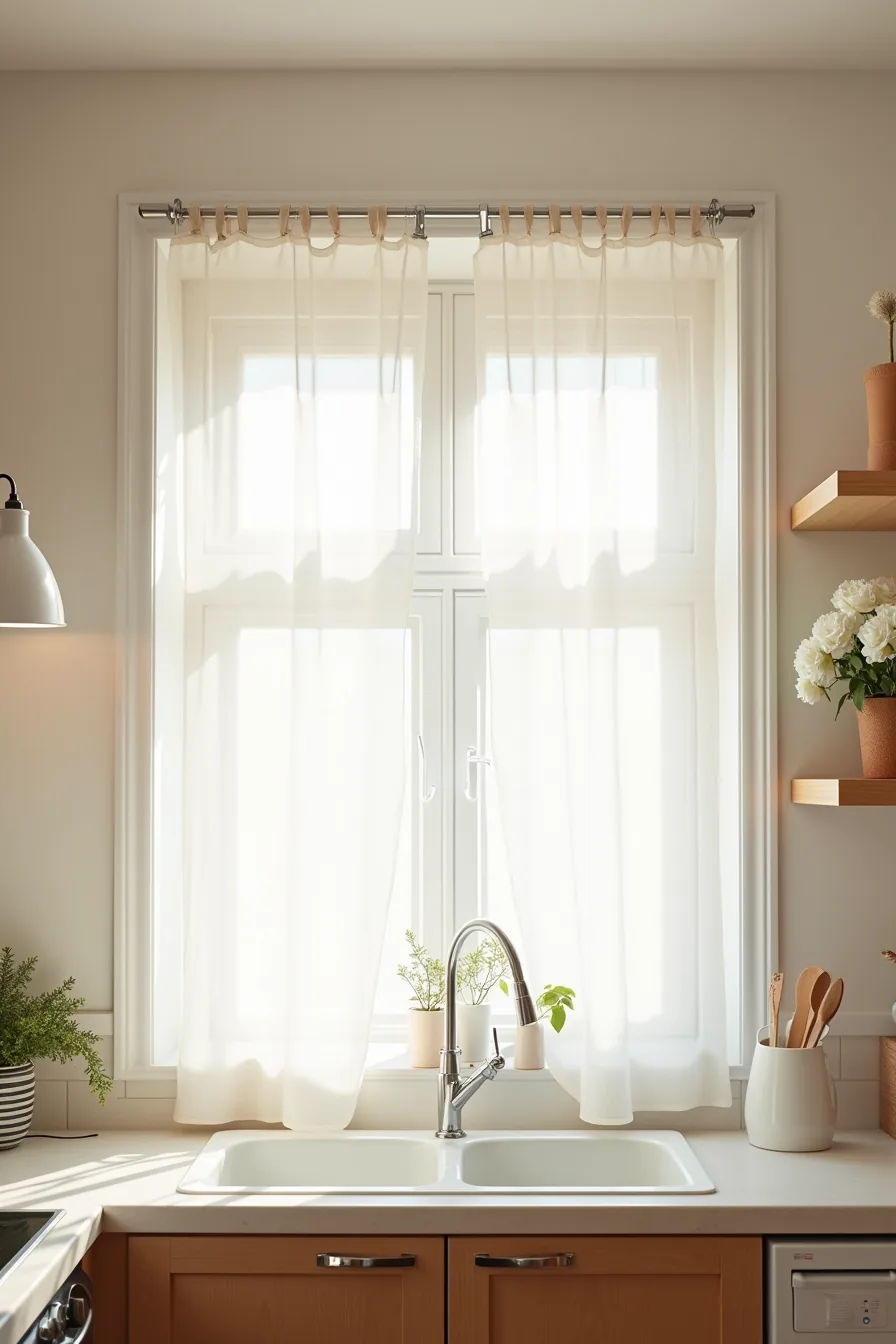
A tension rod fitted inside the window frame holds a lightweight linen shade without a single drilled hole, and adhesive hooks anchored to the frame corners keep the rod stable during daily use. This setup works because the rod’s spring tension presses against the frame’s interior, transferring weight to the wood or vinyl rather than the wall, no patchwork repairs required when you move out.
Choose a shade that stops 2–3 inches above the sill so it clears the countertop and never interferes with an open faucet or stacked dishes. Linen filters light softly but offers minimal privacy at night; if you face a neighbor, layer a tension-mounted blackout roller behind it. The adhesive hooks hold best on clean, dry frames and lose grip in humid kitchens, expect to re-press them every few months.
Count on 15 minutes to install and zero permanent damage, making this the lowest-commitment route for renters testing a softer look before investing in custom treatments.
Permanent Frame Upgrades for Long-Term Investment

Replacing the frame, trim, or sill costs $400–$1,200 per window installed, depending on material and whether you patch surrounding drywall. The payoff is structural: deeper wood trim reads as intentional architecture, not a decorative afterthought, and a solid oak sill gives you a heat-safe landing spot for plants or a coffee mug.
Double-pane glass with a low-E coating cuts heat transfer by roughly 30–50% compared to single-pane, which matters when the window sits directly behind a stove or sink. Installation takes one to two days per window, including sealing and repainting the surrounding wall. This route suits homeowners staying put five-plus years; you won’t recoup the full cost at resale, but you gain daily comfort and a sturdier base for whatever treatment you layer above.
Pair the upgraded frame with simple linen panels, the trim does the visual work, so the curtain stays quiet.
Kitchen Window Ideas for a Fresh Seasonal Update

Rotating the styling on your sill is the lowest-effort kitchen window idea that still delivers a noticeable shift. The setup that works in winter pairs three small potted evergreens, a wooden candle holder, and a woven placemat layered under the pots, the mat anchors the grouping and catches stray soil drips.
Swap the arrangement four times a year, not more. Evergreens go up in late November, forced bulbs or small cyclamen replace them in February, herbs take over in May, and dried grasses or mini pumpkins carry September. Each rotation takes under ten minutes and costs $15–$40 per season if you buy small pots.
This approach suits renters and anyone who can’t commit to permanent changes. Keep the scale proportional: on a standard 30- to 36-inch sill, limit yourself to three items total, with the tallest piece no higher than two-thirds of the window height. Water the plants weekly and wipe the sill monthly to prevent mineral stains on the paint.
Your Decision Checklist
Before you commit, weigh three factors: your cooking habits, the light available, and your willingness to maintain. If you cook daily and lack counter space, prioritize a pass-through or shelf over decoration. A south-facing window demands UV-resistant finishes and sheer or roller shades, not velvet or untreated wood.
Renter? Skip permanent fixtures and choose a tension rod or removable glass shelf instead.
For most kitchens, a single broad shelf with a few daily-use items beats clutter. Start by measuring your sill depth and clearance, then remove everything from the window and live with it bare for one week before buying anything.
Frequently Asked Questions
Can you put a window shelf directly over a kitchen sink?
Yes, but keep the shelf at least 12–18 inches above the sink rim so you can wash dishes and fill pots without hitting your head. Use tempered glass or sealed wood to resist steam and splashes.
What’s the best way to clean a kitchen window if you have no curtains?
Wipe the glass with a squeegee and a microfiber cloth dampened with a vinegar-water solution weekly. For grease near the stove, use a degreasing spray and a razor scraper on stubborn spots, then rinse thoroughly.
Do kitchen window treatments need to be waterproof?
Yes, in splash zones, especially above sinks or ranges, choose vinyl, polyester, or aluminum blinds. Natural fabrics like linen will mildew and stain within months. For non-splash windows, standard cotton is fine but still requires regular washing.
How do you style a small kitchen window without making it look cluttered?
Limit yourself to one functional item, a single herb pot or a slim shelf with two jars, and keep the sill otherwise bare. Use a light, sheer curtain or no treatment at all to preserve the visual openness.