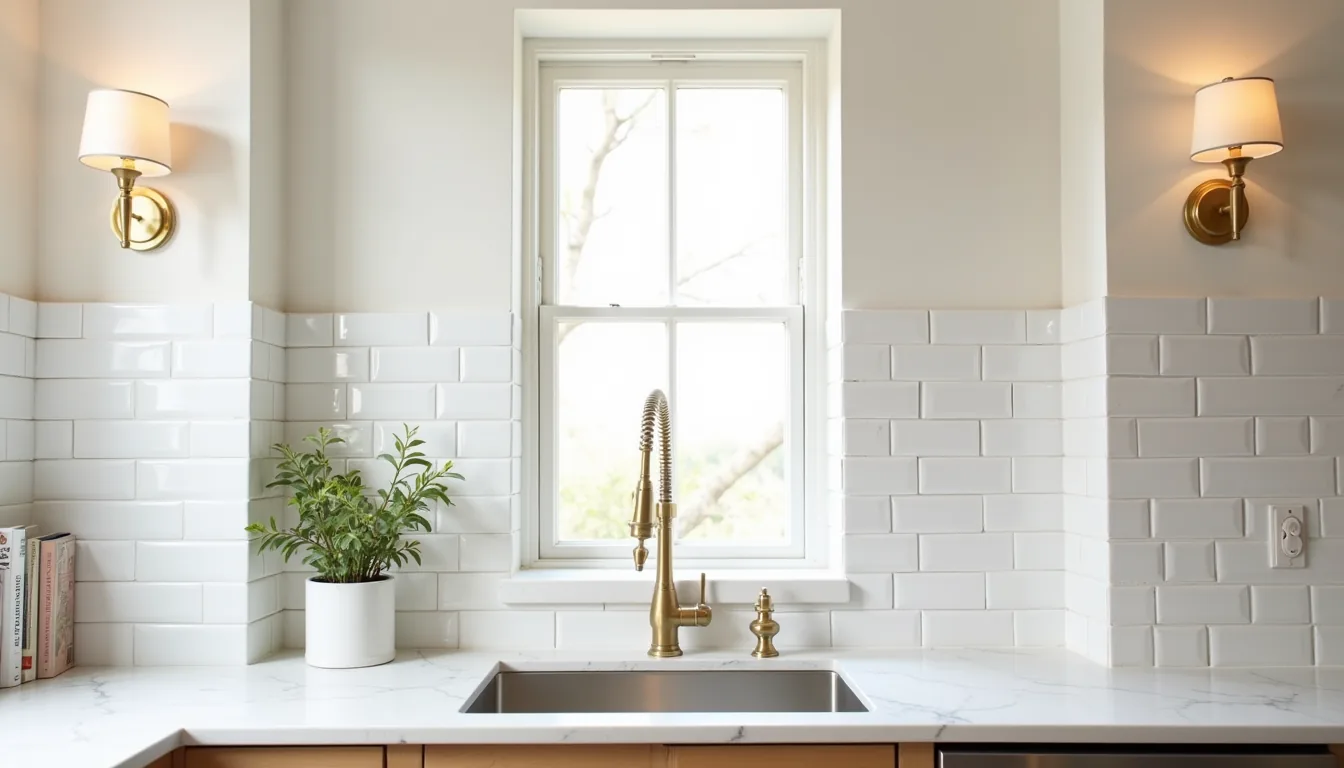

The sink is the hardest-working surface in your kitchen, yet it’s often the worst-lit, and kitchen sconces over sink are the most direct fix, giving you focused task light where overhead fixtures cast shadows onto your own hands. The right pair eliminates eye strain during meal prep and dish duty, but the wrong choice can crowd your backsplash or clash with your faucet. Below, six distinct interpretations, from plug-in rentals to hardwired investments, show you exactly what to measure, where to mount, and which finish suits your workflow.
Key takeaways
Paired sconces work best for sinks wider than 36 inches, while a single fixture suits narrower basins and avoids visual clutter. Choose finishes based on your hardware: brass adds warmth to white or cream kitchens, matte black suits industrial or modern spaces, and stainless steel blends with gray or chrome faucets. For window-facing sinks, mount sconces on the sides of the window frame, not above it, to prevent glare and keep the view clear. Budget routes include plug-in sconces with cord covers, while long-term investments require hardwiring with a dedicated switch, expect $150–$400 for professional installation per fixture.
Paired Sconces vs. Single Fixture: Which Layout Works for Your Sink
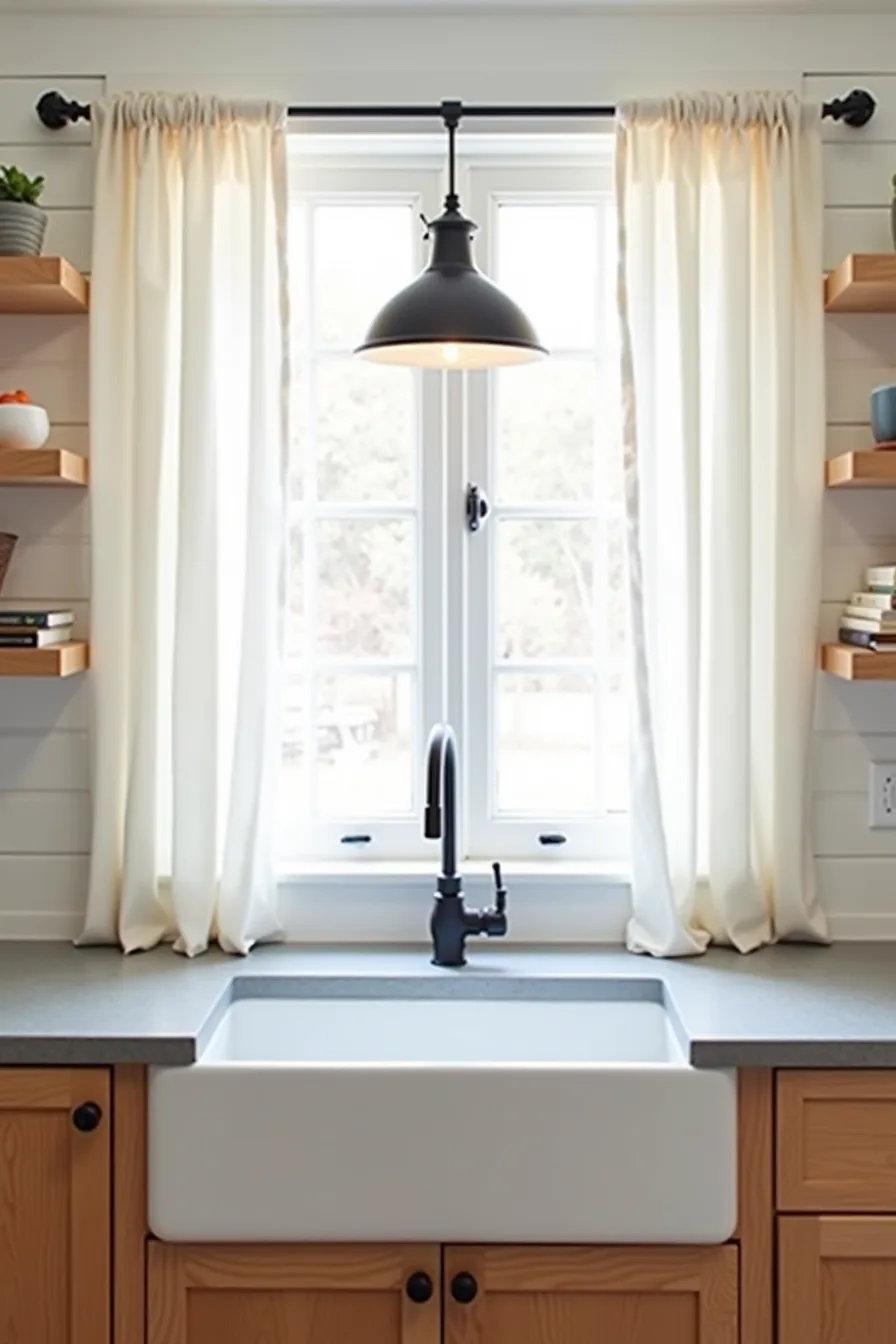
A single centered fixture, like the matte black schoolhouse sconce above this farmhouse sink, wins when your counter width runs 36 inches or less. That one light source casts a focused pool directly onto the basin and the gray quartz countertop, which suits a compact prep zone where you need concentrated illumination without shadows falling where you chop. It also respects a busy shiplap wall, one fixture keeps the visual noise down so the texture stays the feature.
Choose paired sconces flanking the sink only when you’ve at least 48 inches of clear counter space between them. Twin fixtures deliver even, shadow-free task lighting across a wide basin, ideal for washing large pots or reading labels while you work. The trade-off is cost: two fixtures, two junction boxes, and roughly double the installation labor.
If you’ve a smaller sink wall, skip the symmetry and let that single fixture do the work, it will feel intentional rather than sparse.
Metal Finish Comparison: Brass, Matte Black, and Stainless Steel
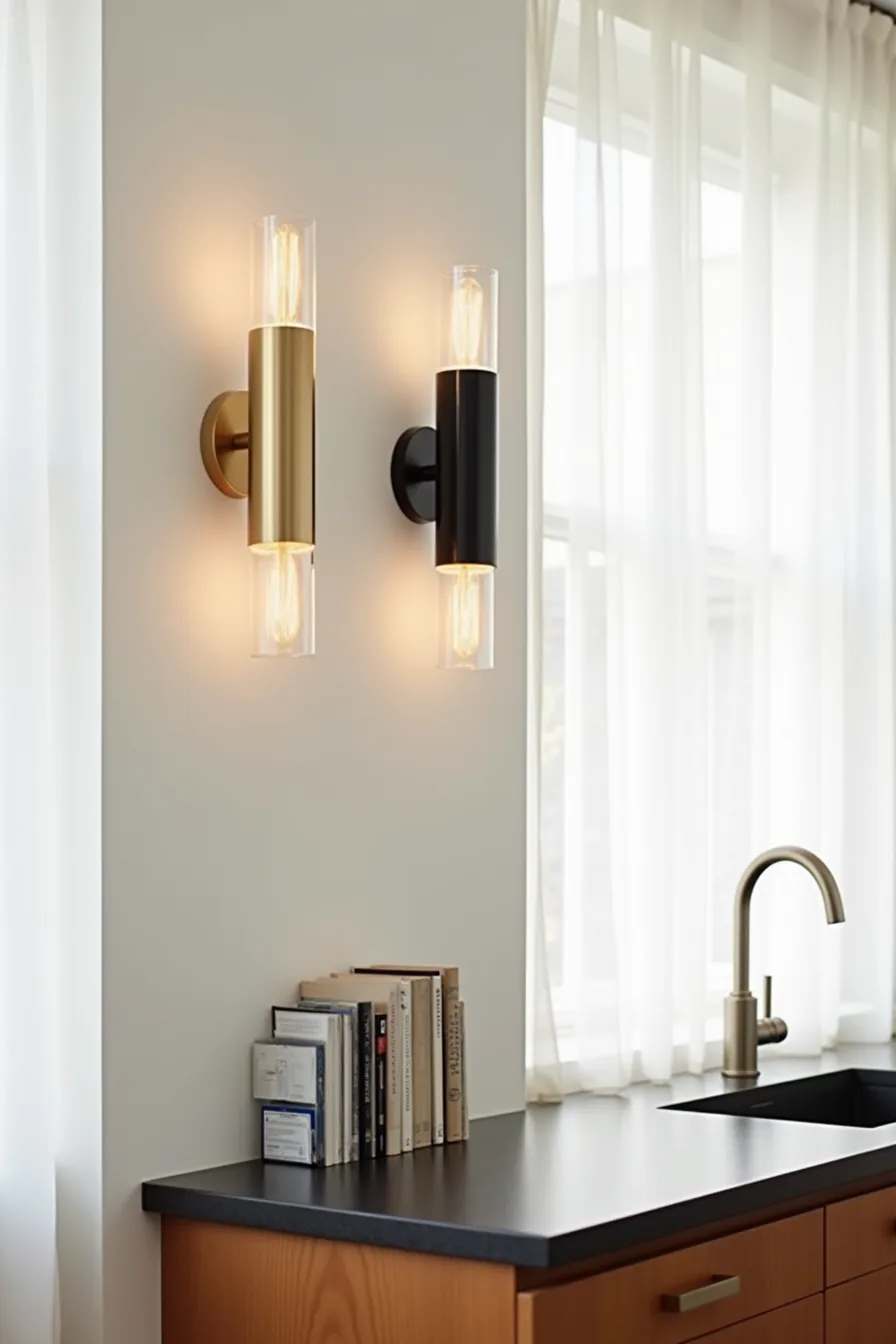
When you mount three identical glass-cylinder sconces on a white wall above a dark countertop, the finish becomes the entire design statement. Brushed brass adds warmth and reads custom, but it demands weekly wipe-downs to avoid water-spot tarnishing near a sink. Matte black hides grime best and anchors a modern or industrial space, yet it will show hard-water mineral deposits as white films if you skip routine drying.
Polished stainless steel mirrors your faucet and appliances for a cohesive, smooth look, making it the lowest-maintenance pick for a heavy-use sink. It shows smudges and fingerprints more than the others, though a quick glass-cleaner spray resolves them daily. Keep this rule in mind: match your sconce finish to the dominant metal forehand in the room, paired with your faucet or pot filler, rather than mixing a third tone spurring visual clutter.
Brass costs 15–30% more per arm than steel equivalents, while matte black typically lands in the middle.
Balancing Window and Light: Sconces When Your Sink Faces Glass
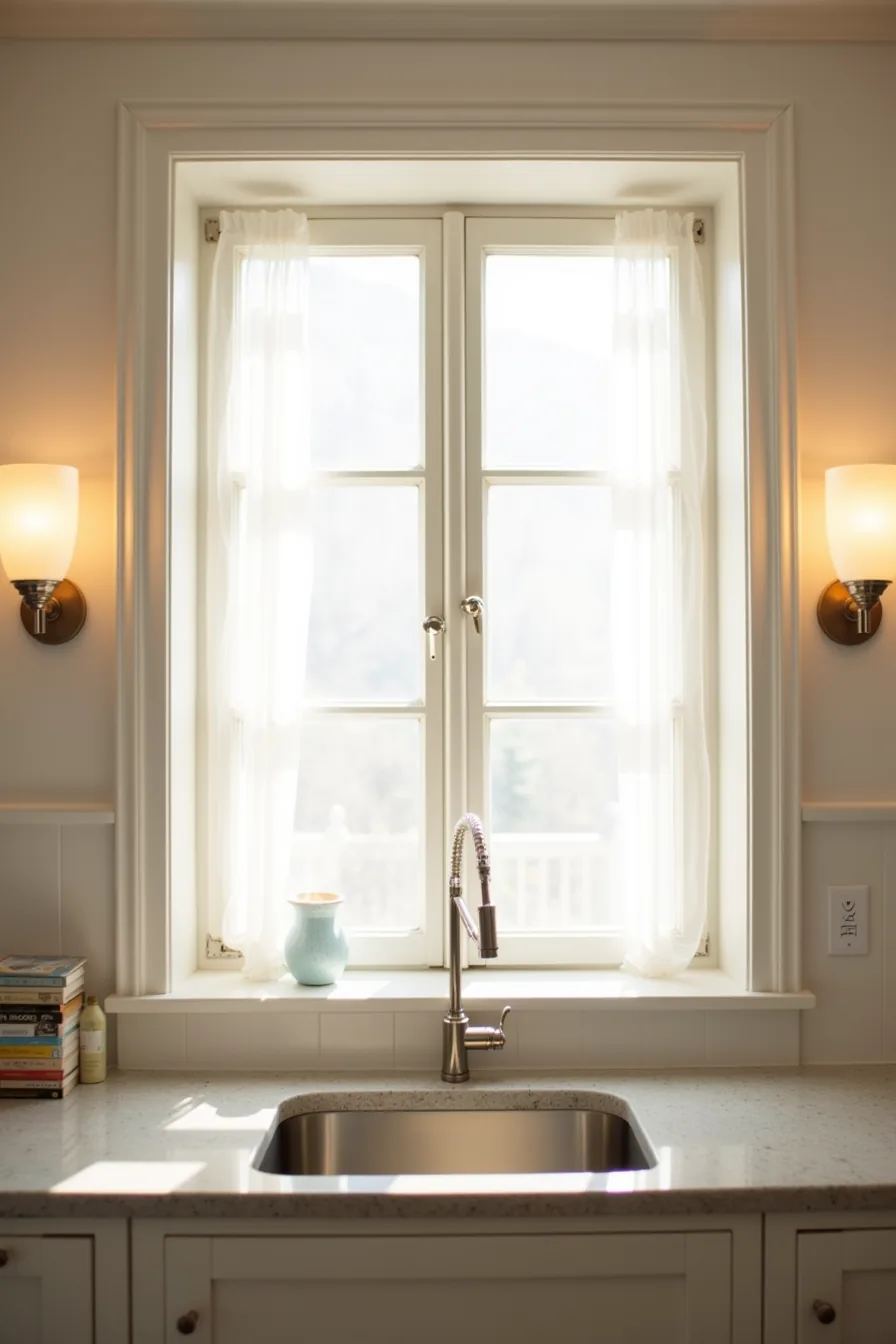
A multi-pane window above your sink complicates sconce placement because the glass reflects every bulb you put in front of it. The solution is to mount frosted-glass sconces on either side of the window frame, not on the window itself, aiming them downward toward the granite countertop rather than outward. This keeps the light off the glass surface, preventing glare while you work, and the frosted diffuser softens the beam so it complements rather than fights the natural daylight.
This setup suits a sink that gets strong morning or afternoon sun, because the sconces act as fill light for the shadowed hours without creating a mirror effect at night. Position each fixture 6–8 inches from the outer edge of the window trim, with the bottom of the sconce sitting 18–24 inches above the countertop. The stainless steel sink and white trim reflect light efficiently, so you can use lower-wattage bulbs, around 2700K warm white, and still get adequate task illumination.
For window and light balance, pair the sconces with a dimmer switch so you can dial them down when the sun is high and raise them when the window goes dark.
Kitchen Sconces Over Sink for a Vintage-Inspired Mood
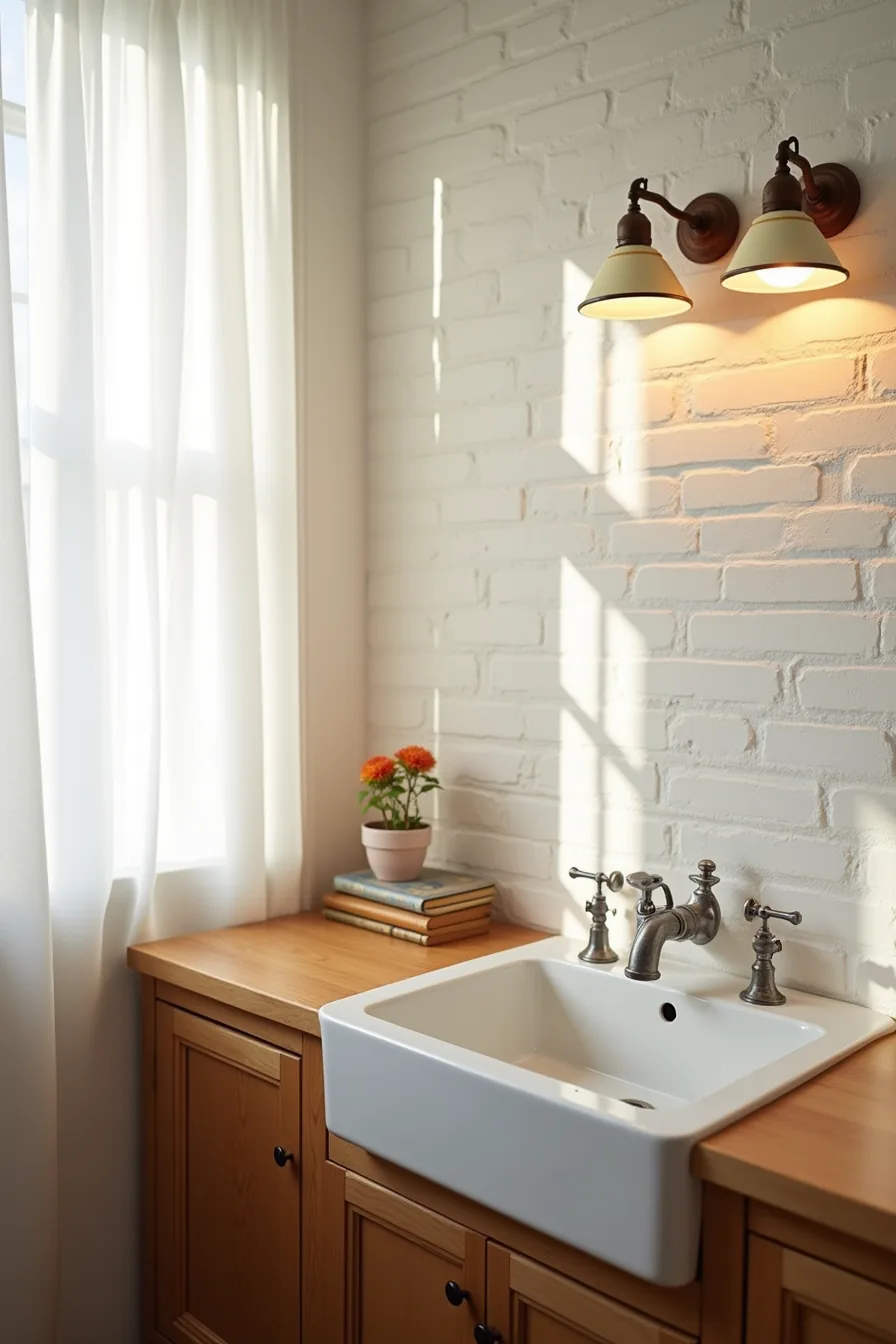
Schoolhouse sconces with cream enamel shades are the most straightforward way to bring a vintage mood to your sink area without sacrificing task-light quality. The opal glass or enamel diffuser spreads a wide, even beam that covers a standard 30-inch sink basin comfortably, while the exposed filament inside, if you choose an LED replica bulb, reads authentically period-correct when lit. Mount them on the wall flanking the sink at 60–66 inches from the floor, which puts the bottom of the shade just above eye level for most users and throws light onto the backsplash and countertop rather than into your eyes.
This approach suits a kitchen with existing character, exposed brick, aged copper plumbing, or a cast-iron sink, because the fixtures amplify textures instead of competing with them. If your walls are drywall, use heavy-duty toggle anchors; schoolhouse sconces with metal backs typically weigh 3–5 pounds each, and the fixture should sit flush against the wall with no visible cord. Match the fixture finish to the sink’s metal tone, polished nickel with a white-enamel sink, oil-rubbed bronze with a cast-iron basin, to keep the vintage story cohesive from counter to ceiling.
Adapting Sconces to Small, Medium, and Large Sink Areas
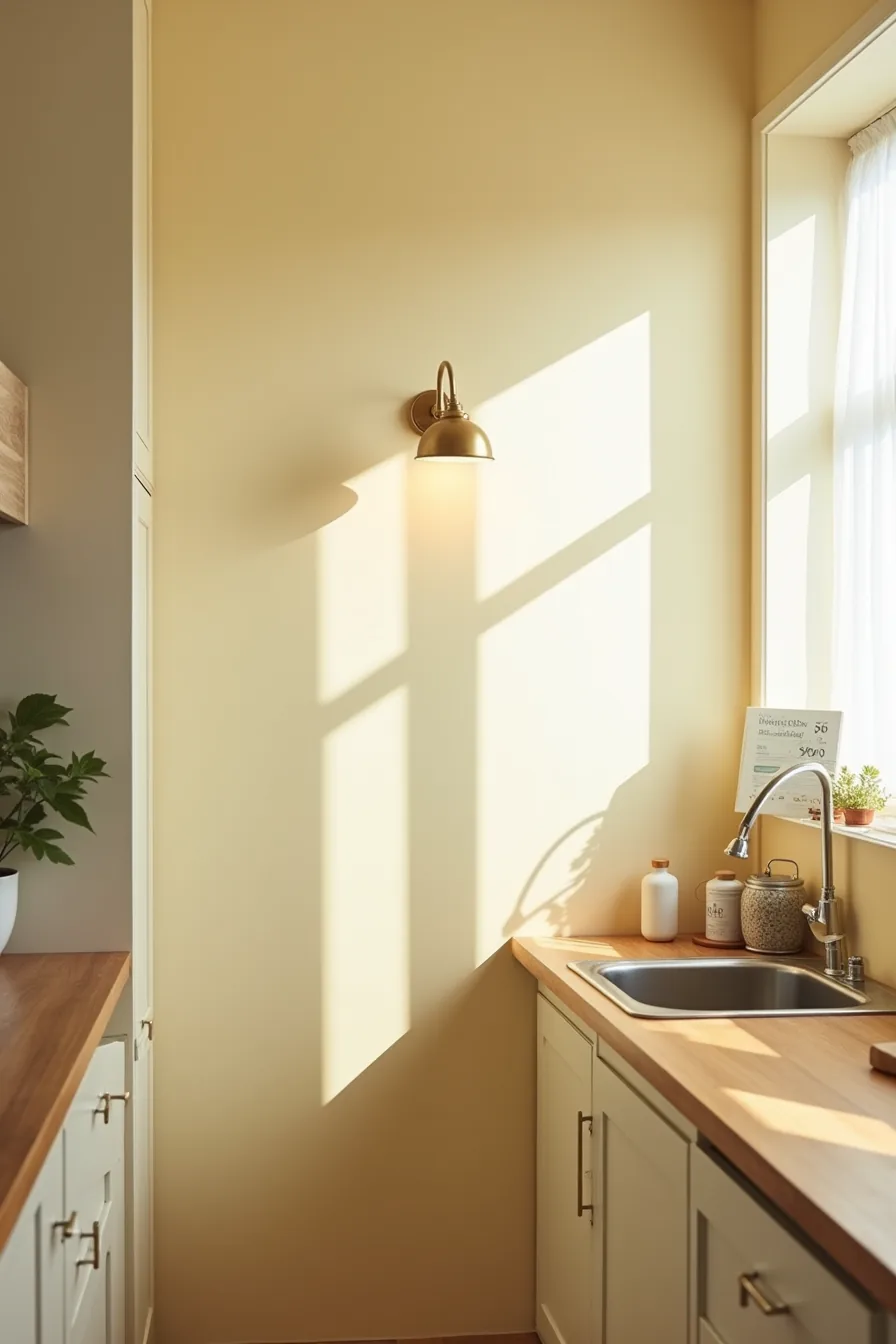
In a narrow galley kitchen with a compact stainless steel sink, a single petite brass sconce mounted 12 inches above the basin center solves the space problem that flanking pairs can’t. Your counter depth dictates everything: if you’ve less than 24 inches of usable depth, wall-mounted fixtures at the sides will collide with your peripheral vision and elbow room when you reach for the faucet. The overhead placement works because a small shade throws a focused pool of light roughly 18–24 inches across, enough to cover a 15–18 inch sink bowl without washing out the pale yellow wall behind it.
For medium kitchens with 24–36 inch counter depths, two small sconces positioned at the outer edges of the sink work better than one centered fixture. Keep each shade within 4–6 inches of the sink’s outer rim, and choose fixtures that project no more than 6 inches from the wall to preserve your workspace. In large kitchens with double basins or prep sinks on deep islands, step up to three sconces spaced evenly across the span, one centered, two at the edges, and increase the shade diameter to 8–10 inches to maintain proportional coverage.
Installation, Wiring, and Maintenance Essentials
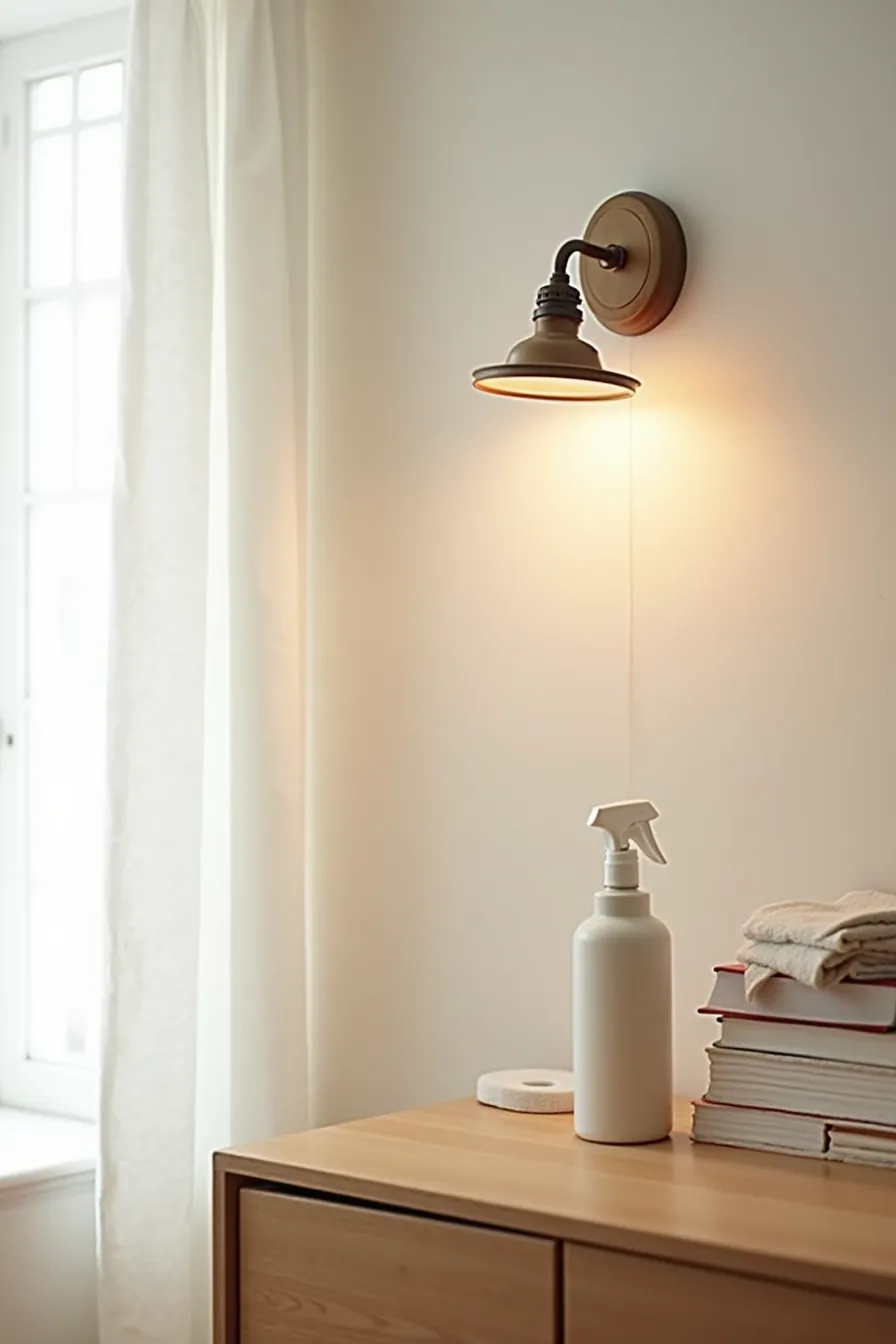
Before you commit to any fixture, check whether the wall above your sink already has an electrical box. Retrofitting one into drywall costs roughly $200–$400 when hiring an electrician, but you can avoid that expense entirely by mounting a hardwired sconce directly to an existing box and routing new wiring through the wall cavity. For mounting brackets that attach to drywall without stud support, use toggle bolts rated for at least 50 pounds, most sconce bodies weigh 3–8 pounds, so this margin keeps the fixture secure.
Your first job is to mount the bracket so the fixture’s center will sit at your eye level when you stand at the sink, typically 60–66 inches above the finished floor. Align the bracket using a level, then tighten the mounting screws. The electrical box behind the bracket should be flush with the drywall surface; if it sits recessed, use a box extender to prevent wire strain.
When the sconce body is removed, you can clearly see the internal grounding screw and the bare copper ground wire, always connect this before the black and white conductors. Use wire nuts and tuck the connections neatly into the box to avoid pinching.
For moisture resistance, look for fixtures rated damp-rated rather than dry-rated. Damp-rated sconces tolerate steam and splashes from washing dishes, but they aren’t suitable for direct water spray, keep them at least 8 inches away from the faucet’s reach. Clean the glass or acrylic shade every two weeks with a microfiber cloth and a mild glass cleaner; never use abrasive pads, which scratch the finish.
Wipe metal bodies with a dry cloth to prevent water spots, and check the mounting screws annually for loosening from vibration. If your home has hard water, mineral deposits on the shade will etch the surface if left untreated, a 50/50 white vinegar and water solution removes them safely.
Your Next Step
Start by measuring the gap between your sink and the upper cabinets, that single number determines which sconce height and arm length will work. Photograph the area at eye level, then tape a paper cutout of your preferred fixture size to the wall and live with it for a day.
Order one sconce first, not a pair. Install it, assess the light spread across the sink basin, and only then commit to the second. This trial-and-error approach costs little and prevents the most common mistake: fixtures that look perfect in the store but overwhelm a narrow prep zone.
For a complete lighting strategy, pair your sconces with under-cabinet task lighting and a dimmer switch to control glare during food prep.
Frequently Asked Questions
How far apart should two sconces be positioned above a kitchen sink?
Position sconces 24–36 inches apart, centered over the sink basin. This spacing prevents shadows from your body while washing and keeps light evenly distributed across the work area without overlapping glare.
Can I install kitchen sconces over a sink with a window directly above it?
Yes, mount sconces on the window casing or flank the window frame on the wall. Use surface-mounted fixtures with swivel arms to direct light inward, avoiding obstruction of the window’s opening mechanism.
What height should sconces hang above a kitchen sink counter?
Hang sconces 28–36 inches above the countertop, with the bottom of the fixture at eye level when you stand at the sink. This clears the faucet and prevents water splash while maximizing task illumination.
Do kitchen sconces over the sink need to be moisture-rated or waterproof?
Yes, choose fixtures rated for damp locations, not wet, since the sink area experiences steam and splashes. Look for UL-listed damp-rated sconces with sealed glass or enclosed bulbs to prevent corrosion and electrical hazards.