Kitchen window design is less about picking a pretty frame and more about engineering a working relationship between light, airflow, and your countertop workflow, so before you choose a style, you need to decide what job that window will do. That decision splits into six distinct approaches, from a pass-through sill that doubles as serving space to a vertical slot that preserves cabinet storage in a narrow galley. Each option carries specific trade-offs in cost, maintenance, and renovation depth, and the right pick depends on your wall space, sink position, and whether you own or rent.
The following breakdown gives you the practical criteria to match a window style to your kitchen’s actual constraints, not just its aesthetic potential.
Key takeaways
- Choose orientation first: Wide windows suit shallow counters and social kitchens, while tall windows work best in narrow galley layouts where vertical light compensates for limited floor space.
- Anchor the sink wisely: Pair a sink with a window only if you can maintain at least 4–6 inches of backsplash clearance and a 24–30 inch deep counter, or you’ll compromise both function and splash control.
- Match frame material to upkeep: Aluminum frames resist corrosion but conduct heat, vinyl needs zero painting but expands in extreme temperatures, and wood requires annual sealing, pick based on your climate and maintenance tolerance.
- Layer privacy, not light: Use top-down bottom-up shades or frosted film on the lower third of the glass to block sightlines while keeping the upper portion clear for daylight, avoiding the need for heavy curtains that darken the room.
Wide vs Tall Windows: Choosing Your Orientation
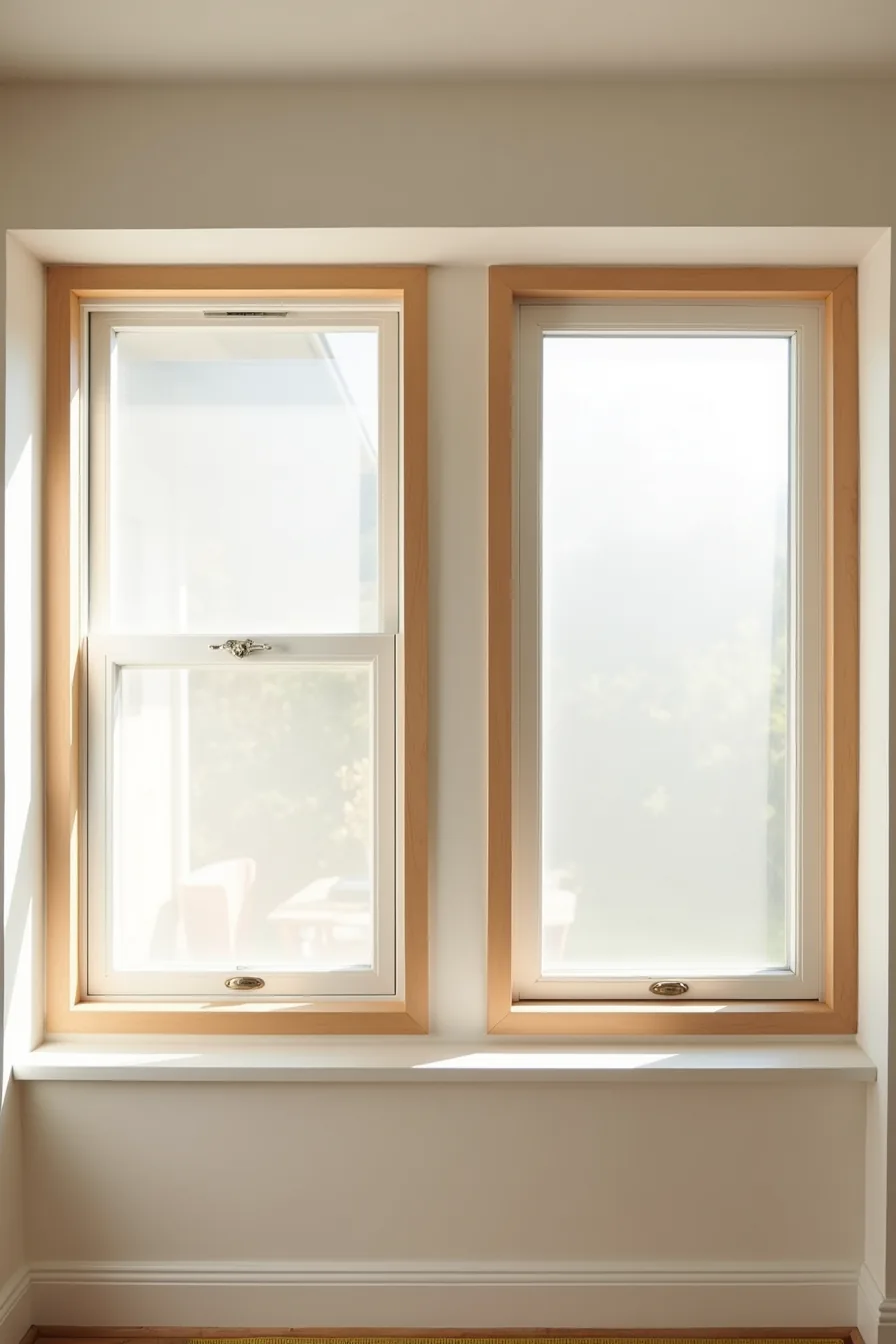
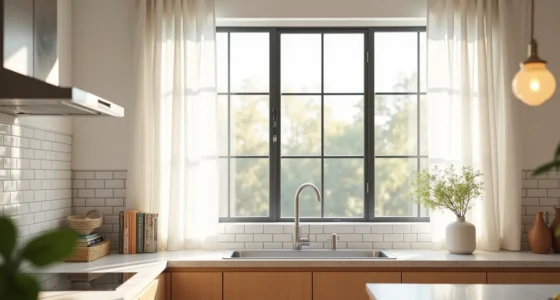
Your kitchen window’s shape dictates how light travels across the room and how much usable counter space you keep below it. A wide horizontal casement window (typically 36-48 inches wide) spreads daylight evenly across a prep zone, making it ideal for medium kitchens where you work along a single wall. The crank-out mechanism keeps the sash fully out of the way, so you can leave a cutting board flush against the frame without obstruction.
A tall narrow awning window (usually 24-30 inches wide, 48-60 inches tall) directs light vertically, brightening deep countertops and upper cabinets. It suits small kitchens or galley layouts where horizontal space is scarce, the vertical orientation frees the wall below for a narrow shelf or spice rack. In a large kitchen, pair one wide casement with a tall awning on an adjacent wall to balance ambient and task lighting; the contrast between the two wooden frames ties the look together, though you’ll need a measuring tape handy to confirm both rough openings align with standard header heights.
The Sink-Window Pairing: Layout and Practical Limits
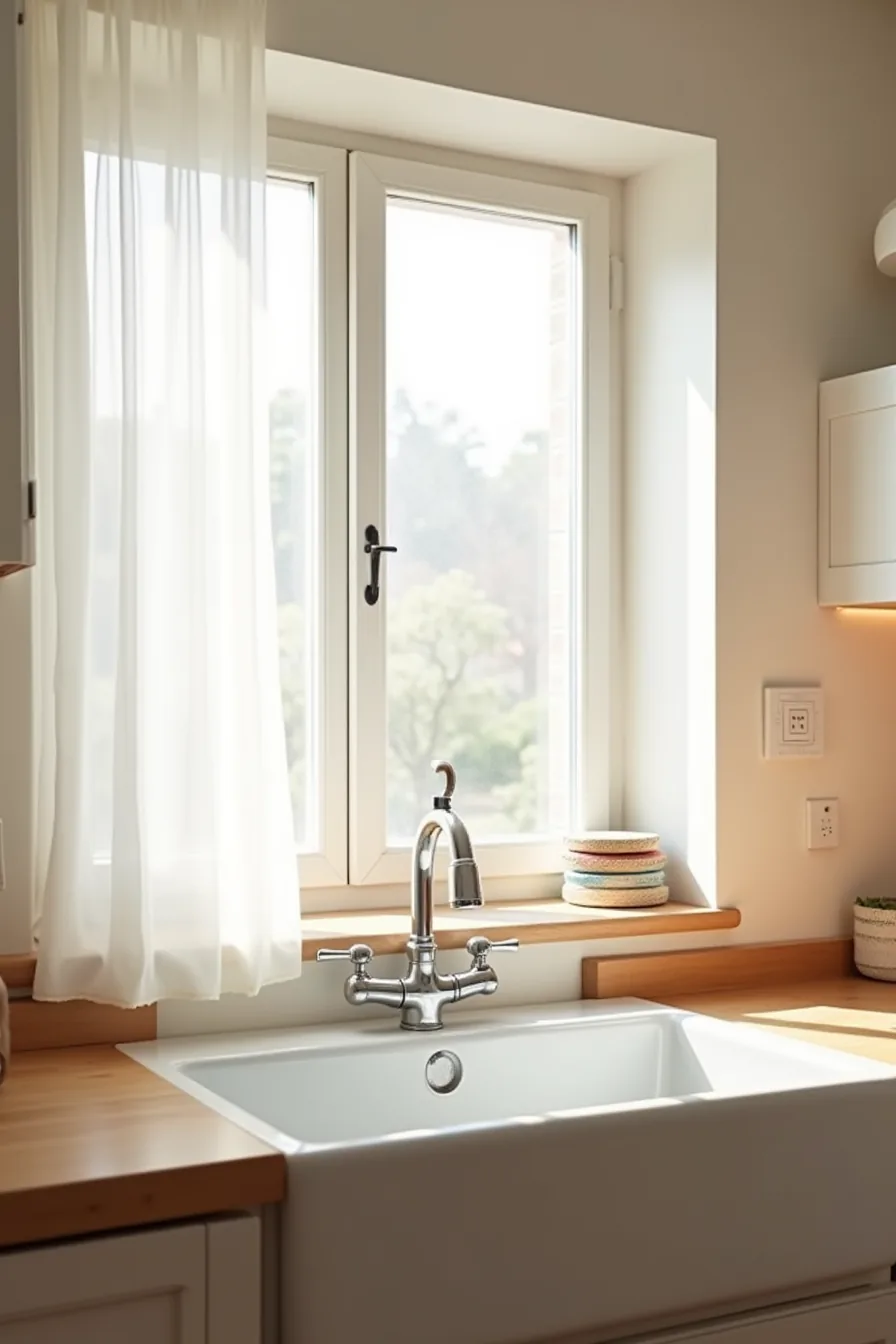
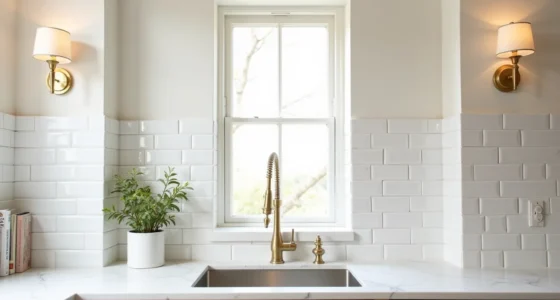
Positioning your sink directly beneath the window frame is the most functional choice for a prep zone because it puts the brightest natural light exactly where you handle knives, hot pans, and raw ingredients. The overhead view of a white ceramic basin with a chrome P-trap underneath shows the standard setup: the sill sits roughly 4-6 inches above the faucet spout, giving you clearance to fill tall stockpots without scraping the glass. That P-trap occupies the cabinet space directly below, so budget for a shallow drawer stack to either side rather than expecting full-depth storage behind the basin.
The critical constraint is plumbing access. You need a serviceable wall cavity behind the sink, the open access panel on the right side of the view is non-negotiable for reaching shut-off valves and the drain connection when leaks develop. Keep at least 2 inches of clearance between the sink rim and the window casing to allow for caulk expansion and prevent water wicking into the frame.
Break this rule only when your window is on a wall that can’t accommodate vertical drain lines; in that case, place the sink on a perpendicular wall and accept the trade-off of washing dishes in shadow.
Modern Frame Choices: Material, Color, and Maintenance
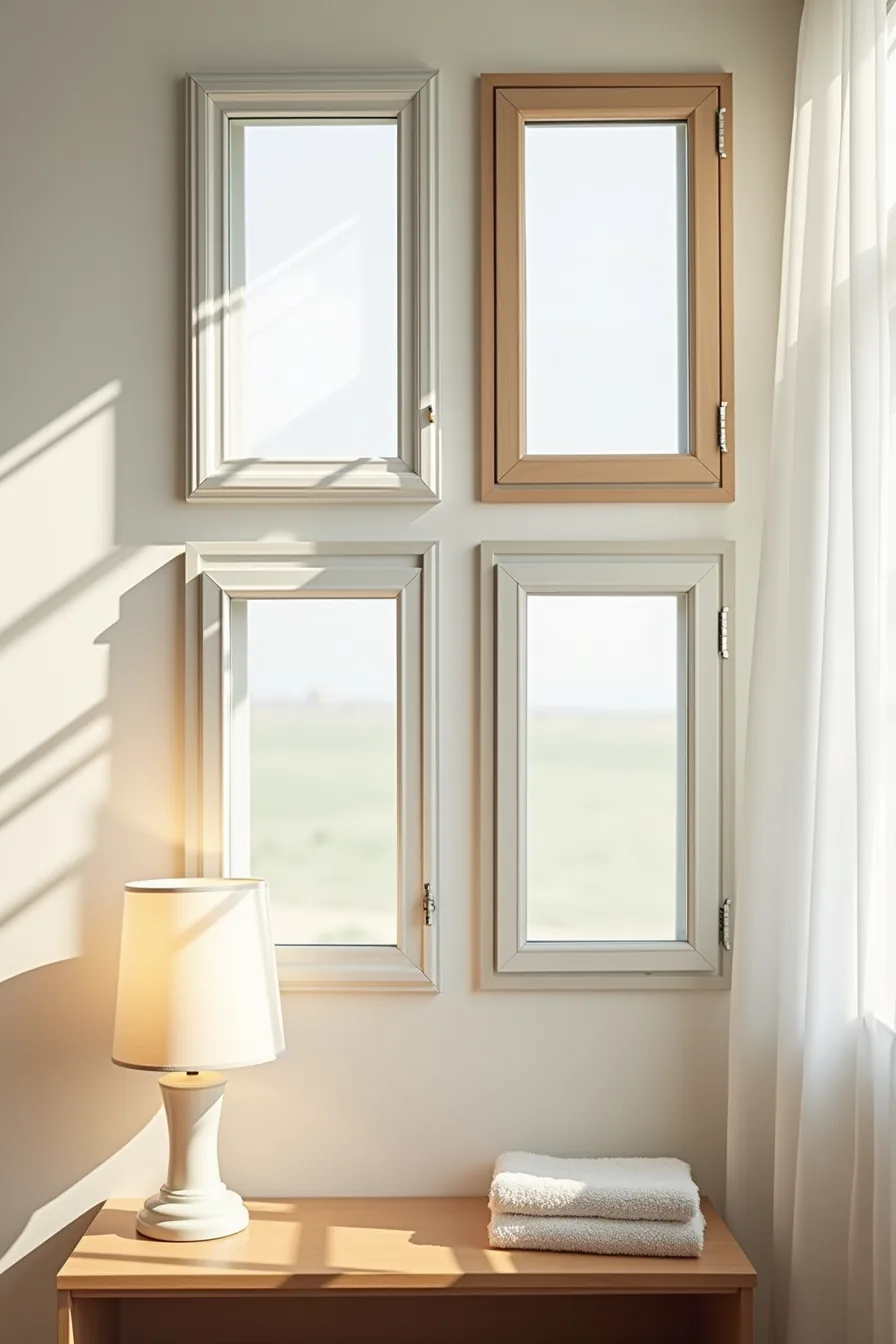
Your kitchen window frame endures more grease, steam, and temperature swings than any other window in the house, so material choice matters beyond aesthetics. The four samples on the wall in front of you represent the realistic options: silver aluminum, white vinyl, black painted wood, and gray composite, each cut to a standard 12-inch section for comparison.
Aluminum wins on slim sightlines and modern lines, but it conducts heat and will feel cold to the touch in winter. Budget $300–$600 for a standard 36-inch kitchen window, and expect to wipe it down monthly with a mild detergent, the anodized finish fingerprints easily near the sink. Vinyl, the cheapest route at $150–$350, requires almost no maintenance: a damp microfiber cloth once per season handles the white surface, though its thicker frames reduce your glass area by roughly 10 percent.
Painted wood, at $400–$800, delivers the warmest look but demands yearly inspection for chipped paint and water damage around the sill. Composite frames split the difference at $350–$700: they mimic wood grain without the upkeep, and the gray finish hides smudges better than white vinyl.
Maximizing Natural Light Without Sacrificing Privacy
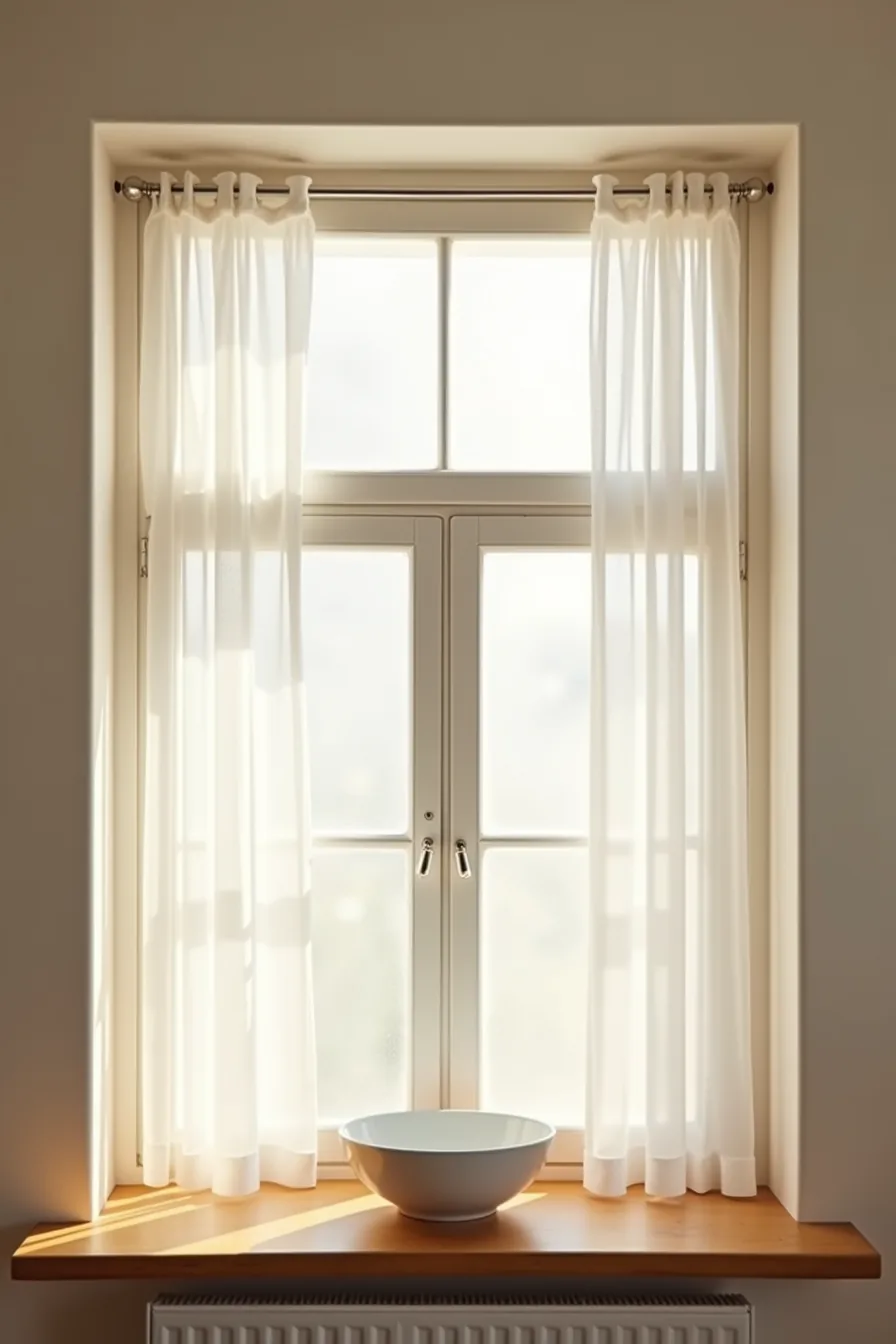
The split-glass treatment offers the most effective balance: clear upper panes capture daylight while frosted lower panes shield the sink area from street-level sightlines. A roller shade pulled to mid-height lets you fine-tune that balance throughout the day, and a reflective white bowl on the sill bounces additional light back into the room.
This configuration suits kitchens facing a sidewalk or a close neighbor, the frosting eliminates the need for sheer curtains, which tend to trap grease. For the same reason, consider upgrading to low-iron clear glass on the top panes; it transmits roughly 5–10 percent more light than standard glass, making a noticeable difference in a north-facing kitchen. If you prefer a softer daytime glow, a light-filtering roller shade in a neutral tone achieves the same privacy effect while diffusing harsh afternoon sun.
When planning the split, keep the clear section at eye level or above, typically 12–18 inches from the top of the window. This placement maximizes daylight penetration while keeping the frosted zone exactly where you need coverage, at counter height, where passersby naturally look.
Renter-Friendly and Budget Window Solutions
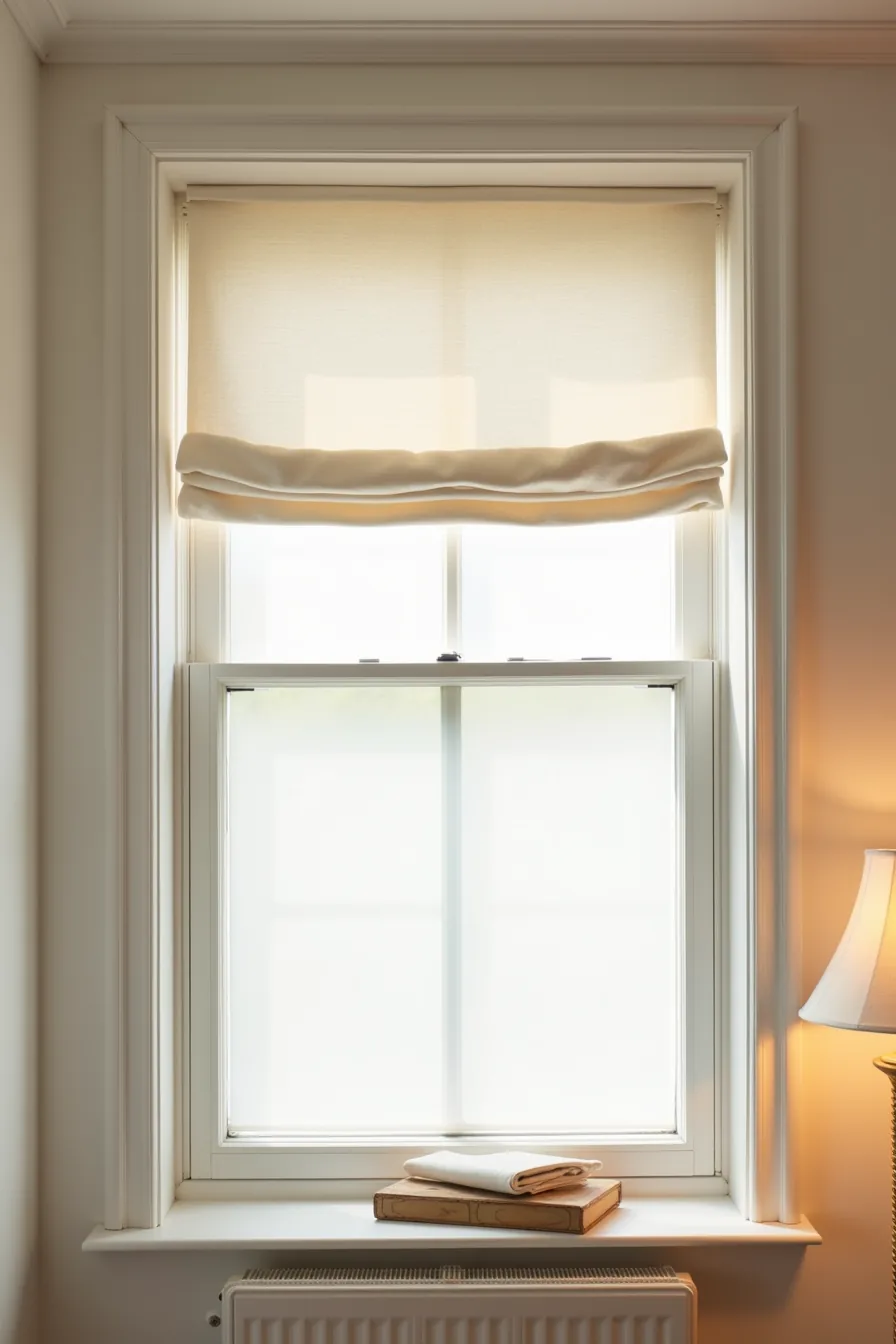
If you can’t alter the glass itself, a removable adhesive film applied to the lower panes delivers the same privacy split as a permanent frosted treatment. Most films cling via static or low-tack adhesive and peel off cleanly when your lease ends, though you should test a corner first and avoid leaving them on for more than a couple of years in direct sun, which can make removal harder.
Pair that film with a tension rod mounted inside the frame, no drilling required, holding a lightweight linen shade that you pull down only when you need extra coverage. Suction cup hooks on the frame give you a spot to hang the shade when it’s rolled up, keeping the sill clear for staging. Expect to spend roughly $15–$40 for film covering a standard double-hung window, $8–$20 for a tension rod, and $15–$35 for a linen shade.
The entire setup takes under an hour to install and leaves zero permanent marks. This approach suits renters, anyone testing a style before committing, or kitchens where the window operates frequently, the shade rolls clear of the crank or sash without blocking the mechanism.
Long-Term Investment: Premium Glazing and Custom Installations
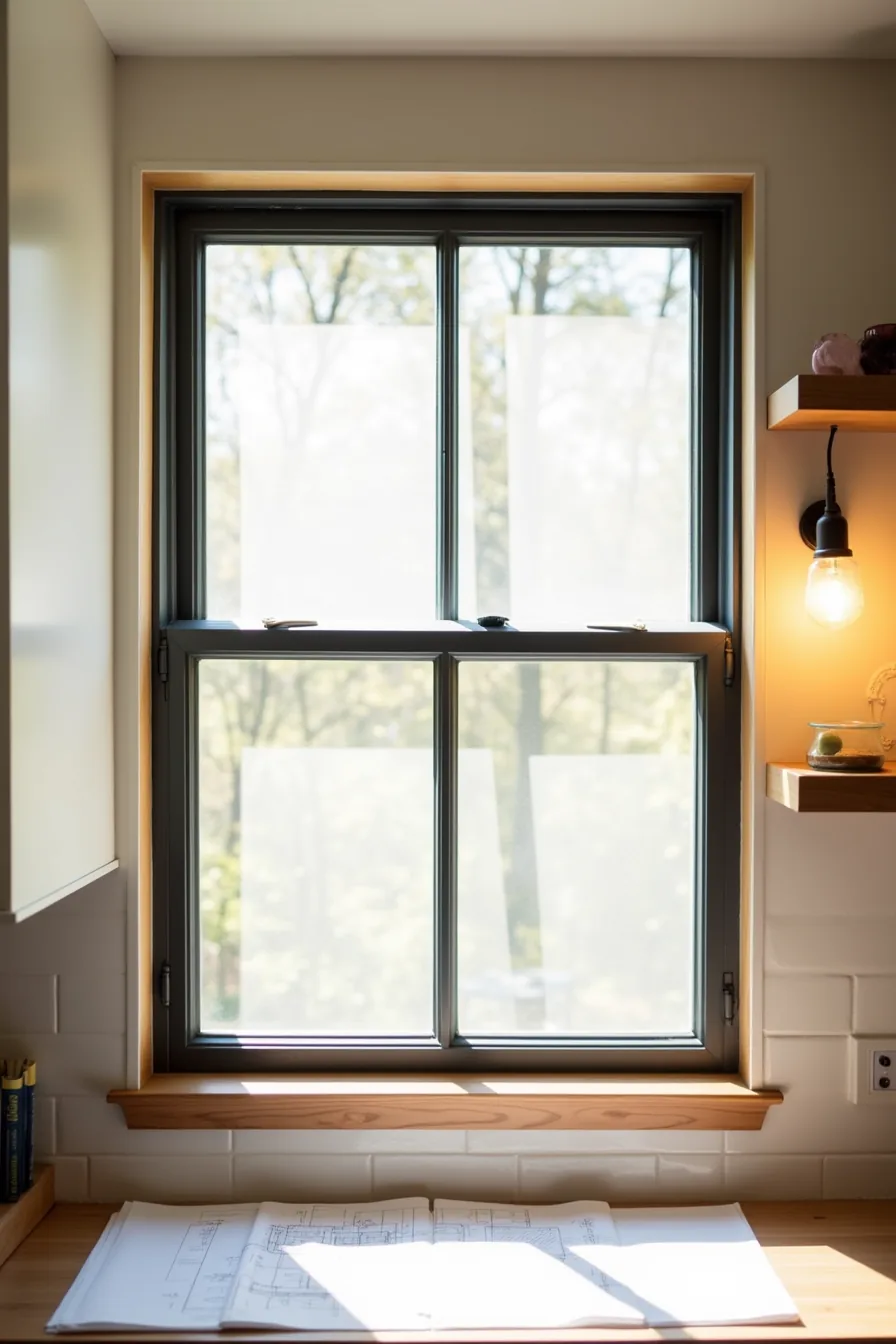
When your kitchen window design needs to last two decades, upgrade to high-performance double glazing with an argon gas fill between the panes, this cuts heat transfer noticeably compared to standard air-filled units. You’ll recognize the setup by the thin gas fill line visible at the pane edges, paired with a custom black aluminum frame that resists warping and needs only occasional wiping. Interior wood trim with a clean caulk bead at the seam prevents drafts and moisture intrusion; reapply that bead every 5–8 years as it shrinks.
Expect to pay 2–3 times the cost of a stock window, but the energy savings typically recover that difference within 8–12 years in extreme climates. The blueprint on your counter should confirm rough opening dimensions before ordering, custom sizing adds 4–6 weeks to lead time. This suits owners who plan to stay put, want maximum daylight with minimal frame bulk, or face noise and temperature challenges that thinner glazing can’t solve.
You can’t retrofit this performance into an existing frame, so budget for full replacement and professional installation.
Where to start
Choose your one non-negotiable constraint first, budget, rental rules, or permanence, and let it eliminate half the options above. Measure your window’s width and height before you shop, and photograph the surrounding wall so you can check proportions against the sill and counter line.
Walk through your kitchen at the times you actually cook. Note where steam rises, where you set hot pans, and whether anything blocks the window’s swing or your reach.
Order one sample swatch or a single roller shade before committing to a full treatment. Hang it for 48 hours, observe the light shifts, and make your final call from what you see, not from a screen.
Frequently Asked Questions
Should a kitchen window be wide or tall, and does it matter for natural light?
Wide wins for light. Horizontal windows spread daylight across counters, reducing shadows where you prep. Tall windows add vertical brightness but suit narrow walls.
Match width to your main work zone, aim for at least half the counter’s length.
Can you put a window directly above a kitchen sink, and what plumbing do you need?
Yes, a window above the sink is standard. Plumbing runs below the window, so keep the sill at least 4–6 inches above the countertop. Rough-in the drain and supply lines before framing.
Use tempered glass if the sill sits within 24 inches of the sink.
What’s the best frame material for a kitchen window that’s easy to clean?
Vinyl or aluminum frames win for low maintenance. Vinyl resists moisture, never needs painting, and wipes clean. Aluminum is slim and durable but conducts cold, pair it with thermal breaks.
Wood looks warm but demands annual sealing to avoid warping near steam.
How do you get more natural light in a kitchen without a large window?
Add a skylight or solar tube to flood the ceiling with daylight. Install a glass interior door to borrow light from an adjacent room. Use glossy backsplash tiles and light paint to reflect what you’ve.
Avoid heavy window treatments, opt for top-down blinds instead.