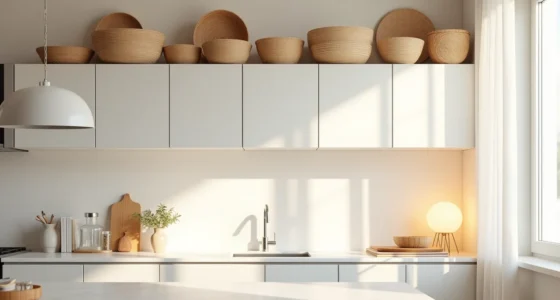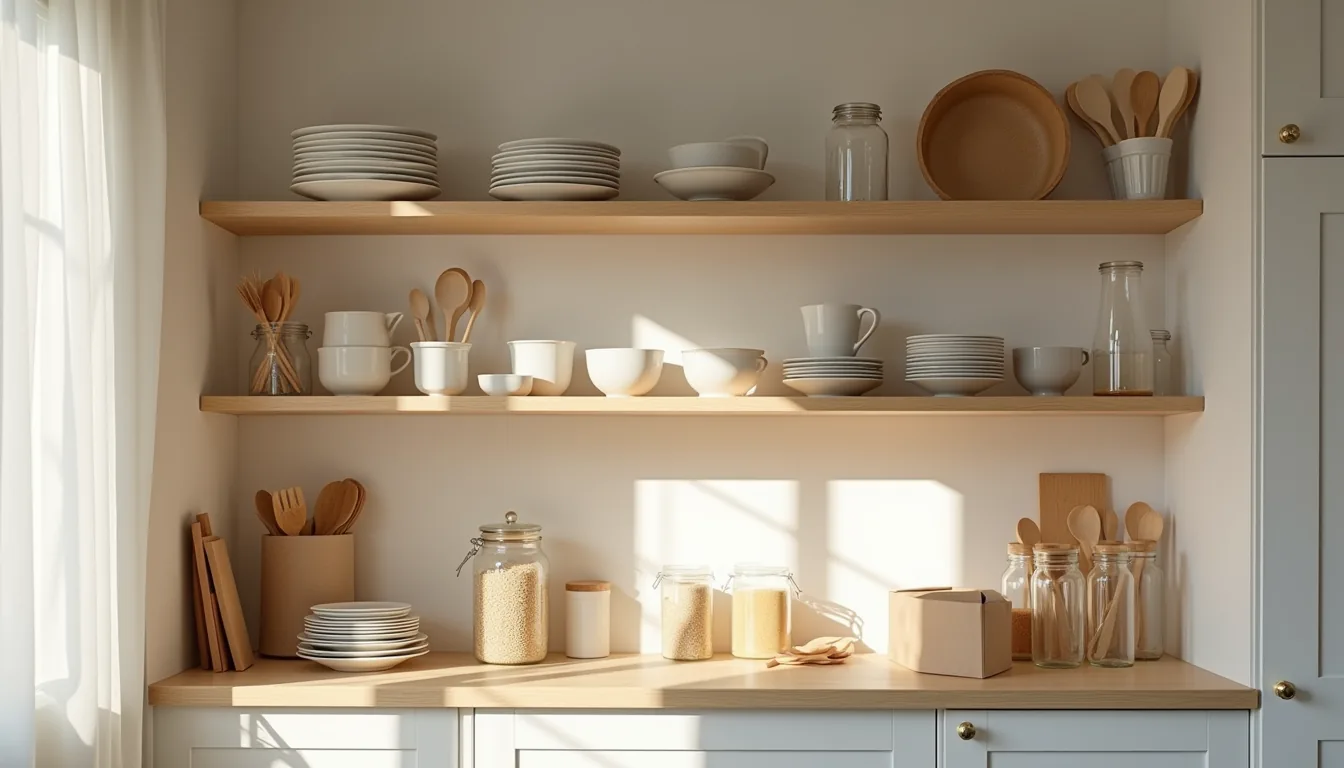
Kitchen cabinet organization starts with emptying every shelf and drawer, sorting each item into keep, relocate, or discard piles before you spend a dollar on containers. That audit reveals your actual storage load, typically 20–30% of what you own rarely gets used, and dictates whether you need fixed shelving, pull-out racks, or just a few shelf risers. Your kitchen’s footprint, rental status, and daily cooking habits then determine which system fits without compromising access or airflow.
The six approaches below break down by cost, installation effort, and capacity so you can match a solution to your exact cabinet dimensions and routine.
Key takeaways
Audit first, empty every cabinet, sort by category, and discard expired or duplicate items before buying a single organizer. Fixed systems win for permanent kitchens: solid wood or metal dividers and pull-out shelves handle heavy loads but require drilling and precise measurements. Adjustable shelving suits evolving needs, install track-based systems that let you reposition shelves in minutes without tools, though they cost more upfront. Renter-friendly options rely on tension rods, stackable bins, and over-door racks that leave no holes, but sacrifice some weight capacity and stability.
Audit and Declutter Before You Organize
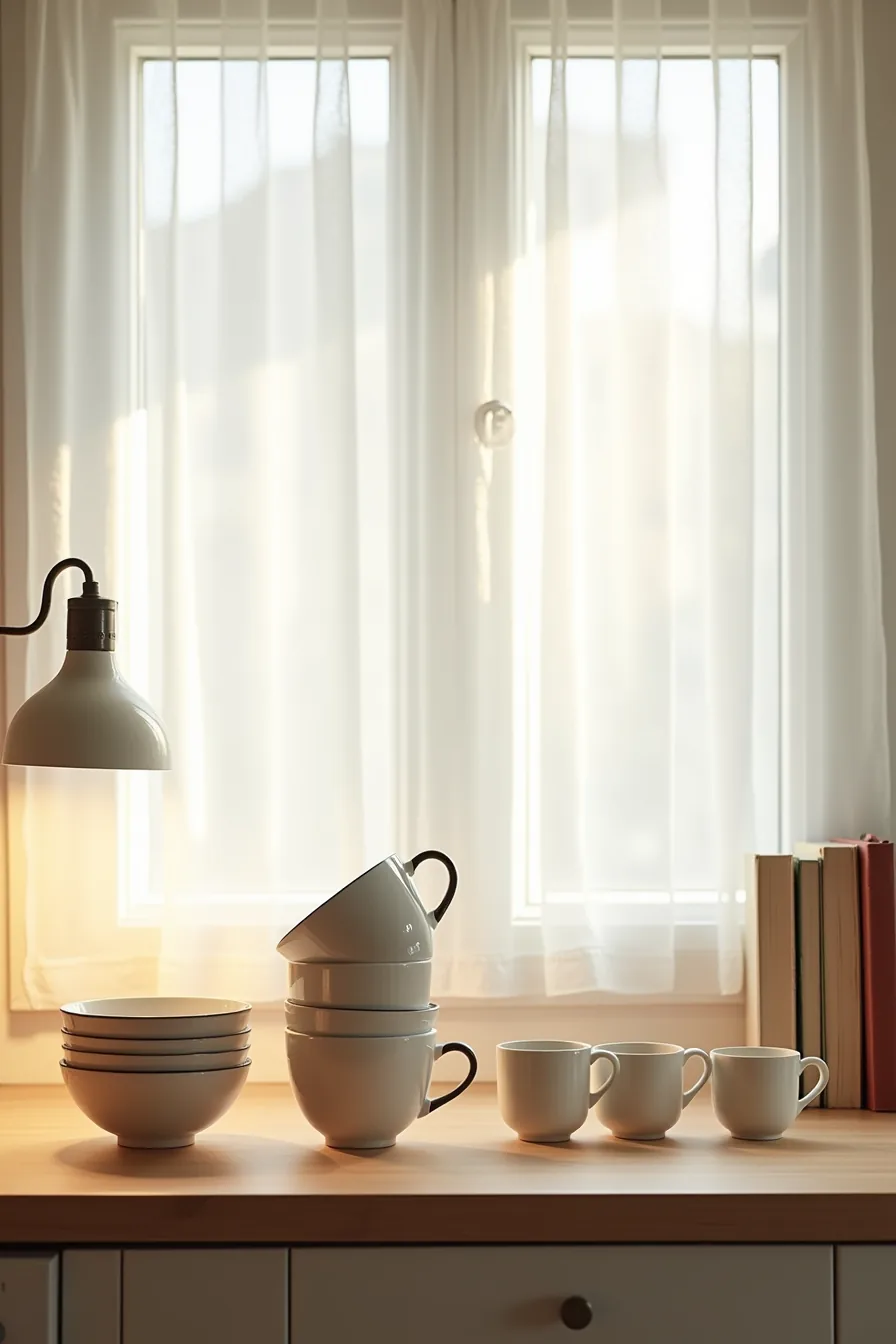
Kitchen cabinet organization fails most often because you’re arranging items you don’t need. Before you buy a single divider, bin, or shelf riser, empty every cabinet onto your counter and sort what you find into three piles: keep, donate, and discard. That countertop setup, matching ceramic bowls stacked in the keep pile, chipped mugs in the donate stack, and expired plastic containers headed for the trash, is the exact model you’re replicating.
Work category by category, not cabinet by cabinet. Gather every mug, every lid, every baking sheet, then apply the two-question test: Have you used this in the last year, and would you buy it again today? For plastic containers, toss any that are cracked, stained beyond cleaning, or missing their lids, they consume disproportionate shelf volume.
This audit prevents wasted container purchases. Most organizers make the mistake of buying bins first, then discovering the items they kept don’t fit the containers they bought. Decluttering first means every storage solution you add afterward serves a purpose, and you’ll typically eliminate 20-30% of your cabinet contents before organizing begins.
Fixed Shelving and Dividers for Permanent Kitchens
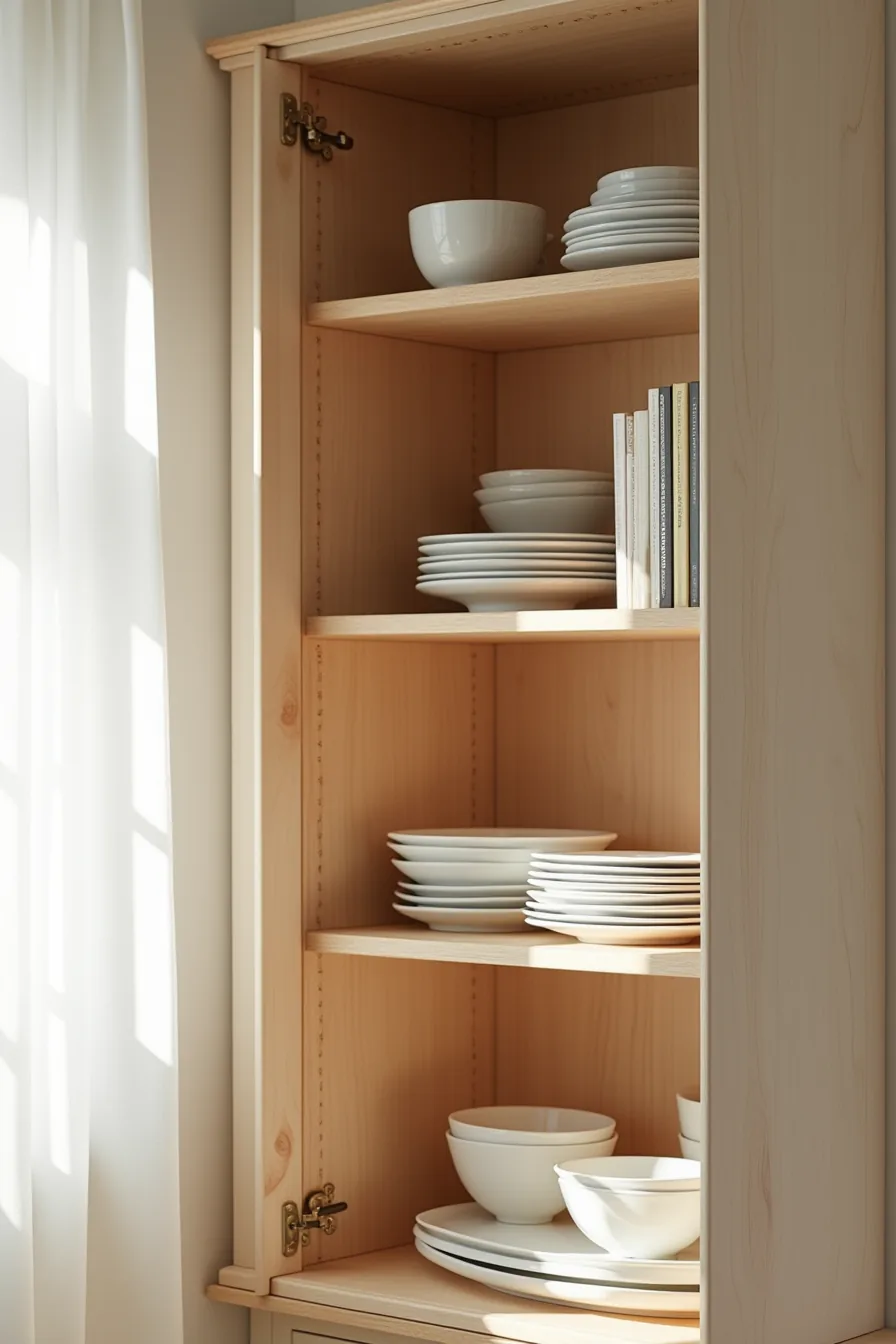
Fixed wooden shelves and vertical dividers suit homeowners who plan to stay put for five or more years. Most custom cabinet-grade shelves run 12–16 inches deep and support 50–75 pounds per shelf when anchored into studs, which means stacked dinnerware, serving dishes, and heavy mixing bowls have a permanent, safe home. Installation requires a level, drill, and wall studs; expect a half-day project if you’re retrofitting an existing cabinet.
The setup here uses three fixed shelves with wood dividers separating plate stacks from taller serving dishes. You gain two things: zero wobble under heavy loads, and visual order that survives daily use because every stack has a defined lane. The trade-off is commitment, reconfiguring for a new appliance or larger cookware means unscrewing and re-anchoring, so measure your tallest standing dish before you fix the shelf spacing.
Match divider width to your largest plate diameter, typically 10–12 inches, to prevent overhang and chipping.
Adjustable Shelving Systems for Flexibility
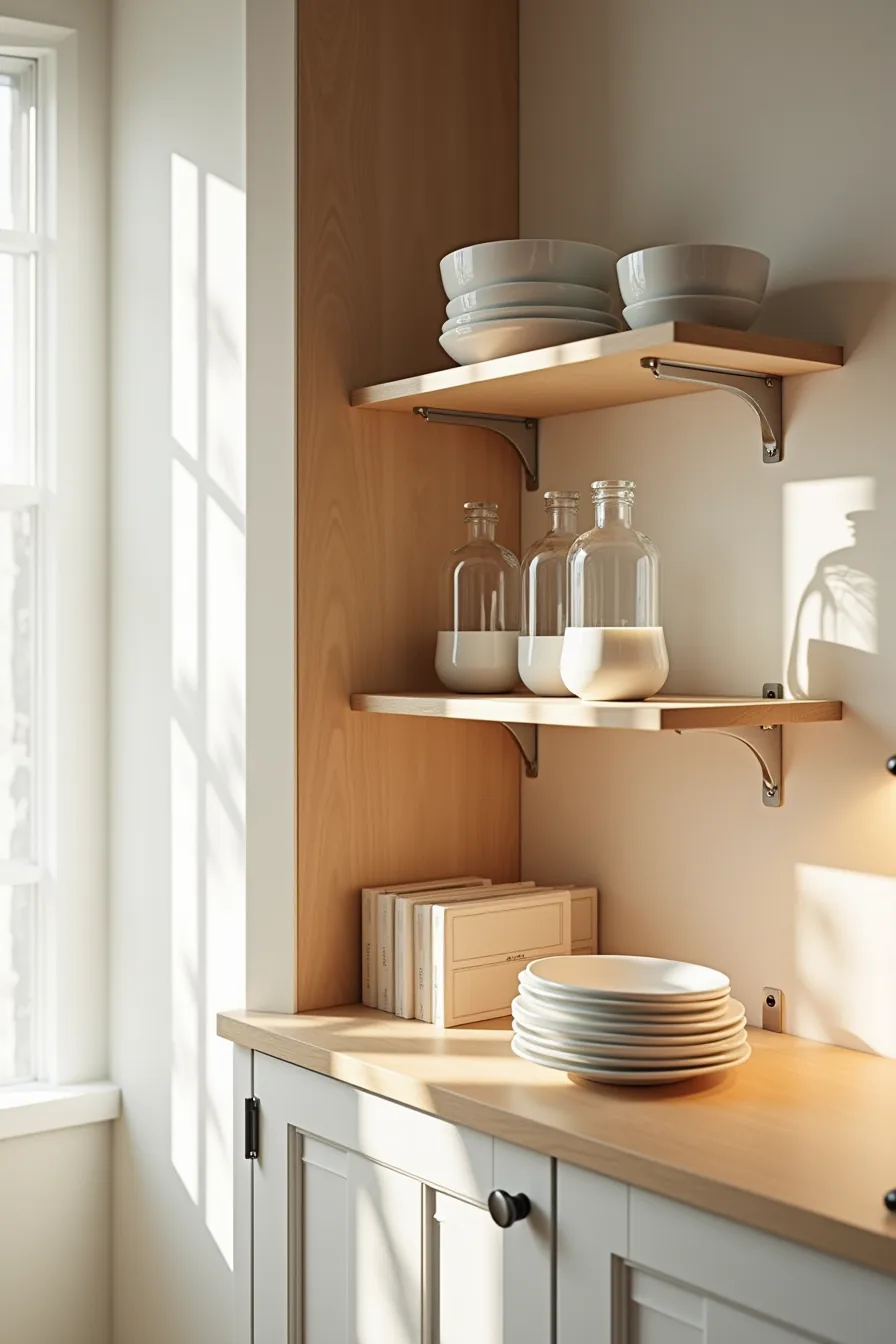
Adjustable shelves use metal shelf supports inserted into pre-drilled pin holes, letting you change vertical spacing without tools. Most cabinet systems offer pin holes in 1- to 2-inch increments, so you can shift a shelf up or down to accommodate a new coffee maker or a stack of mixing bowls in under two minutes. That same cabinet here holds tall glass bottles on the lower shelf and a set of small ceramic bowls above, a configuration you could reverse next month if your storage needs shift.
Expect adjustable systems to cost 15–30 percent more than fixed shelving because of the metal tracks or pin strips, but they suit any cabinet with solid sidewalls at least ½ inch thick. Particleboard cabinets may not hold the supports securely over time, so check for plywood or hardwood construction before committing. The trade-off is slight: shelf pins reduce usable width by about an inch per side, which rarely matters unless you’re storing extra-wide platters.
Renter-Friendly Container and Drawer Solutions
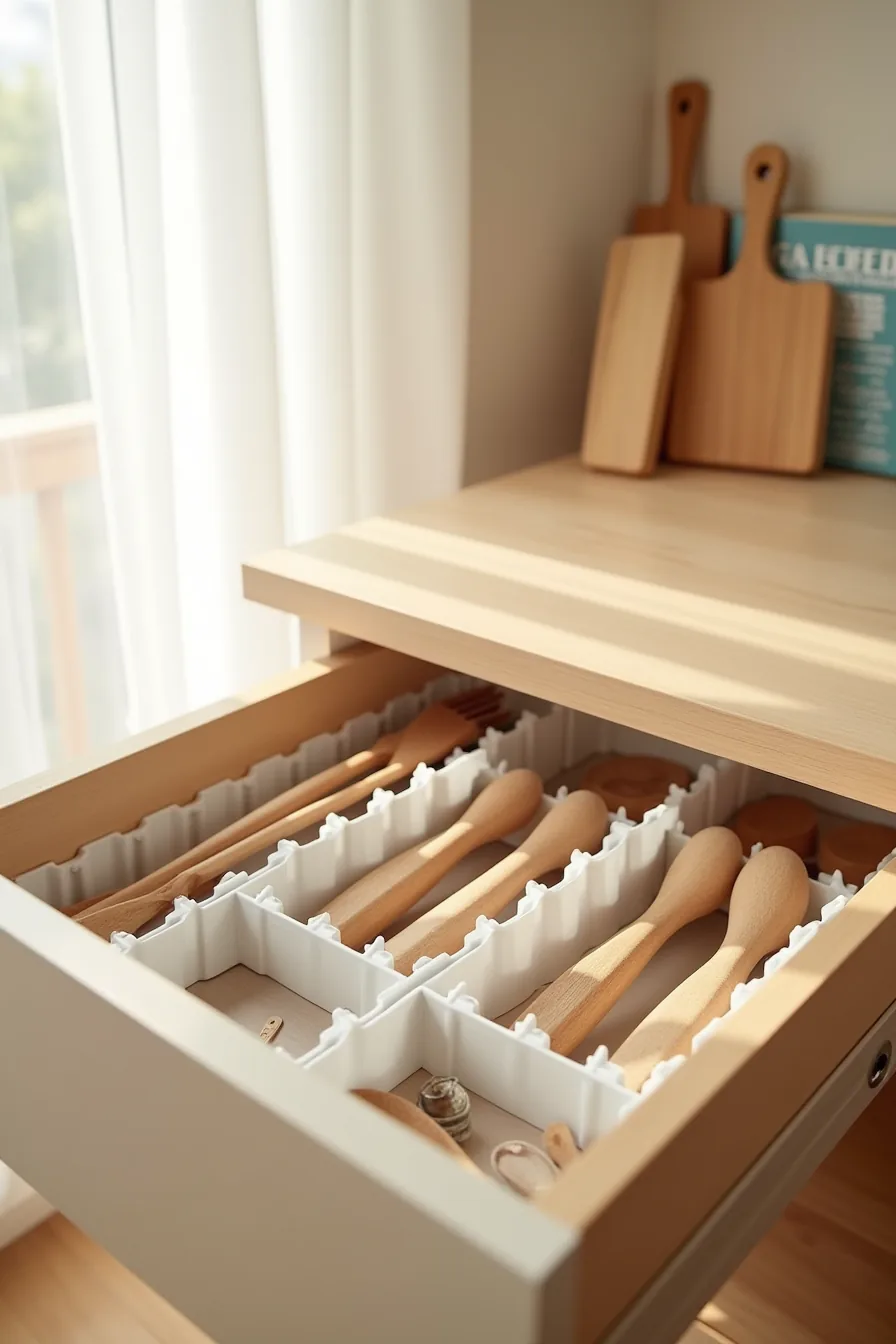
Interlocking plastic drawer dividers create custom compartments without a single screw or adhesive strip. The setup pictured here splits one deep drawer into three zones: wooden spoons on the left, measuring spoons in the center, and small utensils on the right. Each divider clicks into its neighbor, so the whole grid stays put when you slide the drawer open or shut.
These systems suit renters because they leave zero damage and reinstall in a new kitchen in about five minutes. Most dividers come in 10- to 12-inch lengths and expand slightly to fit drawer widths between 9 and 20 inches, so measure your interior before buying. Expect to pay $10–$25 for a set of six to eight pieces, cheaper than a permanent drawer organizer and far easier to pack.
The trade-off: plastic grids reduce usable depth by roughly an inch, and they can’t hold heavy cast-iron pieces without flexing.
Daily-Use Shelves and Cooking Zone Reset
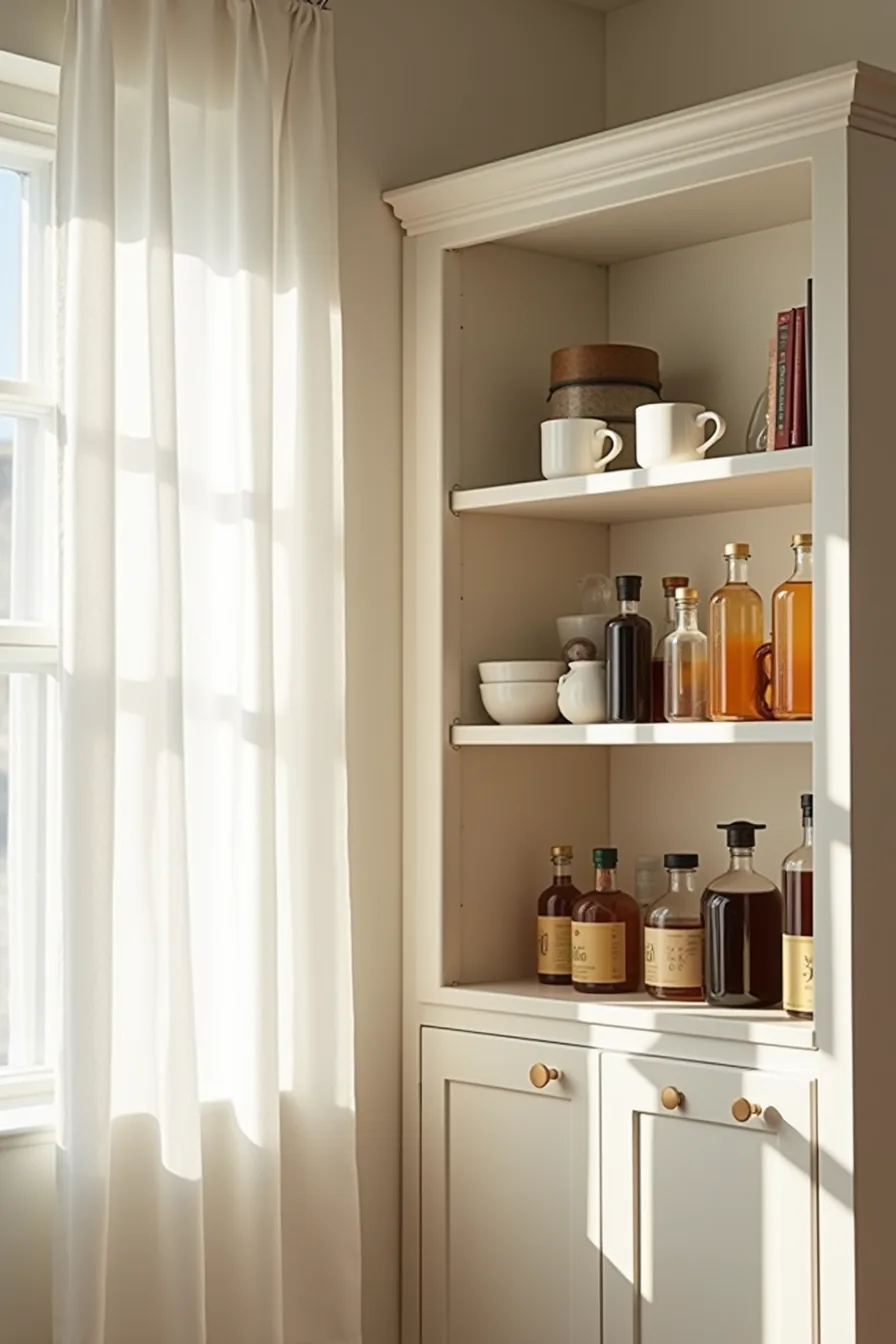
The fastest kitchen cabinet organization for weeknight cooking treats your most-used items like a mise en place station. One eye-level shelf split into three zones does the heavy lifting: coffee mugs grouped on the left, cooking oils and vinegars on the right, and frequently used mixing bowls centered. Because everything sits at standing eye level, you shave 30–60 seconds off each meal prep step, that adds up to nearly 10 minutes saved on a typical weeknight dinner.
Arrange by task rather than by category. The oils and vinegars cluster where you season, the mixing bowls sit where you combine ingredients, and the mugs stay out of the cooking flow entirely. This layout suits anyone who cooks three or more times per week and hates bending down mid-recipe.
To reproduce it, measure your shelf depth first, most standard cabinets run 12–16 inches deep, and pick items you reach for daily. Reserve this prime real estate for the 10–15 items you actually touch, not the full collection. Shelf risers work if you’ve double-stacked items, but keep the front row clear so nothing blocks the back.
Container-Free Organizing and Maintenance
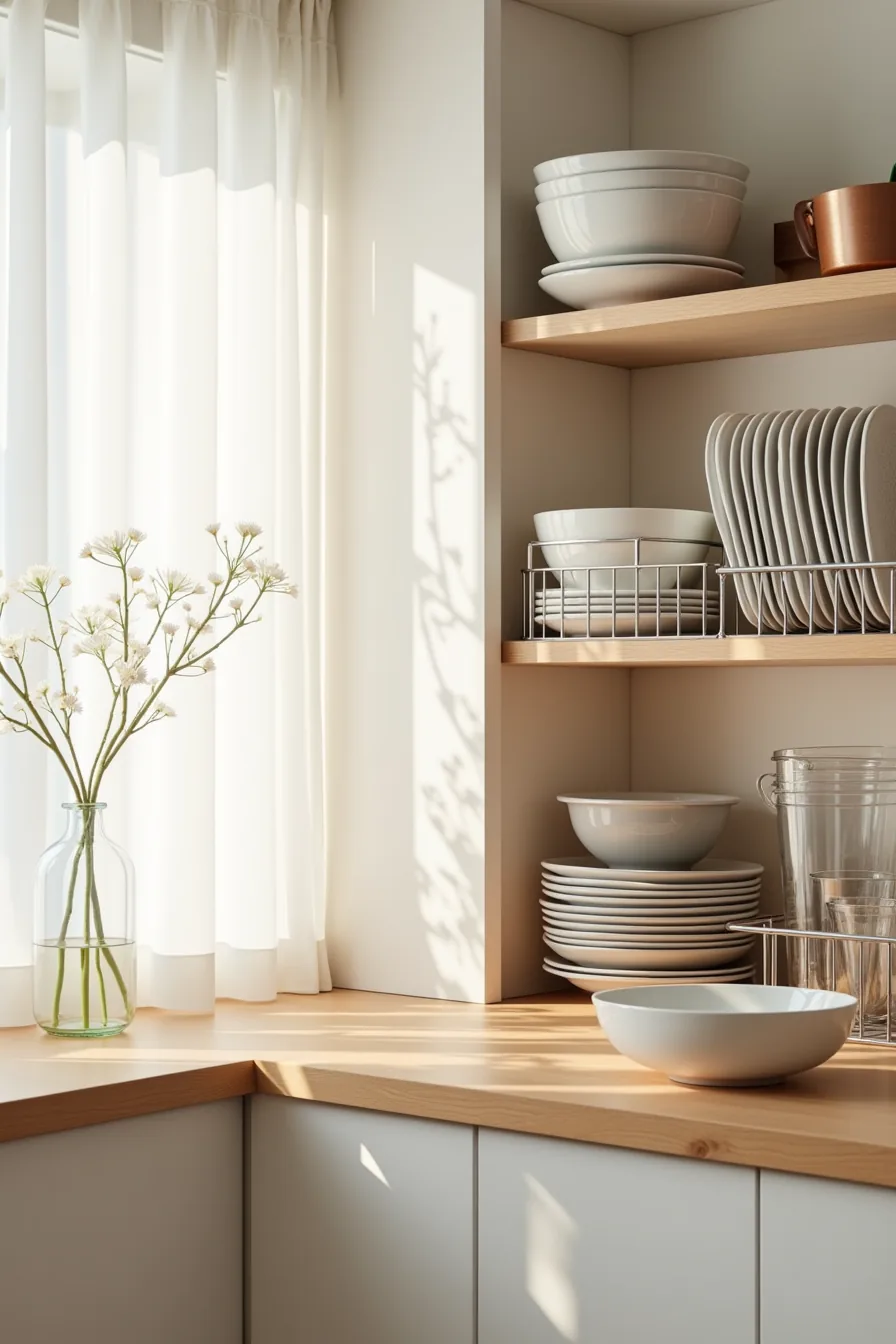
Container-free organizing works best when you group items by shape and nesting potential. The stainless steel bowls stack inside one another to save vertical space, while the white plates stand upright in a divided rack so you can pull the third one without disturbing the stack. Glass measuring cups line up by size, and the baking sheet rack keeps every tray vertical, this alone frees roughly 40 percent of the shelf’s usable depth compared to flat stacking.
This approach suits anyone who cooks frequently and wants fewer surfaces to wipe down. You lose the dust protection that closed containers provide, so plan to wipe these shelves every two to three weeks, more often if you run a fry-heavy menu. Safety matters here: keep heavier items like cast iron or stoneware on lower shelves, and never stack glass above head height.
Labeling without containers means using edge clips or chalk markers on the shelf lip itself, write the category, not the item, so you reorganize without re-labeling.
What to do first
Resist the urge to buy bins before you start. Empty every cabinet onto your counter, group items by category, and discard duplicates or expired goods. This inventory takes roughly one hour per cabinet bank and saves you from purchasing containers that never fit.
Measure your usable interior space in inches, height, depth, and width, for each cabinet before selecting anything. Note your door swing direction and any fixed shelves, since both limit what fits.
Book a 45-minute block this weekend for one drawer or shelf only. Complete that single zone before moving on; visible progress builds momentum and prevents overwhelm. Your kitchen will reward you with every finished section.
Frequently Asked Questions
How do I know if my cabinets can support adjustable shelves?
Check for pre-drilled holes or a metal track system inside the cabinet. If neither exists, look at sidewall thickness, ¾-inch solid wood supports retrofitted shelf pins; thin particleboard or MDF doesn’t.
What’s the difference between kitchen cabinet organization for renters versus homeowners?
Renters need non-damaging solutions like tension rods, stackable risers, and removable adhesive hooks. Homeowners can install permanent pull-out drawers, custom dividers, or modify shelf heights. Renters prioritize reversibility; homeowners prioritize long-term function.
How often should I clean and reorganize my kitchen cabinets?
Deep-clean and purge every 3–6 months. Wipe spills immediately. Reassess organization after major appliance purchases or seasonal cookware swaps. A quick monthly 10-minute tidy catches shifting items before clutter builds.
Can I organize kitchen cabinets without buying containers or bins?
Yes. Use existing items: shoeboxes for baking sheets, clean takeout containers for small packets, and mug trees for lids. Repurpose plate racks as vertical dividers. Cardboard dividers from shipping boxes work temporarily, though they wear out within months.