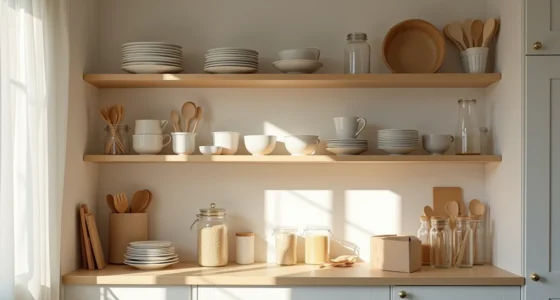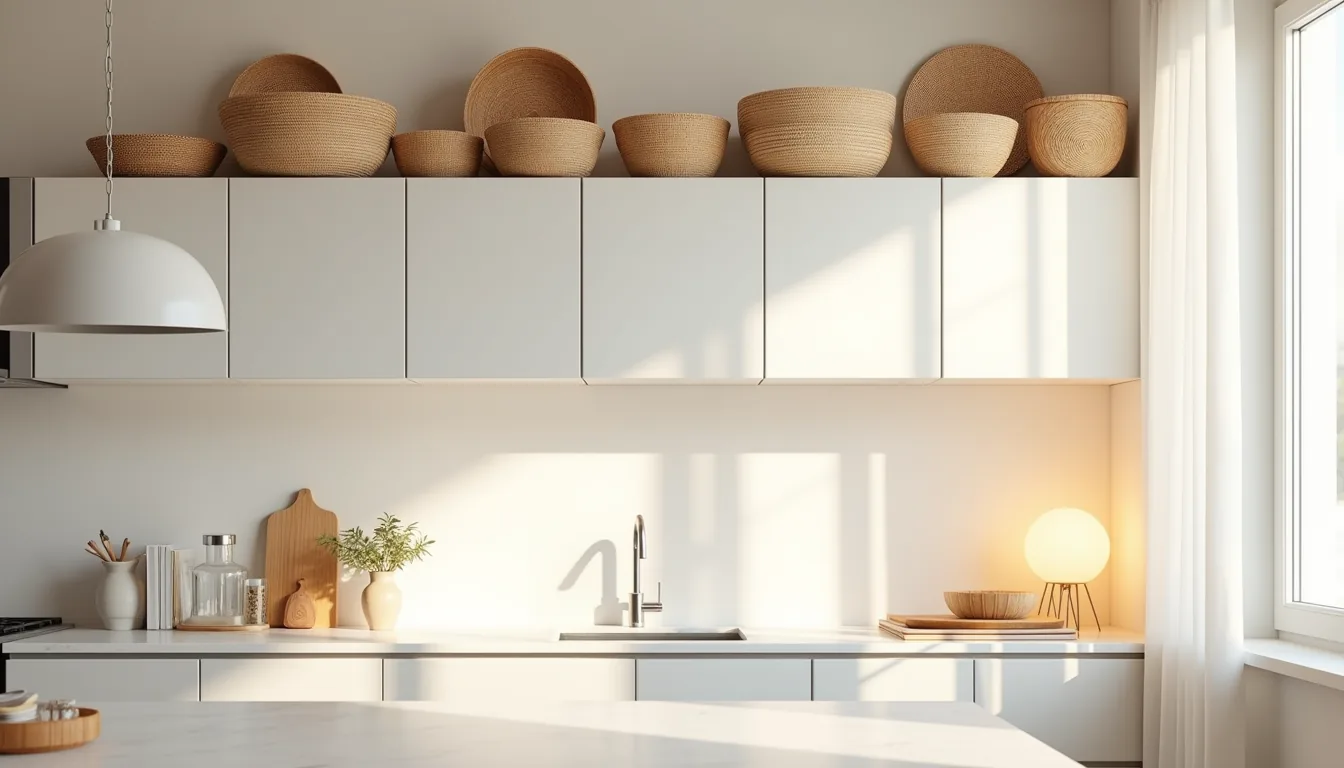
The strip of space above your kitchen cabinets is the most neglected real estate in the room, yet it offers a prime opportunity to add character without sacrificing a single inch of countertop. The challenge is that this narrow ledge, typically 12 to 18 inches deep, demands a specific approach to scale, weight, and accessibility. Most attempts fail because they treat it like a shelf, not a sightline.
The six strategies ahead each solve that problem differently, whether you need a renter-friendly fix or a permanent architectural upgrade.
Key takeaways
Measure first, the gap above your cabinets is typically 12–18 inches, and anything taller than that will feel cramped or block sightlines. Choose one material family, wicker, ceramic, or wood, and repeat it in at least three pieces to create cohesion instead of clutter. Skip real plants near heat vents and range hoods; high-quality faux greenery requires zero watering and won’t wilt from rising hot air. For renters, use removable adhesive hooks and lightweight trays so you can swap decor seasonally without patching holes or risking cabinet damage.
Tall Basket Grouping for Open Storage
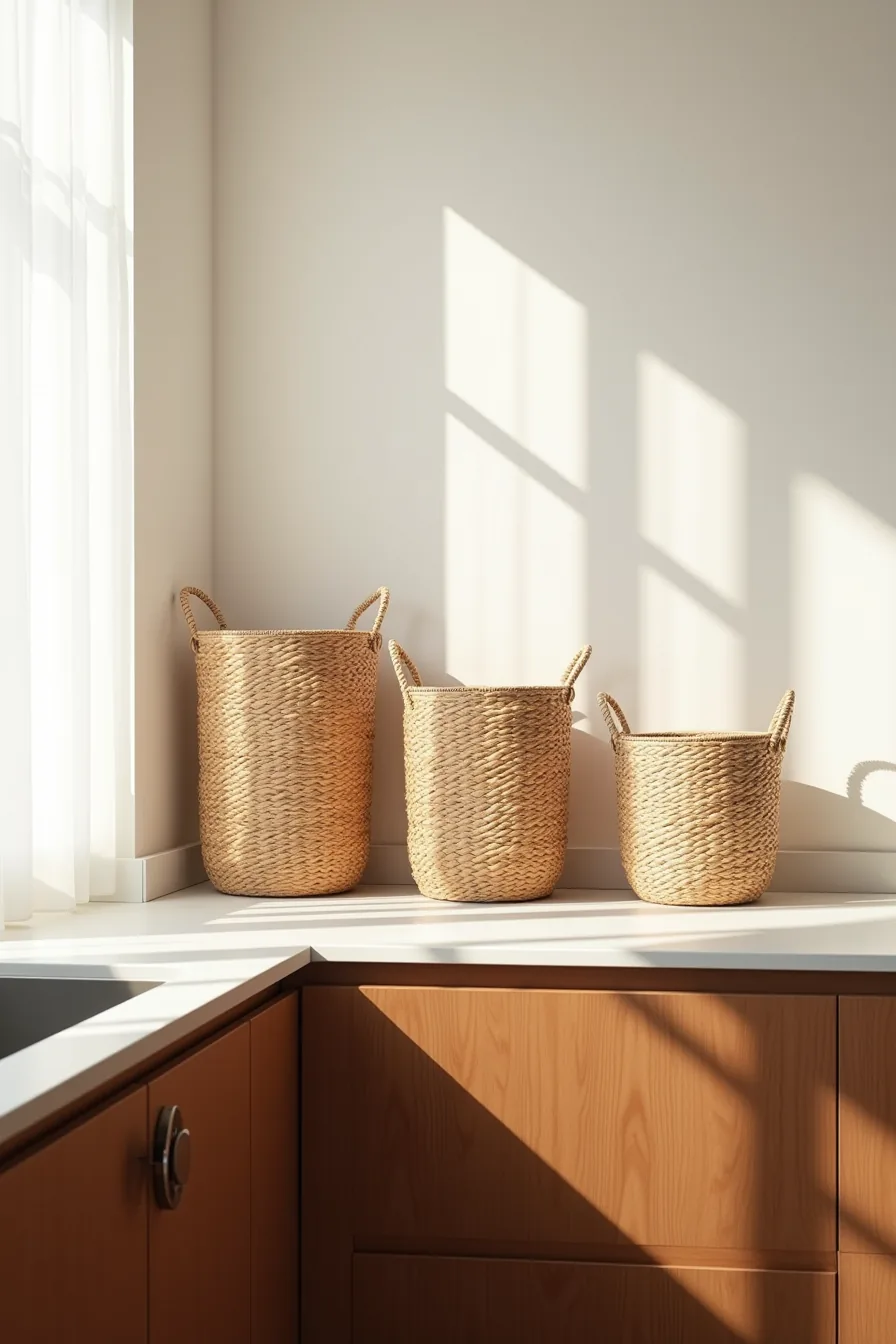
A tall basket grouping turns dead space above your cabinets into functional storage that reads as intentional styling. In a medium to large kitchen, place three baskets of graduated heights along a run of dark wood cabinetry, tallest on the left, medium in the center, shortest on the right. The visual rhythm of the ascending and descending silhouette softens the hard horizontal line where the cabinet tops meet the ceiling.
This setup works best in kitchens with at least 12 to 18 inches of clearance above the cabinets. Seagrass and wicker baskets in natural fiber tones contrast cleanly against dark cabinetry, so the grouping stands out rather than blending into the wood. Use them to store infrequently accessed items like seasonal linens, extra serving platters, or bulk paper goods, anything you don’t need within arm’s reach.
The trade-off is dust collection on the basket weave, so budget 10 to 15 minutes every few weeks for vacuuming with a brush attachment. You’ll also need to ensure the baskets sit flush against the cabinet tops and don’t overhang the front edge, which could interfere with cabinet door clearance or look precarious from below. For under $60, this route delivers durable, replaceable storage that suits kitchens with open shelving or exposed upper cabinetry.
Greenery Above Cabinets Without Maintenance Burden
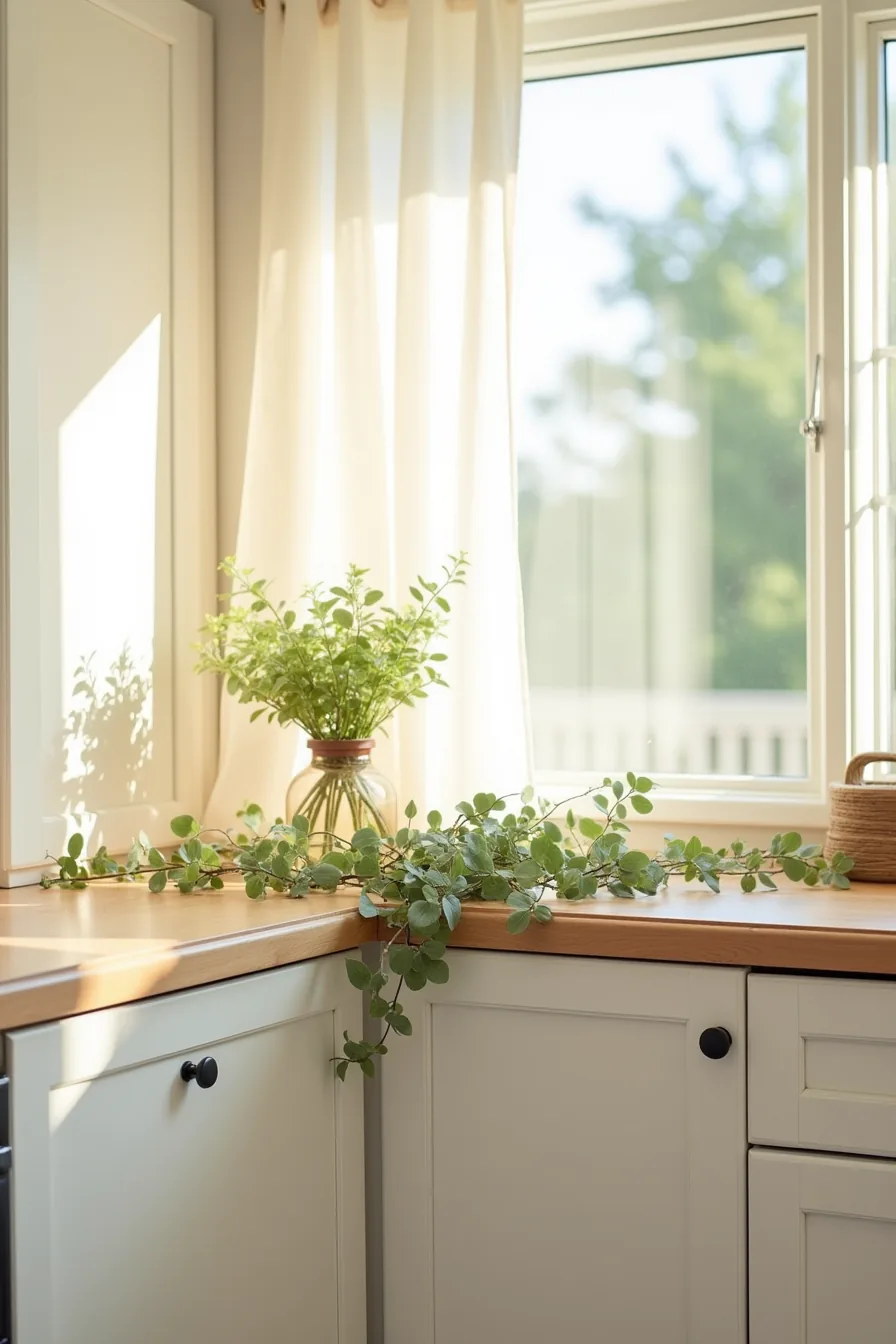
Trailing pothos and a muted sage eucalyptus garland create the living-and-faux hybrid that solves the watering problem. Place the real pothos in a clear glass vessel at one end where you can reach it with a stepladder every 7 to 10 days; let the faux garland carry the visual weight across the remaining cabinet run. The combination reads as lush without demanding daily attention.
Faux greenery in cream and sage tones resists the yellowing that cheap plastic versions develop, and it won’t drop leaves into your coffee mug below. Dust builds on both materials within 2 to 3 weeks, so wipe the garland with a microfiber cloth during your regular cabinet-top cleaning pass. For small kitchens with less than 10 inches of clearance, skip the pothos and use only the garland laid flat, tall vessels in tight spaces look cramped.
Large kitchens with 18-plus inches can layer a second trailing vine behind the garland for depth. Budget $25 to $45 for quality faux stems; real pothos costs $15 to $20 and propagates indefinitely for future replacements.
Ceramic and Pottery Display for Permanent Style
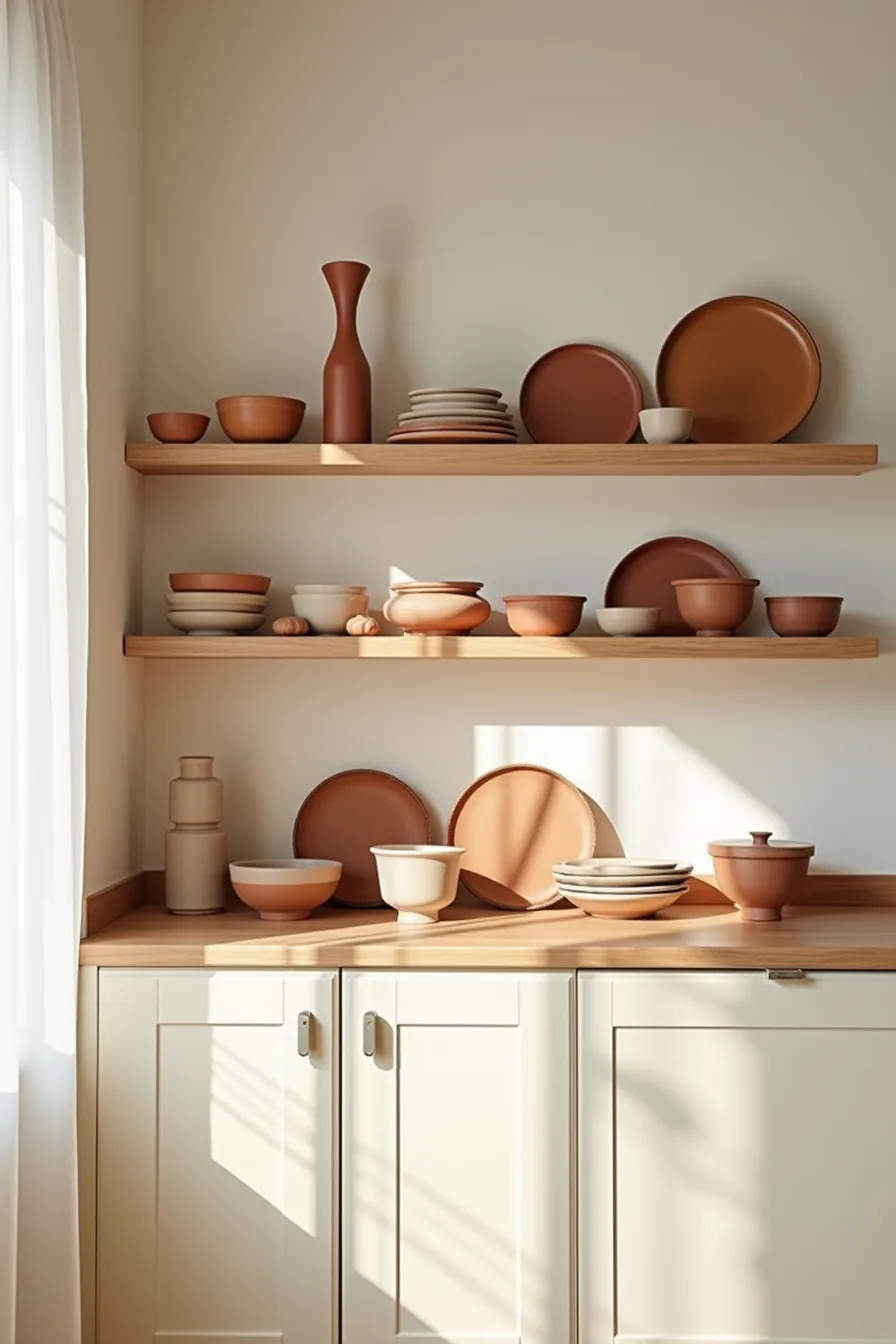
A two-tier arrangement of handmade ceramic bowls, stoneware platters, and terracotta vessels turns dead space into a gallery ledge. Nest the bowls in pairs or trios, then lean the platters upright against the backsplash, the vertical line breaks the monotony of a flat row. This setup suits kitchens with cream or white cabinetry where warm rust, ochre, and cream glazes add texture without competing with the room’s palette.
Scale determines success: keep individual pieces under 10 inches in diameter for standard 12- to 14-inch clearance, and cap the total height at two-thirds of your available space. Group in odd numbers with varied heights, placing the tallest vessel at one end rather than center. Quality ceramic runs $12 to $40 per piece; the durability justifies the cost if you commit to dusting every 3 to 4 weeks.
Avoid this look in galley kitchens under 8 feet wide, the display narrows the visual corridor. For large kitchens, extend the run across the full cabinet length and add a third tier using small stacked cookbooks.
Above Cabinet Decor for a Seasonal Kitchen Refresh
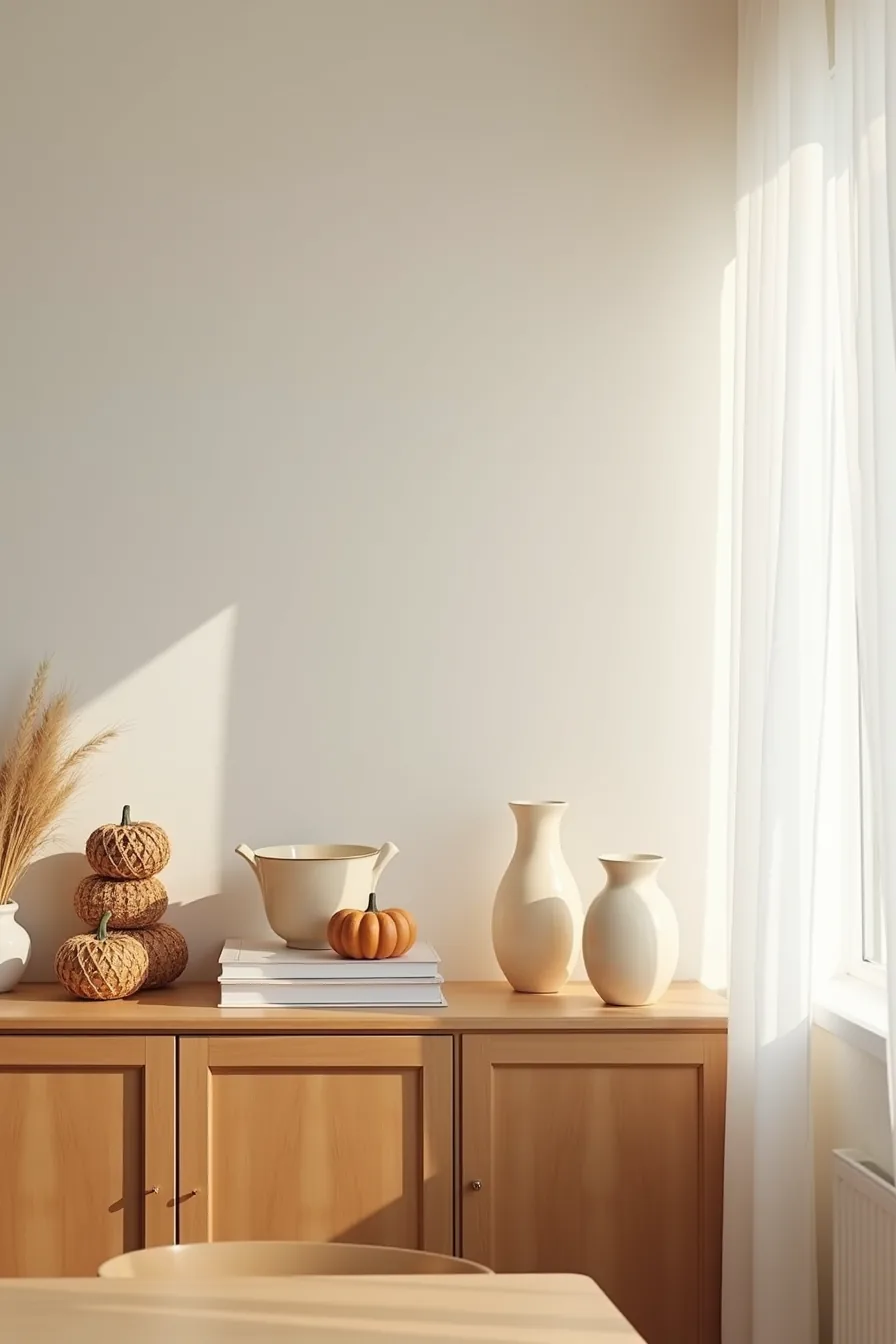
Rotating seasonal displays keep the space above your cabinets feeling intentional rather than abandoned. A transitional autumn arrangement might cluster three small woven pumpkins beside a bundle of dried wheat, with cream ceramic vessels anchoring the left side, leaving the right side bare. That asymmetry is the trick: covering the full run reads as a store display, while a two-thirds fill creates a curated vignette.
This approach suits anyone who entertains regularly or simply enjoys shifting their space with the calendar. You’ll need 20 to 30 minutes per swap and a storage bin for off-season pieces. Stick to three materials max, natural textures like wheat, wood, and matte ceramic work well together, and keep everything under 8 inches tall to preserve sightlines over the cabinet doors.
Dust the pieces monthly, but skip polished finishes that show every fingerprint. For holiday-specific additions, budget $15 to $50 per season; buy neutral bases like the ceramics once and rotate the inexpensive accents around them.
Renter-Friendly Styling Without Commitment
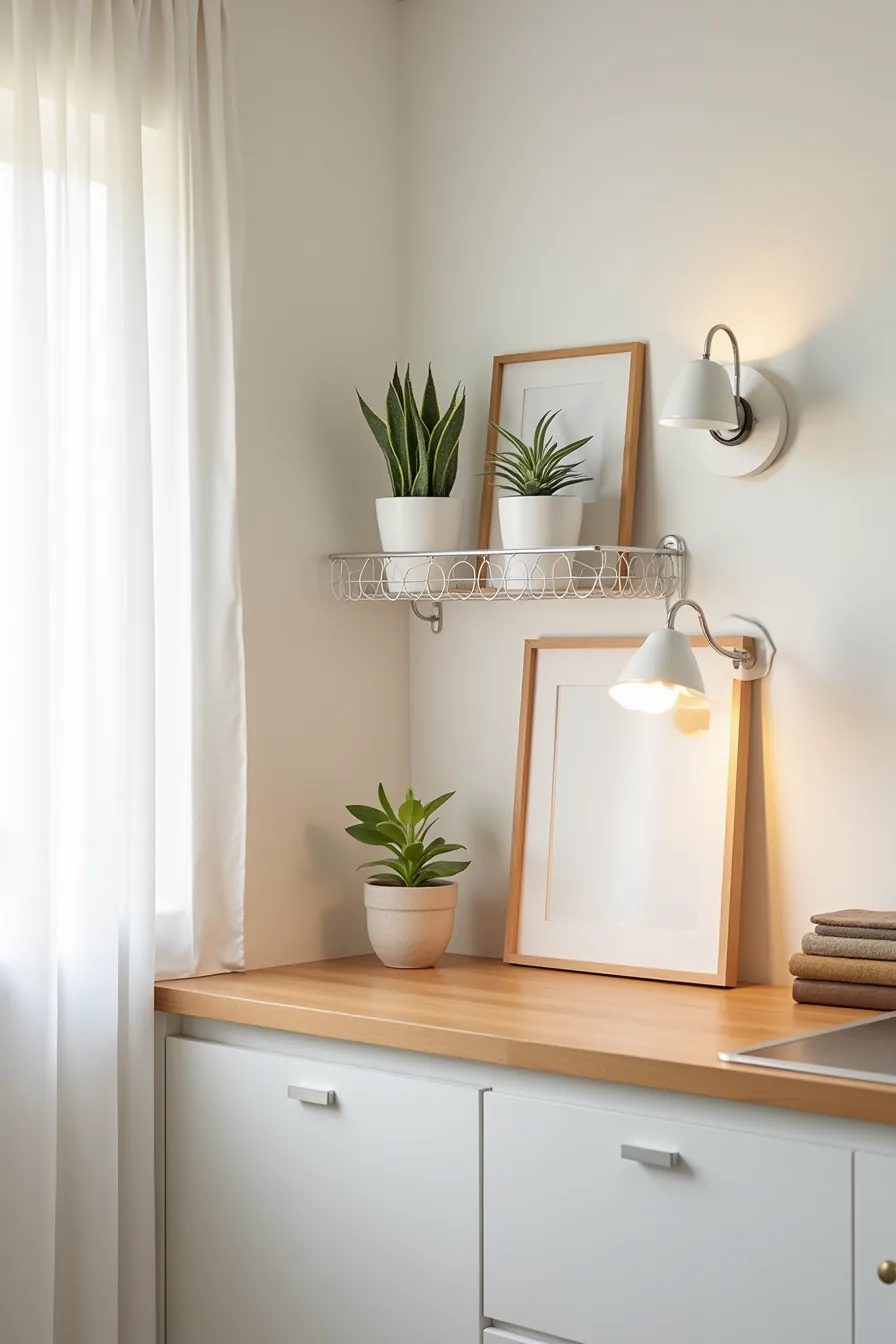
Above kitchen cabinet decor ideas for renters hinge on two words: removable and lightweight. Your lease likely prohibits drilling into tile or drywall, so lean on adhesive-backed wire shelves rated for 10 to 15 pounds. Two of these, mounted a few inches apart, give you a visible tier without permanent hardware.
Place small potted succulents up front, they need watering only every two weeks and tolerate the warm, dry air near cabinets. Lean a framed print against the cabinet’s back panel instead of hanging it, using a 1.5-inch lip from a shelf or the cabinet crown for support.
This setup works best in rental kitchens with neutral white or off-white cabinetry, since the wire’s brushed metal finish disappears against light backgrounds. The total cost runs $30 to $60: two shelves, two succulents in 4-inch pots, and a lightweight frame under 3 pounds. The real benefit is the restroom of your deposit, leave no adhesive residue, and your extraction takes about five minutes.
If your cabinet tops already have that visible seam between the cabinet and the wall, let the frame and shelves cover the gap rather than trying to plug it with putty.
Scaling Above Cabinet Decor to Your Kitchen Size
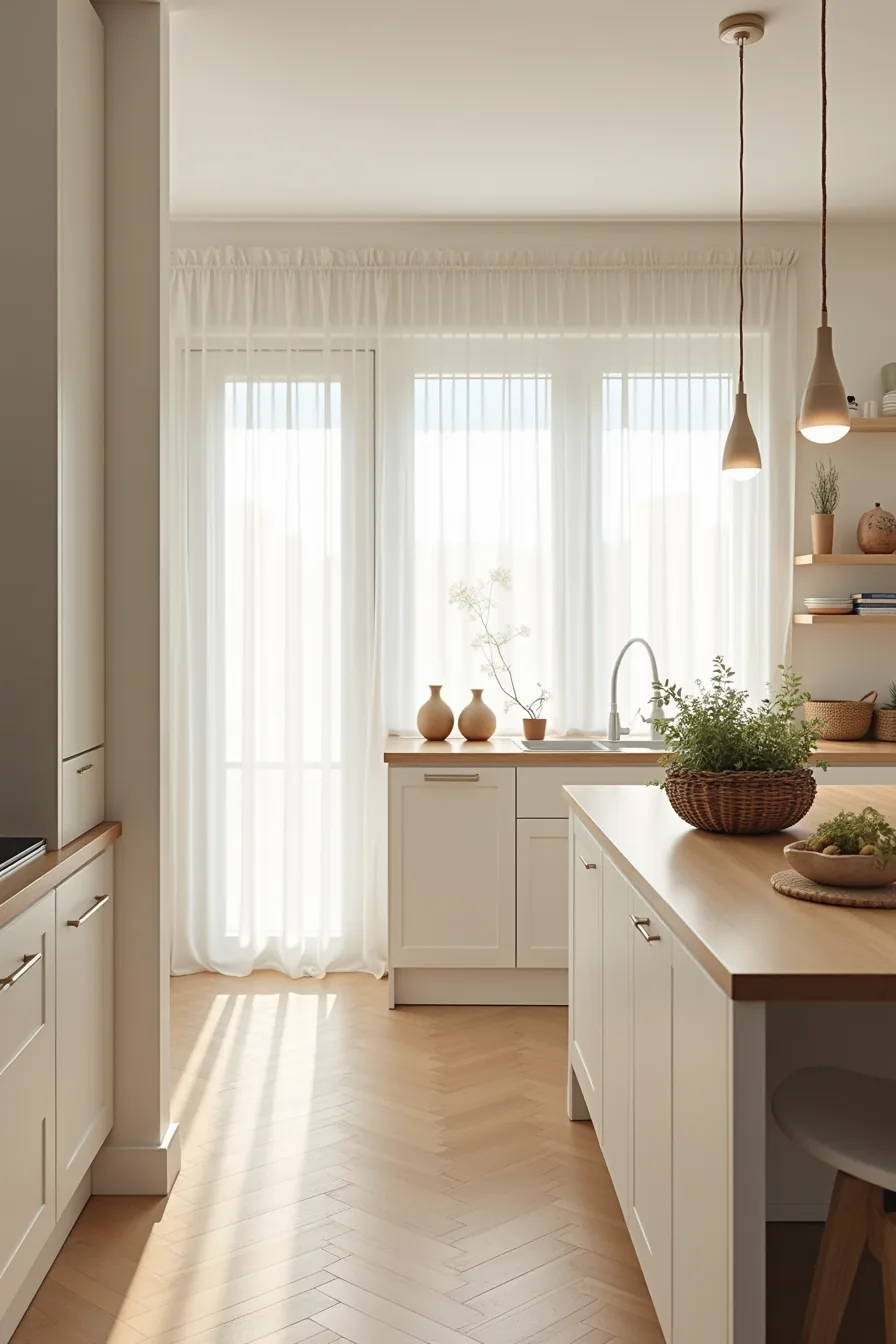
Your kitchen’s footprint dictates the margin of error you’ve above the cabinets. In a galley kitchen with a narrow 24-inch-deep run, a single row of three small ceramic vessels spaced 4 to 6 inches apart keeps the line clean and prevents the space from feeling crowded. Cream, sage, and matte black pieces under 8 inches tall read as deliberate rather than cluttered, and they gather less grease because they aren’t stacked or layered.
Standard 30-inch-deep cabinets in a mid-sized kitchen allow for a second row. Push taller items, a 10-inch vase or a small stack of cookbooks, toward the back wall, and keep the front row low so you can still reach and dust the surface monthly. For large kitchens with a full-width display, mix baskets, plants, and pottery into a triangle silhouette: the tallest piece sits off-center, flanked by medium-height elements that taper down.
Leave 8 to 12 inches of empty space at one end; a fully packed run looks like storage, not styling. The rule across all sizes is that your decor should never extend past the cabinet face, or it will block the cabinet doors from opening fully.
Your 10-Minute Decision Check
You now have six viable routes, each with distinct trade-offs in cost, maintenance, and visual weight. Before you commit, measure your gap height, under 12 inches favors low-profile baskets, over 18 inches opens the door to sculptural pieces. Match your choice to your cooking habits: if you use that counter daily, prioritize wipe-clean materials like ceramic or sealed wood over fabric or paper.
Start by removing everything from the space and living with it empty for two days. That pause reveals whether you truly need the decor or simply need better organization elsewhere. When the emptiness feels intentional, you’ve found your answer.
Frequently Asked Questions
How do I keep above cabinet decor from collecting dust?
Use sealed containers, glass cloches, or faux botanicals to minimize dust. Wipe items monthly with a microfiber duster and quick-dry spray. Avoid porous fabrics like burlap, which trap particles and require frequent washing.
Can I use above cabinet space in a small kitchen without making it feel cramped?
Yes, if you limit decor to one or two low-profile items per cabinet bay and leave breathing room. Stick to a single color family to reduce visual weight. Skip oversized baskets or anything that touches the ceiling.
What’s the weight limit for items placed above kitchen cabinets?
Most standard kitchen cabinets support 20–50 pounds of evenly distributed top load, but the limit depends on wall stud attachment and cabinet construction. Keep individual pieces under 10 pounds and avoid stacking heavy items. When in doubt, place heavy decor on the ends near studs.
How often should I rotate seasonal above cabinet decor?
Rotate twice a year, typically in spring and fall, to keep the look fresh without creating extra maintenance. This schedule also gives you a natural opportunity to dust and inspect the space. Seasonal swaps beyond that add clutter, not value.