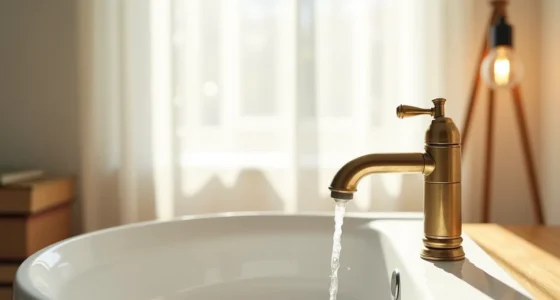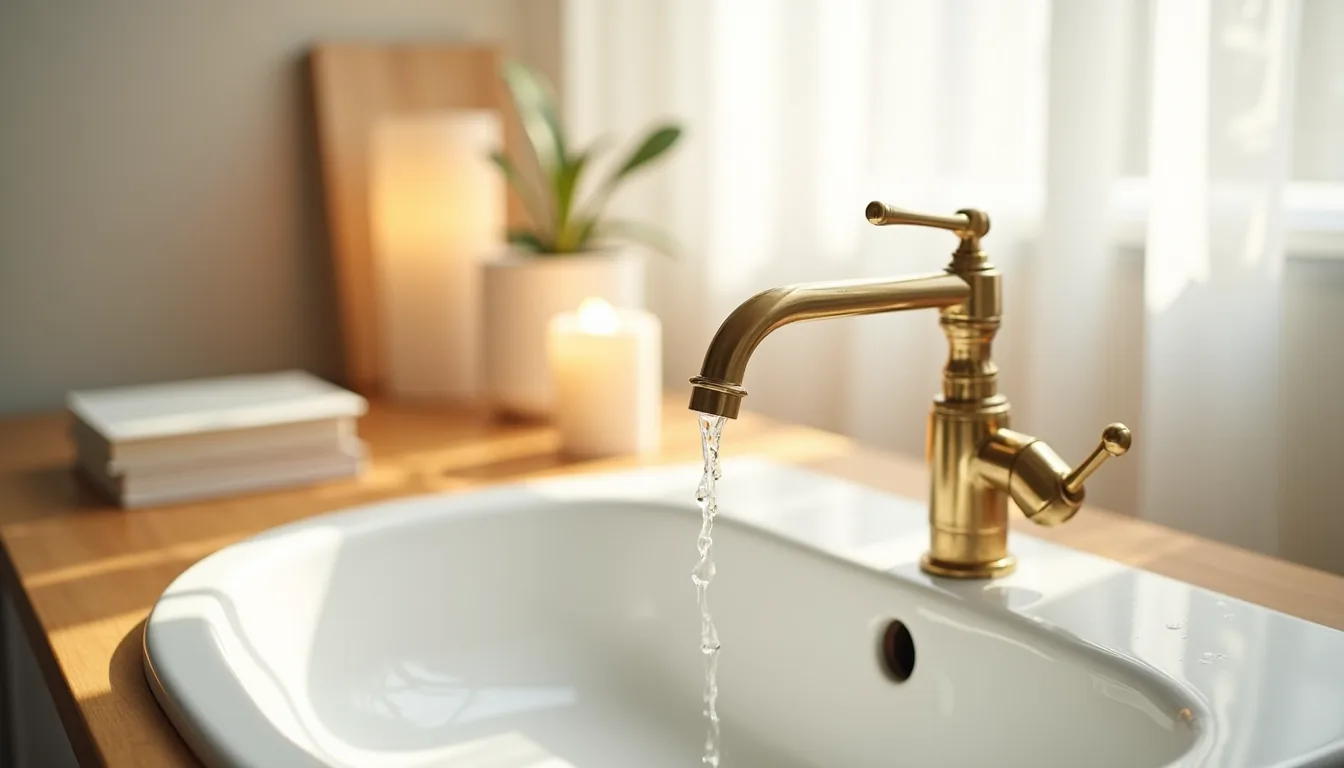

Brass bathroom fixtures aren’t a single look but a spectrum running from polished, mirror-like faucets to brushed, nearly matte hardware, and the difference between them determines everything about how your bathroom feels, how much it costs, and how often you’ll need to clean it. Choosing the right finish also dictates your maintenance routine, your budget ceiling, and whether the look will survive a renovation. The six interpretations below range from a $40 renter-friendly swap to a $1,200 investment-grade installation, each with the specific trade-offs you need to match to your space.
Key takeaways
- Brushed brass finishes hide water spots and fingerprints far better than polished brass, making them the practical choice for high-traffic family bathrooms where daily wipe-downs aren’t a given.
- Limit polished brass to a single statement piece, like a widespread faucet or a wall-mounted sconce, to avoid a mirrored glare that competes with your tile and paint.
- Layer your brass tones across three zones, faucet, shower hardware, and accessories, keeping them within the same undertone family (warm vs. Cool) to create a cohesive look without matching every piece exactly.
- For small bathrooms, choose a single brass fixture, such as a slim 6-8 inch wall-mount faucet, and pair it with matte black or chrome accents to prevent the metal from overwhelming the space.
Polished Brass for Maximum Visual Impact
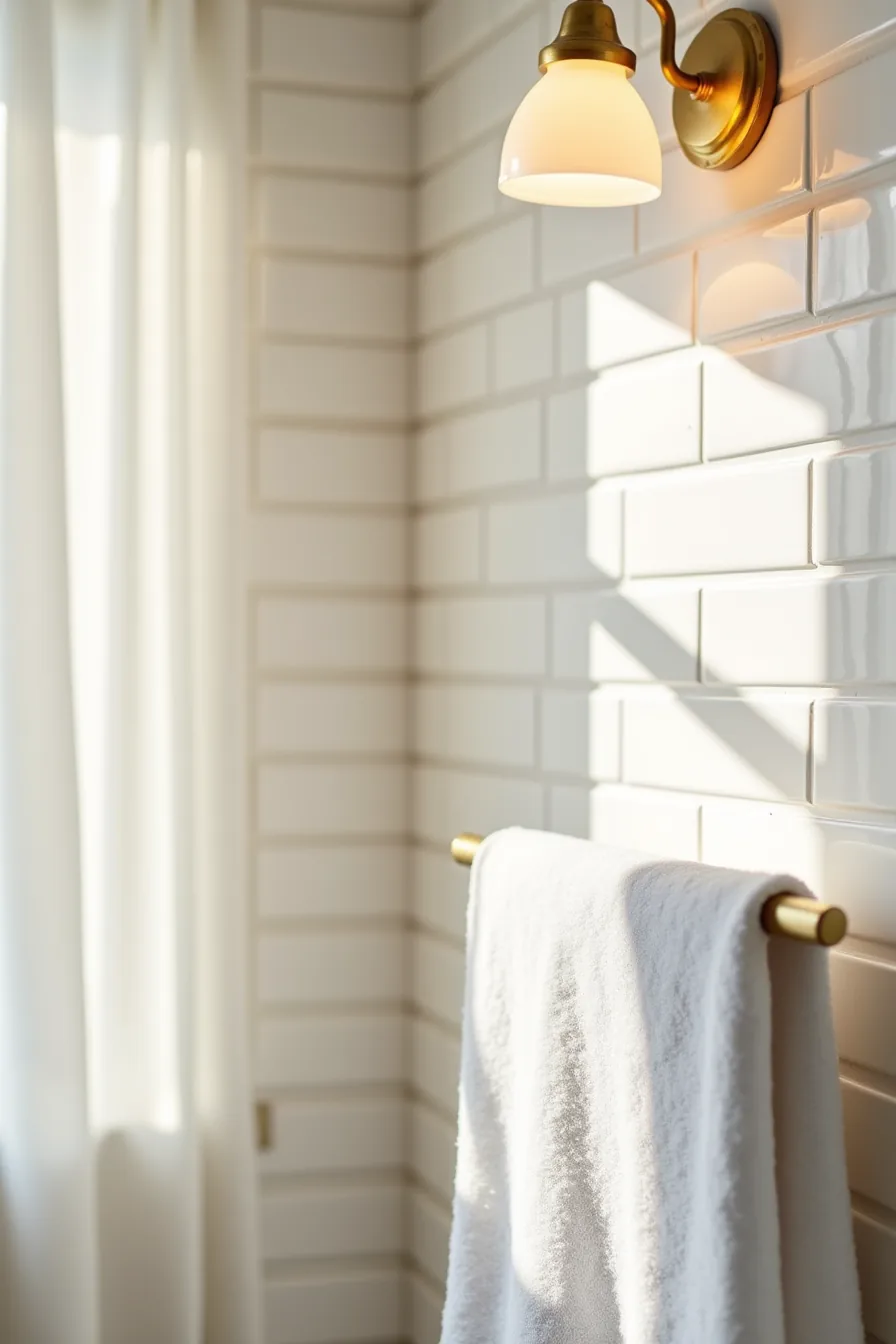
Polished brass bathroom fixtures act as jewelry for your space, drawing the eye with a warm, mirror-like reflection that instantly elevates the surrounding materials. The high-shine finish works best when you want a deliberate focal point, making it the ideal choice for a powder room that guests will see but not linger in, or a primary bath where you’re ready to commit to a glamorous aesthetic. In this setup, a polished brass towel bar mounted on a wall of pale gray subway tile shows exactly how the finish captures and bounces overhead light, turning a utilitarian object into the room’s defining feature.
This look suits anyone who enjoys an elegant, traditional-meets-contemporary style and doesn’t mind a little extra upkeep. Polished brass demands the most maintenance of any metal finish: expect to wipe down the towel bar weekly with a soft, dry microfiber cloth to prevent fingerprints and water spots, and plan for a more thorough cleaning with a mild soap-and-water solution monthly to restore its luster.
Brushed Brass vs Polished Brass: Durability and Upkeep
When you move beyond looks, the real difference between brushed vs polished brass comes down to how the surface is treated. Brushed brass undergoes a mechanical sanding process that creates a subtle, linear grain, while polished brass is buffed to a mirror shine. That texture is the key to its practicality: the micro-fine scratches diffuse light and, more importantly, camouflage the fine scratches and water spots that inevitably occur in a busy bathroom.
For a family bathroom used several times a day, brushed brass is the clear winner. It requires no dedicated polishing routine, a quick wipe with a damp cloth as part of your weekly cleaning is sufficient to keep it looking fresh, and it will hide minor scuffs far longer than its shiny counterpart. Polished brass, by contrast, is typically less expensive upfront by a small margin, but it will show every fingerprint and hard-water droplet almost immediately.
If you choose polished, budget for the monthly deep-clean mentioned above, and avoid it entirely in areas directly adjacent to a shower or tub where splashing is constant. For most high-traffic scenarios, the durability of the brushed finish justifies the slight price premium.
Layering Brass Bathroom Fixtures Across Zones
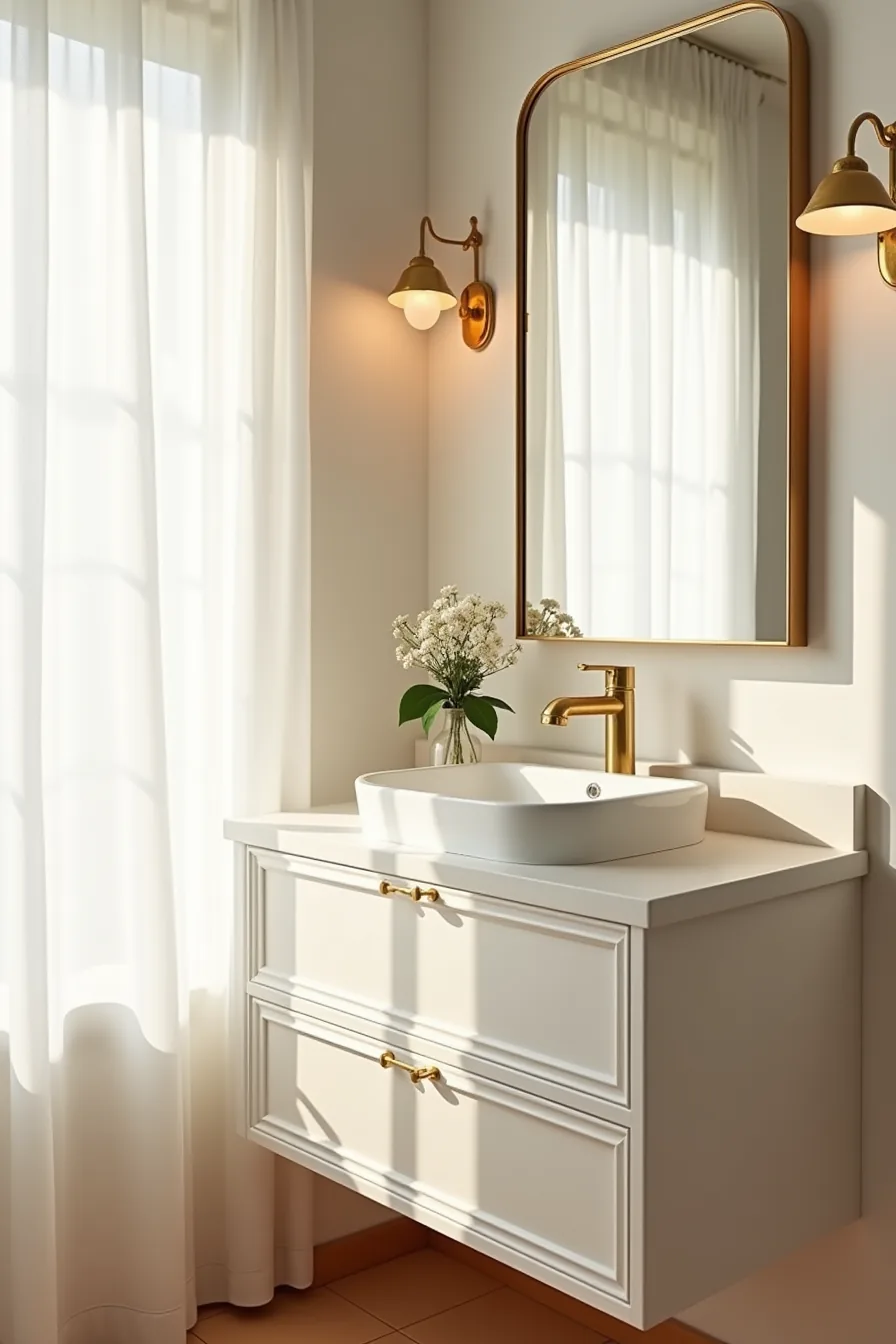
The key to cohesion is repetition with intention. In a vanity corner, three distinct touchpoints, brass drawer pulls, a brass faucet base, and a brass mirror frame, work together because they share a finish while varying in scale and function. The mirror frame anchors the upper visual zone, the faucet grounds the counter, and the pulls bridge the two, creating a continuous eye path without a single overwhelming piece.
For a small bathroom, limit yourself to three zones: the vanity, the mirror, and one accessory point like a towel ring. Medium bathrooms can extend that to five zones, adding a shower curtain rod or a wall-mounted shelf bracket. In a large or double vanity space, repeat the finish across both sinks, the mirrors, and the lighting fixtures, but vary the shapes, round pulls on one vanity, elongated handles on the other, to keep the space from feeling like a showroom display.
A general rule: if you can see three brass pieces from any standing position, you’ve enough; the fourth should be a deliberate statement, not an accident of over-shopping.
Pairing Brass with Color: Tile, Paint, and Cabinetry
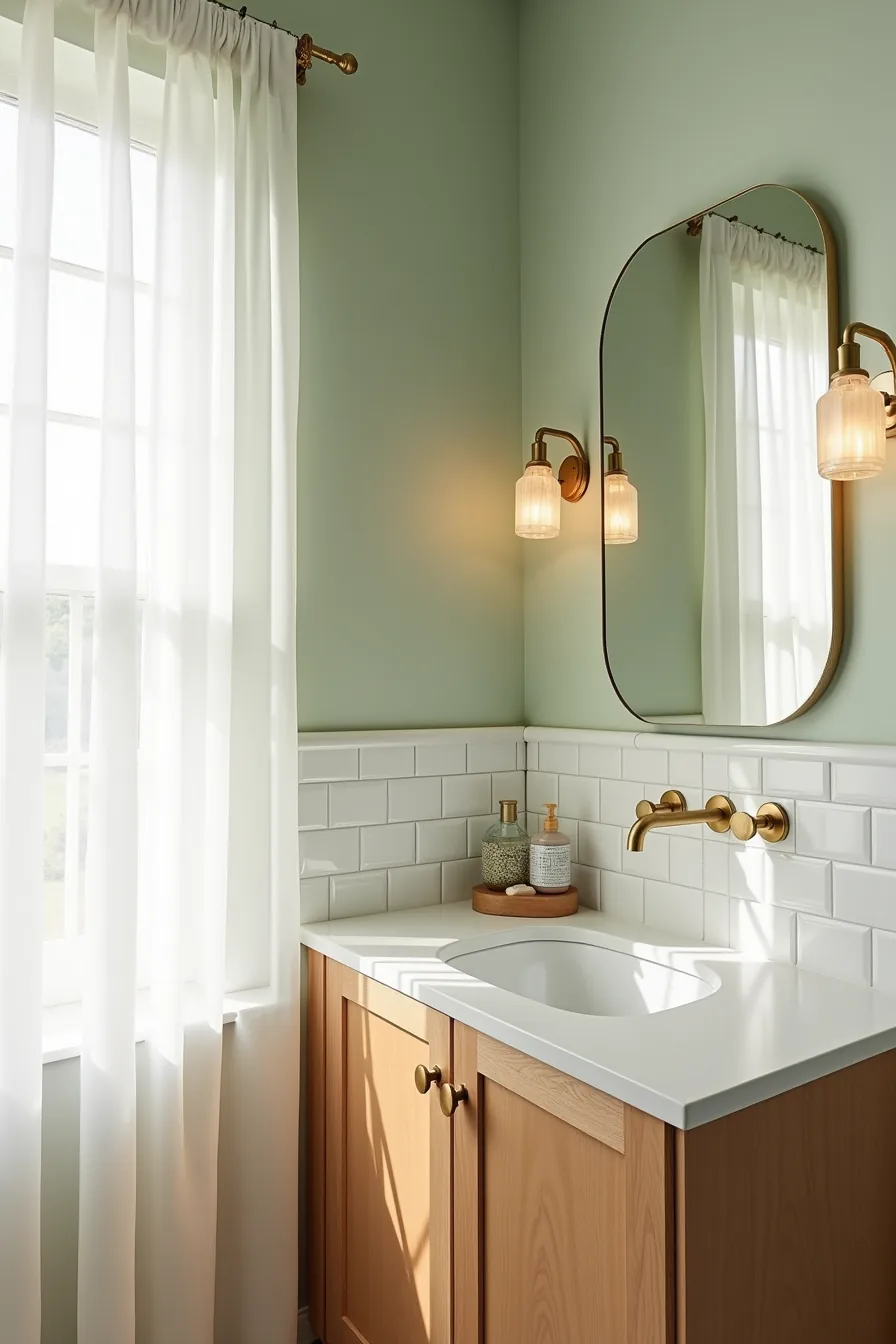
The sage green wall in this vanity setup is your best starting point when matching brass with color. Green sits opposite brass on the color wheel, so the warm metal reads as a deliberate accent rather than a clash, deep forest, olive, and muted sage all land in the 30–50% lightness range that keeps the faucet visible without competing for attention.
White subway tile introduces a neutral buffer that prevents the brass-green pairing from feeling heavy. The cool white reflects the metal’s warm undertones, and the horizontal grout lines echo the faucet’s linear form. Match the grout to the tile rather than the brass, which keeps the eye on the fixture.
Warm wood cabinetry bridges the two: the medium honey tone of the cabinet base sits between the green wall and the brass, creating a natural gradient from cool to warm. Avoid red-toned mahogany or gray-washed oak here, both pull the palette away from the brass’s golden cast. If your cabinets are already painted, swap the faucet’s finish instead: unlacquered brass pairs better with darker greens, while polished brass suits lighter sage tones.
Brass Bathroom Fixtures for Small-Space Impact
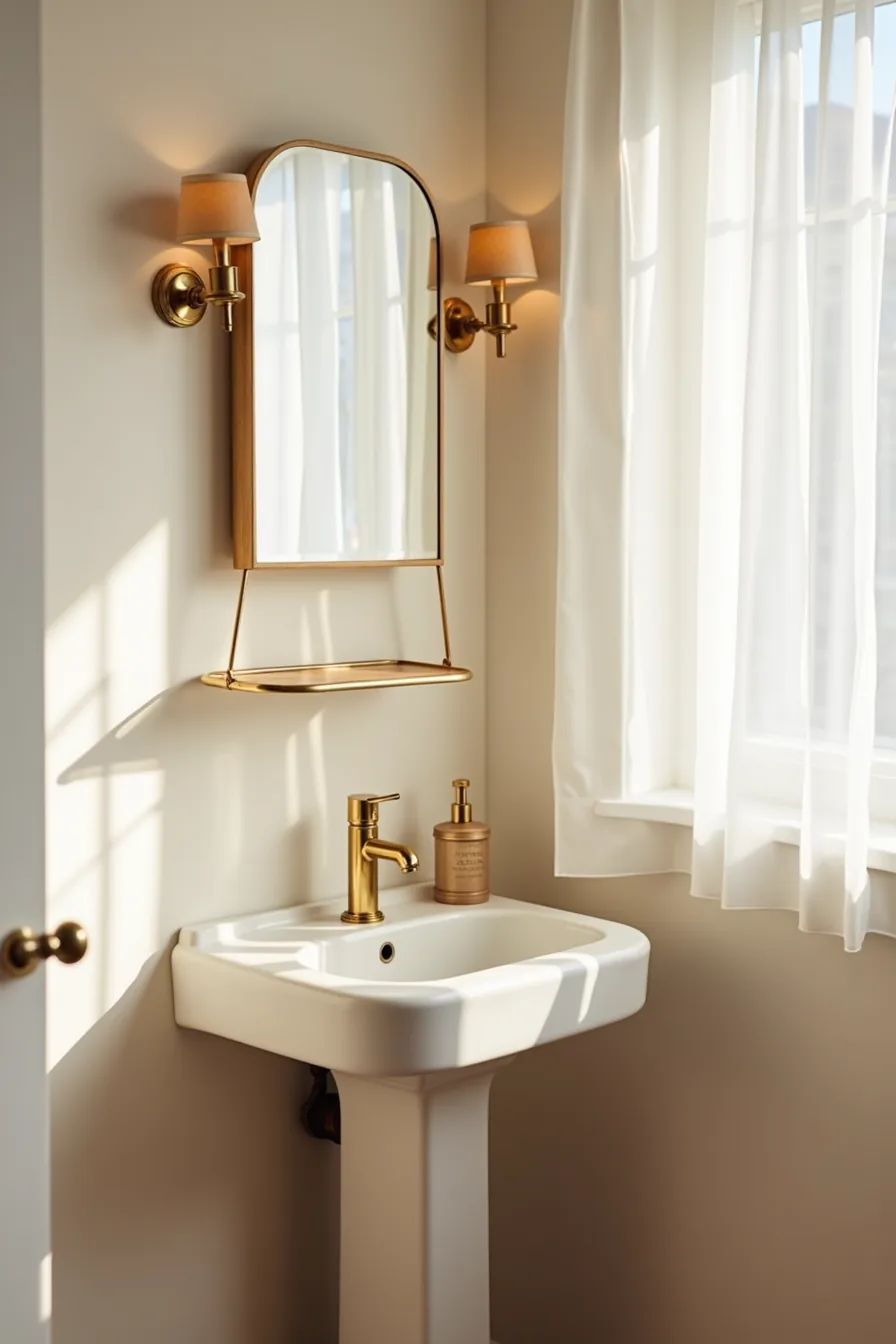
In a compact bathroom, brass fixtures work best when they follow a single sightline. A narrow pedestal sink with one brass faucet anchors the space, and keeping the faucet’s spout reach under 5 inches prevents it from dominating the basin. The brass soap dispenser on the sink edge carries the finish to counter level without adding another mounting point.
Scale is the deciding factor in tight quarters. Choose a mirror-mounted brass shelf bracket instead of a full shelving unit, it holds toiletries without eating floor or wall square footage. A small brass towel ring placed beside the mirror, rather than a bar, frees the wall and keeps the visual weight distributed at eye level.
All four fixtures, faucet, dispenser, bracket, towel ring, stay within a 36-inch vertical band, which draws the eye upward and makes the ceiling feel higher.
Budget, Rental, and Investment Routes
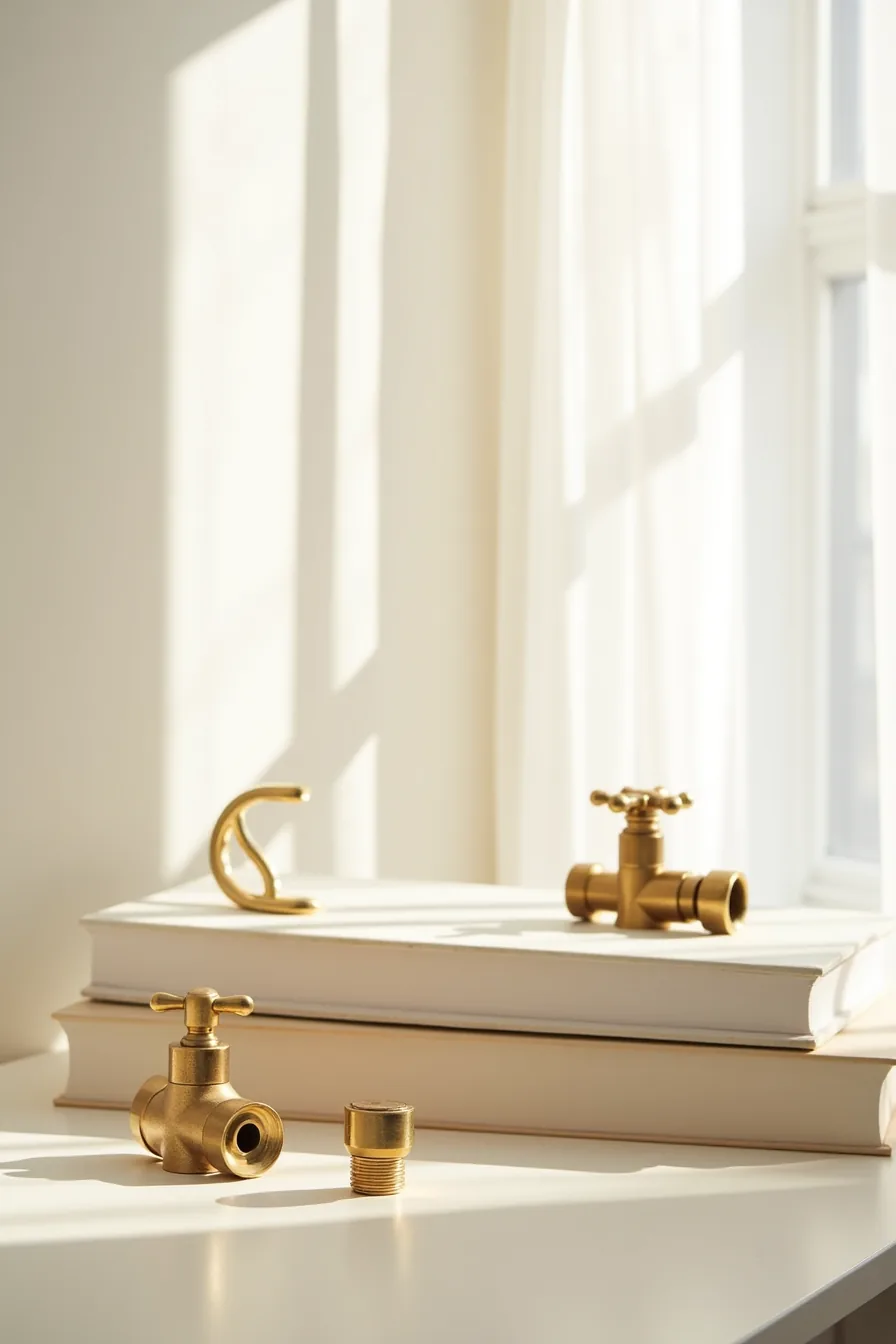
The three-piece lineup, adhesive brass hook, standard brass faucet cartridge, and premium brass valve assembly, represents the full cost spectrum you can mix within one bathroom. The adhesive hook costs $8–$15, installs in 30 seconds without tools, and removes cleanly when your lease ends. It suits renters perfectly, but expect the finish to oxidize faster because the coating is thinner than on mounted hardware.
Treat it as a two-year item, not a permanent fixture.
Your mid-range option is the standard brass faucet cartridge, typically running $40–$90 depending on spout length and finish depth. It requires a basin wrench and about 45 minutes to swap, making it semi-permanent: you can remove it before moving, but you’ll need to shut off the water supply valves and accept that your landlord may notice the change. The premium brass valve assembly is the investment play, often $200–$400 for a full set, but it delivers a thicker PVD coating that holds its polish for a decade or more.
Installation demands opening the wall for rough-in plumbing, so commit to this route only if you own the property and plan to stay five-plus years. Pair the premium valve with the budget hook for visual consistency without doubling your spending.
Where to Start
You now know the six directions brass can take your bathroom, from polished vintage to matte industrial. The right choice depends on your walls, your lighting, and whether you’re renovating or simply refreshing.
Start with the faucet. It’s the most-used fixture and the easiest place to test the finish before committing to matching accessories. If you rent, use a brushed brass pull-down model with a handheld sprayer, it installs in under an hour and reverses cleanly.
Take that first measurement today: the distance between your sink’s mounting holes. That single number determines which of the six styles fits your space.
Frequently Asked Questions
Does polished brass tarnish faster than brushed brass in humid bathrooms?
Yes. Polished brass has a smooth, reflective surface that shows tarnish and water spots quickly in humidity. Brushed brass’s micro-textured finish hides minor discoloration, so it appears to tarnish slower, though both need regular wiping.
Can I mix polished and brushed brass fixtures in the same bathroom?
Yes, but keep the mix deliberate. Use one finish for dominant pieces (faucet, shower head) and the other for accents (towel bars, mirror). Avoid alternating both finishes on every fixture, that creates visual chaos instead of intentional contrast.
What’s the typical cost difference between brass and chrome bathroom fixtures?
Brass fixtures generally run 30–60% more than chrome equivalents. A chrome faucet might cost $80–$150, while the same model in brass lands at $120–$250. The gap narrows for high-end designer lines, where both finishes sit at premium price points.
How often do I need to clean polished brass to prevent water spots?
Wipe polished brass dry after every shower or bath, that’s the only way to prevent water spots. If you skip this, clean with a mild soap solution weekly. Brushed brass tolerates less frequent cleaning, but still needs a monthly wipe-down to avoid buildup.