A brick kitchen is a design decision with real structural consequences, not a trend you can simply wallpaper over, so before you commit, you need to know which version of exposed brick fits your space, your budget, and your daily cooking habits. The term covers everything from a single painted accent wall to full structural renovation, and each route carries different demands for insulation, moisture control, and maintenance. The following six approaches break down the practical trade-offs so you can match the look to your actual kitchen, not just a magazine photo.
Key takeaways
- Sealed brick cuts dust and staining risks by up to 90% but costs $3–$6 per square foot in materials and labor, making it the right choice for busy kitchens over raw, porous surfaces.
- A budget brick feature wall costs $200–$500 using thin brick veneer panels, which install in a weekend with adhesive and require no structural changes, ideal for renters or temporary styling.
- For a backsplash, choose brick tiles in a 2–4 inch height range and extend them 18–24 inches above the countertop to balance scale without overwhelming small kitchens.
- Structural brick restoration runs $15–$30 per square foot for repointing and sealing, but it preserves original masonry and boosts home value, worth it only if your walls are load-bearing and in sound condition.
Exposed Brick Walls: Raw Industrial vs. Sealed Modern
Your first decision with a brick kitchen is whether the wall stays bare or gets a protective finish. Unsealed brick delivers authentic raw texture, porous, matte, and deeply grained, but it sheds fine dust into your food-prep zone and absorbs cooking grease into its mortar joints. This route suits large, well-ventilated kitchens where you value character over convenience, and it demands a monthly dusting routine with a soft brush attachment.
Sealing changes the equation entirely. A clear matte or satin sealant locks in the brick’s color while making the surface wipeable with standard kitchen cleaner. High-gloss options reflect light dramatically, which helps small or windowless spaces feel larger.
In the split-plane setup, the unsealed left section shows visible mortar joints and a dusty texture, while the sealed right side gleams with a smooth, reflective surface; the measuring tape at the edge lets you gauge brick depth, typically 3 to 4 inches including mortar. Sealed brick suits families and frequent cooks who prioritize easy maintenance. Budget roughly $4–8 per square foot for professional sealing, versus near-zero cost if you leave it raw.
For a renter-friendly compromise, use a removable low-tack matte sealant that peels off without damaging the brick.
Old Brick with New Cabinetry: Blending Eras
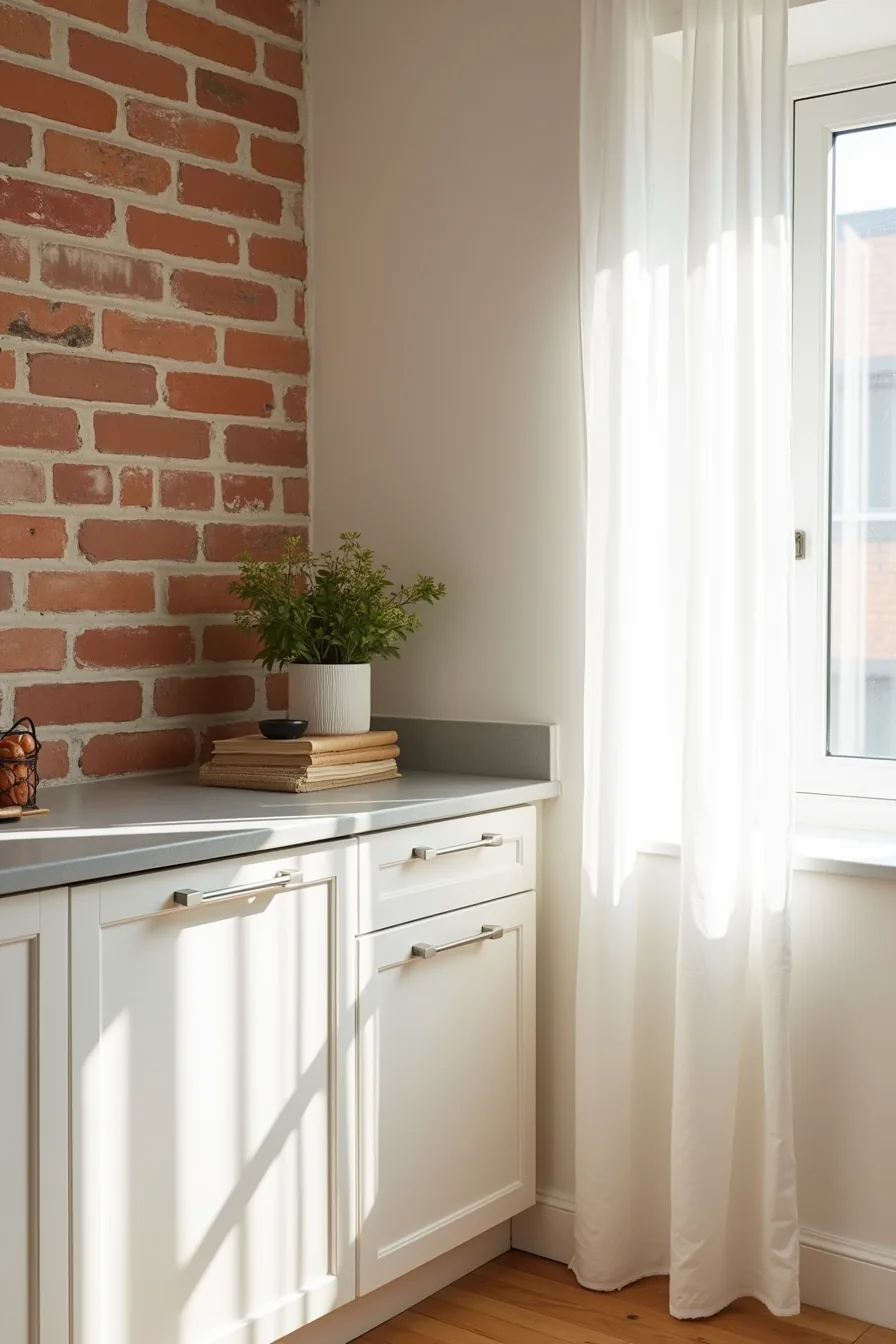
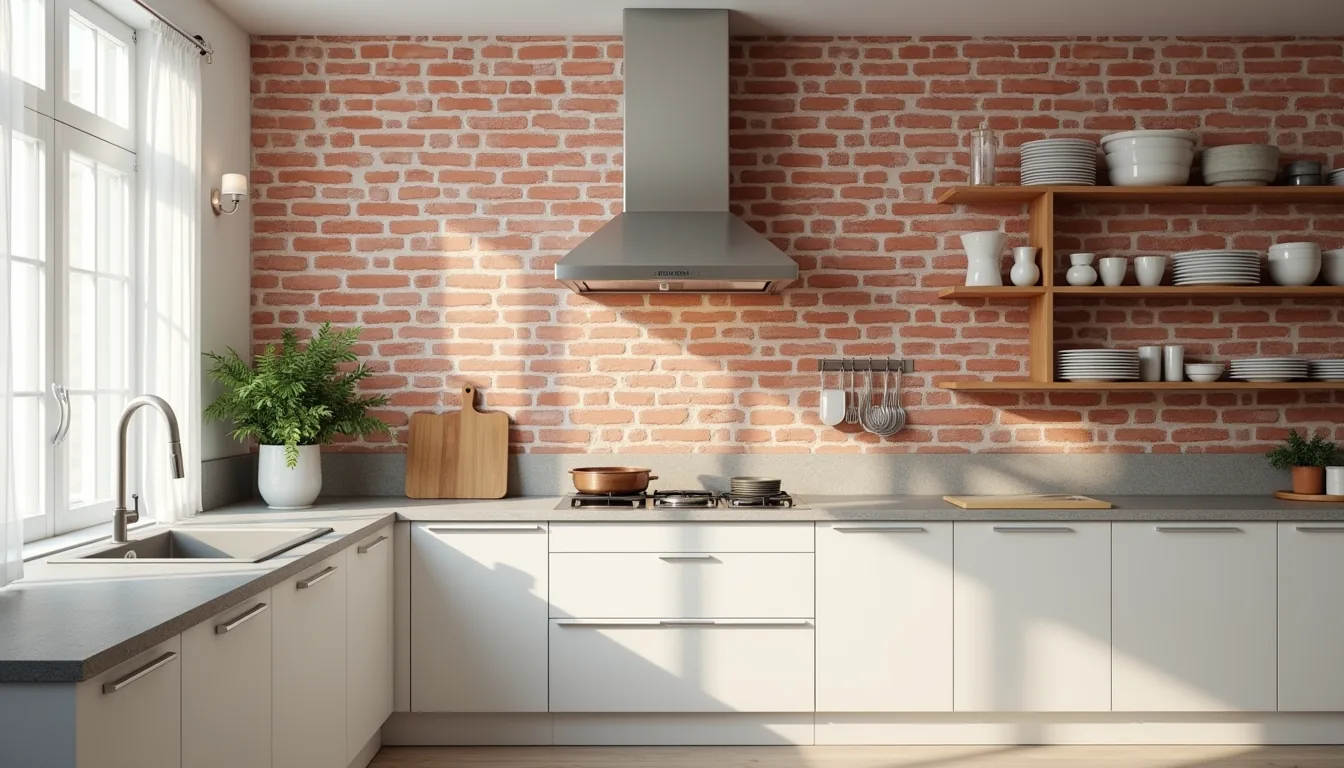
Pairing exposed brick with modern cabinets works because you’re contrasting texture with precision. Weathered red brick carries irregular color and depth, while white lacquered flat-panel doors offer zero visual noise, the brick becomes the focal point and the cabinetry recedes into function. This combination suits open-plan kitchens where you want warmth without clutter; it fails in cramped galley layouts where high-contrast surfaces feel busy.
Keep the proportion roughly one-third brick to two-thirds cabinetry on any wall. That vertical split, as seen with the upper brick meeting lower white cabinets, prevents the room from feeling cavernous in large kitchens and avoids overwhelming small spaces. Polished chrome hardware bridges the eras by echoing the brick’s mineral undertones, while a light gray quartz countertop softens the transition without competing for attention.
For cohesive color matching, pull the mortar’s dominant tone, typically warm taupe or rust, into your cabinet hardware finish or barstool upholstery. Expect to pay $3–6 more per square foot for white lacquer over standard thermofoil, and budget for occasional dust on the brick’s upper ledges where cooking steam settles. Old brick new cabinets works best when you commit fully: one raw material, one clean cabinet finish, nothing in between.
Brick Feature Wall on a Budget
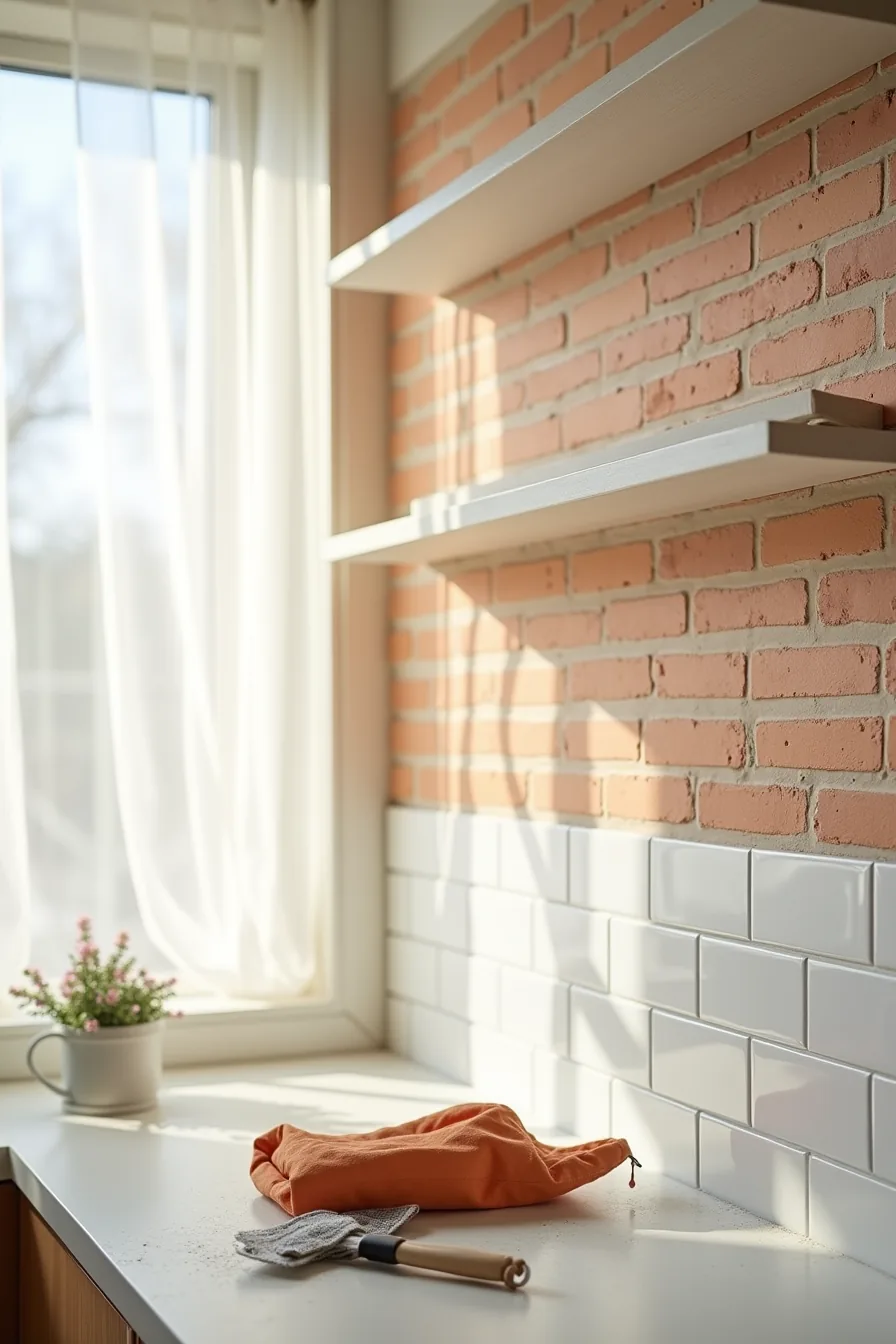
A true brick feature wall doesn’t require demolition or structural work. Thin brick veneer, sliced to about ½–1 inch thick, gives you the real clay texture at a fraction of the cost and weight. The setup here shows three horizontal rows of uniform clay-colored modules laid above a white subway tile backsplash, with visible grout lines still setting; the grout bag and trowel on the counter are your only tools beyond a notched trowel and adhesive.
You can install roughly 10–12 square feet per hour once your layout is marked, and a weekend covers a standard 8-foot wall.
For a tighter budget, faux brick panels run $2–4 per square foot versus $5–8 for veneer, but they read flat under direct light and chip at the corners. Paint techniques, sponging or stamping, cost under $50 but won’t survive heavy cooking grease without frequent touch-ups. Renting?
Use self-adhesive veneer tiles with removable backing; they peel off cleanly with a heat gun and leave no residue. Match your grout color to the wall’s mortar, not the brick, to keep the feature wall cohesive.
Brick Backsplash: Scale and Placement Strategy
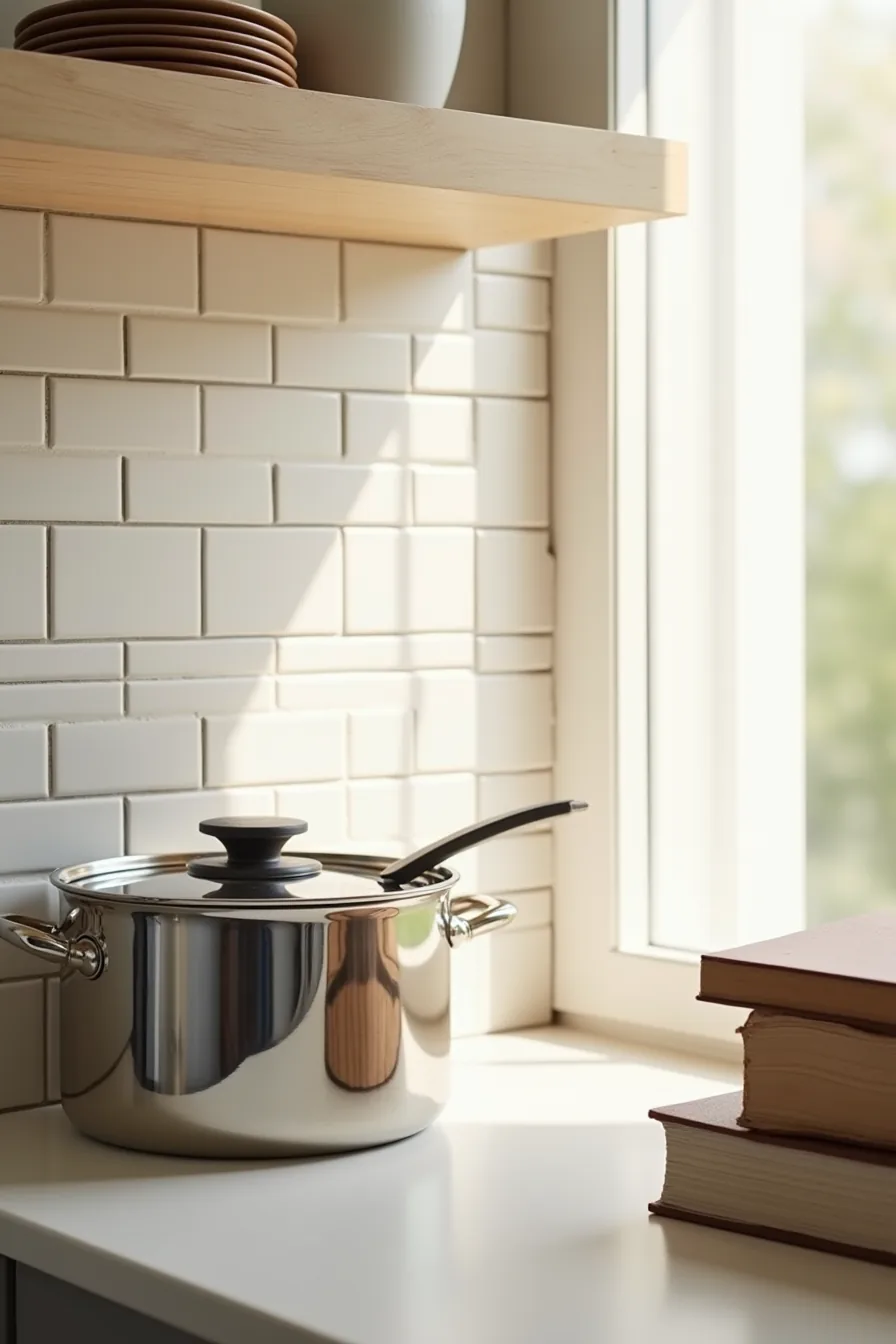
The 2×4-inch modules in a running bond pattern match the proportions of standard subway tile but add roughly three times the visual texture. Against a 24-inch-deep countertop, a backsplash that rises 18–24 inches above the surface reads as intentional without overwhelming the room; extend it to the upper cabinets only if your counter runs longer than 8 feet. In a compact kitchen, cap the brick at 18 inches to keep the upper wall light, while open-plan kitchens can handle full coverage behind a range or sink.
Grout lines collect grease faster than a smooth tile surface, so seal the mortar annually and wipe with a degreaser weekly, expect to re-grout small sections every 5–7 years with normal cooking. Dark grout hides stains but emphasizes the brick’s color variations; light grout brightens the wall but demands more maintenance. The stainless steel pots on the counter pick up warm reflections from the clay, which means a brick backsplash suits kitchens with matte or brushed-metal fixtures better than polished chrome that will clash with the rustic surface.
Warm Brick Finishes That Don’t Feel Heavy
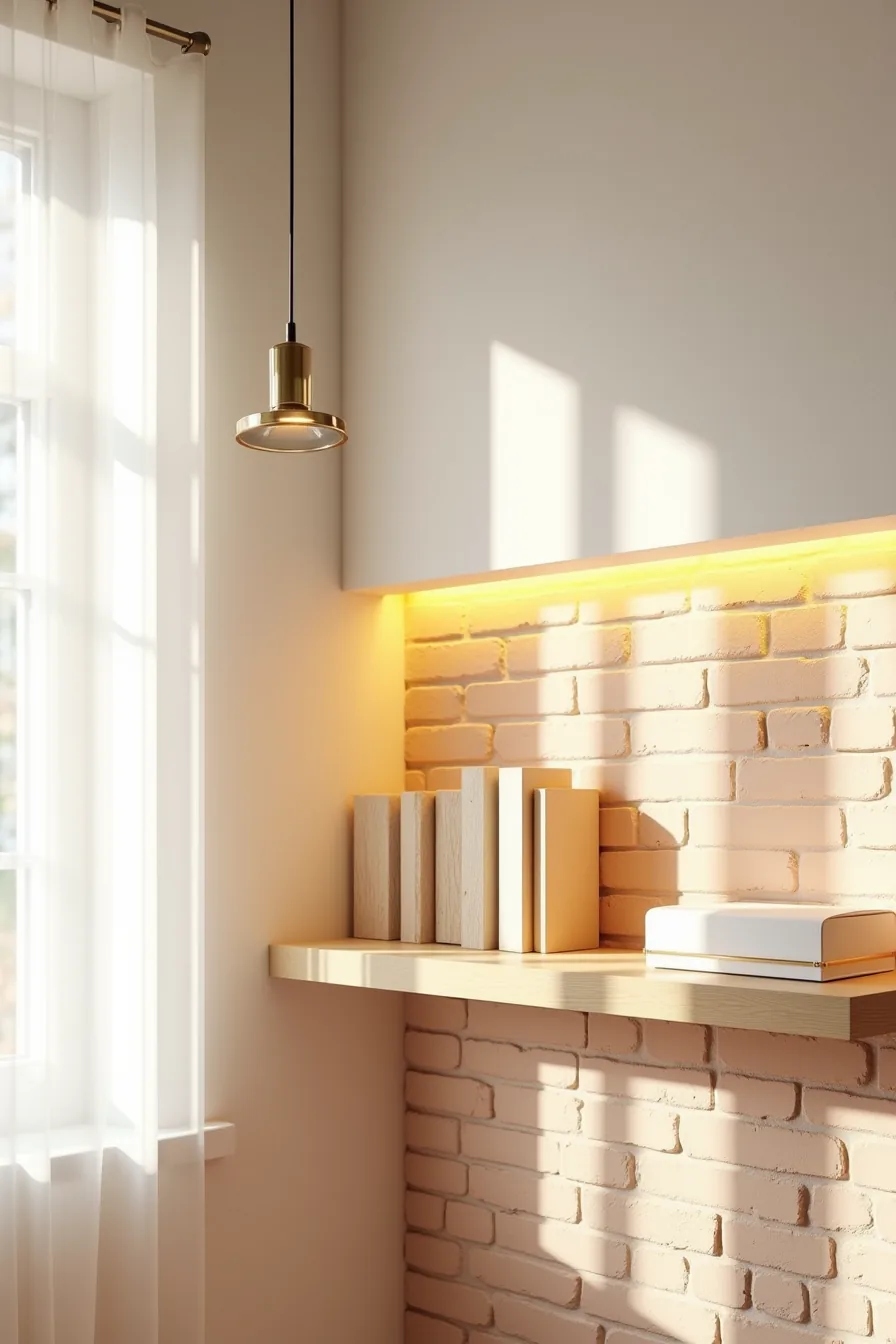
Color is your first lever. A peachy-buff brick with light mortar joints reflects approximately 30–40% more ambient light than a deep red-clay variant, so it suits north-facing kitchens or rooms under 120 square feet. You can achieve this tone by sourcing pale reclaimed units or by applying a thin lime wash to standard brick, expect the wash to cost $2–4 per square foot in materials and to require reapplication every 4–6 years.
Lighting placement matters more than fixture count. Recessed warm LED strip lighting running horizontally along the upper edge of the brick section casts a soft wash downward, eliminating the cave effect that overhead-only fixtures create. Pair that with a single brass pendant lamp hung 28–32 inches above the counter to add a focused glow.
A natural wood open shelf beside the brick breaks up the masonry mass and introduces a complementary grain that prevents the wall from reading as a solid block, keep the shelf within 6 inches of the brick for visual continuity, and choose unfinished oak or ash to avoid competing with the clay’s warmth.
Long-Term Investment: Structural Brick and Restoration
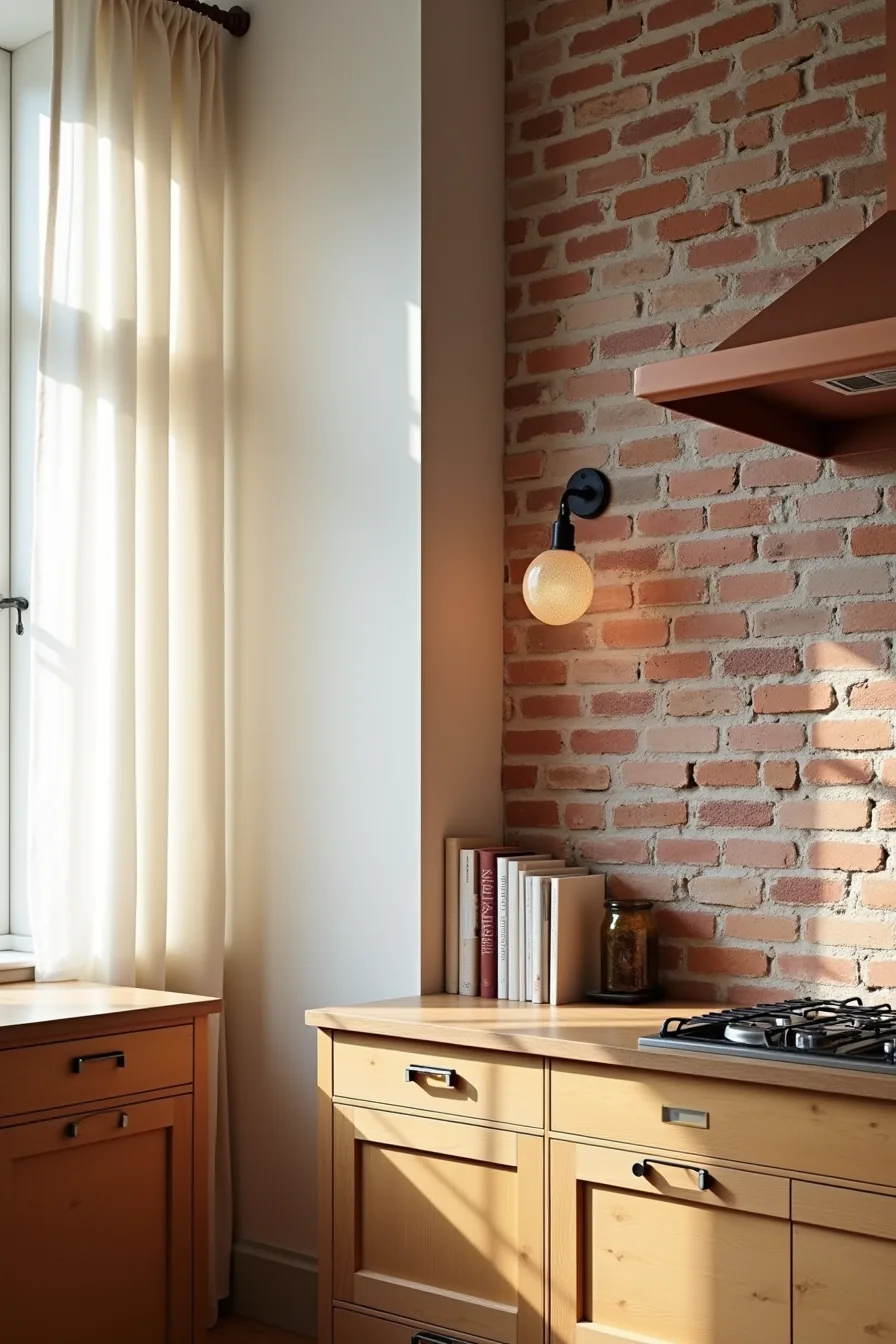
If your home has original structural brick, restoring it beats installing new veneer on every metric that matters. A genuine load-bearing wall delivers a historic patina, uneven texture, varied reds, browns, and cream tones, that manufactured panels can’t replicate, and it typically lasts the life of the house with zero replacement cost. The trade-off is upfront labor: professional tuckpointing runs $6–12 per square foot, and you should budget $500–1,500 for professional cleaning to remove old paint or mortar residue without damaging the clay face.
Moisture is your only serious adversary. Brick is porous, so in a kitchen you need a ventilation hood vented to the exterior (not recirculating) to pull steam before it penetrates the surface. Solid wood cabinetry with vintage hardware and a copper range hood mount directly against the masonry with masonry anchors, no furring strips required.
Seal the brick with a breathable siloxane sealer every 5–8 years; this blocks water absorption while still allowing vapor to escape. Expect the sealer to cost $0.50–1.50 per square foot per application. A full-wall brick installation demands this maintenance commitment, but it also delivers the most durable, character-rich kitchen surface available.
Your Brick Kitchen Decision Checklist
Before you commit, weigh these factors: your budget, whether you own or rent, and how much maintenance you’ll tolerate. A brick kitchen can range from a single painted feature wall to full exposed masonry, each carries different costs and upkeep. Remember, real brick needs sealing and occasional cleaning; brick veneer and wallpaper offer lower-stakes alternatives.
Start by measuring your largest wall and testing one square meter of your chosen material. This single step will reveal scale, color, and texture before you invest further.
Frequently Asked Questions
Can you use brick in a small kitchen without it feeling cramped?
Yes, if you limit brick to one focal wall or a backsplash. Use light-colored brick or whitewashed finishes. Avoid wrapping brick around corners, which visually shrinks the space.
How do you clean and maintain exposed brick in a kitchen?
Seal brick with a matte masonry sealer to resist grease and moisture. Wipe with a soft brush or damp cloth weekly. Avoid acidic cleaners, which etch mortar.
Reseal every 2–3 years.
What’s the difference between thin brick veneer and faux brick panels?
Thin brick veneer is real kiln-fired brick sliced thin, offering authentic texture and color variation. Faux panels are molded polyurethane or PVC, lighter and cheaper but less realistic. Veneer requires mortar; panels use adhesive.
Does brick kitchen style work with modern appliances and minimalist cabinetry?
Yes, brick adds warmth and texture that contrast sharply with sleek stainless steel and flat-front cabinets. Use brick sparingly, one wall or island base, to keep the minimalist aesthetic intact. Pair with matte black or brass hardware for cohesion.