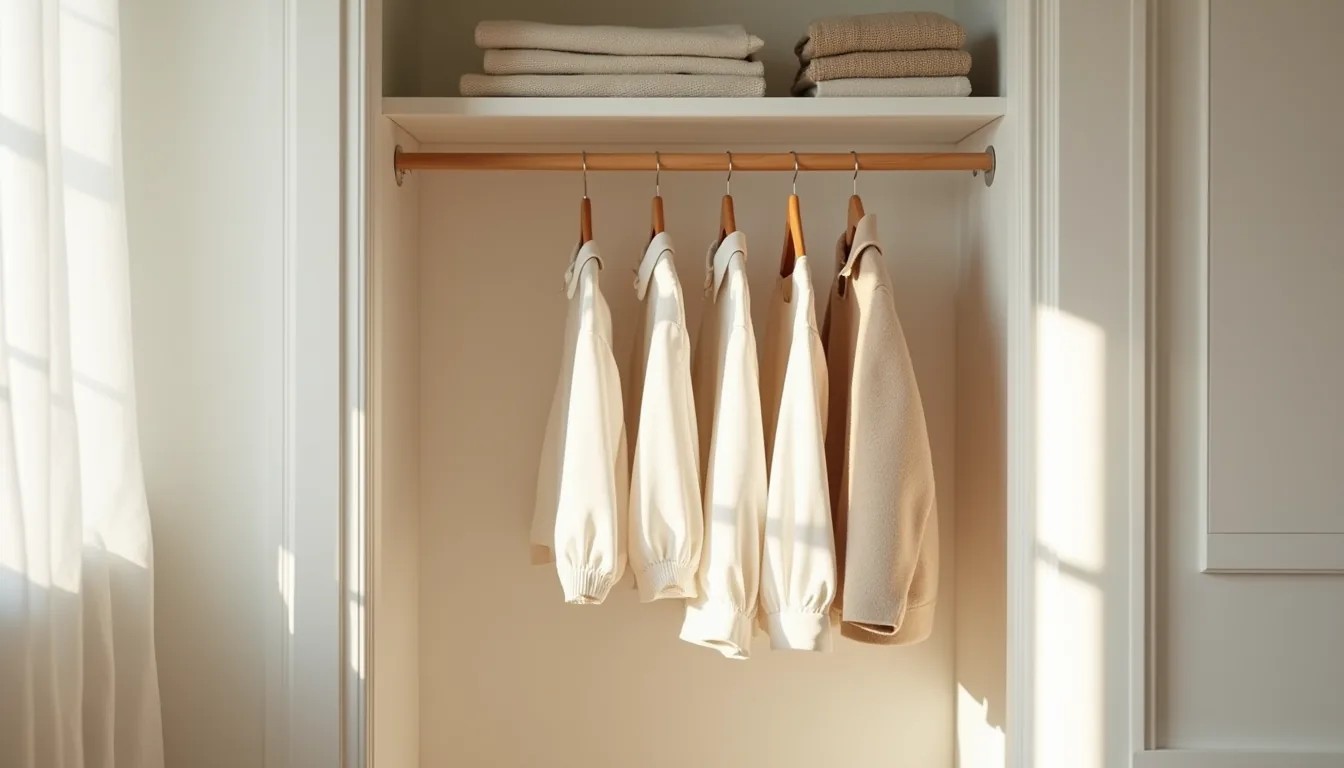
Closet organization ideas DIY range from a single weekend of shelf installation to a full reconfiguration of your storage zones, and the right approach depends entirely on your closet’s dimensions, your budget, and how you actually use the space. On the simplest end, you can add tension rods and stackable bins for under $50 in an afternoon; on the investment end, a modular rail system with drawer units runs $300–$700 and takes two days to install. The deciding factor isn’t what looks best in a photo, but whether your daily routine needs hanging space, folded cubbies, or shoe racks you can reach without crouching.
The six solutions below are matched to specific room sizes and user habits, so you can pick the one that won’t become a costly mistake.
Key takeaways
Vertical rod stacking doubles hanging capacity by pairing an upper rod at 80-84 inches with a lower rod at 40-42 inches, ideal for shirts and folded pants in closets under 6 feet wide. Zone-based sorting cuts dressing time by grouping garments into five daily-use categories, work, casual, formal, active, and seasonal, and suits anyone who struggles with morning decisions. Modular bins work best in medium closets when you standardize on one bin size (12-16 inches wide) and label each unit, keeping the system reconfigurable as your wardrobe changes. Tension rods require zero drilling and support only lightweight items like scarves and belts, never heavy coats, making them the safest rental-friendly option for closets with drywall or plaster walls.
Vertical Rod and Shelf Stacking for Compact Spaces
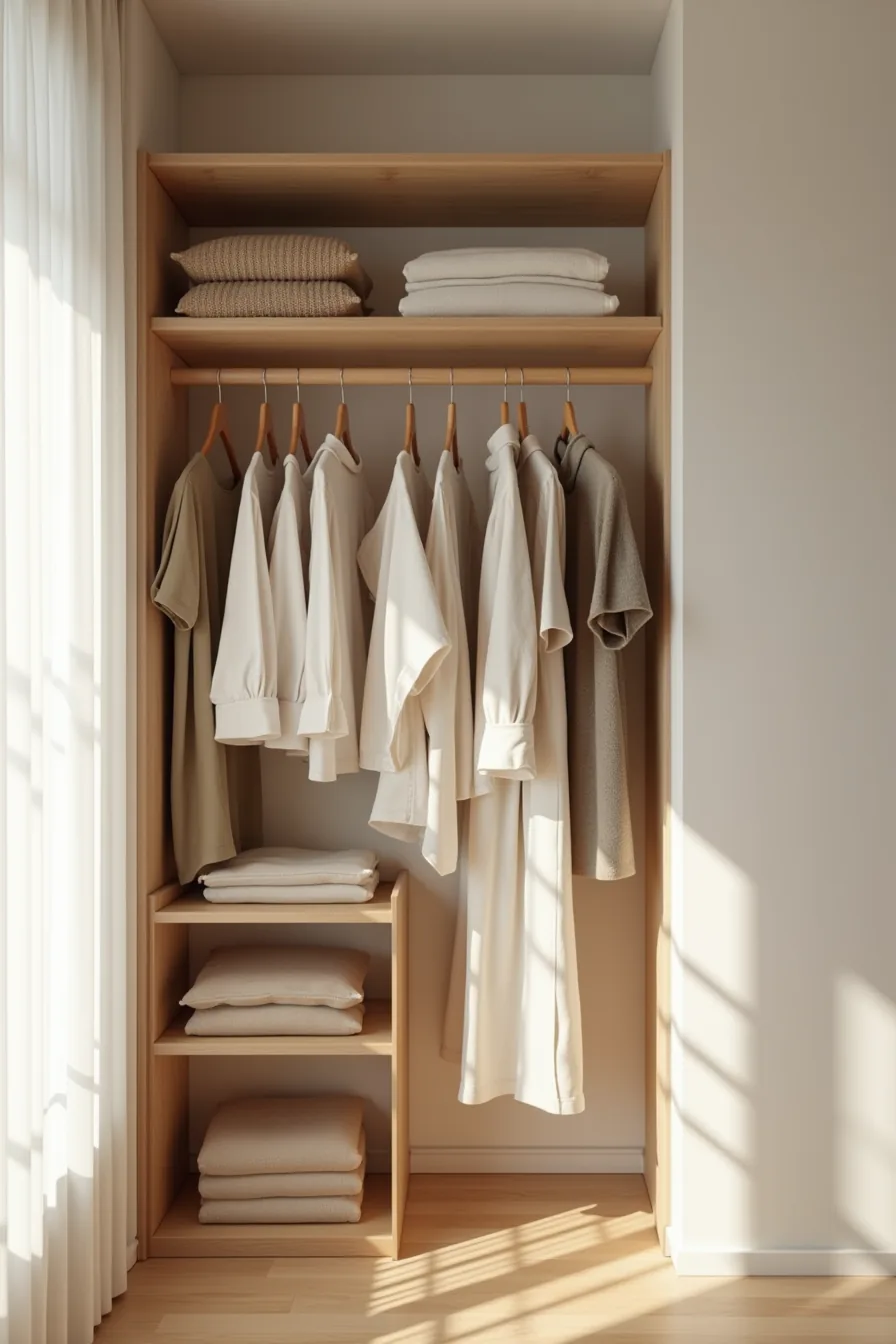
When your closet is narrow, the usable square footage is fixed, so the only direction left to build is up. Double hanging rods transform a single rod’s worth of space into two distinct tiers, effectively doubling your hanging capacity within the same footprint. Install the upper rod so its midpoint lands around shoulder height (roughly 52–56 inches from the floor) and the lower rod at knee height (about 38–42 inches).
This split works because it creates a comfortable reach zone for both levels without requiring a step stool for daily use.
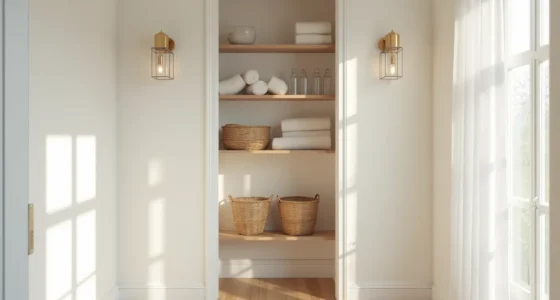
In a compact closet, reserve the upper rod for button-ups, blazers, and dresses that you rotate seasonally, items you don’t mind reaching for less frequently. The lower rod should carry daily wear like pants and skirts, which you grab most often and can access without bending fully. Above the upper rod, mount three wooden shelves spaced 10–12 inches apart to hold folded knitwear in neat stacks.
This arrangement suits renters and homeowners alike, provided you confirm the wall studs or use heavy-duty toggle anchors rated for at least 50 pounds per bracket before installation.
Zone-Based Sorting by Garment Category
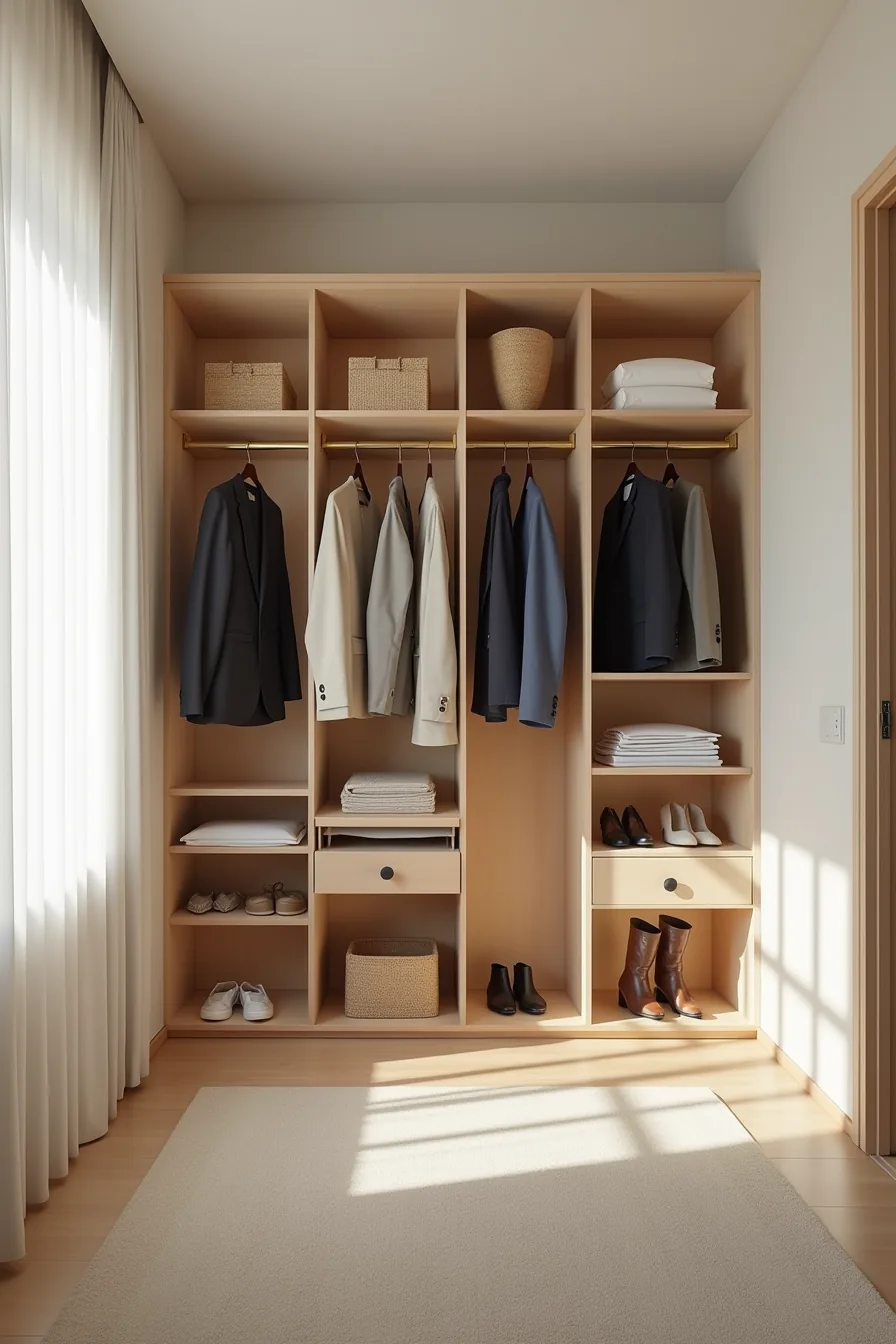
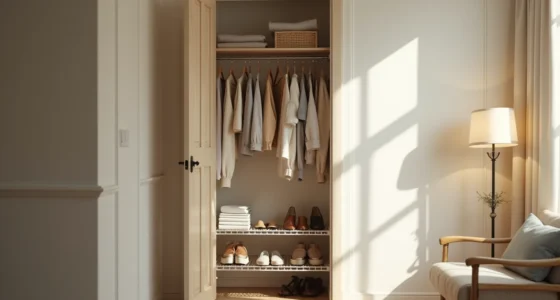
Divide your closet into four functional zones rather than arranging by color or fabric. The setup here uses vertical dividers to create distinct territories: business blazers and trousers on the left, casual t-shirts and jeans in the center-left, seasonal coats up high on the center-right shelf, and shoes with accessories on lower shelving at the far right. This logic works because you dress by occasion, not by item type, you grab a full outfit from one zone without cross-closet searching.
The daily payoff is speed: reaching into one quadrant for a blazer and matching trousers takes under ten seconds, while your casual zone stays untouched during the workweek, reducing unnecessary handling. For the seasonal coats on the high shelf, rotate them by temperature rather than month, when the daytime high stays above 60°F for two consecutive weeks, swap them out. The shoe and accessory zone on lower shelves suits anyone who owns more than five pairs, because it keeps footwear visible at a glance and prevents buying duplicates of black loafers you forgot you owned.
Measure your closet width before replicating this: each zone needs roughly 24–30 inches of hanging rod for garments or 12–18 inches of shelf depth for folded items and shoes. Use vertical dividers that are removable (like tension-mounted panels) if you rent, or fixed wooden partitions if you own and want a permanent structure. Maintain the system by doing a 10-minute zone audit monthly, if any section overflows by more than 20 percent, that category needs a purge, not more storage.
Modular Bin and Basket Systems for Medium Closets
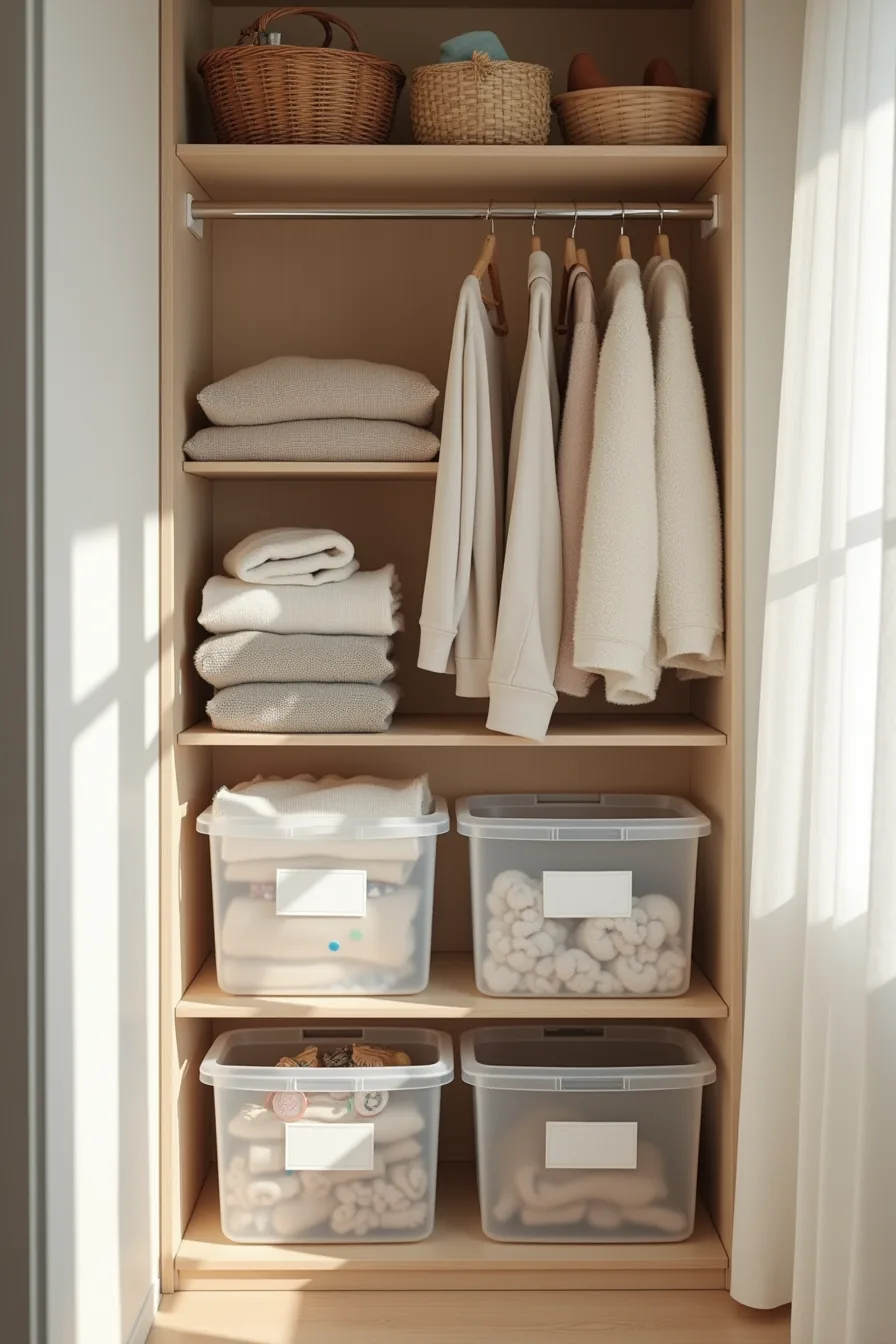
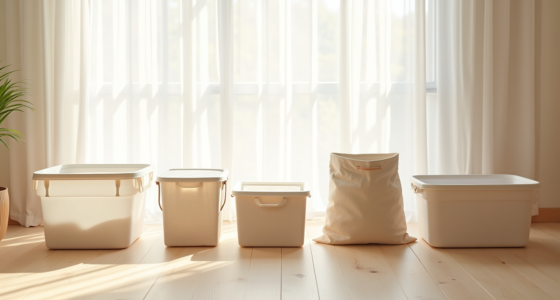
For medium closets with lower shelving, modular bins deliver a budget-friendly closet organization ideas diy solution that outperforms folded piles in every metric. Clear plastic stackable bins with colored adhesive dots create a visual filing system, the dot color signals category at a glance, while transparency lets you confirm contents without pulling a bin. Woven baskets on the upper shelf hold accessories that would otherwise tumble into the void.
This setup suits anyone with 12–18 inches of shelf depth and more than ten folded garments that need seasonal rotation. The clear bins work because you see the folded sweaters immediately, reducing the “I forgot I owned this” problem; the woven baskets add texture and hide visual clutter from standing height. Label with dots rather than text, you read color faster than words during a rushed morning.
Material durability matters more than aesthetics. Buy bins with walls at least 2–3 millimeters thick; thinner plastic cracks at the corners within six months. Baskets should have reinforced rims, not flimsy woven edges that fray.
For renters, this entire system installs without hardware, bins stack on existing shelves, and baskets hang on tension rods if shelf space runs short. Budget route: dollar-store bins work if you reinforce the bottom with cardboard inserts; splurge route: polypropylene bins with lids resist humidity and dust better than open containers. Maintain by wiping bins quarterly and rotating seasonal contents when the temperature shifts, if a bin stays unopened for six months, donate its contents.
Custom Shelving and Drawer Dividers for Long-Term Investment
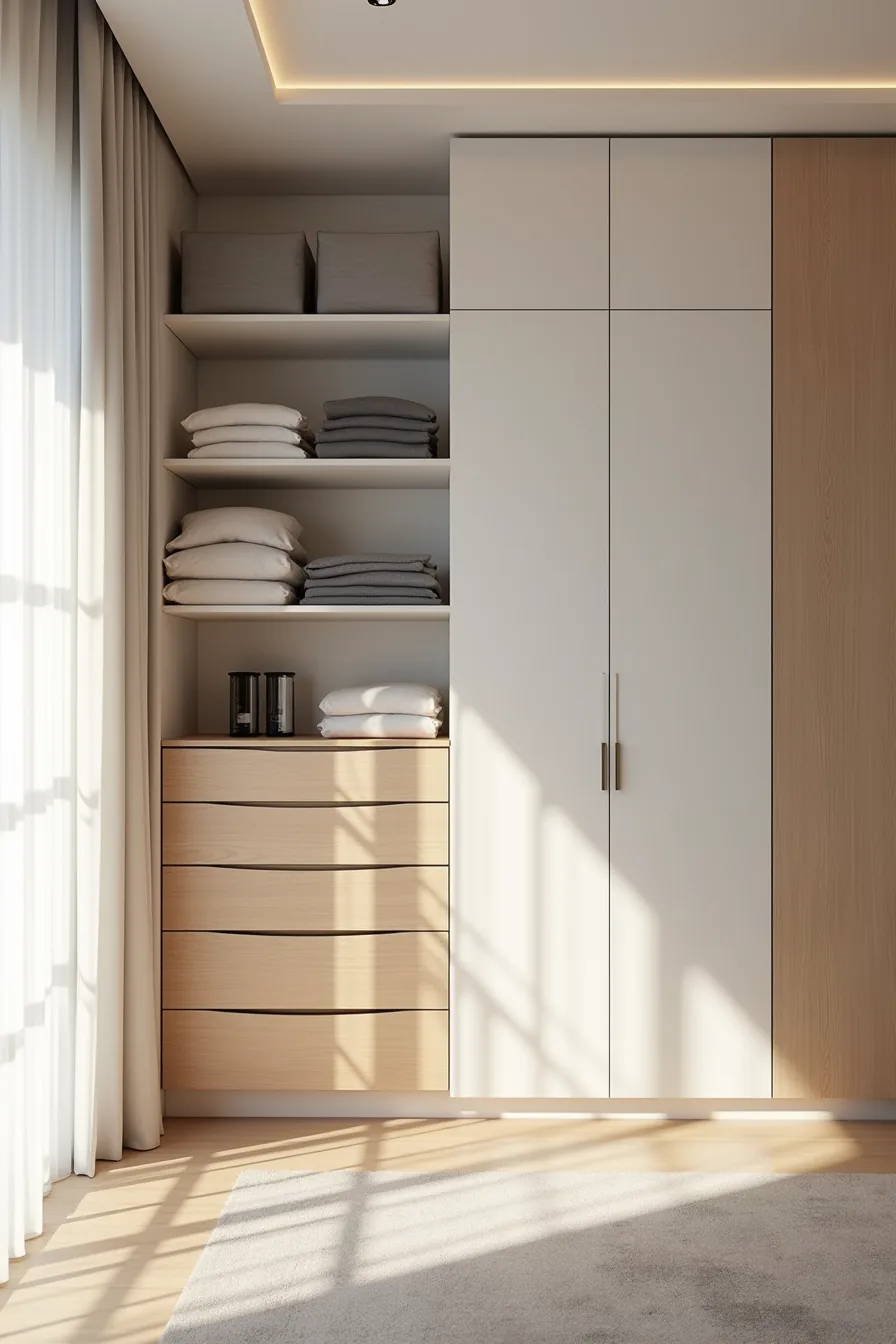
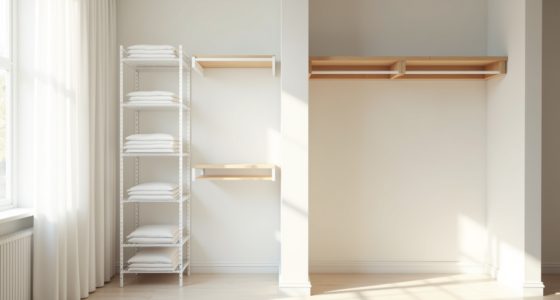
Permanent floor-to-ceiling melamine shelving transforms a catch-all closet into a fixed inventory system. White melamine reflects light and reads as neutral regardless of what you store, while the built-in footprint eliminates the wasted vertical gaps that freestanding units leave behind. This route suits homeowners who own their space and expect to stay for five or more years, the cost and commitment only pay off with extended use.
The solid wood drawer unit at the base provides the segmented compartments that shelving alone can’t. Five dividers create dedicated homes for underwear, socks, and accessories, keeping small items from avalanching into one another every time you reach in. Drawer dividers work because they impose order horizontally; without them, a 12-inch-deep drawer holds roughly 40 percent less usable capacity due to shifting piles.
Tighten the segmented layout to match your actual inventory, if you own more socks than undergarments, adjust the divider positions rather than forcing equal sections.
Melamine shelving typically runs $150–$400 per closet depending on linear footage and whether you install it yourself or hire a carpenter. Pre-finished melamine boards cut to standard 16-inch shelf depths cost less than solid wood and resist scuffs, but the exposed edges require iron-on banding to prevent moisture wicking. The wood drawer unit adds $200–$600, with plywood-box construction outlasting particleboard by a decade or more.
Installation demands a stud finder, level, and a weekend; mismeasured brackets mean sagging shelves within a year, so confirm every anchor point before committing. Routine maintenance is minimal, wipe melamine with a damp cloth quarterly and apply furniture polish to the wood drawers twice yearly.
Tension Rods and Hooks for Rental-Friendly Flexibility
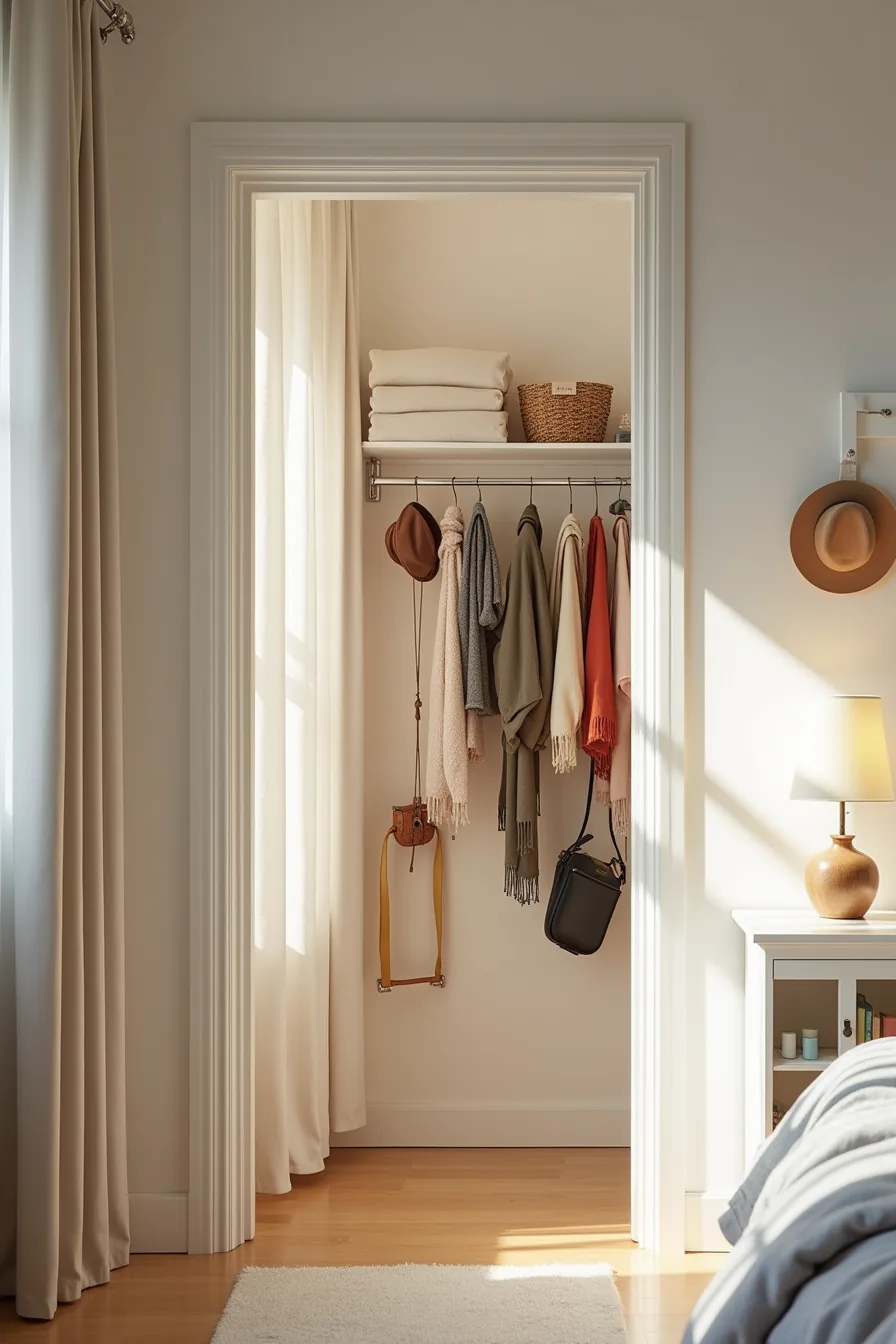
A chrome tension rod wedged horizontally between the side walls gives you instant vertical storage for scarves and belts without a single screw. The friction fit holds up to 20–30 pounds on drywall, though textured walls reduce grip, test the tension by tugging downward before loading anything heavy. This suits renters, dorm dwellers, or anyone unwilling to patch holes at move-out, and the entire setup reverses in under five minutes.
Adhesive hooks rated for 5–10 pounds each handle bags and hats on the walls, provided you wipe the surface with rubbing alcohol first and wait 24 hours before hanging. The over-the-door organizer adds 12–24 small bins for accessories, maximizing dead space without affecting closet depth. All three solutions cost $25–$60 combined, and the trade-off is visible hardware: chrome rods and clear hooks read as temporary, so they work best in closets you don’t style for show.
Reapply adhesive annually as humidity weakens the bond, and never exceed the weight rating on a single hook, a falling bag of hardware is a hazard, not a storage failure.
Common Mistakes That Waste Space and Time
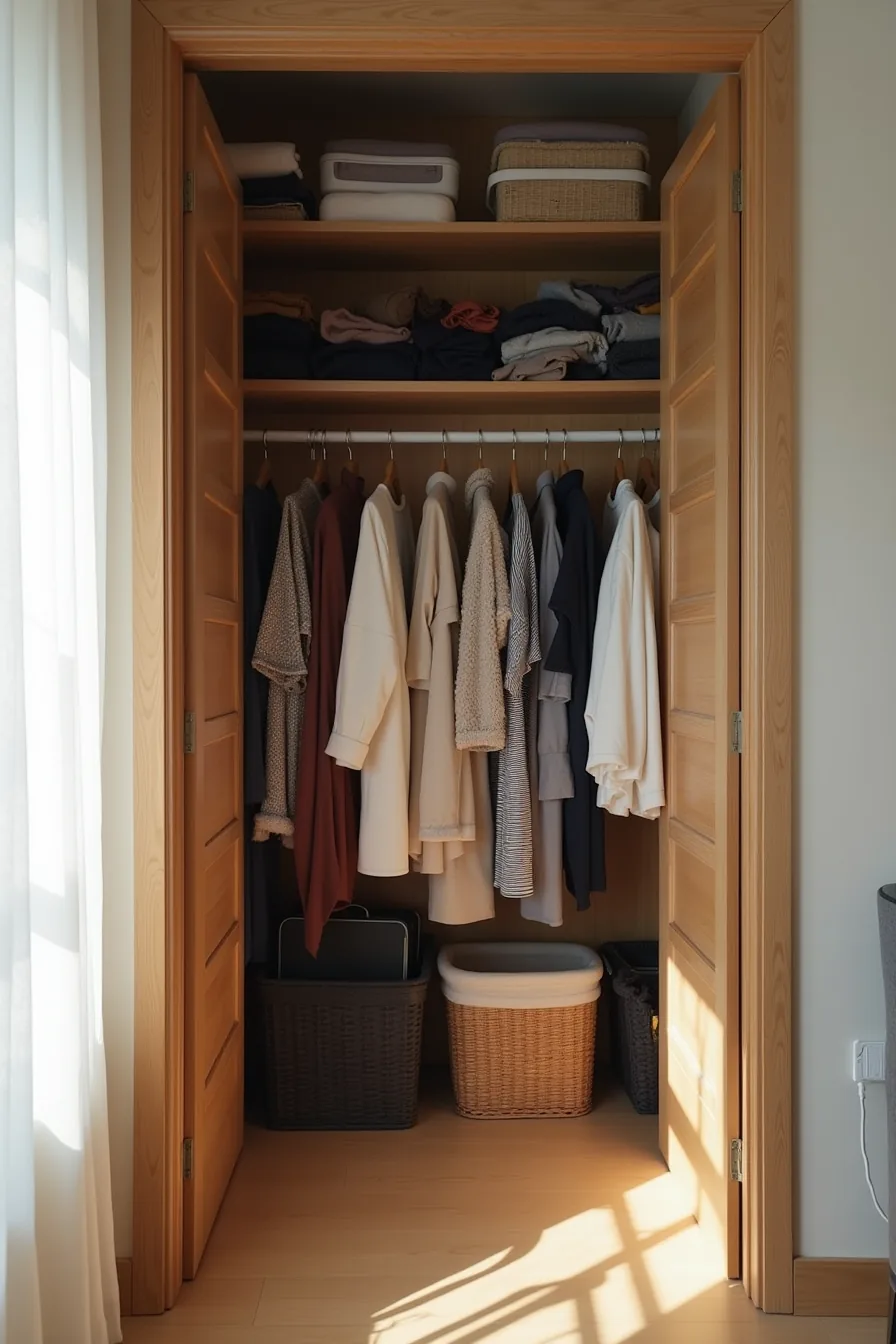
The most damaging error is overcrowding a single rod until it bends under the weight of winter coats packed against summer dresses. A rod loaded past its capacity makes every item harder to pull out and accelerates wear on hangers; keep a one-inch gap between garments so you can slide pieces without resistance. If the rod already sags, replace it with a double rod setup, upper and lower bars give you roughly 40 percent more linear hanging space in the same footprint.
Ignoring the dark upper shelf is the second mistake; that zone handles out-of-season items, luggage, or bins of keepsakes, not daily wear. Mismatched containers stacked unevenly create visual chaos and wasted cubic footage, so commit to one bin style and size family, clear 11-quart bins work for most shelves, while 6-quart versions fit accessories. Poor labeling compounds the problem: a Sharpie on the lid fades within months, but a label maker or chalkboard tag stays legible.
Finally, seasonal neglect means you dig through bulky sweaters in July; rotate contents twice a year and store off-season pieces in the upper zone to keep daily items within reach.
Where to start
Pick the single category that causes the most friction in your morning routine, likely the one you dig through most often. Measure the vertical space you’ve, then buy containers for that category only.
Order your materials before you begin so you can finish in one session. Start with the shelf at eye level; it delivers the biggest visual payoff and motivates you to complete the rest.
Your next step: empty one shelf, wipe it down, and place a single basket on it before you read another article.
Frequently Asked Questions
How much does a DIY closet organization system cost to set up?
A basic DIY system using wire shelving and hanging rods runs $50–$150 for a standard reach-in closet. Custom wood builds with drawers and cubbies typically cost $300–$800, depending on materials and hardware.
Can I organize a small closet without installing new shelves or rods?
Yes. Use over-door hooks, stackable fabric bins, and tension rods for vertical storage. Add a hanging shoe organizer and slim velvet hangers to double capacity without drilling a single hole.
What’s the best way to organize a shared closet for two people?
Divide the closet vertically, one side per person, using a central divider or color-coded hangers. Keep daily items at eye level, seasonal gear on top shelves, and agree on a shared “drop zone” for frequently used accessories.
How often should I reorganize my closet, and what triggers a full overhaul?
Do a light refresh every season, swap out clothes and rotate accessories. Trigger a full overhaul when you can’t close the door, you own items you forgot about, or your daily routine changes (new job, weight shift, or move).