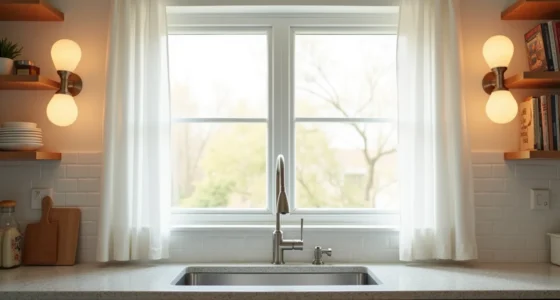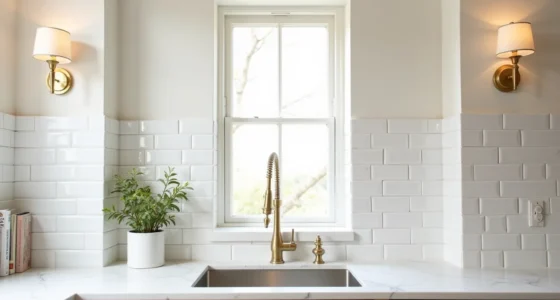

Your kitchen window is the most underused surface in the room, but it can pull double duty as a functional workstation and a visual anchor. Whether you need extra prep space, a herb garden, or a way to bounce light deeper into the room, the design hinges on depth, sill height, and how you treat the surrounding walls. The six approaches ahead range from a $40 tension-rod shelf to a full custom banquette, each matched to a specific room size, budget, and maintenance threshold.
Pick the one that fits how you actually cook, not how you think a kitchen should look.
Key takeaways
- Measure before you buy: Standard kitchen windows range from 24 to 36 inches wide and 36 to 48 inches tall, so confirm your exact opening to avoid costly returns on curtains, rods, or sills.
- Choose herbs by sun exposure: South-facing sills support basil and oregano, while north-facing ones suit mint and parsley, both need 4–6 hours of daily light to thrive.
- Opt for tension rods in rentals: Spring-loaded cafe rods install in minutes without drilling, but replace them with fixed hardware if you plan to hang heavy linen panels for more than a year.
- Prioritize sink access over decor: Keep any shelf or hanging planter at least 12 inches above the faucet and clear of the basin’s swing radius to prevent blocked washing and splashing damage.
The Bare Window: Maximizing Light and Sight Lines
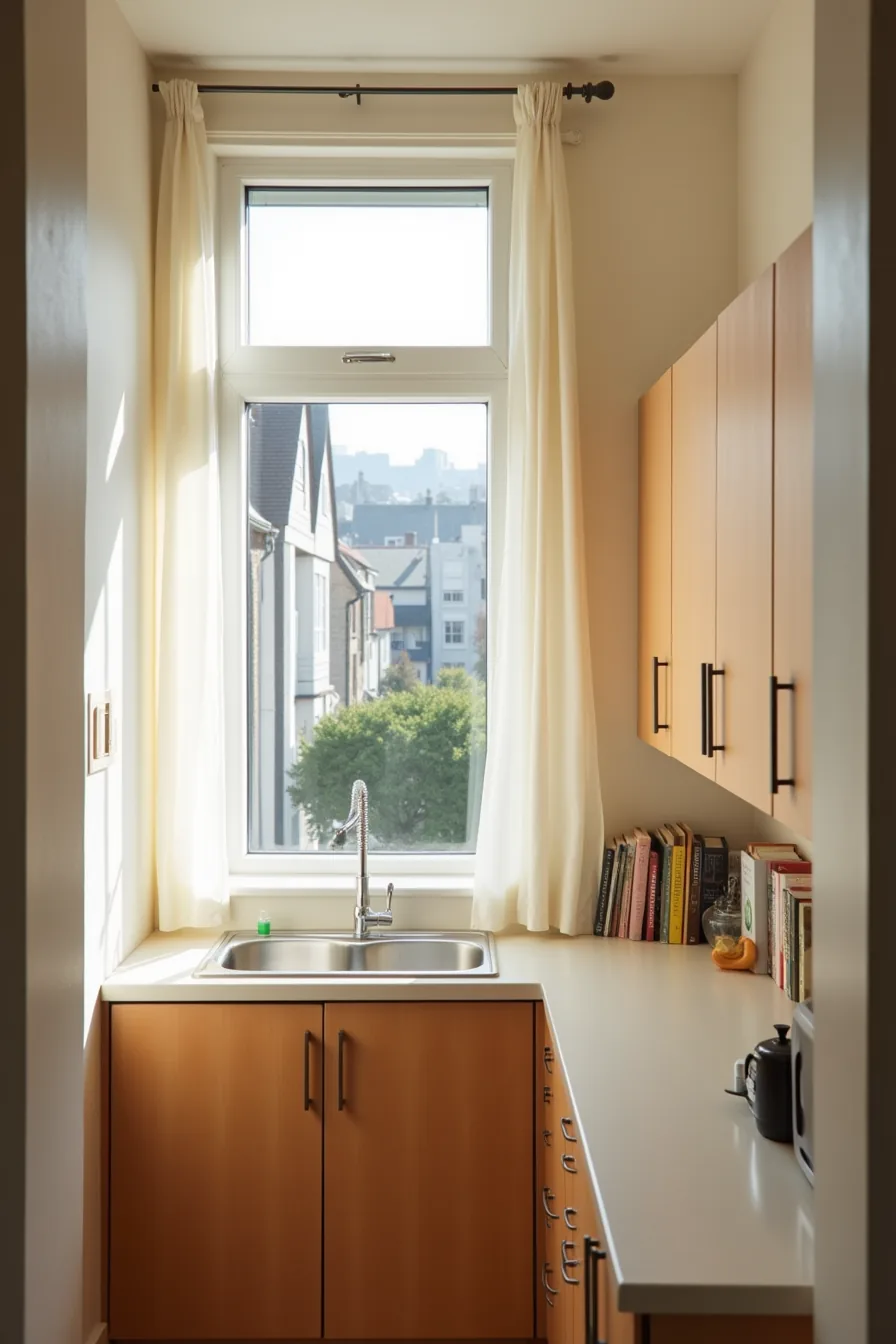
A bare kitchen window is a deliberate design choice, not an oversight. In a narrow galley kitchen, skipping curtains, blinds, and sill decor lets every ray of afternoon light travel uninterrupted across the room, visually widening the space. You see this setup with a single window above the sink, where the bare pane frames a residential street view and the clean lines of the sink basin and counter edge below.
This approach suits small kitchens, rental properties where you can’t alter fixtures, and homes with genuinely pleasant exterior views. The practical payoff is maintenance: no fabric to launder, no blinds to dust, and you simply wipe the glass and sill every one to two weeks to prevent grease film buildup. The trade-off is zero privacy and no glare control, so reserve this treatment for windows facing a backyard, a quiet street, or a wooded area rather than a close neighbor’s wall.
Window Sill Styling with Potted Herbs and Edibles

A sill lined with five terracotta and ceramic pots, basil, mint, and parsley at staggered heights, puts fresh ingredients within arm’s reach of the cutting board. Spacing pots 3–4 inches apart prevents leaf tangling and allows air to circulate, which reduces the risk of powdery mildew on crowded foliage. Match pot diameter to the plant’s mature spread: basil needs a 6–8 inch pot, while mint thrives in a 4–6 inch container but will outgrow it within a season unless you prune roots aggressively.
This arrangement suits cooks who use herbs daily, but check your sill’s weight capacity before loading it up. Standard vinyl windowsills support 10–15 pounds per linear foot; wood sills handle more, but a 6-foot run of wet terracotta pots can easily hit 30 pounds. For south-facing windows, rotate pots every three days to prevent leggy, one-sided growth.
Group thirstier plants like parsley together so you water them as a cluster, and place metal or plastic trays beneath the pots to catch runoff that would otherwise stain the sill or rot the frame.
View as Focal Point: Framing the Exterior Landscape
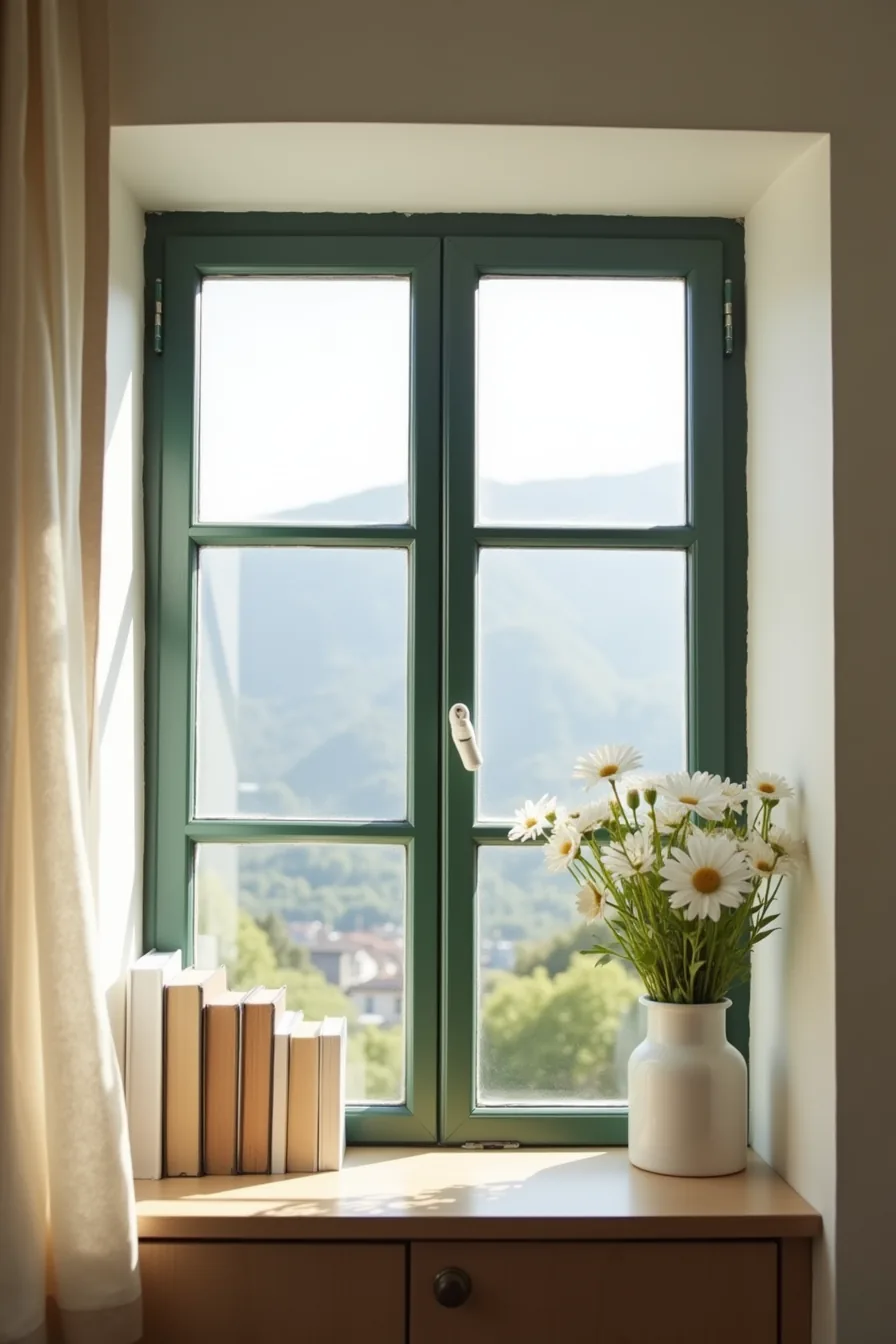
Treating the kitchen window as a picture frame shifts your eye past the glass and onto the scene beyond. A deep painted trim in forest green does this effectively: the dark, substantial border contrasts with a lighter interior wall, creating depth that pushes the landscape, say, a distant mountain or rolling hills, into the foreground. The muntins divide the view into deliberate panes, which adds structure without competing with the exterior.
This approach suits kitchens where the window faces something worth looking at, whether that’s a garden, treeline, or city skyline. It works best with a clear sightline from the sink or prep area, so you don’t need to reposition yourself to enjoy it. Avoid this route if your view faces a neighboring wall or a busy street; no amount of trim will fix an unappealing outlook.
To reproduce this look, paint the trim a shade two to three tones darker than the wall. Use a semi-gloss or satin finish, which resists the grease and steam that accumulate near cooking surfaces. Budget roughly $30–$60 for paint and supplies per window, and expect to re-coat every two to three years in high-humidity kitchens.
For renters, a removable peel-and-stick film in a solid dark color applied to the trim area achieves a similar framing effect without permanent changes.
Layered Textiles: Cafe Curtains and Linen Panels
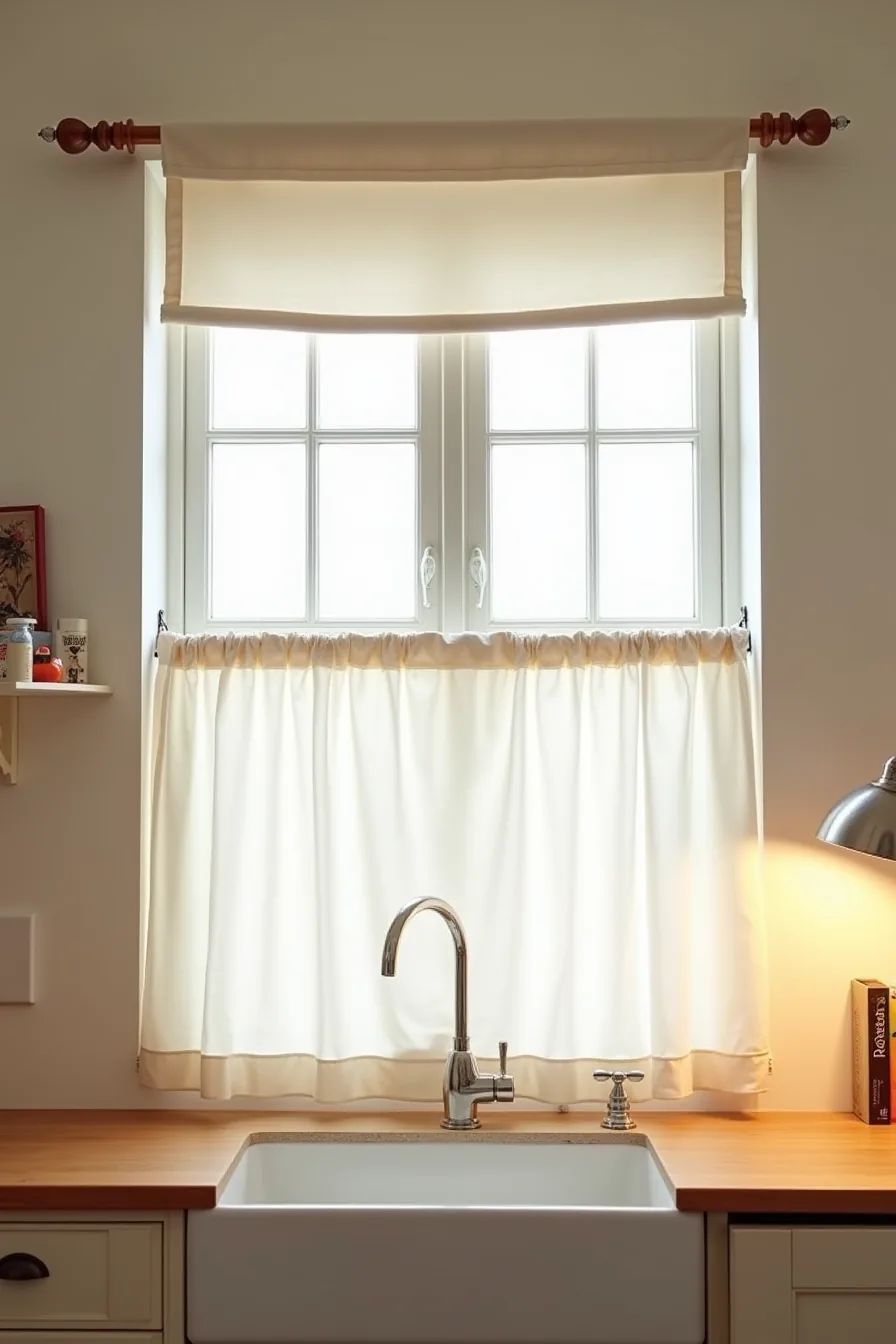
Layering two fabric treatments gives you independent control over privacy and daylight. A cream linen cafe curtain on a wooden rod covers the lower half, where passersby see in, while a sheer linen panel on a tension rod above filters harsh sunlight without blocking the view of your upper cabinets or sky. This combination suits south- or west-facing kitchens where glare hits your prep surface in the late afternoon.
The cafe curtain’s tiered length works best on double-hung windows, letting you open the top sash for ventilation while keeping the bottom concealed. Choose a mid-weight linen (around 200–250 GSM) that drapes cleanly without needing a liner; sheer panels should be 100% linen for consistent light diffusion. Use a tension rod for the top layer if you can’t drill into tile, but swap it for a fixed wooden rod for the cafe curtain, tension rods sag under anything heavier than 1–2 pounds of fabric.
Machine-wash both layers monthly in cold water and hang to dry; linen wrinkles are acceptable, but heat drying shrinks the panels unevenly. Budget $60–$120 for a 36-inch wide window in custom lengths, or $20–$40 per panel if you sew simple rod-pocket hems yourself. Renters can skip the wooden rod entirely: two adjustable curtain clips mounted on the existing frame hold the cafe curtain without wall damage.
Functional Hardware and Shelving Above the Sink
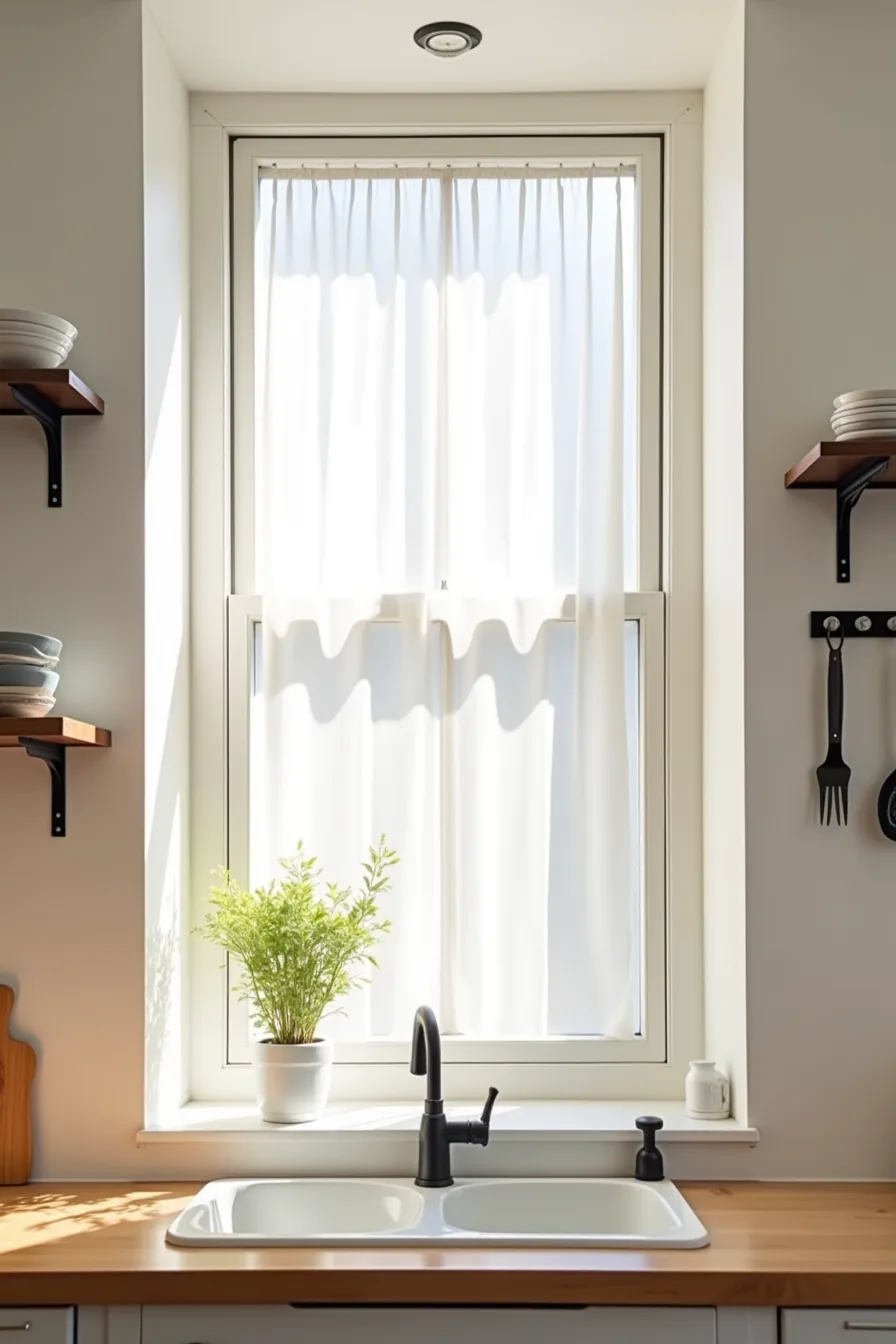
A black metal floating shelf mounted above your window frame turns dead wall space into daily-use storage. Keep it to three or four ceramic bowls and a single small potted plant, anything denser visually crowds the window and blocks natural light from bouncing off the ceiling. Mount the shelf 6–10 inches above the frame so you can still reach the top sash for ventilation, and verify the wall studs can hold 20–30 pounds before loading it with stoneware.
Pair the shelf with a magnetic strip fixed to the side wall, not directly over the window, to store metal utensils you reach for while cooking. A 12–18 inch strip mounted at arm’s height keeps spatulas and ladles within a quick grab without interfering with the window’s opening arc. Black metal matches most hardware finishes and hides grease smudges better than stainless steel; wipe both surfaces weekly with a damp cloth and mild degreaser to prevent sticky buildup near steam from the sink.
This setup suits renters because both items install with two screws each, and the holes are small enough to patch with spackle on move-out.
Make Your Kitchen Window Work Harder Every Day
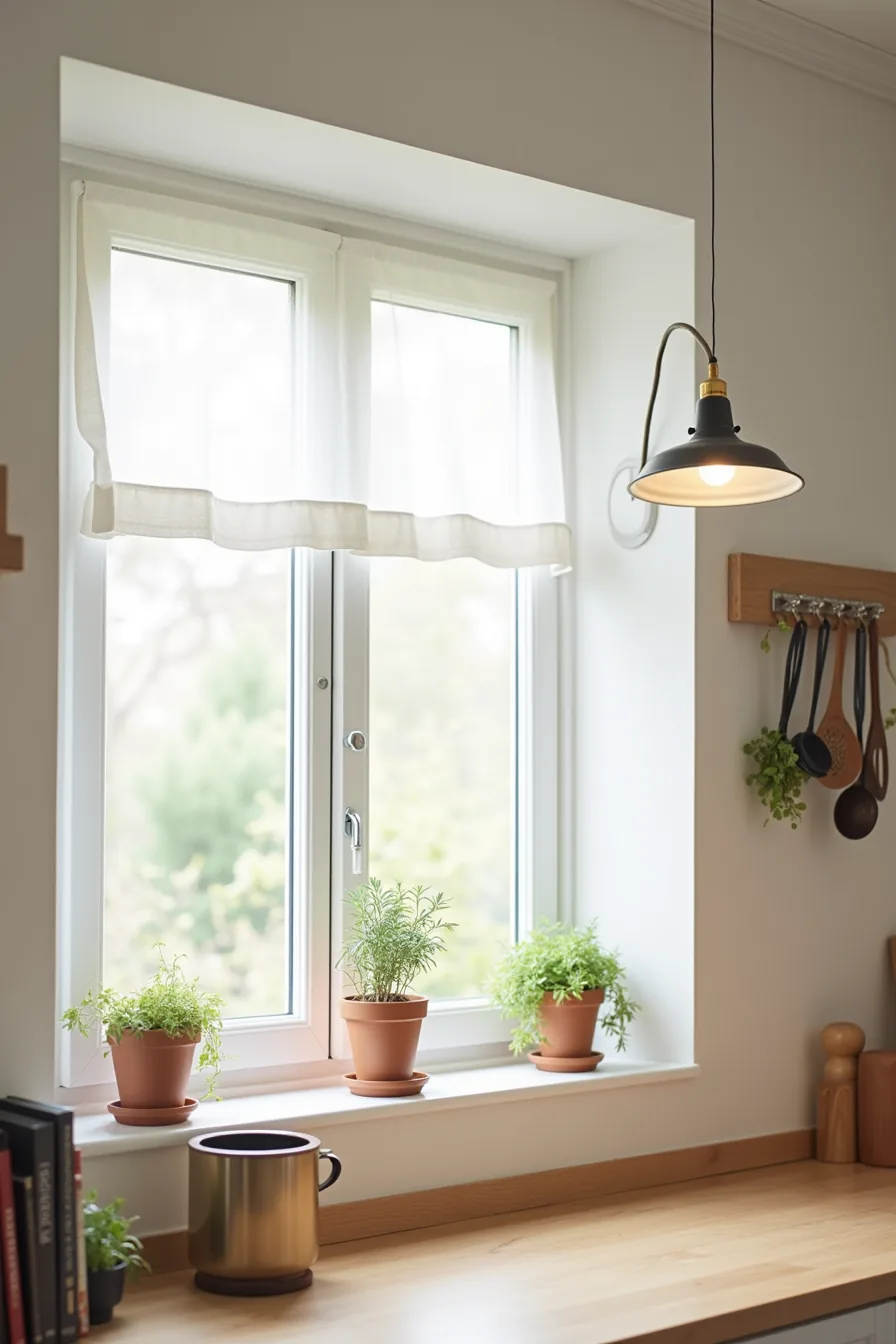
The most effective kitchen window setups layer three functions into the same footprint: light control, storage, and task support. A cafe curtain mounted on a lower rod covers only the bottom half of the glass, so you get privacy at eye level from neighbors while retaining full daylight and an unobstructed view of the sky from the upper sash. You can operate the window normally without untangling fabric, and the rod installs with two brackets that take ten minutes to mount.
Above the sill, a narrow shelf holding three potted herbs keeps thyme, basil, and chives within reach while you cook, and the plants benefit from the direct light. A clip lamp mounted to the top frame directs task lighting onto the counter surface below, useful for evening prep when overhead fixtures cast shadows from your own head and shoulders. Finish the zone with a magnetic strip on the adjacent wall holding six to eight utensils, keeping everything you use daily within a two-foot radius of the sink.
This configuration suits medium-sized kitchens with at least 24 inches of clear counter space beneath the window, giving you a complete prep station without dedicating cabinet real estate to items you grab constantly.
Where to start
You now have six distinct routes, from a $30 tension rod curtain to a custom banquette. Match the option to your cooking habits, not just your aesthetic. If you cook daily, prioritize ventilation and durable surfaces.
If you rent, stick with the no-drill solutions.
Measure your window width and depth before buying anything. Then pick one idea, implement it this weekend, and live with it for a month before adding more.
Frequently Asked Questions
Can I style a kitchen window in a rental apartment without damaging the walls?
Yes. Use tension rods inside the frame, adhesive hooks rated for 5–10 pounds, and freestanding shelves. Skip drilling or permanent caulk.
Command strips remove cleanly when you move out.
What’s the best way to keep potted herbs on a kitchen windowsill from drying out?
Group pots in a shallow tray with 1–2 inches of wet pebbles. Water when the top inch of soil feels dry, usually every 2–3 days. Choose ceramic or plastic pots over porous terracotta.
How do I choose between a bare window and one with curtains for a small kitchen?
Go bare if the window is under 24 inches wide or you need maximum light. Choose a valance or café curtain only when you need privacy or want to hide an awkward view. Keep fabric above the sill.
What weight can a typical kitchen windowsill support for storage or plants?
Most wood or stone sills handle 20–40 pounds per linear foot safely. A 36-inch sill supports two 6-inch pots or one heavy cutting board. Check for cracks or flex before loading.
Avoid exceeding 50 pounds total.