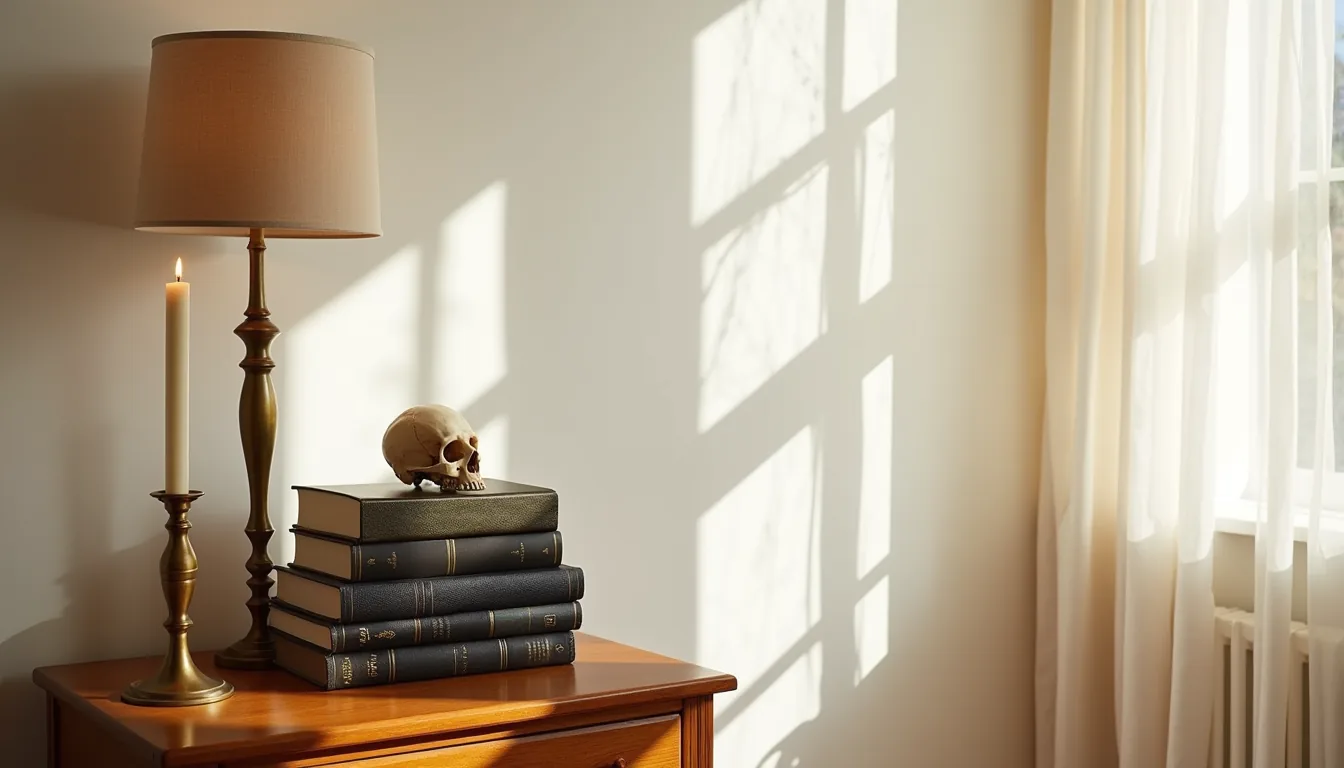
Halloween room decor ideas range from a single sculptural centerpiece to a full ceiling-to-floor transformation, and the right choice depends on your budget, wall space, and how long you want the setup to last. The six approaches that follow break that spectrum into workable options, each with a specific room type, material list, and setup time attached. You’ll see which looks survive a rental lease, which hold up for a decade, and which you can assemble for under $40 without touching a drill.
Key takeaways
- Match decor to your room’s existing scale: a 6-foot bookshelf suits a haunted library, but a 4-foot pumpkin stack overwhelms a small studio, so measure floor-to-ceiling height first.
- Choose the renter-friendly projection route if you can’t paint or drill, a $30–$80 mini projector with a spooky looped video covers a 5–7-foot wall and removes in under five minutes.
- Thrift apothecary bottles for under $1 each, but budget for amber glass spray paint and cork seals; you’ll need 12–15 bottles for a convincing shelf vignette, and rinse them weekly to prevent dust film.
- Prioritize traffic flow over aesthetics: keep any pumpkin display at least 24 inches clear of doorways and vents, and place ambient lighting on a timer to avoid tripping hazards after dark.
Haunted Library: Dark Academia Meets Spooky
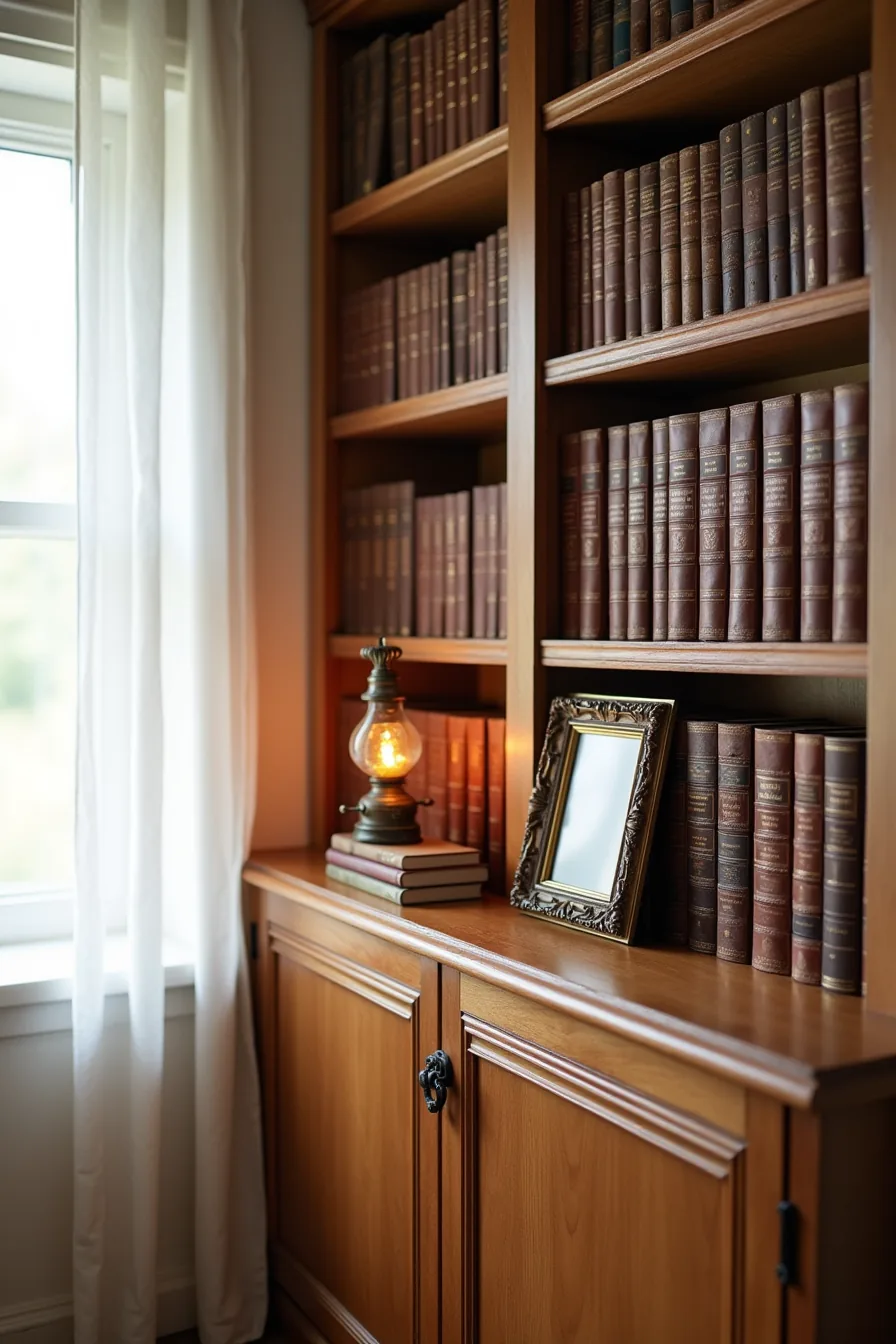
For a moody reading nook or study, layer leather-bound books by spine color, darkest at the bottom, lightest on top, to create a gradient that draws the eye upward without visual clutter. A vintage ornate frame leaned against the shelf edge adds aged character and breaks the vertical lines, which keeps the arrangement from feeling like a catalog display. An oil lamp with amber glass on the shelf ledge gives warm, low-wattage light that reads as candlelit without the fire hazard.
This works best in small to medium rooms because the styling stays within the shelf’s footprint, nothing extends into walkways or blocks sightlines. Arrange the books in clusters of five to seven rather than a solid row to leave breathing room for the frame and lamp. Dusting is your main maintenance task; expect to wipe spines monthly if the room gets regular use.
Skip this look if you prefer bright task lighting, ambient-only spaces suit evening reading but frustrate daytime work. For a renter-friendly twist, use removable adhesive hooks to hang thrifted frames instead of nailing into walls.
Maximalist Pumpkin Display: Color and Texture Strategy
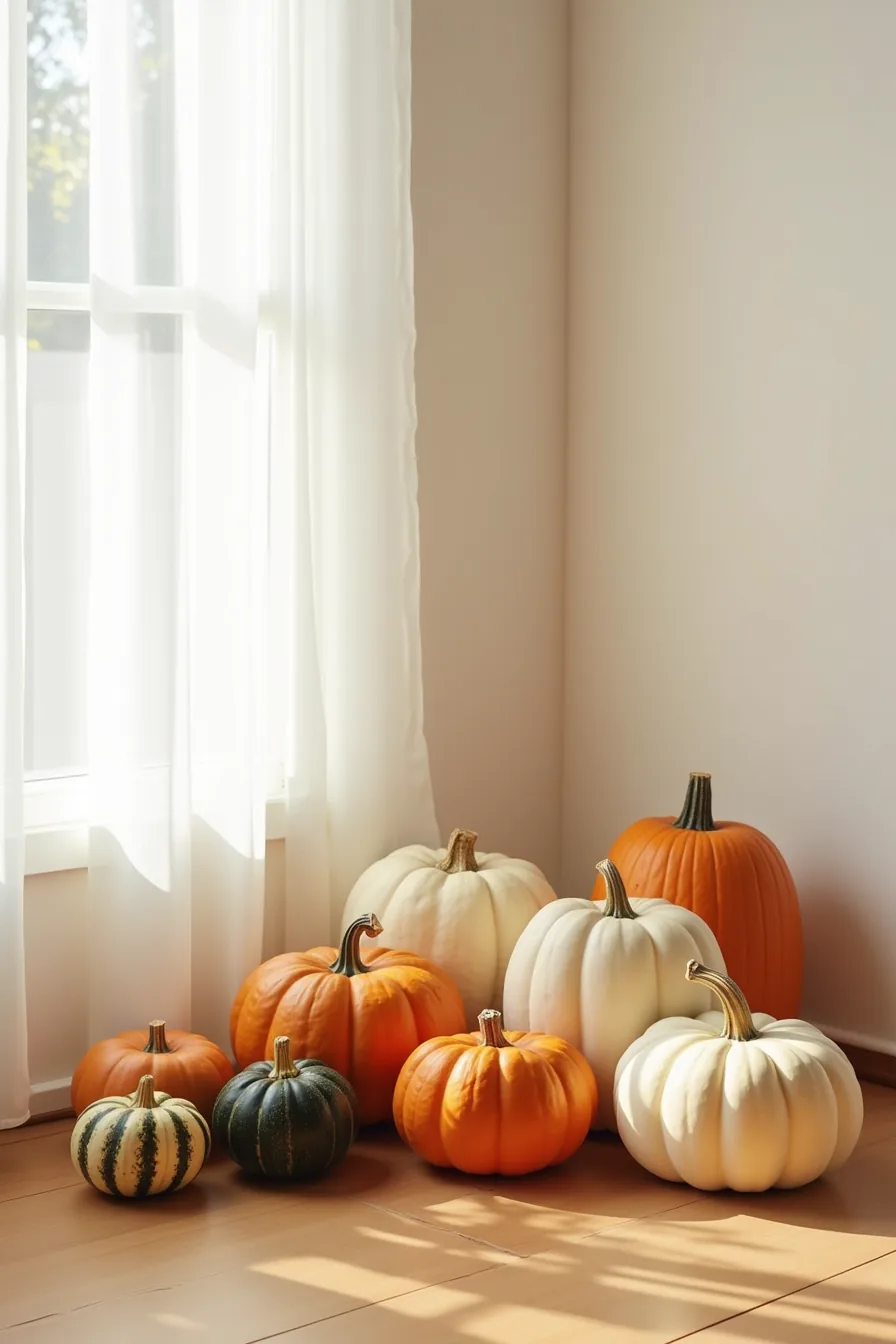
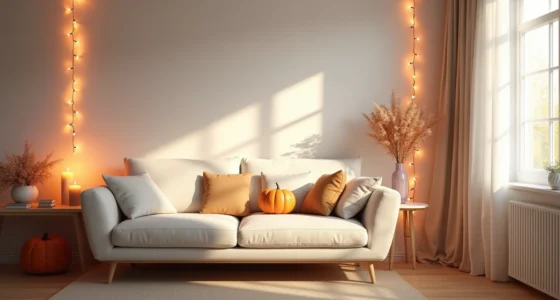
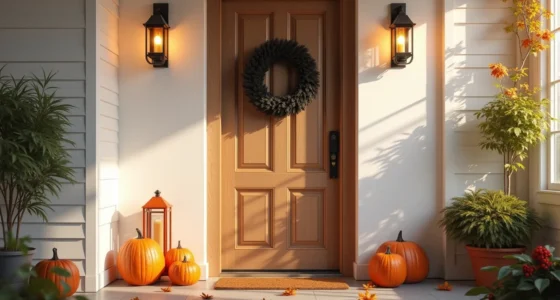
For a living room or entryway that embraces abundance, skip the single carved jack-o’-lantern. Build a layered pumpkin installation that delivers visual weight without looking cluttered. Source gourds in three distinct size categories: large, medium, and small.
A typical successful grouping uses five to seven pieces total, scaled to your floor space, roughly one large pumpkin per four feet of wall you’re covering.
Place the largest pumpkins, think white warty squash or classic orange, at the back or base, closest to the wall. Stack medium burnt orange pumpkins in front, offsetting them slightly to create depth. Finish with small deep green gourds scattered at the front edges to anchor the arrangement.
This graduated height pulls the eye upward naturally.
Texture matters as much as color. Mix smooth-skinned pumpkins with heavily ribbed or warty varieties. The contrast reads as intentional rather than random.
For a cohesive look, stick to a warm palette, burnt orange, deep green, cream, rather than mixing in purple or pink novelty varieties.
Maintenance is straightforward but not zero. Real pumpkins last four to six weeks indoors if kept away from direct heat and moisture. Check the bases weekly for soft spots and rotate any that lean.
If you want the display to survive the full season, use foam or resin faux pumpkins, they cost 15 to 30 dollars each but eliminate the mid-October rot dilemma entirely. Budget for a full installation runs 40 to 80 dollars with real gourds, or 120 to 200 dollars for quality fakes that you can reuse annually.
Minimalist Geometric: Clean Lines and Negative Space

If maximalism isn’t your style, this approach strips Halloween down to its graphic essence. You’ll rely on sharp silhouettes and open wall space rather than crowded shelves. The result feels modern, almost architectural, and suits apartments where a giant inflatable spider is out of the question.
Start by cutting three shapes, a triangle, a hexagon, and a crescent, from black matte cardstock. Each piece should measure between 8 and 12 inches across, and you’ll hang them vertically with 18 inches of clear fishing line between each. Use removable adhesive strips so you don’t damage the paint when you take them down.
Mount them on a bright white wall where afternoon sun casts a hard shadow. That shadow is the real decor; it doubles the visual weight without adding clutter. The spacing between pieces matters more than the shapes themselves, too tight and it looks busy, too loose and it feels accidental.
For a small room, keep the entire cluster within a 24-inch square footprint. In a large living area, scale the shapes up to 18 inches and space them 24 inches apart. Costs stay under $15 if you use leftover cardstock, or around $30 for a pre-cut kit.
Maintenance is zero: dust them once before hanging and ignore them until November 1st.
Vintage Apothecary: Thrifted Bottles and Potion Styling
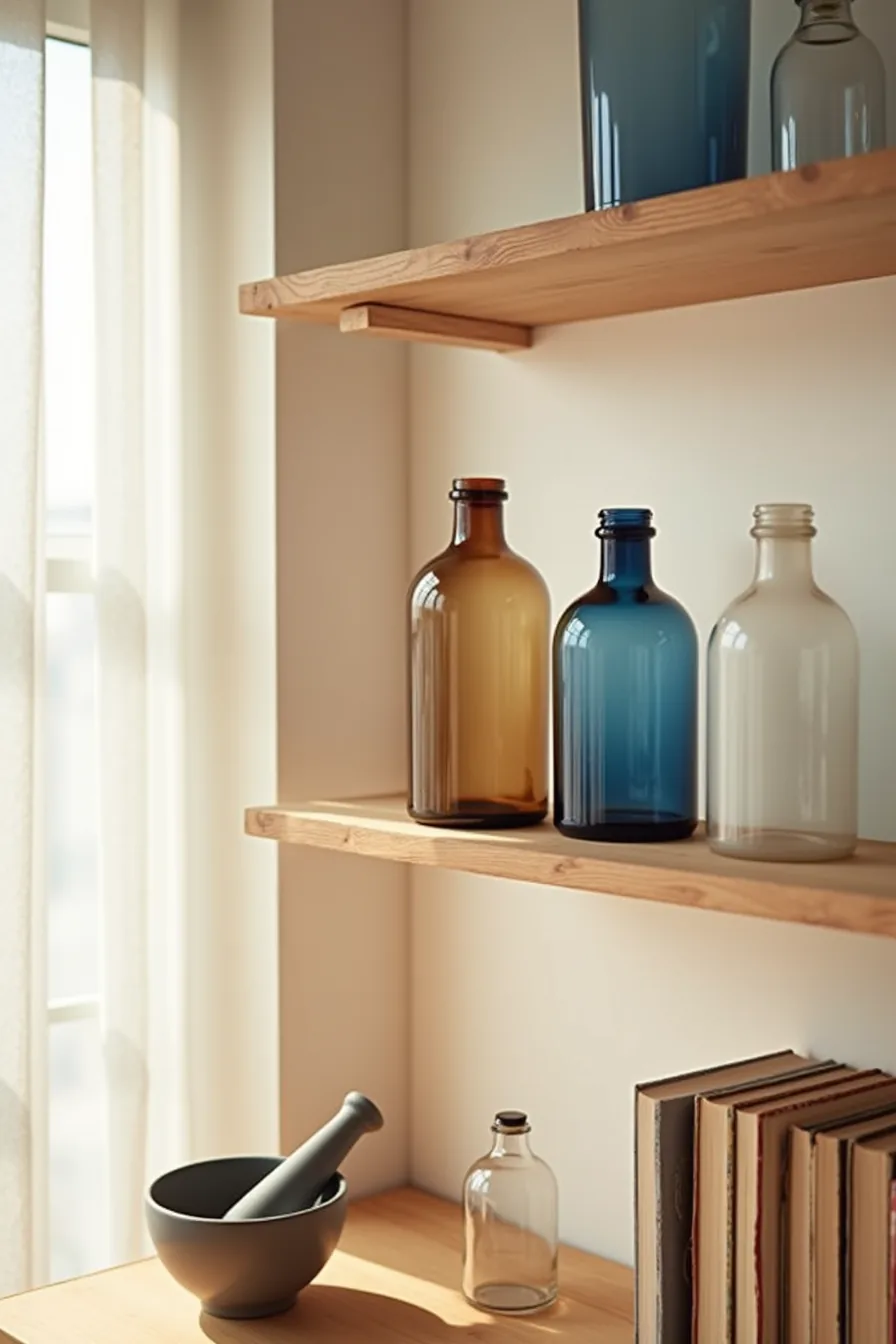
For a moody, collected-over-time look, skip the plastic props and build a vintage apothecary display. This approach suits renters perfectly because it relies on movable, damage-free vignettes rather than permanent wall fixtures.
What to source and how to arrange it: Hunt thrift stores and flea markets for clear and amber glass bottles, apothecary jars, and small corked vials. Aim for a mix of 6 to 10 pieces with heights ranging from 4 to 12 inches. Arrange them on a wooden shelf or a sturdy tray, grouping them in ascending height order from left to right, and place a small ceramic mortar and pestle at the front center to anchor the grouping.
Make it convincing: Fill the bottles with inexpensive, dark liquids, black tea, coffee, or water with a few drops of dark food coloring, to create that mysterious potion effect. For a brighter accent, include one cobalt blue bottle among the amber and clear ones; the contrast draws the eye without overwhelming the palette. Add a sprig of dried lavender or rosemary inside one or two bottles for texture.
Scale, placement, and maintenance: This works in small spaces (a narrow bookshelf or bathroom counter) and medium rooms (a sideboard or mantel). For large rooms, scale up by using taller bottles (up to 18 inches) or doubling the cluster on two shelves. Dust the bottles monthly with a dry microfiber cloth; if you use liquid fillers, replace them every season to prevent cloudiness.
Budget-wise, thrifted bottles typically cost $2 to $8 each, making this a low-cost, high-impact option.
Projection and Ambient Lighting: Tech-Forward Atmosphere
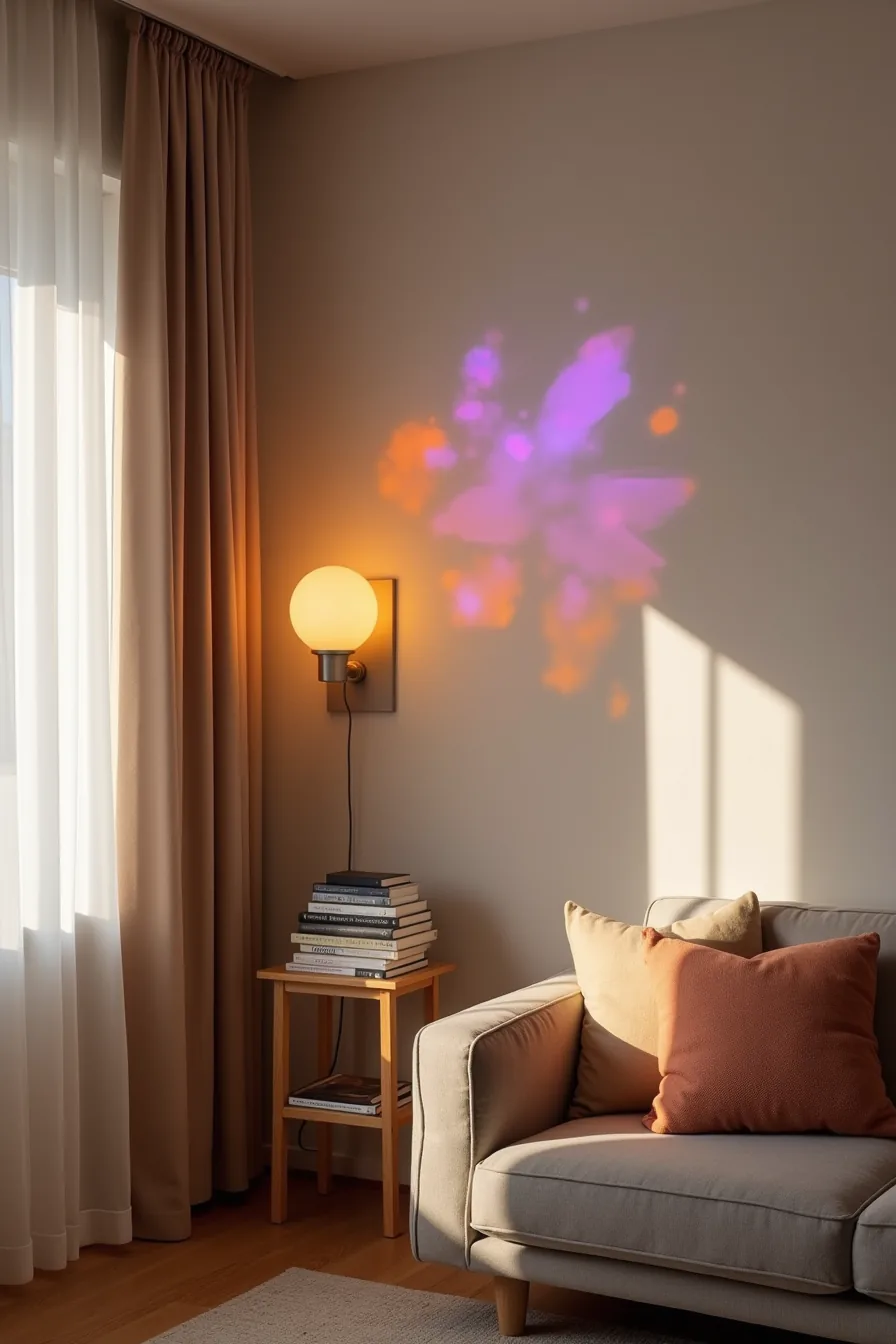
For a high-impact, low-clutter transformation, a small LED projector is your primary tool. Look for a model with at least 1,000 lumens and a zoom function; this allows you to fill a 5- to 8-foot wall space with a sharp image from a coffee table or sideboard without spending on permanent fixtures.
Map your wall space first: measure the distance from your projector’s planned position to the wall, then test the image size and focus before you commit to a layout. Place the projector on a stable surface, angled slightly upward to avoid casting shadows on the lower wall; use a book or a small stand under the rear foot if you need tilt adjustment.
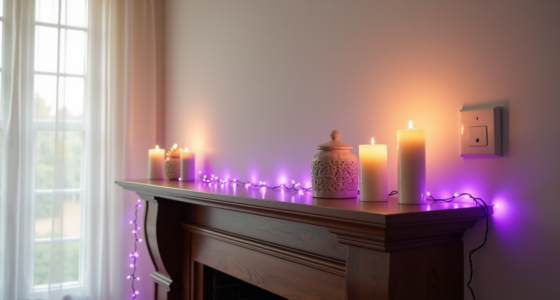
Layer the effect with colored smart bulbs in your existing floor lamps and sconces. Set the bulbs to a deep amber (around 2000K) or a muted violet hue at 20-40% brightness to complement, not compete with, the projected pattern; this prevents the room from becoming visually noisy.
Maintenance is minimal but specific: wipe the projector lens with a microfiber cloth before each use, and ensure the device has adequate ventilation on all sides to prevent overheating during a 4- to 6-hour evening event. Budget for the projector itself (typically $60–$150), plus the cost of a replacement bulb or LED source, which lasts for roughly 20,000 to 30,000 hours, making this a reusable investment for years of seasonal decor.
Common Missteps and Trade-Offs in Halloween Room Decor
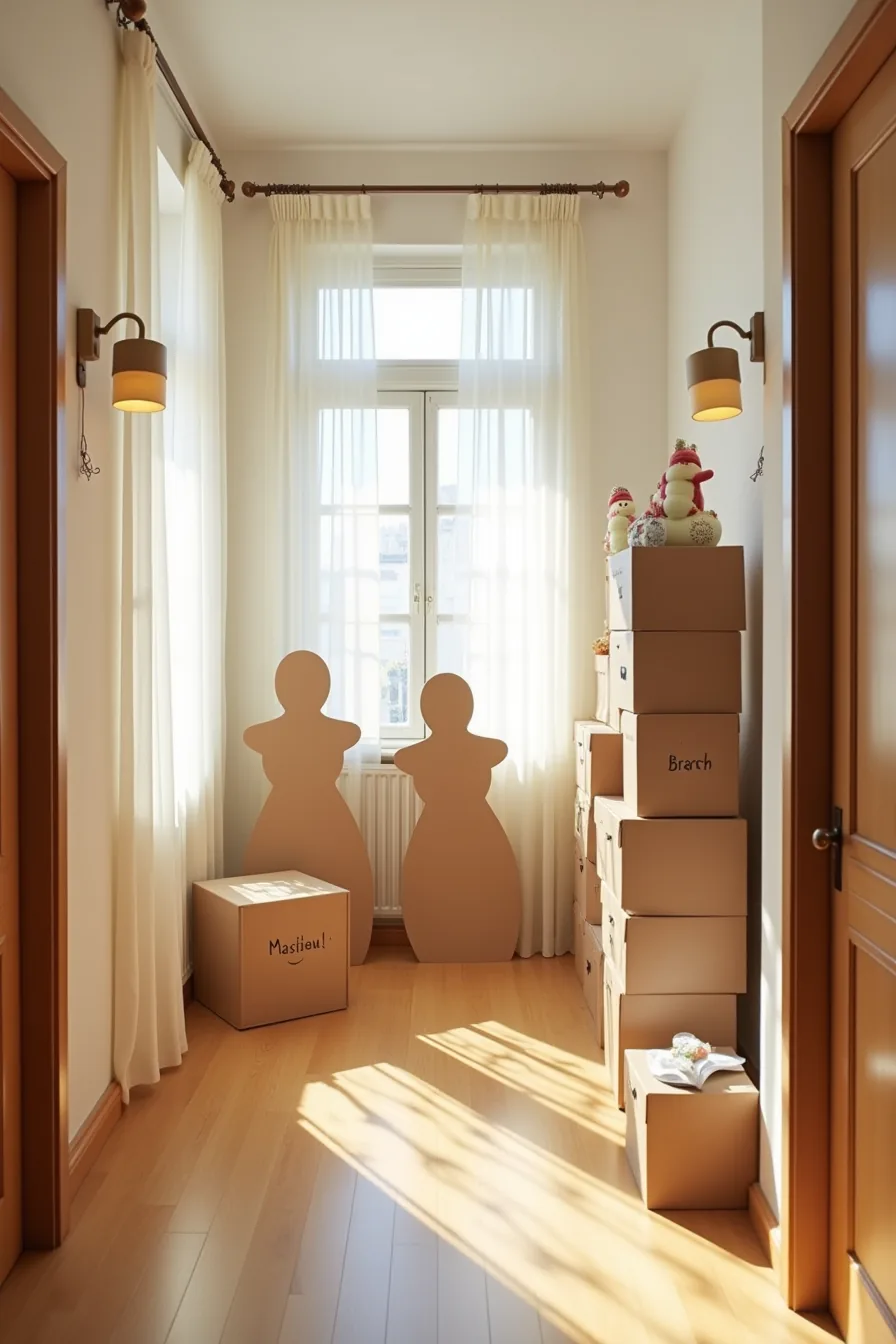
Oversized cardboard cutouts and inflatable props are frequent culprits when decorating a hallway. A seven-foot skeleton might look dramatic in a store, but in a four-foot-wide passage, it forces people to sidestep, scraping walls and risking tears. Measure your walkway clearance first; you need at least 24 inches of unobstructed path for comfortable movement.
If your space is tight, swap floor-standing pieces for wall-mounted options that project outward less than six inches.
Scent layering is another area where enthusiasm backfires. Combining cinnamon, pumpkin spice, and a smoky “haunted” candle creates a clashing mix that triggers headaches, especially in small, unventilated rooms. Choose one signature scent, ideally a mild vanilla or cedar, and keep it at a low intensity.
Open a window for 15 minutes before guests arrive to reset the air.
Storage realities also matter. Large inflatables require deflating and folding carefully; cheap ones often develop creases or leaks after two seasons. Budget for stackable, labeled bins (around $15–$25 each) to protect your investment.
If you rent, avoid adhesive hooks or wall decals that strip paint; use tension rods and command strips rated for your wall type instead. And remember, lighting that requires extra outlets can trip older circuits, use a power strip with a surge protector and keep total wattage under 1,440 per circuit.
Where to start
Start with one wall, not the whole room. Choose a single focal point, above your sofa, behind your bed, or along a hallway, and build outward from there. This keeps your effort contained and your budget predictable, especially if you’re renting or testing a theme for the first time.
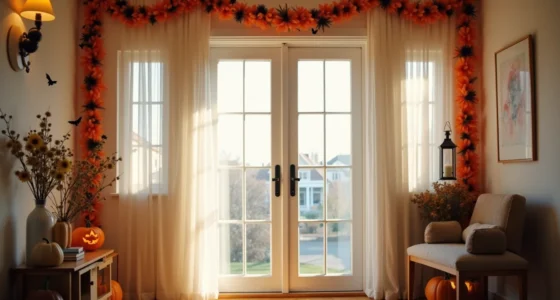
For small spaces, stick to vertical elements like hanging bats or a garland that draws the eye up. For larger rooms, anchor the display with floor-level props and layer in mid-height accents so the scene feels intentional, not scattered.
Your next step: measure your focal wall, pick one color scheme (black-and-white, moody jewel tones, or warm neutrals), and buy a single hero piece, a light-up prop, a dramatic wreath, or a textured throw, before adding anything else. That one purchase becomes your design anchor.
Frequently Asked Questions
How do I scale Halloween room decor ideas to a small bedroom without making it feel cramped?
Focus on vertical surfaces, wall decals, hanging bats, and ceiling swags, rather than floor clutter. Use a single bold focal point, like a themed bedding set or a glowing window silhouette, and keep pathways clear. Opt for compact accents on nightstands or shelves.
What’s the difference between budget and investment-level Halloween room decor, and which lasts longer?
Budget decor uses disposable plastic, tissue paper, and battery lights, typically lasting one season before fading or breaking. Investment pieces, like ceramic pumpkins, quality throw blankets, or wooden signs, survive multiple years and store well. Choose investments for anchors, budgets for trends.
Can I use Halloween room decor ideas in a rental without losing my security deposit?
Yes, if you stick to removable adhesives, command hooks, and temporary window film. Avoid paint, permanent wall stickers, or anything that leaves residue. Use freestanding props and tabletop displays instead of drilling holes, always read your lease for specific restrictions.
How long should Halloween room decor stay up, and what’s the maintenance burden?
Most people decorate 2–4 weeks before Halloween and take everything down within a week after. Maintenance is light: dust surfaces weekly, replace dead batteries in lights, and check for moisture damage near windows. Store items in labeled bins immediately after removal to prevent wear.