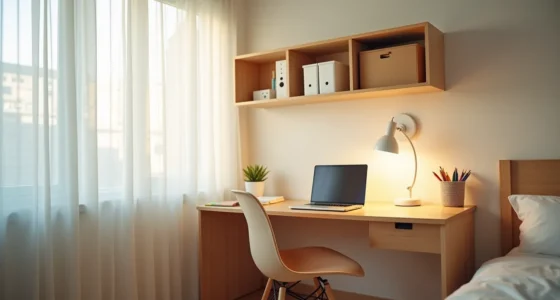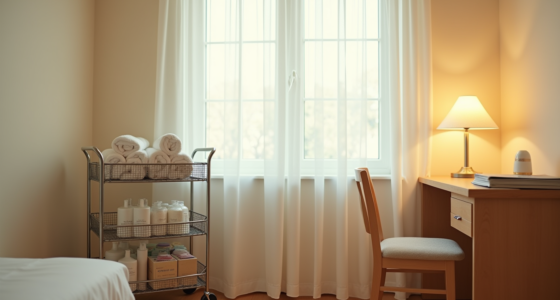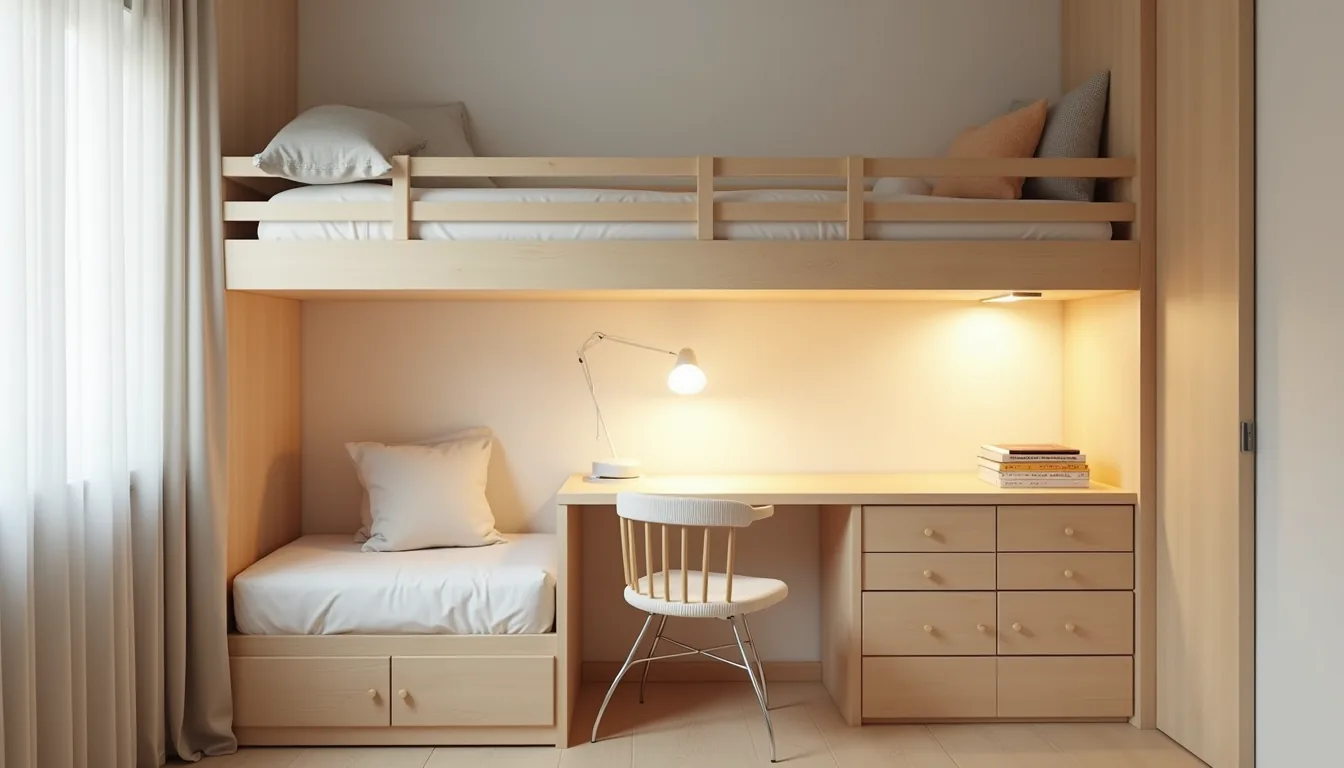

A dorm room makeover is a spectrum, not a single look, it spans renter-friendly temporary fixes that cost under $50 to permanent investments that add real resale value. Which end you choose depends on your lease length, your budget ceiling, and whether you plan to live with the result for one semester or four years. The following six approaches break down exactly what each transformation costs, what tools it demands, and which dorm layouts it actually suits, so you can match the plan to your situation instead of copying a photo that won’t work in your space.
Key takeaways
Start with lighting, swapping a single overhead fixture for a clip-on LED desk lamp and a warm floor lamp instantly changes the room’s mood for under $50 total, and it requires zero permanent installation. Prioritize vertical storage, a 6-foot-tall over-the-door shelving unit and a bed riser set add roughly 15–20 cubic feet of usable space in a standard 10×12 room, keeping the floor clear for walking. Choose peel-and-stick materials, removable wallpaper and contact paper adhere to most smooth surfaces, come off without residue within 24 months, and cost $10–$30 per roll, making them the safest bet for rental deposits. Invest in multi-layer bedding, a quilt, a lightweight duvet, and two washable throw blankets allow you to adjust warmth across seasons, and laundering the outer layer weekly extends the inner mattress pad’s life by years.
The Minimalist Efficiency Approach
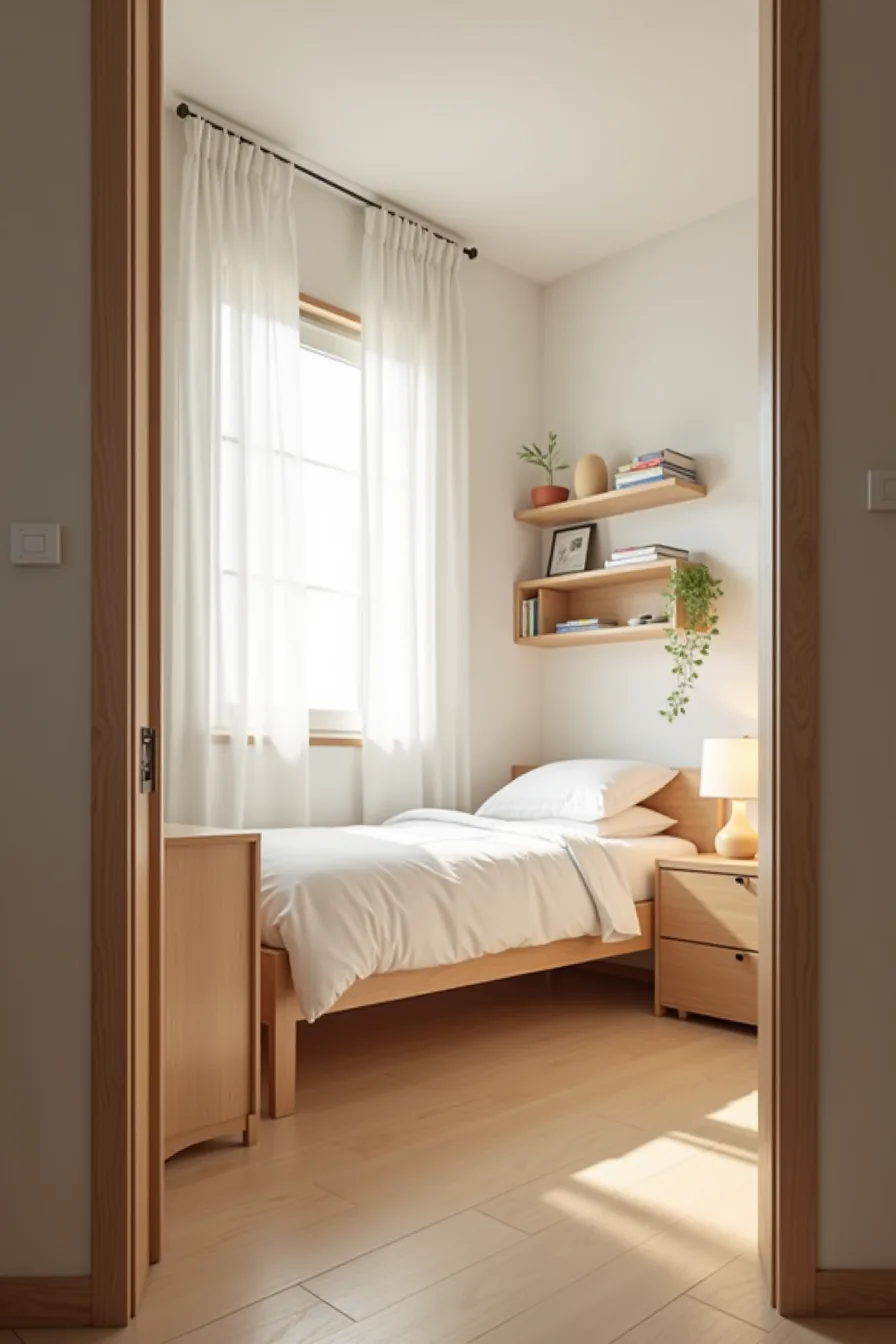
A small dorm room rewards subtraction. Strip the space to essentials, a single bed with plain white bedding, a floating desk, a few open shelves, and you gain visual square footage without moving a wall. This setup works best for students who study best with zero visual noise and who prefer tidying in five-minute bursts over weekly deep cleans.
The floating desk and shelves free up floor area, keeping your walking path clear and making the room feel larger than its dimensions. Use the shelves only for items you touch daily: one folded stack of hoodies, a charging station, a single potted plant. Everything else lives in under-bed bins.
This approach suits anyone on a tight budget, since a floating desk and three shelves cost less than a full furniture set. Maintenance is straightforward, wipe surfaces weekly and reassess the shelves monthly, removing anything that has drifted into decoration. For a practical dorm room makeover planning tip: if you can’t justify an item’s place within thirty seconds, it doesn’t belong on those shelves.
The Rental-Safe Refresh Using Removable Elements
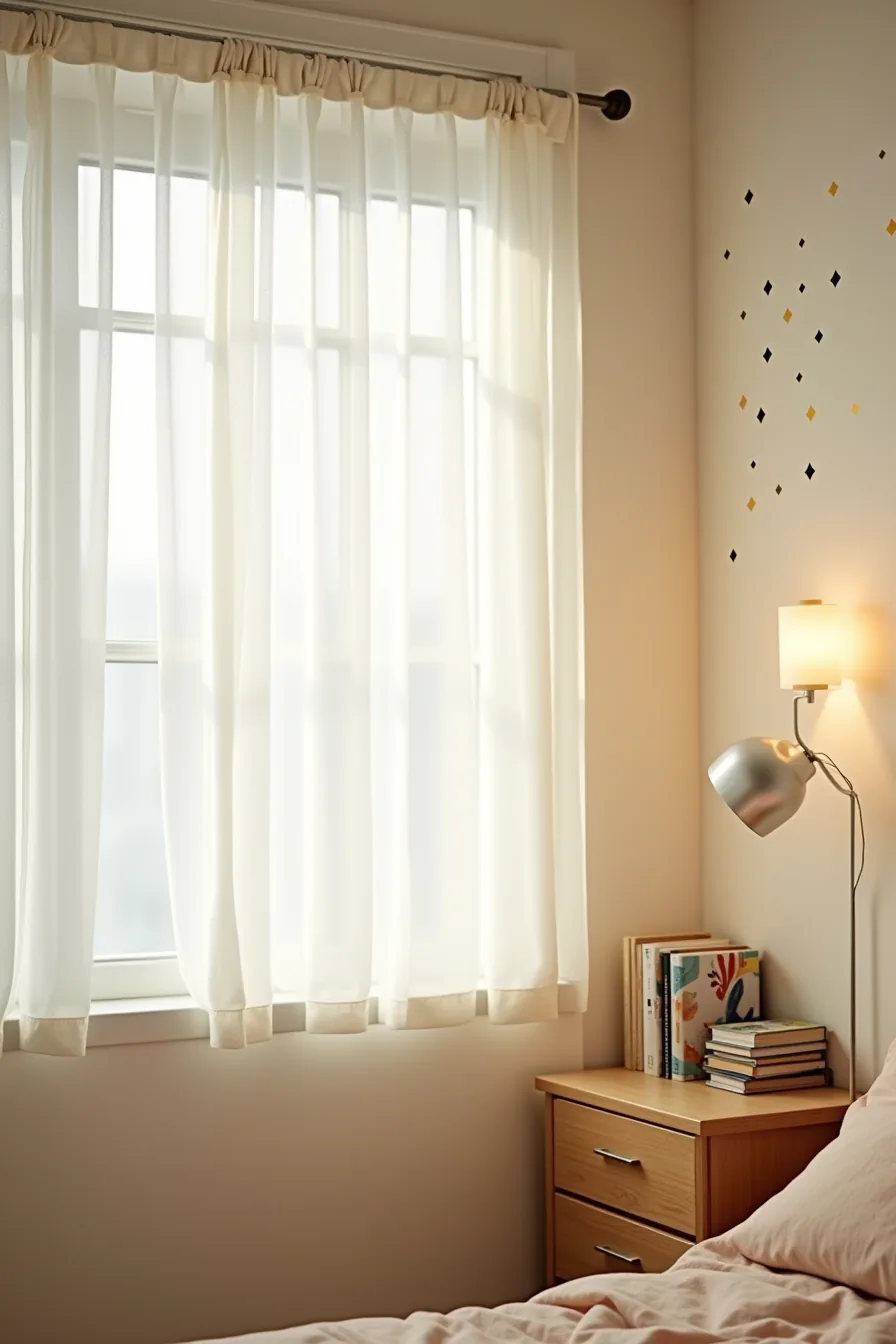
If your housing contract holds you responsible for every scuff, the rental-safe route swaps permanent changes for reversible ones. The setup in this corner uses four damage-free components: a tension rod holding a lightweight fabric panel across the window, adhesive wall decals in a geometric pattern, a freestanding metal shelving unit that requires no fasteners, and a roll of removable wallpaper still leaning against the baseboard, waiting for installation.
This approach suits renters, exchange students, or anyone who moves every semester. Tension rods install in under two minutes and leave no holes, while decals peel off cleanly if you warm them with a hairdryer first. The freestanding shelving unit supports roughly 30–50 pounds per shelf, so keep it to books, folded clothes, and storage bins, not a mini-fridge.
Removable wallpaper works best on smooth, painted walls; textured surfaces will tear it during removal. Budget-wise, this entire refresh lands in the $60–$150 range, and you can pack every piece into a single suitcase when you leave. For the best dorm room makeover examples on a deposit-friendly budget, this is the lowest-risk option you can execute in one afternoon.
The Lighting and Color Transformation
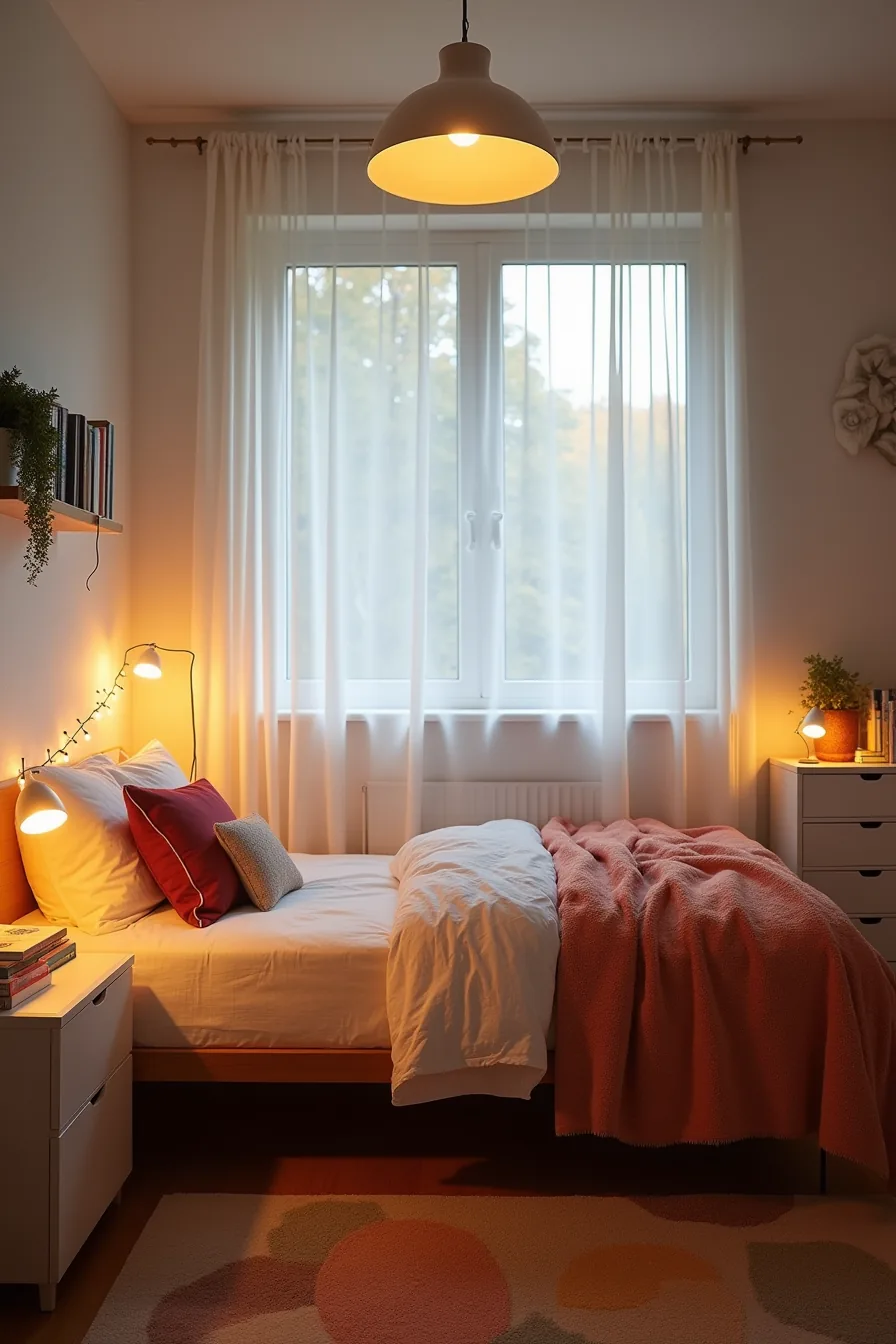
Lighting dictates how large and inviting a dorm room feels more than any furniture swap. In this setup, a warm pendant light hung from the ceiling becomes the primary source, casting a soft glow that flatters the space far better than the harsh overhead fluorescent. The string of warm LED lights draped along the headboard adds a secondary layer, creating a cozy reading nook effect without consuming extra floor space.
Color does the heavy lifting for the room’s personality. A jewel-toned accent pillow and a colored throw blanket folded at the foot inject deep contrast against neutral bedding, while the colored area rug under the bed legs anchors the sleeping zone and adds visual weight to the floor. Because these are all soft goods, the entire transformation costs between $40 and $120 and takes under an hour to style.
This approach suits anyone who wants maximum visual impact with zero installation risk, wash the bedding, roll up the rug, and the room reverts to standard in minutes.
The Invested Comfort Setup for Long-Term Residents
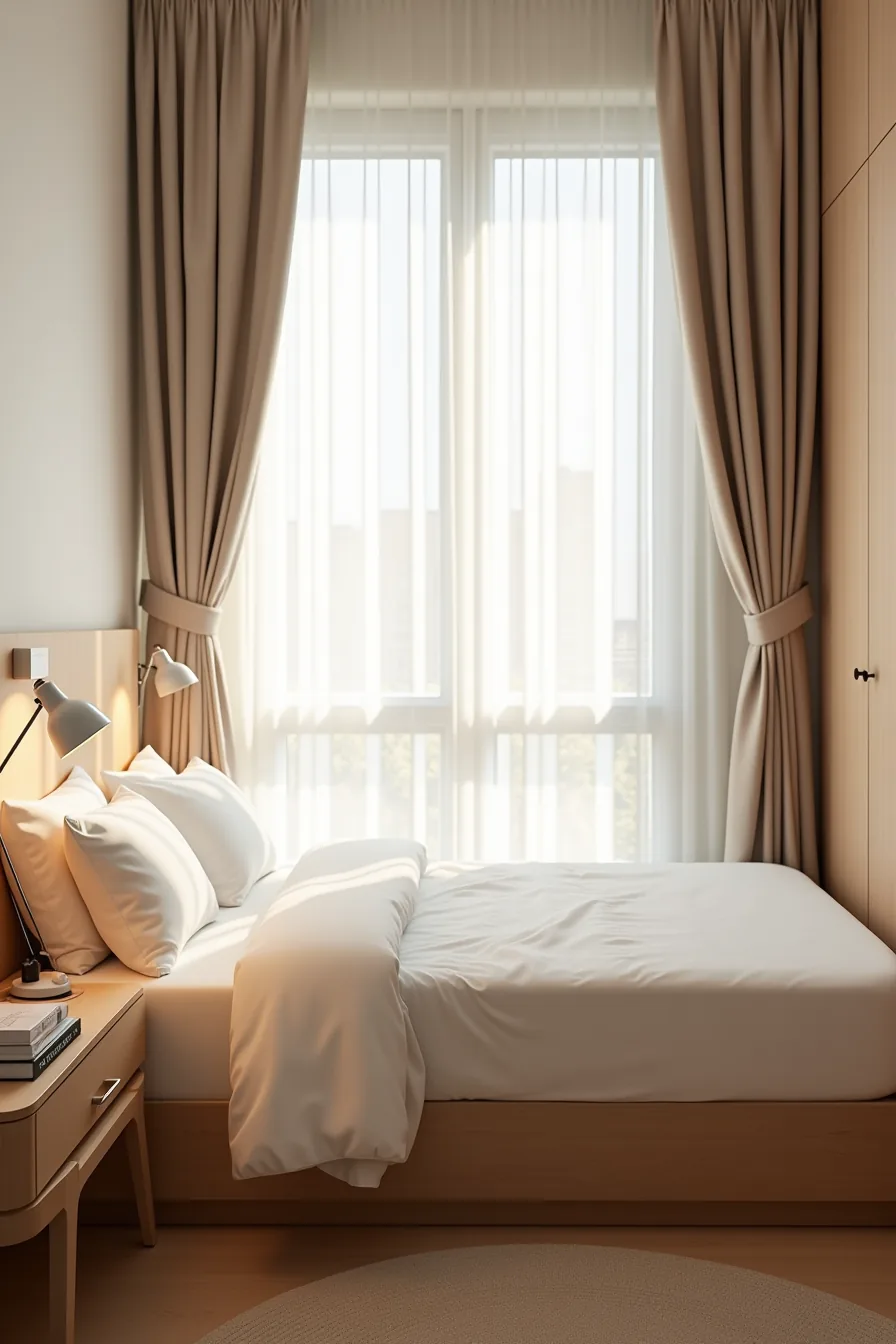
If you’re staying beyond freshman year or renting off-campus, this dorm room makeover treats the room as a two-year-plus asset. A thick mattress topper, typically 2-3 inches of gel memory foam, sits beneath a high-thread-count fitted sheet, the combination can take a springy dorm mattress from tolerable to genuinely comfortable, but plan to air the topper monthly or it will retain heat and odors.
Heavy blackout curtains mounted on a fully extended rod serve dual duty, blocking the 6 a.m. Sun and muffling hallway noise; expect to pay $60-150 for the pair plus rod. Acoustic foam panels beside the bed, arranged in a simple grid rather than a pattern, absorb the echo that makes phone calls and late-night study sessions grating, use the adhesive strips included, never screws, to avoid wall damage.
Custom shelving adds storage where the dorm’s built-in unit falls short, but this whole setup is the budget vs. Splurge Dorm Room Makeover decision in miniature: you’re spending $250-500 upfront for sleep quality and focus you’ll use daily, while accepting you can’t take the foam or curtain rod with you easily.
Adapting Your Dorm Room Makeover to Space Constraints
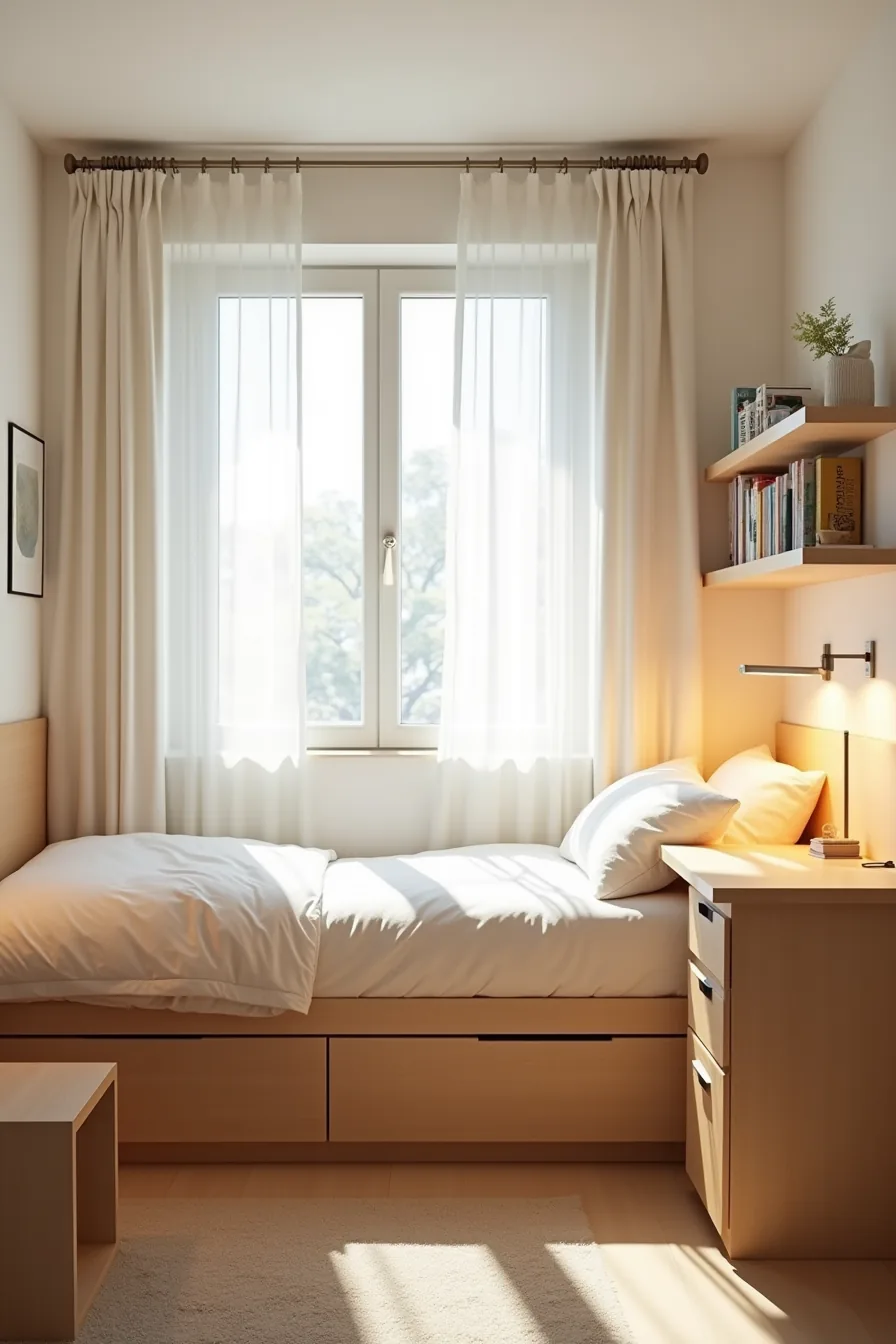
Space dictates every furniture decision. In a room under 100 square feet, prioritize verticality: a wall-mounted shelving unit above the desk reclaims 2-3 square feet of floor space without narrowing your walkway to the door. Keep the desk perpendicular to the bed, leaving a 24-30 inch clearance for your chair to slide back, any less and you’ll constantly bump the mattress.
Standard rooms (100-150 square feet) give you room for a bed with built-in drawers underneath, eliminating the need for a separate dresser. Pair it with a narrow rolling cart beside the desk; the 12-15 inch width fits most gaps and moves easily for vacuuming. Larger rooms allow an under-window storage bench, but measure the radiator or AC clearance first, the bench should sit at least 6 inches away to avoid blocking airflow.
The visual trick that works at every scale: keep all furniture within 6 inches of a wall, creating a clear central path. For a practical dorm room makeover, the under-bed drawers handle seasonal items, the rolling cart holds daily-use supplies, and the wall shelf displays books, each storage layer serving a frequency-of-use tier.
Common Dorm Room Makeover Pitfalls and How to Avoid Them

The most expensive mistake is buying furniture that fits the store display, not your actual floor plan. An oversized armchair might look inviting, but when it blocks half the walkway, you’ll trip over it daily, measure your clear floor space and choose seating with a 30-inch depth or less.
Tangled cables draped across your desk create a fire hazard and a workspace you’ll avoid using. Bundle all cords with adhesive clips under the desk surface, and route them along the baseboard rather than across your work area.
Positioning a shelf unit directly in front of a heating vent is a dorm room makeover mistake that wastes your money on energy and risks warping your belongings. Keep at least 12 inches of clearance between vertical storage and any vent, and never stack boxes against the door, that’s your fire escape route, and blocked exits violate most campus housing agreements. Before you buy anything, confirm your roommate’s layout needs too; a makeover that ignores their half of the room turns into a semester of tension.
Your Next Step
You now have six distinct directions, each with clear trade-offs in cost, effort, and permanence. Match your choice to your lease length, budget, and tolerance for maintenance, not to what looks best on Instagram.
Before buying anything, measure your room’s width and ceiling height. This single step prevents 80% of proportion mistakes.
Start tonight by clearing your desk surface and removing one wall hanging. Then implement one idea fully before moving to the next. Small, finished changes beat a half-completed overhaul every time.
Frequently Asked Questions
What’s the difference between a dorm room makeover and just decorating?
A makeover changes the room’s function and flow, not just its looks. You rearrange furniture, add lighting layers, and solve storage problems. Decorating alone only adds surface style.
Can I do a dorm room makeover if I’m renting and can’t paint or drill?
Yes. Use command strips, tension rods, and removable wallpaper. Anchor tall furniture with heavy bases instead of wall mounts.
Focus on lighting, rugs, and textiles to transform the space without permanent changes.
How much should I spend on a dorm room makeover?
A budget route runs $50–$150 for lighting and textiles. A mid-range makeover costs $200–$400 with new bedding and storage. A full investment with furniture upgrades typically lands $500–$800.
What’s the fastest dorm room makeover I can do in a weekend?
Swap your bedding, add a floor lamp, install under-bed storage, and rearrange the desk against the window. These four moves take under six hours and visually double the room’s perceived size.