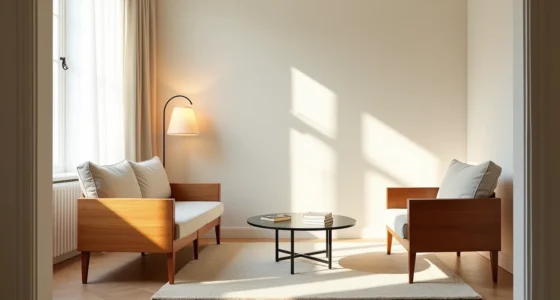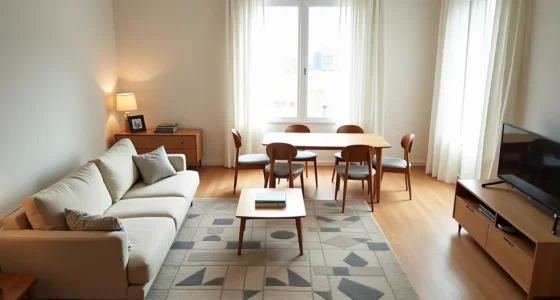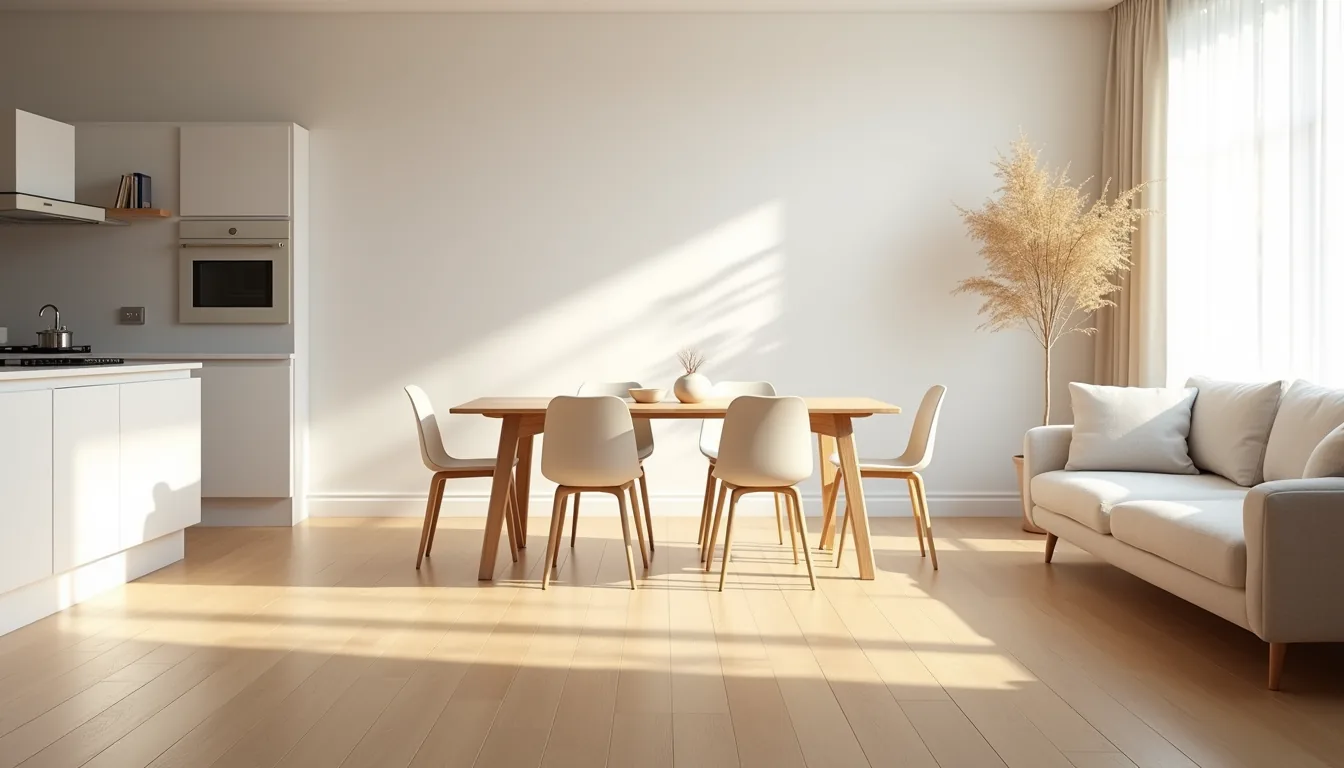
An open plan kitchen dining living layout merges three distinct zones into a single volume, and the design decisions you make at the boundaries determine whether the result feels spacious or chaotic. The key is to treat each function, cooking, eating, and relaxing, as a defined zone with its own lighting, flooring, and furniture scale, rather than one undifferentiated room. Below are six distinct interpretations, each with the practical requirements, suitability, and trade-offs you need to replicate them successfully.
Key takeaways
- Choose a shared finish palette, matching floor tone, trim color, and cabinet hardware, to visually unify the three zones without sacrificing distinct furniture identities.
- Anchor each zone with a dedicated rug and a single large furniture piece (sofa, dining table, island) placed at least 36–48 inches apart to preserve clear traffic lanes.
- Use a dropped ceiling or raised floor platform (4–6 inches) to delineate the dining area from the living zone, which works best in large rooms but adds renovation cost.
- Layer three lighting types, ambient recessed cans, task pendants over the island, and a dimmable floor lamp in the living corner, to let you switch the room’s focus without moving a single item.
The Shared Finish Palette Approach
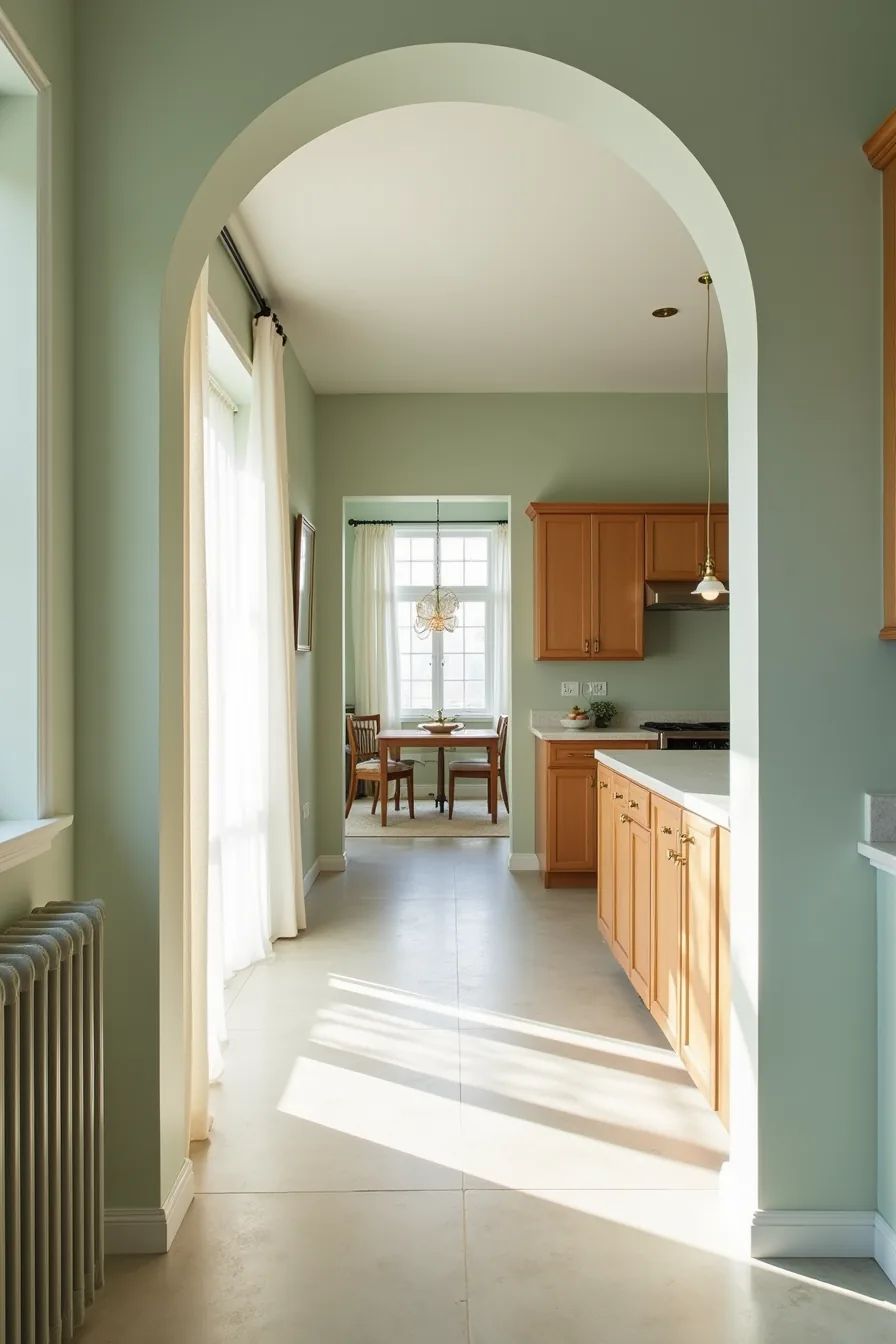
One continuous material story is the simplest way to unite an open plan kitchen dining living space without erasing its distinct functions. Sage green walls wrapping all three zones create a calm backdrop, while pale concrete-look tiles laid throughout eliminate visual breaks at doorways. The result is a single, serene canvas that makes the room feel larger and more intentional.
This approach works best for smaller or awkwardly shaped spaces where distinct wall colors would fragment sightlines. To execute it, commit to one floor finish, one wall color, and one accent metal, then repeat that metal across hardware and lighting. Brushed brass on kitchen cabinet pulls and pendant fixtures ties the zones together without requiring matching furniture.
Budget-wise, painting is the lowest-cost change; tiles are the highest, so consider a luxury vinyl tile that mimics concrete if you need to cut costs. Renters can achieve the same continuity with peel-and-stick flooring and removable wall film. Just remember that a uniform palette demands consistent maintenance, scuffs show equally in every zone.
Distinct Zone Anchors with Furniture Placement
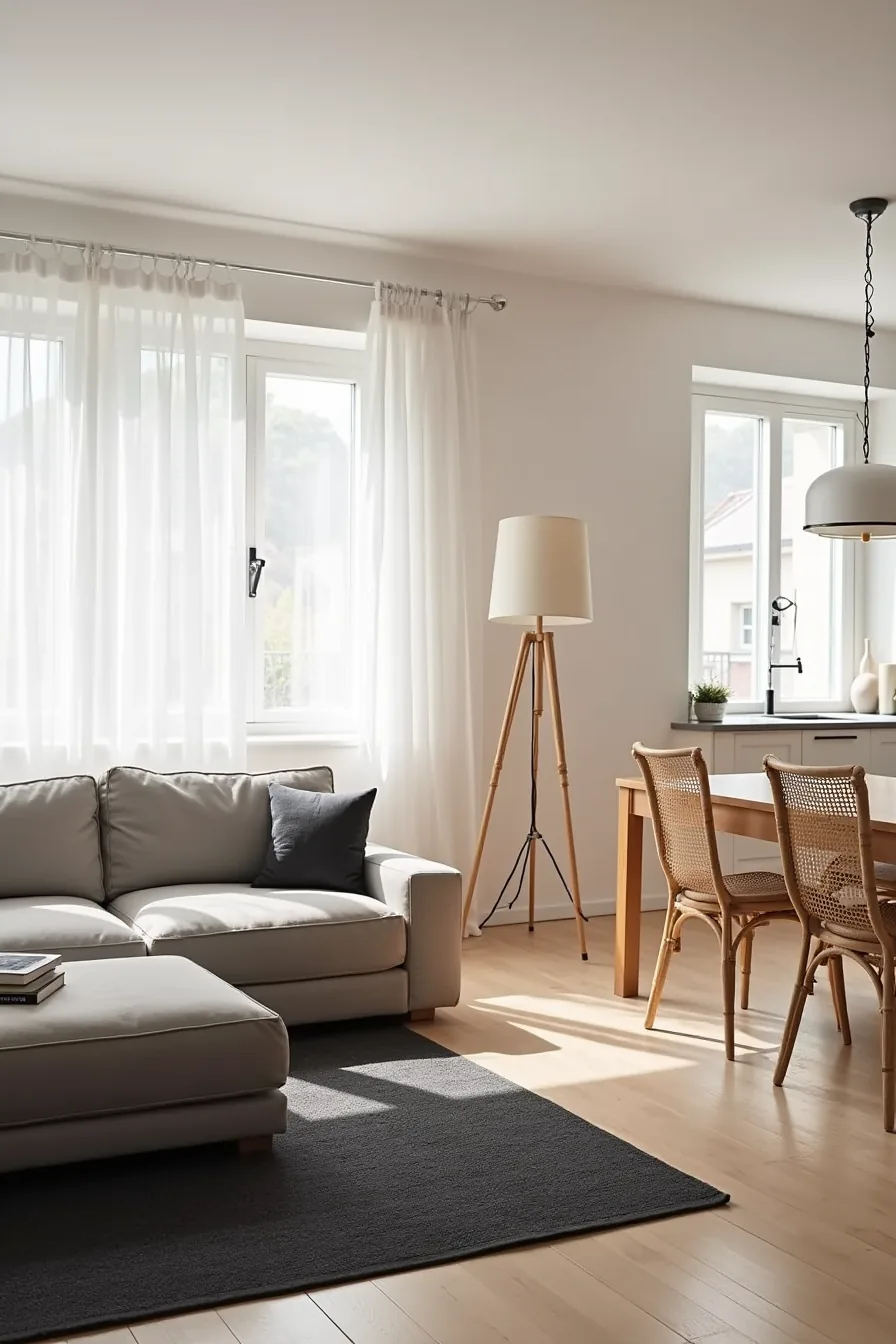
Furniture placement alone can define three zones in an open plan kitchen dining living space, and the trick is working with sightlines rather than against them. A charcoal area rug beneath a gray sectional creates a clear boundary for the living zone, grounding the seating arrangement so it doesn’t float ambiguously into the dining area. Position the rug so its front edge sits under the sectional’s front feet only, leaving the back legs off the rug visually extends the floor and makes the room feel larger.
Beyond the rug, a natural wood dining table with woven chairs establishes the dining zone as a separate island of activity. The contrast between the dark rug, light wood, and the kitchen’s harder surfaces gives each area its own identity without a single wall. This works best for medium-sized rooms where you’ve 8-10 feet between zones to spare.
Choose rugs with a low pile (0.25-0.5 inches) in high-traffic paths, and expect to vacuum weekly, crumbs from the dining zone will migrate onto the rug. For renters, this is the most reversible strategy you can adopt since nothing permanent is installed.
Level Changes and Subtle Spatial Breaks
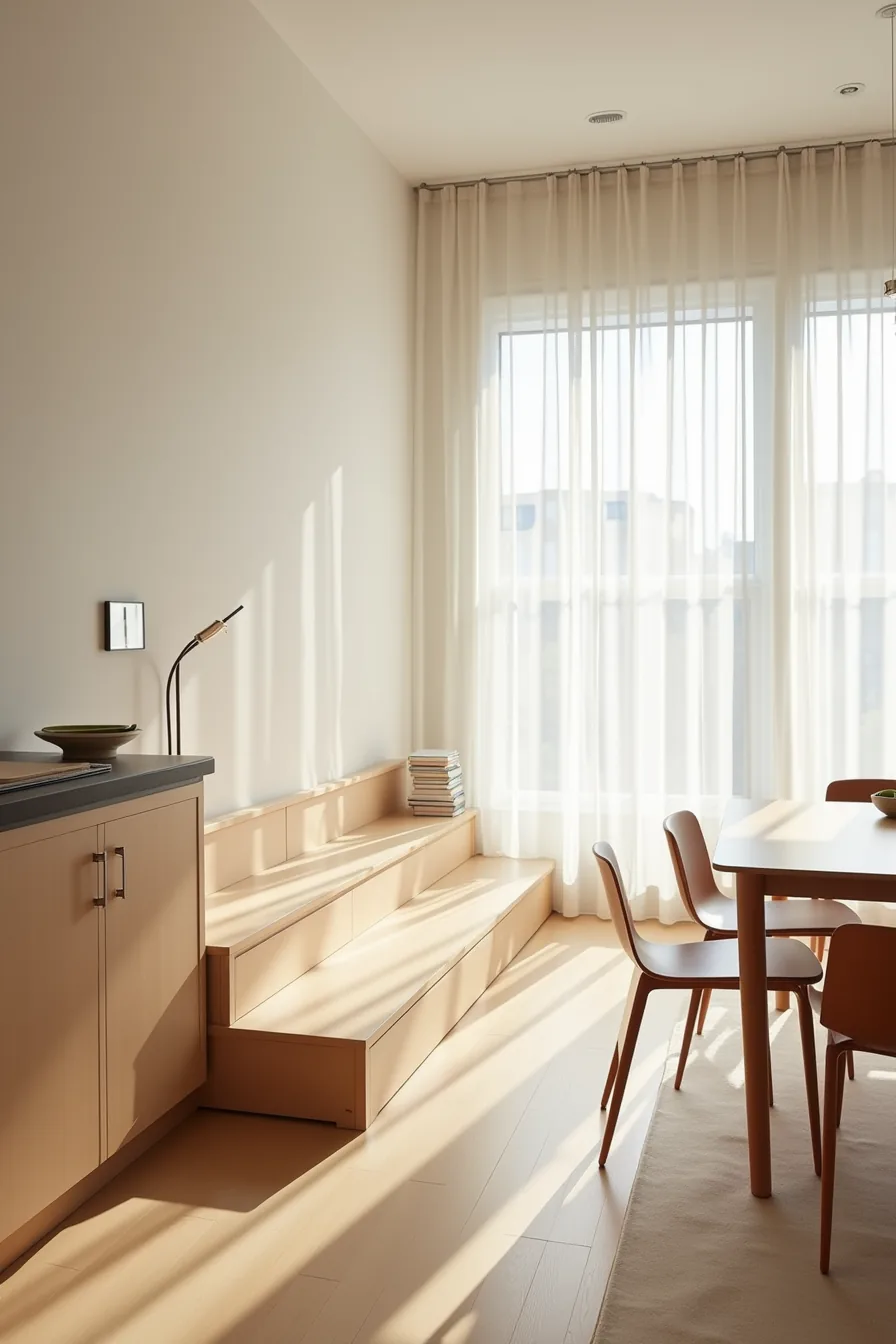
A half-step drop of 4-6 inches between kitchen and dining floor levels signals a zone change through your feet and peripheral vision, not through barriers. In the setup visible from the kitchen, three shallow steps lead down to the dining platform, then two more steps descend into a sunken living area with low-profile seating. The kitchen floor remains at entry level, and because the transitions are open, sightlines travel uninterrupted across all three zones, you can watch television from the kitchen counter and hold a conversation from the dining table without raising your voice.
This approach suits rooms with 12 feet or more of length, where the elevation changes create momentum rather than choppiness. Each step should be a full 11-inch tread with a 4-6 inch rise, and you must install handrails or contrasting edge trim if anyone in your household has mobility concerns, building codes typically require them for any change exceeding 8 inches total. The sunk living room gains acoustic benefits, as lower seating traps sound, but expect higher renovation costs: structural framing, subfloor adjustments, and potential foundation work run significantly more than furniture-based zoning, so this is a long-term investment route for homeowners, not renters.
Island and Counter as the Central Organizing Element
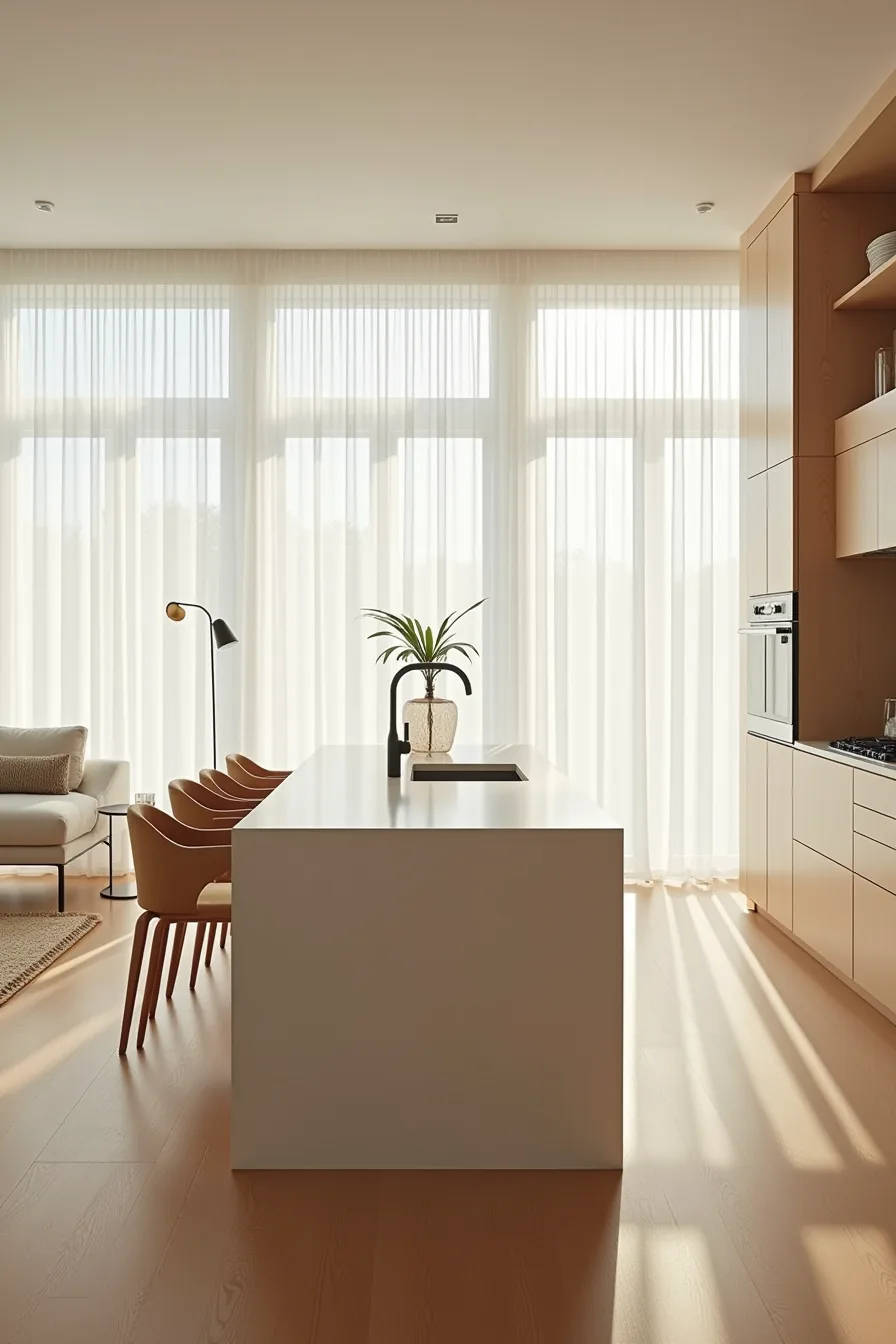
In the overhead view of this layout, a waterfall island serves as the pivot point around which the entire open plan kitchen dining living arrangement rotates. Kitchen prep happens behind it, dining chairs pull up to its far side for meals, and the living seating sits beyond, oriented toward the island as much as the television. Because the island carries the waterfall-edge material down to the floor, it reads as a sculptural object rather than a piece of cabinetry, which is what lets it anchor three zones without feeling like a wall.
This works best in rooms where the island can maintain at least 36-42 inches of clearance on the dining side for chair pull-out and 42-48 inches on the prep side for two people to work simultaneously. The counter height matters: keep the dining side at standard 36 inches if you want everyday meals there, or raise the entire island to 42 inches for a breakfast-bar feel, but know that 42 inches requires bar stools with footrests and is impractical for small children. For renters, a freestanding butcher-block cart with casters can replicate this pivot effect at roughly a quarter of the built-in cost, though you lose the waterfall visual weight and must commit to a smaller footprint.
Lighting Layers to Define and Separate Zones
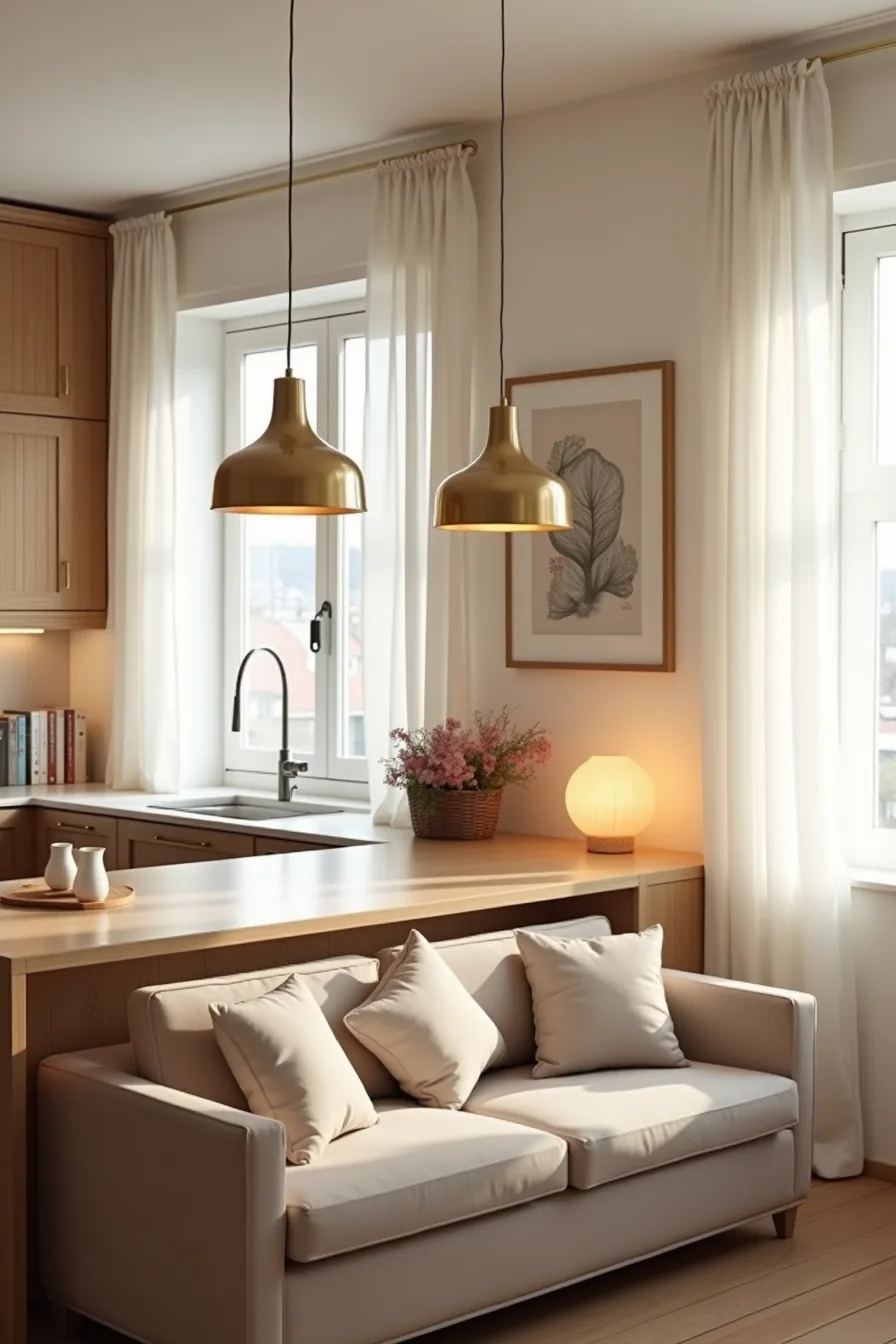
Three distinct lighting levels turn one continuous volume into three functional territories. The brass pendants over the island operate at roughly 30-36 inches above the countertop, casting focused illumination on food prep and casual meals while creating a visual ceiling that anchors the kitchen zone. Task lighting under the upper cabinets floods the work surface with shadow-free light, making it the brightest point in the room, exactly where precision matters most.
On the living side, the table lamp beside the sofa glows at eye level when seated, producing a warm pool of light that signals relaxation rather than productivity. The recessed ceiling spots provide the ambient base layer at 30-50% brightness, just enough to move safely through the space without competing with either the pendants or the lamp. This three-tier approach lets you run the pendants for cooking, switch to lamp-only for movie night, or raise everything for entertaining, all without changing a single fixture.
Use a dimmer on the recessed spots and pendants separately, because hardwired zones give you the flexibility that a single switch can’t. Warm white bulbs at 2700-3000K keep all three layers visually consistent; mixing color temperatures across zones reads as accidental rather than intentional.
Adapting Open Plan Harmony to Your Space Size
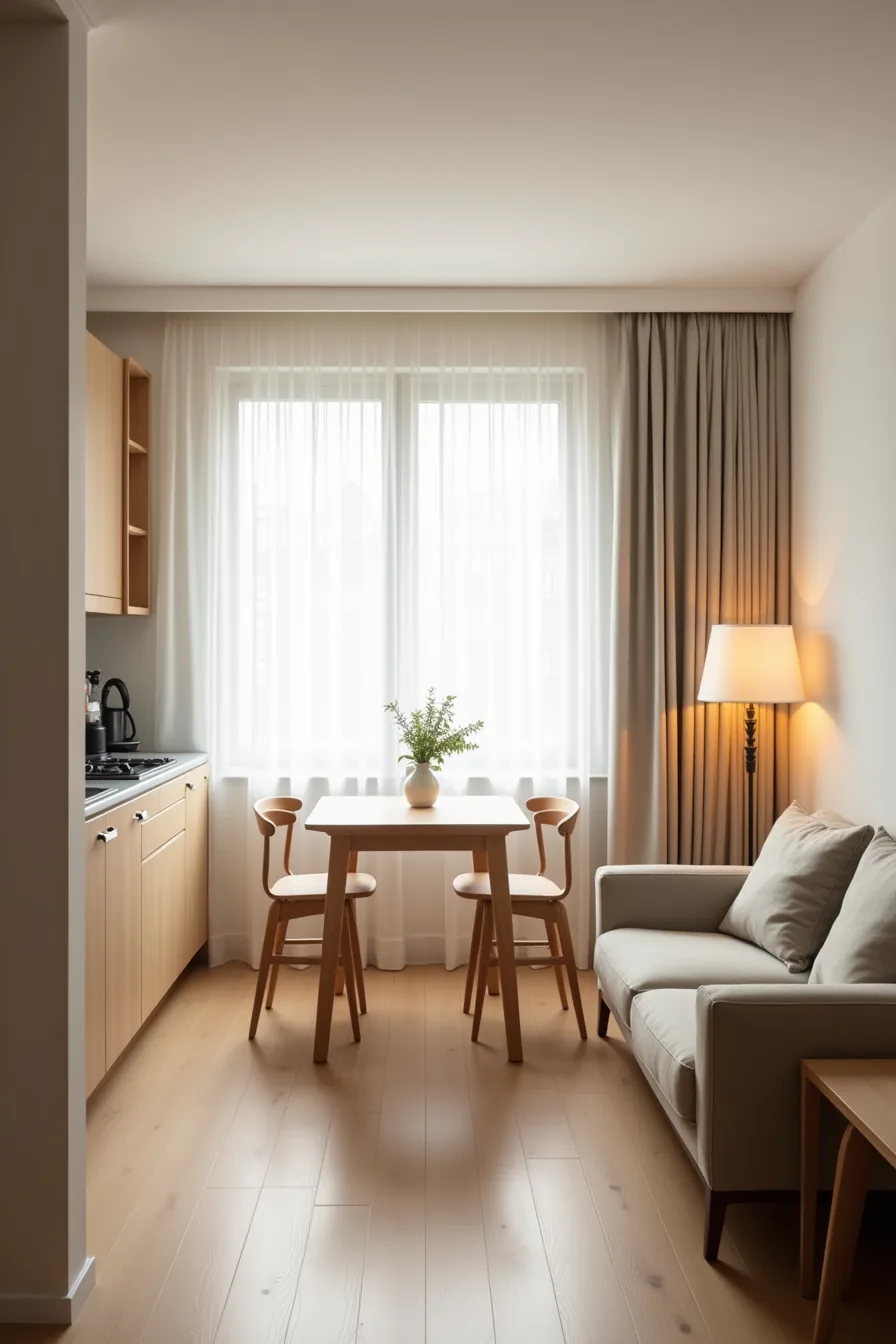
A 400-square-foot studio proves that open plan harmony scales down without sacrificing function. The galley kitchen occupies one wall with its full run of counters, leaving the opposite side for a two-seat dining table tucked against the wall and a compact loveseat beyond it. The key constraint: keep a 36-42 inch clear path between the counter edge and the table, so two people can cook and pass simultaneously without sidestepping.
In medium homes of 1,200-1,800 square feet, you gain room for a proper island or peninsula as the visual anchor between kitchen and dining. Place the dining table 48-60 inches from the island’s edge, enough clearance for stools pulled out and chairs pushed back at the same time.
Large layouts over 2,500 square feet demand furniture-scale zoning rather than architectural walls. A full-height shelving unit or a deep console behind the sofa creates a deliberate break between dining and living, while a 96-120 inch dining table anchors the middle ground. The trade-off: larger spaces need more layered lighting and area rugs to prevent the zones from feeling stranded in one cavernous void.
Your Next Move
Pick the single biggest pain point in your current layout, whether that’s poor sightlines, wasted wall space, or a kitchen island that blocks traffic. Solve only that one problem first; most open plan failures come from trying to fix everything at once.
Measure your floor area this weekend and sketch the zone boundaries with painter’s tape. Live with that layout for three days before buying anything. That tape test costs nothing and reveals exactly where circulation breaks down.
Once you’ve confirmed the footprint, choose one material to anchor the zone transition, a floor finish, island color, or ceiling treatment, and commit to it before shopping for anything else.
Frequently Asked Questions
How do you prevent cooking smells from spreading through an open plan kitchen dining living space?
Install a range hood vented outdoors, sized to match your cooktop’s width. For heavy frying, add a recirculating hood with charcoal filters as backup. Cross-ventilation from opposing windows also clears lingering odors within 10–15 minutes.
What’s the minimum square footage needed to make open plan kitchen dining living work without feeling cramped?
A combined footprint of 300–400 square feet works if you keep a clear 36–42-inch walkway between zones. Below 300 square feet, dedicate one zone to dual duty, like a dining table that doubles as prep space, to avoid visual clutter.
Can you add a partial wall or sliding door to an open plan kitchen dining living layout later if you change your mind?
Yes, most layouts accept a non-load-bearing partition or barn door retrofitted within a weekend. Budget 15–20% extra for rerouting electrical or ductwork if the wall crosses existing runs. A pocket door requires wall cavity space, so verify stud depth before committing.
How do you manage noise from cooking and dining activities in an open plan layout?
Layer soft surfaces, area rugs, upholstered dining chairs, and curtain panels, to absorb clatter and appliance hum. Place the dishwasher and fridge away from the living area’s seating wall. For persistent noise, add acoustic panels behind the TV or a solid-core door to the utility room.