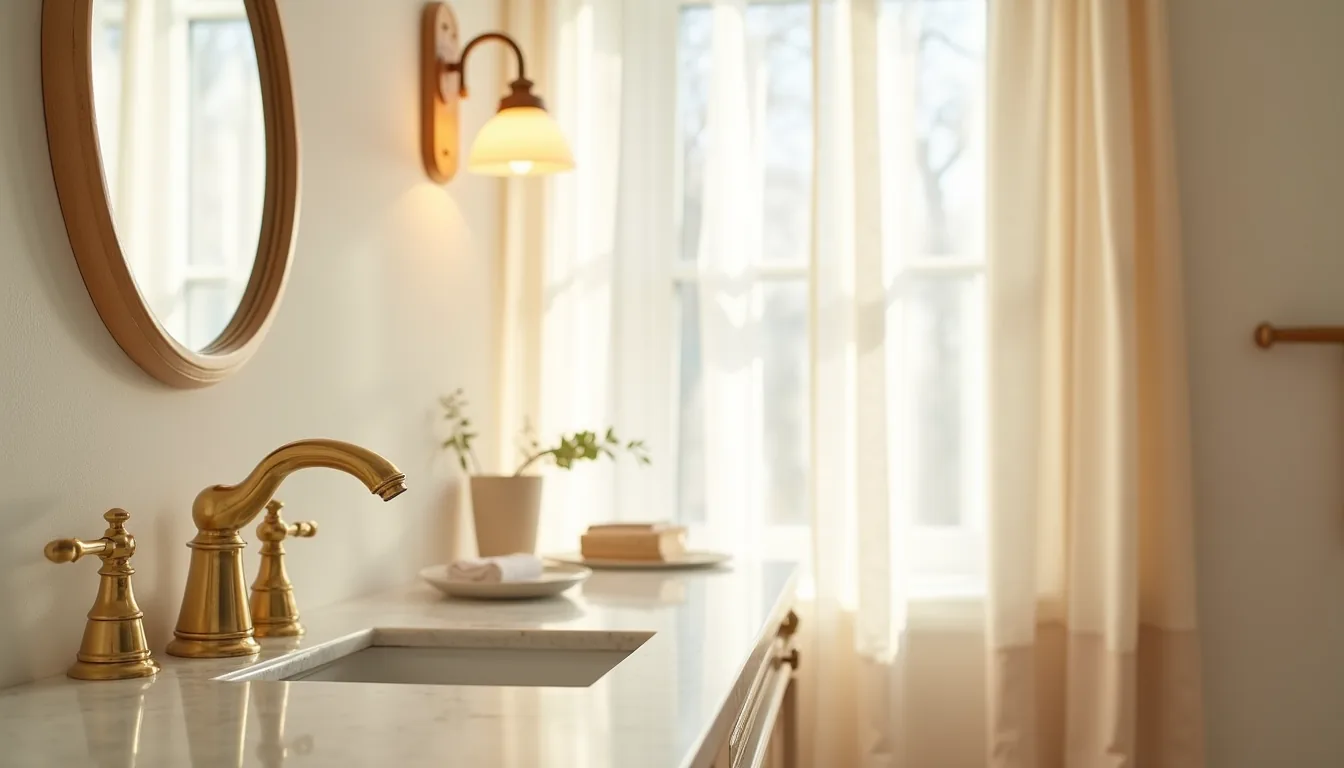
Brushed brass bathroom fixtures are a specific finish, warm, softly reflective, and brushed rather than polished, that fits both modern and traditional spaces, but choosing the right ones depends on your room size, budget, and maintenance tolerance. The finish hides water spots better than polished brass or chrome, yet it still demands regular wiping with a microfiber cloth to prevent tarnishing in humid conditions. Below, you’ll find six distinct ways to apply it, from a $40 faucet swap to a full custom vanity setup, each with the exact dimensions, trade-offs, and cleaning routines you need to decide confidently.
Key takeaways
- Green tile pairs with brushed brass fixtures because the warm metal offsets cool emerald or sage tones, creating visual balance without extra paint or decor.
- White walls soften brass’s glow, so choose warm white (LRV 70-80) instead of stark white to avoid a clinical look and let the metal read as accent, not glare.
- Stop at three brass finishes per bathroom, faucet, mirror, and one light fixture, to prevent the space from feeling gilded; any more requires deliberate repetition of the same undertone.
- Swap only faucets and towel bars on a budget (under $300 total) for instant impact, but skip plumbing changes if you rent, since these parts can be reinstalled in under an hour with a wrench.
Brushed Brass with Green Tile: Creating Warmth Against Cool Tones
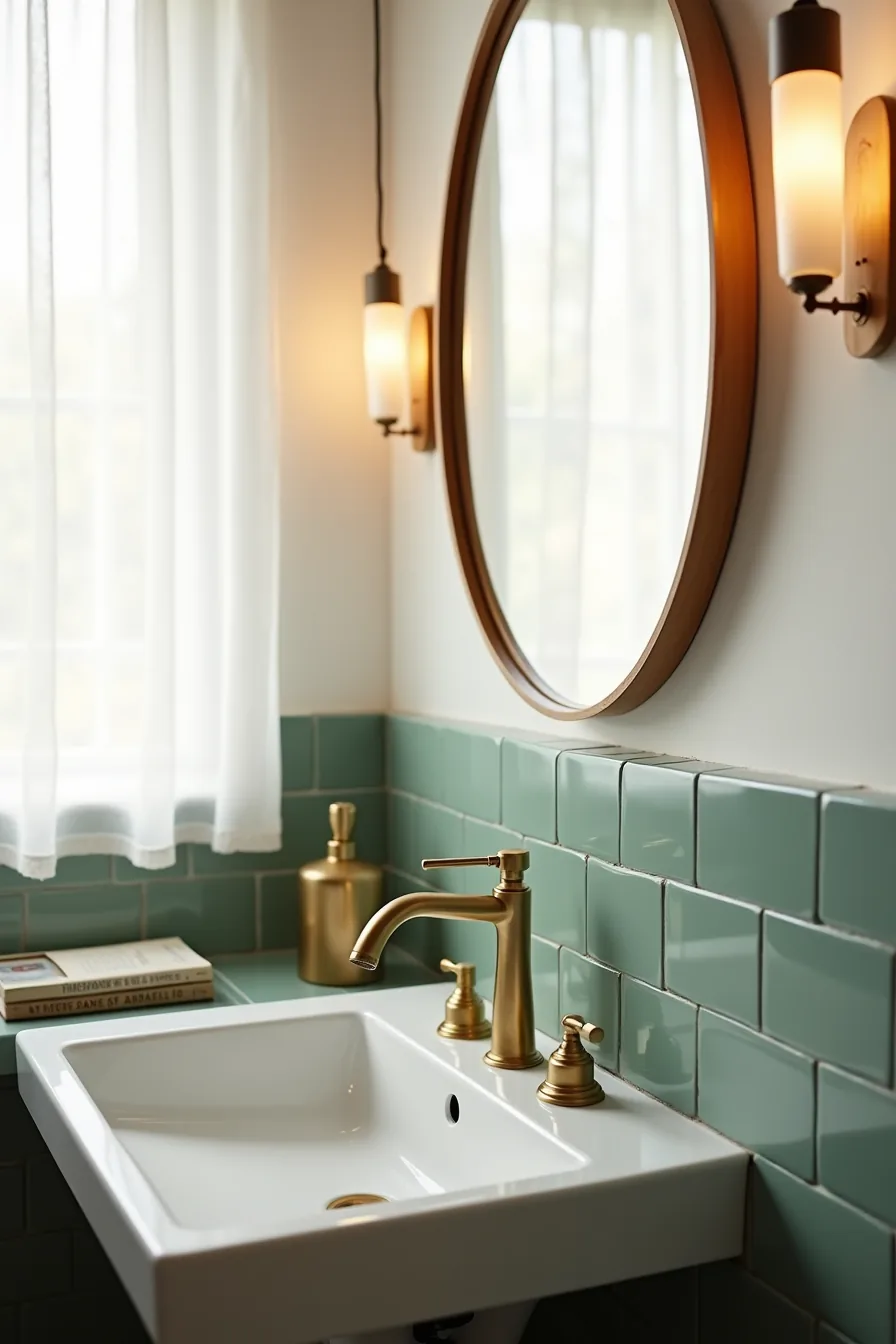
Pairing brushed brass bathroom fixtures with green tile is one of the most effective ways to balance a cool, saturated palette. The matte finish of the metal catches warm light without reflecting harsh glare, which keeps the green from feeling flat or cavernous in smaller spaces. In a bathroom with forest-green subway tile, the contrast works because the brass reads as a neutral accent rather than a competing color.
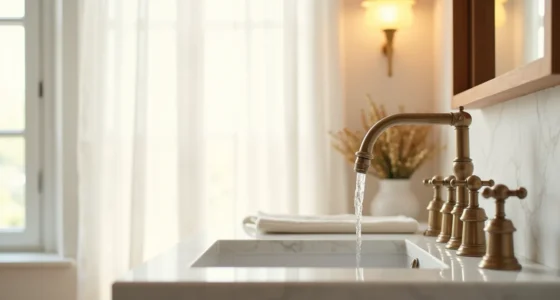
For a small vanity, a single-hole brushed brass faucet with a modest 4–6 inch height keeps the visual weight low and leaves counter space usable. Adding a matching brass soap dispenser on the tile ledge, just left of the faucet, creates a deliberate rhythm without cluttering the surface. This setup suits renters or first-time renovators because it requires no plumbing changes, you can swap the faucet back before moving out and take the dispenser with you.
Stick to one brass tone throughout the space. If your tile has olive or emerald undertones, a brushed finish with a slightly darker patina will blend better than a bright, mirror-polished brass. Keep the grout line thin, 1/8 inch or less, so the tile reads as a solid field and the brass pops as the focal point.
Warm White Pairing: Softening Brass with Neutral Walls
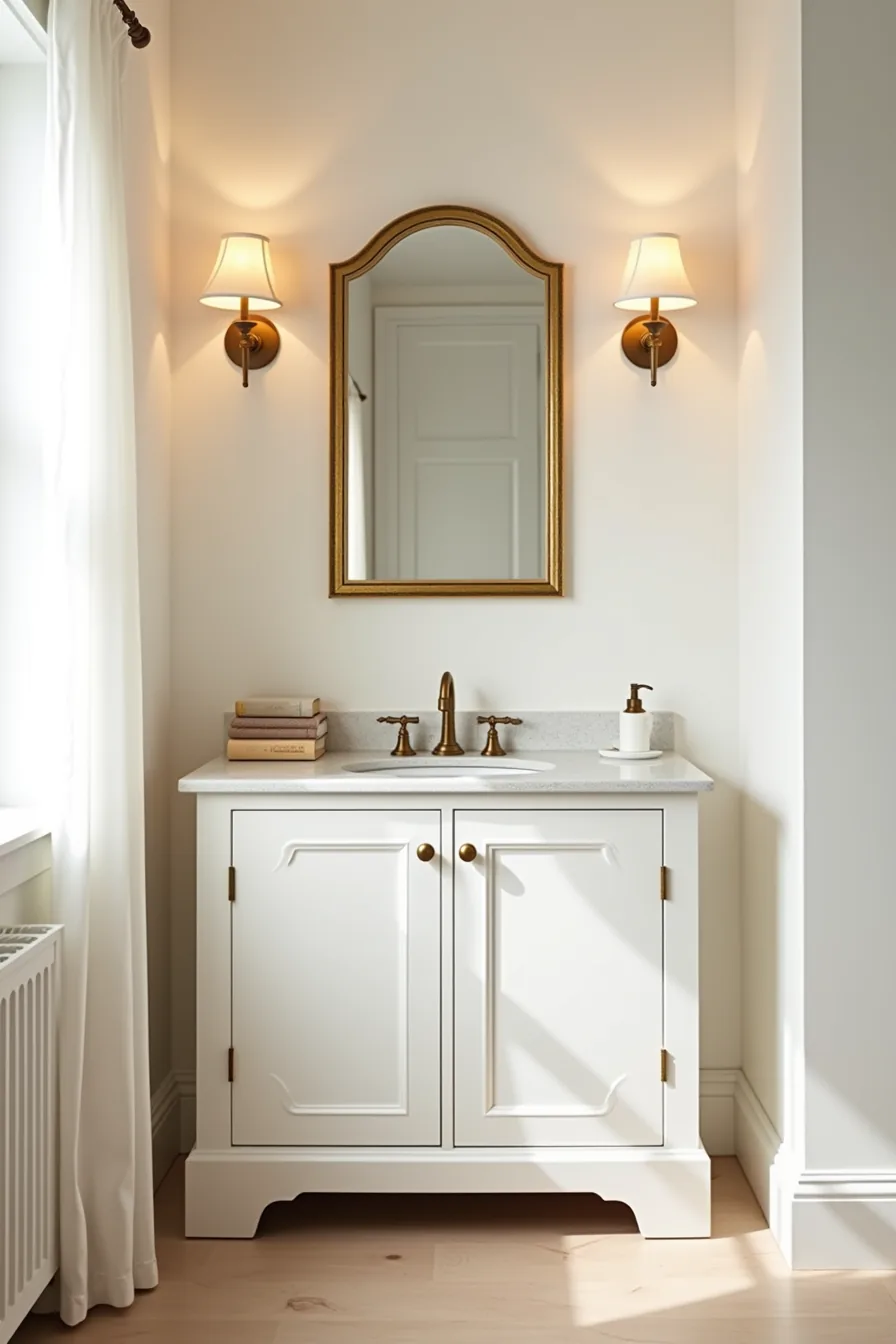
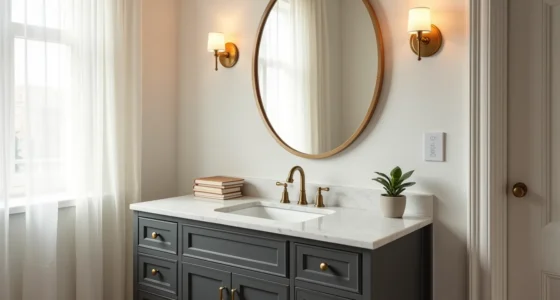
Warm white pairing works because it gives brushed brass fixtures a soft backdrop instead of a competing color field. In a corner setup with shaker-style cabinetry painted in a warm white with yellow undertones, the brass hardware on the cabinet doors and the brass mirror frame pick up the same warmth and carry it vertically. The result is a cohesive look that avoids the sterile feel of stark, blue-white paint.
Choose a warm white with a creamy or beige undertone, not a gray-green one, or the brass will look brassy rather than rich. Install a dimmer on the overhead light and add a warm 2700K–3000K bulb; cool daylight will wash out the gold tones of the metal. This pairing suits medium-sized bathrooms where the brass needs a quiet field to stand out without overwhelming the room.
Mixed-Metal Limit: When to Stop Adding Brass
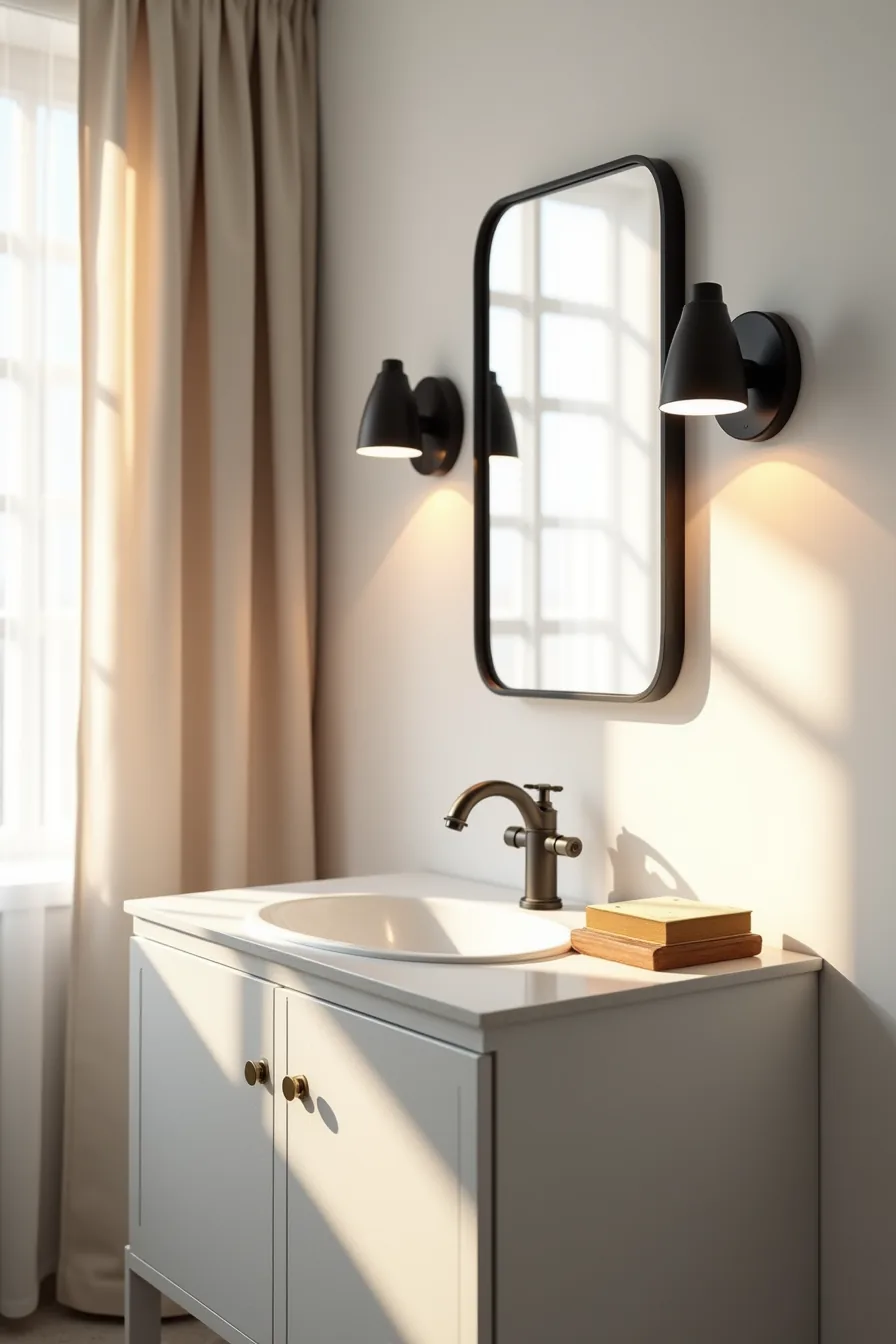
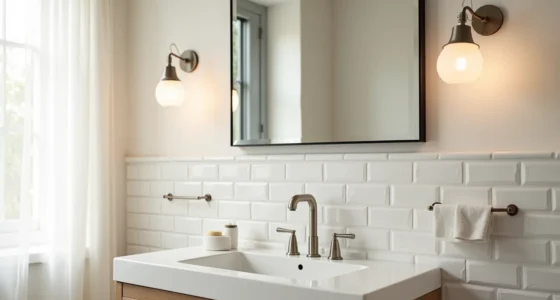
Mixing metals works when you cap it at two finishes per visual zone. A vanity with a brushed brass faucet, matte black sconces, and a chrome-framed mirror succeeds because each metal occupies a distinct function: brass on the plumbing, black on the lighting, chrome on the mirror. Assigning one metal per category prevents the finishes from competing for attention.
The proportion rule is simple: let one metal dominate at roughly 60 percent, and divide the remaining 40 percent between the other two. In this setup, the chrome mirror frame carries the largest surface area, the brass faucet anchors the center line, and the matte black sconces frame the composition as accents. If you add a fourth finish, like stainless steel accessories, the eye loses its anchor point.
The material zones matter as much as the ratios. Keep brass and chrome on fixtures you touch daily, reserve matte black for vertical surfaces like lighting and shower frames, and never mix metals within a single fixture, such as a faucet with a brass body and chrome handles. This mixed-metal limit works best in bathrooms where you want warmth without committing to an all-brass look, and it gives you freedom to swap accessories later without redoing plumbing.
Budget Route: Swapping Faucets and Towel Bars
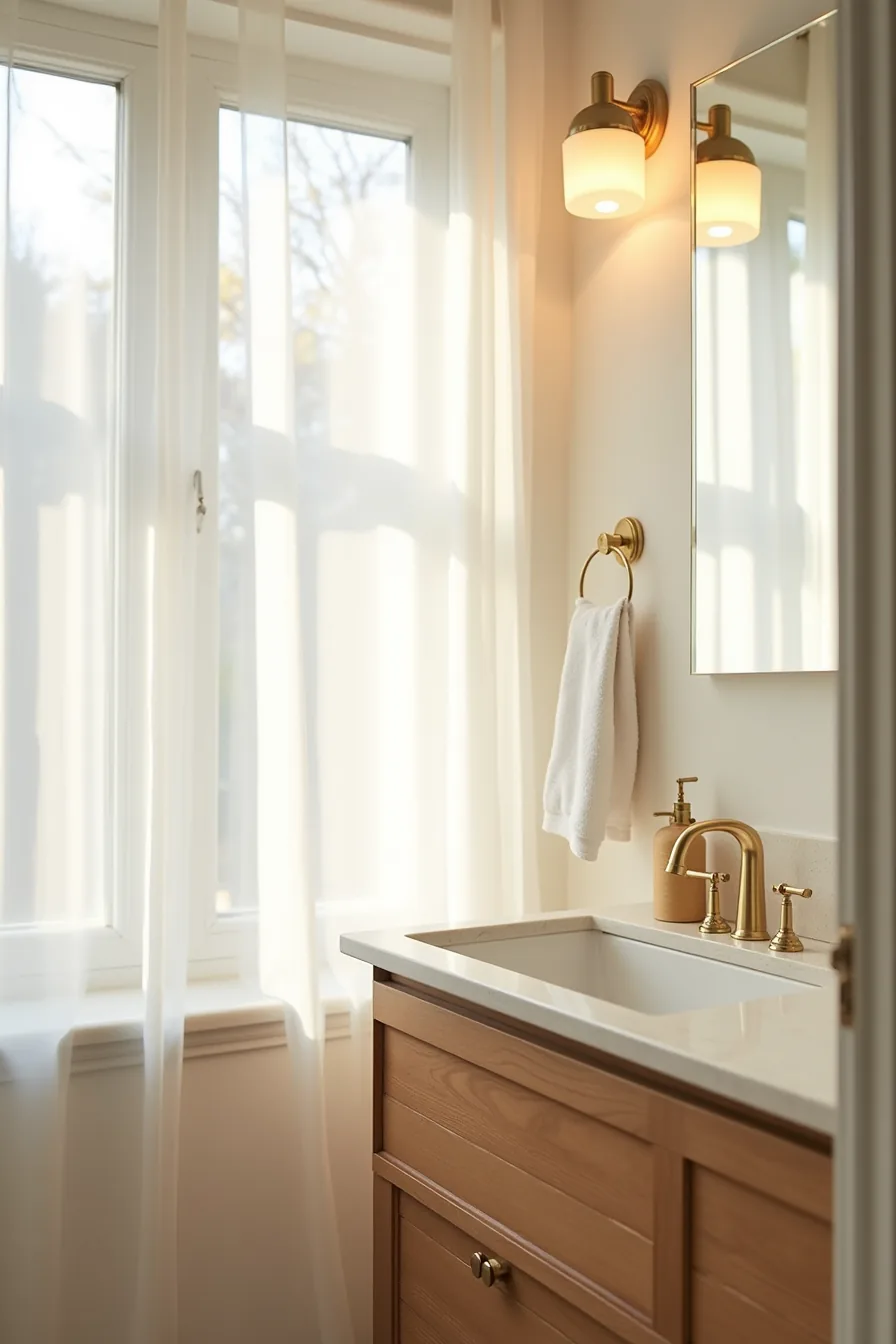
You don’t need a plumber to introduce brushed brass, and you don’t need to forfeit your security deposit. The lowest-cost entry point is a replacement faucet aerator, which twists off by hand and costs under 20 dollars. It sits at the stream point, so it reads visually as a brass fixture from across the room, yet the original faucet body stays untouched underneath.
This works best for renters who want the look without the liability of altering permanent plumbing.
For towels, a brushed brass tension rod installs in under two minutes with zero holes. It suits narrow bathrooms where a spring-loaded rod fits snugly between two walls, typically spanning 20 to 42 inches. Pair it with adhesive towel hooks rated for 5 to 10 pounds; they release cleanly with a hairdryer and dental floss when you move out, leaving no residue.
This combination delivers the full warm-metal effect for roughly 40 to 60 dollars total, and you can reverse it entirely in an afternoon. If you own your home, these same pieces work as a temporary trial run before you commit to permanent Brushed Brass Fixtures for a Gentle Bathroom Refresh.
Mid-Range Investment: Mirrors, Lighting, and Hardware
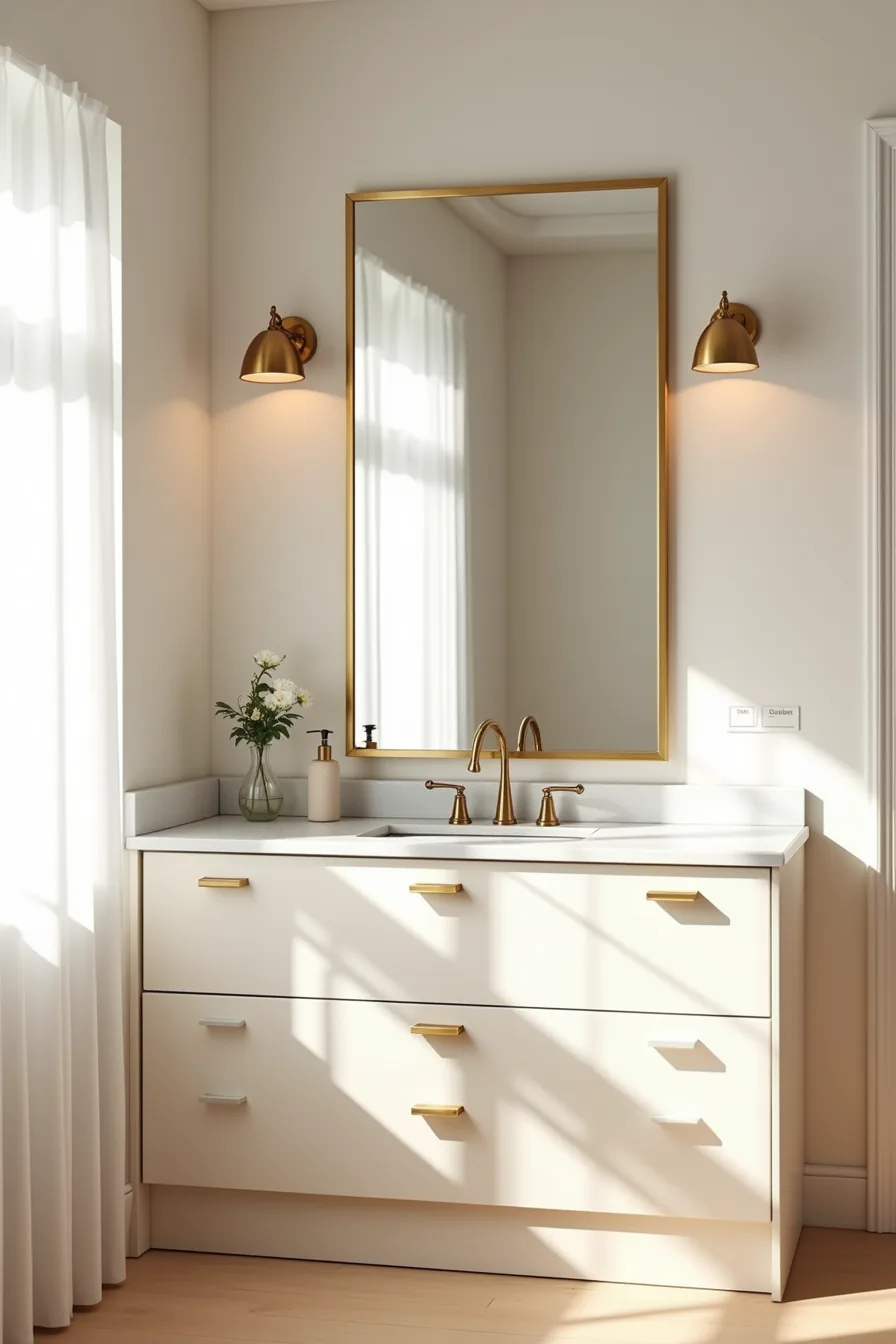
A framed mirror is the highest-impact semi-permanent swap you can make. For a 30- to 36-inch-wide vanity, choose a brass-framed mirror between 24 and 30 inches wide, leaving at least 4 inches of wall on each side. Hang it so the center sits at eye level, roughly 60 inches from the floor.
This scale works for most single vanities; if your vanity runs 48 to 60 inches, step up to a mirror in the 36- to 42-inch range instead.
Flanking pendant lights replace dated sconces without rewiring if the junction boxes align. Position each pendant 28 to 36 inches apart, centered 60 to 66 inches above the floor, with the bottom of the shade at least 6 inches above the mirror’s top edge. Choose brushed brass pendants with an interior white or frosted glass shade so the light bounces rather than creating a warm, dim glow.
Three brass drawer pulls on the cabinet fronts below tie the vertical line together. Match the pull’s finish to the mirror frame and pendants exactly, mixing brushed and polished brass in one room reads as a mistake. Expect to pay 80 to 200 dollars for the mirror, 60 to 150 per pendant, and 8 to 25 dollars per pull.
This route requires no permits, takes one weekend, and raises the perceived value of the room more than any other change at this price point. It suits homeowners who want a permanent-feeling update but aren’t ready to touch plumbing.
Long-Term Installation: Plumbing and Built-In Fixtures
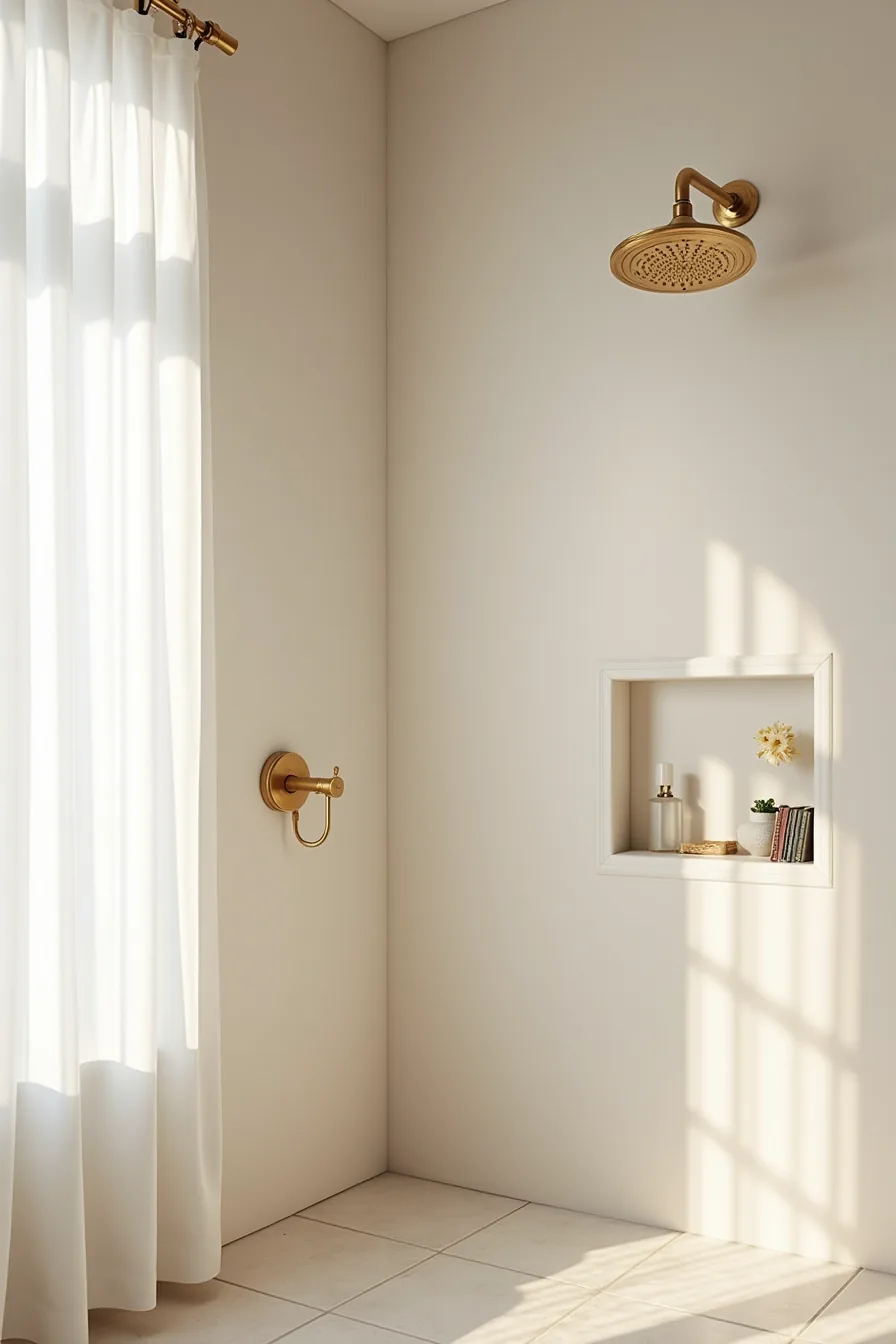
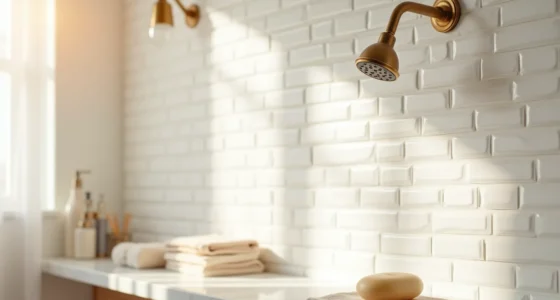
If you own your home and plan to stay put for five or more years, replacing the shower system delivers the most authentic brushed brass experience. A full setup, rainfall showerhead, handheld sprayer, and a thermostatic valve with a brushed brass trim ring, runs 400 to 900 dollars for quality brass or PVD-coated materials. The trim ring is the visible centerpiece; make sure it matches the showerhead’s finish exactly, as the two sit within inches of each other.
The integrated brass shelf built into the shower niche serves a practical purpose: it eliminates the need for a hanging caddy that would clash with the finish. Have your tile installer set the shelf at a slight downward angle (2 to 3 degrees) so water doesn’t pool on it. For the valve, position it 48 to 52 inches above the shower floor, clear of the water stream.
Brushed brass handles routine humidity well, but water spots are inevitable. Wipe the fixtures dry with a microfiber cloth after each shower, or plan to clean them weekly with a mild soap solution. Avoid abrasive cleaners, they strip the brushed texture and accelerate tarnishing.
Expect the PVD coating to hold its color for 10 to 15 years; cheaper lacquered versions may need refinishing in half that time. This route suits owners who want a permanent upgrade and are prepared for a licensed plumber to handle the rough-in work.
Your six-step game plan
You now have six distinct ways to bring brushed brass into your bathroom, ranging from a $30 faucet cover to a fully custom shower system. Every option works, but they demand different budgets, tools, and tolerance for maintenance. Match your choice to your living situation and your tolerance for polishing.
Start with the fixture that sees daily use, the faucet. Pick one finish sample, order a single faucet, and install it. Live with it for two weeks, then decide if brushed brass belongs everywhere or just in that one spot.
Frequently Asked Questions
Does brushed brass work in small bathrooms or does it make the space feel cramped?
Yes, it works. The matte finish absorbs light rather than reflecting it, so it won’t visually shrink a room. Use it on one or two fixtures, like a faucet and mirror, to avoid clutter in tight spaces.
How do I prevent brushed brass fixtures from tarnishing or developing water spots?
Wipe them dry after each use with a soft cloth. Apply a clear lacquer or wax coating every six months for extra protection. Avoid abrasive cleaners, they strip the finish and accelerate spotting.
Can I mix brushed brass with chrome or stainless steel, or will it look mismatched?
Yes, mix them deliberately. Use brushed brass as the accent, on handles or a showerhead, and keep chrome or steel for larger surfaces like sinks and tubs. Limit to two metals per room for a cohesive look.
What’s the difference between brushed brass and polished brass for bathroom use?
Brushed brass has a satin, matte texture with subtle grain lines, hiding fingerprints and water spots. Polished brass is mirror-like and shiny, showing every smear. For bathrooms, brushed brass requires less upkeep and reads more modern.