
An all black bathroom is a deliberate design choice that trades the expected white-and-chrome formula for a moody, sculptural look, but it only works if you control light, texture, and surface finish with the same precision you’d apply to a kitchen layout. The payoff is a space that feels intimate and cinematic, not cavernous or grimy, provided you balance matte and gloss, layer warm task lighting, and choose materials that hide water spots rather than magnify them. Before you commit to a single black tile or fixture, you need to know which of six distinct interpretations fits your room’s size, ventilation, and maintenance tolerance, because a small powder room and a large master suite demand opposite strategies.
Key takeaways
- Matte black bathrooms need layered, indirect lighting (vanity, shower, and accent) to prevent the room from feeling like a cave.
- In small spaces, limit matte black to one feature wall or the lower half of walls with a light ceiling to avoid shrinking the room.
- For renters, use peel-and-stick black tile or matte black vinyl film on existing surfaces, it removes cleanly without damaging landlord-approved fixtures.
- Black fixtures with a satin finish hide water spots and fingerprints far longer than true glossy black, so prioritize brushed textures for high-use areas like faucets and showerheads.
Matte Black on Every Surface
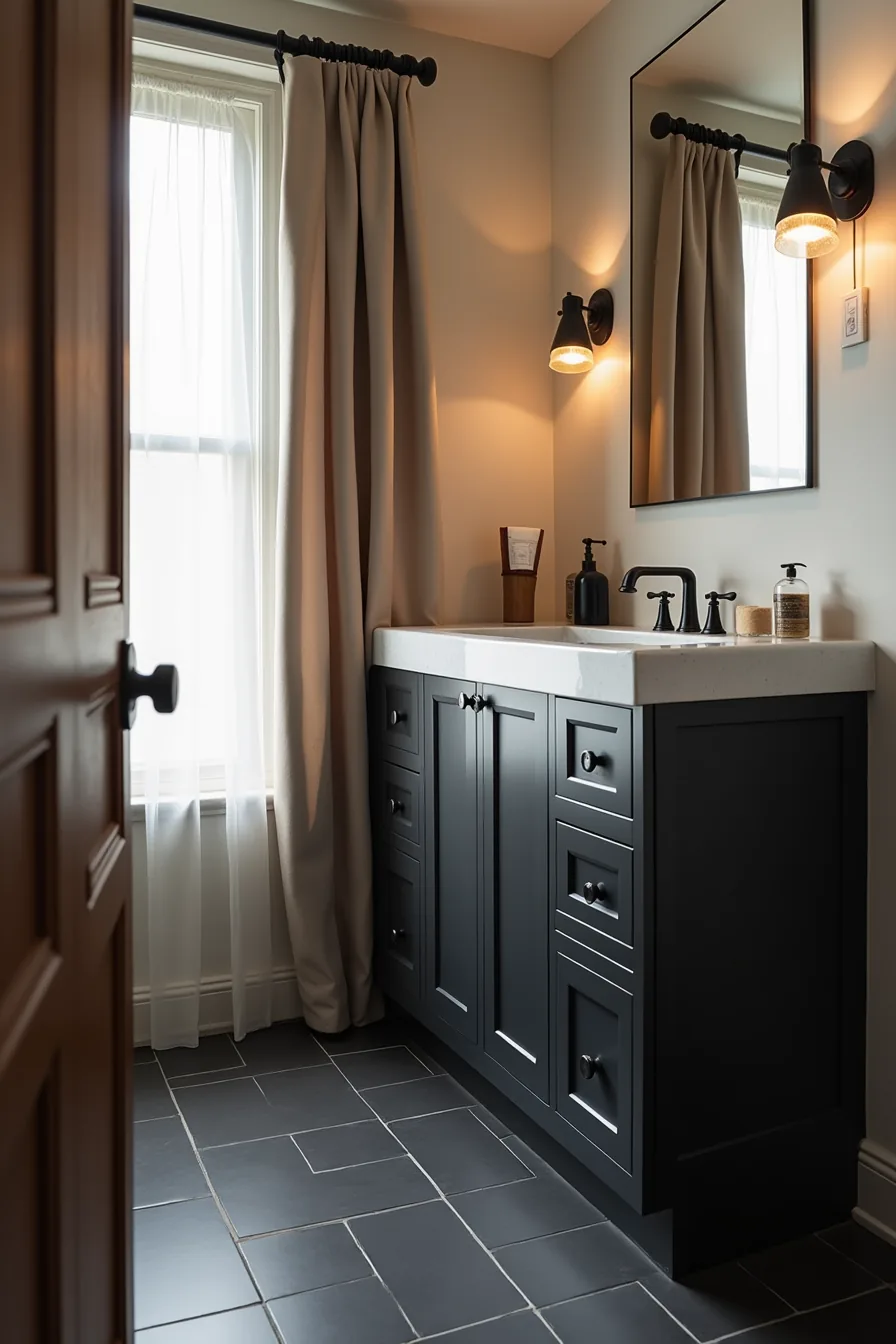
A true all black bathroom doesn’t mean total darkness, it means uniformity of finish. Painting walls, cabinetry, and ceiling the same matte black removes visual breaks, letting the room read as a single sculptural volume. In a corner setup with matte black painted walls meeting cabinetry with recessed handles, the lack of hardware protrusion keeps the eye moving without interruption.
Matte black ceramic floor tiles anchor the scheme, their low-sheen surface absorbing rather than bouncing light. A matte black towel bar mounted on the wall completes the practical circuit without introducing chrome or brass accents. This approach suits medium-to-large bathrooms where the continuous color doesn’t risk making the space feel like a cave.
Recreate it with paint (two coats of a high-adhesion matte primer plus two finish coats) and factory-painted cabinetry, field painting doors rarely achieves the same smooth result.
Tone-on-Tone Black with Texture Creates Contrast
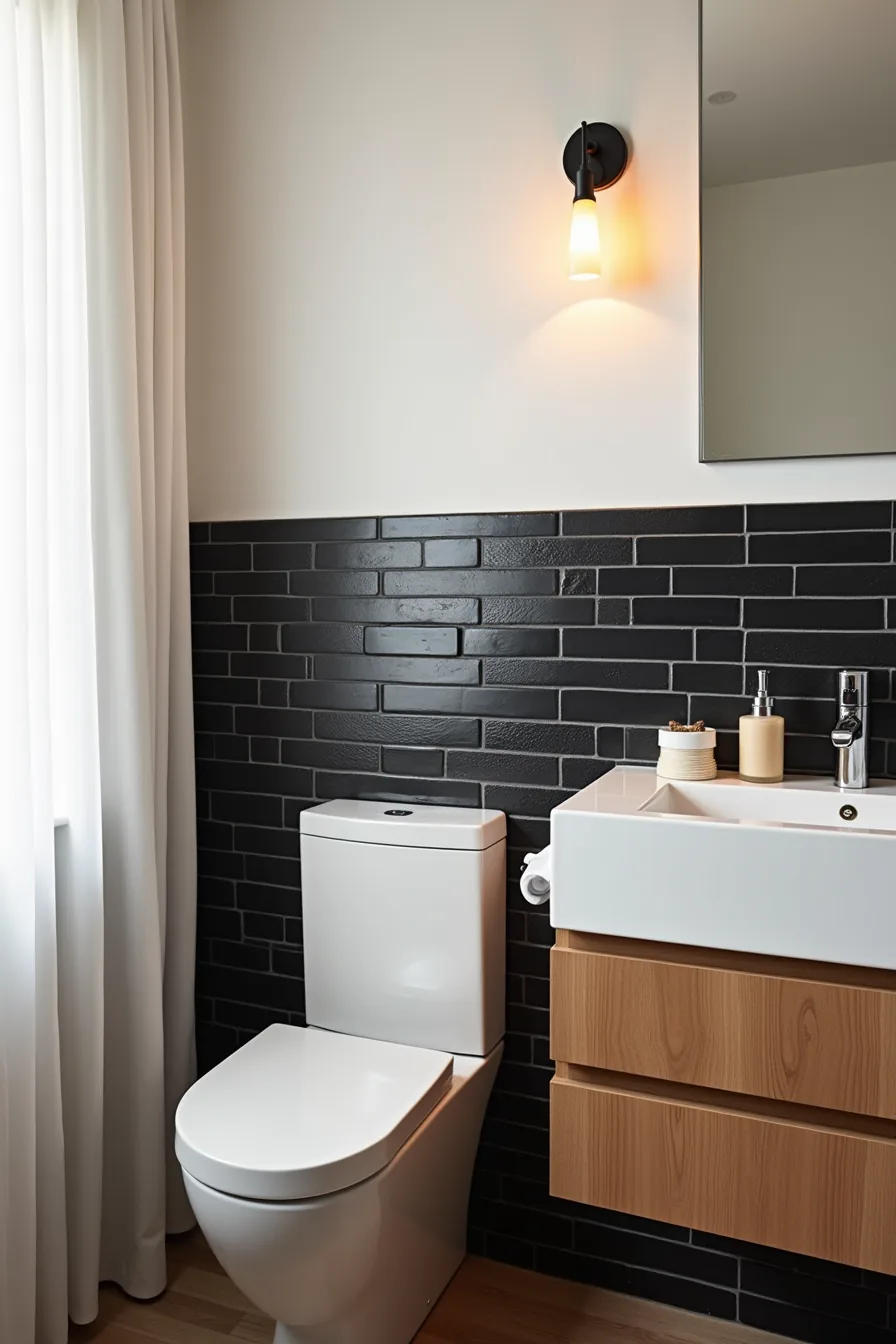
Texture creates contrast when every surface stays black but changes how it catches light. Pair a glossy black subway tile on the lower third of the wall with a textured black stone tile in the middle band and matte black paint above, the three finishes read as distinct planes while holding one palette. The gloss reflects what little light exists; the stone breaks that reflection into shadow; the matte paint absorbs it entirely.
This layering works in bathrooms where a single flat finish would feel stark, and it suits renters because the stone and subway sections mount as adhesive-backed panels over existing drywall. Keep grout lines tight at 1/16 to 1/8 inch in a matching black grout so the joints don’t fracture the tonal unity. Paint the upper wall with a scrubbable matte finish rated for bathrooms, and test the stone tile’s slip rating before using it on any floor, wall-only installation sidesteps that concern.
Lighting a Dark Room: Layered Illumination Strategy
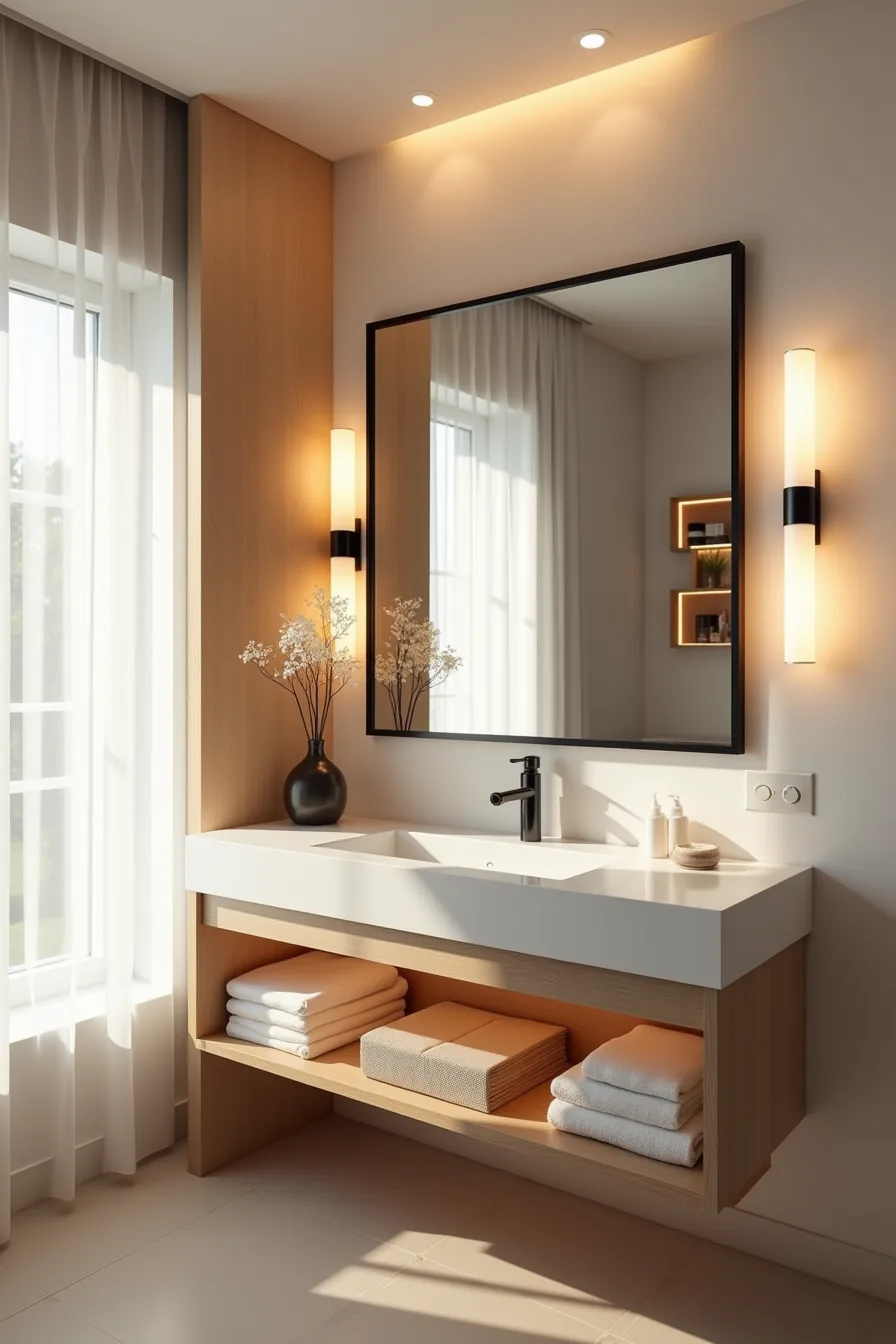
An all black bathroom needs three light layers to avoid feeling like a cave: ambient, task, and accent. Install recessed ceiling lights on a dimmer at 4 to 6 feet apart, aiming for roughly 50-75 lumens per square foot for general visibility. Position them 12-18 inches from the wall so they graze the black surfaces rather than creating harsh pools.
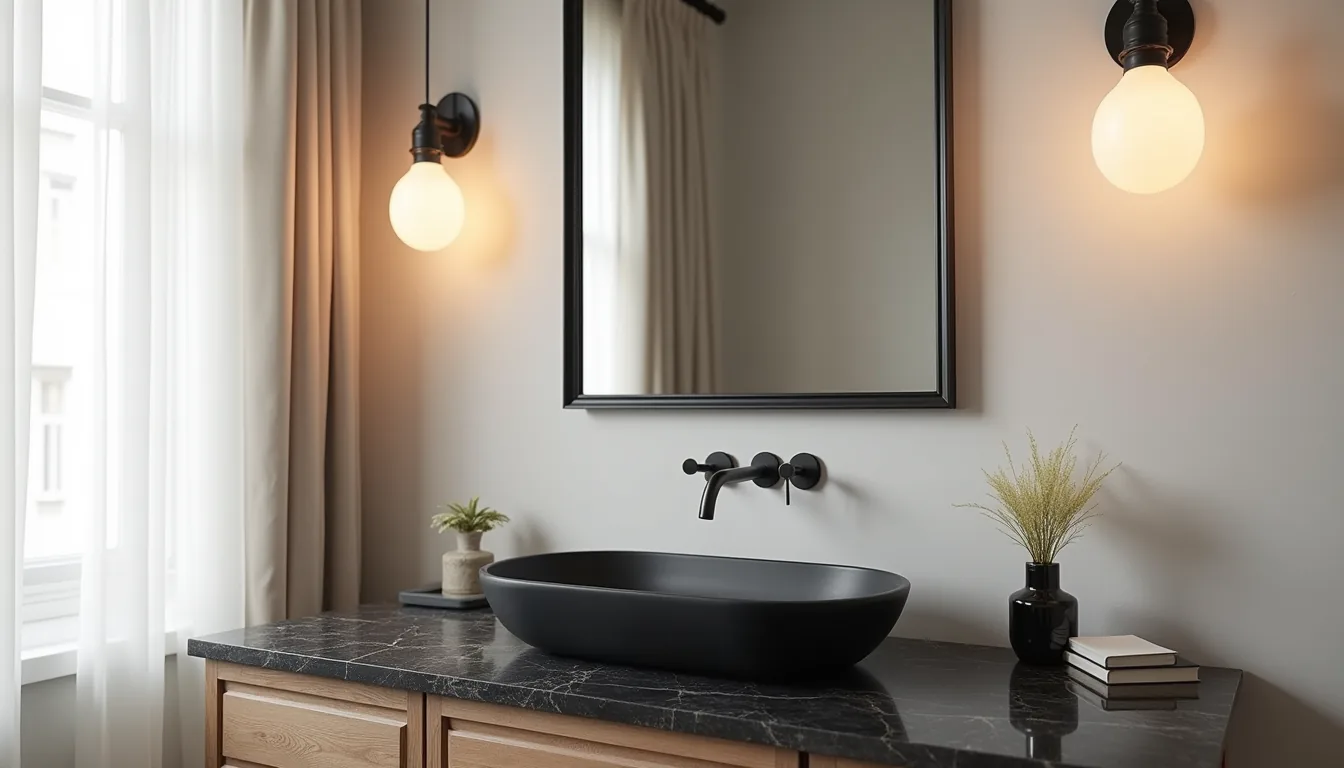
Flank your mirror with linear sconces at eye level, typically 60-66 inches from the floor, to deliver shadow-free task lighting for shaving or makeup. The warm light pooling on your countertop comes from a third layer: a low-wattage LED strip tucked inside a floating shelf niche, using 2700-3000K bulbs to soften the black backdrop without washing it out. Dim each layer independently so you can drop the recessed lights to 20% for a bath soak while keeping the sconces at full strength for grooming.
Small Space All Black Bathroom: Proportion and Placement
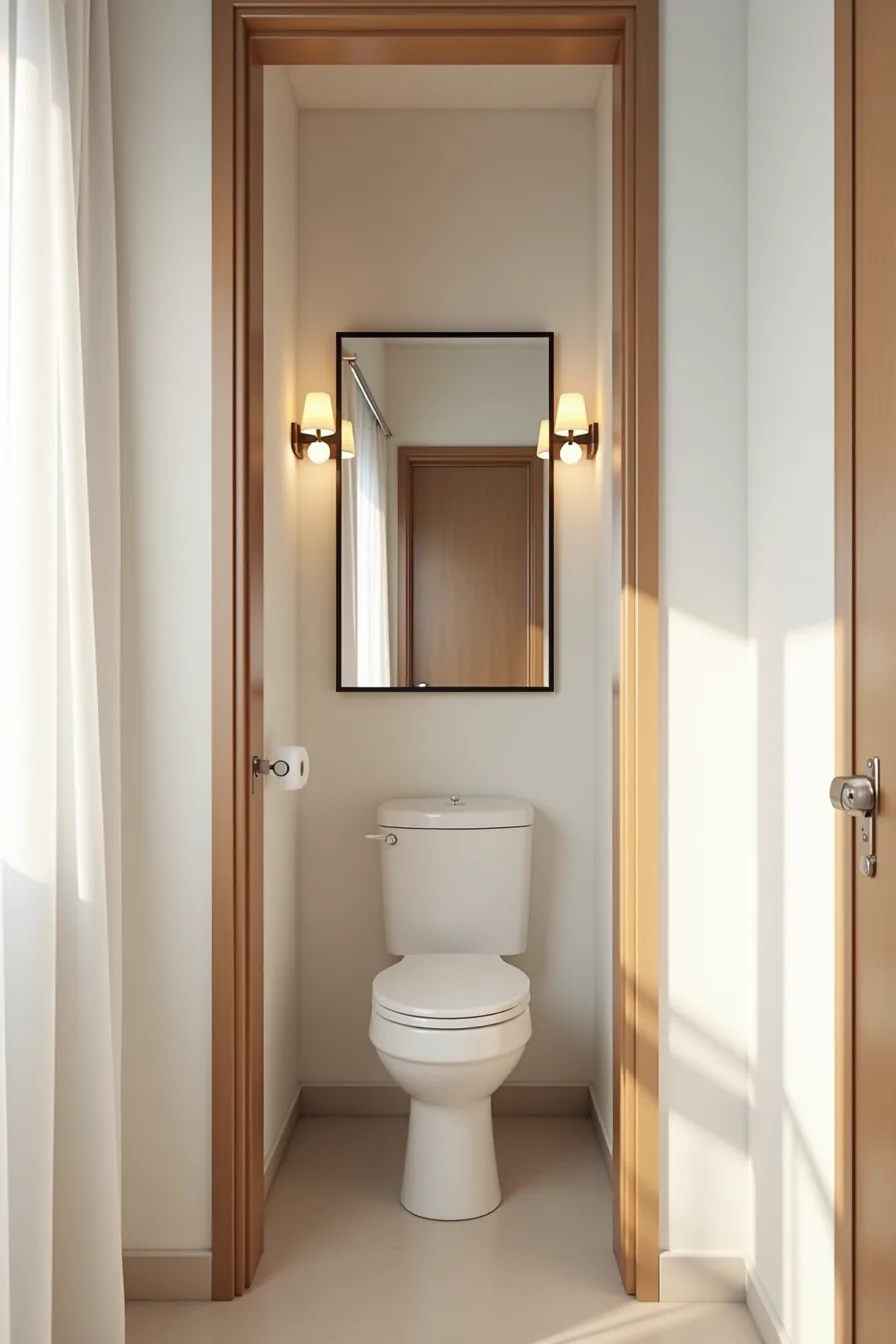
Under 40 square feet, the all black bathroom fails or succeeds on fixture scale and negative space. Choose a wall-mounted toilet to free up the floor visually, the tank hides inside the wall, and the bowl’s exposed footprint shrinks by nearly half compared to a standard one-piece unit. Pair it with a narrow pedestal sink, ideally 18-20 inches wide, so you leave at least 24 inches of clear floor clearance in front for comfortable movement.
Make the mirror your dominant horizontal element: run a black-framed mirror across the full wall width above the sink. This single continuous reflection doubles the perceived depth of the room and creates a deliberate focal point that pulls the eye outward rather than downward. Cap the composition with one floating shelf set 12-18 inches above the mirror, use it for a folded towel and a single soap dispenser, nothing more.
Because the wall-mounted toilet and pedestal sink leave the floor bare, the black finishes read as intentional drama instead of enclosure; skip any additional shelving or accessories beyond this setup to preserve the breathing room.
Budget, Renter, and Investment Routes
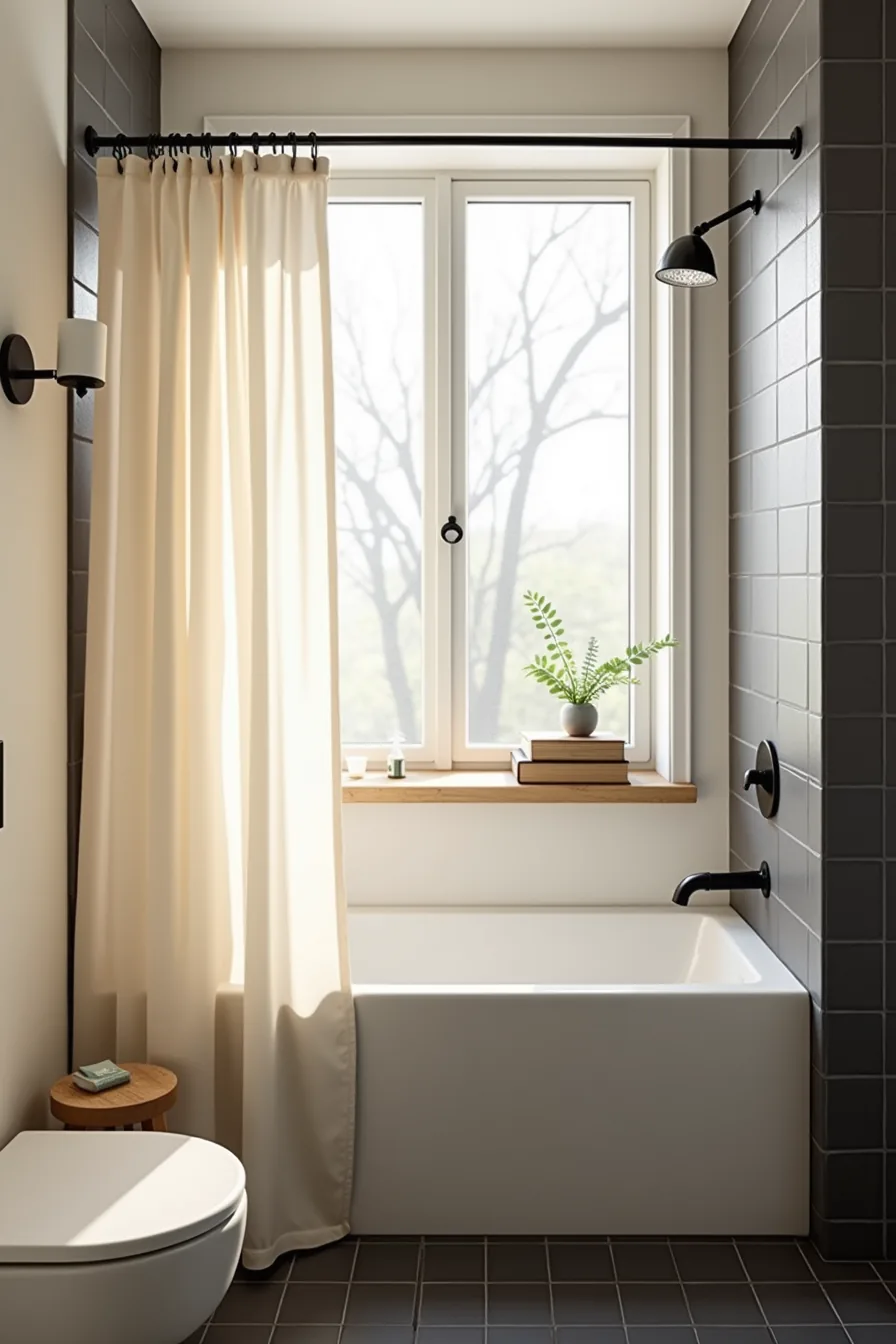
Your budget determines how far black can go. For under $150, peel-and-stick black tiles transform the lower half of your walls in an afternoon, they remove cleanly with a hairdryer and leave no residue, making them the safest bet for rental deposits. Pair them with a temporary black shower curtain rod that tightens without drilling, and you get the dramatic contrast without a permanent commitment.
Expect the adhesive to last 3-5 years in a steamy bathroom before edges start lifting near the shower head.
Mid-range sits between $2,000-$4,000 and means committing to matte black wall tile and matching grout on all wet surfaces, this suits homeowners who want the look to last 15-20 years without maintenance anxiety. The investment route, $8,000 and up, layers in natural stone like honed black granite or soapstone counters and a black freestanding tub, materials that develop character rather than deteriorate. What you never see in the split-level setup is the demising line: the upper walls stay light to keep the room from collapsing visually, while the lower black section grounds the space, a strategy that works at every price point, since the proportion, not the material, does the heavy lifting.
Maintenance, Durability, and Material Selection
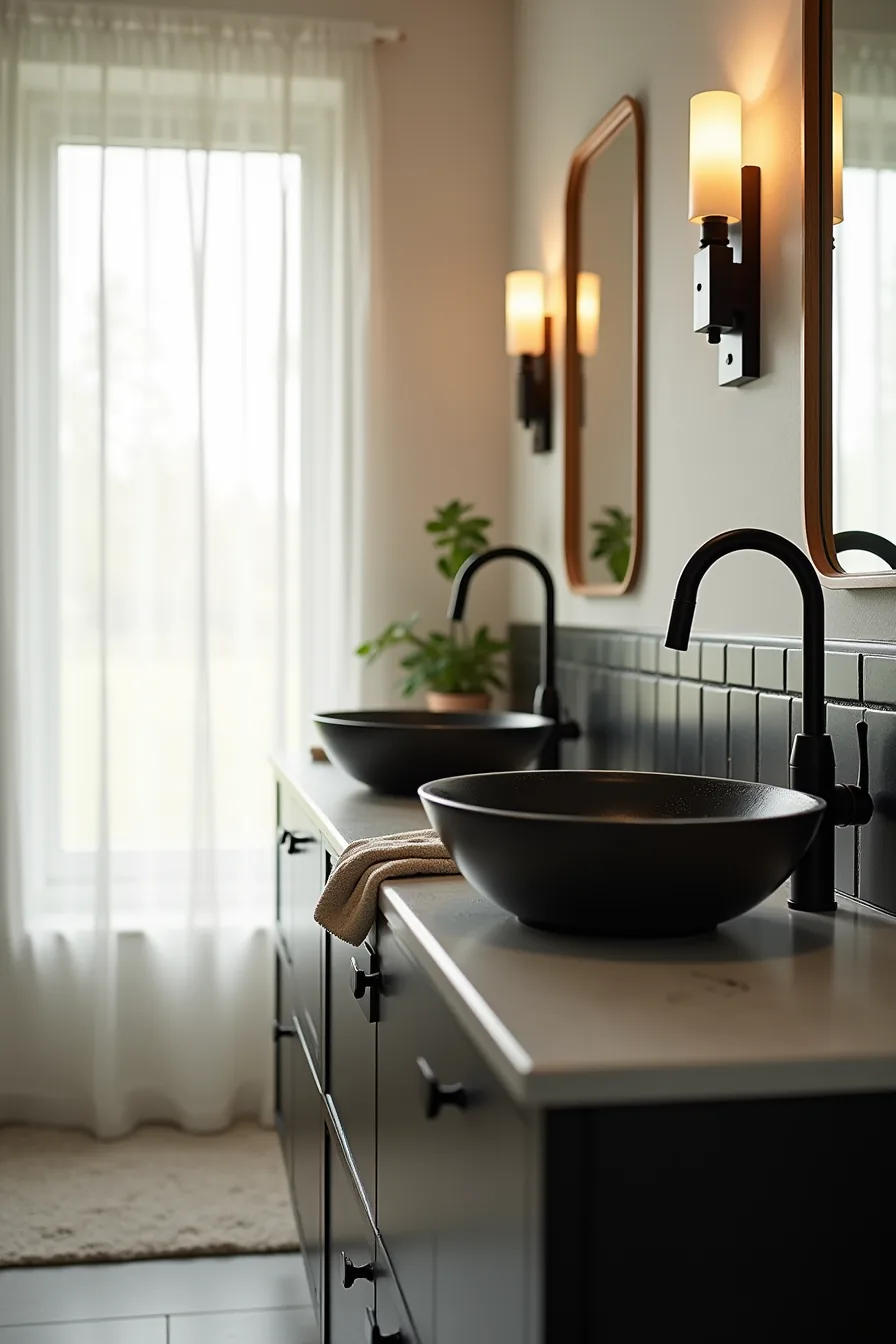
Glossy black paint is your worst maintenance choice. In the side-lit setup at your sink, every fingerprint on the glossy paint and every water spot on the matte black faucet becomes a visible map of your morning routine; you’ll be wiping both multiple times a week. Switch to satin or eggshell sheen on walls instead, the slight texture scatters light and hides smudges between deep cleans.
Grout is the first thing to fail. White or light gray grout between black tiles turns yellow within six months in a humid bathroom, so commit to a matching black or charcoal grout from day one. A penetrating sealer applied annually prevents the porous material from pulling in soap scum.
Your microfiber cloth resting on the counter captures the dust that raking light exposes on the tile surface, use it dry for a quick pass daily, and reserve a mild alkaline cleaner for the weekly wet wipe-down.
Ventilation determines material longevity. Run the exhaust fan for 30 minutes after every shower; without it, moisture settles into the grout and the demising line where black meets light wall, causing efflorescence that looks like white chalk bleeding down the tile. Honed black granite and soapstone resist water damage longer than painted drywall, but every surface still needs the same airflow.
Plan for a 10-15 minute daily dry-down routine and budget for re-sealing wet-area grout every 12-18 months.
Where to start
You don’t need to commit to a full black overhaul to test the look. Pick the single surface with the highest visual weight, typically the vanity or the wall behind the toilet, and paint or tile it matte black. Live with it for two weeks before touching anything else.
If the room feels too heavy, balance it with warm brass fixtures and one textured towel in a light tone. If it feels right, expand to the floor or ceiling next.
Your next step: measure your room’s width and ceiling height, then buy two sample pots of black paint (one matte, one satin) and paint 30 x 30 cm sections on opposite walls. Compare them at morning and evening light before choosing.
Frequently Asked Questions
Does an all black bathroom make a small room feel smaller?
Yes, if every surface is matte black. You can counter this by pairing black with large-format mirrors, glossy tiles, and recessed lighting. High-gloss black reflects light, preserving depth in compact spaces.
What lighting wattage do I need to avoid an all black bathroom feeling dark?
Aim for 300–400 lumens per square meter, roughly 40–60 watts of LED per fixture. Layer overhead lighting with vanity sconces and a shower light. Dimmers help you adjust brightness without harsh glare.
Can renters create an all black bathroom without permanent changes?
Yes. Use peel-and-stick matte black tile film, removable black vinyl flooring, and a black shower curtain. Install temporary black fixtures like faucet covers and towel bars with adhesive mounts.
All can be removed without damaging surfaces.
Which black finishes show fingerprints and water spots the most?
Glossy black and polished chrome-black finishes show smudges and water marks quickly. Matte black hides fingerprints better but reveals soap scum. Powder-coated or textured black surfaces, like brushed black nickel, balance durability with low visibility of daily stains.