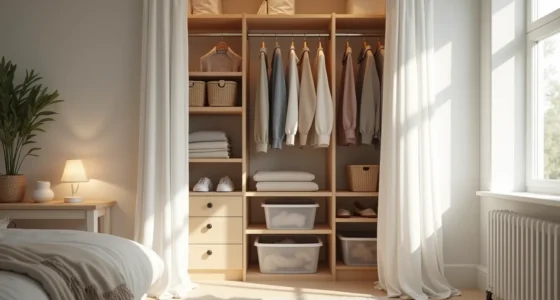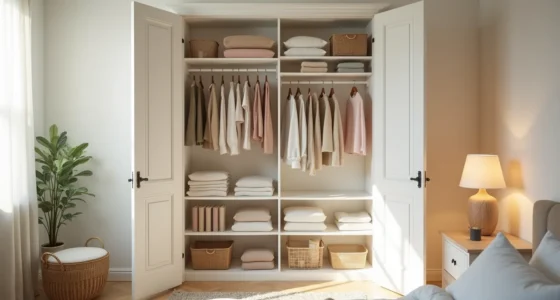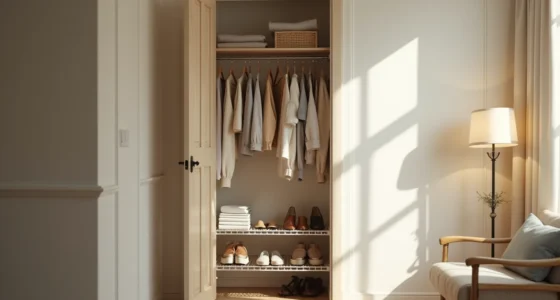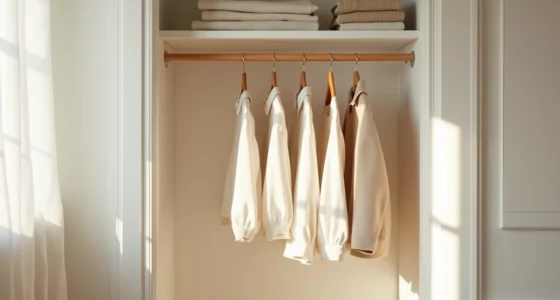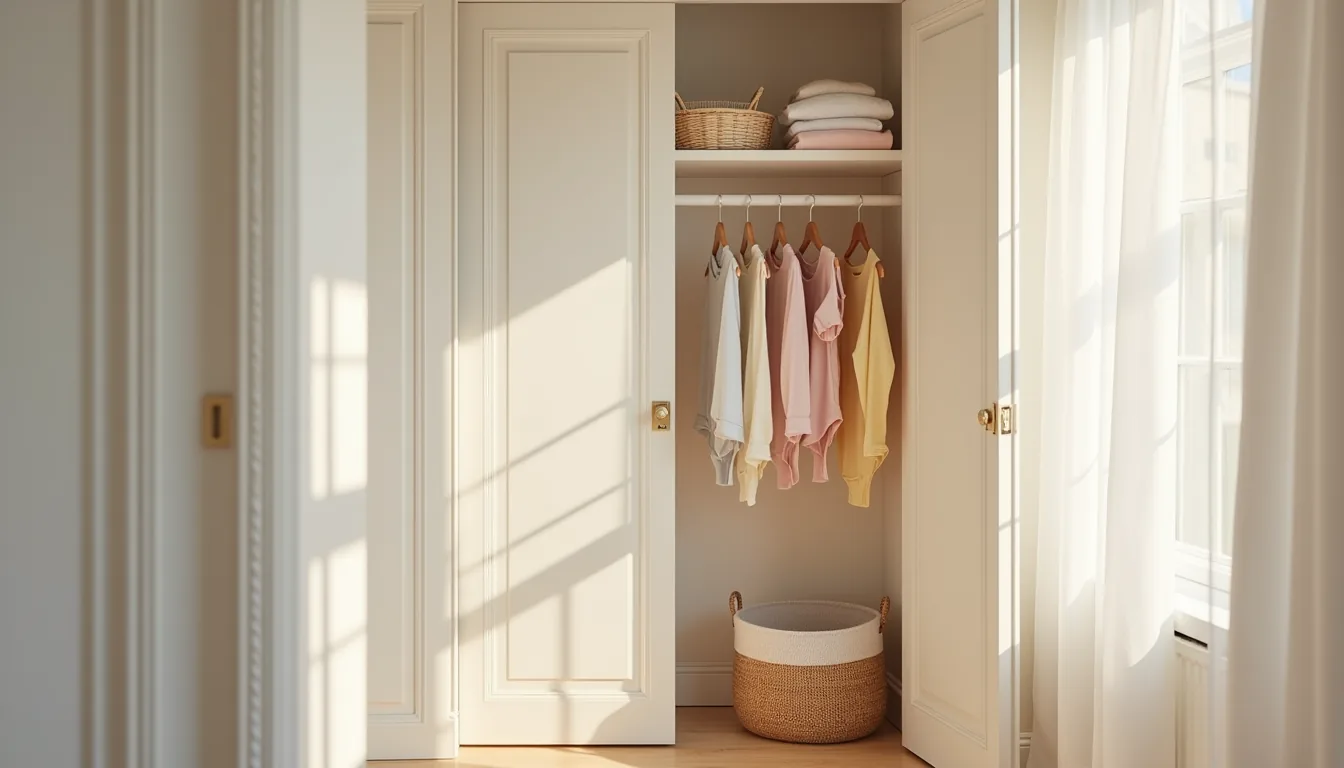
A baby closet organization idea is simply a repeatable system for sorting clothes, diapering supplies, and outgrown gear by size and frequency of use, and the right one for you depends less on Pinterest aesthetics and more on your closet’s dimensions, your budget, and how fast your infant outgrows everything in it. Before you buy matching baskets or install a second rod, measure your space and count how many onesies you actually rotate weekly. The six approaches ahead range from a $25 tension-rod setup to a built-in overhaul, each with clear trade-offs in cost, renter flexibility, and long-term usability.
Key takeaways
- Measure before you buy: most standard closets fit a 48–60 inch rod, so confirm your width and ceiling height before choosing a vertical hanging system.
- Pair shelf dividers with folded stacks: use 8–12 inch deep bins or dividers to keep onesies and pajamas visible, preventing the “dig-and-tumble” collapse that wastes space.
- Choose open rods for renter-friendly setups: a tension rod or freestanding wardrobe can be installed without drilling, and you can remove it in minutes when you move.
- Rotate seasonally with labeled bins: store outgrown or off-season items in under-bed containers (16–20 quart bins) and overhead shelves, swapping them every 3–4 months to keep daily access clutter-free.
Vertical Hanging Rod Systems for Standard Closets
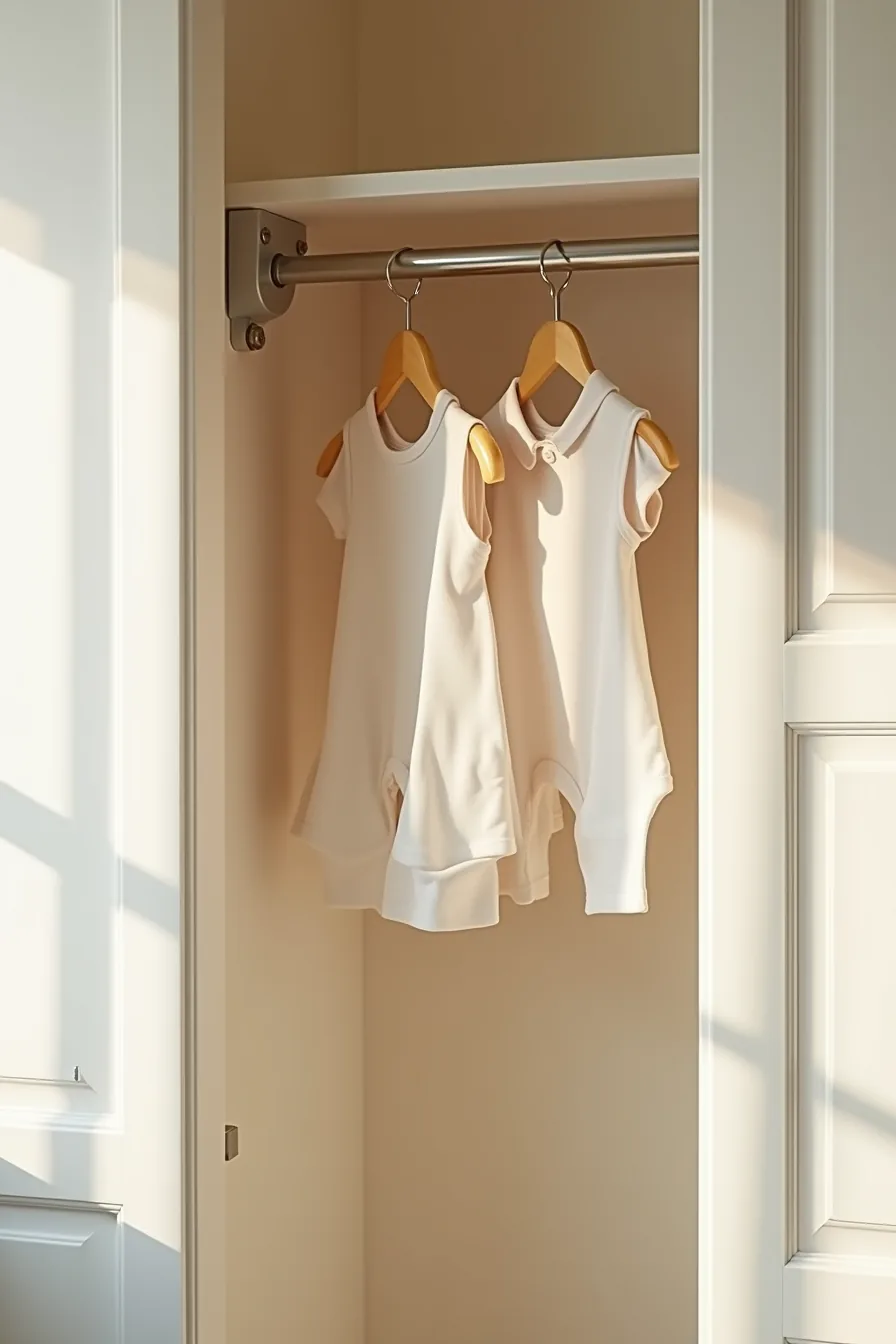
A staggered double-rod setup turns a narrow 24–36-inch closet into a high-capacity storage unit. Mount one rod at 36 inches for short items like onesies and rompers, then a second rod at 60 inches above it for hanging dresses, jackets, or diaper-bag sets. The lower rod holds everyday essentials within easy reach; the upper rod stores less-frequently used pieces without wasting the dead air above.
This system suits anyone with a standard builder-grade closet and a preference for seeing everything at a glance. You’ll need two metal brackets per rod, a drill, and a stud finder. For renters, tension-mounted rods or adhesive brackets rated for 25–50 pounds avoid wall damage, though they shift under heavy loads, expect to re-tighten them monthly.
Permanent installation takes under an hour and costs roughly $30–$60 in materials; the payoff is roughly 40–50% more hanging capacity than a single rod. Use slim, non-slip infant hangers so the rods don’t overcrowd, and keep heavier folded blankets off the lower rod to prevent sagging.
Shelf Dividers and Folded-Item Stacking
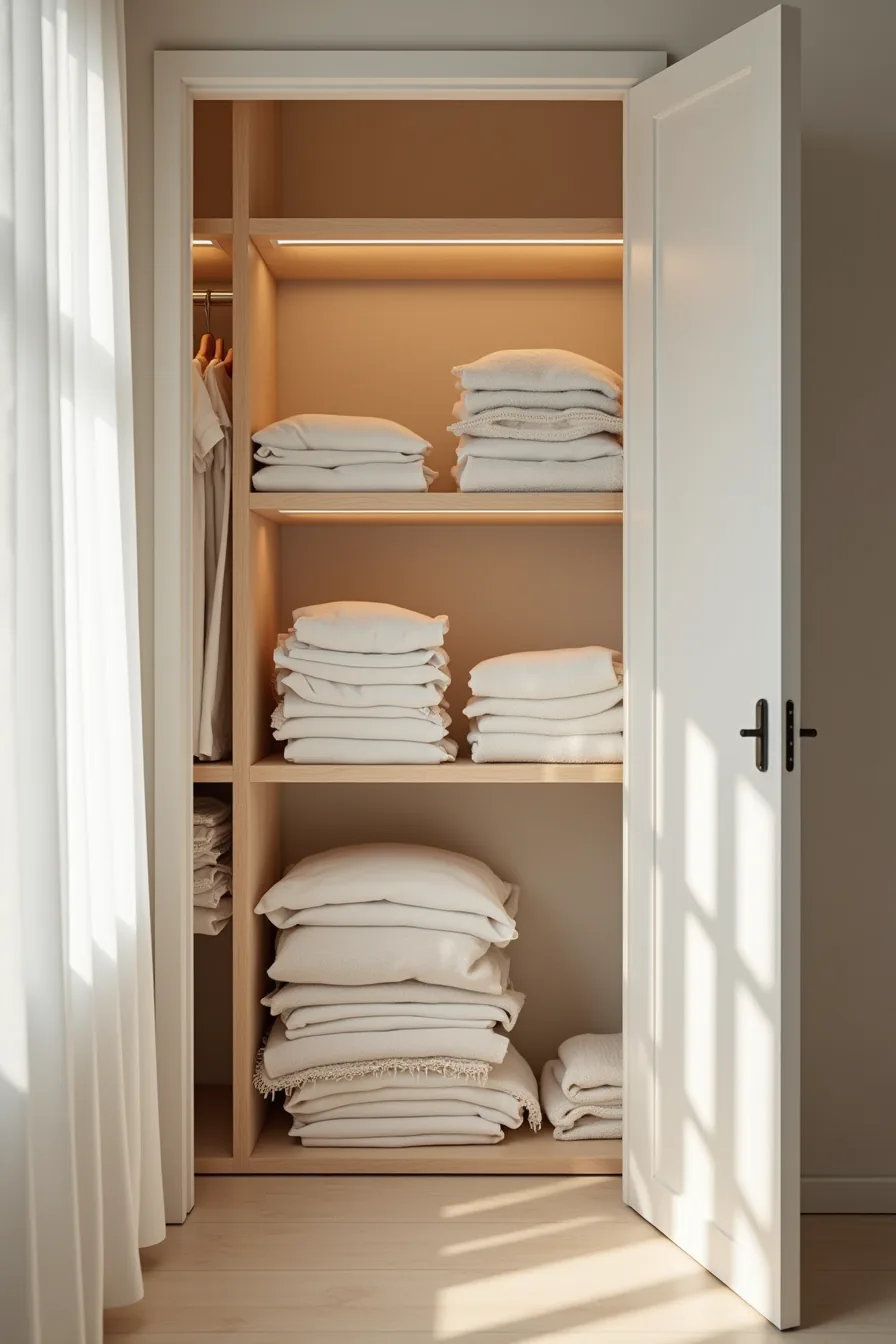
Four shelves give you a natural grid for sorting by type and size, and vertical wooden dividers turn each shelf into three distinct zones. Dedicate one section to stacked bodysuits, the middle to folded pants, and the third to sweaters, with the tallest stack sitting on the lowest shelf so it’s easier to pull without toppling the rest. Assign each section by current size first, then by season, and label the divider edge with a marker or washi tape to make restocking after laundry a two-second decision.
This approach works best for medium closets with 3–5 adjustable shelves and a caregiver who prefers folding over hanging. You’ll need dividers sized to match shelf depth, typically 2–4 inches shorter than the shelf, and roughly 20–30 minutes to sort and stack. Wood dividers hold position best against fleece and knit fabrics; acrylic versions slide, so add a thin rubber mat underneath.
Expect to reorganize every 2–3 months as your baby jumps a size, and keep each stack under 6 inches high to prevent pulling wrinkles into the pieces at the bottom. Budget buyers can substitute sturdy cardboard dividers wrapped in contact paper for under $10 total; the trade-off is reduced durability during humid months, when the cardboard can soften and sag.
Open Wardrobe Rods and Basket Storage
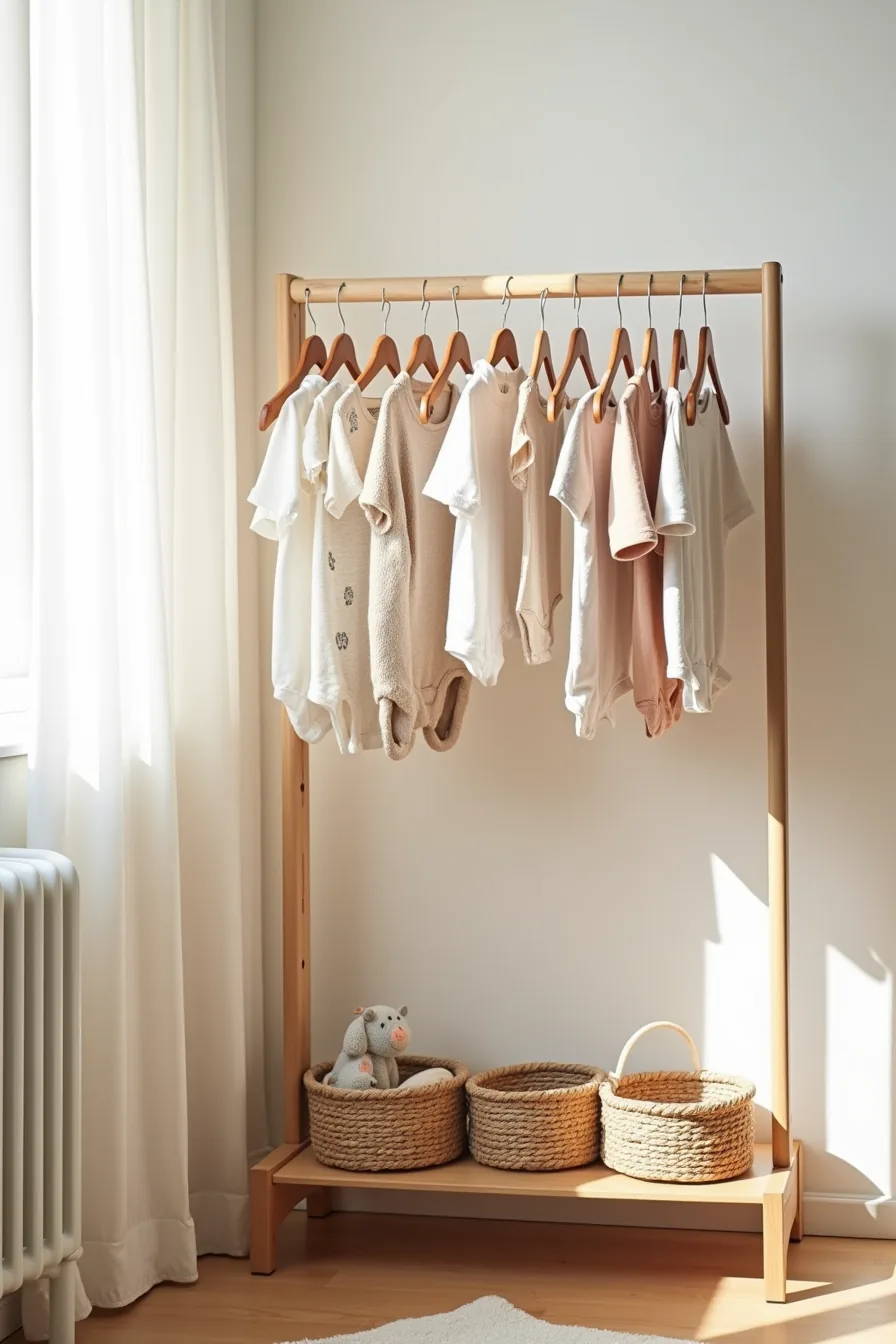
A freestanding metal wardrobe rack paired with floor-level woven baskets solves two problems at once: it gives you visible hanging space and catch-all bins without requiring a single drilled hole. This setup suits renters, small nurseries, and parents who want to see everything at a glance during the chaotic 6–12 month stage. The rack holds roughly 8–10 garments on standard baby hangers, which is enough for a week of outfits; anything beyond that defeats the purpose of quick access.
The three woven baskets beneath the rack divide the floor zone into sock, accessory, and backup onesie stations. Choose baskets that fit the rack’s footprint with at least 2–3 inches of clearance on each side so you can pull them out freely without scraping the frame. Metal racks typically run 48–60 inches wide and 55–65 inches tall, so measure your floor space before buying, you need about 24 inches of depth for the rack plus basket pull-out room.
Mount nothing to walls, which makes this the most reversible option in this guide; the only trade-off is that exposed clothing collects dust faster than closed storage, so plan to wash and rotate the hanging items every 1–2 weeks. Budget cost runs $60–120 for the rack and baskets combined.
Drawer Dividers and Dresser Integration
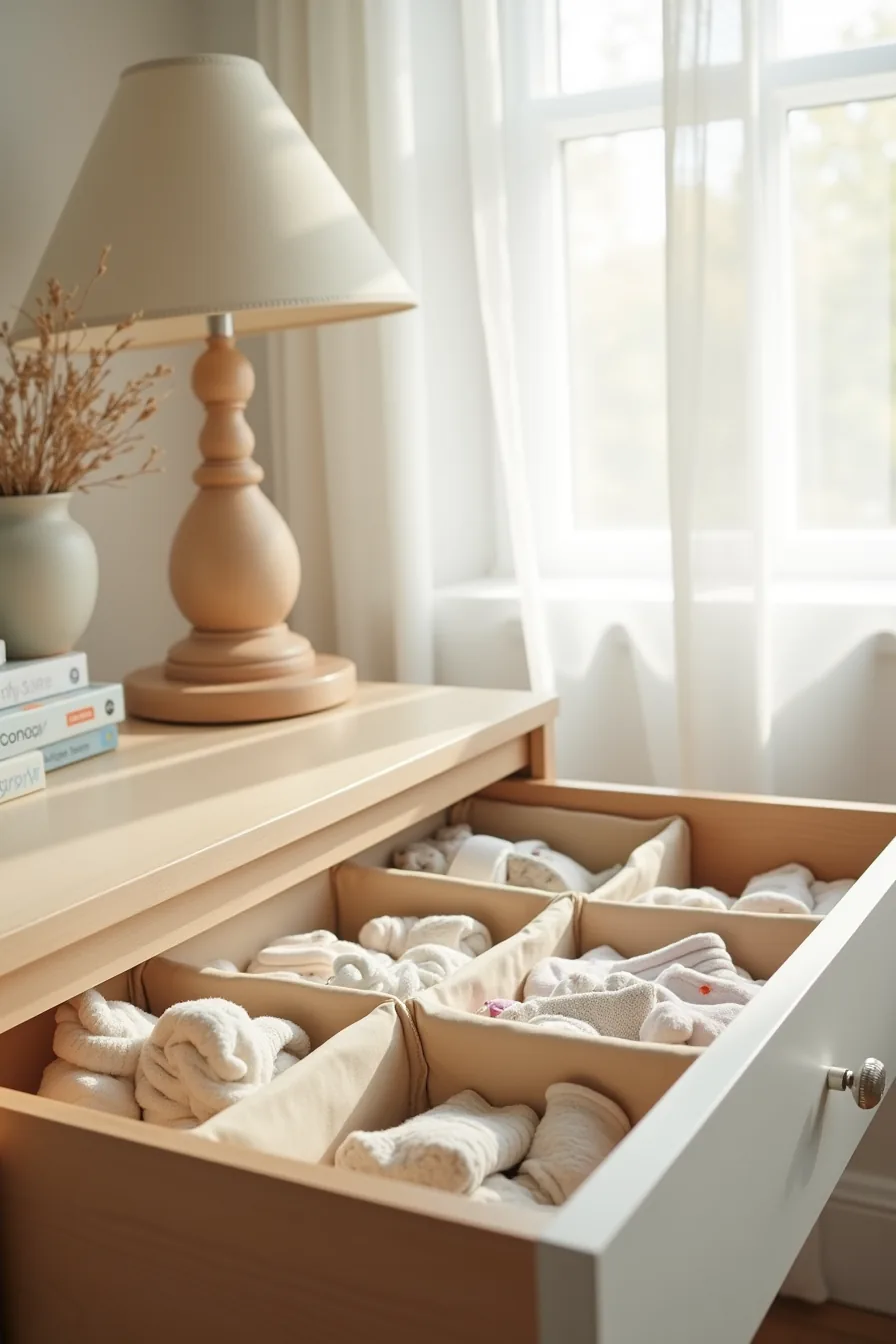
A dresser with fabric dividers shifts the organization burden from the closet to the drawer itself, which suits nurseries where closet space is already claimed by hanging bulky items like bunting and sleep sacks. Five compartments give you dedicated zones for socks, stacked onesies, mittens, bibs, and small toys; the visual separation means you can grab a matching pair without digging through layers. Fabric dividers run $15–35 for a set of six and fit standard dresser drawers between 20–30 inches wide, while wood versions cost more but hold their shape better against heavy stacks.
This method works best for parents who prefer folding to hanging and want a consistent home for items that otherwise migrate to the living room floor. Keep the tallest stacks under 3 inches so the drawer closes freely; anything higher risks catching on the top of the frame. You’ll need to re-sort the compartments every 2–3 weeks as your baby grows out of sizes, so reserve this system for active everyday clothes rather than memory items.
The real payoff is speed: pull one drawer for a full outfit plus accessories, and the dresser becomes a mini command station independent of closet access.
Seasonal Rotation with Under-Bed and Overhead Storage
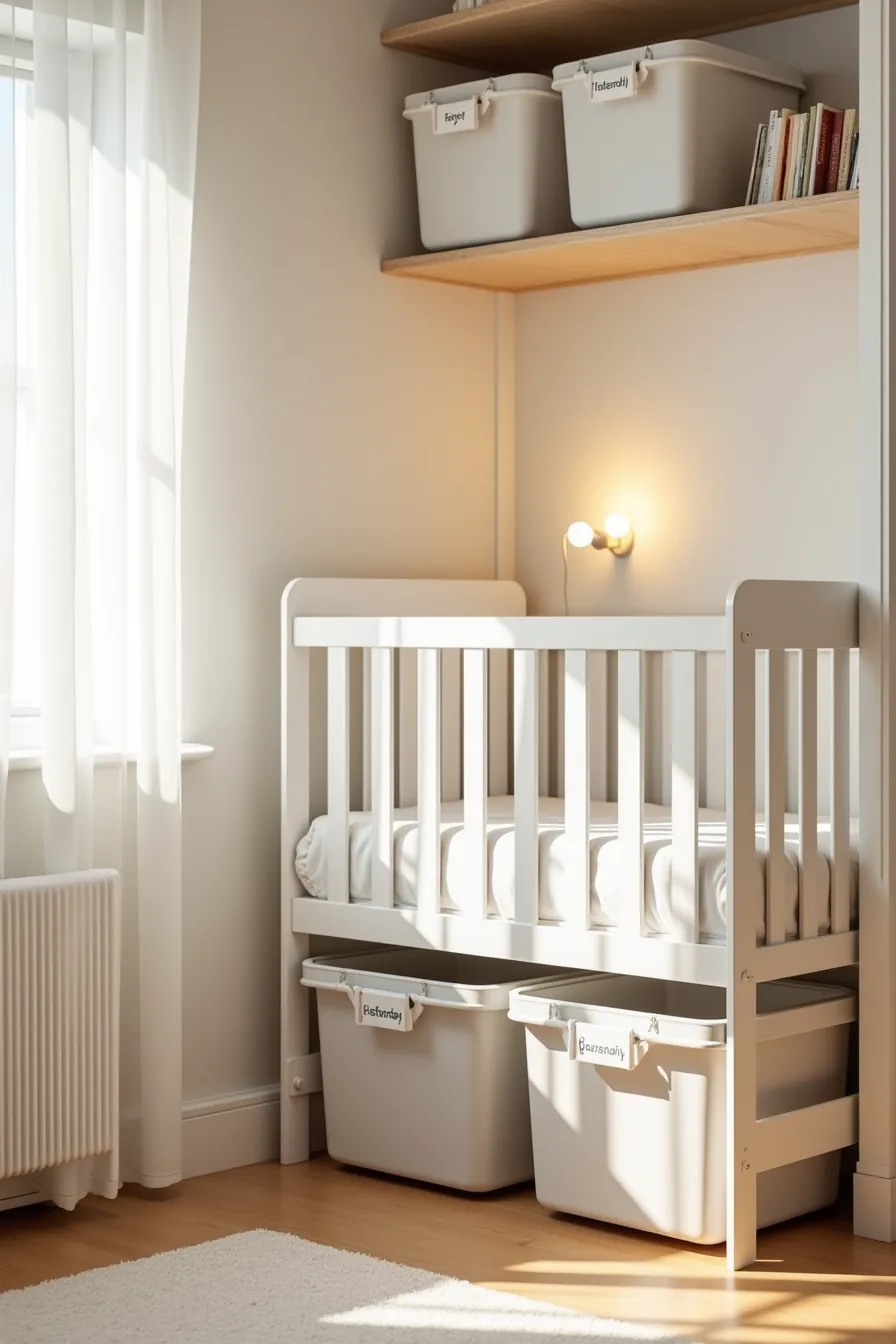
Seasonal rotation treats the closet as a staging area for only what your baby wears right now, with everything else parked elsewhere, under the crib and on high shelves. Two clear plastic bins tucked beneath the crib base hold off-season outerwear and next-size-up sleepers, while two more labeled bins stacked on the high closet shelf store the items you won’t touch for months. The clear plastic lets you see the contents at a glance, and seasonal tags on the handles make a swap take under ten minutes.
This system suits families with limited closet space but generous floor clearance, most cribs sit 10–12 inches off the floor, enough for standard 15-gallon bins. Overhead shelving works best at least 60 inches above the floor so the stacked bins stay out of your daily reach but remain accessible with a step stool. You’ll need to rotate bins twice a year, typically at the start of summer and winter, and wipe the bins down with a damp cloth each time you swap.
This approach also protects your budget: it keeps you from buying duplicate items you already own but forgot about in a packed closet, making it one of the most cost-effective Baby Closet Organization Ideas for parents who prefer planning over impulse purchases.
Common Setup Mistakes and Maintenance Habits
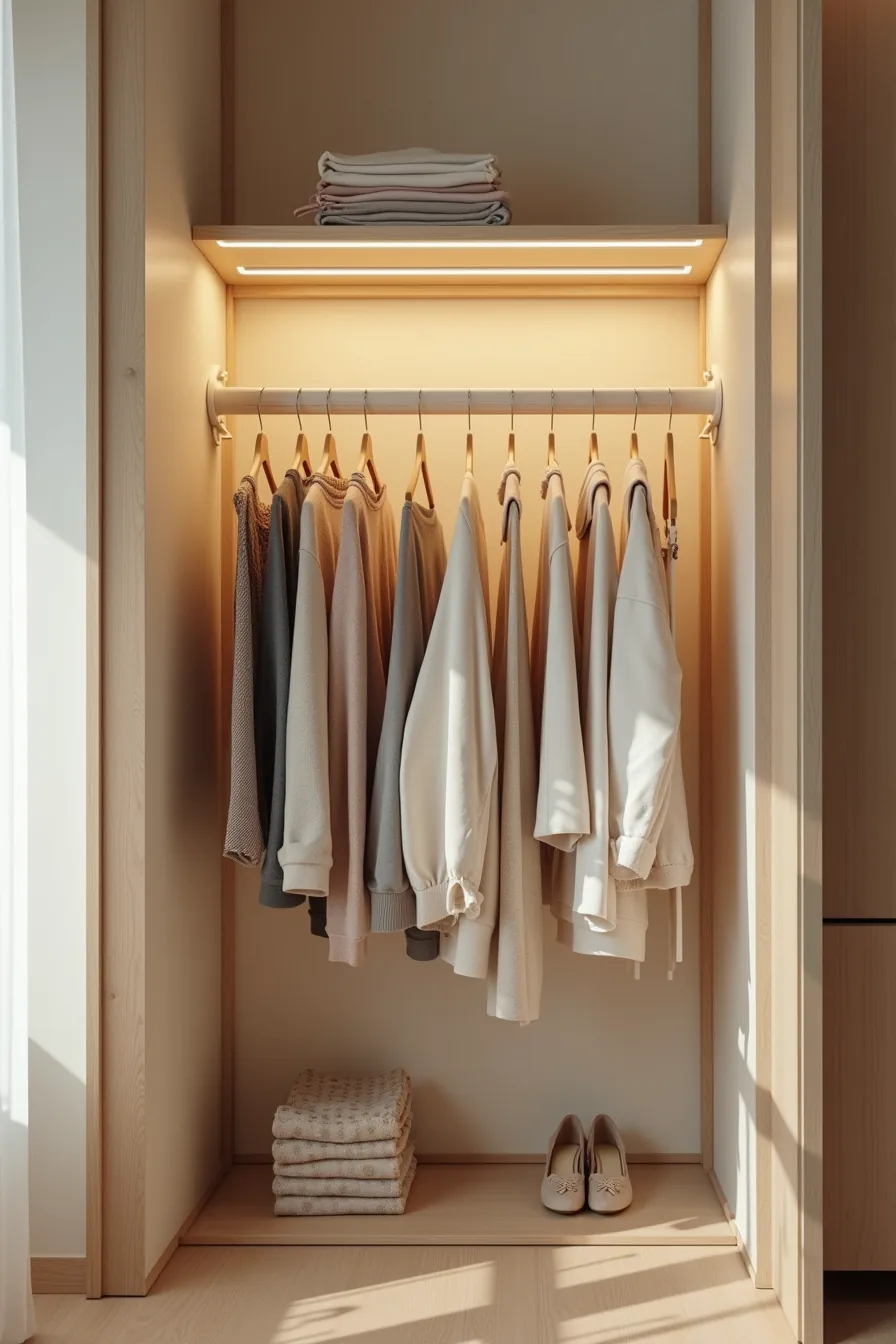
An overcrowded rod is the fastest way to sabotage your Baby Closet Organization Ideas mistakes to avoid list. When hangers jam together, you can’t see what you own, and folded-over garments get forgotten until your baby outgrows them. Keep hanging items to roughly 20 per linear foot of rod; if you exceed that density, move seasonal pieces to storage before adding anything new.
A sagging shelf signals you’ve exceeded its weight limit, most wire shelves hold 25–35 pounds distributed evenly, while solid wood supports more. Stack light sleepers and swaddles low, and relocate heavy bins to the floor or a sturdier unit. The water stain on the corner wall needs attention now: trace the source (often a leaky roof or pipe above), fix it, and add a moisture-absorbing container to the closet.
Monthly, pull everything off the shelves, wipe surfaces with a dry microfiber cloth, and re-check labels, a ten-minute refresh prevents the chaos from quietly returning.
Your decision checklist
Before you buy a single bin, measure your closet floor-to-ceiling and note the hanging rod height. That single number determines whether you need stackable drawers, hanging organizers, or both.
Match the system to your lifestyle: renters should start with tension rods and fabric bins (zero holes, fully reversible), while homeowners can justify built-in shelving that grows with the child. Small closets under 48 inches wide should prioritize vertical hanging and foldable bins over bulky furniture.
Your next step: empty the closet completely, sort everything into three piles, keep, donate, and outgrown, then order storage only after you see what remains.
Frequently Asked Questions
How do I organize a baby closet in a small apartment or rental?
Use tension rods to create a second hanging level and stack clear, lidded bins on upper shelves. Skip permanent shelving, over-door hooks and freestanding cubbies work without drilling, and you can reposition them as your baby grows.
What is the best way to store baby clothes by size as my child grows?
Sort by current size, then next size, then two sizes ahead. Label each bin with the size range and season, and store out-of-season or outgrown items in vacuum bags on the highest shelf. Rotate only when the current size stops fitting.
Should I use hangers or fold baby clothes, and how does this affect organization?
Hang only items that wrinkle easily, dresses, rompers, or special outfits, and fold everything else. Folding in a drawer or bin lets you stack more per square foot, while hanging gives quick visibility for daily picks. Use slim, non-slip hangers to avoid stretching necklines.
How often should I reorganize or rotate baby clothes, and what triggers a refresh?
Do a full rotation every 8–12 weeks or whenever your baby moves up a size. Trigger a refresh when you notice tight snaps, red marks on skin, or that you’re bypassing half the closet. Also rotate seasonally, store heavy knits when daytime temps stay above 65°F consistently.