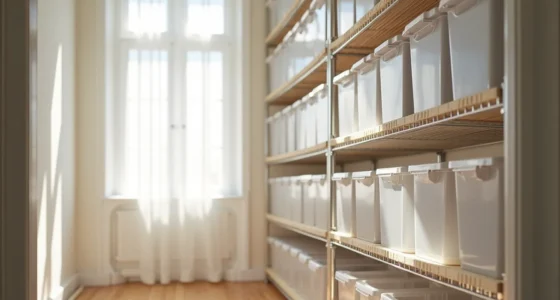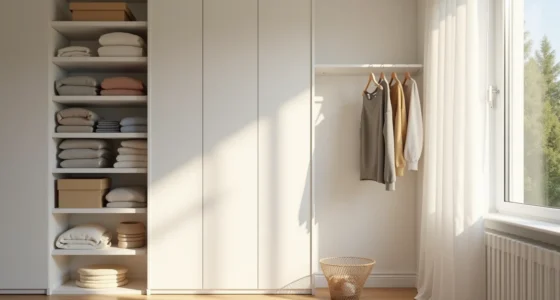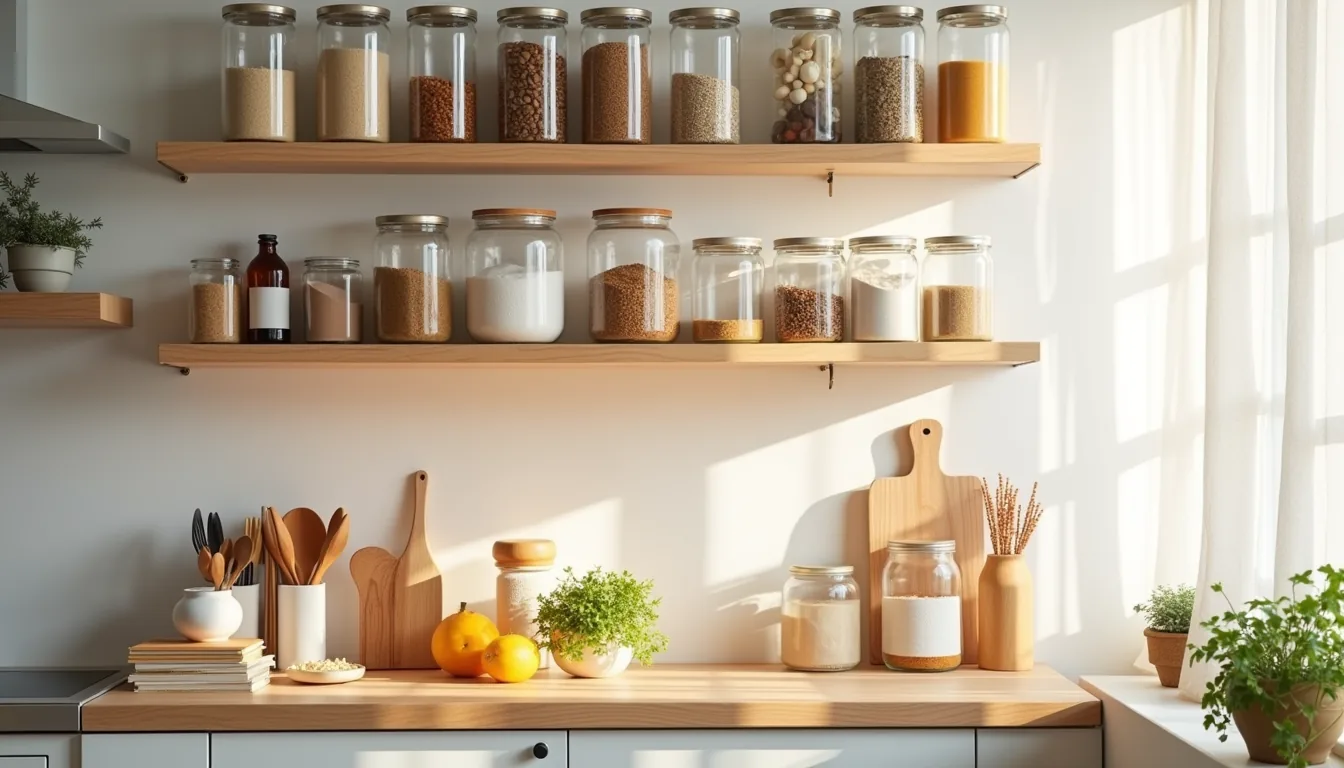

Your dal, rice, and spice collection deserves a system that matches how you actually cook, not a generic Pinterest board that ignores the 14 different masalas already living in your cabinet. The fix isn’t more containers, it’s zoning your pantry by cooking frequency and heat level, then matching storage to your shelf depth and budget. Below are six layouts that range from a ₹1,500 refresh to a permanent modular build, each with the exact trade-offs you need to decide before buying a single jar.
Key takeaways
Vertical spice racks convert unused wall space into visible dry-goods storage, suiting small kitchens where counter and cabinet depth is under 12 inches. Labeled container systems cut cooking time by 15–20 minutes per meal prep session, but require a one-time cost of roughly $40–$80 for airtight jars and labels. Tiered shelf dividers double usable shelf space for cans and jars, ideal for medium pantries with shelves deeper than 10 inches, and need no tools to install. Pull-out drawer inserts deliver full-access organization without renovation, fitting most existing cabinets at 18–24 inches wide, but budget for $30–$60 per unit and verify slide clearance.
Vertical Spice Racks: Maximizing Wall Space for Dry Goods
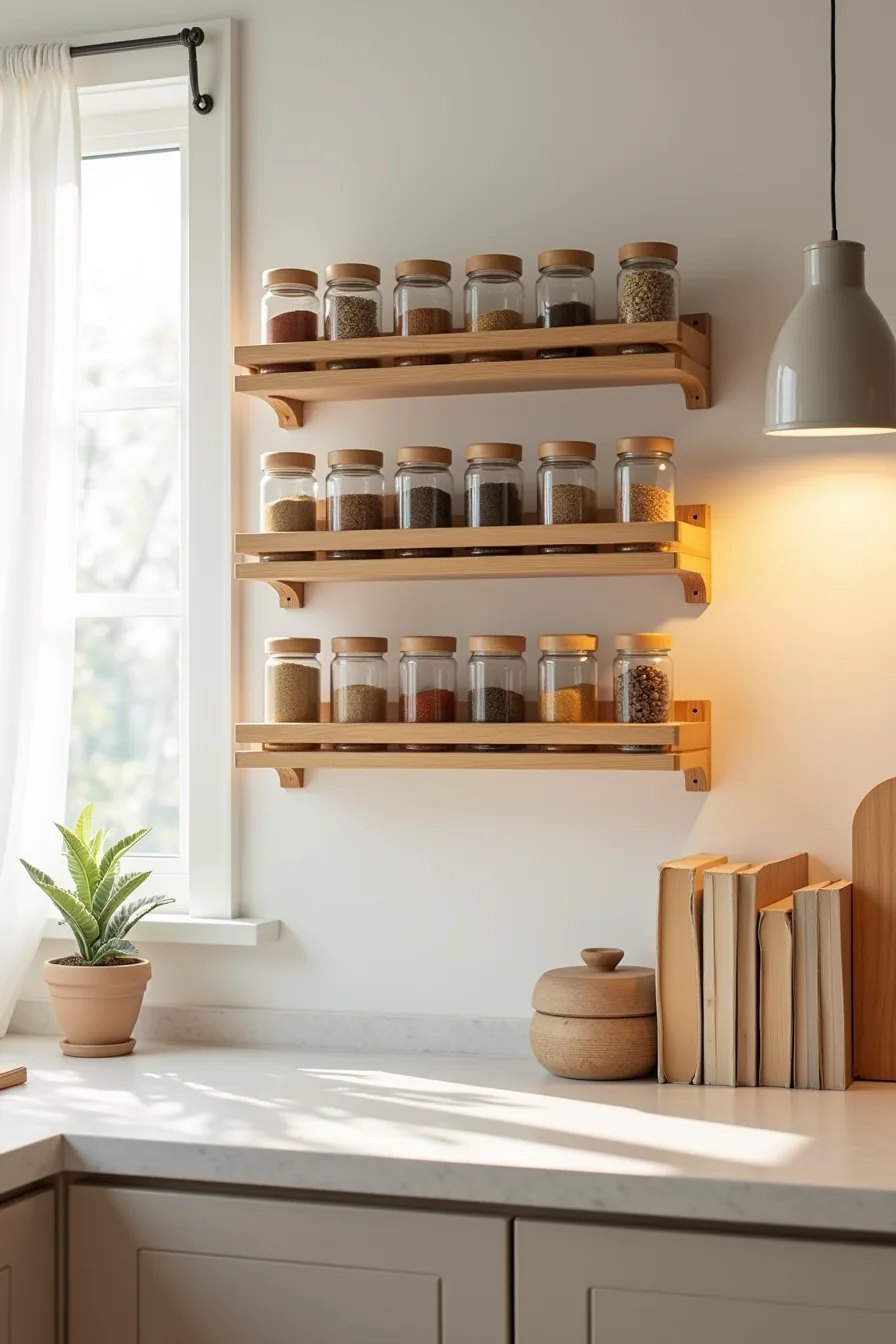
A wall-mounted rack holding 12–18 small glass jars in three tidy rows is one of the most effective Indian Pantry Organization Ideas for reclaiming counter space. Mounted at eye level beside a window, where light keeps dried spices visible and humidity stays low, this setup puts your most-used masalas within a single arm’s reach. The straight-on view of those warm turmeric, deep red chili, and earthy coriander tones isn’t just decorative; it’s a functional color-coding system that lets you grab the right jar in seconds.
This example works best for medium-to-large kitchens where a blank stretch of wall exists between the counter and upper cabinets. It suits cooks who use five or more spices daily and want them visible rather than buried in a drawer. You’ll need a rack with rails or stepped shelves, 12–18 uniform jars with airtight lids, and a drill with wall anchors if your wall is drywall (expect 15–20 minutes to install securely).
Budget route: a bamboo or MDF rack runs $15–$30; the long-term investment is powder-coated steel at $40–$60, which resists rust better in steam-prone kitchens. Avoid mounting above the stove, heat and grease will degrade spice quality and make jars sticky within weeks. For small spaces, use a narrower 6–9 jar version beside the sink; for large walk-in pantries, scale up to two racks on adjacent walls.
Wipe the rack monthly with a dry microfiber cloth; glass jars need hand-washing only, since dishwasher heat can warp lids and compromise seals.
Labeled Container Systems: Decanting and Batch Storage
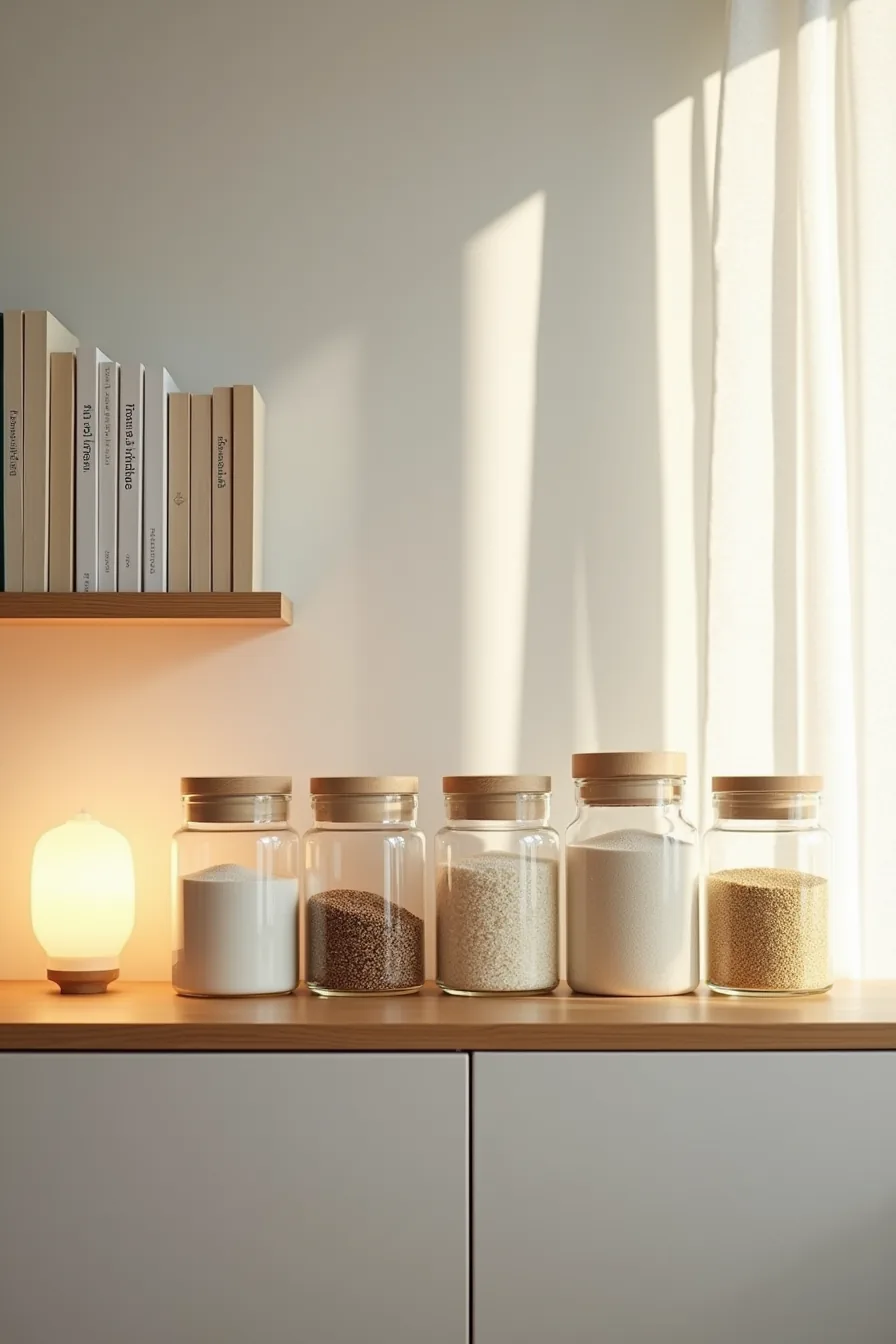
Transferring bulk grains like rice, lentils, and flour into matching glass or ceramic containers does more than clear packaging clutter, it creates a uniform visual rhythm that makes your pantry feel intentionally designed. The system works on a simple principle: decanting removes the uneven bags and wrappers that trap moisture and harbor pantry moths, and airtight seals typically extend shelf life by keeping humidity out. This setup of six containers arranged in two rows by size suits medium-to-large households that buy staples in 5–10 kg bags and cook from scratch daily.
For this to function, measure your shelf depth first. Standard pantry shelves run 12–16 inches deep; your tallest container needs roughly 2 inches of clearance above it for comfortable lifting. Match the jar height to the largest grain (rice and wheat flour) and use shorter vessels for semolina and split lentils, this tiered-by-size placement prevents you from gauging quantities against similar heights.
Handwritten labels with a chalk marker on matte-contact-paper fronts cost under $10 and allow relabeling tri-yearly; a label maker runs $25–$40 for a more permanent, crisp finish. Budget route: repurpose glass pasta jars you already own, but ensure the lids have rubber seals. Renter-friendly option: use open-mouth ceramic crocks without lids on open shelves, stylish, but you’ll need to rotate stock every 10–14 days to prevent clumping.
The long-term play is a 12-piece glass container set with bamboo lids, roughly $35–$60, which both resists staining from turmeric-scented lentils and holds markings. Wash containers by hand to avoid dishwasher thermal shock to glass, and wipe down the exterior monthly with a dry cloth to keep labels legible.
This exact system suits the cook who battles a cluttered shelf of half-empty packets or someone who needs to see inventory at a glance during weekly meal planning. For small pantries, reduce to four containers, skip semolina and store it in the original bag inside the largest rice jar. For walk-in spaces, add identical jars on a dedicated deep shelf and stagger the heights so labels remain visible.
The trade-off is straightforward: you gain planning visibility and pest resistance but lose the flexibility of buying brand-specific packaging. Silicone or cork lids are quieter but trap less, so always choose glass or bamboo lids for biannual staples.
Tiered Shelf Dividers: Organizing Canned and Jarred Goods
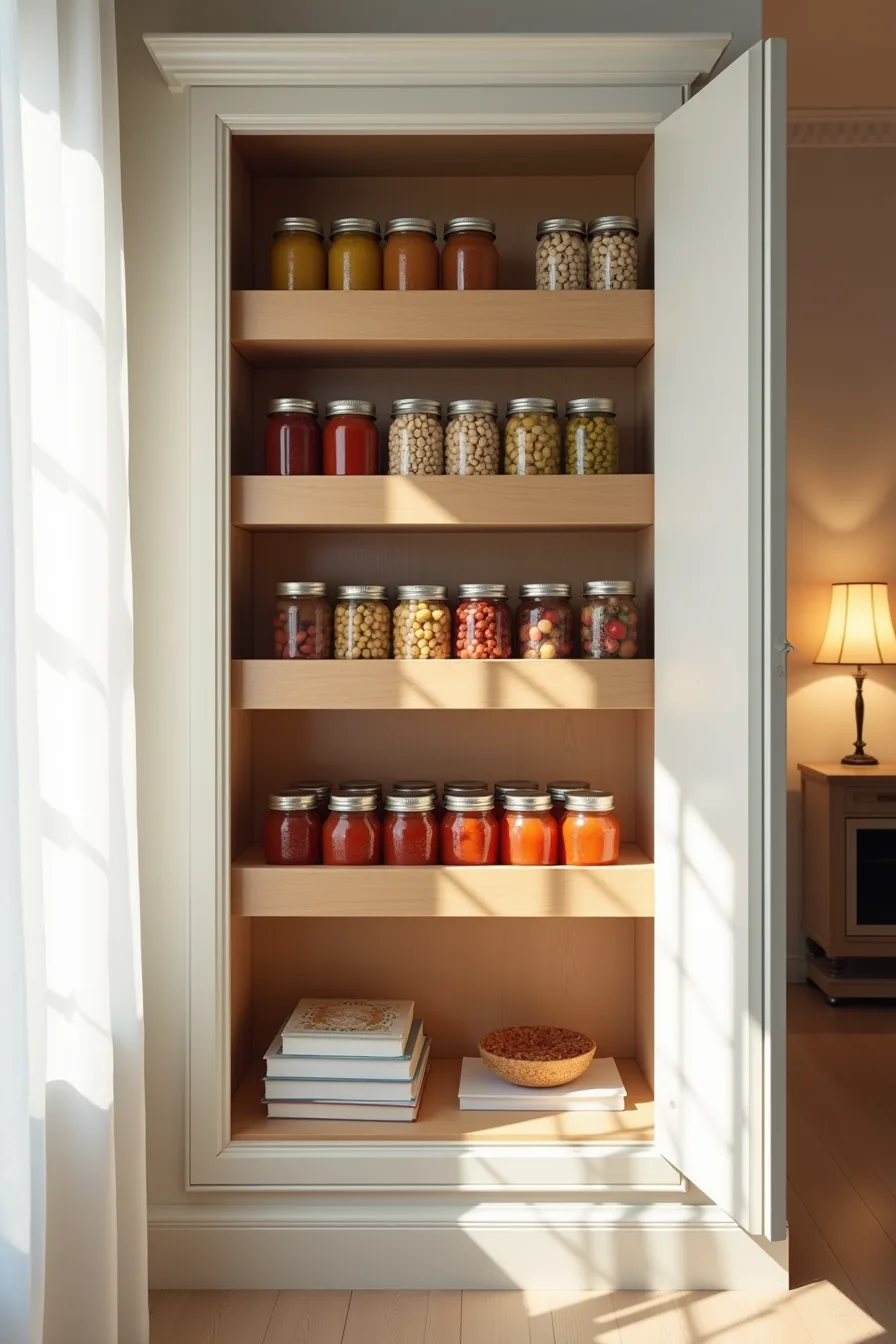
Stackable risers turn wasted vertical airspace into visible inventory. A three-shelf cabinet with white wire racks stepped at 2–3 inch intervals puts canned tomatoes and beans in front while raising jars of pickles and preserves to eye level, you eliminate the dark back row where items wait months past their prime. This works best in upper cabinets 12–14 inches tall, where a single layer wastes half the cavity.
The system suits households that buy canned vegetables and condiments in bulk but rarely cook all varieties weekly. Reproduce it with bamboo risers at $8–$15 per pair, or choose steel-coated versions for $3–$6 more if you store acidic tomatoes that can corrode weaker finishes. Measure depth before buying: risers designed for 12-inch shelves top out at 9.5 inches usable width, leaving standard 15-ounce cans with 0.5-inch overhang, still stable, but check for wobble.
Budget route involves stacking empty tuna cans upside down as makeshift steps, though you sacrifice the non-slip grip. Renter-friendly alternative: tension-mounted shelf dividers keep cans from sliding sideways without drilling; these run $10–$20 per pair and adjust between 8–14 inches. For a long-term solution, wooden risers with lip edges prevent jars from tipping when you pull the front row, expect $25–$40 per shelf unit.
Maintenance is light: wipe risers quarterly with a damp cloth, check for rust on steel units biannually, and re-sort cans every 6–8 weeks so older stock moves forward. Group by height rather than category, tall pickle jars at the back, squat bean cans in front, so every label stays readable and no item hides behind another.
Pull-Out Drawer Inserts: Accessibility Without Renovation
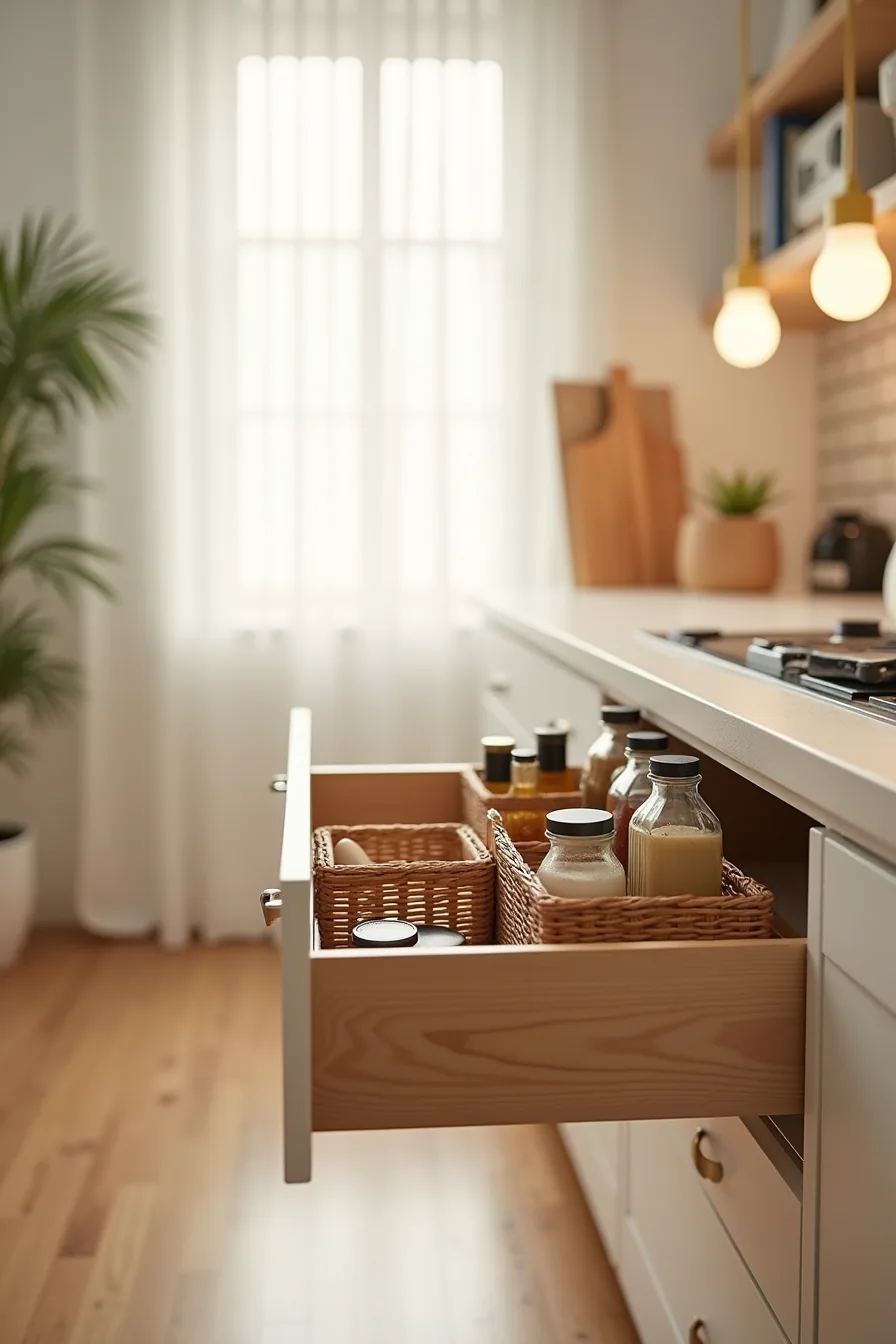
A deep drawer fitted with three woven pull-out baskets of staggered depths transforms a chaotic catch-all into a tiered pantry. The shallowest top basket holds condiment jars, ketchup, mustard, chili sauce, so you grab them without rummaging. The middle tier, sized for taller bottles, keeps oil containers upright and spill-proof, while the deepest bottom basket accommodates packaged spices in their original pouches and boxes.
This works best for a base cabinet drawer 20–24 inches deep and at least 6 inches tall, commonly found under kitchen counters. The woven texture adds grip, preventing glass bottles from sliding when you pull the drawer fully open. Renter-friendly by nature, no hardware, no drilling, these inserts cost $15–$30 for a set of three, with bamboo versions running $10–$20 more for better moisture resistance.
You need only measure interior width (most standard drawers run 14–18 inches) and choose basket depths that leave 1 inch of clearance above the tallest oil bottle.
Skip this if your drawer is shallower than 5 inches or already holds a fixed utensil tray. For a splurge alternative, custom-cut acrylic dividers with non-slip bases run $40–$60 per drawer but offer easier wiping than woven fibers, which trap oil residue and require occasional hand-washing. Rotate spice pouches monthly to keep older blends accessible.
Open Shelving with Grouped Categories: Display and Function
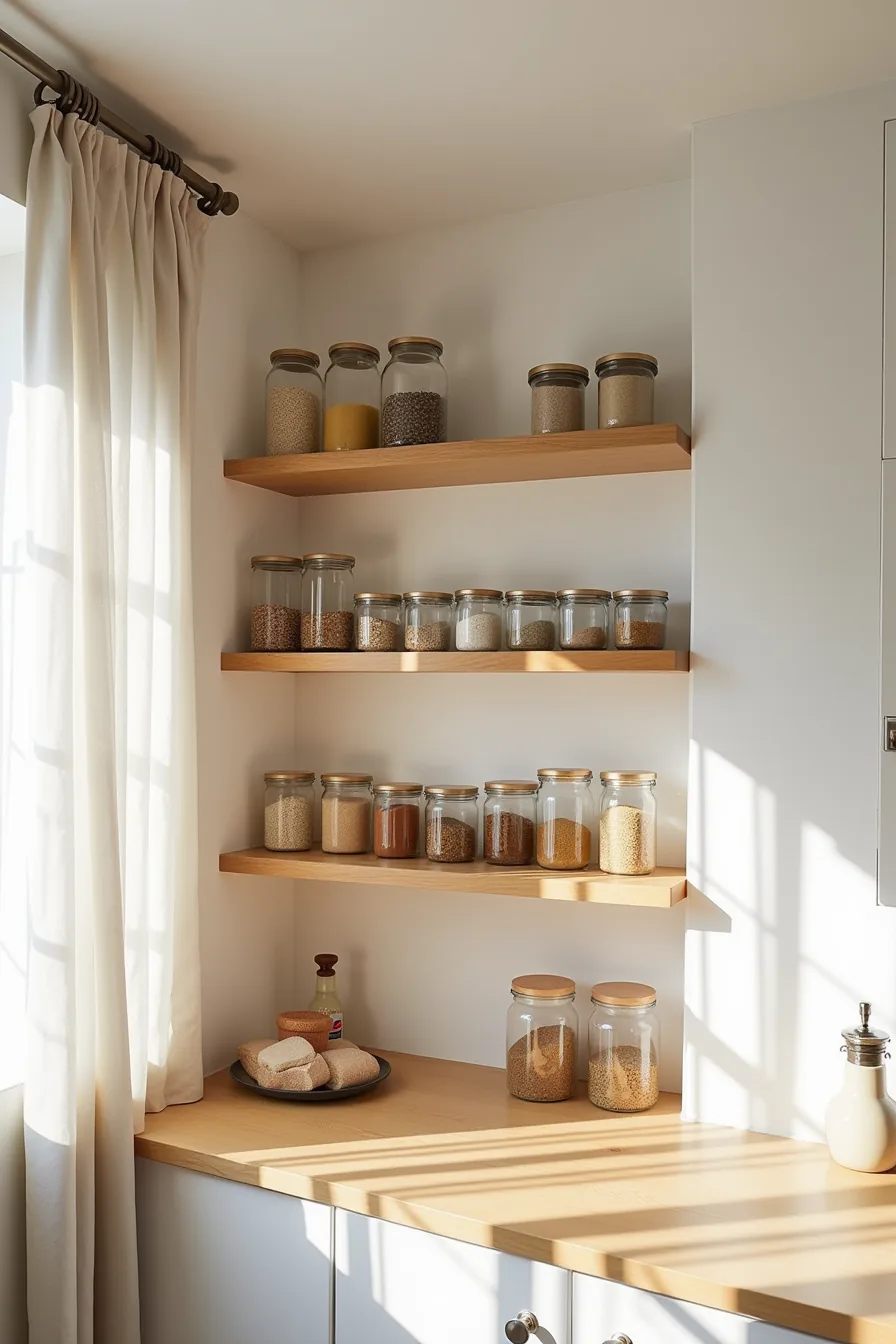
Grouping by ingredient type, rice and grains stacked left, lentil and pulse jars center-left, spice containers center-right, oils and vinegars right, turns a wall of mismatched packaging into a visual index you can scan in one glance. The trick is enforcing a single container height per category: tall 2-liter jars for grains, squat 500-milliliter jars for lentils, uniformly sized tins for spices)Skip glass for the oil shelf because repeated wiping causes smudging that collects kitchen dust. Standard shelving 12 inches deep handles 2-liter jars without overhang, and spacing shelves 10–12 inches apart prevents awkward reaching.
Suits medium-to-large kitchens where a dedicated wall exists. Heavy grain jars (5–10 kilograms stored) demand solid wood or metal brackets rated for 30+ pounds per shelf. For renters, freestanding bamboo shelving units around $100–$150 offer the same grouping without drilling.
If you consistently reach past the front row for the same item each week, you grouped by type but not by frequency, promote that daily-use jar to the front and relegate bulk refills behind it. This approach fails in cramped galley kitchens where open shelving competes with upper cabinets for sightlines; common Indian Pantry Organization Ideas mistakes to avoid include cramming five container heights onto one shelf or storing oils above eye level where heat rises.
Corner and Under-Shelf Storage: Reclaiming Unused Zones
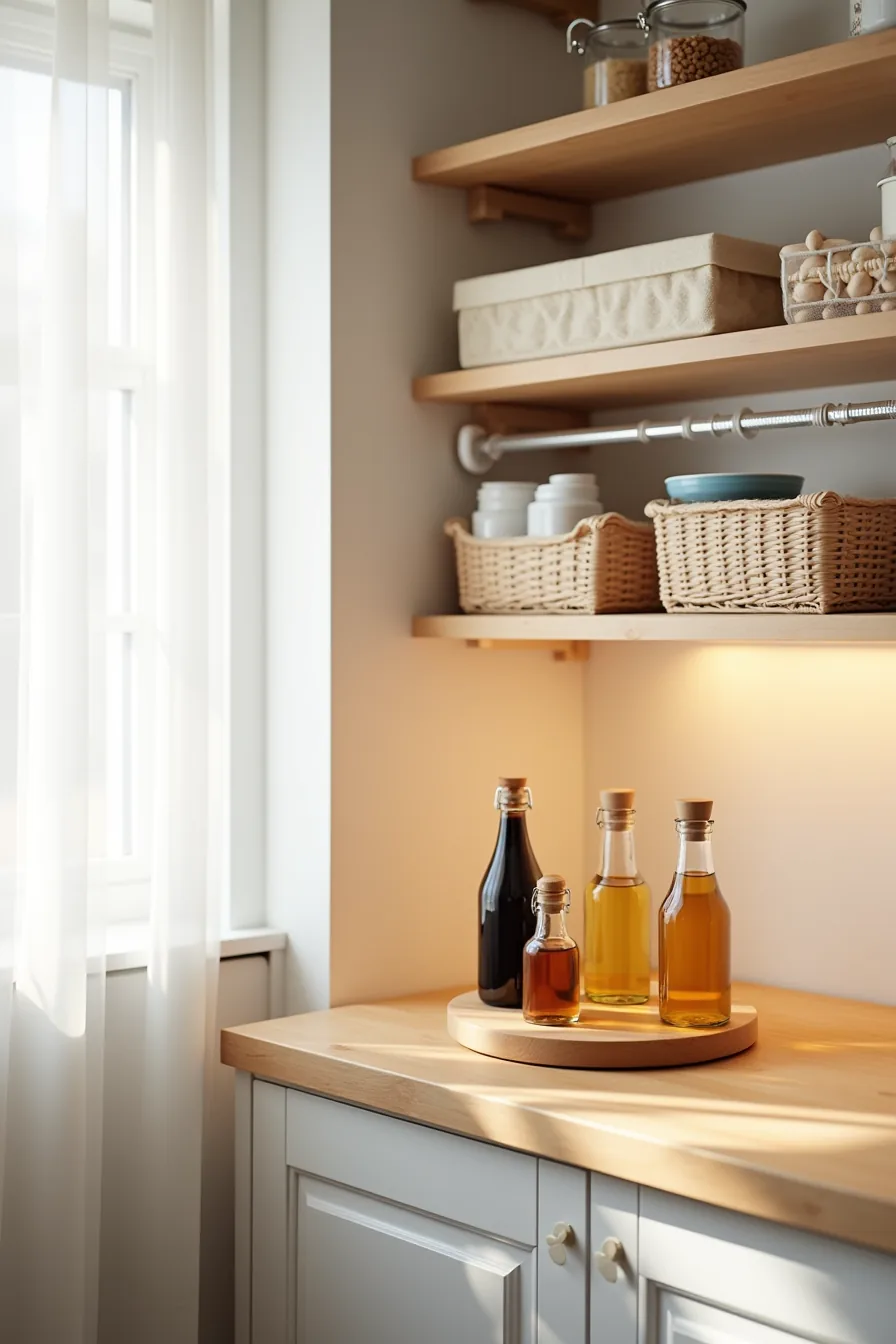
A circular lazy Susan in the corner holding four bottles, two vinegar, two oil, turns dead cabinet space into a spin-and-grab station. Choose a 12–14 inch turntable with a raised lip so bottles don’t slide off mid-rotation; it suits anyone who cooks daily and resents hunting for the same bottle twice. Mount a tension rod beneath an upper shelf to hang S-hooks with lightweight baskets for garlic, ginger, and small snack packets.
Keep basket weight under 5 pounds, tension rods grip via friction and will slip under heavier loads. This setup costs roughly $30–$60 total and requires zero drilling, making it ideal for renters who want function without permanent fixtures. Avoid using the lazy Susan for tall bottles over 12 inches, they catch on the shelf above and defeat the spin mechanism.
For small pantries, this duo reclaims vertical and corner dead zones without adding a single new piece of furniture, and it keeps oils away from direct light while staying within arm’s reach.
Where to start
Pick your weakest zone, the shelf where spices tumble out or the bag-clutter corner, and measure it before buying anything. Match your storage style to your lease and budget: renters get tension rods and adhesive hooks; owners invest in pull-out drawers. Match materials to your climate; humid kitchens need metal or sealed glass, not raw wood.
Your next step: empty one shelf, group items by cooking frequency, and label every jar before you shop for containers.
Frequently Asked Questions
How do I organize an Indian pantry in a small kitchen without a dedicated pantry room?
Use a rolling cart with three tiers beside your countertop for daily-use spices and dal. Install magnetic spice tins on the fridge or range hood. Store overflow grains in stackable, clear bins on open shelving above the sink.
What is the best container material for storing Indian spices and grains long-term?
Food-grade stainless steel with airtight silicone gaskets suits most Indian staples; it blocks light and resists pests. For spices you use weekly, borosilicate glass jars preserve aroma without metal-reactive lids. Avoid plastic for long-term storage, it retains oils and odors.
How often should I reorganize my Indian pantry, and what maintenance does it require?
Reorganize seasonally, every three months, to rotate stock and check for weevils or clumping. Wipe shelves monthly with a damp cloth and vinegar solution. Inspect gaskets and lids quarterly; replace any that no longer seal airtight.
Can I use Indian pantry organization ideas in a rental apartment without damaging walls?
Yes. Use freestanding shelving units, rolling carts, and over-the-door racks instead of mounted systems. Adhesive hooks with a 10–15 pound limit work for lightweight spice racks.
Avoid peel-and-stick tiles on textured walls, they strip paint when removed.