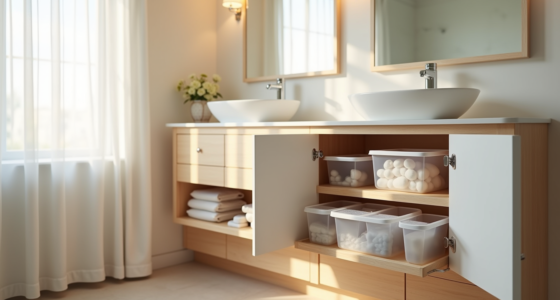

Walk In Closet Organization Ideas aren’t a one-size-fits-all solution, but a set of adaptable strategies that balance your storage needs against your space, budget, and lifestyle, and choosing the right one starts with knowing which of the six distinct systems below matches your room. You’ll find a renter-friendly tension rod setup, a budget-conscious modular cube build, and a permanent custom millwork investment, each with specific dimensions, material trade-offs, and maintenance requirements. By the end, you’ll have a decision checklist to match your closet’s footprint, from a 5×7 foot reach-in to a 10×12 foot walk-in, to the right layout without overspending or blocking access.
Key takeaways
- Zone-based layouts cut daily dressing time by grouping items you wear weekly at eye level, while reserving upper and lower shelves for off-season gear.
- Vertical rod systems double hanging capacity in closets with 8-foot ceilings by stacking two rods 40–42 inches apart, costing $30–$80 in hardware alone.
- Modular shelving with 12–16-inch-deep, adjustable units adapts to folded knits, bulky sweaters, and shoe boxes, and reconfigures in under an hour as your wardrobe shifts.
- Seasonal rotation, swapping 70–80% of your clothing twice a year, keeps drawer and bin systems from overflowing and preserves fabric integrity by reducing constant handling.
Zone-Based Layout: Separating by Category and Frequency
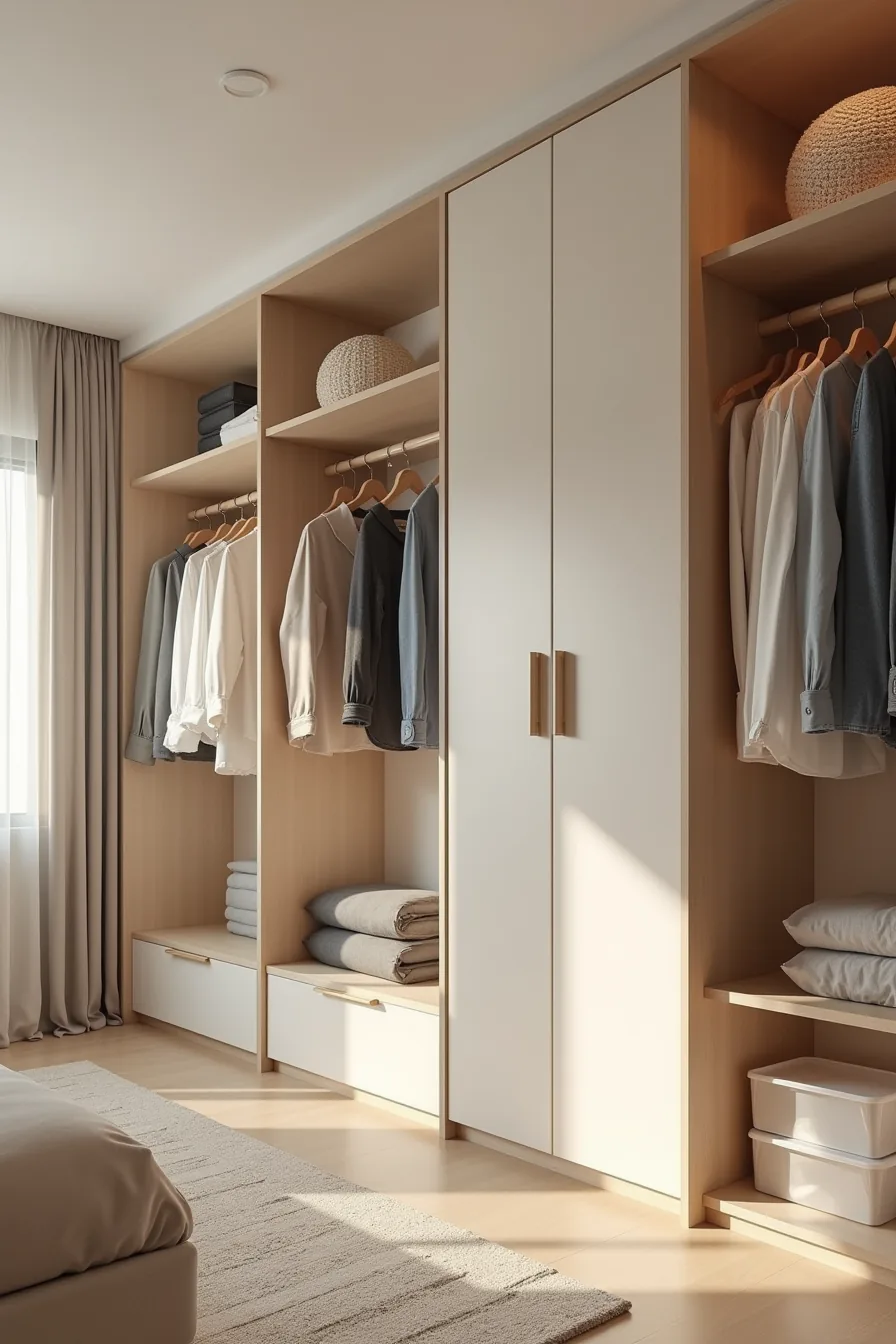
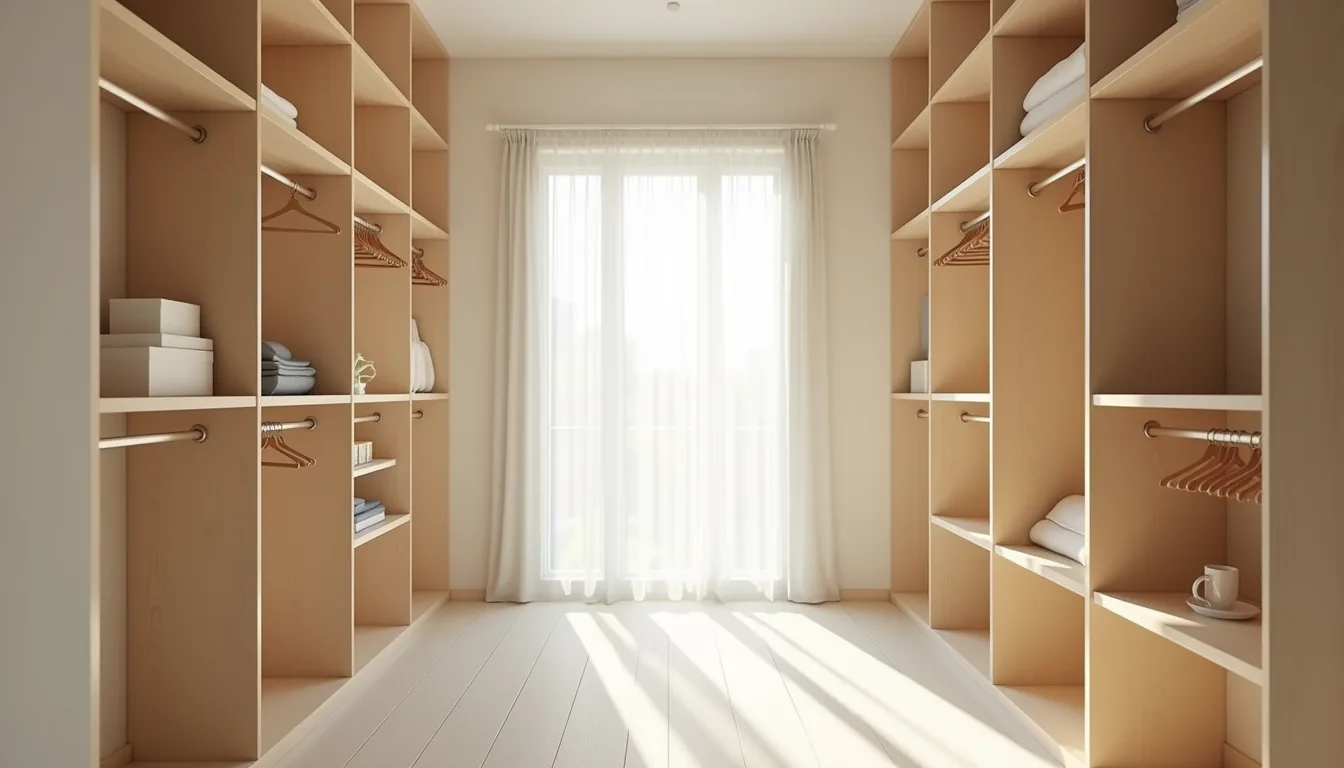
Divide your walk-in into four zones, work, casual, accessories, and off-season, to cut decision fatigue by forcing a choice of area before a choice of garment. A work zone keeps blazers and trousers on a single rod at chest height so you grab a matched set in under a minute; the casual zone with folded jeans on a lower shelf suits daily outfit repetition. Wall hooks near the door catch bags and belts, while clear storage bins stacked in the back corner hold seasonal knitwear out of daily sight.
This layout suits anyone with at least six feet of linear hanging space and a clear floor path between zones. You need four distinct sections that don’t block the entry or each other, a small 5×5-foot closet can manage this with a single rod per wall, though you’ll sacrifice the back-corner bin stack. Frequency drives placement: high-use items at arm’s reach, seasonal items lower or deeper, and every zone labeled to prevent drift into clutter.
Reassess quarterly to shift garments that no longer match your routine. For broader space-planning context, compare this against vertical rod systems for low ceilings or modular shelving for adjustable heights. Practical Walk In Closet Organization Ideas planning tips like this zone map work only when you measure your rod lengths and aisle width before buying bins.
Vertical Rod Systems: Maximizing Height Without Custom Installation
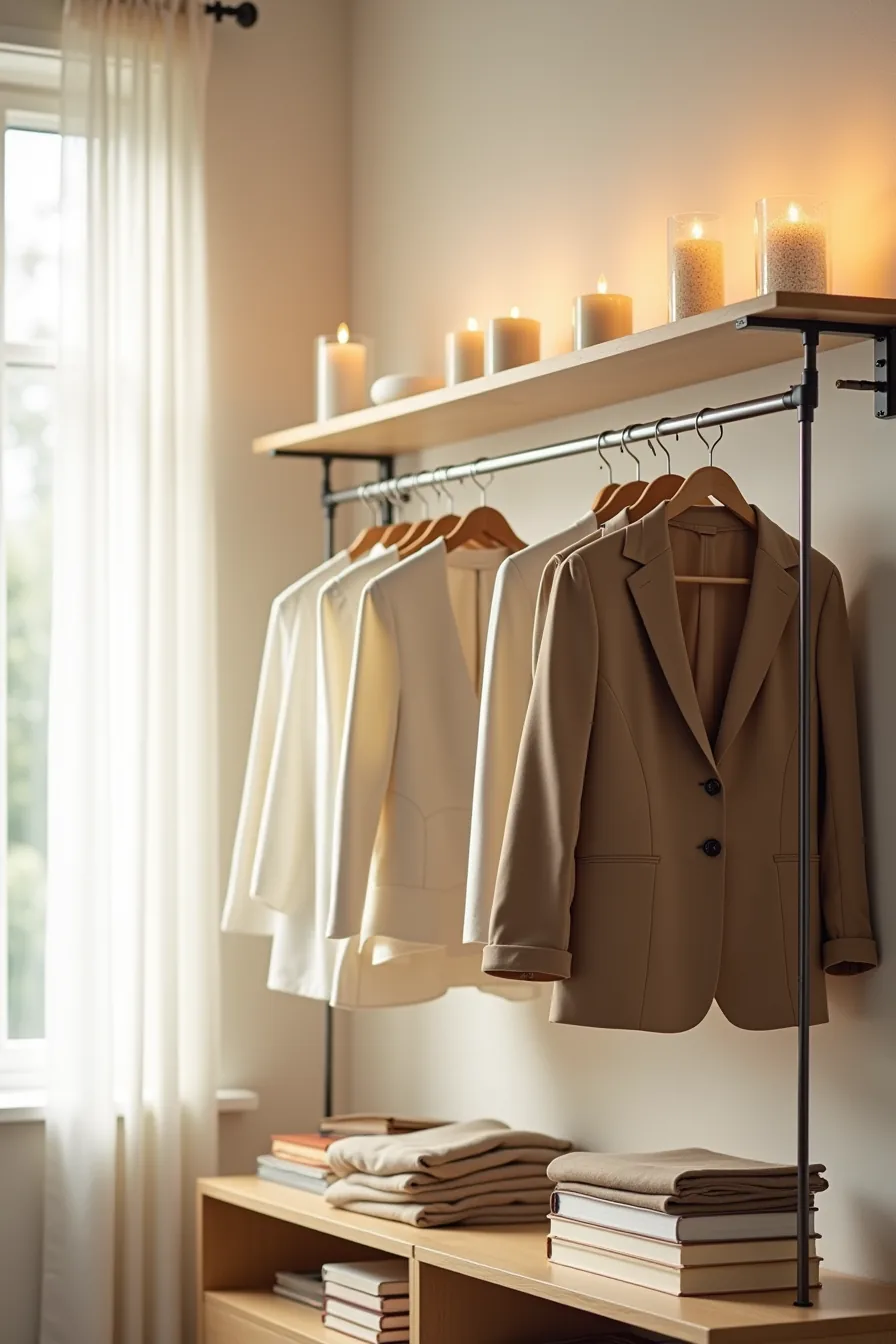
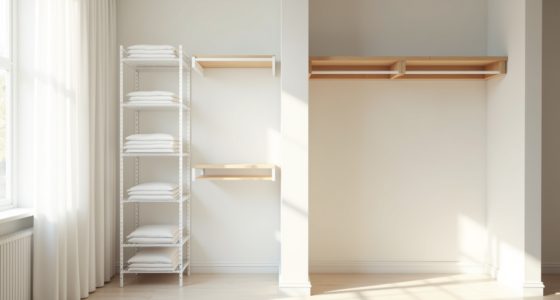
Double and triple hanging rods exploit the vertical space most closets waste above chest height, boosting capacity by roughly 50–70 percent compared to a single rod. The setup pictured uses three staggered levels: a top rod at about 78 inches for long dresses, a middle rod at 54 inches for shirts, and a bottom rod at 36 inches holding folded blazers on hangers. Metal brackets at each level distribute weight across the wall studs, so this configuration suits permanent installations where you can anchor into framing.
For renters, tension rods between opposing walls achieve the same staggered effect without drilling, but they handle only lighter garments, shirts and folded items, not heavy coats. Measure your ceiling height first: you need at least 90 inches to fit three rods with clearance between levels. Bottom rods below 30 inches make floor-length dresses drag, so adjust the lowest tier for your longest garment.
This system suits anyone with high ceilings and a wardrobe heavy on shirts and short jackets; it fails for bulky knitwear that needs shelf depth. Compare these against modular shelving when your mix leans toward folded items.
Modular Shelving: Adjustable Storage for Mixed Garment Types
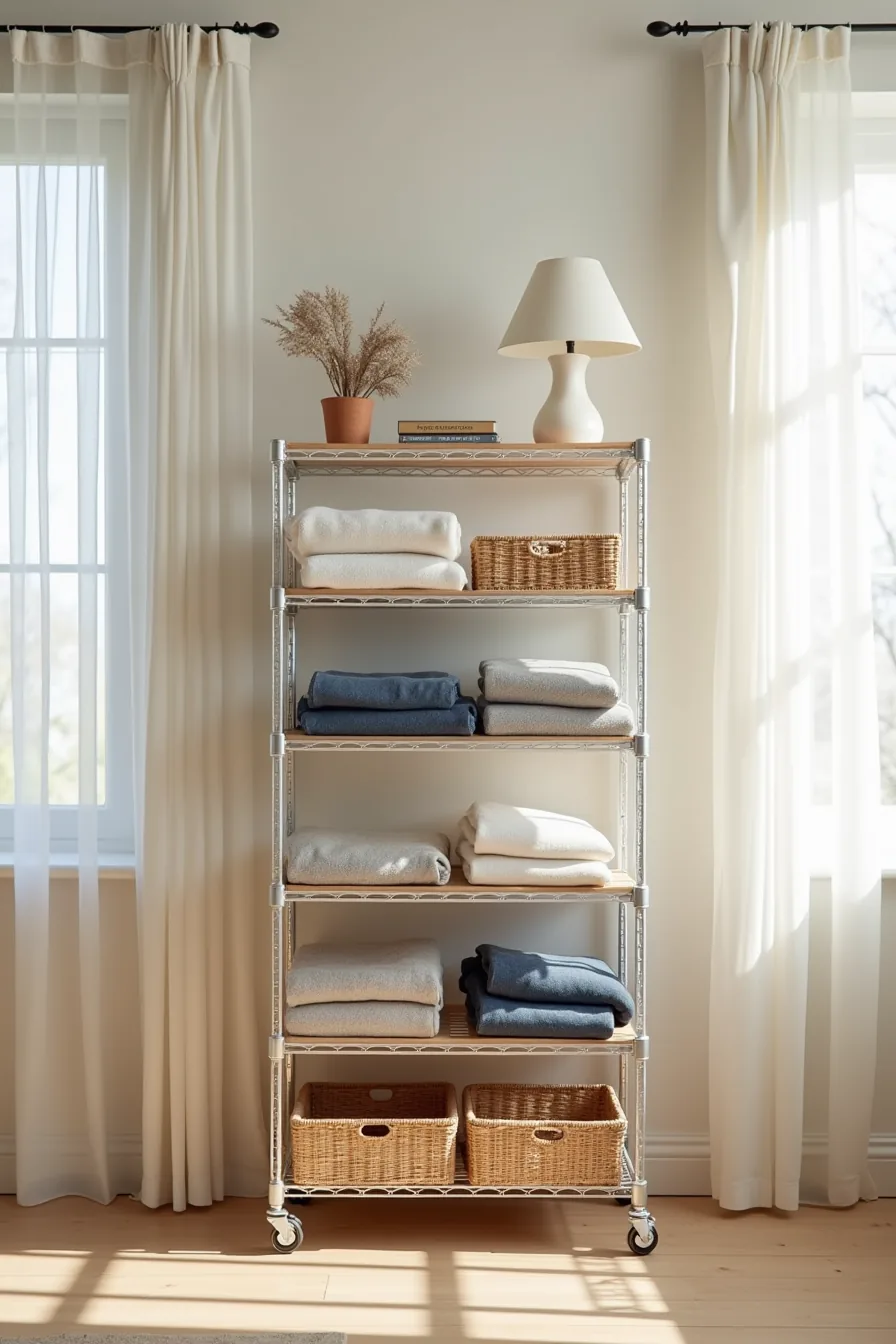
Freestanding wire shelving units give you the most flexibility for the lowest cost, typically running $120–$400 depending on width and shelf count. The five-shelf unit in this setup uses adjustable shelf pegs that let you shift spacing as your wardrobe mix changes, move shelves to 12 inches apart for folded sweaters, then reset them to 8 inches when you swap in stacks of jeans. Wire construction prevents musty smells by allowing airflow around fabrics, and the open grid keeps every garment visible without digging through piles.
This approach suits medium-to-large closets where you need temporary flexibility or renters who can’t mount wall brackets. Use woven baskets on the two lower shelves to hide less visually appealing items like workout gear or off-season accessories; rolled garments stack efficiently in the middle tiers without creasing. Keep the unit 2–3 inches away from the wall so the shelves’ full depth remains usable and air circulates behind it.
Expect to dust wire surfaces monthly, as they collect lint faster than solid panels. This system works best when you’ve at least 6 feet of floor space; for smaller closets, a narrower 24-inch unit sacrifices capacity but preserves circulation.
Drawer and Bin Strategy: Visibility and Containment for Basics
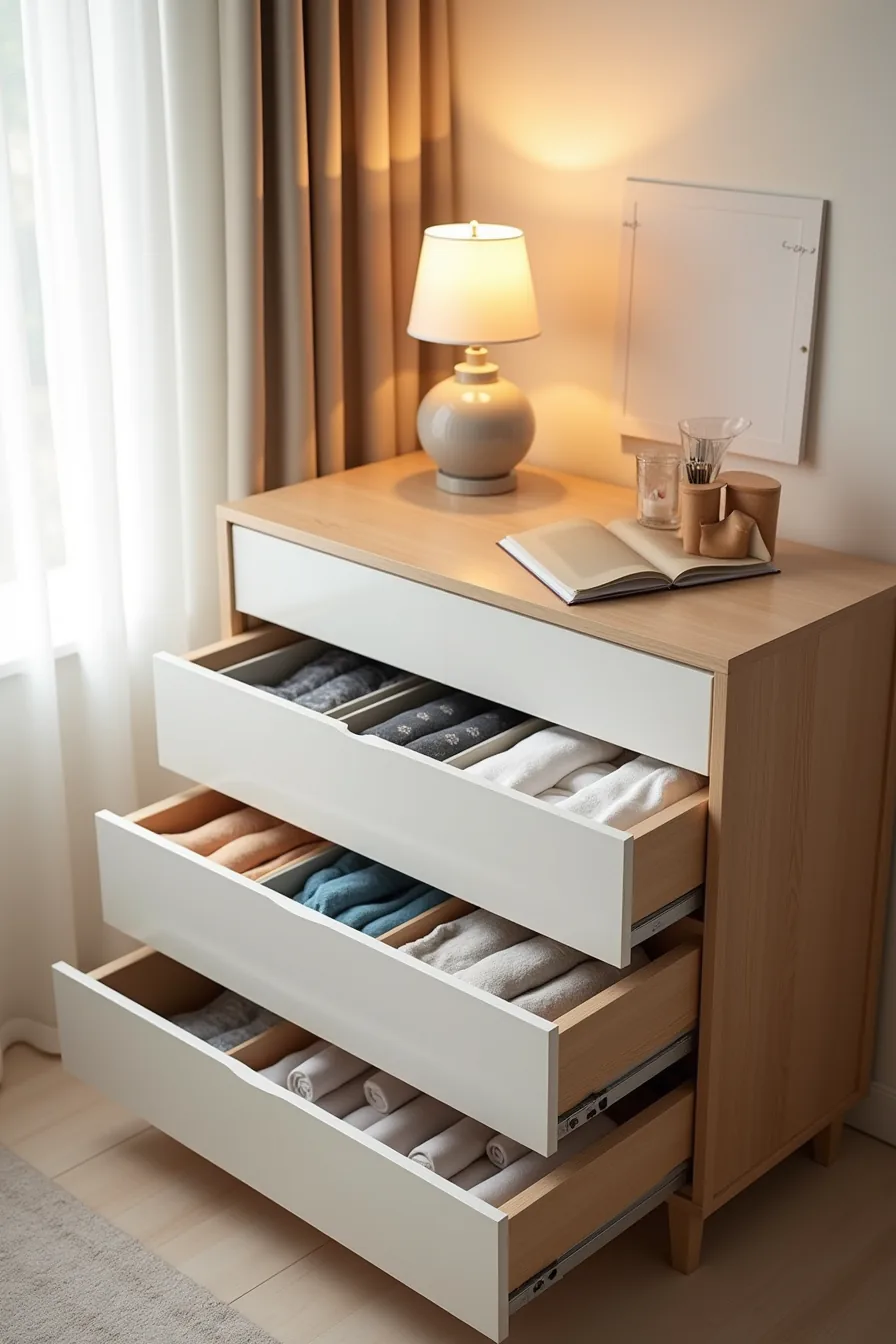
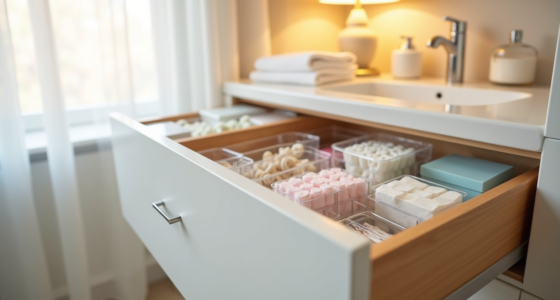
A low dresser with four drawers turns the most chaotic zone of your closet, socks, undergarments, and folded tees, into a system you can maintain in under two minutes a day. The top drawer uses clear acrylic dividers to separate socks by color, which works because you can spot a missing pair without rifling through the stack; these dividers typically run $15–$30 per set and fit standard 12–14-inch-deep drawers. The second drawer stacks folded undergarments in neat rows, a method that suits anyone who prefers seeing everything at a glance over rolling or compartmentalizing.
The third drawer relies on clear plastic bins with rolled items visible through transparent sides, a smart trade-off, since bins keep like items grouped while the transparent material eliminates the need for labels. The bottom drawer stays partially open, a deliberate choice that signals it holds frequently accessed basics and saves you a pull-handle motion each time. For sizing, choose bins that leave 1–2 inches of clearance on each side so they slide freely without catching.
To prevent dust and clutter creep, wipe drawer interiors monthly and purge any item you haven’t reached for in three months, this single habit prevents the drawer from becoming a graveyard of stretched-out straps and mismatched pairs. This strategy suits small-to-medium closets where floor space is tight, and it’s a renter-friendly route because it requires no wall mounting or permanent fixtures. The main limitation: it only works if you commit to the “one drawer, one category” rule, the moment you mix categories, the visual clarity collapses and you’re back to digging.
If you’re evaluating walk in closet organization ideas mistakes to avoid, the biggest one is buying bins before measuring your drawer depth, most standard dressers run 12–16 inches deep, and oversized bins will stick out and block the drawer from closing fully.
Lighting and Mirror Placement: Functionality Over Aesthetics
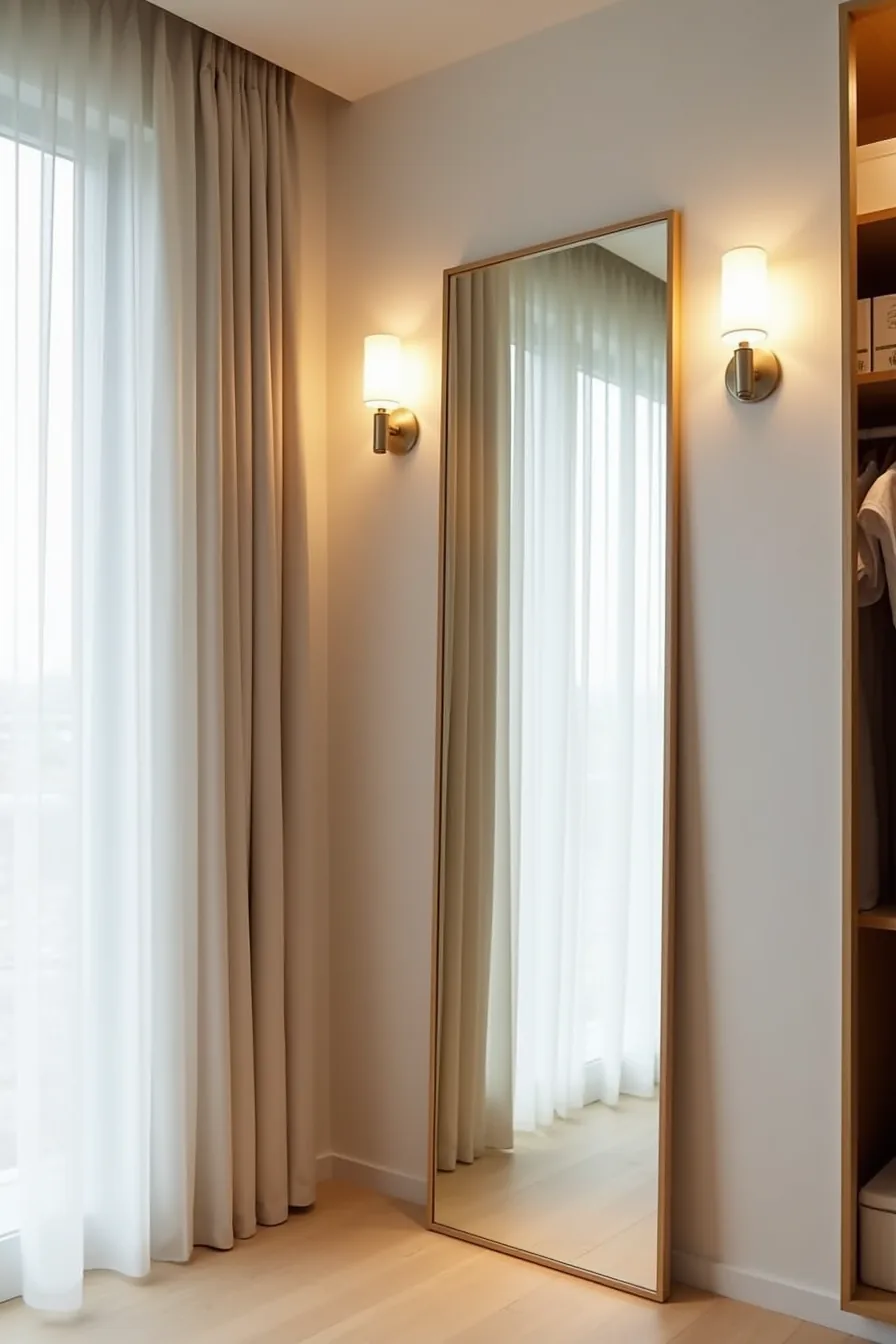
Layered lighting eliminates the guesswork of matching outfits in shadows. Recessed ceiling lights provide even, 3000K–4000K ambient coverage across the full closet, while a wall-mounted task light with an adjustable arm close to the mirror delivers directional brightness for color-checking fabrics. This combination suits anyone who dresses before sunrise or relies on precise color matching for work.
A full-length mirror positioned roughly 18 inches from the entry wall reflects both the hanging garments and the shelving behind you, letting you assess an outfit from head to toe without stepping sideways. Place the mirror so it faces the main hanging rod, not the door, this doubles the perceived depth of a narrow closet and gives you a rear view of your silhouette. The trade-off: mirrors opposite a window create glare, so opt for frosted bulbs or a dimmer switch if your closet has natural light.
Recessed fixtures typically require 6–8 inches of ceiling clearance above insulation; task lights with clamp bases run $40–$80 and need zero wiring, making them the renter-friendly option. Clean mirror edges monthly to avoid dust buildup that dulls reflection quality.
Seasonal Rotation and Maintenance: Keeping Systems Sustainable
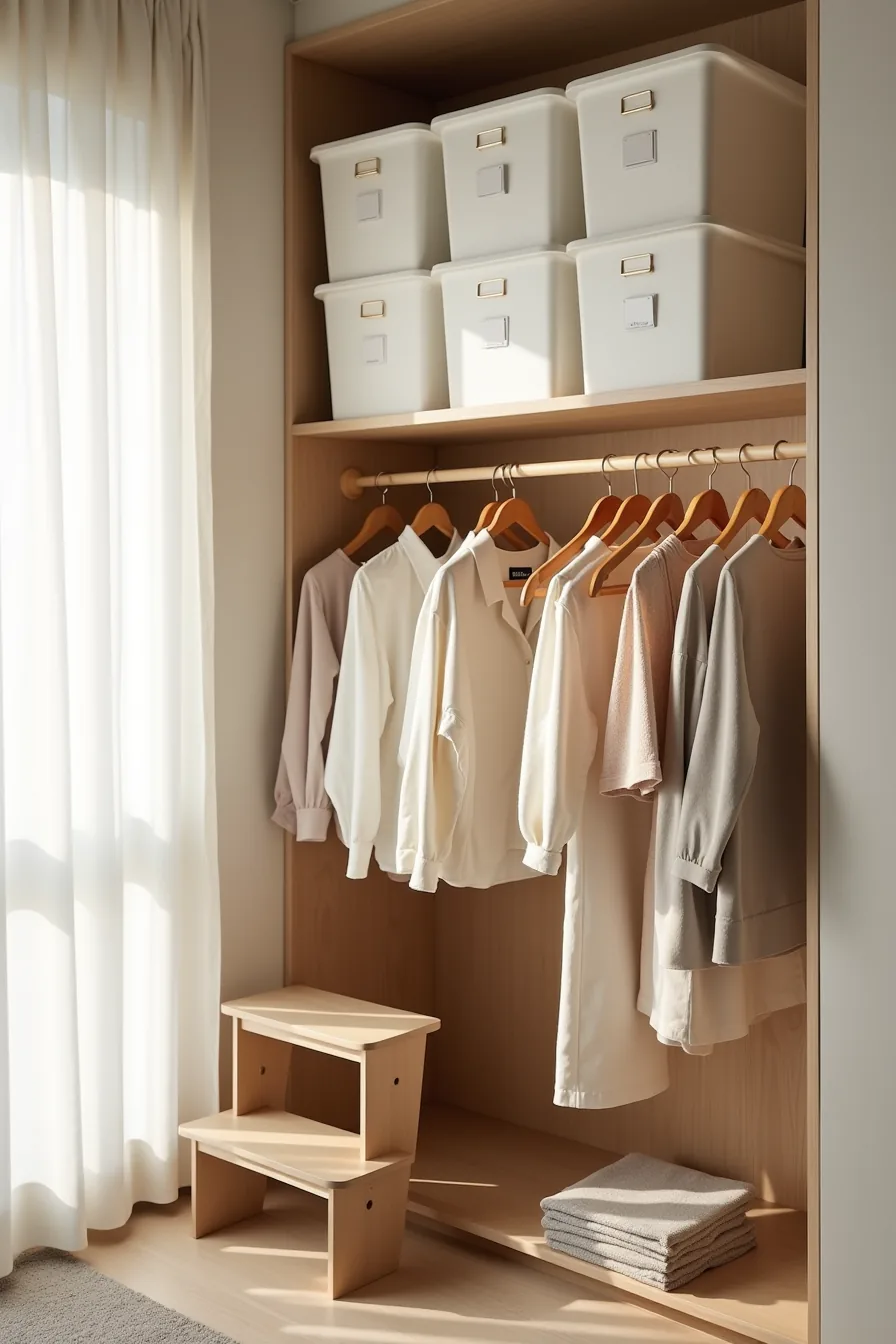
A seasonal swap is the single highest-use habit for keeping any walk-in functional. Twice a year, aim for the weekend after daylight saving time changes, pull everything off the rods, wipe down the surfaces, and move off-season items into labeled opaque storage boxes. Stack those boxes three high on the high shelf, with the current season’s garments hanging in organized rows below.
Keep a small step stool nearby so you can reach the top tier safely; reaching on tiptoe is how boxes tumble and systems collapse.
The budget vs. Splurge walk in closet organization ideas split shows up clearly in storage containers. Clear polypropylene boxes run $8–$15 each and let you identify contents without opening, but they show dust and require tidy folding. Opaque bins with fabric fronts cost $20–$40 but hide imperfections and read as more polished, worth the premium if your closet is visible from the bedroom.
Whatever you choose, label every box on the front and side, not just the lid, so you can identify it while the box is stacked.
Overstuffing undoes more organization systems than any other mistake. If a shelf or rod holds items you haven’t touched in a year, that section is too dense, pull three pieces out and donate them before adding anything new. A quarterly 15-minute sweep catches this drift early: check the floor, the top shelf, and the rod ends for strays, and return anything that has migrated.
Dust the high shelves with a lambswool duster monthly and wipe down the lower edges with a damp cloth to keep the whole system feeling maintained rather than neglected.
Your first move
Start with the zone that frustrates you most, the floor pile, the tangled belts, the shelf you can’t reach. That single pain point tells you which of the six layouts above deserves priority. One 20-minute session with a tape measure and a notepad will settle your dimensions before you spend a dollar.
Then buy only the storage for that one zone. Test it for two weeks. If it survives real use, expand to the next zone.
If it doesn’t, adjust and move on.
Measure your deepest shelf tonight, write down what’s on your closet floor right now, and pick one solution from this list to trial this weekend.
Frequently Asked Questions
How do I organize a walk-in closet in a small space under 50 square feet?
Use one continuous hanging rod along the longest wall, not two parallel ones. Add vertical stackable shelves above it and a single slim shoe rack. Keep a 36-inch clear walking path.
What is the best budget-friendly way to add more hanging space without hiring a contractor?
Install a tension rod inside an existing alcove or between two walls; it holds lightweight shirts and accessories. For heavier coats, use a freestanding garment rack on wheels. Both cost under $50 and require no drilling.
How often should I reorganize or declutter my walk-in closet to maintain the system?
Do a quick 15-minute sweep every season change, removing items you haven’t worn in three months. Do a full declutter twice a year, ideally before spring and fall, to keep the system functional.
Can I use walk-in closet organization ideas in a reach-in closet or bedroom armoire?
Yes, but scale down. Use the same zones, hang, fold, shelve, but limit to one rod and two shelf tiers. Skip island or bench ideas; they’ll block access in a reach-in.
Prioritize door-mounted organizers instead.