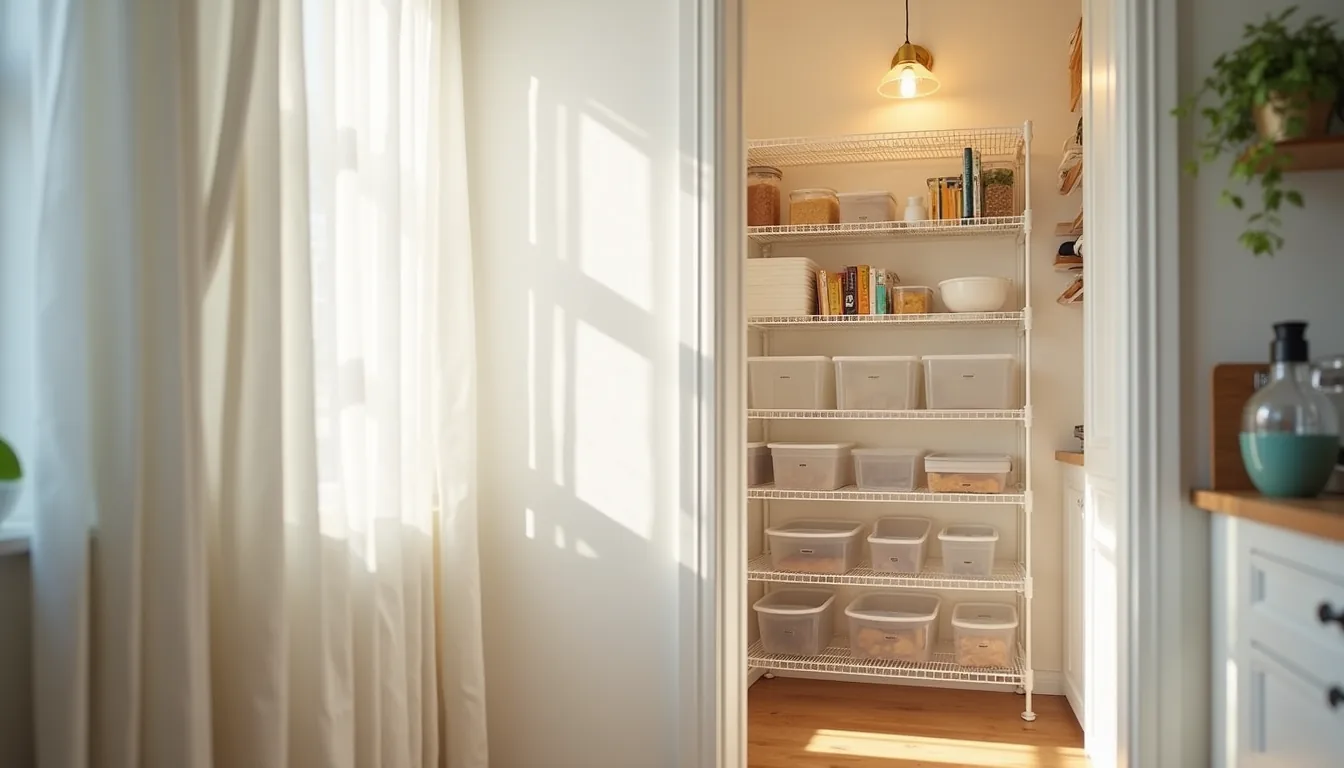
Your pantry’s shelving isn’t a storage afterthought, it’s the single highest-use decision you’ll make for how quickly you can find a can of tomatoes, and for small spaces, the right shelf system separates a functional kitchen from a daily scavenger hunt. The fix isn’t more shelves; it’s the right type for your ceiling height, wall depth, and budget. Below are six distinct configurations, from tension rods to full cabinetry, each with the exact dimensions, materials, and trade-offs you need to replicate it without wasting a square inch.
Key takeaways
- Vertical tiered shelving doubles usable space by stacking shorter items above taller ones, but only suits pantries with at least 8 feet of ceiling height and requires a step stool for top access.
- Open clear-container systems cut visual clutter and let you see stock at a glance, but demand uniform bin sizes and a weekly wipe-down to prevent dust buildup on exposed edges.
- Door-mounted shelving reclaims 12–18 inches of dead space behind the door, yet adds weight to hinges, so stick to lightweight items like spices or snacks and avoid glass jars over 16 ounces.
- Narrow pull-out drawers between studs fit only 3–4 inch deep gaps, making them ideal for flat cans and spice bottles, but you must confirm there are no electrical wires or plumbing before cutting into drywall.
Vertical Stacking with Tiered Shelving
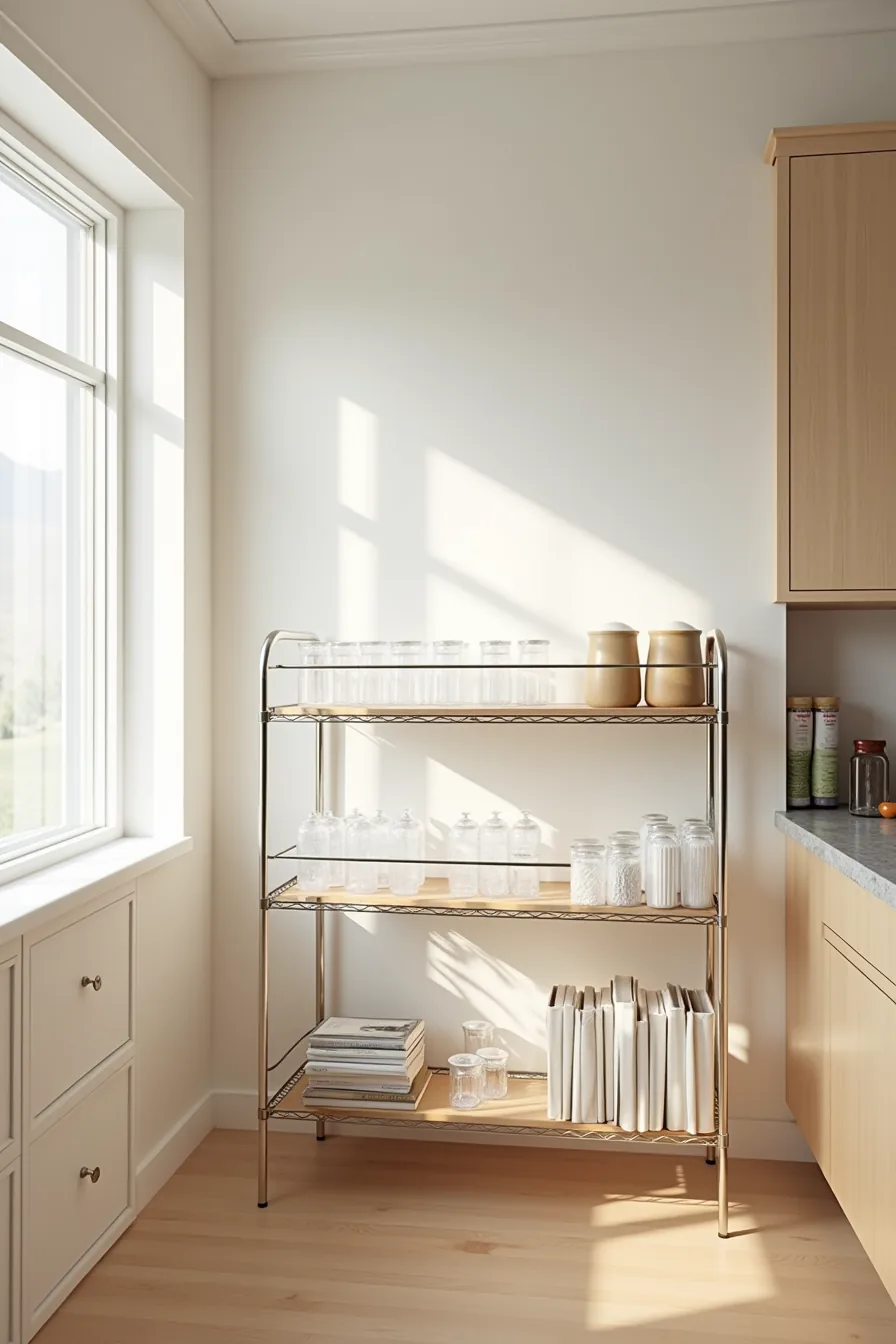
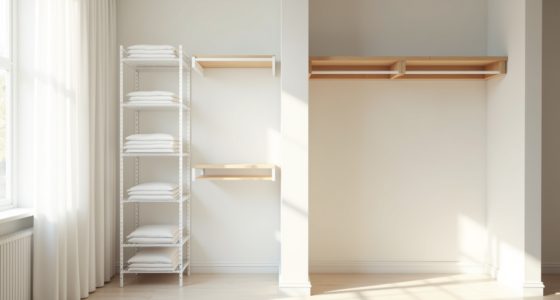
A three-tier adjustable metal shelving unit parked against the pantry wall is the fastest way to double usable height without adding floor depth. The key is arranging clear acrylic containers in ascending height order, tallest toward the back, shortest at the front, so every tier remains visible at a glance. This setup suits renters and budget-conscious households alike because adjustable shelving units run $30–$60 at most big-box retailers and require no wall anchors or drilling.
Position the unit where it rests at least 2–3 inches from the wall to allow airflow behind containers, which prevents moisture buildup in humid climates. Choose containers with straight sides rather than tapered ones; they use roughly 15–20 percent more vertical space per shelf. For practical small pantry organization ideas shelves planning tips, reserve the top tier for lightweight, rarely used items like holiday baking supplies, and keep daily-use staples at eye level on the middle tier.
Load heavier jars and bottles on the bottom shelf to keep the unit stable, and wipe down the metal frame monthly to prevent rust in damp environments.
Open Shelves with Clear Container Systems
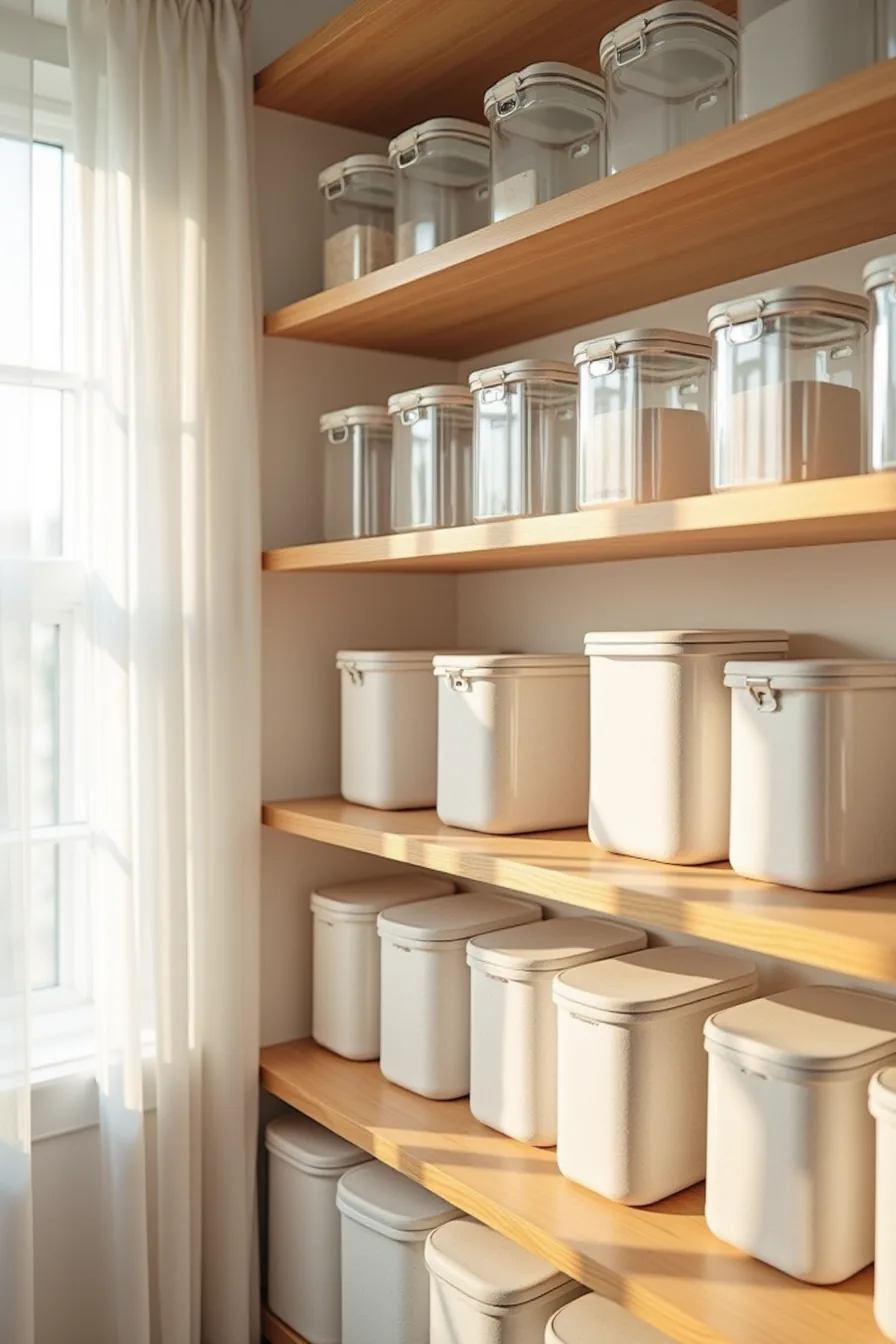
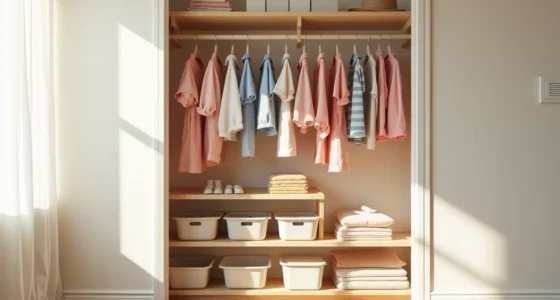
Clear glass and acrylic containers transform open wooden shelves into a visual inventory system. The matching rectangular shapes lined up in rows create a uniform grid that reads as intentional design rather than clutter. Because you see every item at once, you cut decision time during meal prep and grocery shopping.
This approach works best for households that cook daily and need instant visibility. Standard pantry shelving runs 24–36 inches deep, so select containers that fit two across with a few inches of breathing room between rows. Dust covers on the glass jars are non-negotiable in open setups, they keep flour, sugar, and pasta free from airborne particles while reducing cleaning frequency to a biweekly wipe-down.
Open shelves require more dusting discipline than closed cabinets, so skip them if you prefer low-maintenance surfaces. For renters, freestanding wooden shelving units under 60 inches tall avoid wall damage while delivering the same organized display.
Door-Mounted Shelving for Dead Space
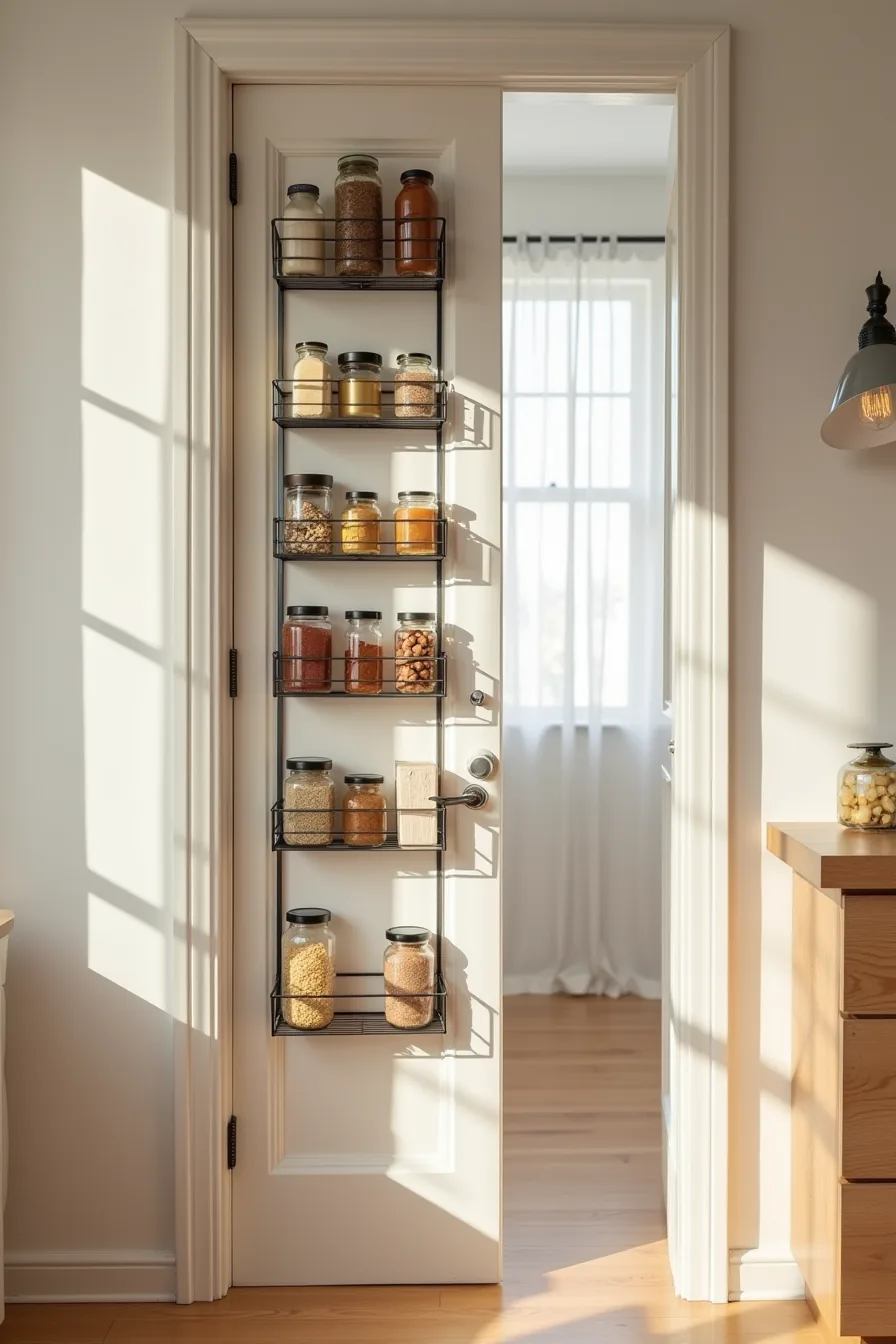
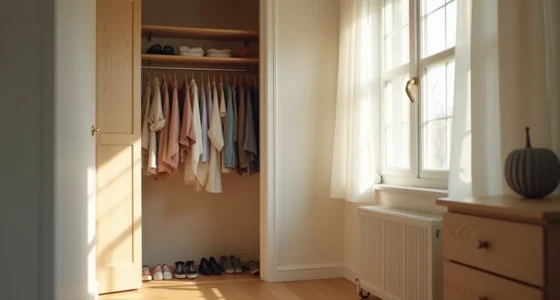
The back of a standard 30-inch pantry door offers roughly 1.5–2 inches of usable depth before it interferes with shelf access. A slim metal over-the-door organizer rated for 25–50 pounds turns that void into prime real estate for narrow jars of spices, oils, and small boxes of baking mixes. The setup shown here, door cracked open at 60 degrees, demonstrates the critical clearance check: when closed, every mounted item must sit clear of the interior shelves by at least 2 inches, or you’ll dent containers and strain hinges.
This solution suits renters and anyone who can’t drill into walls. Weight distribution matters more than total capacity, load heavier jars on the bottom hooks and reserve the top tiers for lightweight boxes to prevent the door from sagging over time. Avoid storing liquids in this zone if you’ve children who slam doors, since impact forces concentrate at the hinge side.
Stick to dry goods and unbreakable packaging. The trade-off is visual: door-mounted racks read as utilitarian, so pair them with the clear-container system from earlier if you want a cohesive look. Common Small Pantry Organization Ideas Shelves mistakes to avoid include overloading the organizer past its rated capacity and choosing wire racks that scratch painted doors.
Narrow Pull-Out Drawers Between Studs
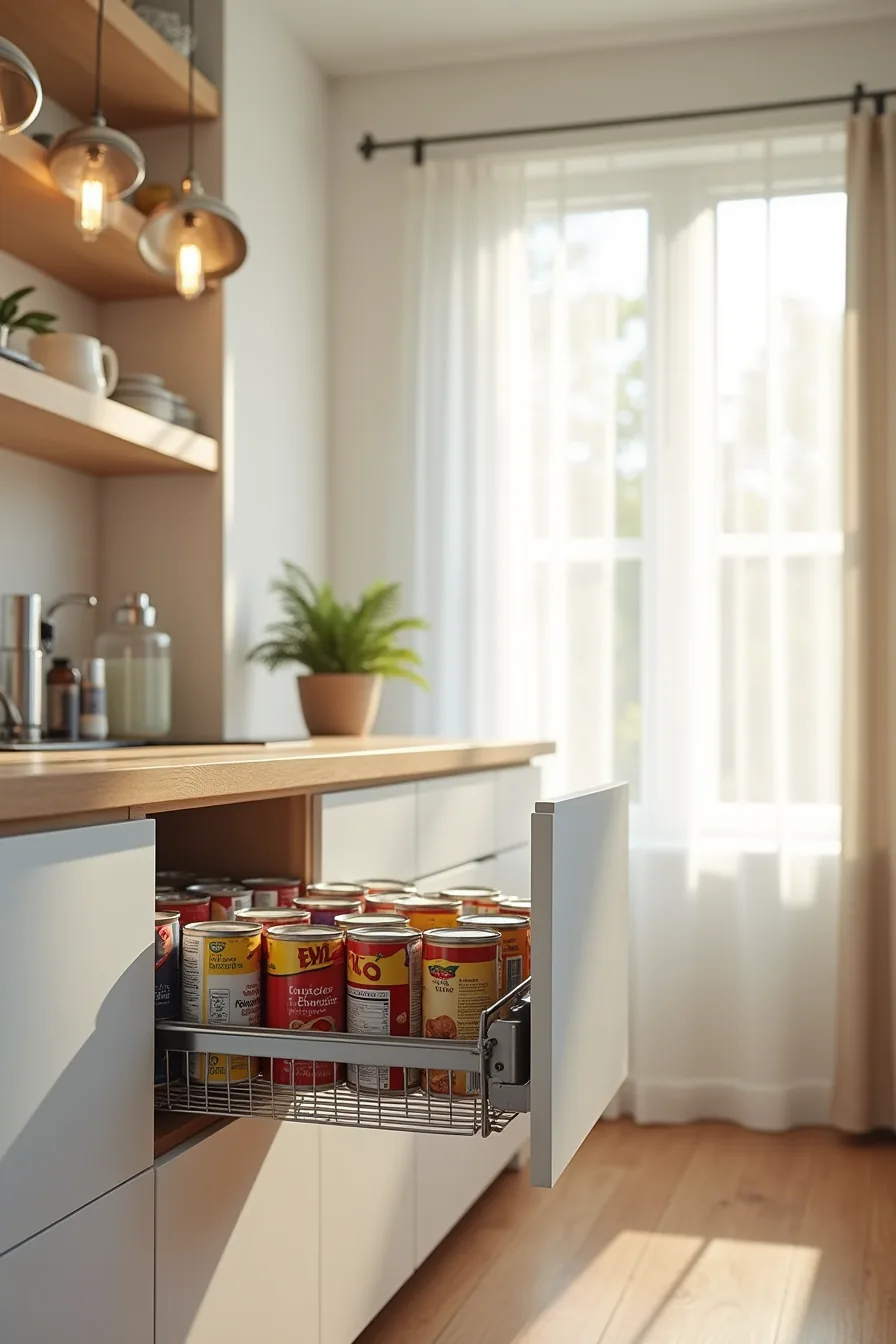
Standard wall studs sit 16 inches on center, which leaves a cavity roughly 14.5 inches wide and 3.5 inches deep that most pantries waste entirely. Shallow slide-out trays exploit this void, giving you two or three tiers of accessible storage for canned goods and dry goods that would otherwise disappear behind deeper shelving. The wire drawer tray in this setup extends about 12 inches out, which is enough to see every label at a glance without the pull-out mechanism requiring a full 20 inches of clear floor space in front of it.
This retrofit works best in pantries where you’ve a bare wall section of at least 24 inches wide and 30 inches tall, enough to fit two or three stacked trays between a single pair of studs. Installation requires cutting into drywall, so it’s a permanent solution for homeowners, not renters. You’ll need a stud finder, a drywall saw, and basic framing skills to build a box that supports the slides; budget 2–4 hours for a first attempt.
The trays themselves run $15–$40 each depending on gauge of wire and slide quality. Don’t load them beyond 20–25 pounds per tray, since the slides are the failure point, not the shelves.
Floating Shelves with Bracket Support
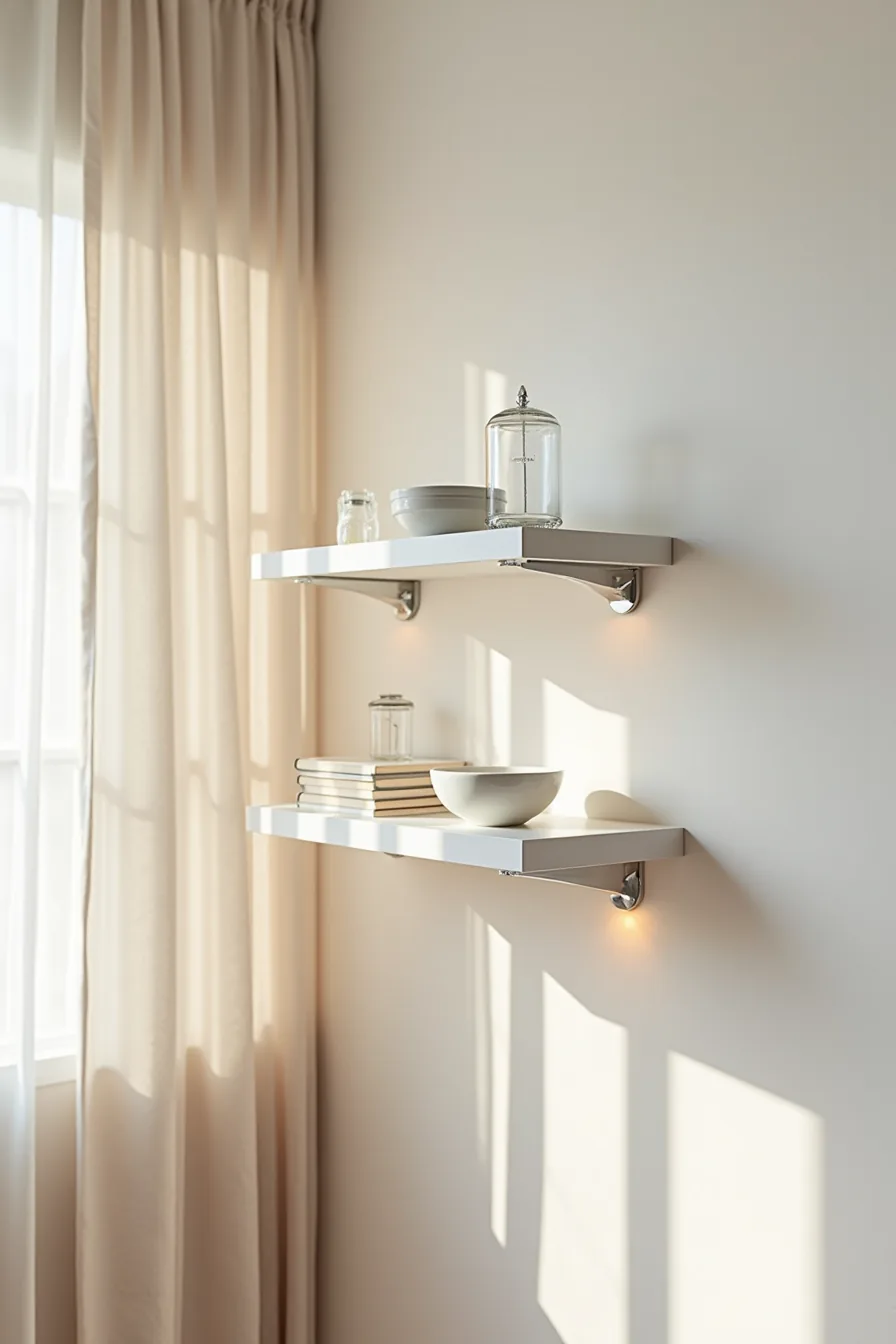
Visible L-bracket shelves offer the simplest route to small pantry organization ideas shelves, and this white drywall setup proves why. The two shelves hold ceramic bowls and glass containers without hiding their contents, turning everyday staples into a visual system that reads as intentional rather than cluttered. Because the brackets are out in the open, you can see the mounting points at a glance, a genuine safety advantage over hidden hardware that might be pulling loose without notice.
Each shelf here carries roughly 20–30 pounds safely when anchored into studs with 2-inch screws. You get that capacity for $25–$60 per shelf, brackets included, making this the budget-friendly interpretation of small pantry organization ideas shelves versus custom millwork. For renters, choose 12-inch L-brackets with a center support bar and patch the four screw holes with spackle when you move out, damage stays under a quarter-inch across.
On drywall without studs, use toggle bolts rated for 50 pounds per pair, but never exceed half that rating for stored goods.
The visual trick here’s proportion: shelves that run 24–36 inches long leave breathing room on either side of the wall, preventing the crowded look that ruins small pantries. Matte white finish matches the drywall and makes the brackets disappear, while the ceramic bowls provide the texture. This setup suits renters, first-time organizers, and anyone who prefers flexibility to change shelf spacing seasonally, just move the brackets up or down in minutes.
Wipe the pine or MDF shelves with a damp cloth weekly; oil-rubbed bronze or matte black brackets need dusting monthly but show fewer fingerprints than stainless steel. For the splurge version of small pantry organization ideas shelves, upgrade to solid oak with hidden steel brackets milled into the underside, triple the cost, but the clean sightline justifies it for permanent installations.
Corner Carousel and Lazy Susan Placement
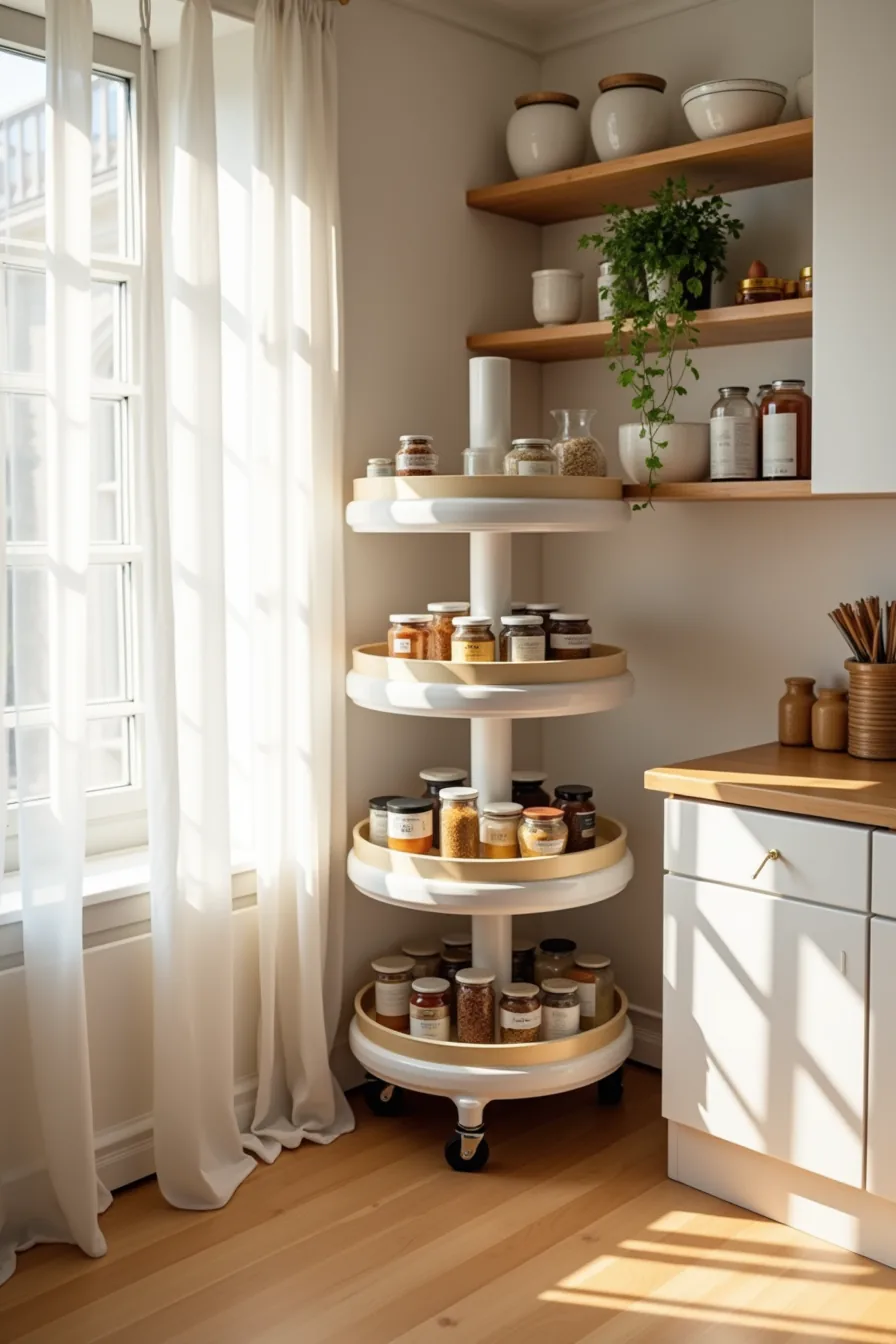
A rotating lazy susan turntable converts the corner dead zone, typically the most wasted square footage in any pantry, into accessible storage. The setup here uses a two-tier carousel with bottles on the lower tier and jars arranged in concentric circles on the upper level, letting you spin the entire unit to reach items stored flush against the back wall. This design works because it eliminates the need to crawl or stretch; a full rotation brings every container to the front edge within arm’s reach.
Most corner carousels range from 18 to 24 inches in diameter, with heights between 20 and 30 inches per tier. Budget versions in coated wire run $30–$60 and spin on a simple ball bearing, while premium acrylic or bamboo models cost $80–$150 with smoother, quieter rotation and removable bins for washing. The trade-off is capacity versus access speed: a 24-inch carousel holds roughly 30% more than a 20-inch model, but the smaller unit spins more easily when fully loaded.
This route suits medium and larger pantries where a 24-inch footprint won’t block the door swing, and it works especially well for households with varied bottle and jar heights that need frequent rearranging. Wipe the turntable surface monthly; the bearing mechanism needs no lubrication, but check for debris buildup every six months to keep rotation smooth.
Where to start
Start by measuring your pantry’s usable wall space floor to ceiling, then photograph it with the door open. That ten-minute audit tells you whether you need freestanding shelving, wall-mounted racks, or a mix of both.
Choose one solution from this list that solves your biggest problem, visible clutter, wasted vertical space, or awkward corners, and install that first. Resist buying baskets or bins until the shelves are up, or you’ll end up with containers that don’t fit.
Your next step: measure the deepest shelf you can install without blocking the door swing, then order one shelf unit in that depth.
Frequently Asked Questions
How much weight can adjustable pantry shelves hold, and does it vary by material?
Wire shelves typically hold 30–50 pounds per linear foot, while solid wood or plywood supports 50–75 pounds. Particleboard is weaker, maxing out around 25–40 pounds. Always check the bracket rating, not just the shelf.
What is the ideal shelf depth for small pantries, and how does it affect what you can store?
Aim for 12–16 inches deep. At 12 inches, you fit one row of cans or jars; at 16, you add a second row but risk losing visibility. Deeper shelves suit bulk bins, shallower ones suit spices and jars.
Can you install floating shelves on a rental pantry without damaging walls?
Yes, if you use damage-free adhesive strips rated for 15–20 pounds per shelf, or tension rods between walls. For heavier loads, you’ll need screws and wall anchors, drilling holes that require patching on move-out. Choose adhesive only for lightweight items.
How do you prevent dust and pests on open pantry shelving in small spaces?
Store dry goods in airtight glass or plastic containers with sealed lids, this blocks both dust and pantry moths. Wipe shelves monthly with a damp cloth and vacuum corners. Add bay leaves or diatomaceous earth near edges to deter insects without chemicals.