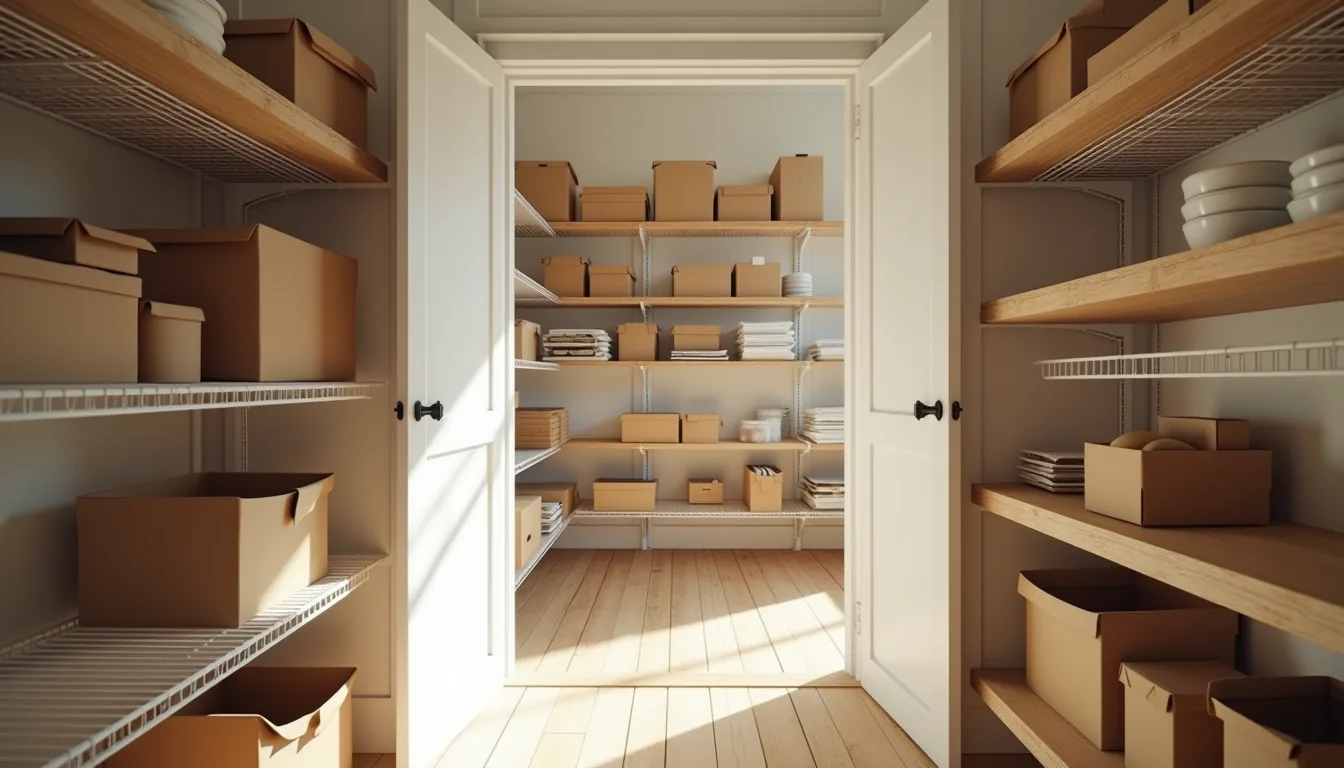

A pantry cabinet that runs 24–30 inches deep turns every reach for a can of tomatoes into a gamble, but the right organization system, whether a $40 tiered shelf kit or a $1,200 custom pull-out drawer set, can turn that void into the most efficient square footage in your kitchen. The fix isn’t about buying more containers; it’s about matching the solution to your depth, your budget, and your rental agreement. Below, six distinct strategies, each with the exact dimensions, materials, and maintenance trade-offs you need to decide before you spend a dollar.
Key takeaways
- Measure first: Most deep pantries run 24–30 inches from front to back, so confirm your shelf depth before buying risers or baskets that leave dead space.
- Match system to use: Pull-out drawers and sliding baskets suit heavy canned goods and daily staples, while tiered risers work best for low-traffic backup stock.
- Zone by frequency: Place daily-use items at waist-to-eye level (roughly 36–60 inches) and reserve upper shelves for bulk or holiday-only supplies to cut retrieval time.
- Budget smartly: Clear containers cost $5–$15 each and need full inventory labels, but renter-friendly adhesive hooks or tension rods run under $30 and require no permanent changes.
Tiered Shelf Risers and Step Shelving
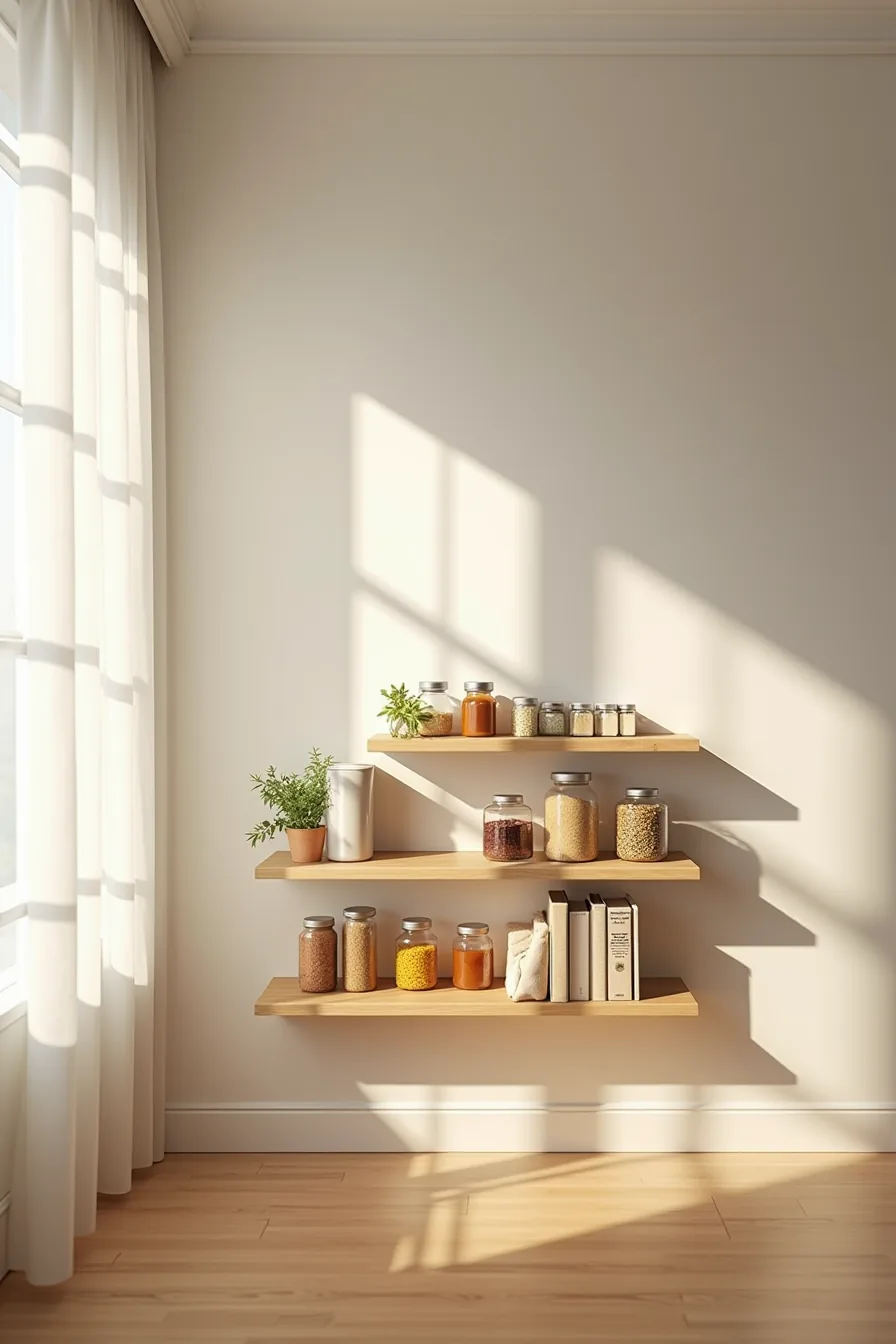
Staggered risers turn one deep shelf into a stadium of visible inventory. Canned goods sit on the back tier, glass jars of grains and pasta fill the middle, and frequently used items like oils or vinegars claim the front row. You see every label at a glance, and you never dig behind a wall of identical cans to find the black beans.
Acrylic risers stay lightweight and cost roughly $12–$25 per unit, while bamboo versions run $20–$40 and hold heavier jars without bowing. Both sit on your existing wooden shelf with zero installation, making them the most renter-friendly route in this guide. Measure your shelf depth first: risers typically span 10–15 inches, so a shelf must be at least 12 inches deep to fit a single unit comfortably.
For owners wanting a permanent upgrade, fixed step shelving built from plywood or solid pine costs more in materials and labor but doubles capacity by adding a second vertical layer. The trade-off is commitment, you lose the flexibility to rearrange when your inventory shifts seasons. These examples rank among the Best Deep Pantry Organization Ideas because they solve visibility without requiring structural changes or power tools.
Pull-Out Drawer and Sliding Basket Systems
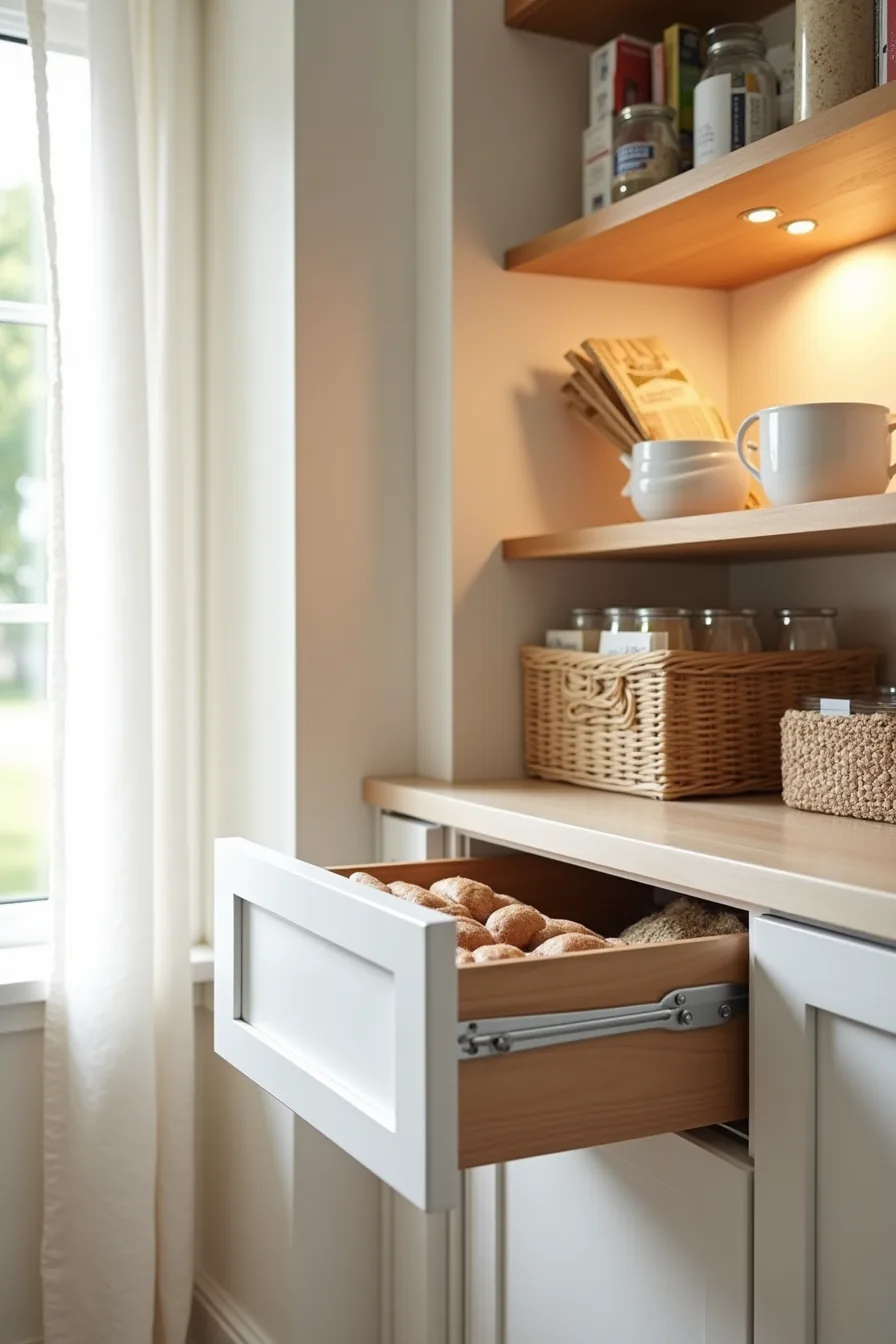
Full-extension drawers mounted on metal slides transform that frustrating dead zone at the back of a 24-inch-deep shelf into accessible storage. When you pull the drawer fully out, every stacked package becomes reachable without contorting your arm or climbing onto the counter. The metal drawer frame in view carries stacked packaged goods that would otherwise vanish into shadow.
You need at least 18 inches of clear depth for a functional drawer retrofit, though most pantries with deep shelves have 22–24 inches to work with. Weight limits on standard ball-bearing slides range from 75–100 pounds per drawer, which comfortably handles canned goods but demands you avoid overloading with glass jars. The woven sliding basket beside the drawer offers a lighter alternative, holding snacks and produce bags on a gentler glide mechanism that requires only 14 inches of depth.
Retrofitting both into an existing wooden shelf frame costs roughly $40–$80 per drawer for hardware plus your labor. If you rent, choose adhesive-mounted wire baskets instead of drilling into cabinet sides, and stick to baskets under 10 pounds fully loaded to protect the finish. For owners, this ranks among the most Practical Deep Pantry Organization Ideas planning tips you can execute this weekend, because the payoff is immediate and reversible if you keep the original shelf intact.
Zone-Based Organization by Category and Frequency
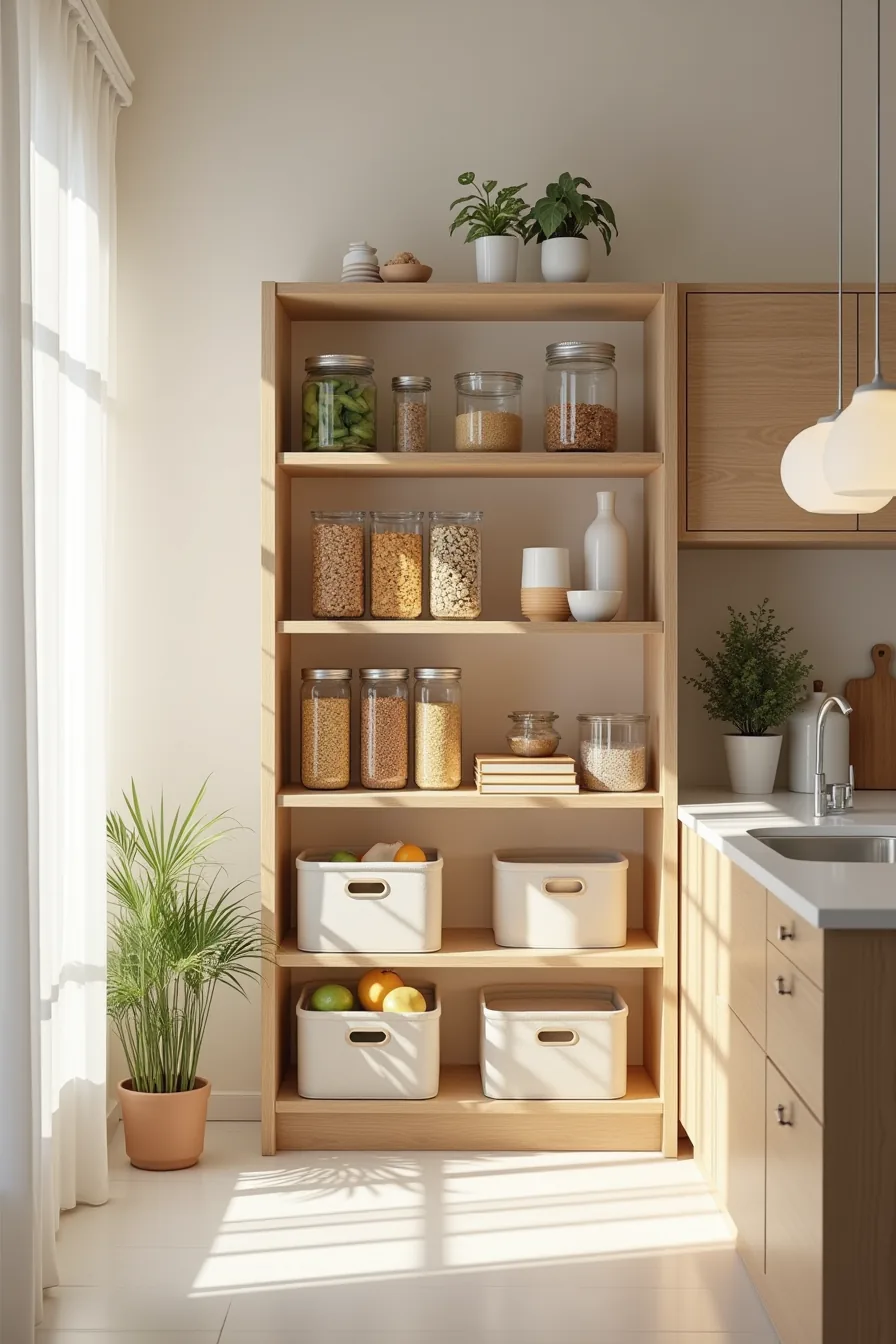
Zone-based organization splits your pantry into dedicated territories: cereal and breakfast items at eye level, baking supplies stacked in labeled containers above, canned vegetables on the lower left, and bulk bins anchoring the bottom right. The logic follows how often you reach for each category, daily staples claim the easiest grabbing zone between your chest and waist, while occasional bulk ingredients live lower where you can crouch once per week.
This exact layout works because it respects both visibility and gravity. Heavy canned goods avoid high shelves where they pose a drop hazard, and cereal boxes stay upright instead of crushing lighter items beneath them. For shallow pantries under 12 inches deep, assign zones left-to-right instead of top-to-bottom, keeping your most-used category nearest the door.
Deeper 24-inch pantries benefit from front-to-back zoning: place daily items at the front edge and reserve the back for bulk duplicates that you pull forward only when restocking
Label each zone with a 2-inch chalkboard tag mounted at eye level for that shelf, not stickered directly onto every package. You’ll reorganize zones seasonally, holiday baking swaps positions with summer canning, so keep labels removable. A full zone reset takes under 20 minutes when containers stay in their zone and only the categories move.
Vertical Door and Wall Storage Integration
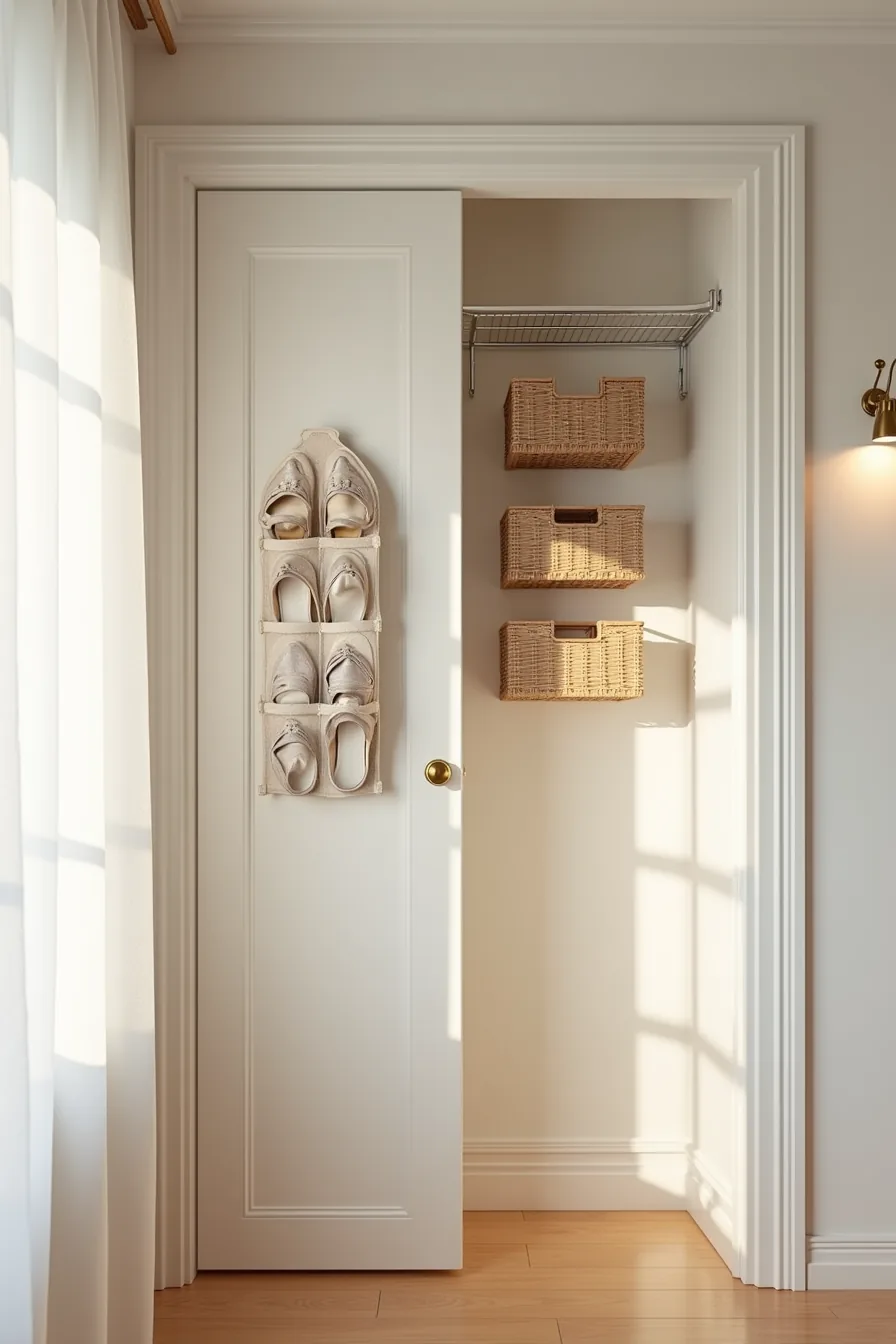
Deep pantry organization ideas mistakes to avoid often start with ignoring the vertical plane. The back wall of the door and the side wall beside your shelving represent roughly 15–20 percent of your total pantry volume that most layouts leave untouched. An over-the-door organizer with 10–12 transparent pockets converts that dead zone into a staging area for snacks, spice packets, and foil rolls, items that otherwise get lost against the dark rear of a 24-inch shelf.
Adhesive hooks on the right wall support hanging wire baskets for onions, garlic, and potatoes, keeping them ventilated and off the shelves entirely. Because adhesive strips fail on textured or painted-over surfaces, test a single hook for 48 hours with 5 pounds before committing a full basket load. A narrow wall-mounted metal shelf above the hooks holds oils and vinegars that would block sight lines if placed lower, and it anchors to studs rather than drywall anchors alone for anything exceeding 15 pounds.
This setup suits renters because over-the-door racks require no drilling, and adhesive hooks leave no residue when removed with a heat gun. Measure your door gap first, the organizer must clear the frame by 1–2 inches on the hinge side or it will scrape. Wall shelving needs a flat, unobstructed stretch of at least 18 inches to feel intentional rather than accidental, so skip it if your pantry has fewer than that available.
Clear Container and Inventory Systems
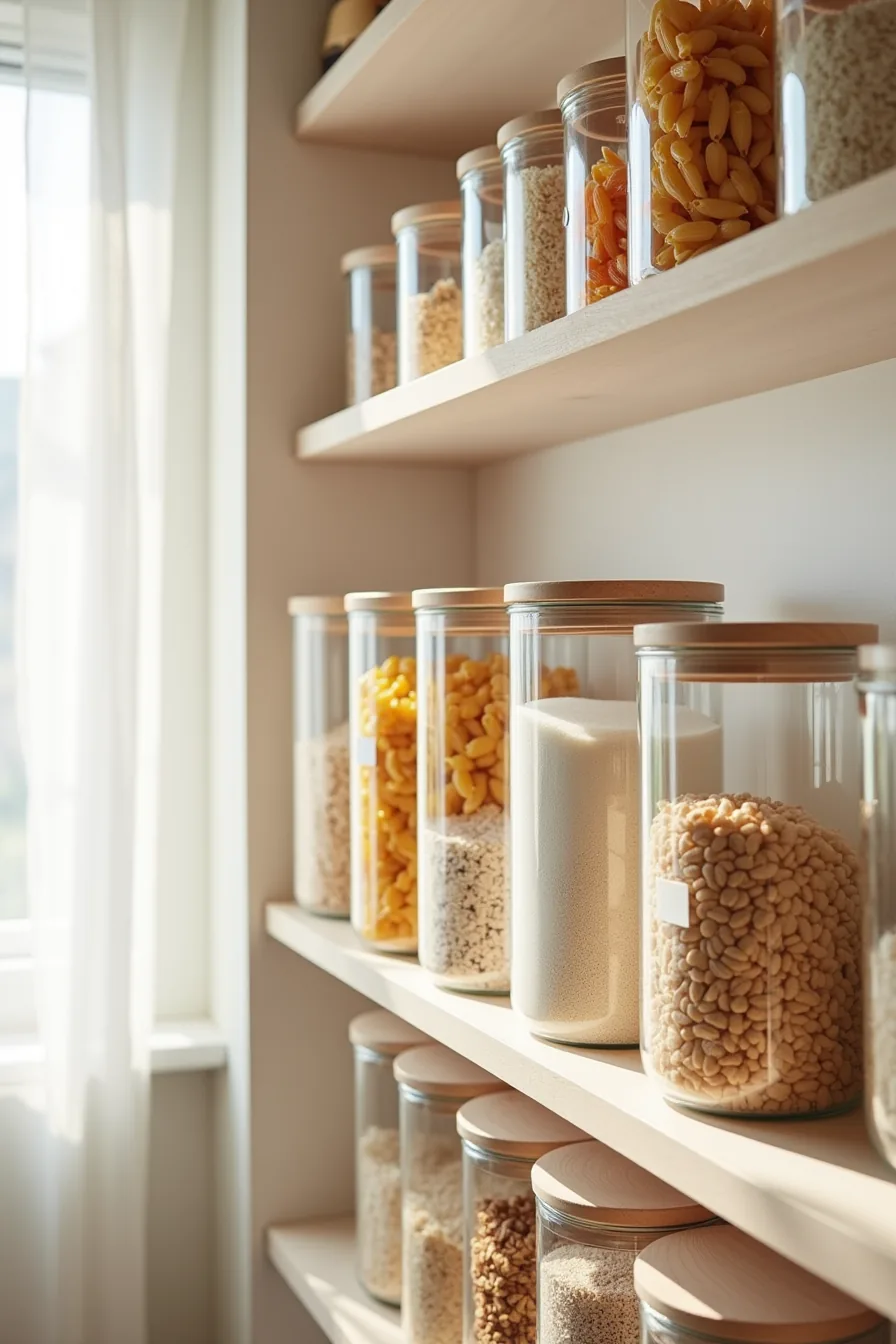
Standardizing your dry goods into uniform clear containers is the single most effective fix for a deep pantry because it converts unknown quantities into visible inventory. On your shelf, group clear plastic containers for pasta and cereal beside glass jars for rice and flour, keeping heights varied so labels sit at eye level rather than forcing you to crouch or stretch. Adhesive labels on the container fronts should list the item and purchase date, write the month and year, not just the name, so you can rotate stock by sliding older containers forward as you add new ones.
This system works best for households that cook from bulk staples weekly, since transferring goods takes 10–15 minutes per restock trip. Clear containers cost $1–4 each at big-box retailers, making this the most affordable route to deep pantry organization ideas if you repurpose existing jars first and buy new ones only as you expand. Wash and fully dry containers before refilling, residual moisture accelerates clumping in flour and spoilage in rice, and wipe shelf surfaces monthly to catch stray grains that attract pantry moths.
Budget, Renter, and Investment-Grade Routes
Adhesive wall strips with wire baskets cost $40–$80 total and install in under an hour, making them the fastest temporary fix for a deep pantry. Each strip holds 5–10 pounds of shelf-stable goods, but the adhesive fails on textured or damp walls, so test a single strip 24 hours before committing. This route suits renters who need organization that leaves zero trace, peel the strips off during move-out and patch nothing.
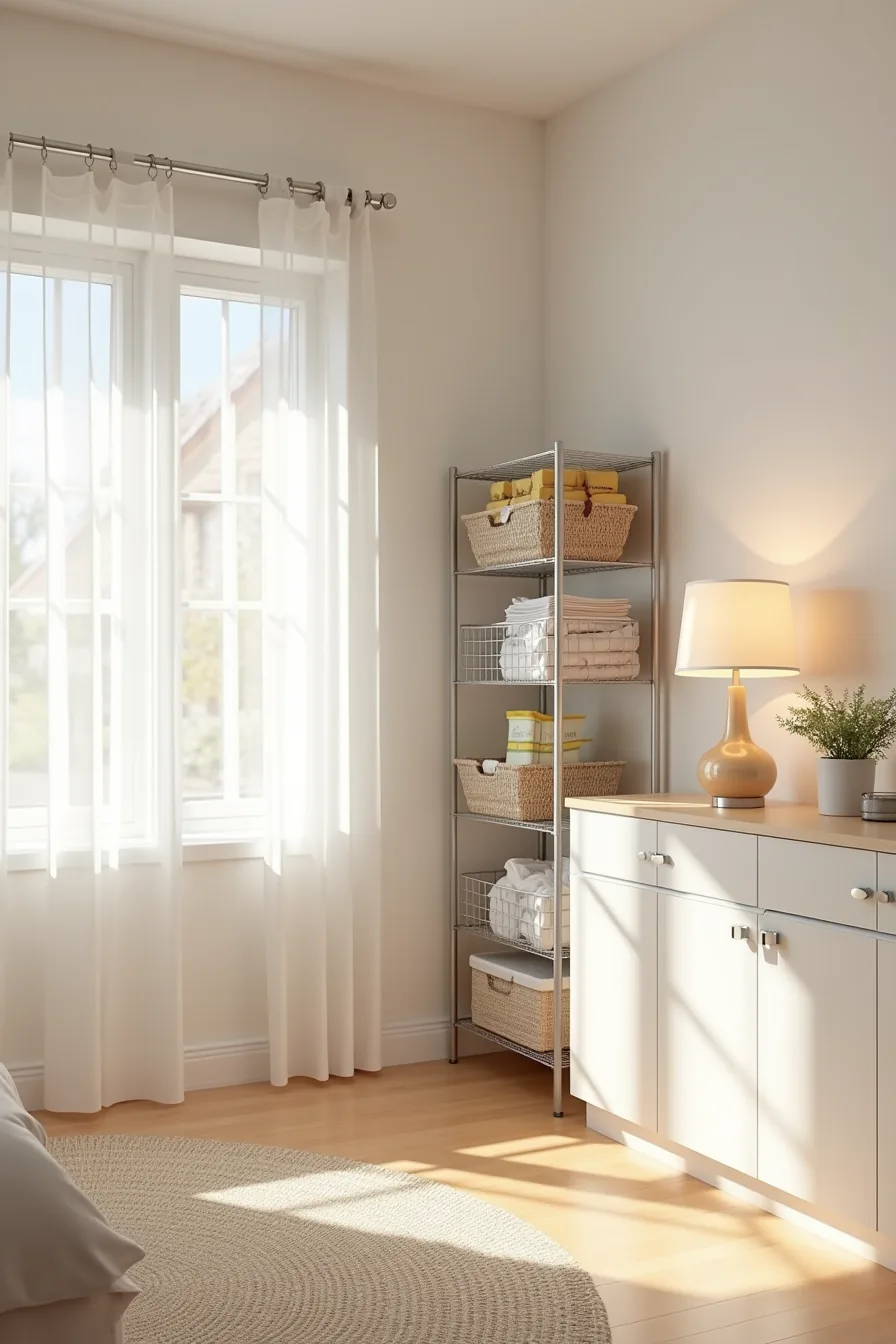
Freestanding metal shelving units with plastic storage bins cost $120–$250 and require no wall damage, but they sacrifice roughly 6 inches of floor depth per unit versus built-ins. The bins slide forward for access while the shelving carries heavier loads like canned goods or small appliances, making this the best middle-ground for homeowners unsure about floor plan permanence. Budget-grade units wobble once loaded past 75% capacity, so anchor top rails to the wall with two brackets regardless of rental status.
Built-in cabinetry with custom drawers runs $1,500–$4,000 depending on linear footage and wood grade, delivering full-extension slides that expose every stored item without reaching. This investment pays off only if you stay in the home 5+ years, since the cost rarely transfers to resale value. Maintenance differs by route: adhesive strips need yearly replacement, metal shelving requires dusting quarterly, and built-ins demand drawer-slide lubrication every six months to prevent sticking.
Where to start
Start with your shallowest shelf, not your problem area. Clear it, measure the depth from front edge to back wall, and buy one set of bins that fit that exact dimension. Install them, stock them, and live with them for a week before touching the deep shelves.
That single successful zone will tell you which of these six systems matches how you actually retrieve items, slides, turntables, or pull-outs. If you still default to shoving things to the back, go with the rolling tiered cart: it converts depth into layers without any installation. Measure first, buy second, adjust third.
Frequently Asked Questions
How deep should pantry shelves be to require special organization?
Most standard pantry shelves run 12–16 inches deep. Once they exceed 18 inches, items get lost in the back rows, so you need pull-out bins, lazy Susans, or tiered risers to keep everything visible and reachable.
What is the most common mistake people make organizing deep pantries?
Stacking cans and boxes two or three rows deep without any access system. You end up buying duplicates of what’s hidden behind, and the front row blocks everything else. Always use pull-out trays or vertical dividers to create single-item visibility.
Can you organize a deep pantry without installing new shelves or drawers?
Yes. Use clear, stackable bins with open fronts, lazy Susans for corners, and hanging wire baskets on the inside of the door. These tools work with your existing shelving and require zero drilling, making them ideal for renters.
How often should you reorganize a deep pantry to prevent waste?
Do a full audit every 3–4 months, plus a quick 10-minute reset after each grocery run. Check expiration dates, rotate older items to the front, and remove anything you haven’t used in two months. This keeps waste minimal without constant upkeep.