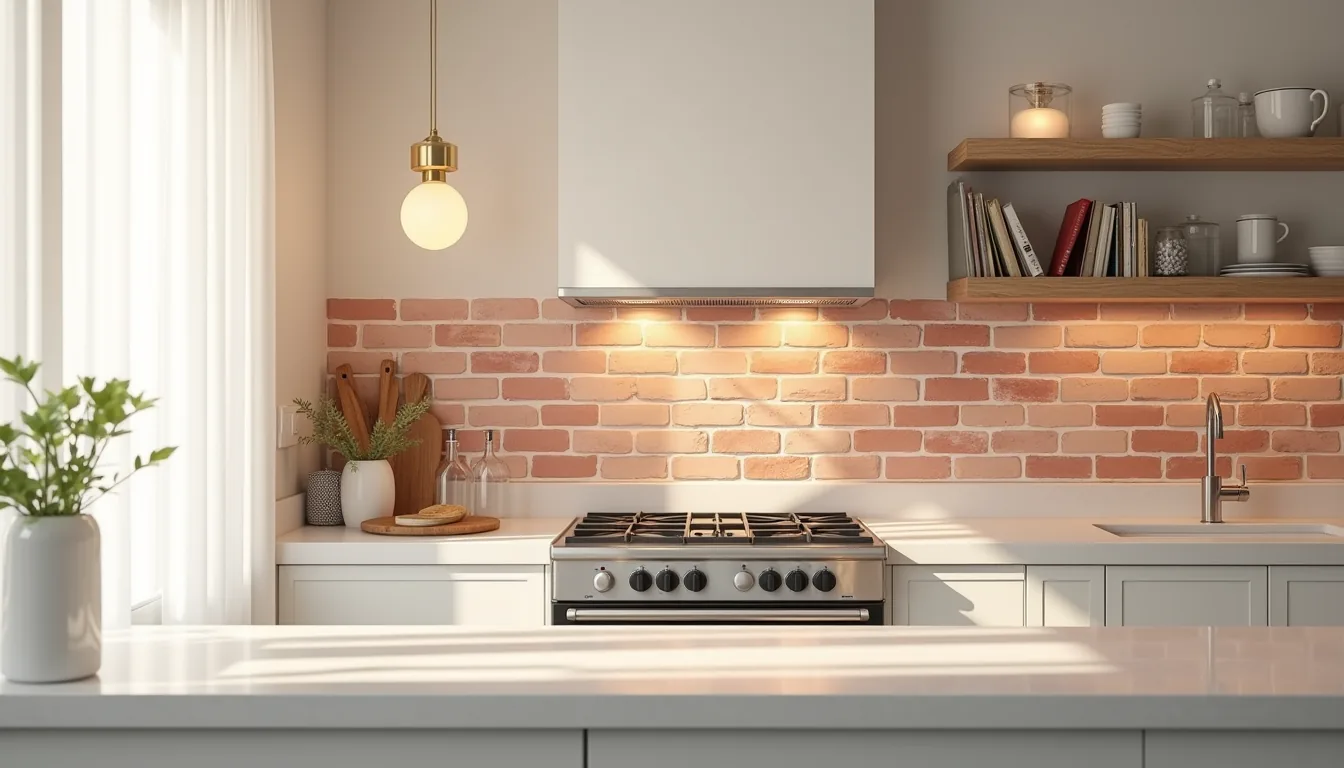
A brick backsplash kitchen isn’t one fixed look, it’s a spectrum from thin veneer panels to full structural masonry, and the right choice for you depends on your budget, your lease terms, and how much grease you’re willing to wipe off grout. Each option carries distinct trade-offs in thickness, installation time, and heat resistance. The following six interpretations show you exactly what to specify, and what to avoid, so you can match the material to your cooking habits and your walls’ load-bearing reality.
Key takeaways
- Real brick costs $6–$15 per square foot installed, while brick tile runs $4–$8 and can be applied over existing drywall with mastic, saving you demolition and labor.
- Whitewashing or limewashing a red brick backsplash cuts visual weight by roughly 50%, making it the best choice for small or north-facing kitchens under 120 square feet.
- Painted brick requires a high-adhesion primer and two coats of semi-gloss latex; expect to repaint every 3–5 years in high-splash zones behind the stove.
- Renter-friendly brick tile comes in ¼-inch-thick sheets with peel-and-stick backing, removes without damaging paint, and costs $2–$4 per square foot for a weekend DIY installation.
Red Brick for Warmth and Traditional Character
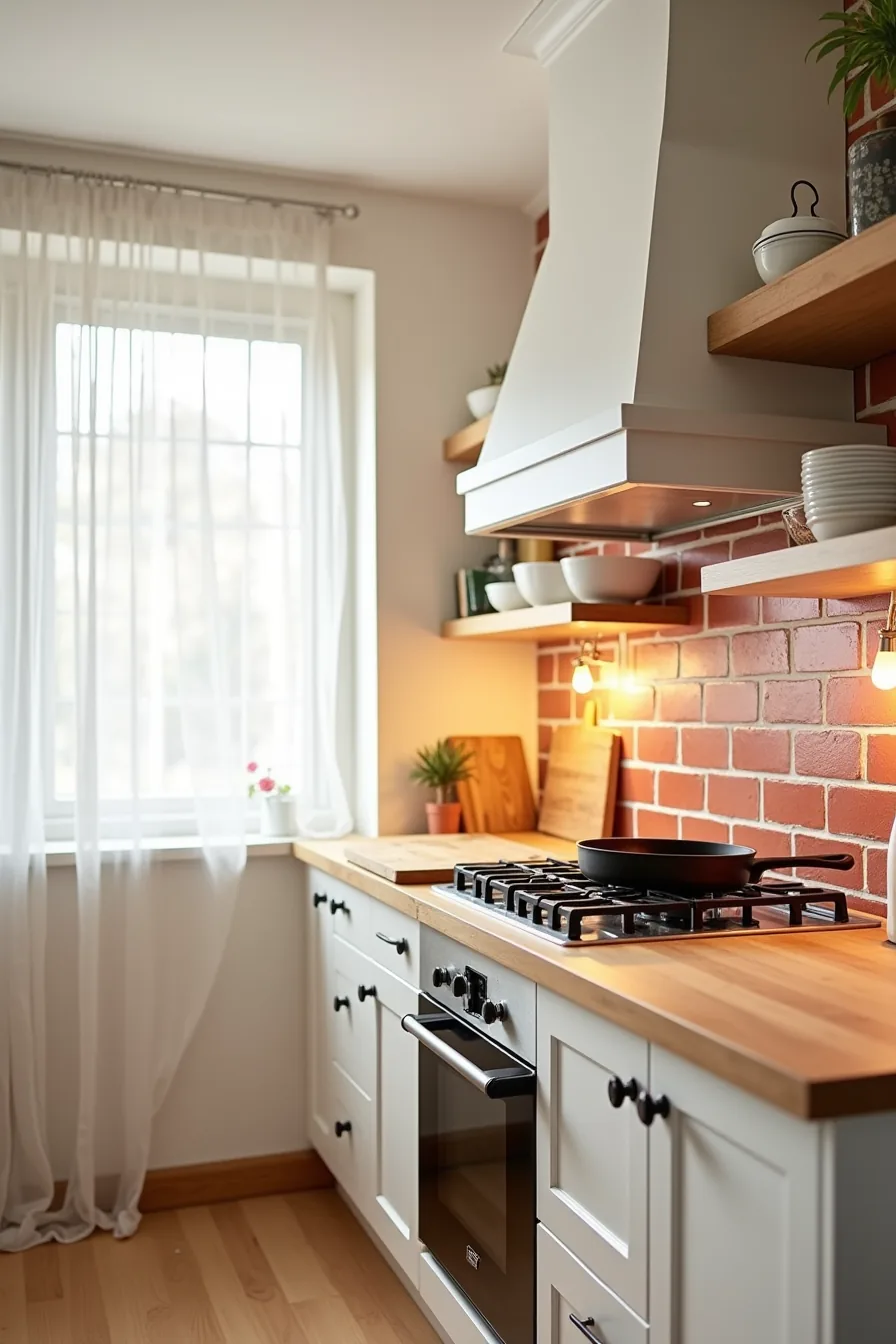
A full-depth red brick backsplash kitchen delivers immediate, tactile warmth that flat painted surfaces simply can’t match. The fired clay absorbs heat from the cooktop, then radiates it gently into the room, which is why this material has anchored farmhouse and cottage designs for generations. It suits medium-to-large kitchens with high ceilings, where the visual weight of roughly 2.5 to 3 inches of brick depth won’t overwhelm the space.
This setup earns its place in a kitchen with natural wood cabinetry or butcher-block counters, where the warm undertones of the brick harmonize rather than clash. The cast iron skillet resting on the front burner and the wooden cutting board beside it reinforce the material story; you want cooking tools that look and feel as honest as the wall behind them. The open shelving with ceramic bowls breaks up the brick field, preventing the wall from reading as a solid, heavy mass.
Reproducing this requires a structural assessment first. Real brick at this depth needs a reinforced substrate or a supported veneer system; it isn’t a peel-and-stick job. Budget for mortar work, sealing, and a professional mason unless you’ve experience.
Expect to pay noticeably more than tile, but the payoff is a surface that develops a natural patina over years of cooking. This is the right choice if you prefer a kitchen that feels lived-in over one that feels staged, and you’re willing to commit to the maintenance that porous clay demands.
Whitewashed and Limewashed Brick for Light Kitchens
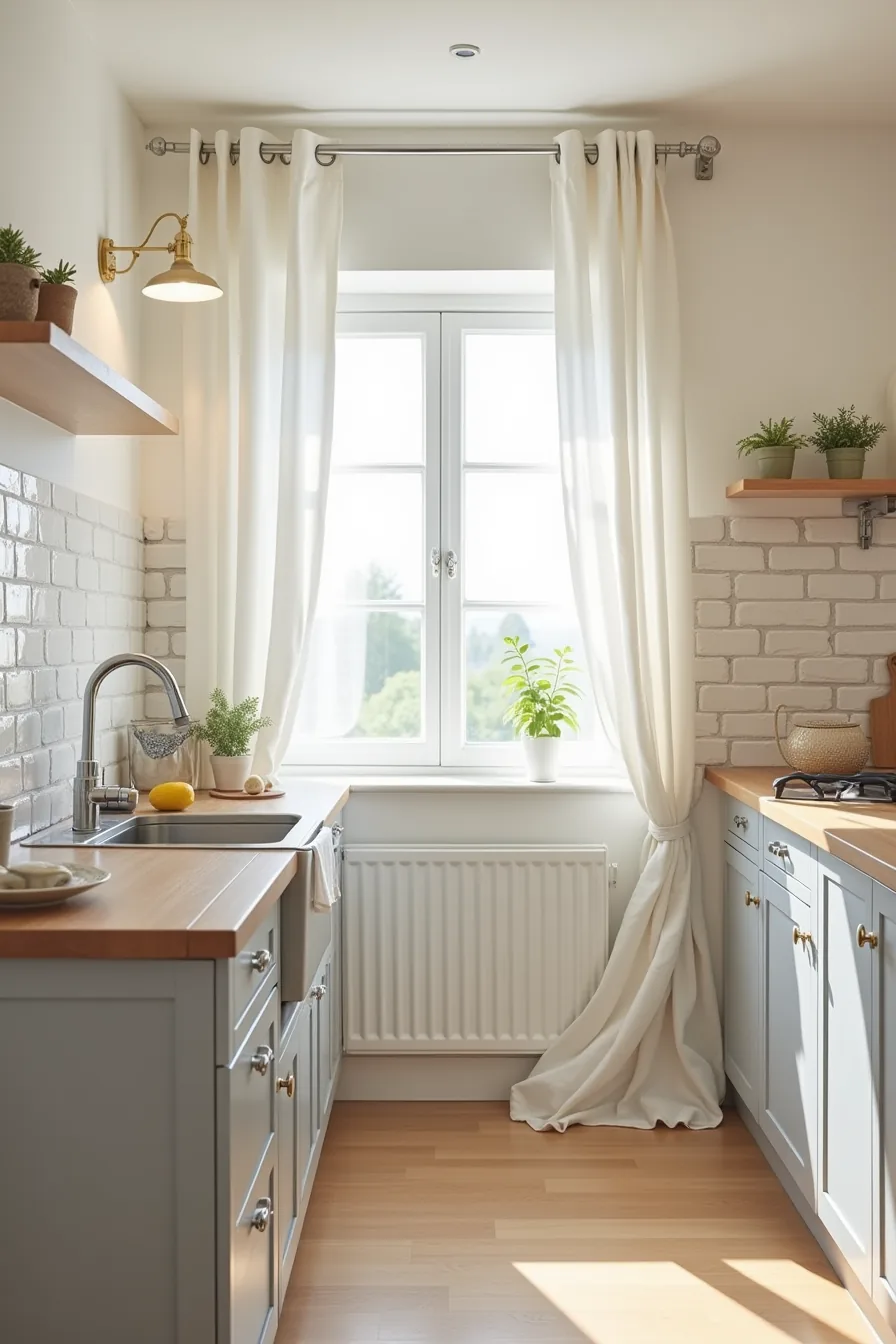
Whitewashing and limewashing solve the core problem of raw brick: its darkness. A whitewash is a thinned latex paint that sits on the surface, while a limewash chemically binds to the brick and creates a chalky, mineral finish that reads as part of the wall itself. In a small galley kitchen with pale gray lower cabinets, chrome hardware, and a stainless steel sink beneath a window, the whitewashed brick backsplash reflects the natural daylight streaming across the wall instead of absorbing it, keeping the room from feeling like a tunnel.
This treatment suits kitchens that need the texture of brick without the gloom. The whitewash method is beginner-friendly: mix one part water to two parts flat latex paint, brush it on, and wipe off the excess while wet to let the mortar lines stay darker. Limewash requires a prepared surface and two coats, but it outperforms whitewash on durability, it won’t peel or chip, and it resists the grease splatter that accumulates behind a sink or range.
Re-seal either finish annually with a matte masonry sealer to keep stains from setting into the porous clay.
Painted Brick Backsplash with Modern Cabinetry
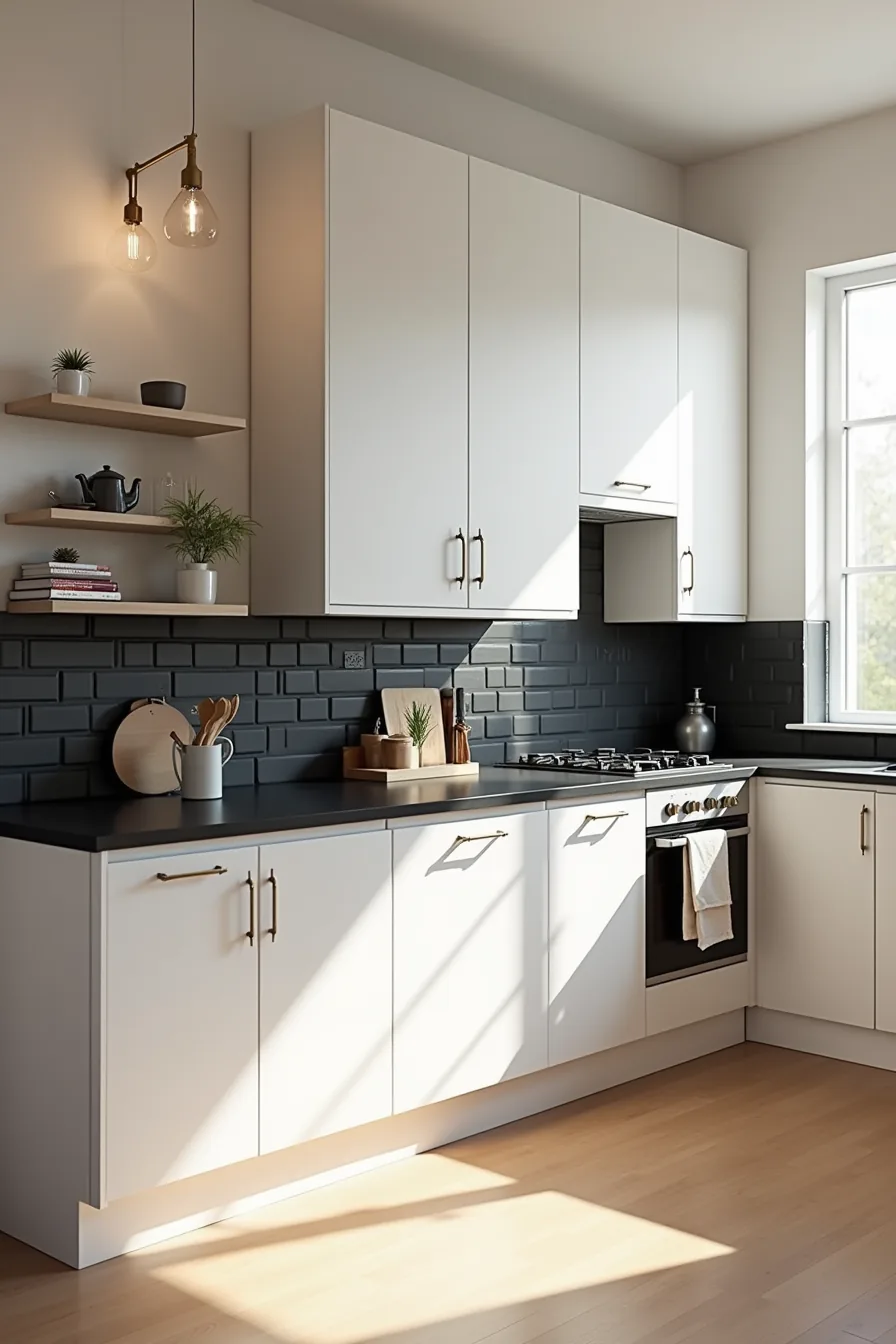
Painting brick transforms its rustic character into a deliberate design statement, bridging the gap between rustic vs modern kitchen aesthetics. A matte black painted brick backsplash pairs with white handleless cabinets to create a high-contrast focal point that reads as sophisticated rather than industrial. The key is the finish: matte, not glossy, so the brick texture remains visible under the recessed lighting while the color grounds the minimalist stainless steel range and sleek black countertop above it.
This approach suits transitional kitchens where you want warmth without the maintenance of raw clay. Use a high-adhesion masonry primer followed by two coats of matte latex paint, then seal with a water-based matte sealer to protect against grease. For a softer take that still flatters brick with painted cabinets, choose a warm off-white or greige instead of stark white, it will harmonize with warm wood floors that often accompany transitional designs.
Avoid gloss or semi-gloss paints; they highlight every imperfection and create an unnatural shine against handleless cabinetry.
Brick Tile Backsplash for Renters and Budget-Conscious Kitchens
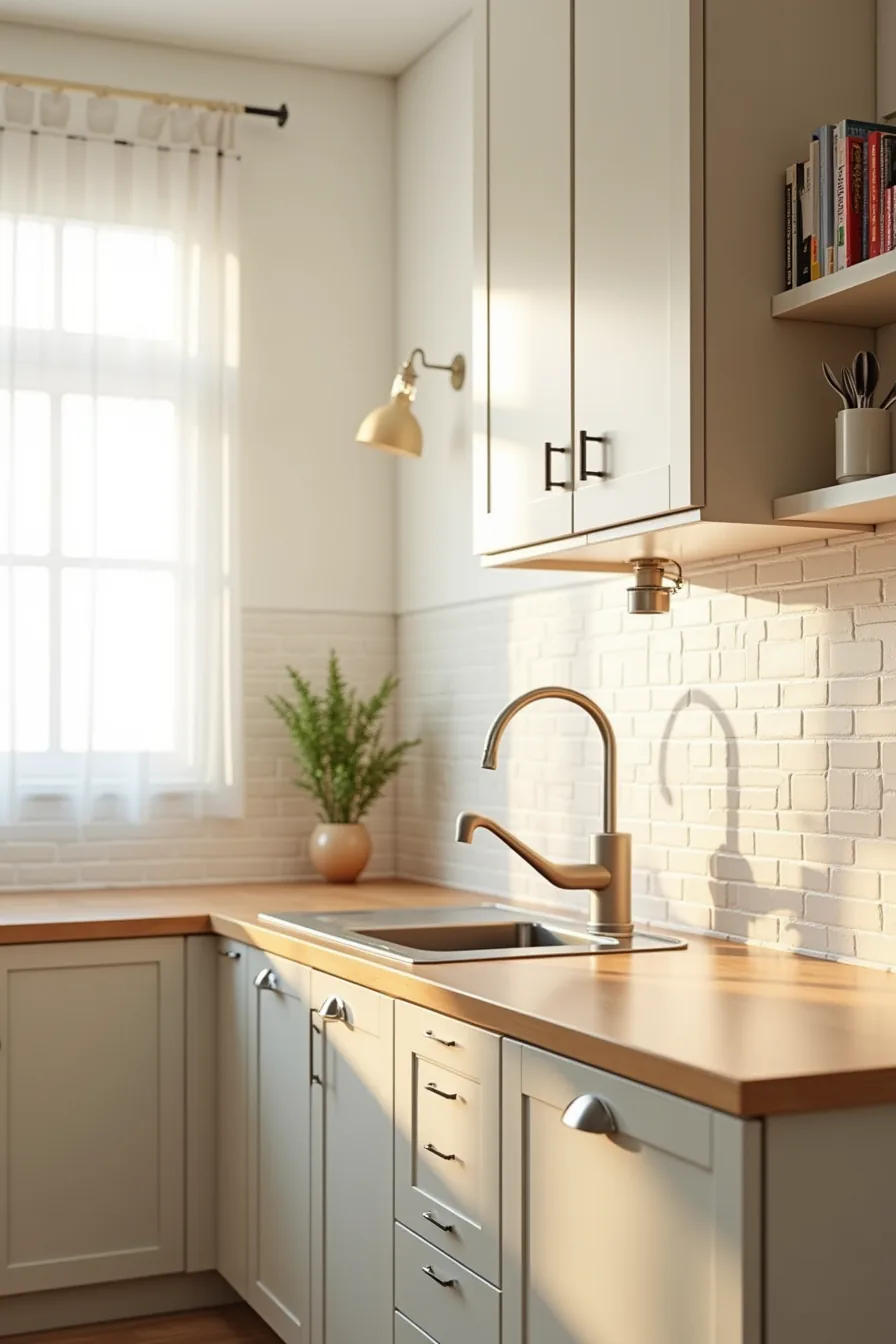
Peel-and-stick brick tiles deliver the texture you want without a security deposit at risk. In a rental with laminate cabinets and a basic faucet, these adhesive panels transform the wall behind the counter into a warm focal point that distracts from builder-grade fixtures. A portable utensil holder on the counter reinforces the casual, lived-in feel, letting the tile grid pattern carry the visual weight.
Installation takes roughly 90 minutes for a standard 30-square-foot section: clean the wall with rubbing alcohol, peel the backing, and press each tile firmly, using a roller to eliminate air bubbles. Removal is equally straightforward, lift a corner and pull slowly at a 45-degree angle, then wipe residual adhesive with warm soapy water. Expect the seams to yellow slightly within 12-18 months near a stovetop, regardless of the manufacturer’s claims.
Budget for $3-$6 per square foot, which undercuts real brick veneer by roughly half, but accept that this is a 2-3 year solution, not a permanent one.
Rustic Brick with Open Shelving and Wood Accents
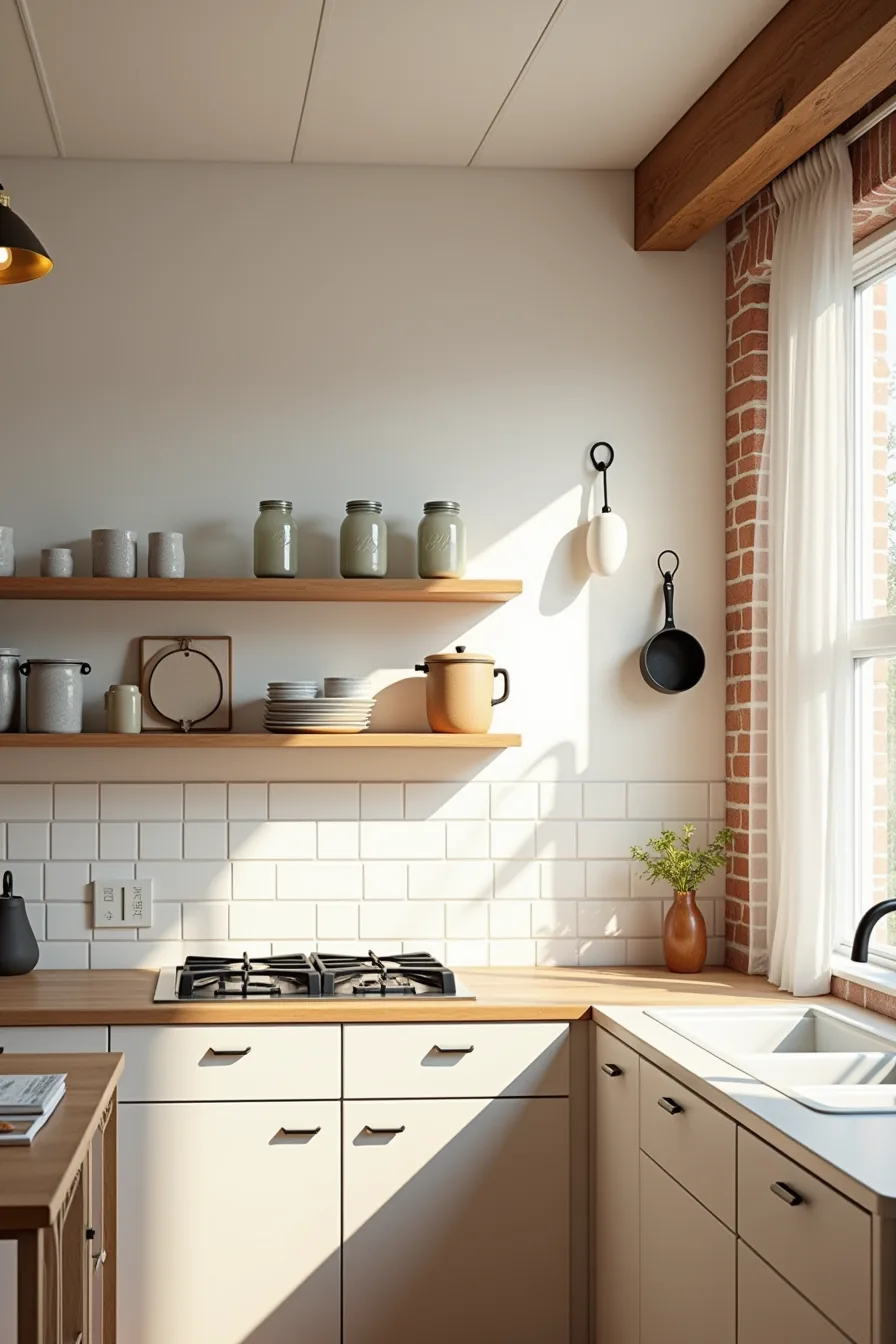
Exposed red brick paired with floating wooden shelves creates a rustic focal point that suits large, open-plan kitchens with high ceilings and abundant natural light. The reclaimed wood beam above anchors the space visually, while the hanging cast iron cookware adds functional warmth without sacrificing counter space. This combination works best in kitchens with at least 10-foot ceilings and a minimum 8-foot run of uninterrupted wall, cramped galley layouts will feel claustrophobic with this much visual weight.
The masonry jars and stoneware on the shelves aren’t just decorative; they provide accessible storage for everyday utensils and dry goods, keeping frequently used items within arm’s reach of the prep zone. Before committing, ensure your wall can support the combined weight of shelving brackets and contents, expect 30-50 pounds per linear foot of shelf. For ventilation, maintain at least 24 inches of clearance between the cooktop and any wooden shelf above it, and seal the brick with a matte water-based sealer to prevent grease absorption.
This route suits homeowners prepared for a permanent renovation, real brick veneer runs $10-$20 per square foot installed, and you’ll need a professional to assess structural load and fire-rated backing.
Scaling Brick Backsplash to Your Kitchen Size
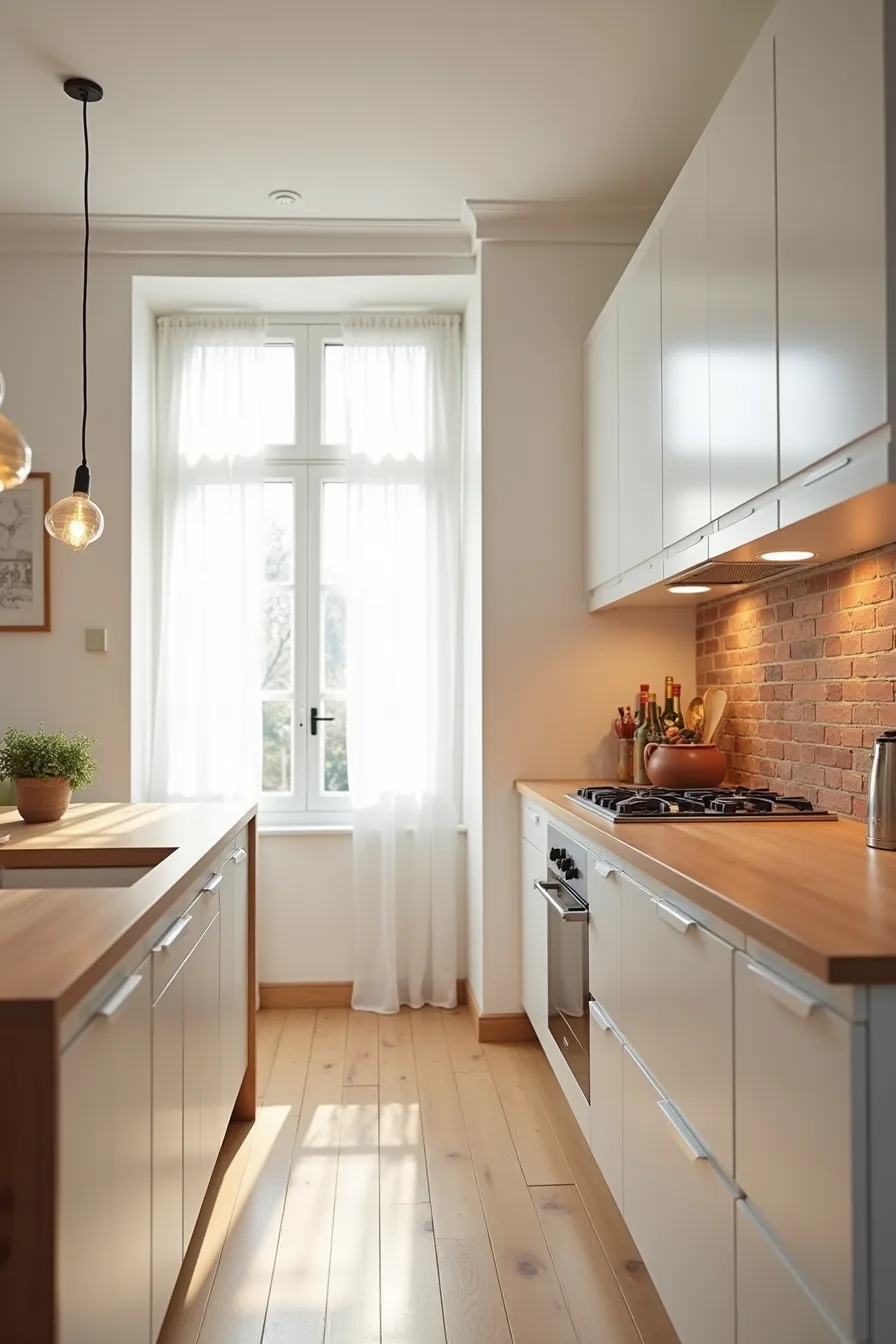
Your kitchen’s footprint dictates how much brick you can carry. In a narrow galley with less than 8 feet of wall space, limit brick to the cooktop wall only, a partial run of 3 to 4 feet behind the burners provides texture without shrinking the room visually. For L-shaped kitchens, extend the brick along the full cooktop wall but stop it at the upper cabinets’ edge; this creates a defined prep zone and keeps the sightline open toward the island, where the wood top and white upper cabinets provide contrast.
Partial coverage works best in small and medium spaces because it draws the eye to one focal point rather than overwhelming the perimeter. In large island kitchens, you can afford full-wall brick, but only if you break it up with open shelving or contrasting paint above. The L-shaped setup pictured, brick running partial length along the cooktop wall only, with a wood-topped island in the foreground, keeps proportion balanced: roughly one-third brick, two-thirds neutral wall.
That ratio prevents the material from dominating the room’s square footage.
Where to start
You now have six distinct brick backsplash directions, but you only need one that fits your space, skill level, and budget. Start by measuring your counter-to-cabinet gap, standard runs land between 15 and 18 inches, then decide whether you want a permanent tile install or a renter-friendly peel-and-stick option.
Your first move: order three samples from different manufacturers and tape them against your actual countertop and cabinets. Leave them up for 48 hours and observe how they look in morning, afternoon, and evening light. That single step eliminates 80 percent of wrong choices before you spend money on installation.
Once you pick your sample, measure twice and order 10 percent extra for cuts and breakage.
Frequently Asked Questions
Can you install a brick backsplash in a rental kitchen without damaging the walls?
Yes, use peel-and-stick brick tiles or removable adhesive panels. Both lift off cleanly with heat and gentle prying, leaving no residue. Avoid real mortar or grout, which permanently bonds to drywall.
How do you clean and maintain a brick backsplash kitchen long-term?
Wipe weekly with a soft brush or microfiber cloth and mild dish soap diluted in water. Seal real or veneer brick annually with a penetrating sealer to prevent oil stains. Never use acidic cleaners, they etch the mortar.
What is the cost difference between real brick, thin brick veneer, and peel-and-stick brick tiles?
Real brick runs $8–$15 per square foot installed but requires structural support. Thin brick veneer costs $5–$10 per square foot plus labor. Peel-and-stick tiles range $2–$5 per square foot and are DIY-friendly, making them the cheapest option.
Does a brick backsplash kitchen work in small spaces, or does it make the room feel cramped?
It works if you choose a light-colored brick (white, cream, or pale gray) and limit coverage to one wall behind the stove. Dark, textured brick on all surfaces shrinks visual space. Pair with open shelving and under-cabinet lighting to counter weight.