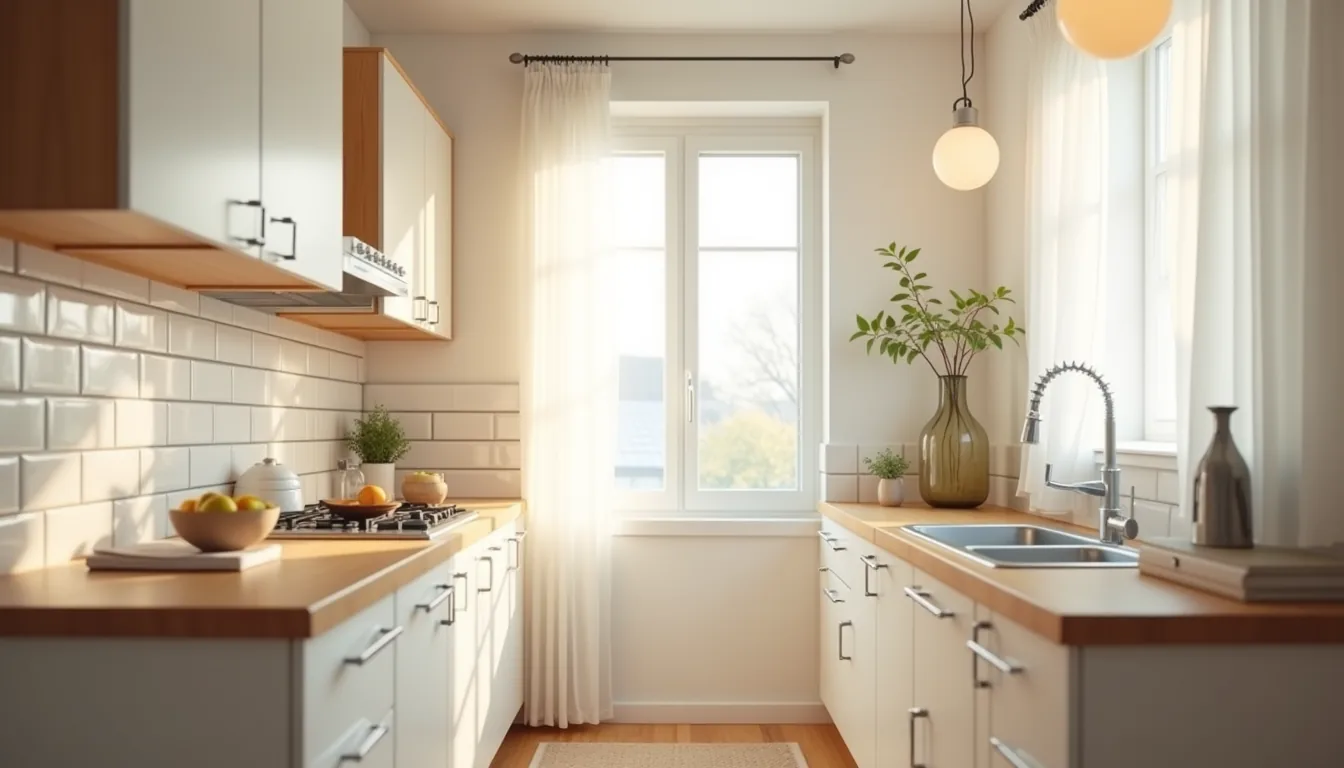
Your kitchen’s layout, workflow, and storage needs change dramatically based on cabinet design, not just color or hardware, and choosing the right structural approach is the single most impactful decision you’ll make in a remodel. The term covers everything from face-frame versus frameless construction to door style, internal organization, and placement strategy. Below are six distinct interpretations, each with the specific trade-offs, space requirements, and budget realities you need to match one to your home.
Key takeaways
Open shelving suits small kitchens but demands a disciplined edit: commit to weekly dusting and limit yourself to 30% dishes and 70% styled objects to avoid visual clutter. Floor-to-ceiling glazing works best for medium-to-large rooms, but spec frosted or ribbed glass on lower doors to hide daily-use items while keeping the upper third clear for display. Deep drawer systems cost 15-25% more than standard cabinets, yet they pay off in accessibility, plan for 24-inch-deep drawers on the base run and pair them with soft-close slides rated for 75-100 pounds. Renter-friendly modifications rely on peel-and-stick film, tension rods, and adhesive hooks, all of which must be tested on a hidden corner first to avoid damaging the landlord’s finish.
Open Shelving for Small Spaces
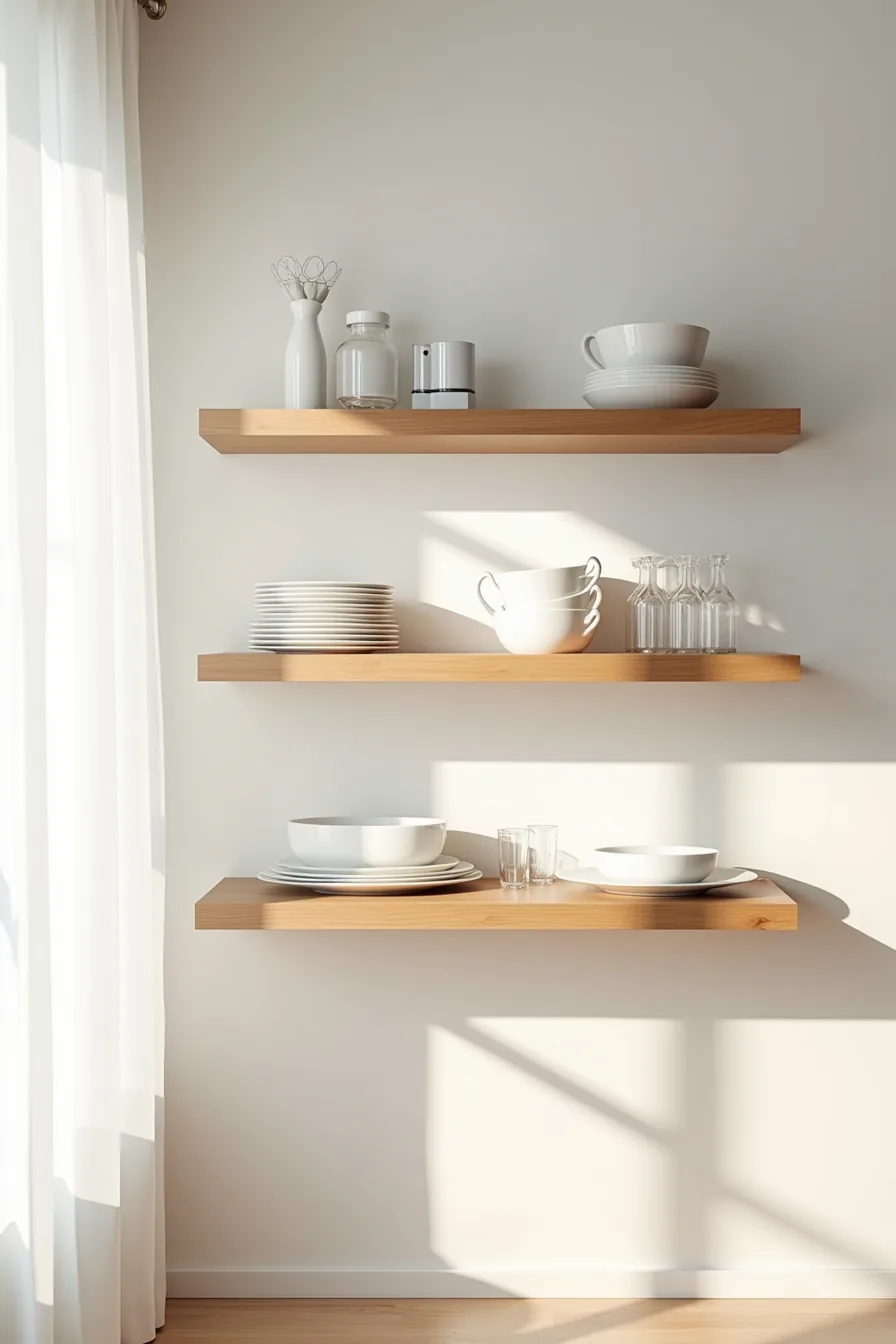
Removing upper doors is the fastest way to make a compact kitchen feel larger, and it costs nothing if you repurpose the existing cabinet boxes. The visual depth comes from the wall showing through between stacked plates and glassware, which breaks up the solid mass that closed doors create. This setup works best in kitchens under 150 square feet where you cook daily and need everything within arm’s reach.
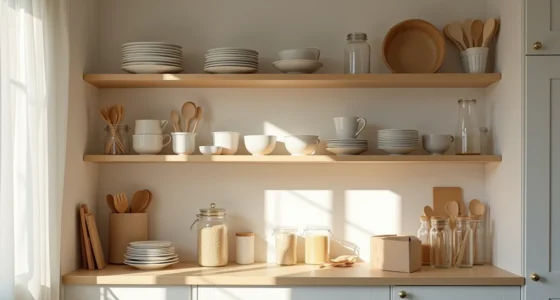
Three floating shelves mounted on a white wall, unbroken by vertical supports, suit renters and first-time homeowners because they require only basic stud finder and level work. Stick to a 10-12 inch depth for standard dinner plates and a 14-16 inch spacing between shelves to fit tall cereal boxes or mixing bowls. Choose solid oak or bamboo over particleboard, since daily exposure to steam and cooking oils will warp cheaper materials within a year.
This layout fails if you’ve young children, own more than four matching dinner sets, or prefer a uniform, minimalist aesthetic. Open shelving demands weekly dusting and disciplined editing, the stacked white plates, clear glasses, and ceramic bowls you see here work precisely because every piece earns its place. If your cabinet design kitchen relies on hidden clutter storage, keep the doors on.
Floor-to-Ceiling Storage with Strategic Glazing
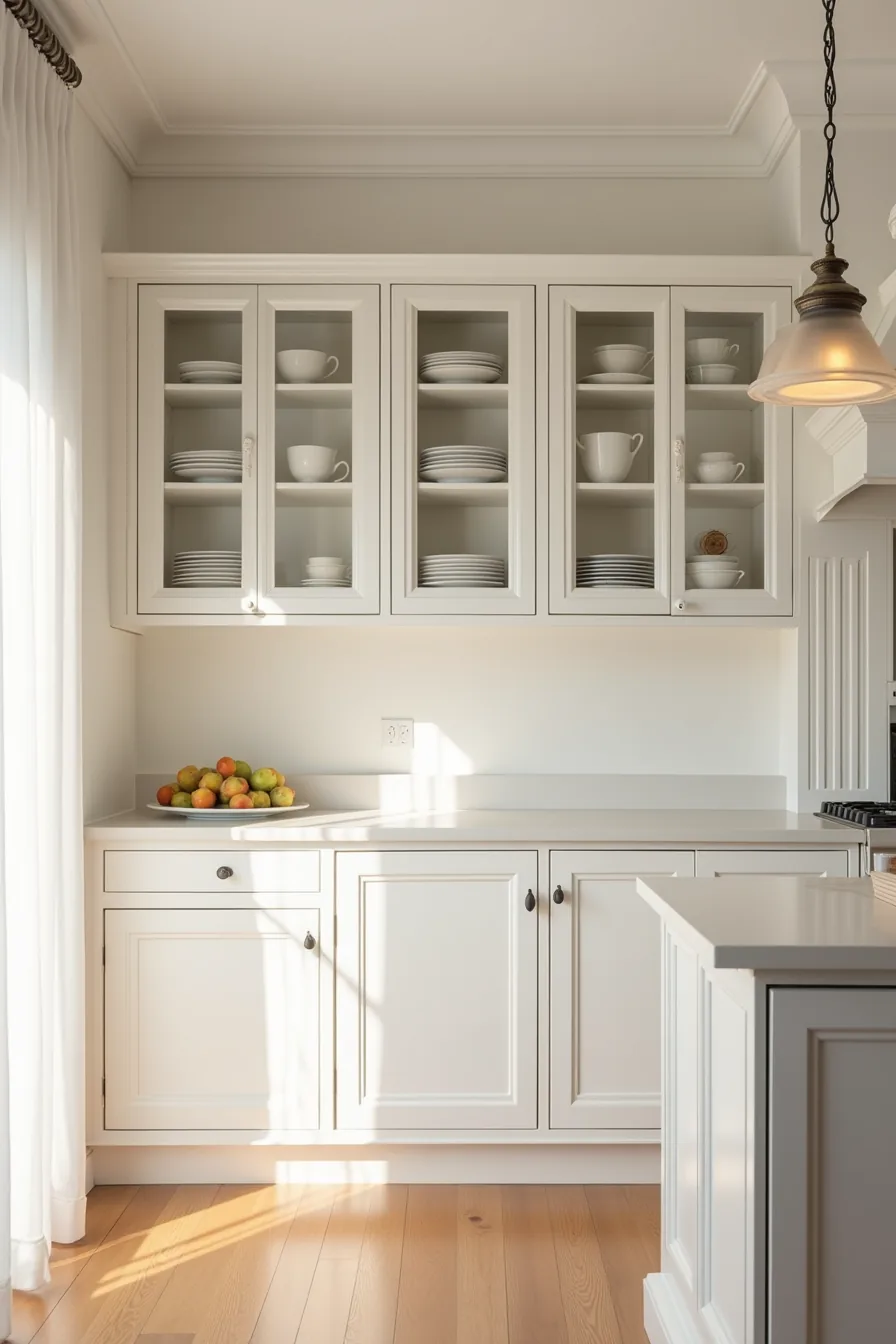
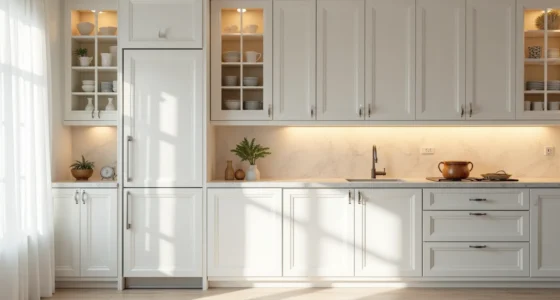
Solid lower cabinets with handles reaching counter height anchor the visual weight of this layout, while glass-front doors above break up what would otherwise be a monolithic wall of wood or laminate. The crown molding at the ceiling line closes the gap that collects dust and makes the full wall feel built-in rather than borrowed from a catalog. This approach suits medium to large kitchens (roughly 200-350 square feet) where you’ve enough upper-wall height to justify the investment without crushing the room.
For the glass fronts, budget 15-25% more than standard solid doors, and expect to wipe fingerprints weekly. Stick with clear glass over frosted or seeded options, the latter two show every smudge but hide the curated dishware that makes this design work. What you display should be limited to items you use at least monthly; infrequent pieces collect grease film that requires degreasing spray and a microfiber cloth to restore clarity.
This is a functional cabinet layout, not a museum case, so store the fine china elsewhere and keep the visible plates, bowls, and everyday glassware rotated through regular use.
The proportion rule is simple: uppers should occupy no more than one-third of the total wall height, and the glass section should stop at eye level (roughly 60-66 inches from the floor) so you see contents without craning your neck. If you’ve a smaller kitchen, limit glazing to a single cabinet flanked by solid doors, this preserves the cabinet design kitchen ideas that emphasize openness without surrendering hidden storage.
Deep Drawer Systems for Accessibility
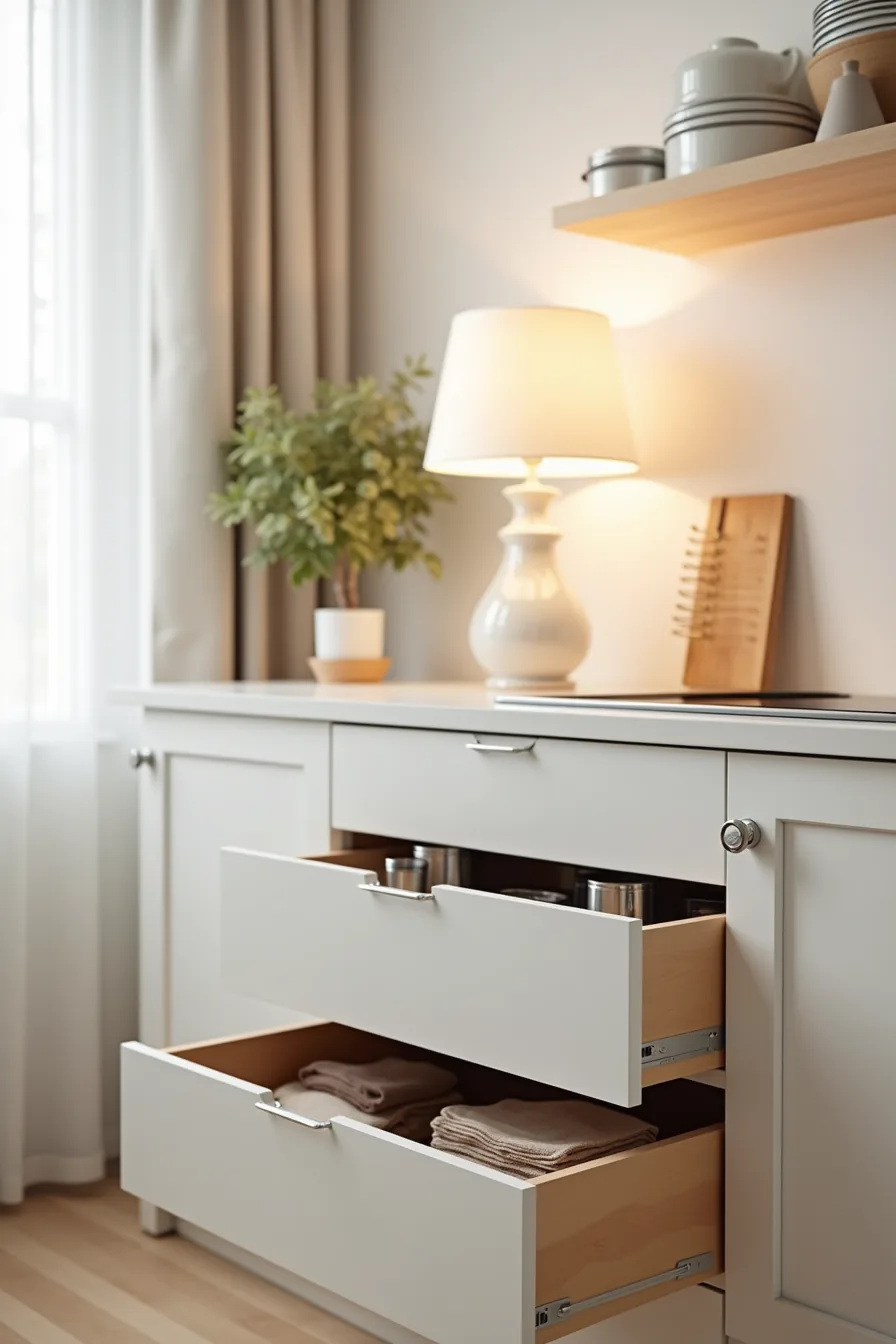
Full-extension drawers replace the reach-and-crouch motion of door-style bases with a straight pull, making every item visible from above. The setup here, three stacked drawers in a matte finish, divides the cabinet vertically: utensils in the upper, cookware in the middle, and linens in the lower. That zoning works because the drawer faces are full-width, so you see the entire contents the moment you pull, rather than digging past stacked pots to find a lid.
Depth is the deciding factor. Base drawers typically run 22-24 inches deep, which means you lose the usable height that a shelf tier provides, plan for roughly half the vertical storage of a door unit in the same footprint. Weight capacity drops too: a standard 18-inch-wide drawer slide handles 75-100 pounds fully extended, so keep cast iron and stockpots in the lower drawer where the center of gravity stays low.
Installation isn’t a weekend swap. You need to remove the existing door and interior shelving, then fit drawer slides to the cabinet box, doable with a drill and a level, but budget 2-3 hours per unit if your boxes aren’t perfectly square. Pair these with an interior divider kit (roughly $40-80 per drawer) to keep cutlery and bakeware from shifting, and you turn a standard base cabinet into the organized kitchen inspiration that makes daily cooking less of a hunt.
Two-Tone Cabinetry for Visual Interest
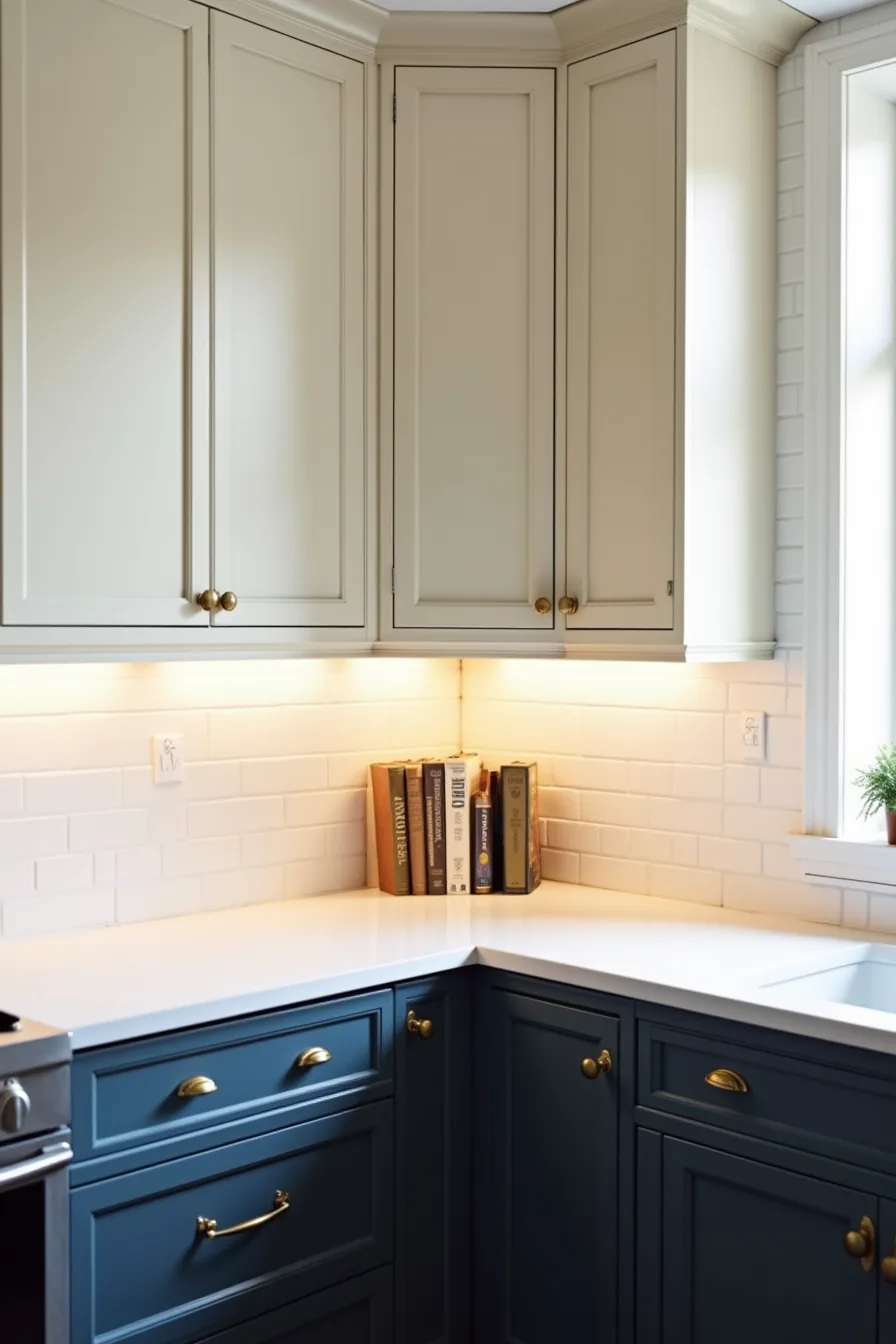
A two-tone scheme works by assigning each color a job. Navy lowers anchor the room visually and hide the daily scuffs, grease splatters, and fingerprints that collect around the cooktop and sink. Cream uppers recede, keeping the sightline light and making a smaller kitchen feel taller than it’s.
Brass hardware on both layers pulls the two halves into one system rather than two unrelated purchases.
You should copy this setup when your appliances are already stainless steel, the metal acts as a neutral bridge between the two colors. Keep the darker shade on the lowers only: dark uppers in a room under 10 feet wide will make the ceiling feel lower. The white countertop between them isn’t decorative; it gives the eye a resting band that prevents the color transition from feeling harsh.
Reproducing this look costs more than a single-color paint job, roughly 15-25% more in labor and materials because you’re buying two finishes and taping off two separate paint zones. Use a satin or eggshell sheen on the cream uppers to hide minor imperfections, and a semi-gloss on the navy lowers for easier wipe-downs. Scratches on dark paint show as light lines, so budget for a touch-up kit in matching sheen.
Renter-Friendly Cabinet Modifications
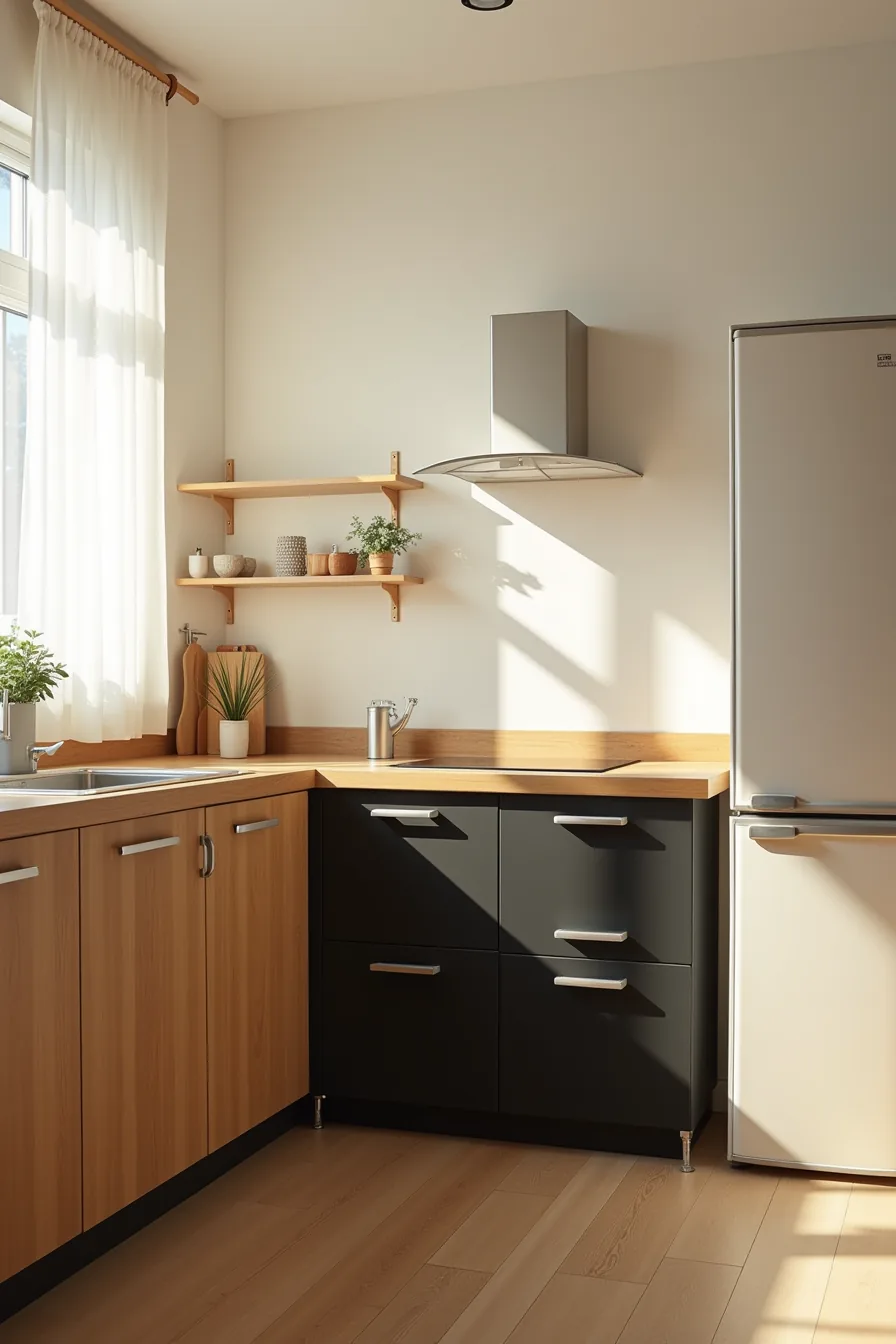
Peel-and-stick vinyl on lower cabinet doors delivers the visual weight of a custom paint job without a single drop of permanent adhesive touching the original wood. Matte black reads as intentional against the base cabinets’ natural grain, and because the film wraps the door panel only, not the frame or hardware, removal takes under an hour with a heat gun and leaves zero residue. The original knobs stay in place, which means you skip the headache of re-drilling holes and patching them before move-out.
This route suits a kitchen you’ll leave within five years. Expect the vinyl to last 2-4 years near a cooktop before heat causes edges to curl; keep a utility knife on hand for trimming lifted corners. The freestanding tall pantry unit beside the refrigerator solves storage without touching existing cabinetry, adding roughly 20-30 inches of shelving while remaining fully portable to your next apartment.
Budget 5-10% of a full cabinet reface cost for the entire transformation, and save the original door fronts in a dry closet, landlords inspect hinges and interiors, not just visible surfaces.
Integrated Appliance Cabinetry for Smooth Kitchens
Concealing the refrigerator, dishwasher, and microwave behind shaker-style fronts converts a busy cooking zone into one continuous plane of cabinetry. The refrigerator’s panel mounts directly onto the unit’s door, the dishwasher receives a custom front that attaches to its factory frame, and the microwave tucks inside a dedicated cabinet with a matching door that pivots open on hinges. Discrete handle cutouts stay consistent with the surrounding hardware, while slim appliance vents remain visible only at the toe-kick and upper grille.
This approach suits homeowners prioritizing a clean, built-in aesthetic over quick access to appliance controls, you’ll open two doors to adjust microwave settings, and service technicians must remove the refrigerator panel before repairs. Budget for a 20-40% premium over standard appliance installation because panel kits, custom fronts, and integrated hardware cost more than freestanding equivalents. Ventilation requires careful planning: a refrigerator needs a top grille gap of at least 1-2 inches to reject heat, and a microwave drawer needs 2-3 inches of clearance at the rear for airflow.
For resale, integrated appliances appeal to buyers in higher-end markets but rarely recoup their full cost in standard suburban homes, treat this as a personal preference investment, not a profit play.
Your First Move
You now have six workable directions for your kitchen cabinet design, each with distinct costs, timelines, and maintenance realities. Your next step isn’t picking a style, it’s measuring your space and setting a budget range before you browse a single sample.
Grab a tape measure and record your wall lengths, ceiling height, and clearance around appliances. Write down your maximum spend, including hardware and installation. With those two numbers, revisit the options above and eliminate what falls outside your constraints.
Then book one consultation with a local cabinet supplier or kitchen designer. Bring your measurements and budget. That single conversation will confirm which approach fits your room, and which ones you can safely cross off your list.
Frequently Asked Questions
What is the standard depth for kitchen base cabinets, and can I go deeper for more storage?
Standard base cabinet depth is 24 inches, including the countertop overhang. You can go deeper, but it eats floor space and complicates countertop sizing. For more storage, consider taller upper cabinets instead.
How do I prevent open shelves from looking cluttered in a small kitchen?
Limit shelves to 12-18 inches deep and group items by function. Use matching containers for dry goods, and leave 30 percent of shelf space empty. Rotate seasonal items to keep visual weight balanced and avoid overcrowding.
Are full-extension drawers worth the extra cost compared to traditional cabinet doors?
Yes, for base cabinets, full-extension drawers cost 15-30 percent more but give complete access to pots and pans. They eliminate the awkward reach into dark corners. For upper cabinets, standard shelves remain fine and cheaper.
Can I mix cabinet styles and finishes in one kitchen without it looking chaotic?
Yes, if you limit to two styles and finishes. Pair a bold island finish with neutral perimeter cabinets, or mix shaker doors with flat-panel uppers. Keep hardware consistent across all pieces to anchor the look.