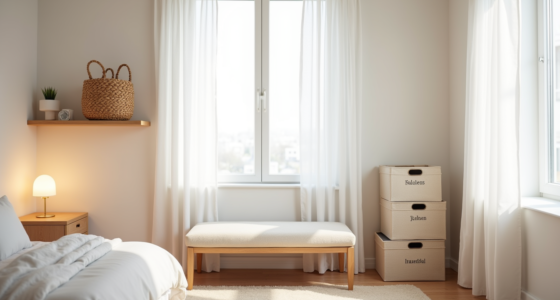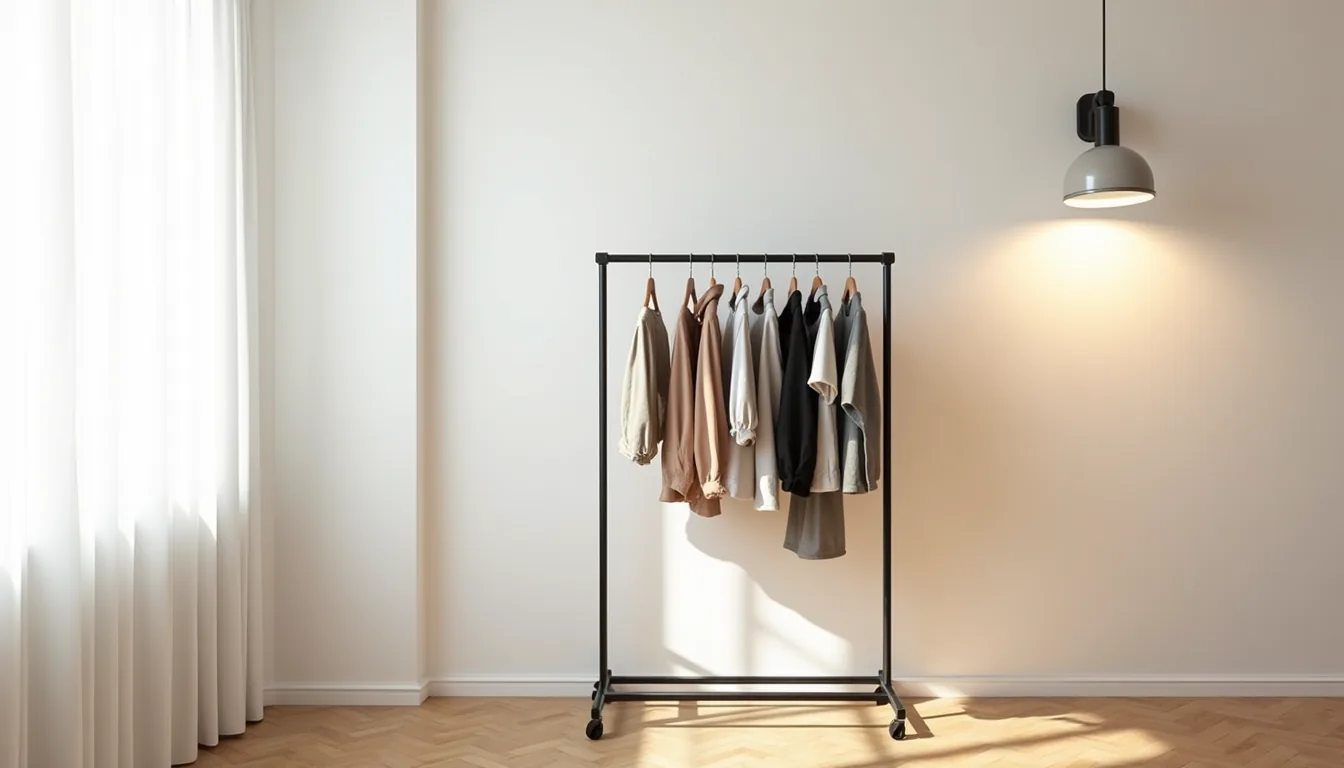

A clothing rack bedroom trades a closed closet for an open display that turns daily outfit selection into a visual ritual, but making it work depends on matching the rack’s scale, weight, and placement to your room’s actual dimensions and your wardrobe’s real volume. Six distinct configurations follow, each with the specific load limits, footprint, and maintenance trade-offs you need to replicate them without sacrificing circulation or storage. You’ll learn which setup suits a 10-square-meter rental versus a walk-in-sized space, and where to spend versus save.
Key takeaways
- Open rails suit capsule wardrobes best when you limit pieces to 30–40 items and use uniform hangers to keep the display calm.
- Pair a rail with 2–3 baskets to hide off-season gear and accessories, cutting visual noise by roughly half without adding bulky furniture.
- Corner placement with a 24–36 inch rail fits tight rooms, but you must keep 30 inches of clear floor space in front for easy access.
- Renter-friendly tension or freestanding racks avoid wall damage entirely, while permanent installations with wood or brass finishes cost 2–3 times more but last decades.
The Minimalist Rail: Open Closet Styling for Capsule Wardrobes
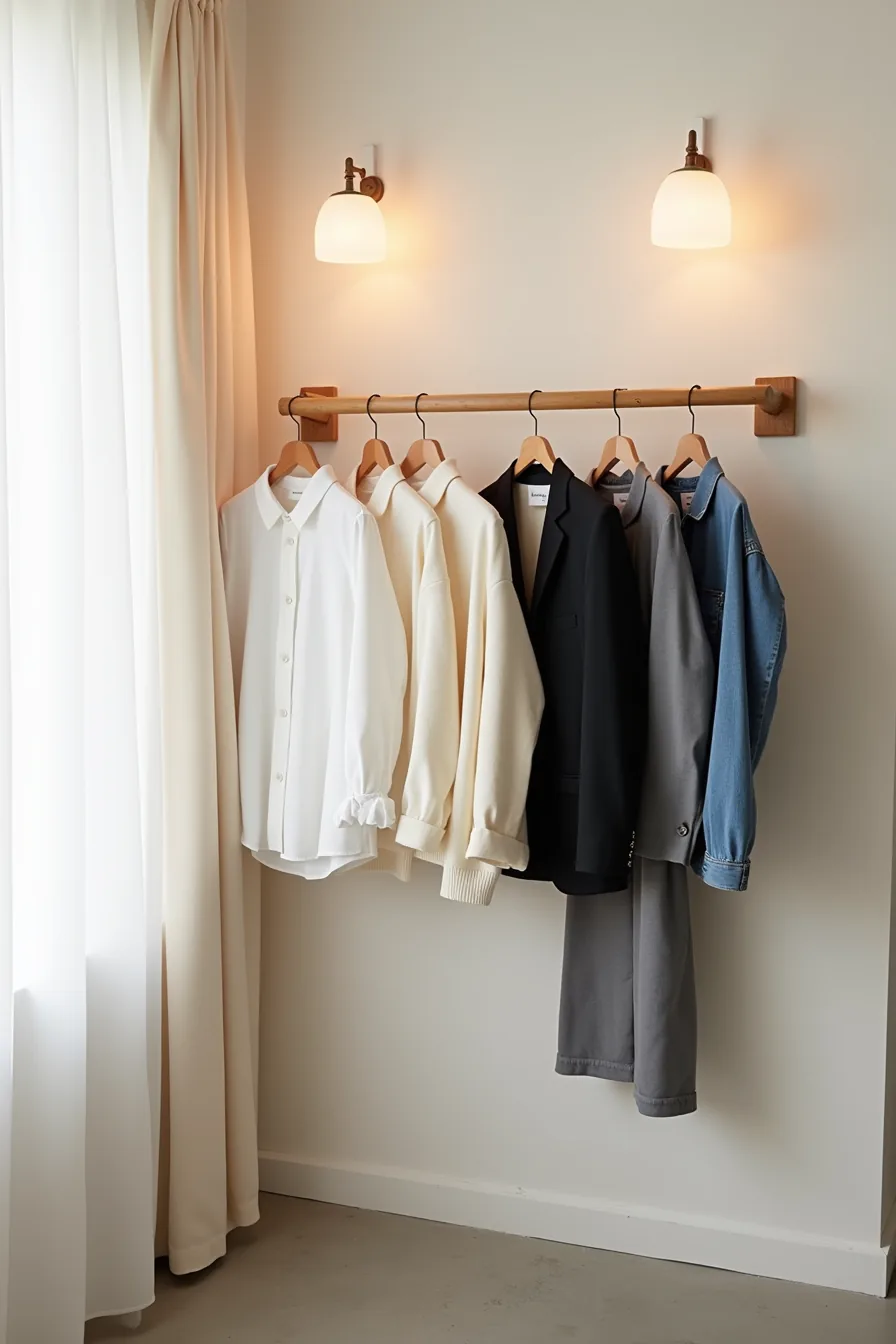
A single wooden rail mounted at shoulder height turns your clothing rack bedroom into a deliberate daily edit rather than a storage dump. The setup works because it forces curation: six pieces, two white shirts, a cream sweater, a black blazer, a denim jacket, and gray trousers, leaving 2–3 inches of air between each wooden hanger so every garment reads clearly.
This approach suits capsule wardrobes and rooms measuring 100–150 square feet, where a full closet would overwhelm the floor plan. You need consistent indoor temperatures; wool and structured fabrics develop musty odors without airflow, so avoid this in humid or poorly ventilated spaces. The concrete floor beneath helps ground the visual weight, but you can replicate the effect with a low-pile rug if you prefer softness underfoot.
Mount the rail into wall studs, drywall anchors alone will pull out under 20 pounds of clothing, and expect to rotate your selection seasonally to keep the display purposeful.
Rack Plus Basket Combo: Storage Without Visual Clutter
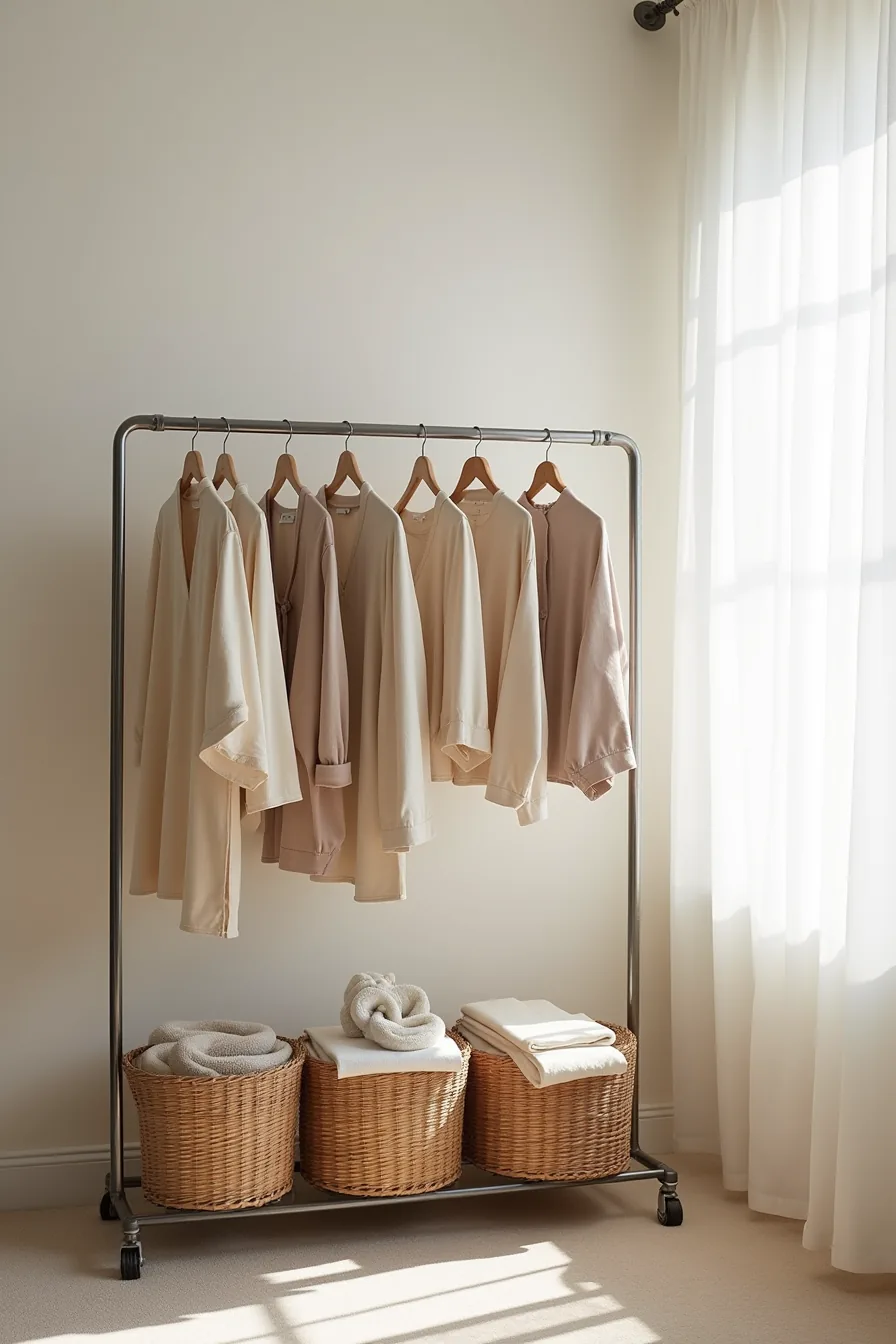
The rack plus basket combo solves the single biggest failure of open clothing storage: the pile of things that have nowhere to hang. Keep your top tier for eight draped items you wear weekly, then let the lower 24–30 inches of floor space absorb the rest. Three woven baskets of staggered heights hold folded fabrics, rolled accessories, and anything you don’t want on display, underwear, swimwear, or last season’s knits.
The varying rims create a layered silhouette that reads as intentional styling rather than leftover clutter.
This works best in bedrooms 80–150 square feet where you need accessible daily wear without a full closet footprint. The steel rack gives structure; the baskets soften it. You don’t need expensive woven goods, mid-range seagrass or cotton rope baskets run $15–$40 each, but you do need them to share a material family so the grouping feels cohesive.
The soft carpet beneath anchors the whole setup and keeps the baskets from scuffing the floor. Expect to pull the baskets out weekly to re-fold, and avoid overstuffing them past the rim or the visual calm collapses.
Corner Placement for Tight Layouts
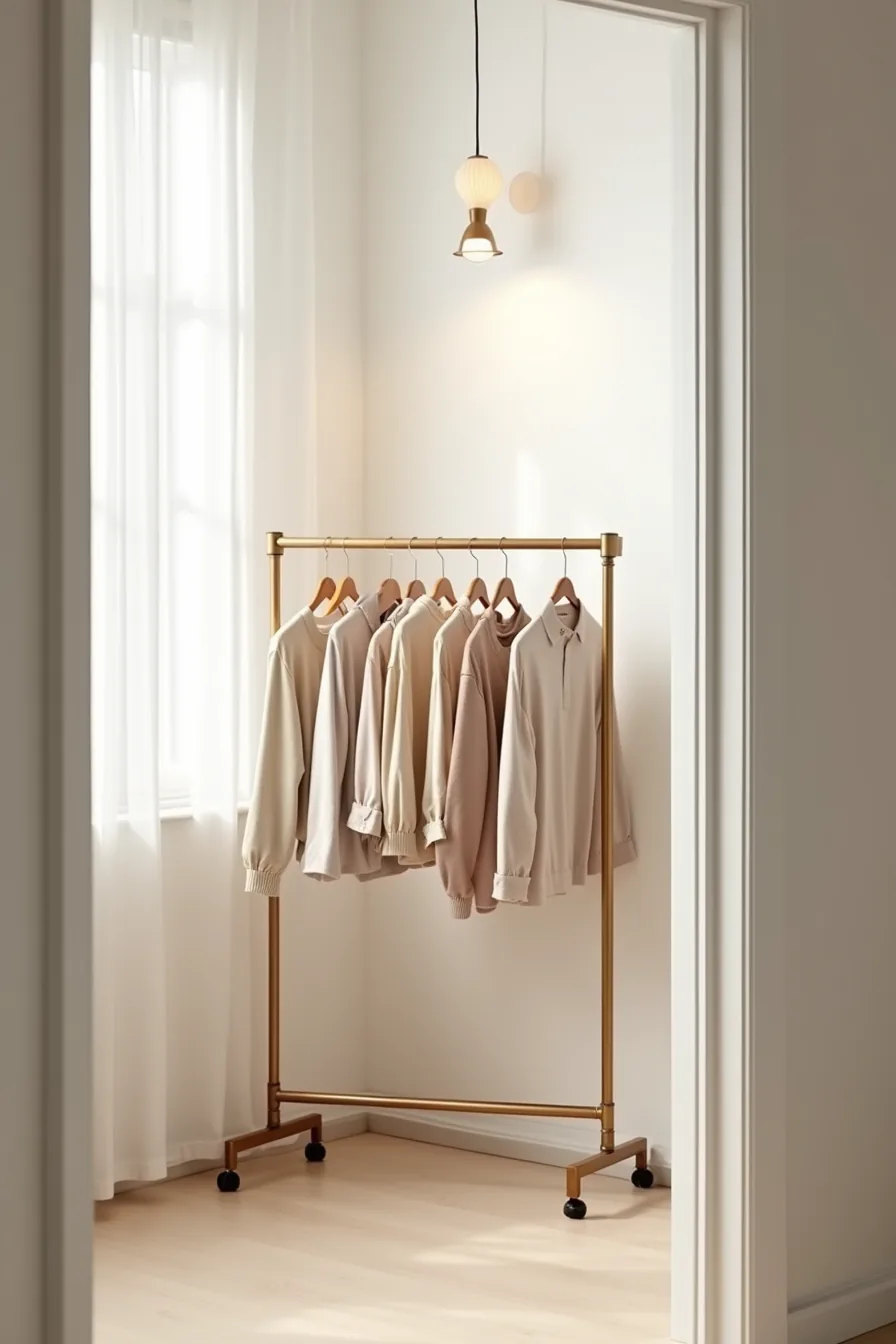
In a bedroom under 120 square feet, the corner is where a clothing rack stops being a compromise and starts being a space multiplier. A compact Z-frame rack tucked diagonally into the junction of two walls claims less than four square feet of floor area, whereas the same rack against a flat wall would push 12–18 inches of its footprint into your walking lane. You keep ten garments on the rail, spaced so the hangers don’t overlap, and you still maintain a clear two-foot radius around the unit on both open sides.
That clearance matters: it preserves your path from bed to doorway and keeps sightlines open so the room doesn’t feel walled off.
Position the rack so the Z-frame’s vertical spine sits closest to the corner, allowing the hanging rod to angle outward at 45 degrees. That orientation gives you front access without having to reach around the frame. The corner depth you see works best in rooms 70–100 square feet, where a wall-mounted alternative would require drilling you may not want to do.
Keep the heaviest garments nearest the spine to prevent the frame from tipping, and check the base feet monthly for wobble on carpet. This single-rack placement is your cheapest route too, most Z-frame racks run $30–$80, so it fits a tight budget without sacrificing the open-air visibility that makes Bedroom Clothing Rack Ideas for Small Space Living feel intentional rather than cramped.
Dual-Rack Systems for Shared or Larger Bedrooms
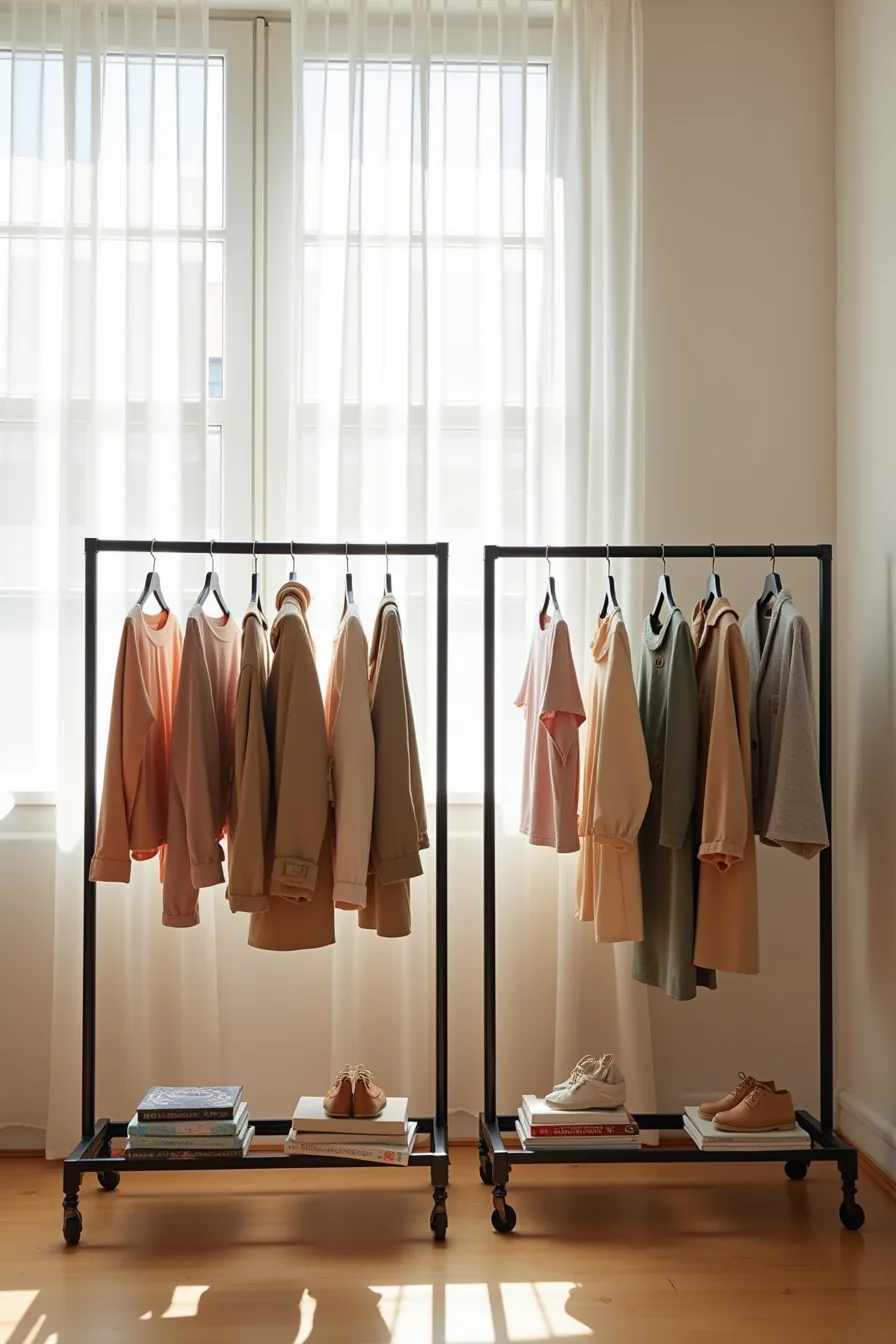
In a bedroom at or above 150 square feet, two parallel racks create a functional divide that outperforms any single oversized unit. Position the racks four feet apart, centered in the room, so each person or season gets a dedicated rail without the frames touching or visually colliding. Four feet of clearance lets you stand between them, pull garments from either side, and still open drawers or doors nearby without snagging fabric.
For a shared room, assign one rack to each occupant, warm-toned garments on the left, cool-toned pieces on the right, which keeps the space organized by color temperature and prevents mixed piles from forming. Each rack should hold roughly twelve items max; exceeding that crowds the hangers and forces you to shift through pieces just to see what’s available. Use the top bar for lightweight items and the lower shelf for folded knits or shoes, but avoid stacking anything above shoulder height on the rack itself, it blocks sightlines and makes the room feel closed in.
This setup suits couples, roommates, or anyone with a seasonal rotation who wants both current and off-season pieces visible. It isn’t a budget route: two sturdy metal racks of this scale typically run $60–$150 total, and you need the floor area to spare. If your room is under 150 square feet, stick with a single corner placement instead, parallel racks in a tight space will choke your walking lane.
Renter-Friendly Installation Without Damage
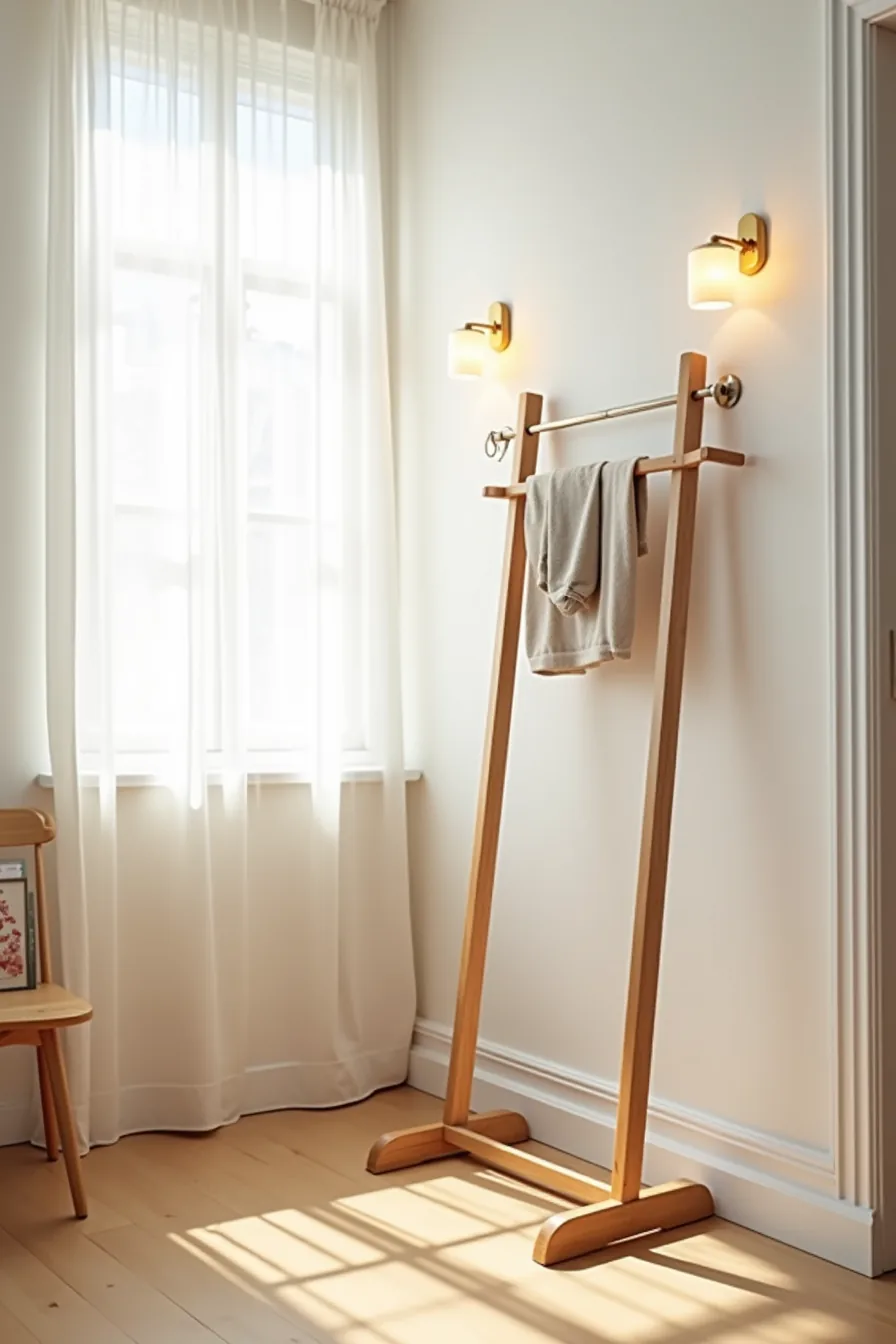
A freestanding rack paired with a tension rod solves the stability problem without a single drilled hole. Mount the tension rod horizontally at mid-height, wedged firmly between the rack’s side frame and the wall, this braces the rack so it can’t tip forward when you pull heavy coats or denim from the front. The rod should fit snugly enough that it takes real effort to twist it loose, but never so tight that it dents the wall or leaves compression marks on the frame.
Adhesive hooks rated for 5–10 pounds handle the accessories: hang two lightweight bags or scarves directly on the wall hooks, keeping them off the rack itself. This route suits renters, dorm dwellers, or anyone who moves every 12–24 months, the entire setup breaks down in under five minutes and leaves zero residue if you use removable adhesive strips. Budget-wise, expect $25–$60 for a basic wooden rack, $8–$15 for a tension rod, and $10–$20 for a set of adhesive hooks.
The trade-off is lateral stability: this setup handles daily use but not heavy leaning, so keep the rack within six inches of the wall and avoid hanging anything over 8–10 pounds on the top bar.
Material and Finish Selection by Room Type and Budget
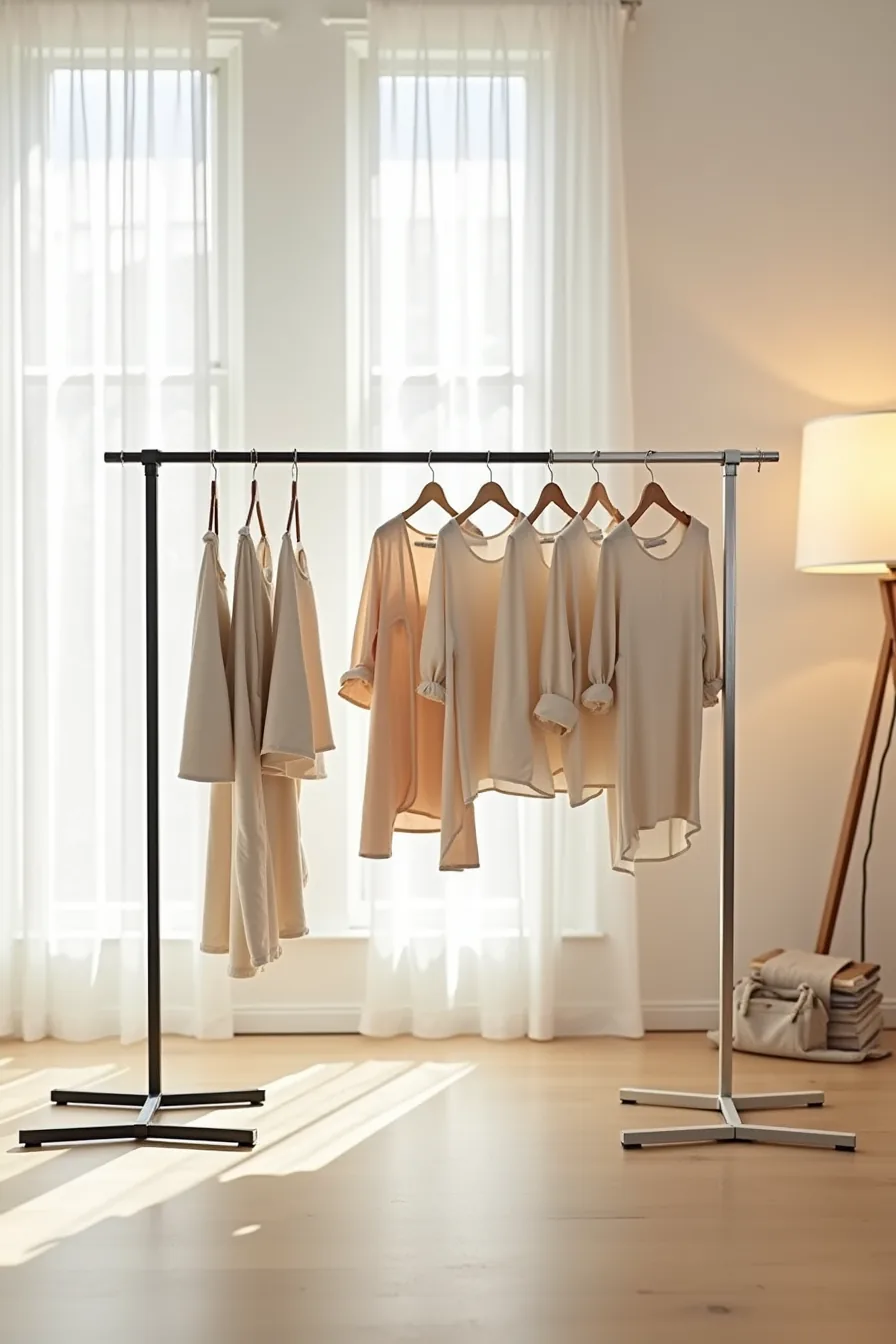
The three racks that typify the market’s sweet spot, black steel tube, natural wood dowel, and brushed stainless steel with chrome accents, behave very differently in daily use. The black steel tube frame feels sturdy and instantly forgives scuffs, making it ideal for a teenager’s room or a shared closet where bumps happen; it usually runs $50–150 and chips if you drag it across tile. The wood dowel rack reads warmer and hides dust better than metal, but softwoods scratch if you slide metal hangers along the bar nightly; seal it annually with wax and expect to pay the same mid-range price for decent birch or pine.
The stainless version, at $150 and up, resists corrosion, needs almost no upkeep, and suits a walk-in dressing area, though its fingerprint-prone finish means you’ll wipe it weekly to keep it looking sharp.
Choose steel for high-traffic areas, wood for bedrooms with boho or Scandinavian styling, and stainless for spaces where the rack doubles as a design focal point next to white walls.
Your first move
Before you buy a single hanger, pull everything you actually wear from your closet and pile it on your bed. Count the pieces. That number, not the space you’d like to have, dictates your rack length, shelf count, and whether you need a second bar.
Measure your wall clearance next. You need at least 24–30 inches of walkway in front of the rack for comfortable reaching. No clearance, no rack.
Commit to one edit: cull anything unworn in the past year. Then order your rack. Start with 4 feet of hanging space if you’re under 40 garments, 6 feet if you’re over.
Frequently Asked Questions
How much clothing can a standard clothing rack safely hold without tipping?
Most freestanding racks hold 40–80 pounds, roughly 30–50 garments. Distribute weight evenly and anchor top-heavy racks to the wall if you exceed that range. Heavier coats reduce safe capacity significantly.
What’s the difference between a clothing rack bedroom and a traditional closet in terms of garment care?
Open racks expose clothes to dust, light, and airflow, which can fade fabrics and require more frequent cleaning. Closets offer enclosed protection but trap humidity. Rotate seasonal pieces on racks to minimize prolonged exposure.
Can you use a clothing rack in a humid bedroom without damaging clothes?
Yes, if you keep humidity below 50–60% using a dehumidifier or ventilation. Choose powder-coated metal or sealed wood racks to resist moisture. Avoid storing delicates like silk or wool directly on racks in damp climates, use garment bags instead.
What size clothing rack fits a bedroom under 100 square feet?
Choose a compact rack under 30 inches wide and 60 inches tall, typically 24–28 inches wide, holding 20–30 garments. Prioritize corner placement or wall-mounted options to leave at least 24 inches of walking clearance. Avoid double-bar models in tight spaces.