Choosing kitchen cabinet hardware is the single highest-impact, lowest-effort upgrade you can make, but the wrong knob or pull can sabotage an otherwise flawless renovation. The gap between a cohesive kitchen and a mismatched one often comes down to three variables: scale, finish, and placement. Before you buy, you need to know how those variables shift across different cabinet styles, budget levels, and room sizes, because a pull that looks proportional on a 36-inch drawer can feel oversized on a 12-inch door.
This guide breaks down six distinct approaches, each with the exact trade-offs in cost, maintenance, and installation effort.
Key takeaways
- Commit to one metal finish in kitchens under 150 square feet to prevent visual clutter, but mixing brushed brass and matte black works when separated by at least 3 feet of countertop.
- Match pull length to cabinet width, use 3-inch pulls for drawers up to 18 inches wide and 5- to 6-inch pulls for larger drawers to maintain proportion.
- Choose unlacquered brass or stainless steel for high-use cabinets near the stove, as these materials develop a patina or resist corrosion, while matte black requires monthly touch-ups against fingerprints.
- Replace standard knobs with a 96-millimeter bar pull or a vintage glass knob on a single accent cabinet to test a new look under $30 before committing to a full kitchen swap.
Match vs Mix Metals: When to Commit to One Finish
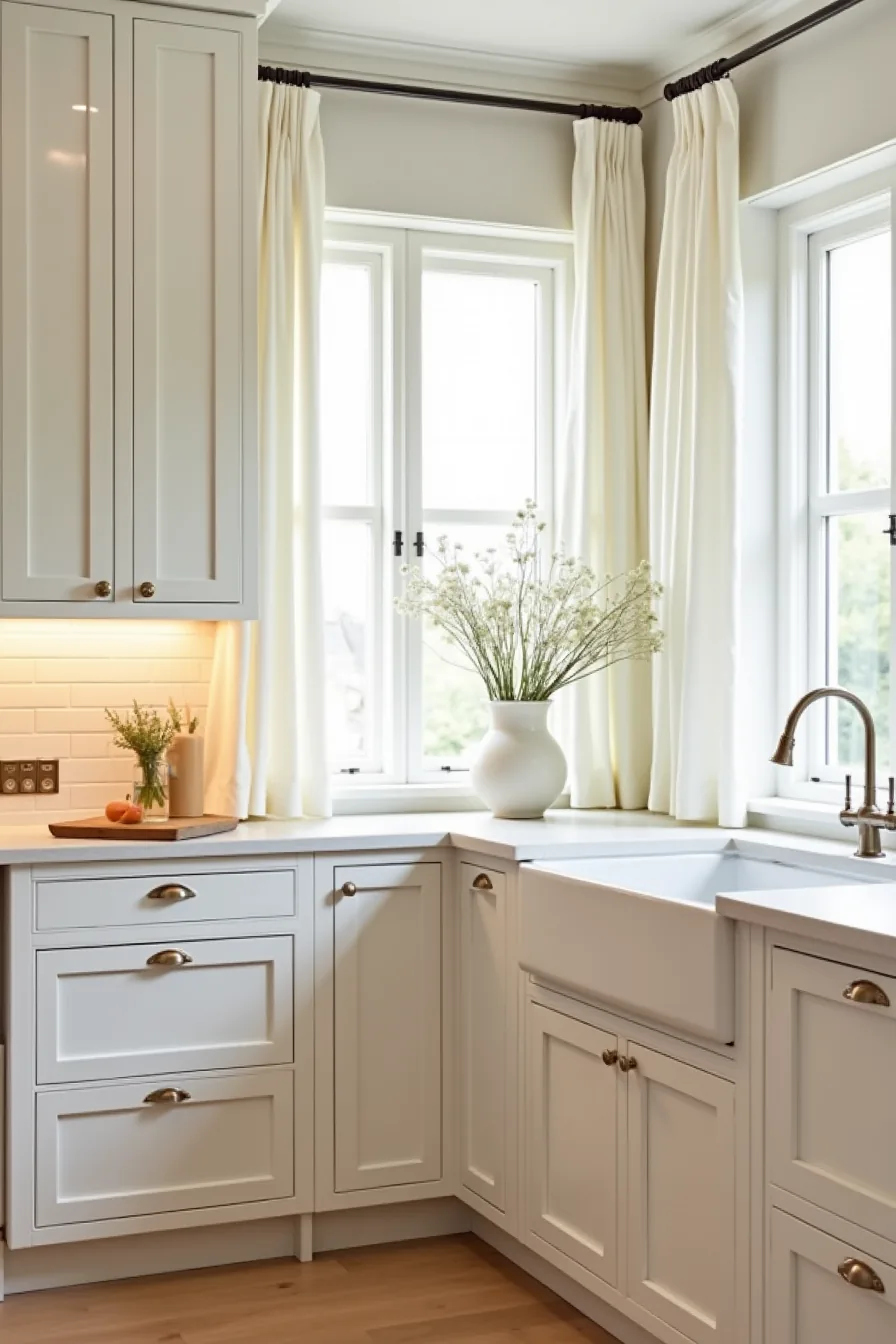
The split-island approach settles the match vs mix metals debate with physical proof. Polished chrome handles on the left half and brushed brass handles on the right meet at the center seam of the lower cabinets, while the upper cabinets stay unified in chrome. This works because the transition line gives the mixed scheme a deliberate structure rather than an accidental clash.
Commit to a single finish when your kitchen has busy countertops, open shelving, or a compact footprint under 10 feet of cabinet run, unified metal keeps the eye moving without competition. Choose the mixed route for larger kitchens where the island acts as a separate zone, and stick to two finishes max, ideally from the same undertone family (both warm or both cool). Budget-wise, mixing lets you stagger upgrades: replace the most visible island handles first, then the perimeter later.
Maintenance differs, too, brushed brass hides fingerprints better than polished chrome, which needs weekly wiping to stay streak-free.
Modern Pull Profiles: Minimalist Handles for Contemporary Kitchens
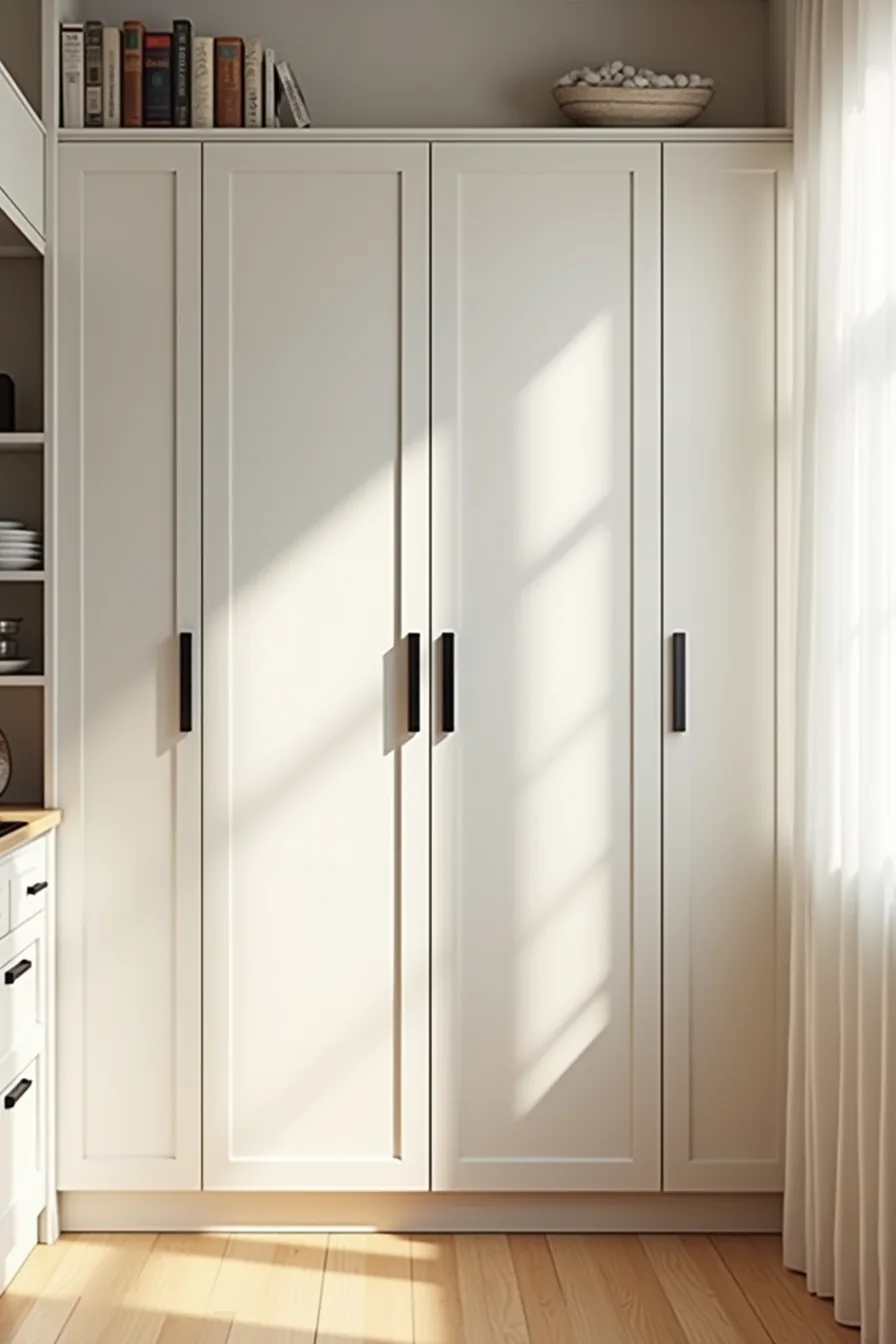
Modern pull profiles strip hardware down to its essential function, a slim, geometric grip that reads as part of the cabinet door rather than an attachment to it. The tall pantry cabinet setup with matte black linear pulls is a textbook execution: four evenly spaced recessed pulls running vertically down the door fronts create a continuous visual line that draws the eye upward, making the ceiling feel higher. That vertical spacing works best at 12-14 inches apart, with the first pull starting roughly 12 inches from the bottom edge.
Recessed pulls require a router cut or a custom cabinet door, so they suit renovations or new builds rather than quick refreshes. If you’re working with existing doors, surface-mounted bar pulls in the same slim profile (typically 8-16 inches long) achieve a similar look without modification. The matte black finish pairs well with open shelving because it recedes visually, letting your dishware and pantry contents stay the focal point.
For small kitchens, choose pulls no longer than half the door width; in large kitchens, full-length pulls on appliance panels and pantries unify tall elements into one smooth plane.
Vintage Latch Detail: Adding Character Without Renovation
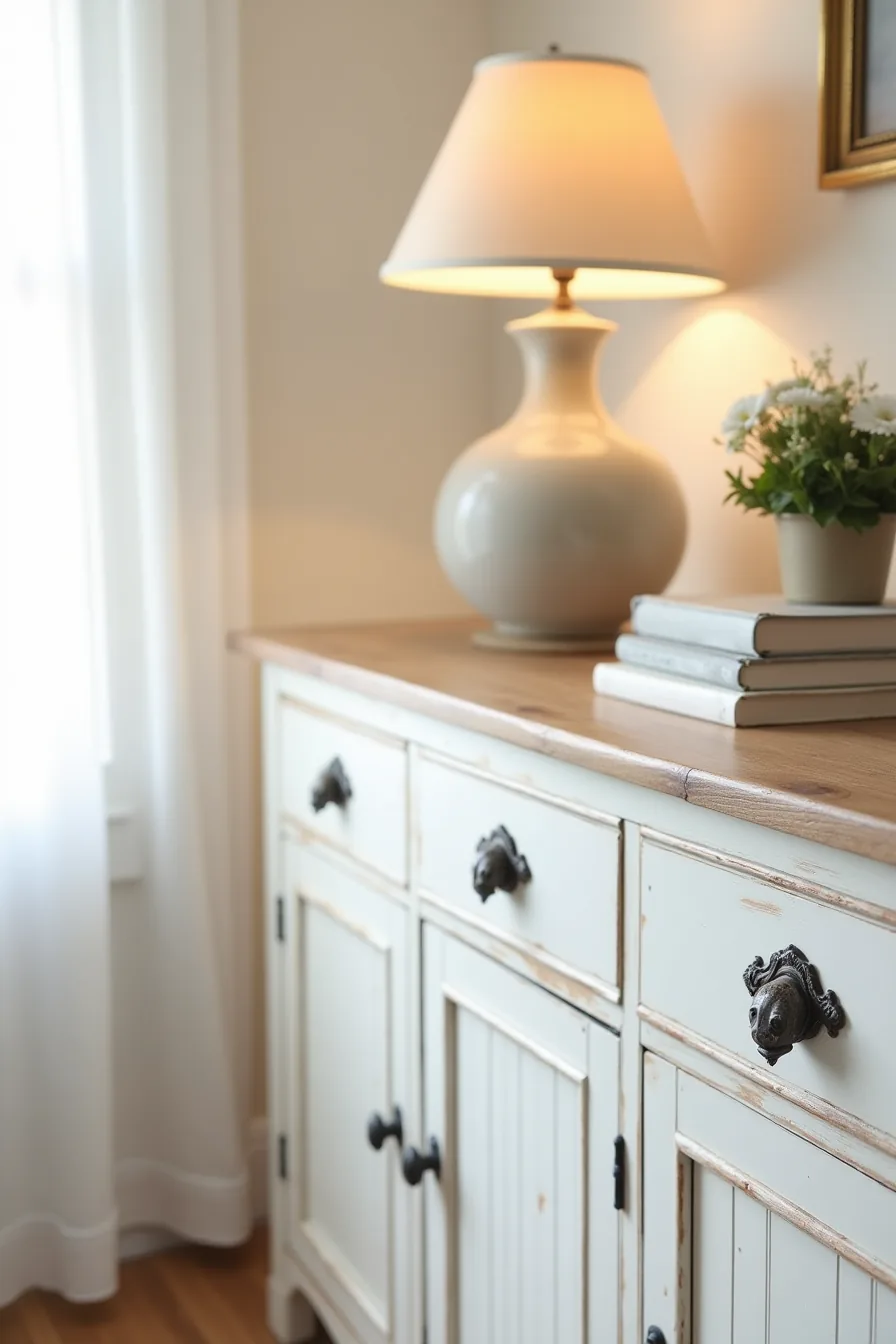
Reproduction cast-iron bin pulls deliver that weathered farmhouse look without requiring new cabinet fronts or structural work. The three ornate bail handles on those painted drawer fronts are surface-mounted, meaning you only need a screwdriver, a drill, and about 20 minutes per drawer to complete the swap. The dimensional detail, the raised casting and curved bail, creates shadows against the flat, weathered white paint, which is precisely why this style works in transitional kitchens that feel too sterile with standard knobs.
Cast-iron bin pulls typically run $6–$15 per piece, compared to $15–$40 for comparable modern pulls in brushed brass or matte black. They suit painted cabinets best; raw wood or heavy-grained oak can compete with the ornate detailing rather than complement it. Before committing, check the bail clearance against your drawer face, you need roughly 1.5 inches of space between the mounting plate and any adjacent edge for a comfortable grip.
For a more durable investment, oil-rubbed bronze versions cost about twice as much but resist chipping better than painted cast iron, which will show wear at the bail pivot points within 2–3 years of daily use.
Easy Hardware Swaps for a Fresh Kitchen Look

Start by laying the cabinet door flat on a stable workbench, this keeps the drill bit perpendicular and prevents the face from cracking. Remove the old knob, then use the installation template to mark the new pull’s screw centers; most standard pulls require holes spaced 3 inches or 96 millimeters apart, but measure yours before drilling.
For rental kitchens, skip the drill entirely. Use a pull with a universal base plate that covers the original hole, or backfill the gap with a two-part epoxy putty, sand it flush, and repaint. This takes about 30 minutes per door and reverses cleanly at move-out.
Match your drill bit to the screw diameter, a 3/16-inch bit suits most cabinet screws. Clamp a scrap block behind the door to prevent blowout, and drill straight through. Tighten screws by hand to avoid stripping; a power driver set to low torque works if you stop at first resistance.
The matte black pull positioned over the template shows the complete before-and-after: old brass knob, visible hole, fresh hardware ready for insertion.
Scale and Proportion: Matching Hardware Size to Your Cabinet Layout
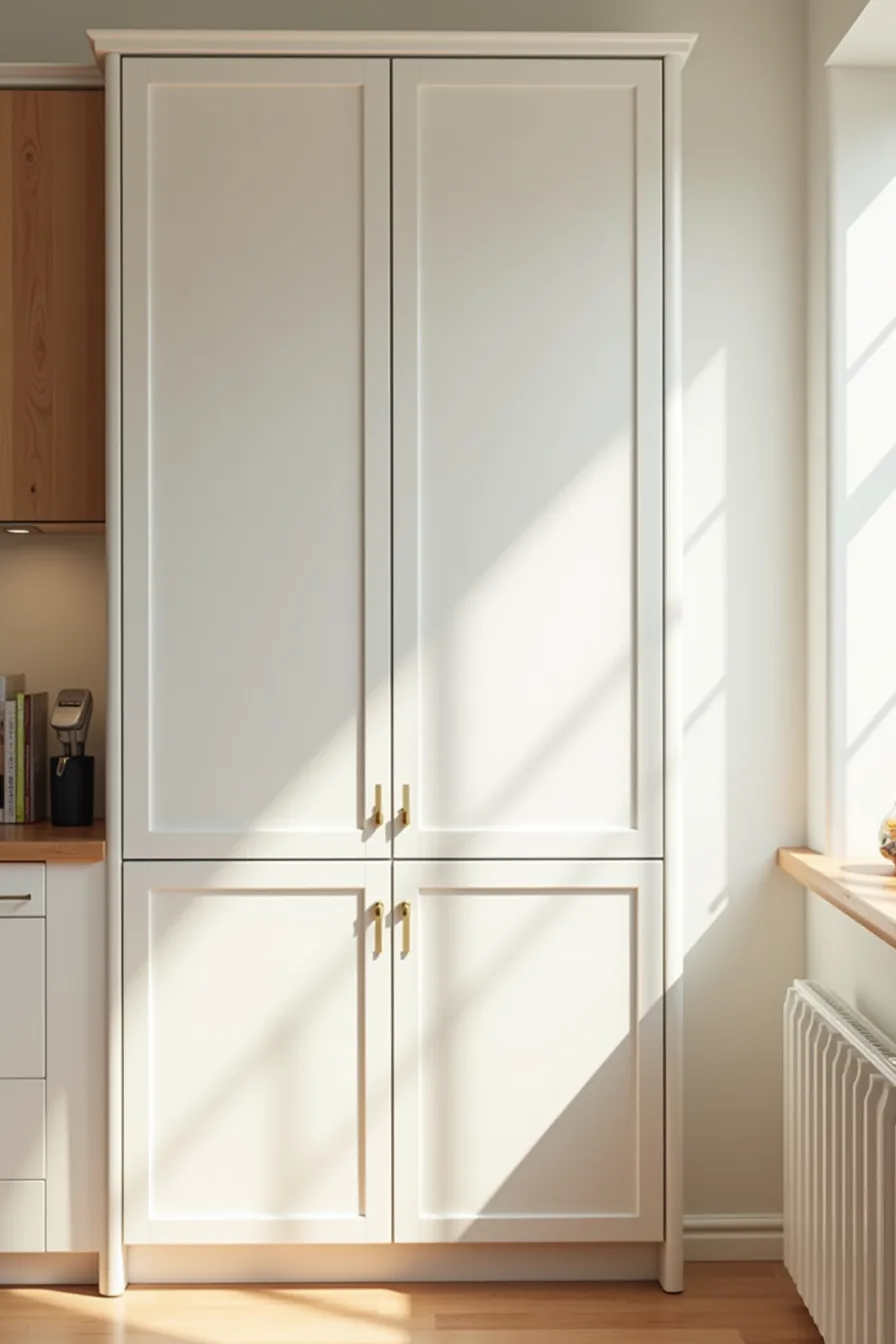
Cabinet door width dictates pull length more than any other factor. Those narrow 18-inch doors call for small knobs roughly 1 to 1¼ inches in diameter, anything larger visually crowds the stile. Standard 24-inch doors handle medium pulls in the 3- to 4-inch range comfortably, while wide 36-inch doors benefit from long bar pulls spanning 8 to 12 inches, which echo the door’s horizontal line.
Drawer depth matters just as much. Shallow drawers under 6 inches deep can’t accommodate a pull that reaches past the drawer face without snagging on the cabinet frame below. Deep pot drawers, however, can take the longest bars without interference.
Kitchen square footage refines your choice further. In a small kitchen under 150 square feet, oversized hardware reads as clutter; keep knobs under 1¼ inches and pulls under 5 inches. Large kitchens with generous counter runs can support bolder proportions without overwhelming the sightline, just keep all pulls on the same wall within ¼ inch of each other in length for visual rhythm.
Material and Finish Durability: Long-Term Performance Across Budgets
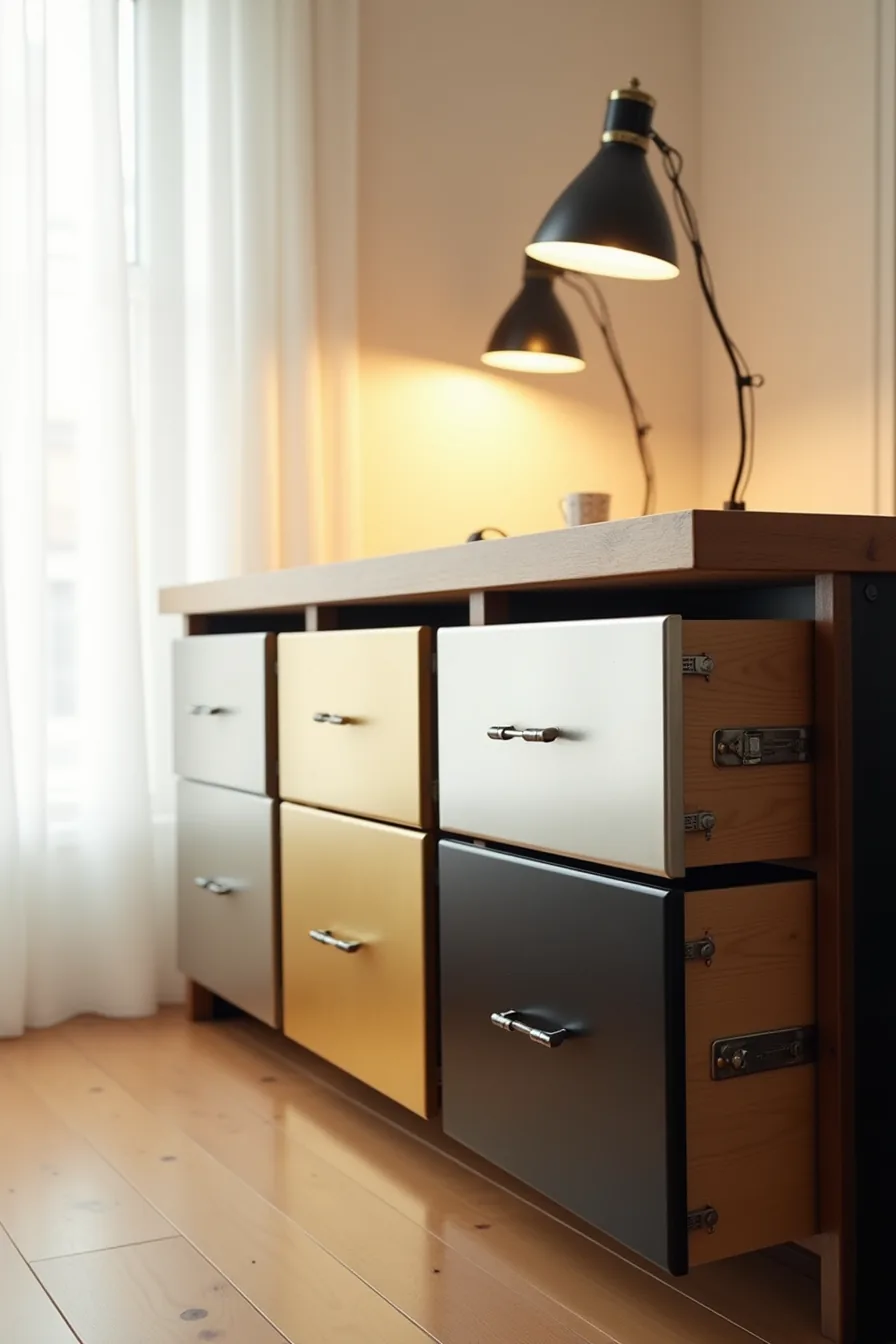
The four drawer fronts here, polished brass, stainless steel, painted black, and chrome, illustrate how finish chemistry, not brand, dictates your maintenance calendar. Polished brass develops a natural patina within 6 to 12 months of daily use; if you prefer that aged look, you can skip polishing entirely, but expect to re-clear-coat it every 2 to 3 years to prevent active corrosion. The stainless steel front shows water spots because unlacquered steel requires wiping after every dishwashing session; a satin brushed finish hides those marks far better than a mirror polish, and it will survive 15-plus years without re-coating.
The painted black finish reveals wear at the edges, a standard failure point where your fingers grip daily. Quality epoxy or powder-coated paint resists this for 5 to 7 years, but budget spray-paint options will chip within 18 months, making replacement cheaper than refinishing at roughly $2 to $4 per knob. Chrome, meanwhile, shows fingerprints because its reflective surface amplifies oils; it’s the most durable of the four if you regularly polish it, but it’s also the least forgiving.
For renters, stick to brushed nickel or oil-rubbed bronze: both hide smudges, require no sealing, and cost $3 to $8 per piece, letting you upgrade without a security-deposit penalty.
Where to Start
Measure your cabinet fronts before buying anything. Standard drawer pulls need 3-inch spacing for most bases, while cabinets with frames over 1.5 inches thick call for longer screws, typically 1 inch to 1.25 inches.
Pick one finish and stick to it across all hardware. Brushed nickel hides fingerprints, matte black shows smudges but resists corrosion, and unlacquered brass develops a patina that requires monthly polishing.
Order samples of three options you’re considering. Mount them on cardboard, tape them to your cabinet doors, and live with them for a week. Open and close every drawer to test grip and clearance.
Your next step: grab a tape measure and a screwdriver, remove one existing knob, and note the hole spacing. That single number determines which of these six ideas are even possible for your kitchen.
Frequently Asked Questions
What size kitchen cabinet hardware should I use for a small kitchen?
For small kitchens, choose pulls 3–4 inches long or knobs 1–1.25 inches in diameter. Oversized hardware visually crowds compact cabinetry and can interfere with adjacent doors or drawers when opened.
Can I replace kitchen cabinet hardware without drilling new holes?
Yes, if you select replacements with the same hole spacing, typically 3 inches or 3.5 inches for pulls, or a single hole for knobs. Measure center-to-center distances before buying; otherwise, you’ll need to fill and drill.
How do I choose between matching or mixing metal finishes in my kitchen?
Match finishes for a cohesive, streamlined look, especially in open-plan spaces. Mix finishes only if you limit it to two tones, one dominant (e.g., brushed nickel on cabinets) and one accent (e.g., matte black on the sink faucet), and keep them separated visually.
What kitchen cabinet hardware finish is easiest to maintain?
Brushed or satin nickel and matte black hide fingerprints and water spots better than polished chrome or brass. Avoid oil-rubbed bronze if you dislike visible dust. Wipe with a damp microfiber cloth weekly; no harsh cleaners needed.