A makeup table only works if it matches your space, budget, and daily routine, so before you buy anything, decide which of these six setups fits how you actually get ready. From a repurposed desk under $100 to a custom-built station with dedicated lighting, the right choice hinges on three factors: your square footage, your storage habits, and whether you prefer sitting or standing. Each option below comes with its own trade-offs in cost, assembly time, and footprint, so the smart move is to match the design to your morning workflow, not the other way around.
Key takeaways
- Compact drawer setups free floor space but require 15–20 inches of clear depth to open comfortably, making them ideal for bedrooms under 100 square feet.
- Wall-mounted shelf vanities need sturdy anchors rated for at least 50 pounds if you plan to store cosmetics and a mirror, and they leave zero footprint for renters.
- Dedicated vanity tables pay off long-term when you choose a solid-wood piece with a 30–36 inch height and a 40–48 inch width, matching your seating and lighting placement.
- Workflow organization cuts your routine by 10–15 minutes when you group daily-use products at arm’s reach and keep backups in drawers, not on the surface.
The Compact Drawer Setup: Makeup Table Ideas for Small Spaces
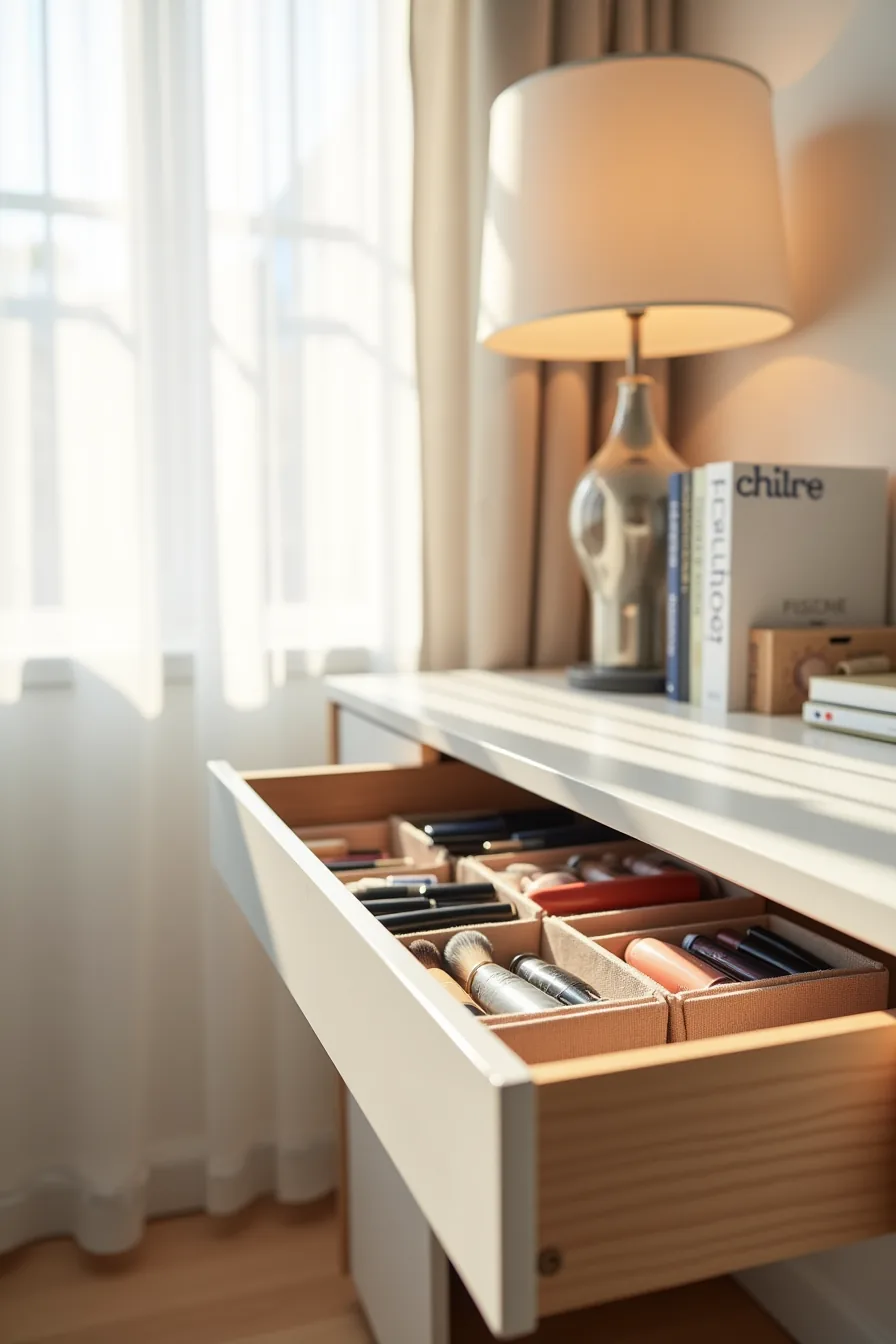
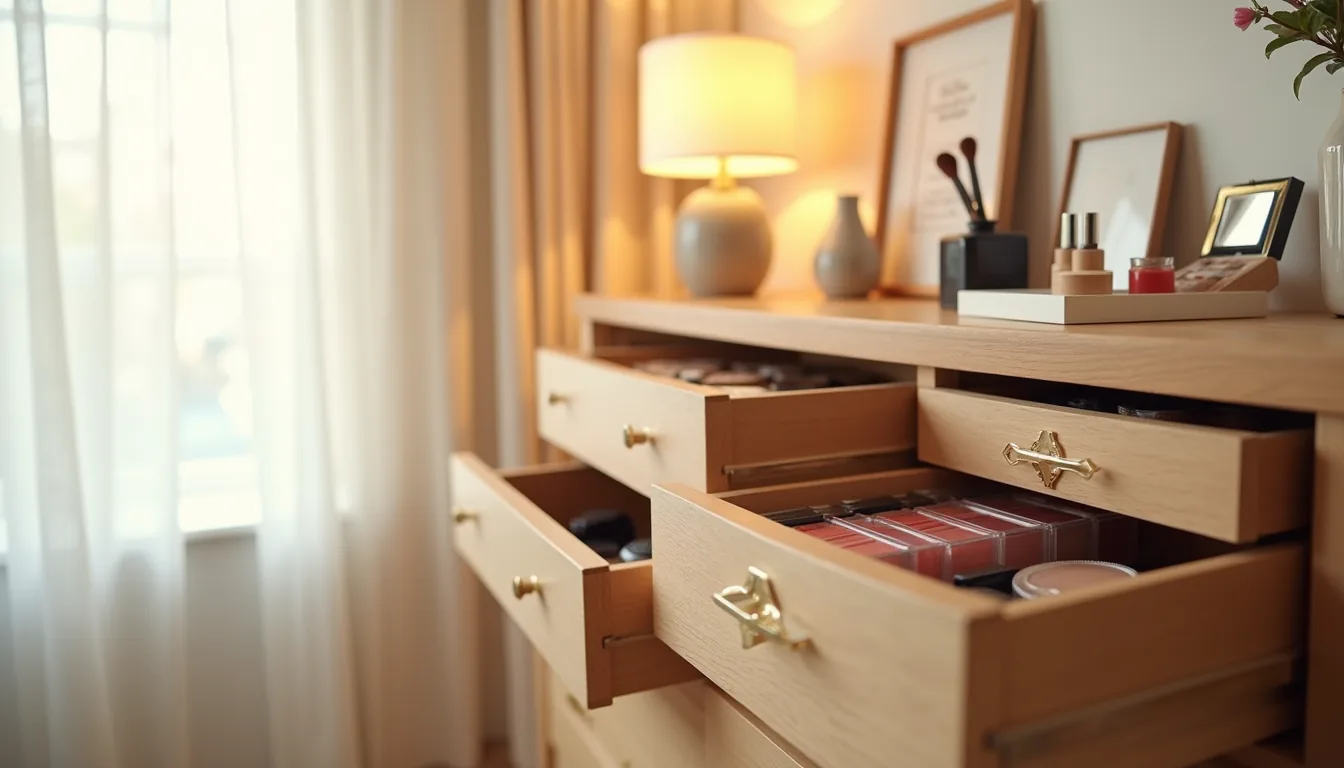
For tight bedrooms where a full table physically won’t fit, your daily makeup zone belongs inside a dresser drawer you already own. This setup works by keeping every item visible at a glance, no digging, no knocking over bottles at 7 a.m. A mesh organizer tray creates the compartments: foundation bottles stand upright in the deep slots, eyeshadow palettes slide flat into the wide sections, and adhesive-backed dividers along the sides corral the brushes into reachable rows.
You’ll need a drawer at least 18 inches wide by 12 inches deep to hold the tray plus a little breathing room. This route suits renters perfectly, the tray lifts out in one piece, and the adhesive dividers peel off without damaging the wood. It costs well under $50 total, which beats a $300 vanity.
The trade-off: no mirror, so you’ll still need a wall-mounted one or a countertop spot nearby. If your drawer is shallow (under 3 inches), skip the tray and use the adhesive dividers alone to build your own compartments.
Wall-Mounted Shelf Vanity: Renter-Friendly and Space-Efficient
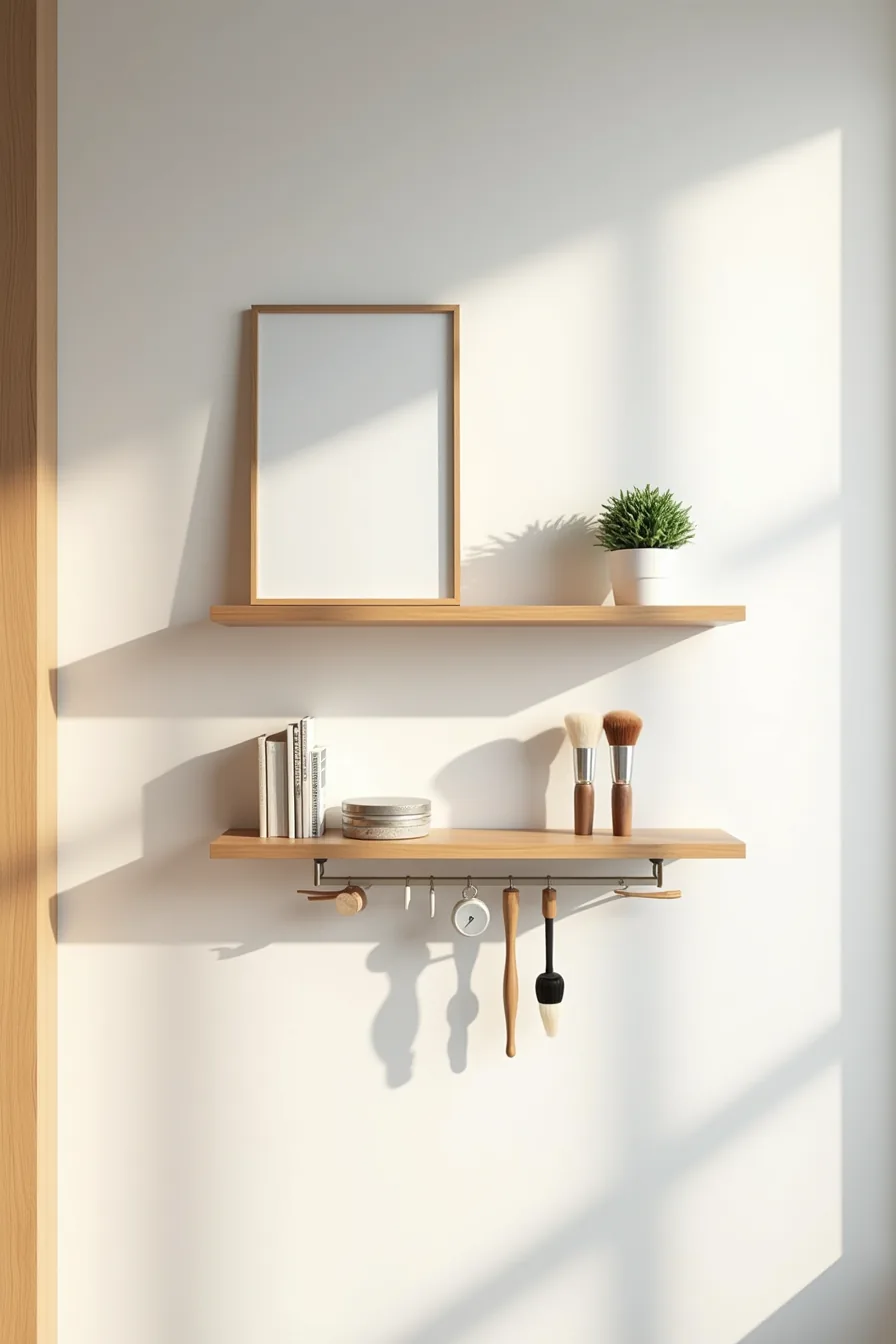
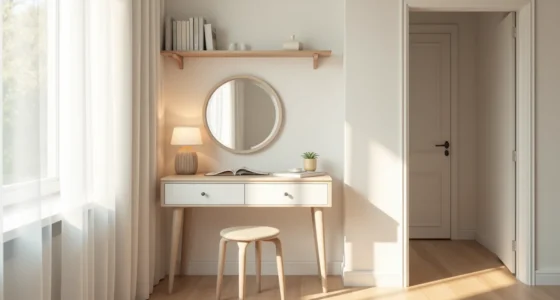
Two floating shelves mounted at different heights create a vertical makeup station that occupies zero floor space. The top shelf carries a frameless mirror and a small potted plant, while the bottom shelf holds your makeup containers beside a round mirror, the dual-mirror setup lets you check your face from two angles without leaning in. Adhesive hooks screwed into the shelf’s underside keep brushes dangling within reach, freeing up the shelf surface entirely for product.
This Makeup Table Ideas variation works best for narrow walls beside a closet or door, where a standard 24-inch vanity would block circulation. Each shelf should hold no more than 10–15 pounds; floating shelves rated for heavier loads cost more but prevent sagging over time. Use command strips rated for your shelf’s weight if you can’t drill, they support up to 10 pounds per pair on smooth painted drywall.
The plant adds humidity that can dull powder formulas, so keep it on the top shelf, away from open containers.
Drawer vs Countertop Storage: Which Layout Speeds Up Your Morning
A closed dresser drawer with a simple knob hides every product behind one motion: pull, select, push. That single gesture suits small bathrooms where visible clutter amplifies visual noise, and it protects powders and creams from daily dust buildup, expect to wipe the interior surface only every few weeks instead of every few days.
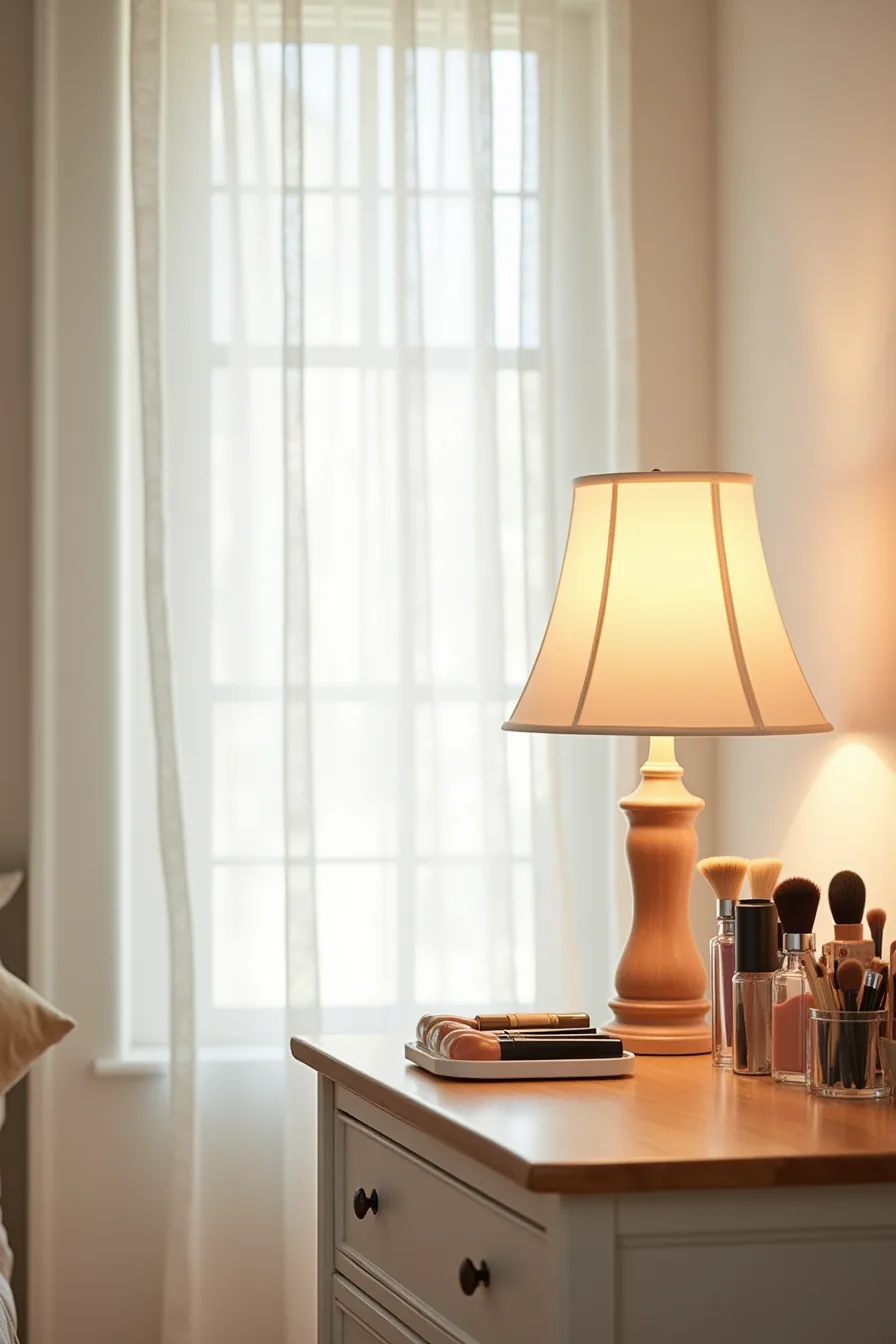
An open countertop arrangement, with makeup bottles lined beside a brush holder and a storage tray, eliminates the open-close cycle entirely. You see every shade at a glance, which trims decision time if you rotate products often. The trade-off: you commit to a 5-minute daily tidy and periodic dusting, plus you need roughly 12–18 inches of clear depth so bottles don’t crowd the mirror edge.
Drawer vs countertop storage ultimately hinges on your routine, if you use the same five products daily, the drawer wins; if you experiment frequently, the open tray layout saves you from rummaging.
Lighting for Getting Ready: Placement and Bulb Choices That Matter
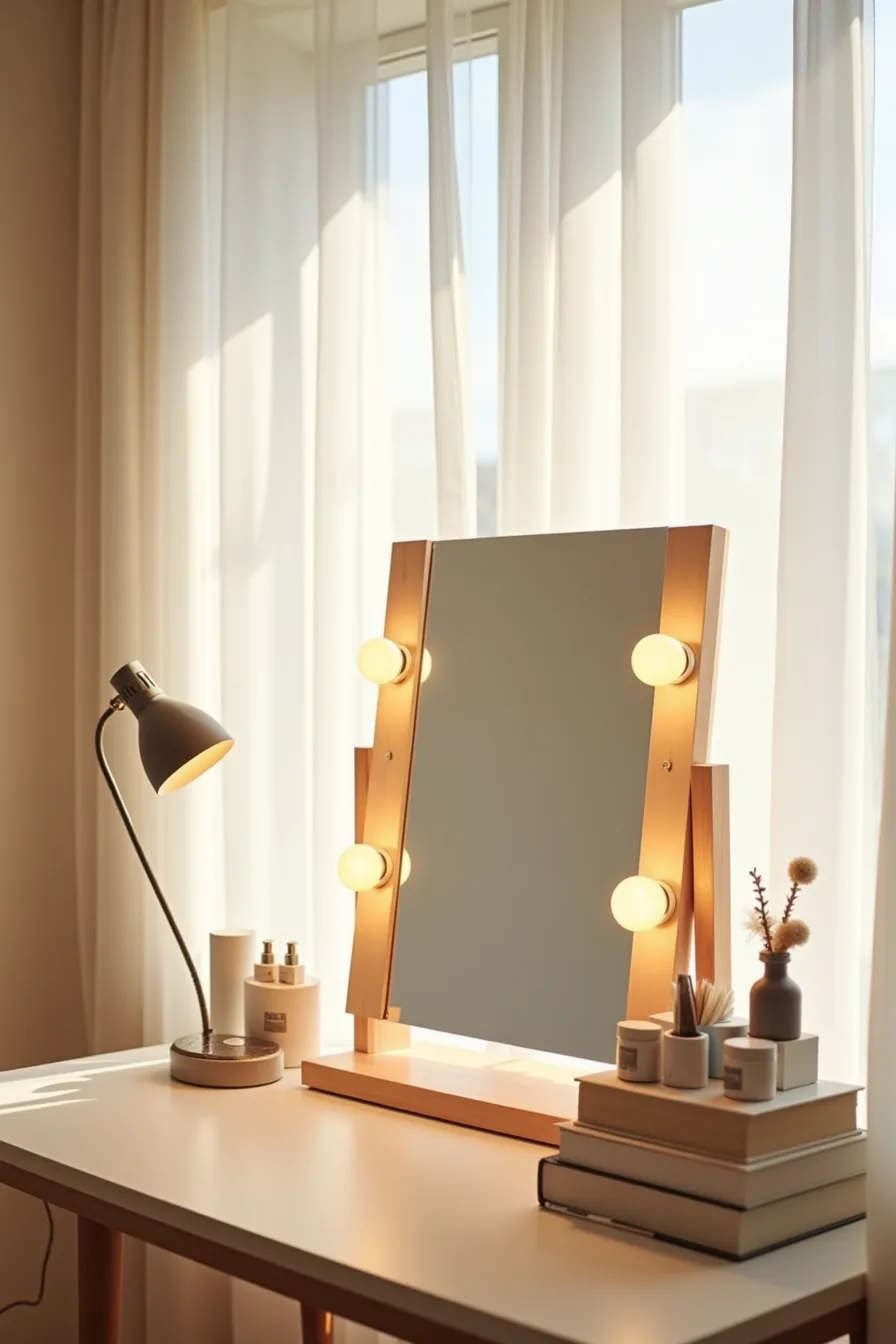
Your lighting for getting ready needs three distinct layers, and each solves a different problem. Overhead fixtures provide general room illumination but cast downward shadows from your brow, forehead, and lashes, the exact areas you need to see clearly. Side-mounted bulbs on the vanity mirror eliminate those shadows by lighting your face from both angles, which is why professional dressing rooms use this setup almost exclusively.
Color temperature matters more than wattage. Choose bulbs in the 3000K–4000K range for a neutral light that mimics natural daylight without the harsh blue cast of 5000K+ options. A desk lamp with an adjustable arm, positioned to your left if you’re right-handed, fills any residual shadow on your dominant side and works well for detail work like eyeliner or brow shaping.
For foundation matching, place the mirror with the ceiling fixture visible in your periphery, if your face looks evenly lit between all three sources, your makeup will read consistently outside. Avoid single-bulb vanity bars; they create half-shadowed faces that make blending errors invisible until you step into daylight.
The Dedicated Vanity Table: Long-Term Investment Route
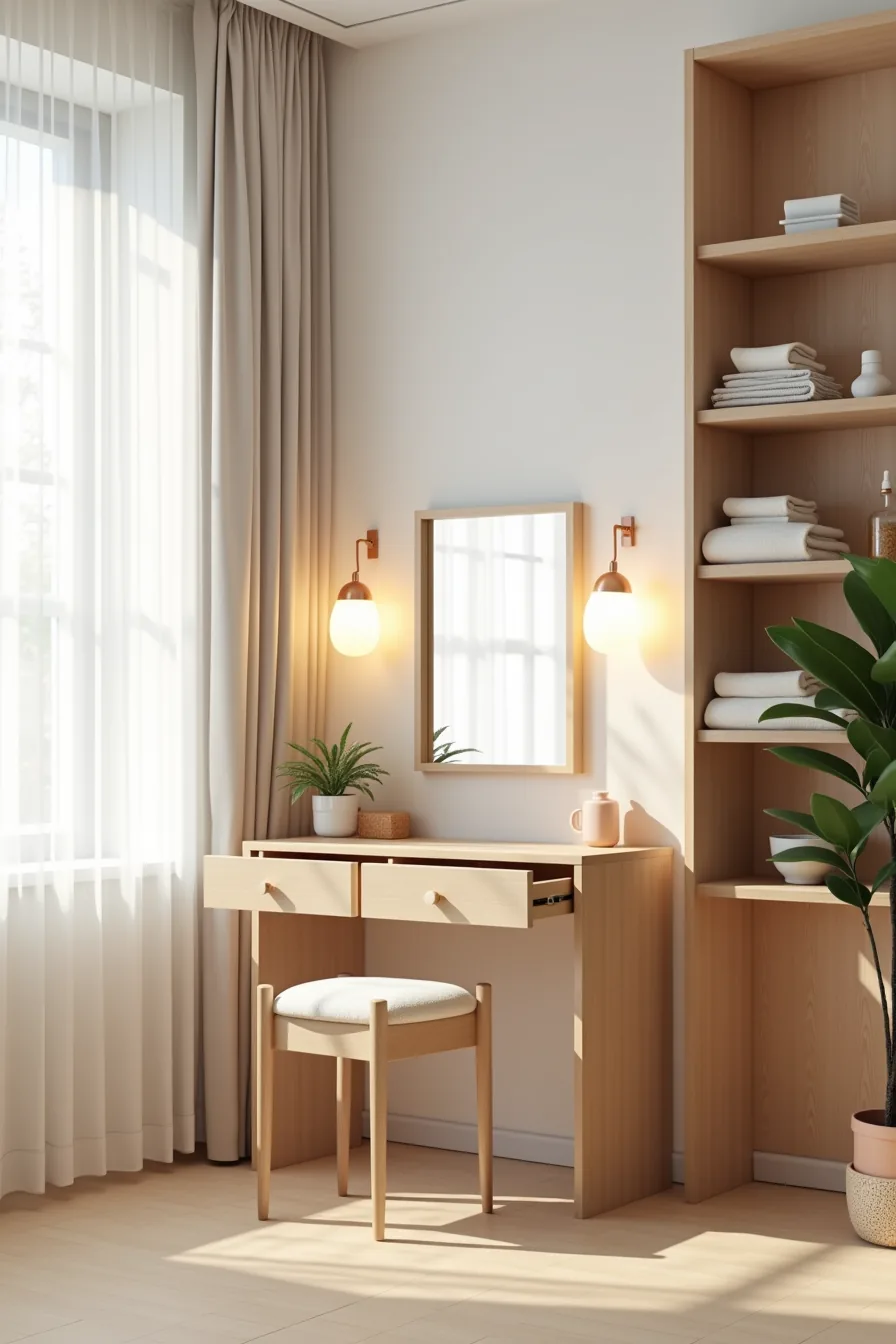
For a permanent solution, a standalone vanity table in solid wood is the most durable choice you can make, expect to pay in the $400–$1,200 range depending on the timber and joinery quality. The wooden vanity table pictured here pairs an attached mirror with a lower storage drawer and side shelving, which gives you dedicated space for cosmetics, folded linens, or hair tools without adding a separate cart. This configuration suits medium-to-large bedrooms where you’ve at least 36 inches of clear floor space in front of the chair for comfortable legroom and access.
Material and maintenance go hand in hand. Solid oak or maple resists water rings and makeup spills better than veneer or MDF, but you’ll still want to wipe the surface with a damp cloth weekly and apply furniture polish monthly to protect the finish. Position the table perpendicular to a window rather than facing it directly, glare off the attached mirror will otherwise wash out your reflection during daylight hours.
A side placement also lets you layer artificial light from an adjacent floor lamp without competing with the window’s natural source. The vanity chair should sit at a height that places your elbows at a 90-degree angle to the tabletop, typically 17–19 inches for standard 28–30-inch tables, so you can work without hunching.
Create a Makeup Table Setup for Faster Mornings: Workflow and Organization
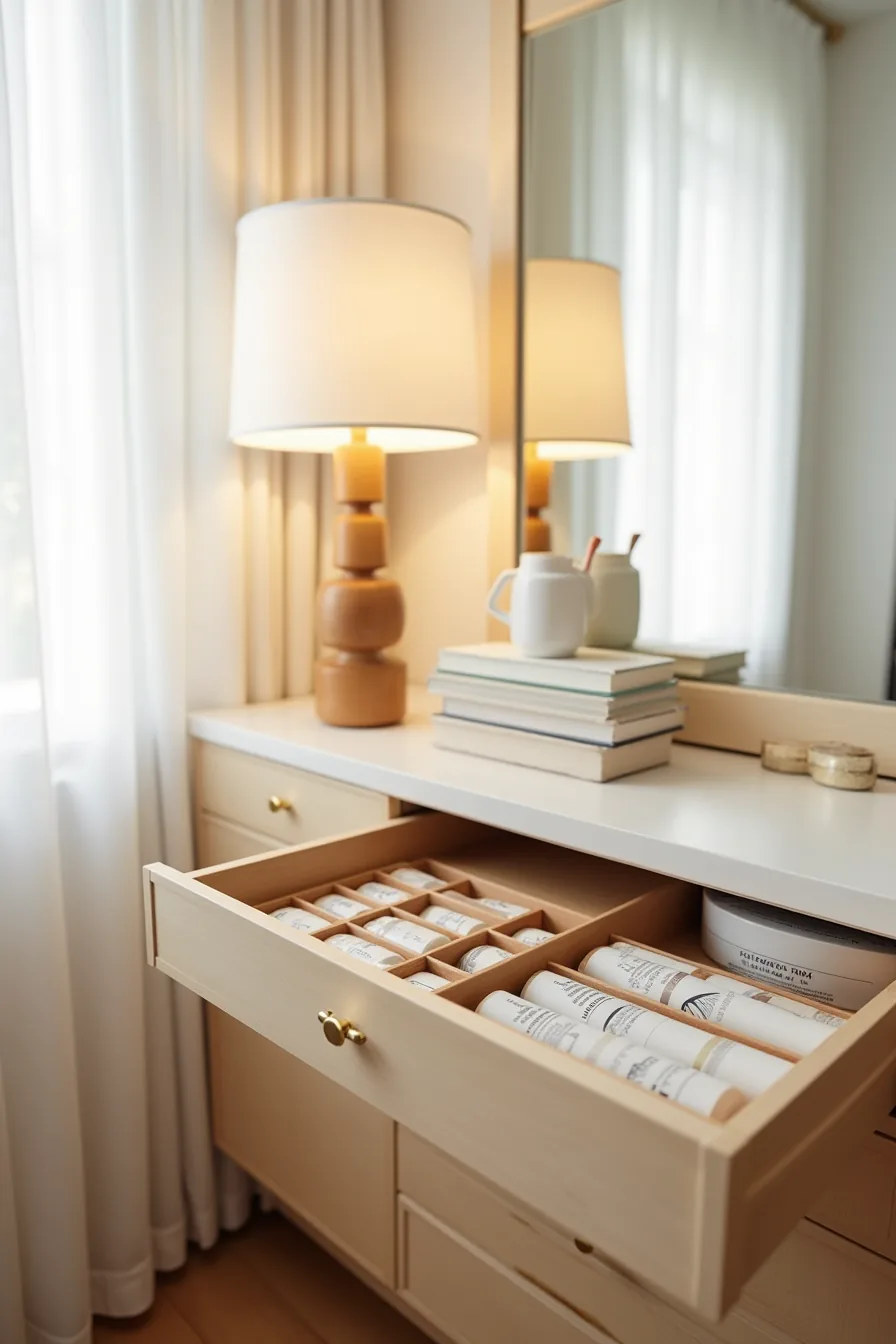
The fastest way to cut morning prep time is to make your drawer layout mirror your routine sequence, not your product alphabet. In the open drawer, the front section holds only the daily essentials, foundation, mascara, brow pencil, and setting spray, in labeled compartments spaced so you can grip each bottle without knocking over the next. Middle-section stacked trays separate color cosmetics (blushes, bronzers, eyeshadow palettes) from tools like brushes and sponges, so you grab a tray rather than sift through loose items.
The back section stores backups: unopened foundations, extra eyeliners, and travel minis in a single labeled container you touch only when restocking.
This zoning strategy cuts decision fatigue because every item has a fixed home, and the most-used products never require leaning forward or stretching. For the system to endure, pick dividers with adjustable widths, fixed plastic inserts rarely accommodate both slim lipstick tubes and tall setting spray bottles. Label each zone with a handheld label maker; for weekly maintenance, spend two minutes returning strays to their zones while a cleanser sits on your skin.
What to do first
Start by measuring your available width, depth, and floor clearance before you buy anything. A layout that blocks a doorway or closet access will fail regardless of how good it looks.
Pick the style that matches your actual routine, weekly glam sessions need storage, daily five-minute touch-ups need a clear surface. Then set a budget ceiling, because materials range from under $100 for a repurposed desk to $1,500-plus for a custom built-in with integrated lighting.
Your next step: take a photo of the chosen spot and sketch the footprint to scale on graph paper. That ten-minute exercise prevents the most common sizing mistakes.
Frequently Asked Questions
How much counter or drawer space do you actually need for a functional makeup table?
You need roughly 30–36 inches of counter width for elbows and a mirror, plus 3–4 shallow drawers or bins for daily-use products. Anything less forces you to work on your lap.
What’s the best lighting color temperature for applying makeup accurately?
Use 3500K–4500K (neutral white) at 80–90 CRI or higher. This mimics daylight without the yellow cast of 2700K bulbs or the harsh blue of 5000K+. Place lights at face height, not overhead.
Can you set up a makeup table in a rental without damaging walls or furniture?
Yes. Use command strips for a wall mirror, a freestanding table instead of mounted shelves, and adhesive hooks for cord management. Skip drilling; fill any accidental holes with spackle before moving out.
Should you store makeup in drawers or leave it on display on a countertop?
Drawers suit daily-use items, they keep light-sensitive products stable and cut dust. Display only decorative, rarely used pieces. Open shelves collect grime and fade lipstick or foundations faster, so reserve them for brushes or palettes you rotate weekly.