
Storage room design fails when you buy containers before you know what you’re storing, so start with an empty floor, a notepad, and a hard rule: nothing gets organized until everything is inventoried and sorted into keep, donate, or toss piles. That single step determines whether you need a $200 shelving unit or a $40 stack of bins, and it exposes the real problem: too much stuff, not too little space. The six layouts ahead each hinge on that inventory, so you can match the system to your actual square footage, access needs, and budget, without guessing.
Key takeaways
Start with a 30-60 minute audit that sorts items into keep, donate, and toss piles before you measure or buy anything, since this prevents overspending on containers for things you won’t store. Zone by how often you access items, daily, monthly, or seasonally, and place the highest-use zone nearest the door, which cuts retrieval time and keeps aisles clear. Match shelf depth to your largest stored item, 18-24 inches suits most boxes and bins, while 12-inch shelves work for jars and small parts, but avoid going deeper than 24 inches unless you install pull-out trays. Use a two-part labeling system with a large-print category tag on the bin’s front and a detailed contents list on the lid, so you can grab from the shelf without opening every container.
Audit and Inventory Before Buying Any Container

Your Storage Room Design fails or succeeds before a single shelf arrives. Empty a box of holiday ornaments, a bag of sports equipment, and a jumble of tools onto a table. Open a notebook with columns for item, quantity, and access frequency.
Count how many ornaments you actually own, not how many you think you own. Estimate the cubic volume of the tools by stacking them loosely and measuring the stack’s dimensions.
That smartphone in your hand serves one purpose: photograph the contents before you move them, so you can reference the original state when you reorganize. The calculator tallies total volume per category, add a 20 percent buffer for future acquisitions. You’ll discover that your inventory, not your space, dictates which storage system you need.
A homeowner with three boxes of decorations requires different shelving than one with twelve. Record whether you access each category weekly, monthly, or seasonally, because that frequency determines placement height and container accessibility later. The audit takes roughly one hour per 20 square feet of storage space, an investment that prevents buying containers that don’t fit what you kept.
Zone-First Planning: Organize by Use Pattern, Not Item Type
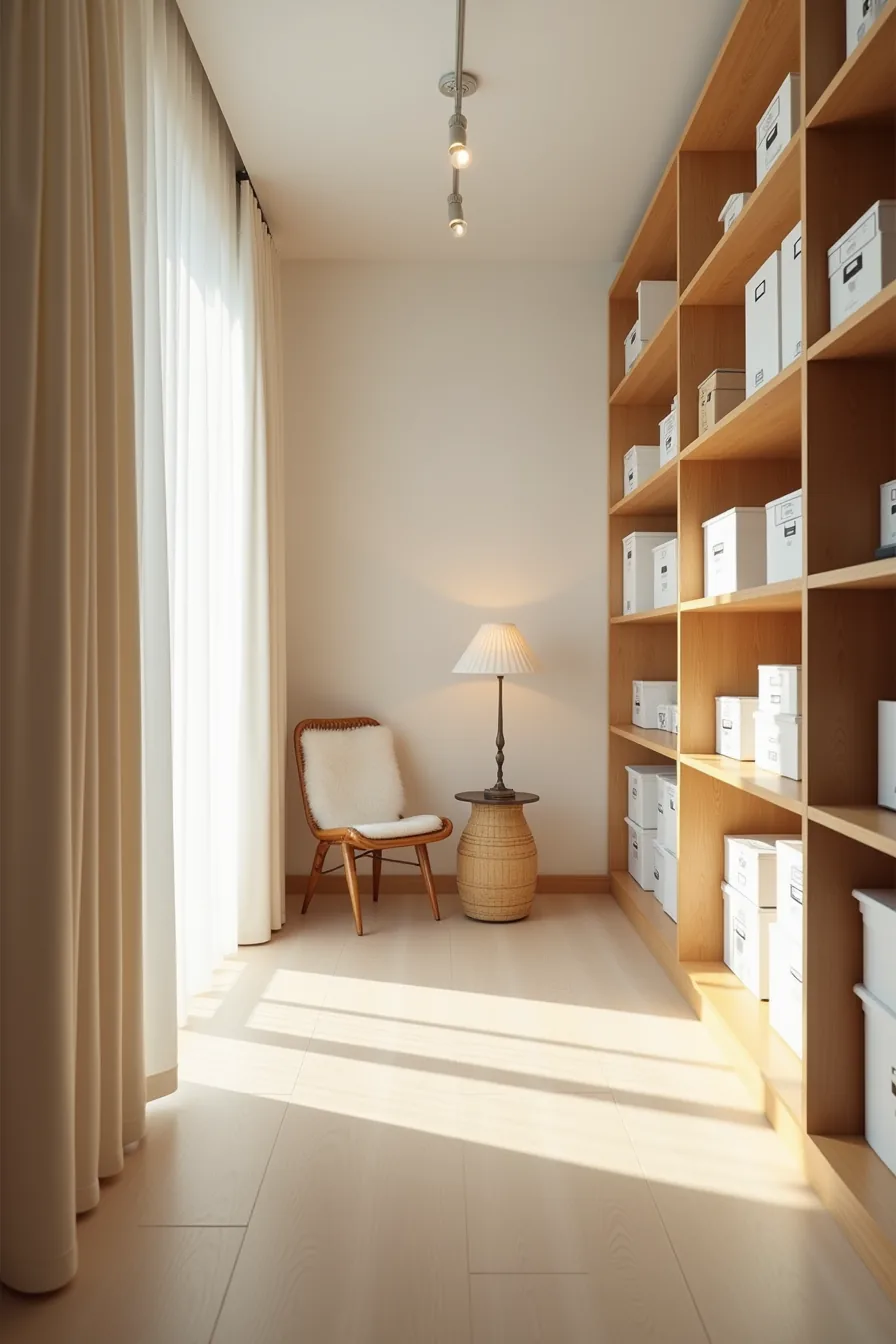
Grouping by category, all coats together, all files together, guarantees you cross the room repeatedly for a single task. Zone-first planning instead assigns physical territory by how often you touch things. The room divides into four bands: daily-access near the door, seasonal farthest back, archive in the middle, and hazmat in a corner with ventilation.
Low partition shelves create the boundaries. Winter coats and boots hang on one side; labeled daily-use boxes stack on the other; archival filing fills banker’s boxes on the middle rack; sealed hazmat containers, paint, solvents, pesticides, sit isolated on the bottom shelf, away from traffic and ignition sources. Color-code each zone with shelf paint or tape so you visually confirm you’re reaching for the right band.
This layout cuts retrieval time because you never traverse the archive zone to grab a weekend jacket. The trade-off: you sacrifice roughly 15–20 percent of linear shelf footage to partitions, which suits medium and large rooms better than cramped ones.
Shelf Depth Comparison: Fixed, Adjustable, and Renter-Friendly Options
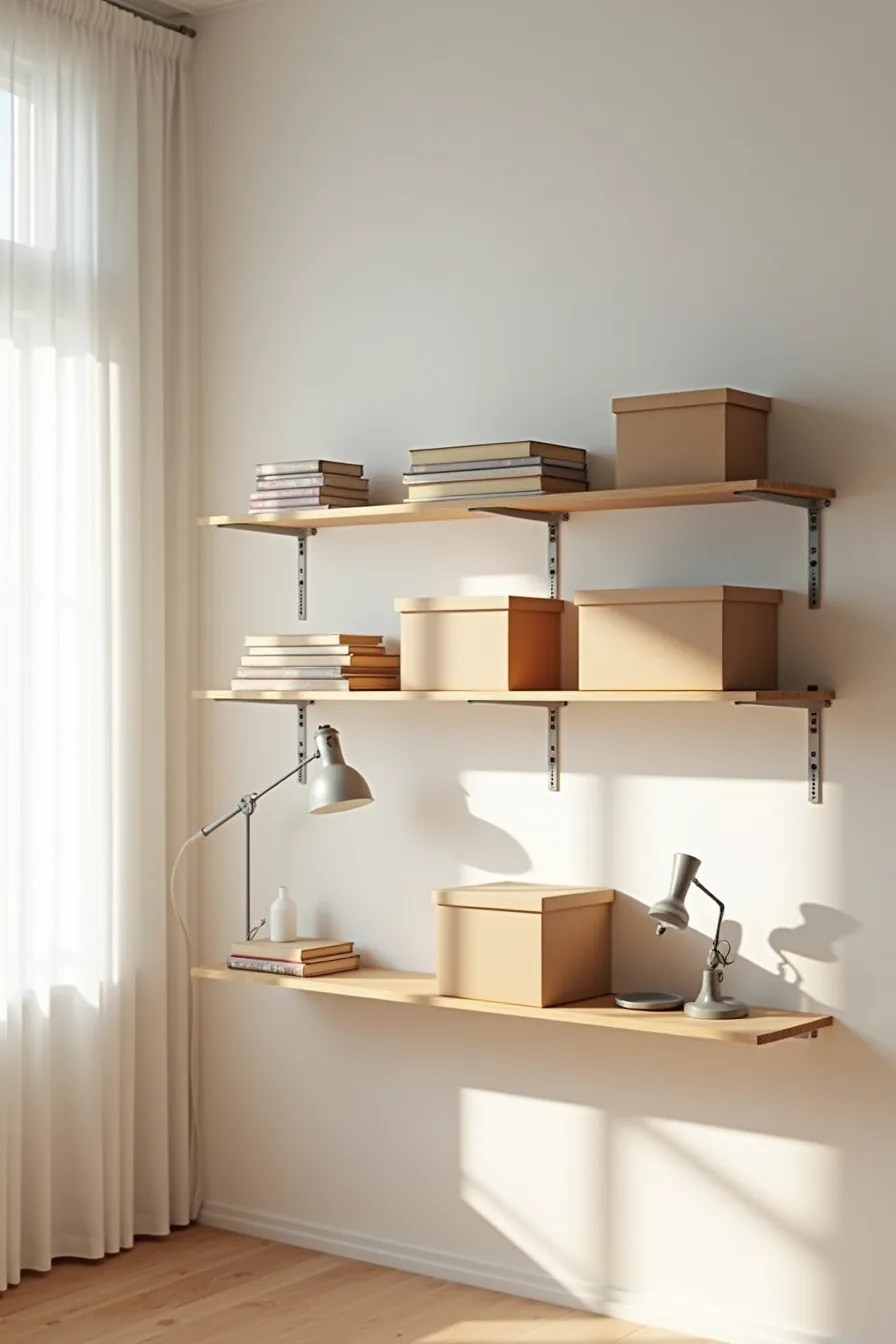
Wall-mounted shelf depth drives what you can store, and the three systems side by side with the ruler illustrate the range. The shallow fixed shelves at 12 inches handle light items, baskets of craft supplies, small bins, but anything heavier will strain the brackets, and you lose vertical stacking efficiency. Fixed units run $40–$80 per section and are the cheapest option, but you commit to that footprint permanently.
The adjustable metal shelving at 18 inches strikes the best balance for mixed loads. You move the shelves in 1.5-inch increments, so you can slot tall containers beside stacked boxes without wasting airspace. A quality adjustable unit supports 150–250 pounds per shelf, roughly triple what fixed residential shelves hold, at a cost of $120–$200 per section.
The trade-off: assembly takes an hour, and the uprights need to anchor into wall studs.
The tension rod system at 24 inches suits renters because it requires no drilling, you wedge it between floor and ceiling. It carries heavier boxes but only 50–80 pounds per shelf, and the rods shift if you overload them unevenly. Expect to pay $90–$150 per unit, and check ceiling height before buying.
For permanent installations, the 18-inch adjustable system wins on capacity per square foot; choose the 12-inch fixed only for light, static collections.
Labeling System Ideas That Survive Real Use
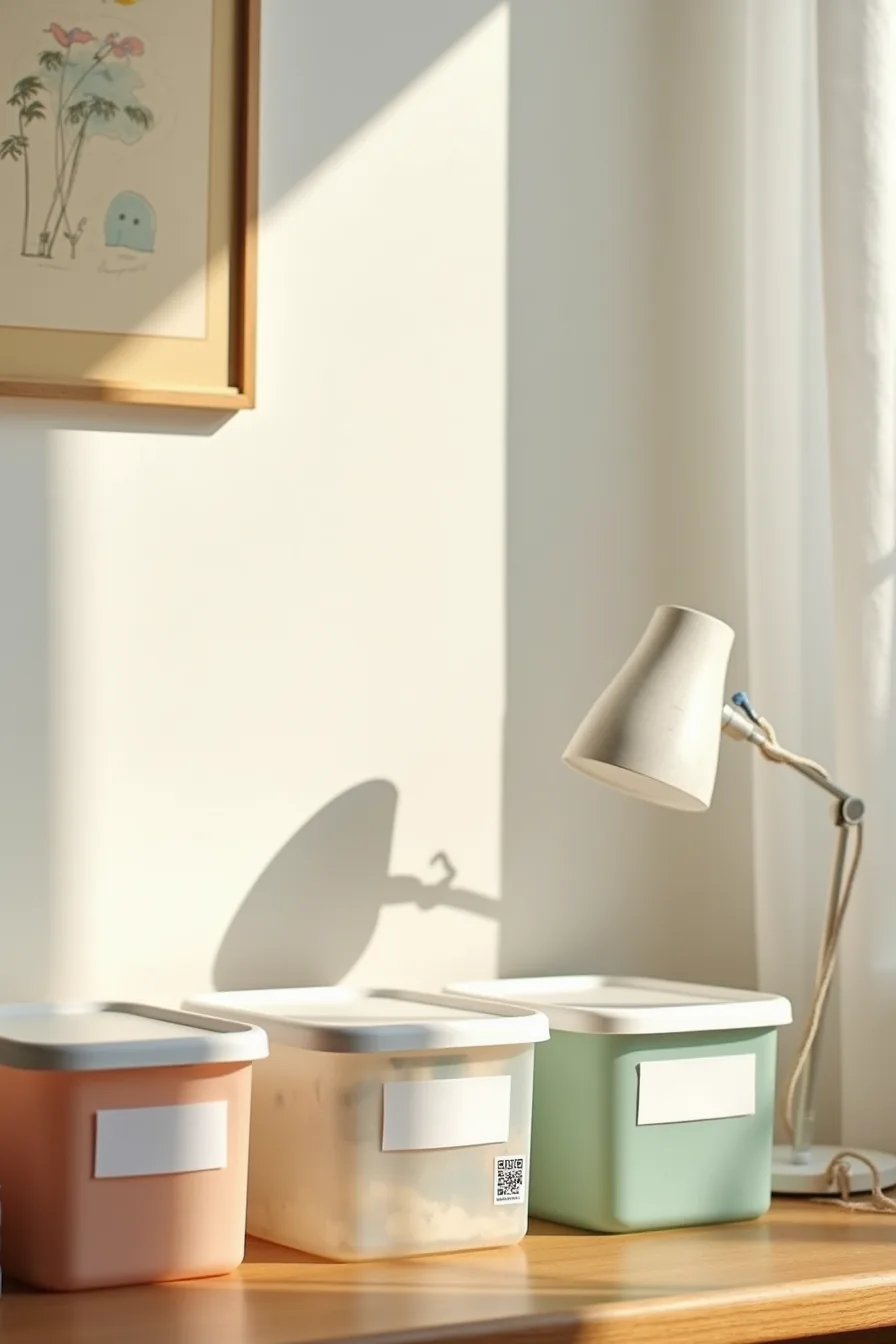
The four containers in your storage room demonstrate why a single labeling approach fails under real conditions. The laminated white tag with printed text holds up best in humid basements or garages, run it through a standard laminator or use adhesive pouches, and it shrugs off dust and moisture. Print with a bold, 24-point or larger font; if you’re squinting to read it, you’ll never maintain the habit.
The color-coded spine sticker works on clear bins when you sort by category rather than item, blue for holiday décor, red for tools, green for linens. You read the color from across the room, which beats reading any text. The handwritten permanent marker on the clear bin is the fastest to apply and the hardest to maintain: it smears on textured plastic within a few months, and you can’t easily erase and rewrite it.
Reserve it for temporary staging, not permanent collections.
The QR code sticker earns its place on bins you access frequently but need to inventory precisely. Link each code to a phone-based list of contents, and scan the bin in seconds before hauling it down. The setup time is 15 minutes per container, and the code survives for years under a clear protective tape layer.
For every label, wipe the bin surface with rubbing alcohol before applying, adhesive fails on dust and grease. Review labels once per year when you rotate seasonal items, and rewrite any that no longer match the actual contents.
Storage Room Designs for Small Homes and Apartments
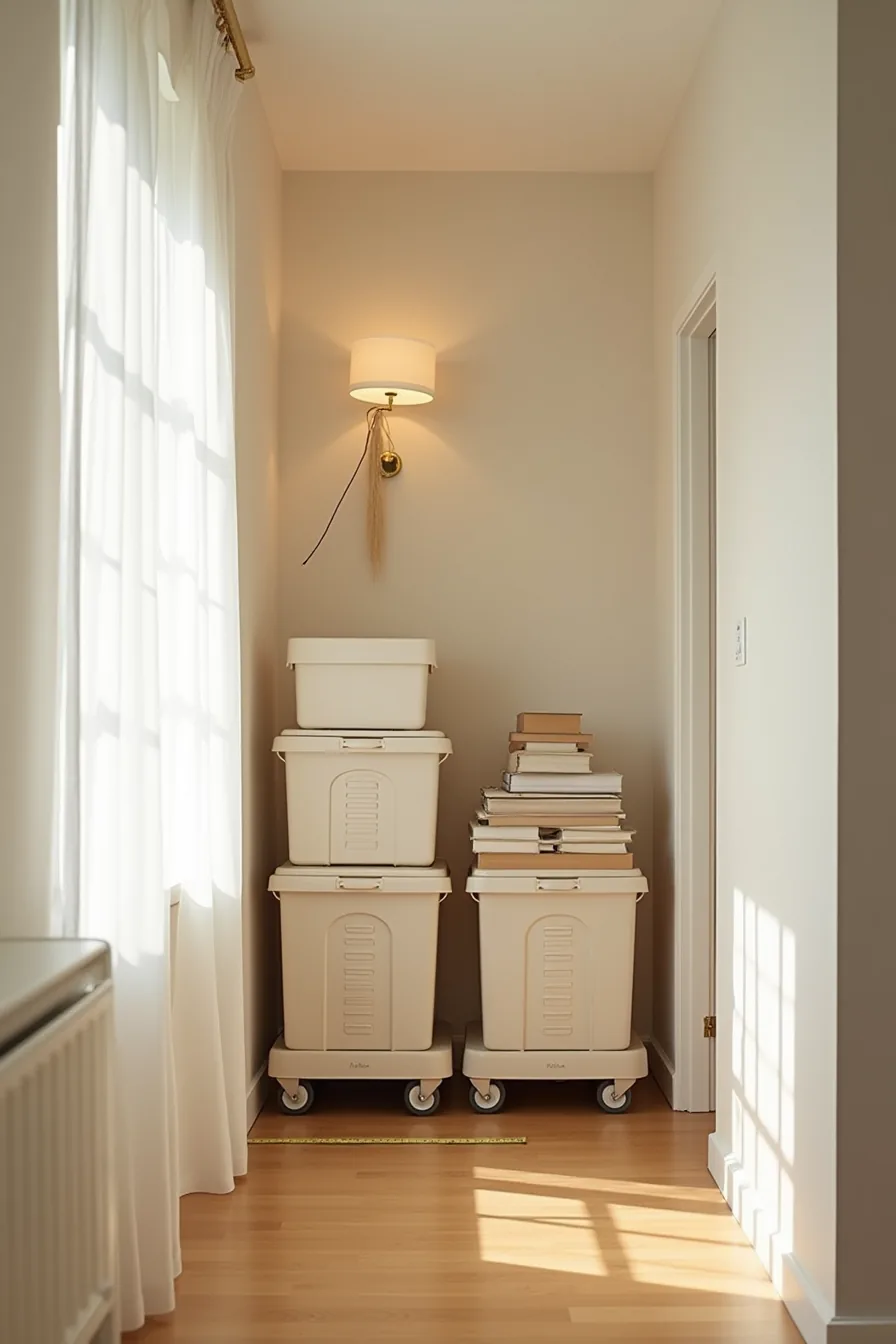
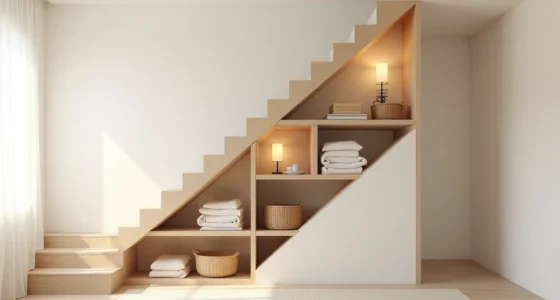
Compact storage rooms under 100 square feet reward vertical thinking over floor planning. The under-staircase nook is a prime example: three slim rolling carts, each 12-16 inches wide, slide into the angled space and hold stacked bins that reach within 18 inches of the ceiling. Measure your stair run first, most under-stair depths fall between 36 and 72 inches, and the carts must clear the staircase’s descending slope by at least 4 inches to roll freely.
Rolling carts beat fixed shelving here because they pull straight out, giving you access to the back row without climbing or reaching over items. The stacked bins on each cart stay shallow, 10 to 12 inches deep, so you can lift one off without shifting its neighbors. The doorway clearance matters: leave 24 inches of unobstructed floor in front of the carts, and check that the fully extended cart still allows the door to swing open.
This setup suits renters and anyone avoiding permanent wall anchors. The tape measure on the floor marks the exact footprint, confirm your cart widths and bin heights against it before buying, since a 1-inch error in cart depth can block the door frame. Use slim carts with locking casters; unlocked wheels shift on sloped floors and turn the whole stack into a tipping hazard.
Maintenance, Safety, and Seasonal Adjustments
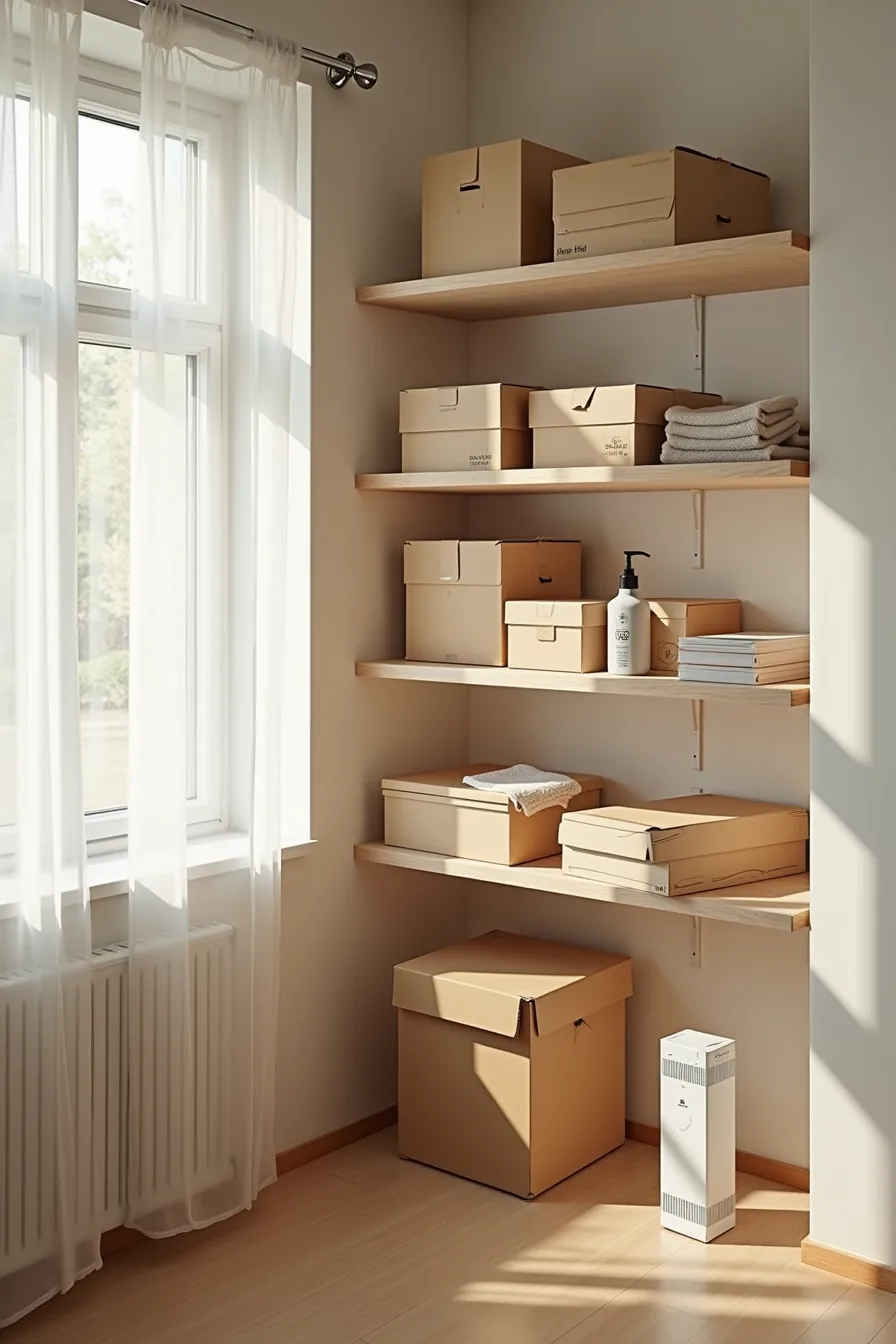
The shelf with heavy boxes on the lower tiers and lighter seasonal items above isn’t a random arrangement, it’s a weight distribution rule that keeps the unit grounded. Stack the heaviest 40-60 percent of your stored goods (tools, bulk paper goods, appliances) on the bottom two shelves, and reserve the upper tiers for items under 10 pounds. The small gap you leave between boxes serves double duty: it lets air circulate and prevents moisture trapping behind cartons, and it makes seasonal swaps easier because you can grip each box without wrestling its neighbors.
Catch problems early with a twice-yearly cleaning pass. Wipe the microfiber cloth over shelf surfaces to collect dust and rodent droppings before they settle into bin crevices, and pair it with the spray bottle filled with a diluted vinegar solution to discourage pests. Check the pest trap in the corner every 60-90 days, replacing it before it fills completely, a full trap signals an active entry point you need to seal.
Seasonal rotation works best when you move only two or three boxes at a time. Pull the winter gear from the upper shelf, slide the summer items down to the vacated spots, and leave the center shelves untouched; this keeps the weight distribution stable and prevents the unit from being unloaded entirely, which is when shelves shift and collapse. Adjust your labeling twice a year to match the season, not just the item name, so you’re never digging for the leaf blower in January.
Your first move: the inventory
Before you buy a single shelf, empty the room completely. Sort everything into four piles: keep, donate, sell, or toss. Measure the largest items you’re keeping, a riding mower or a 10-foot ladder changes your layout far more than a box of holiday ornaments.
Walk the cleared room with a tape measure and note the door swing, ceiling height, and any obstructions like ductwork or outlets. That 30-minute audit tells you exactly which storage system fits your space and budget.
Your next step today: grab two trash bags and one box, and clear just the floor of that room. You can’t design what you can’t see.
Frequently Asked Questions
What is the ideal shelf depth for a storage room?
For most boxes and bins, 16–18 inches works well. Deeper shelves (24 inches) hide items behind each other and waste space. Shallow shelves (12 inches) suit jars, tools, and small parts.
How do I organize a storage room in a small apartment?
Use vertical wall-mounted shelving to keep the floor clear, then stack clear bins by category. Install a door rack for cleaning supplies. Limit yourself to one shelf per category to prevent overflow.
What labeling system works best for long-term storage?
Use a two-part system: a large printed label on the bin’s front plus a small inventory list taped to the shelf edge. Number each bin and keep a master list on your phone for quick searches.
How often should I clean and reorganize my storage room?
Deep-clean and audit every six months. Wipe shelves, check for pests or leaks, and remove anything unused for over a year. A quick monthly sweep of the floor takes under five minutes and prevents clutter buildup.