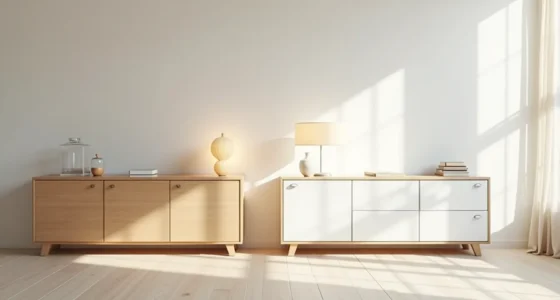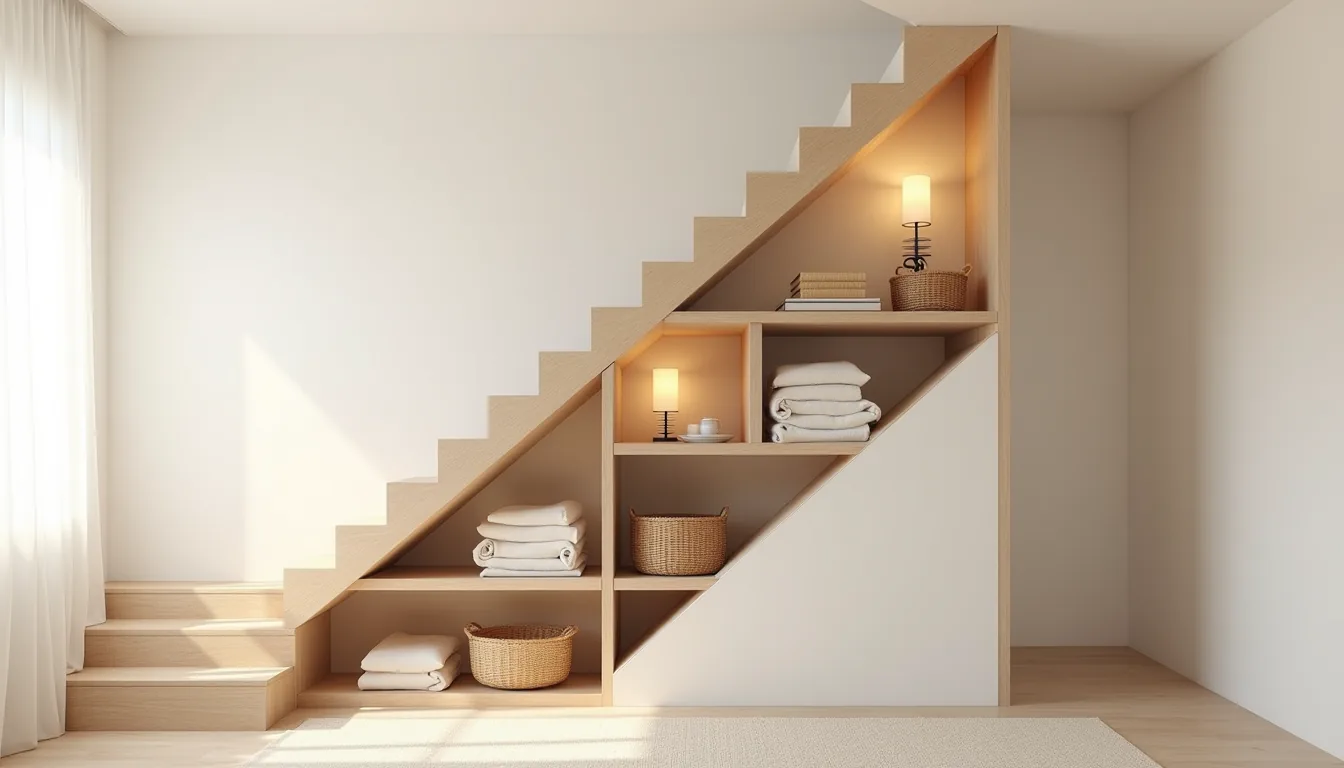

The awkward wedge beneath your staircase is prime real estate for a cabinet under stairs, but only if you choose the right configuration for your storage needs, ceiling height, and budget. A poorly planned unit can block circulation or waste the deepest recesses, while a smart one turns dead space into a tailored closet, bar, or utility hub. The six approaches ahead range from a $200 DIY shelving insert to a fully built-in joinery investment, each matched to a specific room type and user.
Key takeaways
- Open shelving works best under stairs when you need daily access to items like shoes or baskets, but it requires dusting every 1–2 weeks and suits rooms with low foot traffic.
- Drawer banks beat doors for narrow stair angles because they pull out fully, while hinged doors need 24–30 inches of clearance to swing open comfortably.
- A stair-matched trim costs 15–30% more than standard cabinetry but creates a smooth built-in look, making it the right choice for long-term homeowners planning to stay 10+ years.
- Renter-friendly options like freestanding modular cabinets or tension-rod shelving avoid wall damage, yet they typically offer 40–60% less storage than a custom built-in of the same footprint.
Open Shelving for Quick Access and Visual Lightness
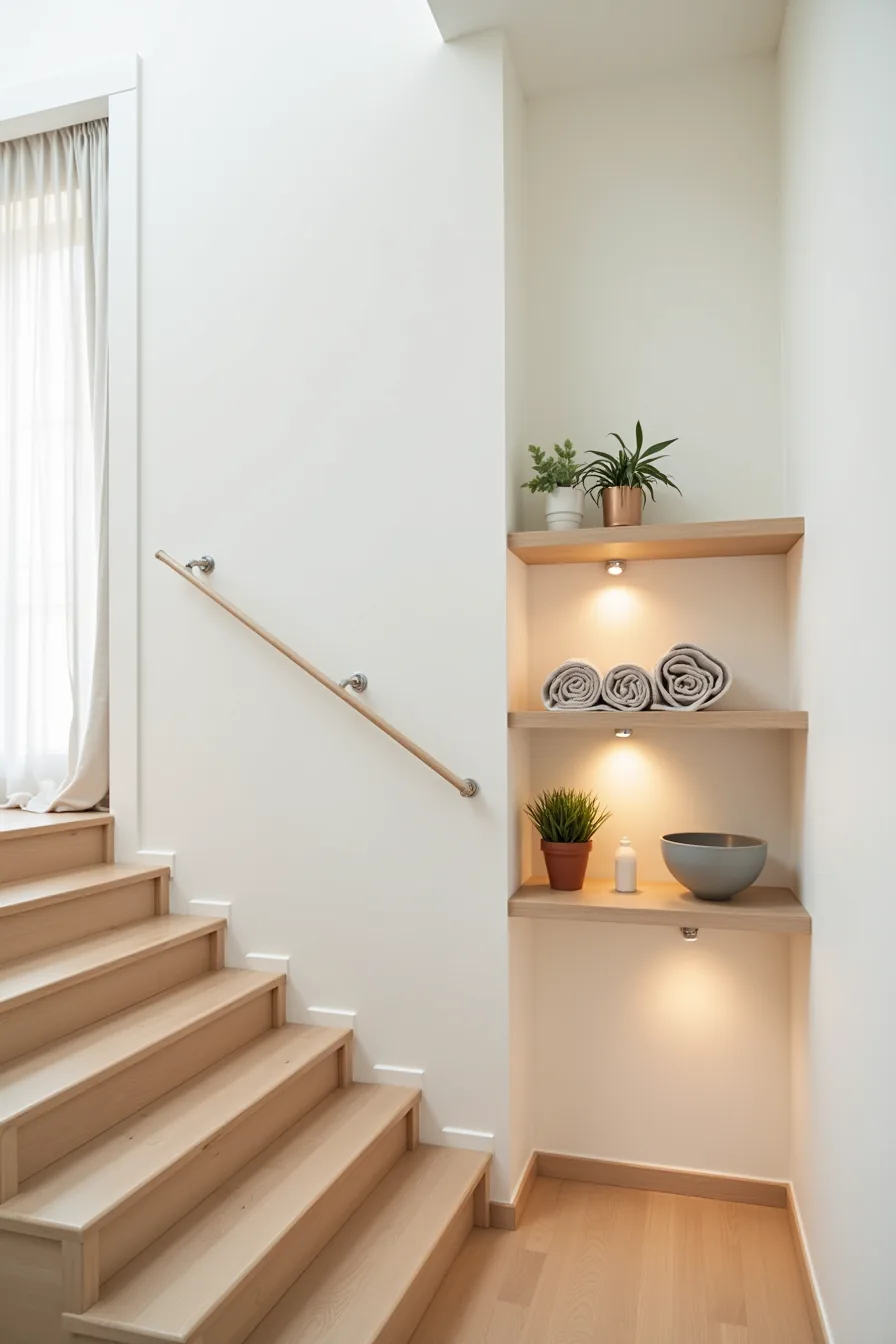
Open shelving solves the biggest problem of an under-stairs cabinet: wasted depth. Because the staircase pitch means each shelf gets deeper as it descends, a floating design lets you use every inch without committing to fixed cabinetry that’s difficult to access at the back.
Three floating shelves fitted beneath a stair run at increasing depths work best for small households that reach for the same items daily. Rolled towels, ceramic bowls, and potted plants on the top shelves keep things visible at eye level, while the deeper lower shelf can hold bulkier items like baskets or a small appliance. You’ll need to measure the stair pitch first; most residential stair angles fall between 30 and 40 degrees, so shelves should step down in height matching that slope rather than using uniform spacing.
The trade-off is dust. Open shelves under stairs collect airborne debris faster than closed cabinets, so budget for wiping them down every one to two weeks. Choose sealed wood or powder-coated metal if the space sees moisture from a nearby entryway.
This route suits renters because floating shelves mount with minimal wall damage compared to full cabinetry, and you can remove them when you move.
Drawer vs. Door Storage: Which Suits Your Workflow
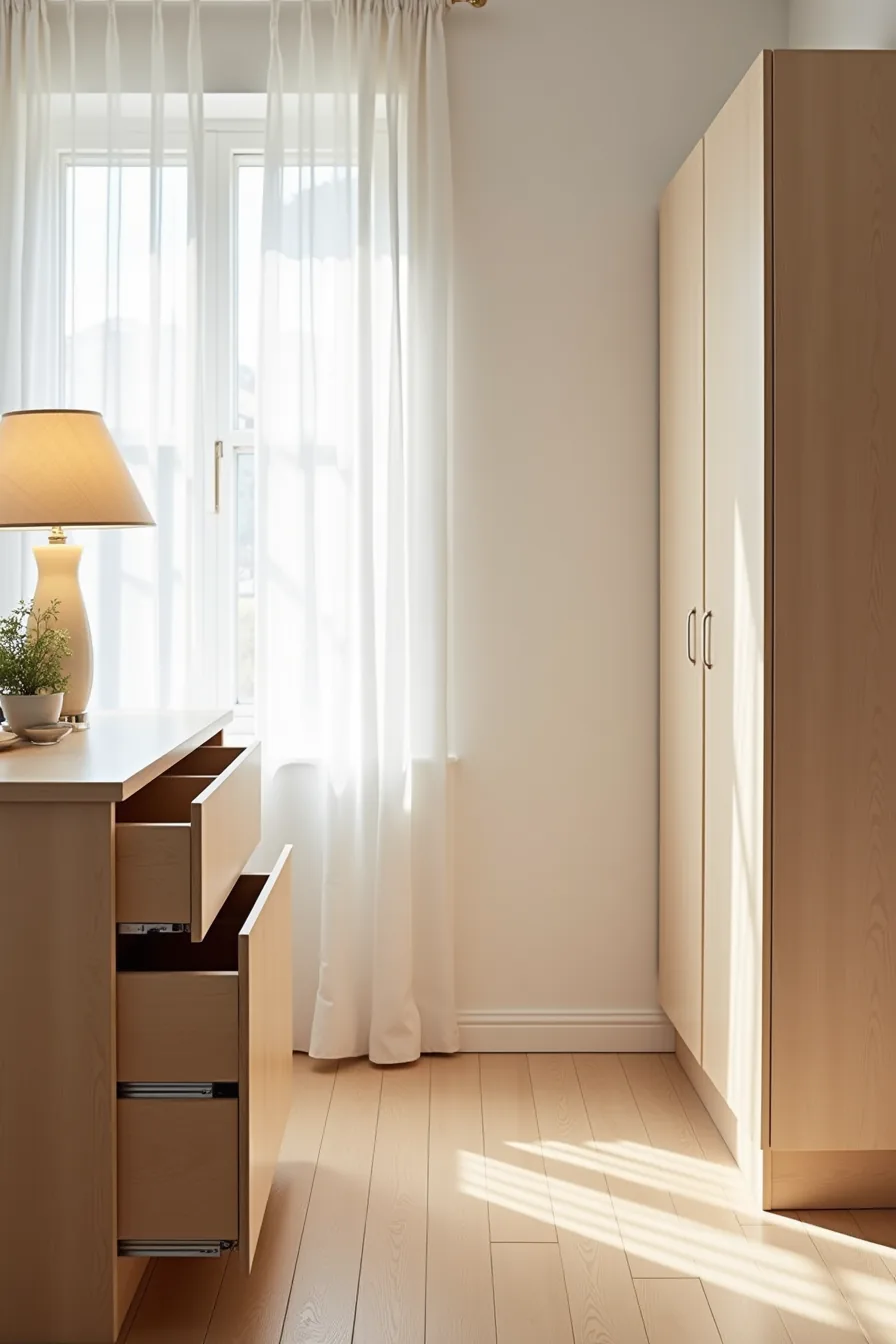
The split-frame comparison hinges on how your body moves through the space. Drawer units on visible glides give you full-depth access without crouching or reaching past the front edge, pull the drawer, and the rearmost items come to you. Hinged doors suit items you retrieve infrequently but store in volume, like seasonal decor or luggage, because the swing requires a clear arc of roughly 18 to 24 inches in front of the cabinet.
For a home office or craft room, drawers win outright: they lock in the vertical space of each stair step, letting you file paperwork, electronics, or tools without losing items to the shadowed rear of a deep shelf. A living room that needs to hide board games or media accessories favors doors, since a closed panel keeps dust off the contents and delivers a cleaner visual line against the staircase frame.
The real constraint is the stair pitch. Shallow risers below roughly 12 inches often leave too little height for a functional drawer glide, making doors the only viable option unless you install a custom pull-out that slides forward and tilts down. Doors cost less to fit, expect standard hinged cabinet installation to run about 30 to 40 percent under a full drawer system with soft-close glides, but they sacrifice the effortless retrieval that drawers provide.
Match the choice to how often you touch what you store; daily-use items belong in drawers, quarterly-use items behind doors.
Entryway Under-Stair Cabinet for Coats and Shoes
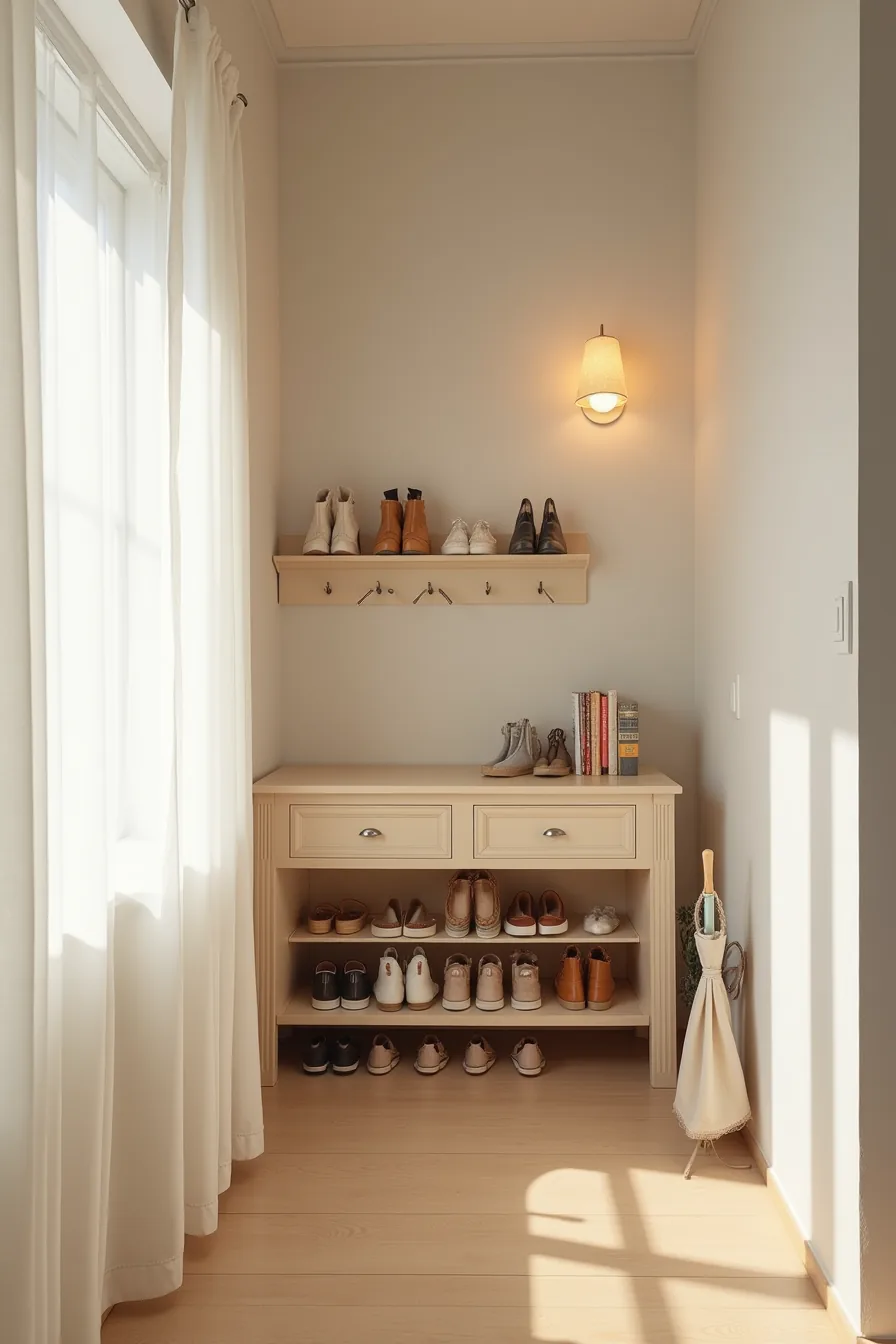
The entryway under-stair cabinet earns its keep by intercepting traffic the moment you walk in. An open upper shelf keeps daily shoes in rows at eye level, so you can grab a pair without opening a door; the lower compartment uses interior hooks for coats and bags that still need to air out between wears. A slim umbrella stand beside the cabinet catches wet items before they reach the wood.
This layout suits households with a clear drop zone but no dedicated mudroom. For practical proportions, size the shoe shelf at 11 to 13 inches of depth and space the hooks 8 to 10 inches apart to fit bulky jackets without crowding. The trade-off: open shelving collects dust and shows clutter, so limit the top tier to frequently worn footwear and keep the rest behind closed doors.
Ventilation matters here, leave a 2-inch gap between the cabinet back and the stair stringer to prevent moisture trapping in humid climates.
Smooth Built-In Look with Stair-Matched Trim
The cabinet face sits flush with the wall, and painted doors carry the same finish as the stair stringers and baseboard, so the unit reads as original architecture rather than an add-on. Recessed handles reinforce the illusion, nothing protrudes to cast a shadow or catch the eye, and the trim work blends every joint into the surrounding millwork.
This approach suits homeowners who prioritize visual continuity over quick installation, and it works best when you’re already refinishing or painting the staircase itself. Expect the cost to run 20–40% higher than a standard freestanding unit because a carpenter must scribe the cabinet to the stair angle and match the profile of your existing baseboard. The payoff is maintenance simplicity: a single paint color means touch-ups are a one-can job, and the flush surface leaves no ledges for dust to collect.
Turn Under-Stair Cabinets Into Hidden Everyday Storage
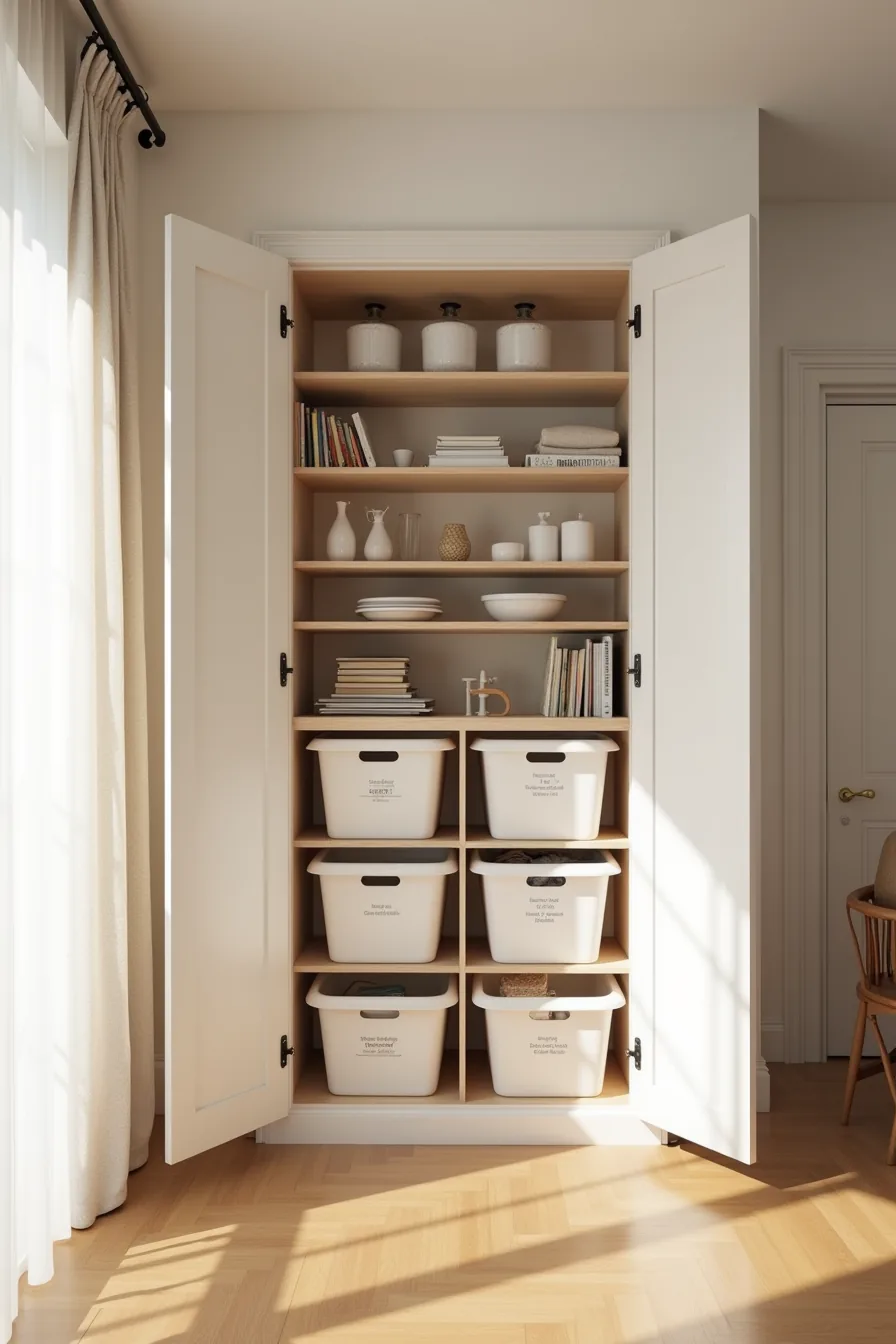
The most effective under-stair storage sacrifices glamour for systemization. A cabinet with deep, full-extension shelves, typically 18–24 inches deep, holds stacked plastic bins that slide out without you crouching into the void. You group by frequency of use: cleaning supplies at knee height, seasonal items on the top shelves where you reach less often.
Label every bin on the front face, not the lid, so you identify contents while the bin sits on the shelf. This setup suits households with active hobbies or recurring clutter, sports gear, gift wrap, holiday decorations, that otherwise colonizes hallways or closet floors. Budget for the bins themselves at roughly $8–15 each; a dozen bins organize a 20–25-square-foot cavity completely.
Skip open shelving if you store dusty items like camping equipment; doors contain the mess and keep the visual noise at zero.
Renter-Friendly and Budget Routes to Cabinet Storage
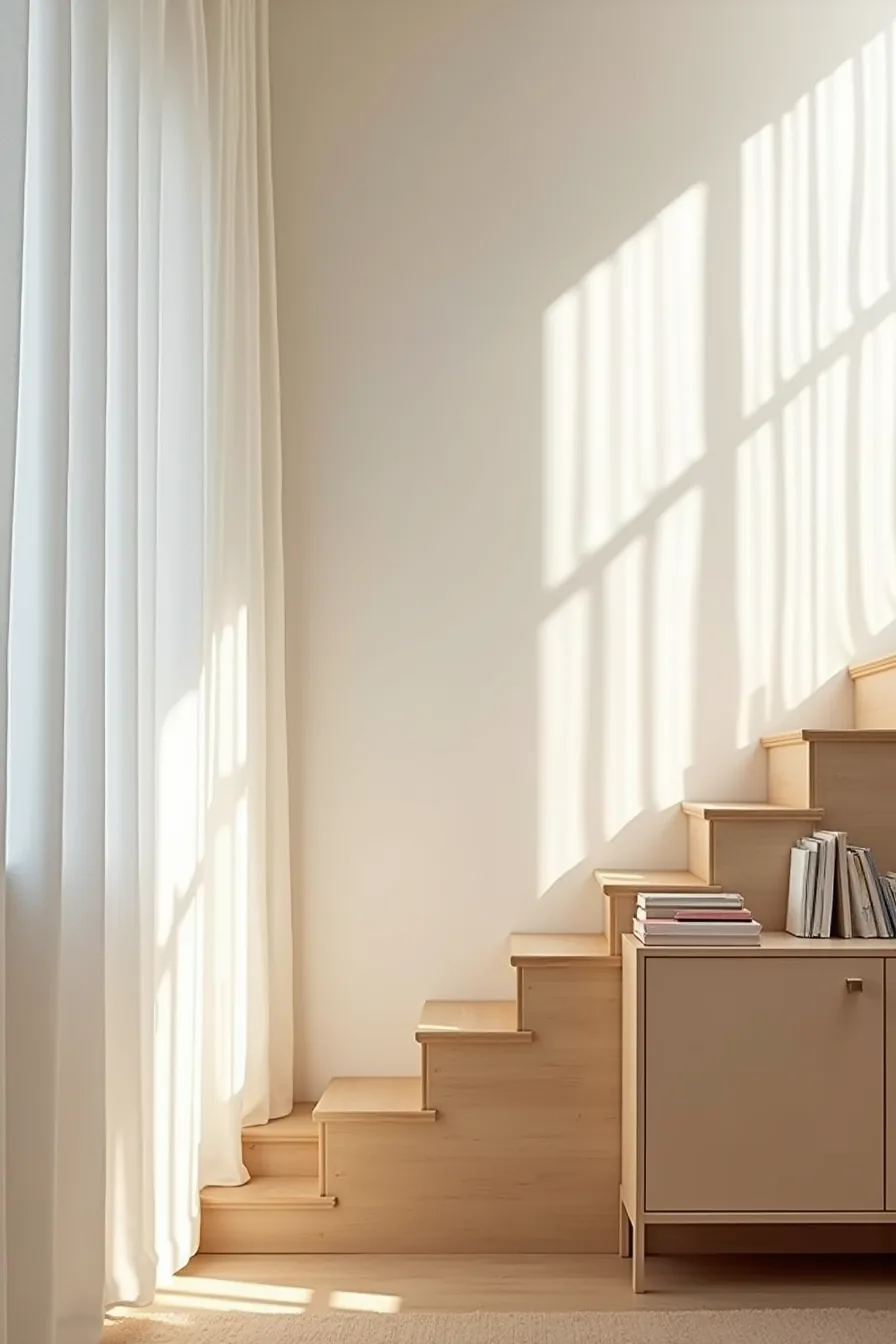
A freestanding wooden cabinet is your lowest-commitment path to a cabinet under stairs. Because it sits on the floor without fastening, you avoid drilling into walls, flooring, or the staircase stringer itself, no landlord approval needed, no patch-and-paint on move-out. Look for a unit 30–36 inches wide with a solid plywood back panel; that back panel keeps contents from pressing into the drywall behind it.
To close the visual gap between the cabinet’s straight edges and the staircase’s angled underside, apply adhesive-backed trim along the top and side seams. Choose paintable polyurethane trim at roughly $15–25 per 8-foot length, match it to your baseboard color, and you’ll hide the mismatch without a single screw. The portable design means you relocate the unit when you rearrange the room or take it to a future rental.
This route suits anyone on a 12-month lease or a tight budget, the total investment typically lands between $150–350, and you forfeit only custom sizing.
Choose your starting point
Every viable cabinet under stairs begins with one honest measurement: the depth of your stairwell at its shallowest point. Take that number, plus the width and height at the halfway mark, before you browse a single design image. That data will eliminate half your options instantly and make the rest feel obvious.
Match your choice to your tolerance for disruption. A freestanding unit takes one weekend and zero permits. A custom build runs four to eight weeks and costs three to five times more, but it will use every awkward inch.
Bookmark the two or three ideas that fit your space, then call one carpenter or visit one flat-pack retailer this week.
Frequently Asked Questions
What is the typical depth of a cabinet under stairs, and does it vary with stair pitch?
Most under-stair cabinets range from 24 to 36 inches deep at the base, tapering as they follow the staircase. Steeper pitches reduce usable depth quickly, so measure at multiple points before committing.
Can you install a drawer-style cabinet under stairs if the space is angled or tapered?
Yes, but only with custom-built drawer boxes cut to match the angle. Standard off-the-shelf drawers require a rectangular opening. For tapered spaces, consider pull-out trays on full-extension slides instead of traditional drawers.
How do you prevent dust from accumulating inside an open-shelf under-stair cabinet?
Install closed-front doors or use clear acrylic bins with lids on each shelf. Alternatively, add a thin felt or rubber gasket along the door edges to seal gaps. Vacuum or wipe shelves monthly.
What is the cost difference between a freestanding cabinet and a custom built-in for under-stair storage?
A freestanding unit typically costs $200–$600, while a custom built-in runs $1,500–$4,000 depending on materials and finish. Built-ins maximize awkward space but require professional fitting; freestanding suits renter-friendly, budget-conscious setups with less precision.