Key takeaways
Start with the raw pine if you plan to paint, since the untreated surface takes primer and paint far better than the lacquered finish on the white version. Skip the hardware upgrade if you rent, the stock wooden knobs are fine, and swapping them means patching holes when you move out. Buy two extra shelves per cabinet at the start, because Ivar’s 12-inch depth limits what fits, and deeper items will waste vertical space without them. Use the 30-inch-wide frame for a single cabinet in a hallway or bathroom, but pair two 12-inch frames side-by-side if you need a 24-inch-deep storage wall instead of a shallow one.
Natural Wood vs Painted IVAR: Which Finish Suits Your Space
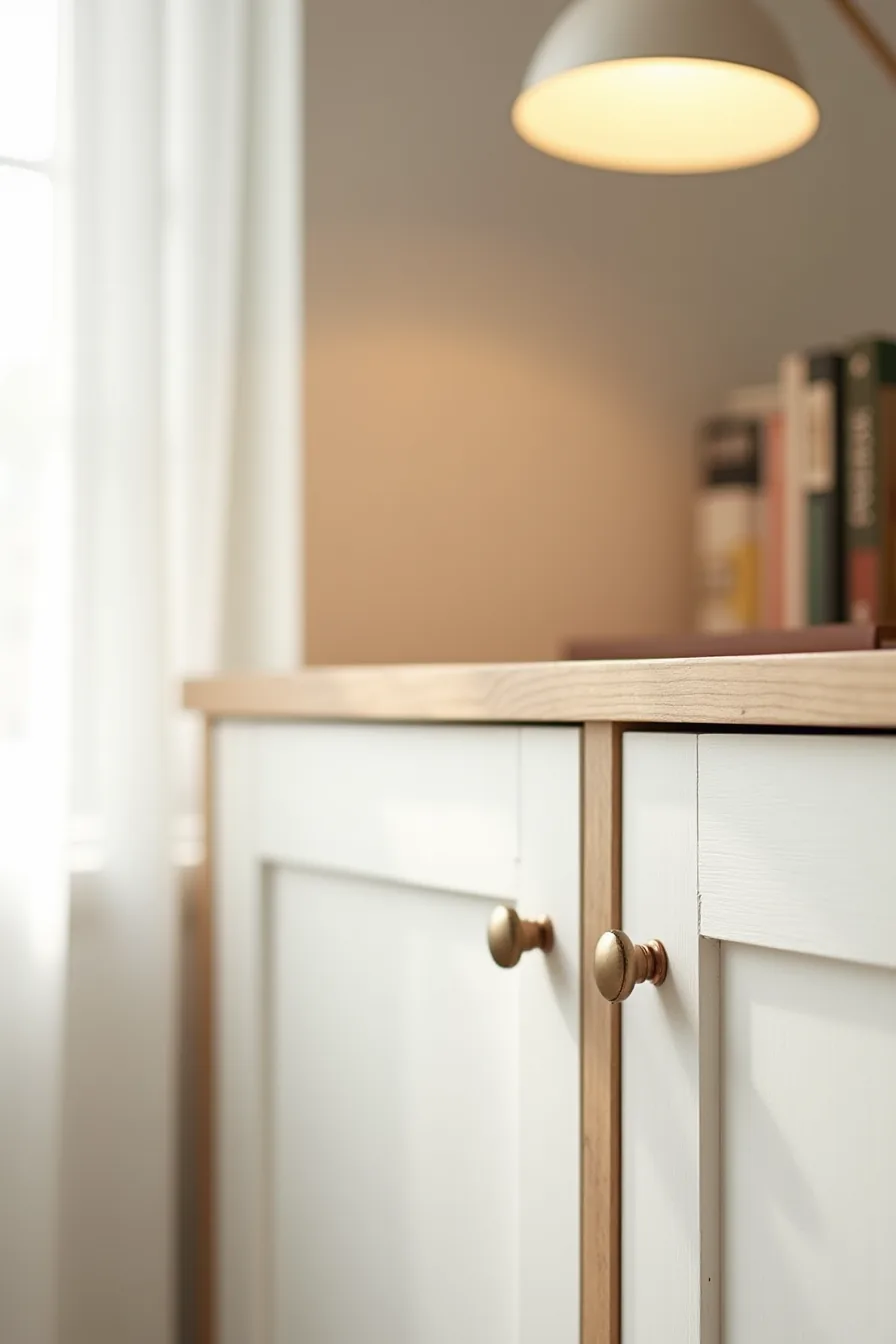
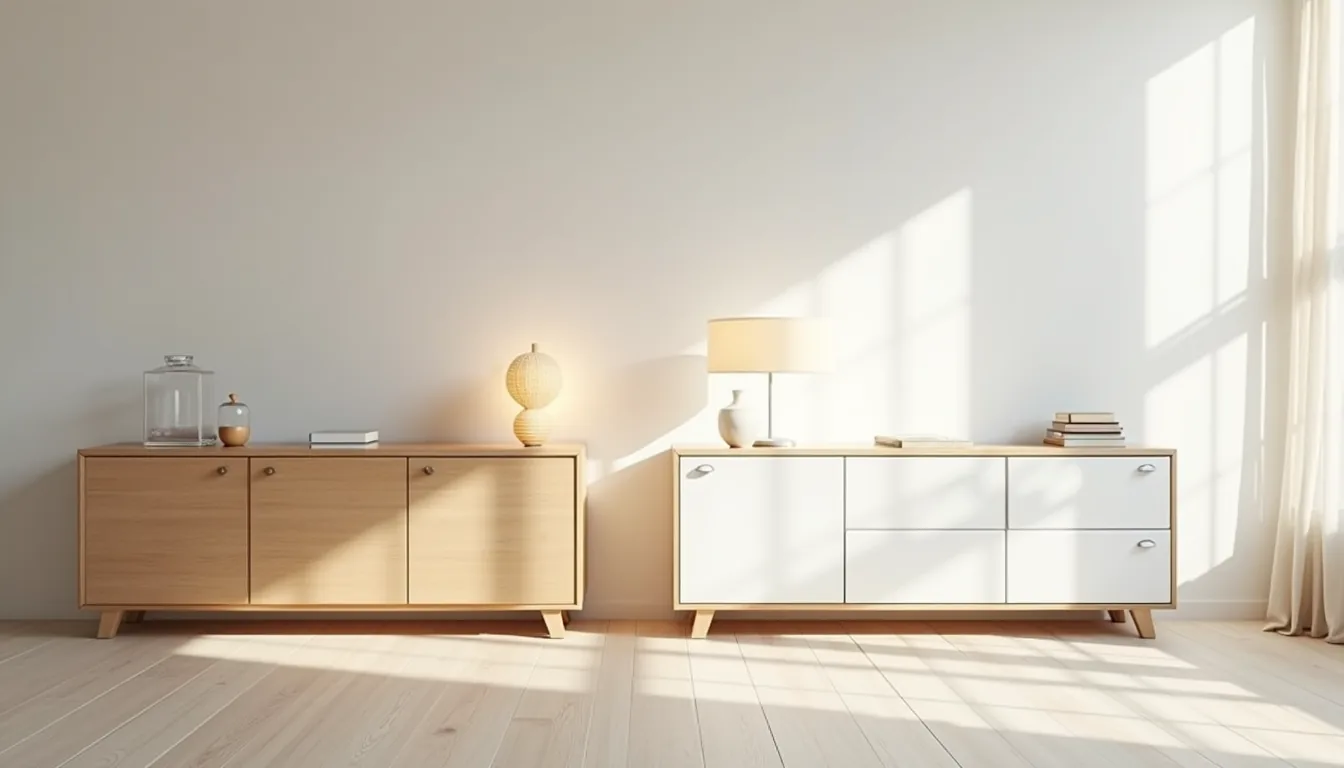
The birch veneer grain and edge banding on the raw IVAR door tell you exactly what you’re getting: a light, warm Scandinavian tone that reads as casual and organic. This finish suits rooms where you want texture to do the work, think living rooms with linen sofas or home offices with leather chairs. It also hides minor scuffs better than paint, and you can refresh it with a light sanding and danish oil every couple of years.
The matte white paint finish, with its slight brush texture, flips the cabinet into a quieter, more architectural element. It suits rental spaces where you want the storage to disappear into the wall, or any room with bold decor that needs a neutral anchor. The trade-off is maintenance: white paint shows fingerprints and chips faster, and touch-ups require matching the exact sheen.
If you plan to paint, budget an extra hour per door for sanding and priming, raw birch soaks up the first coat unevenly otherwise.
Single Cabinet Placement for Small Rooms and Renters
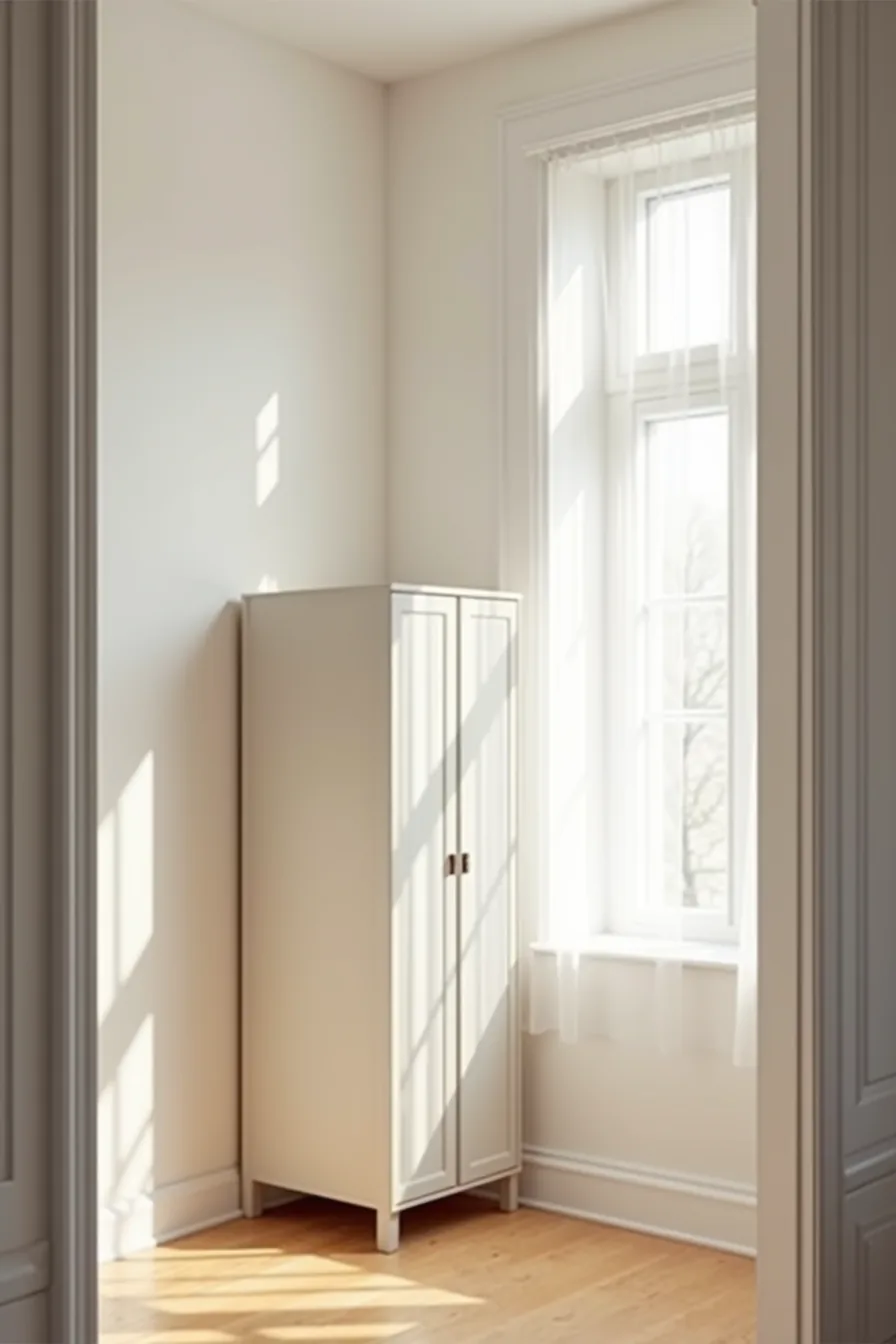
One unpainted Ivar unit standing alone in a corner alcove between two white walls is the most efficient use of the system in a compact space. The single cabinet configuration, typically 31 inches wide and 11 inches deep, fits where a tall bookcase would overwhelm the sightline, and the open-shelf version keeps the wall visually light. This setup suits a studio apartment, narrow hallway, or a home office corner where you need closed storage without committing to a full wall of joinery.
The corner placement works because the surrounding white walls bounce light around the birch frame, making the footprint feel smaller than it’s. On a wooden floor, the unit stands stable without anchoring when loaded evenly, so you skip drilling entirely, an ideal approach for renters. If you must secure it, tension rods between the cabinet top and ceiling work without leaving holes.
Match the raw finish with a woven basket or two on the lower shelves, and the cabinet reads as intentional furniture rather than a temporary fix.
Wall of Storage: Scaling IVAR for Large Rooms
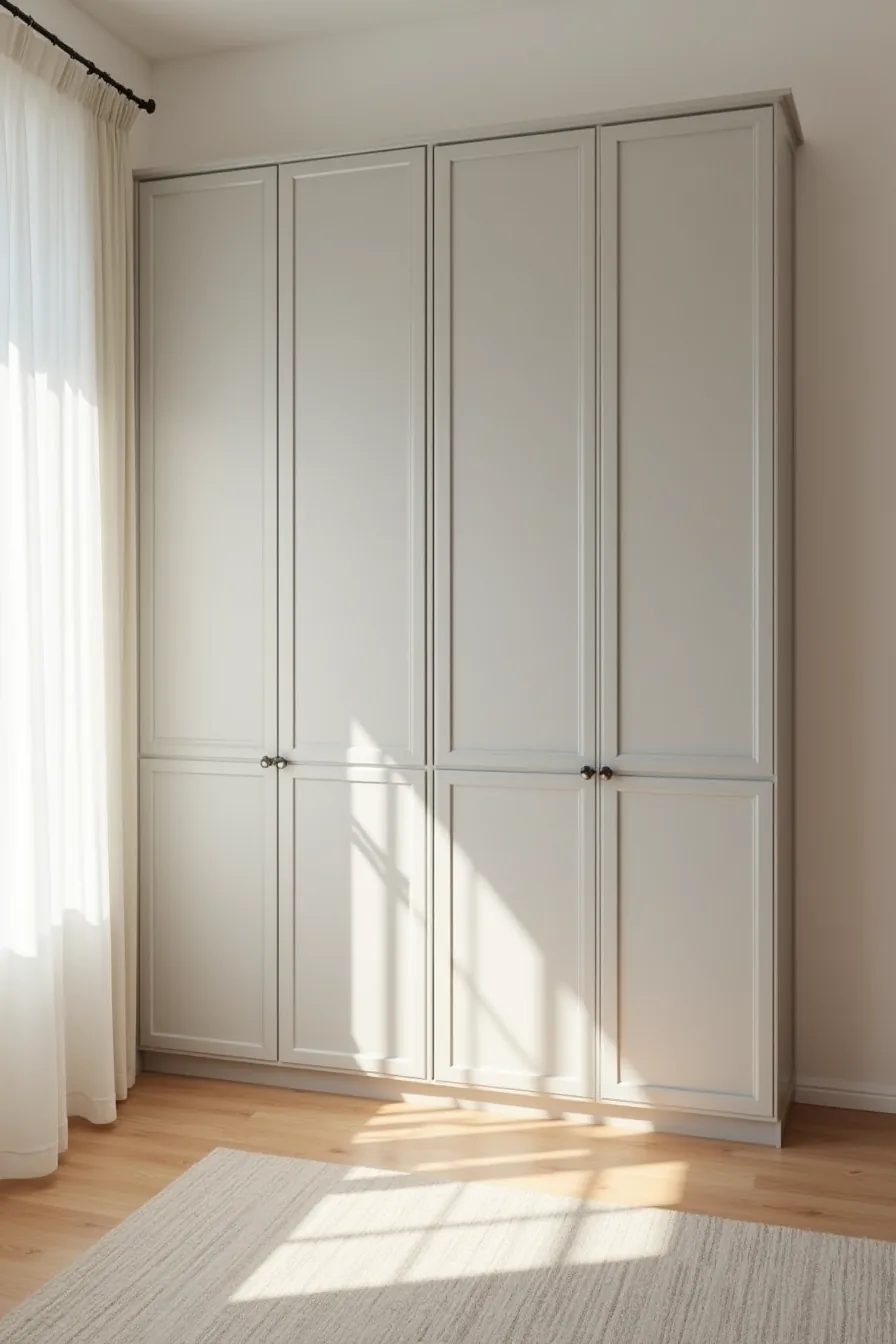
When a single Ivar cabinet leaves too much blank wall, a 2×2 grid of four units transforms the same system into a room-defining feature. Stacked Ivar cabinets arranged in this configuration cover roughly 62 inches of width and 74 inches of height, enough to anchor a dining room or home office wall without dominating it. Each unit is 31 inches wide and 30 inches tall, so the grid aligns perfectly with no gaps between frames when placed flush.
The gray paint ties the individual cabinets into one cohesive mass, which is what makes the wall read as a single built-in rather than four separate pieces. This setup suits a medium-to-large living room, a wide entryway, or a home library where you need substantial closed storage but want to retain flexibility, you can reconfigure the grid into a single tall column or two side-by-side rows later. Load-bearing is straightforward: each cabinet supports roughly 110 pounds when evenly distributed, and the grid’s shared vertical seams add rigidity.
Leave at least 4 inches of clearance on each side of the wall composition to preserve visual breathing room, and ensure the floor is level before stacking, a slight dip under one corner will telegraph through the entire grid. All four units must be anchored to the wall if you’ve children or pets; the combined height makes tipping a real risk.
DIY Hardware Upgrade: Handles, Hinges, and Customization
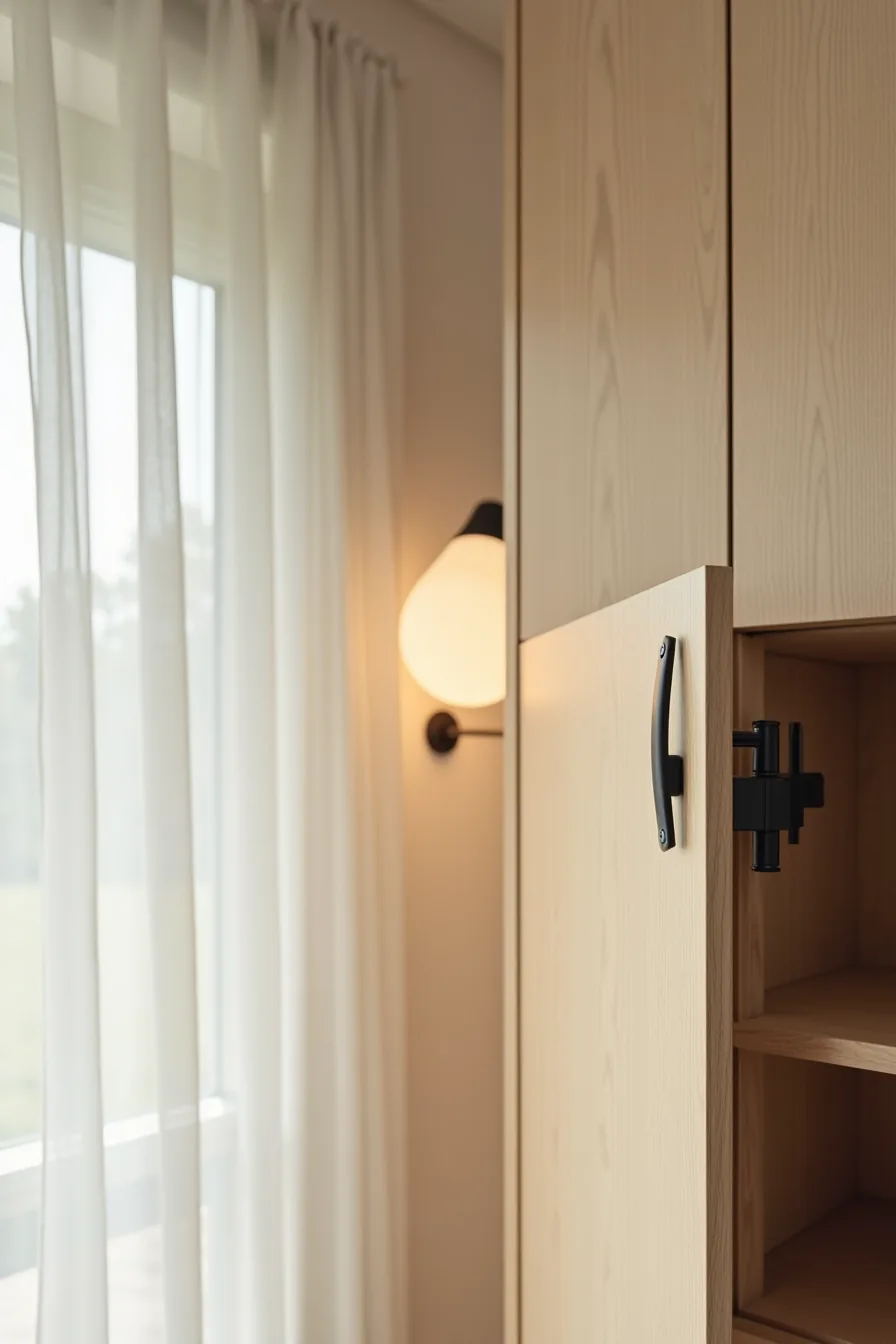
The fastest way to pull the Ivar cabinet away from its utility-shelf origins is swapping the stock metal knobs and basic hinges for something with deliberate weight. A matte black leather handle, typically 4 to 6 inches long, paired with a matching black hinge transforms the light wood veneer door into a piece that reads as bespoke furniture rather than flat-pack assembly. You need only a drill with a 5mm bit for pilot holes, a screwdriver, and roughly 30 minutes per door; the Ivar’s soft pine front accepts screws easily, so no pre-drilling template is required.
This specific upgrade suits a home office, a reading nook, or a bedroom where you want tactile warmth without committing to a full paint job. Mid-range hardware runs $12–$25 per door; premium solid-brass or leather options land at $30–$50. The trade-off: leather handles show wear within 2–3 years of daily use, and you’ll need to re-tighten hinge screws periodically as the pine compresses.
For a renter-friendly route, keep the original hinges and use adhesive-back leather pulls instead, zero holes, fully reversible.
Give IKEA IVAR a High-End Built-In Feel with Trim and Paint
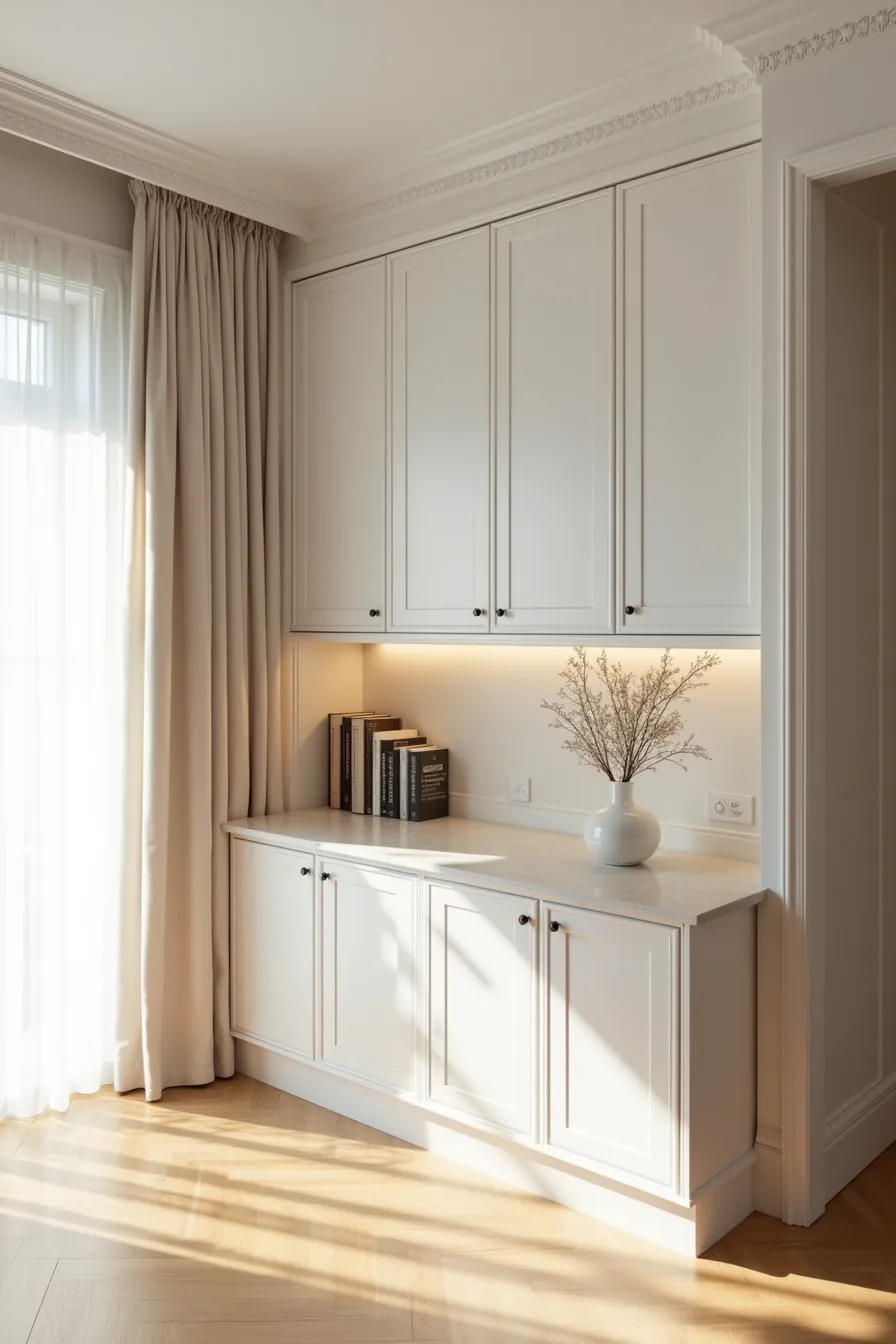
The most dramatic transformation you can attempt is framing the Ivar cabinet so it reads as permanent millwork. You’ll need a miter saw for cutting crown molding, a nail gun, paintable caulk, and a weekend to complete the job. Attach 1×2 pine strips vertically along the cabinet’s side edges to create a flush face, then run crown molding across the top and baseboards along the bottom to meet your room’s existing trim.
One coat of quality primer is essential, followed by two coats of a soft white or warm greige paint.
This route suits homeowners who plan to stay put for 5-plus years and want a unified wall system rather than standalone furniture. The cost runs $80–$150 for materials, but the payoff is visual: smooth corner joints and shadow lines make the unit look like it was built on-site. The trade-off is permanence, screws into the wall, painted surfaces that are difficult to strip, and an installation that complicates moving.
A semi-gloss finish resists scuffs better than matte and wipes clean with a damp cloth. Match your trim profiles to the room’s existing moldings; mismatched crown width is the fastest tell of a retrofit.
Styling the Interior: Shelving, Lighting, and Functional Displays
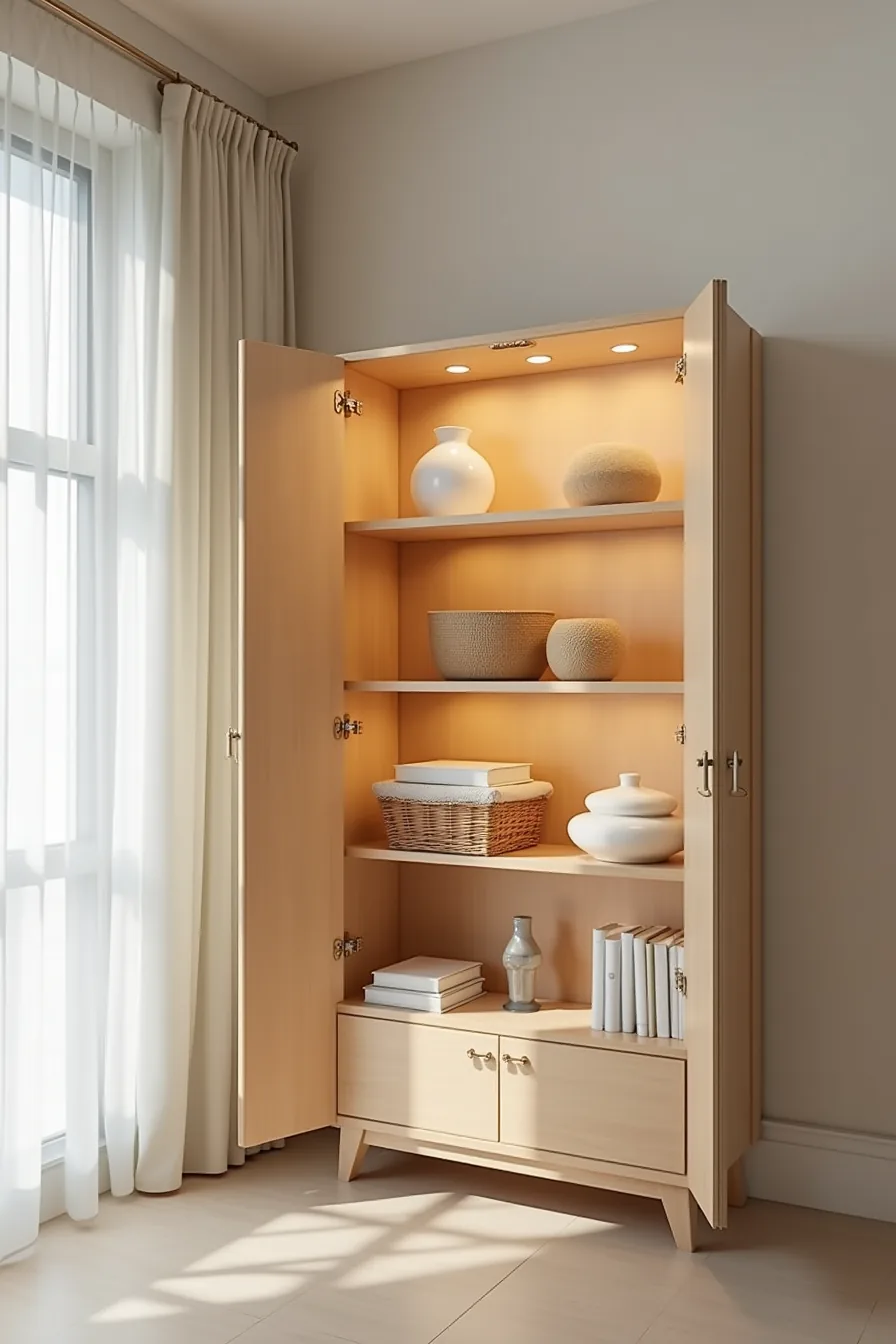
An Ivar cabinet’s pine interior is a blank slate, but the styling decisions you make inside determine whether it reads as a curated display or a cluttered cupboard. In a typical 12-inch-deep Ivar, group objects in threes, a tall ceramic vessel, a mid-height woven basket, and a stack of books, to create visual rhythm across the three visible shelves. Vary object heights by at least 3–4 inches between adjacent items; uniform rows of similar shapes flatten the composition and make the shelf look shorter than it’s.
For lighting, mount an LED strip along the top interior edge, facing downward, to wash the shelves in warm light rather than casting harsh shadows from the front. Choose a strip with a color temperature around 2700K–3000K to match incandescent bulbs, and conceal the adhesive track behind the front lip of the top frame so the fixture itself stays invisible. This setup suits a dining room buffet or living-room bar where you want evening ambiance without overhead glare.
The woven baskets pull double duty: they hide less-photogenic items like chargers or remotes while adding texture that photographs well against the raw pine. Keep the front third of each shelf clear, items pushed flush to the back edge catch the light and leave breathing room that prevents the interior from feeling packed.
Your Decision Checklist
Before you buy, measure your floor space and ceiling height, the Ivar cabinet’s open shelves work best with 12–18 inches of clearance above for easy access. Decide your finish early: untreated pine costs the least but requires annual oiling, while paint adds durability but demands priming. Choose your configuration based on what you’ll store, not how it looks.
For a first project, start with a single 30-inch-wide unit and a wall-mounting kit, this keeps you under $150 and renter-friendly since you can return walls to original condition with minimal patching. Buy the optional doors later if you need to hide clutter.
Frequently Asked Questions
Question
What’s the weight capacity of a single IKEA Ivar shelf?
A single Ivar shelf (30×20 inches) holds roughly 55–65 pounds when evenly distributed. The pine construction flexes under heavier loads, so keep books and dense storage under 50 pounds per shelf for long-term stability.
Question
Can you paint IKEA Ivar cabinets, and what prep is required?
Yes. Sand all surfaces lightly with 120-grit paper, wipe off dust, then apply a wood primer, especially on knots, before two coats of latex or chalk paint. Skip priming if you want a stained or oiled finish instead.
Question
How do you anchor multiple Ivar units together to prevent tipping?
Use metal L-brackets screwed into the side panels at 12-inch intervals, then bolt the brackets to wall studs with 2-inch screws. For free-standing clusters, connect adjacent units with 1-inch wood screws through the side frames, plus a floor anchor.
Question
What’s the typical cost difference between natural wood and painted Ivar finishes?
Natural unfinished Ivar costs about 20–30% less than pre-painted versions. Painting yourself adds $15–$25 for primer and paint, plus 2–3 hours of labor, so DIY painted finishes run roughly the same as factory-painted, but offer custom colors.