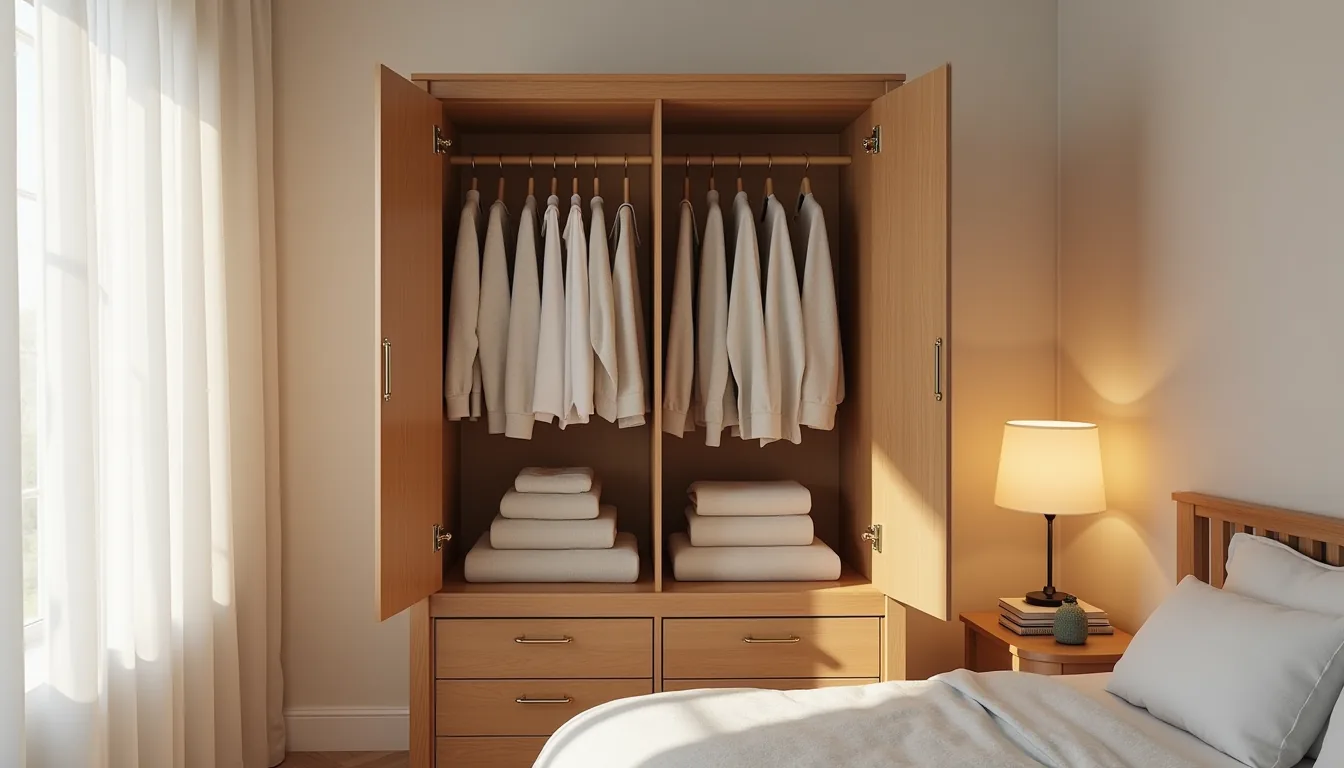
Vintage closet organization ideas are less about recreating a specific era and more about applying old-fashioned storage logic, open fronts, visible hardware, and furniture-grade materials, to modern wardrobes that often sacrifice accessibility for appearance. The payoff is a system where you see everything at a glance and grab what you need without digging through stacked piles. But the real value lies in knowing which vintage approach fits your space, budget, and lifestyle, because the wrong choice can turn charming open shelving into a dust-collecting eyesore or a cramped hazard.
Ahead, six distinct routes, each with its own trade-offs in cost, maintenance, and square footage.
Key takeaways
- Repurposed furniture stores 40-60% more volume than standard shelving when you match dresser depth to closet width.
- Open shelving cuts visual weight by half on 12-18 inch deep walls, using cast-iron brackets rated for 50-100 pounds per pair.
- Tiered hanging systems double your rod capacity with a 12-inch drop between rails, but demand 30 inches of clear depth for long garments.
- Pegboards handle 5-15 pounds per hook, so reserve them for belts, scarves, and bags, not coats or heavy tools.
Repurposed Furniture as Core Storage

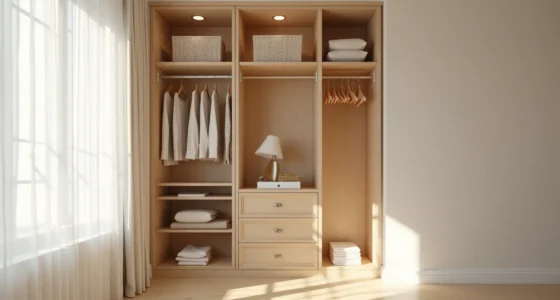
A six-drawer dresser can replace an entire hanging-rod system for folded items, and it suits bedrooms where ceiling height is too low for double rods, most standard dressers run 30–36 inches tall, leaving plenty of wall space above for a single rod or a mirror. Place it in a corner at a 45-degree angle to use dead space; you’ll need roughly 24–30 inches of clearance in front for drawer access, so measure your room’s walking path before committing. This setup works best for someone who prefers visible, folded stacks over hidden bins, and the woven basket on top catches accessories you grab daily.
A vintage piece with dovetailed joints and solid wood costs more upfront, but it outlasts particleboard organizers, expect to pay 2–3 times more for a restoration-worthy find. The mistakes to avoid: choosing a dresser deeper than your closet’s interior width, and skipping felt pads on drawer bottoms, which protect delicate knits from snags on rough wood. For a budget route, sand and repaint a thrifted piece; for renters, stick to a freestanding dresser you can move without patching holes.
Open Shelving with Vintage Brackets and Rails
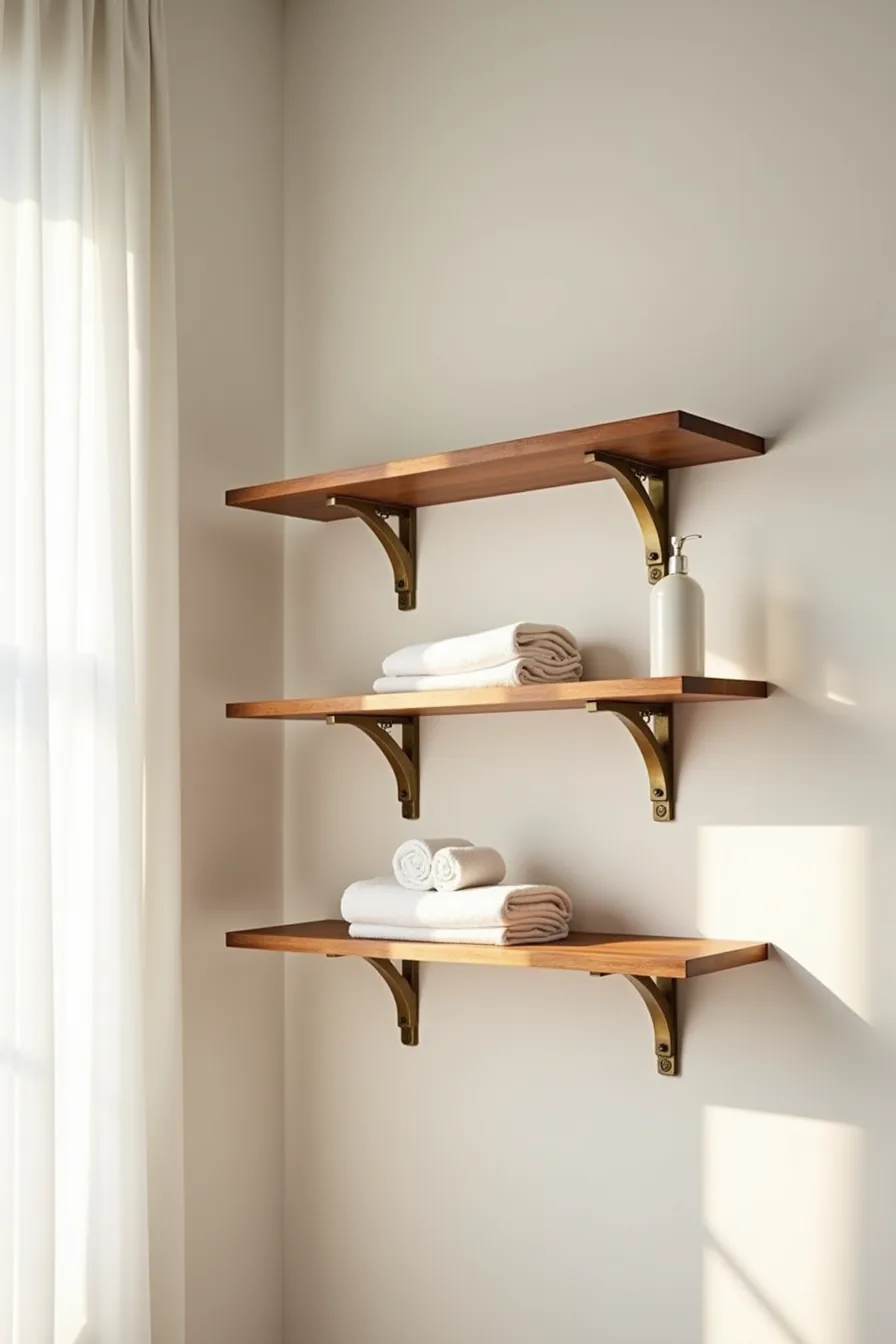
Open shelving shifts your closet from hidden storage to a styled display, and it works best when you’ve wall space but limited floor footprint, ideal for narrow reach-in closets where a dresser would block access. Mount three wooden shelves 12–14 inches apart vertically, using cast iron or brass L-brackets rated for the weight you plan to set on them; standard drywall anchors hold roughly 50–75 pounds per bracket pair, but solid wood shelves over 10 inches deep will need wall studs for anything beyond folded linens.
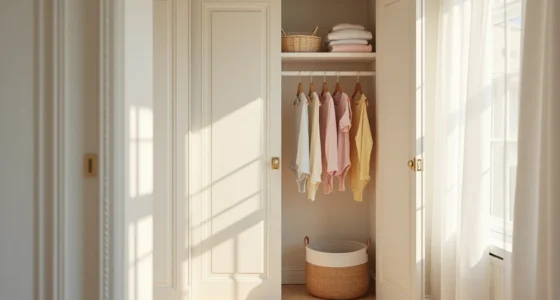
The setup shown, folded linens stacked on lower shelves, rolled towels on the top, suits bathrooms-turned-closets or linen cupboards where you prioritize visibility over dust protection. For renters, skip drilling: tension-pole shelving units or freestanding utility racks with vintage-style brackets give the same look sans wall damage, though they cap out around 30–40 pounds per shelf. Owners can invest in wrought-iron rails bolted into studs, supporting heavier stacks of denim or leather goods.
Keep the bracket finish consistent, all brass or all black iron, and leave 2–3 inches of clearance between shelf fronts and closet doors so nothing snags when you reach in.
Tiered Hanging Systems and Vintage Rods
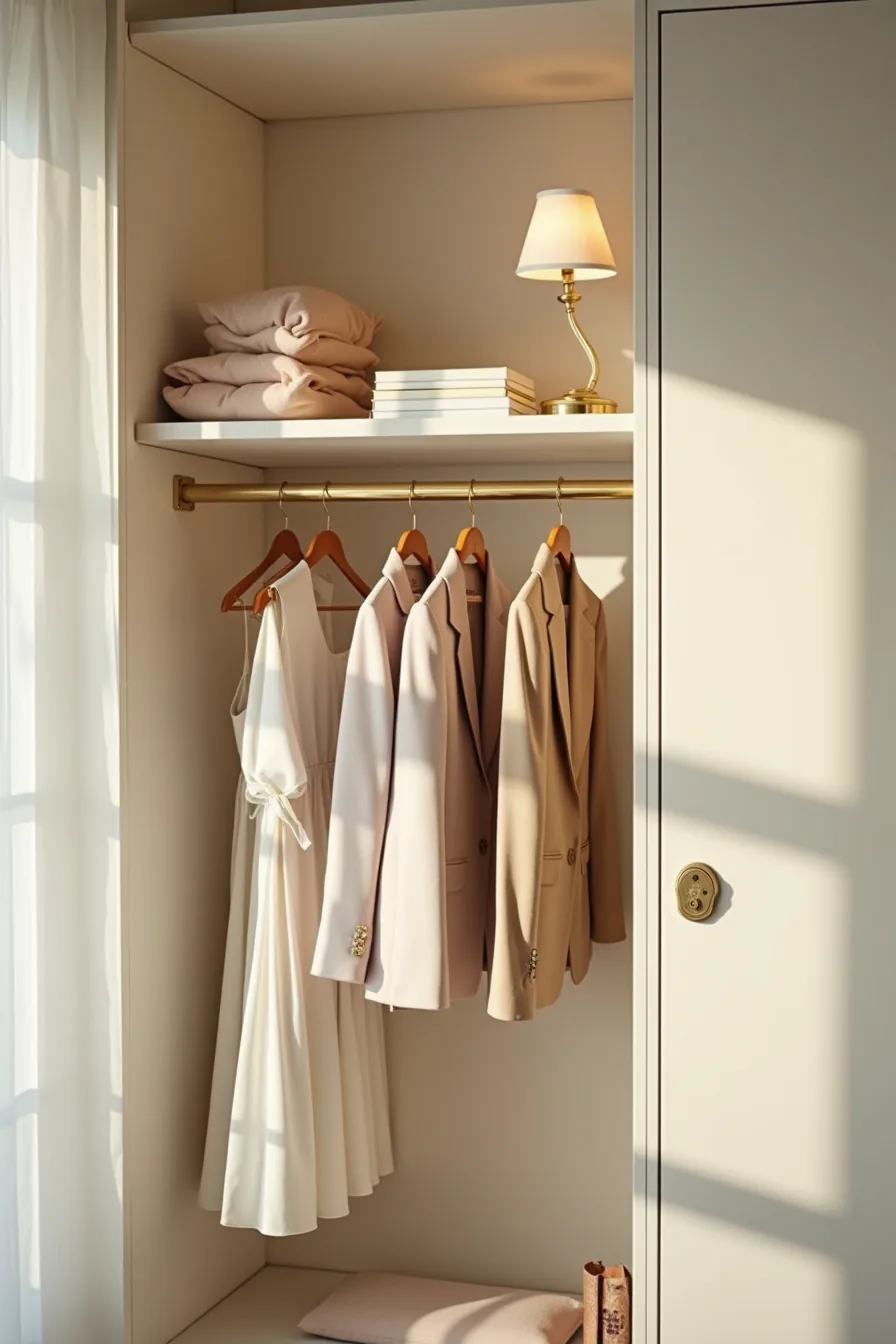
Stacking two hanging rods turns wasted vertical space into a second full wardrobe tier. This approach suits standard closets (60–72 inches tall) and small reach-ins where floor space is too tight for a dresser, you gain roughly half again the hanging capacity without widening your footprint. The example setup pairs an upper brass rod for long dresses with a lower brass rod for blazers and shorter garments, each mounted into wall studs with simple flanged brackets; the lower rod sits about 40–42 inches off the floor so blazers clear the ground by 6–8 inches.
The reason this works is twofold: it separates garments by length so nothing bunches at the hem, and it keeps daily-wear pieces at eye level while relegating floor-length items to the top tier. Reproduction requires measuring your longest hanging garment first, allow 4–6 inches clearance below it, then positioning the upper rod accordingly. For renters, tension-pole closet organizers with two integrated rods install sans drilling but typically cap out around 25–35 pounds per rod, fine for shirts and blazers but risky for heavy coats.
A permanent homeowner route uses wrought-iron rods with threaded flanges bolted into studs, supporting full winter-weight garment loads for decades; expect to pay 3–4× more for the iron versus basic steel tubing. Avoid mixing rod metals, brass with brass, iron with iron, or the visual rhythm you created collapses into clutter.
Labeled Storage Boxes and Vintage Crates
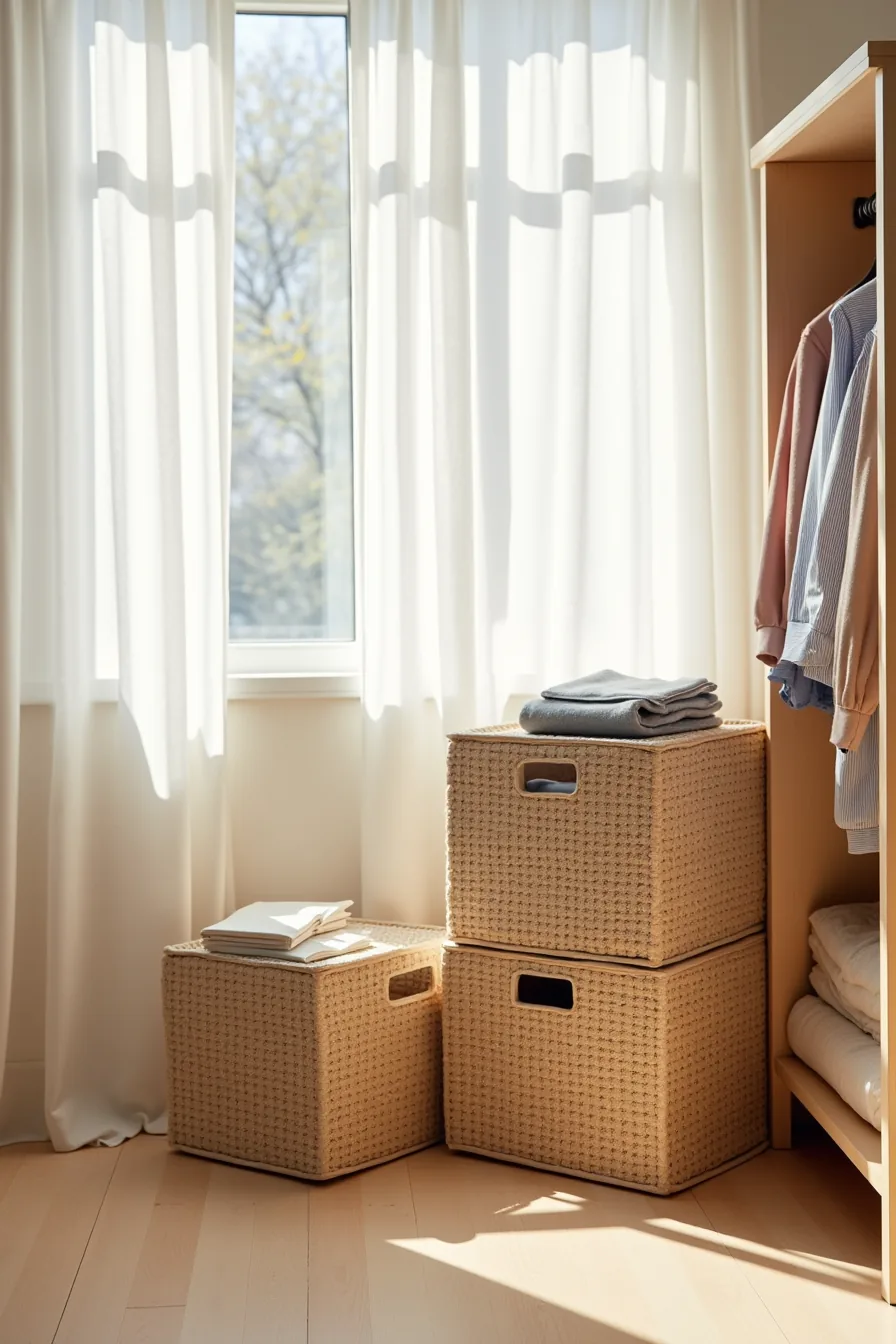
You convert dead floor space into a vertical archive by stacking three woven crates and two cardboard storage boxes of alternating heights, each holding folded clothing visible at the edges. This system works because it groups garments by category at a glance, crate one for sweaters, box one for seasonal linens, while the varying heights create a rhythm that prevents the stack from reading as a wall of clutter. It suits medium to large walk-ins where you’ve 24–36 inches of floor depth to spare; for small reach-ins, cap the stack at two units to keep the lowest crate accessible without kneeling.
Reproduction starts with sourcing crates that share a material family, all wicker, all cane, or all solid wood, and labeling each with a fabric tag or chalkboard insert. Cardboard boxes should be acid-free with reinforced corners; expect to replace them every 3–5 years in humid climates. Budget route: thrifted wine crates sanded and lined with muslin.
Renter-friendly route: collapsible fabric bins with wooden lids that store flat. For moisture control, place a silica gel sachet in each woven container, wicker breathes, which helps airflow but also invites mustiness in damp basements. Keep rarely accessed items in the top crate and daily knits in the middle; the bottom box is your off-season rotation.
Wall-Mounted Pegboard and Hook Systems
A natural wood pegboard with vintage-style brass hooks transforms a bare wall into a flexible accessory station for scarves, belts, and hats. Each item hangs at its own height, long belts on lower hooks, scarves doubled over mid-level hooks, and hats resting on deeper pegs, so you see everything at once and swap seasonal pieces in seconds. This setup suits narrow reach-in closets or bedroom walls where floor space is zero but wall depth is available; it takes just 12–18 inches of wall width per accessory group.
Installation determines your weight ceiling. Wooden pegboards with 1/4-inch pegs typically hold 5–10 pounds per hook when mounted on a stud or solid plaster; drywall anchors drop that to 3–5 pounds, enough for scarves and hats but not heavy leather bags. Renter-friendly route: command strips rated for 4 pounds per hook, which remove cleanly and support lighter accessories.
Long-term route: solid oak pegboard with brass hooks, sanded and oiled annually. Budget route: sand a thrifted kitchen pegboard, repainting if needed, then screw hooks into existing holes. Leave 2–3 inches between items to avoid tangling and 18 inches minimum from the floor so hat brims remain off the ground.
Vintage Closet Rod Dividers and Garment Separation

Wooden rod dividers cost $8–$20 per pack of six and install in seconds without tools. Slide them over the rod to create defined zones: dresses on the left, blouses in the center, jackets on the right. This system works because it imposes a visual boundary that your brain follows automatically, you return the blouse to the center segment rather than stacking it against the jackets.
The approach suits anyone with a single rod and mixed categories, especially renters who can’t modify the closet structure. Vintage clip-style dividers, often brass or nickel-plated, clamp directly onto the rod and double as label holders for handwritten tags. For color-coding, arrange each segment from light to dark; the dividers make the gradient readable instead of chaotic.
Standard closet rods support 40–60 pounds of clothing, so budget 12–15 hanging items per segment to avoid sagging. Wooden dividers need occasional dusting; metal clips may require a wipe with a dry cloth to prevent tarnish.
Where to Start
Pick the one idea that solves your most persistent pain point, not the prettiest one. If you trip over shoes daily, start with the trunk or basket system before you touch your hanging rods. Match the solution to your space size: small closets need vertical stackable boxes, while large walk-ins can absorb a full armoire or dresser without sacrificing flow.
Measure your closet depth and height before buying anything vintage. Most antique pieces run 18–24 inches deep, which fits standard reach-in closets but may crowd a narrow hallway wardrobe. Set a budget ceiling first: thrift-store baskets cost $5–15 each, while a restored armoire runs $400–900 depending on condition and region.
Your next step today: grab a tape measure, note your closet’s depth and rod height, and photograph the current chaos. That gives you the data to match any vintage piece to your actual dimensions, no guesswork, no returns.
Frequently Asked Questions
How much weight can vintage shelving brackets typically hold?
Most vintage cast-iron or wrought-iron brackets support 50–100 pounds per pair when anchored into wall studs. Drywall alone reduces that to roughly 20–30 pounds. Always inspect for cracks or rust before loading, and distribute weight evenly across the shelf.
Can I use vintage closet organization ideas in a rental apartment?
Yes, if you prioritize renter-friendly methods. Freestanding armoires, tension rods, and over-door hooks require no drilling. For wall-mounted pieces, use removable adhesive hooks or ask your landlord for written permission before installing permanent hardware.
What’s the difference between budget and investment-level vintage organization systems?
Budget routes use repurposed items, crates, suitcases, and thrifted baskets, typically costing under $50 total. Investment systems involve restored armoires, custom-built shelving, or professionally refinished pieces, ranging from $300 to $2,000+. The trade-off is durability and fit versus immediate affordability.
How do I prevent moisture damage in vintage wooden storage boxes?
Place silica gel packets or cedar blocks inside each box, and keep boxes 2–3 inches off the floor to avoid dampness. Store them away from exterior walls and bathrooms, and apply a food-safe beeswax polish every six months to seal the wood against humidity.