Your windows are prime real estate for holiday cheer, yet most decorating plans stop at the tree, here are six window Christmas decor ideas that balance visual impact with real-world practicality. From renter-friendly suction cups to permanent track lighting, each option targets a specific space, budget, and maintenance level. You’ll learn exactly what to buy, where to place it, and what to skip before hanging a single ornament.
Key takeaways
- Measure first, most windows need a 6–12 inch gap between decor and the glass edge to avoid blocking ventilation or opening hardware.
- Match scale to pane, garlands work best on windows wider than 36 inches, while small wreaths (12–18 inches) suit narrow casement windows.
- Use flameless candles, LED units with timers cut fire risk and eliminate wax drips on sills, especially for top-hinged windows that tilt inward.
- Secure cords with clips, adhesive cord clips rated for 1–2 pounds hold string light wires along the frame, preventing sagging and tripping hazards near walkways.
Lit Garland Swags for Maximum Visual Impact
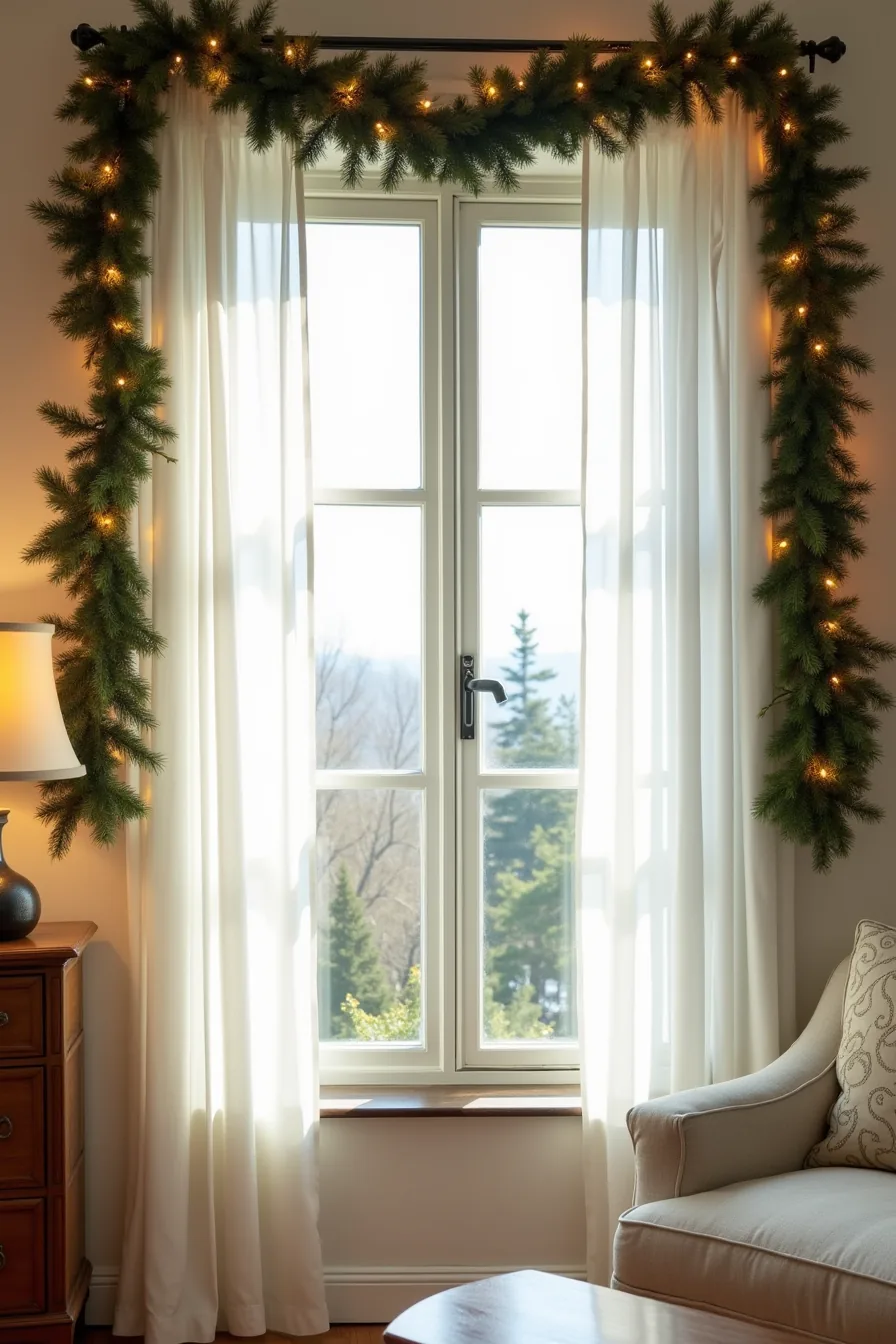
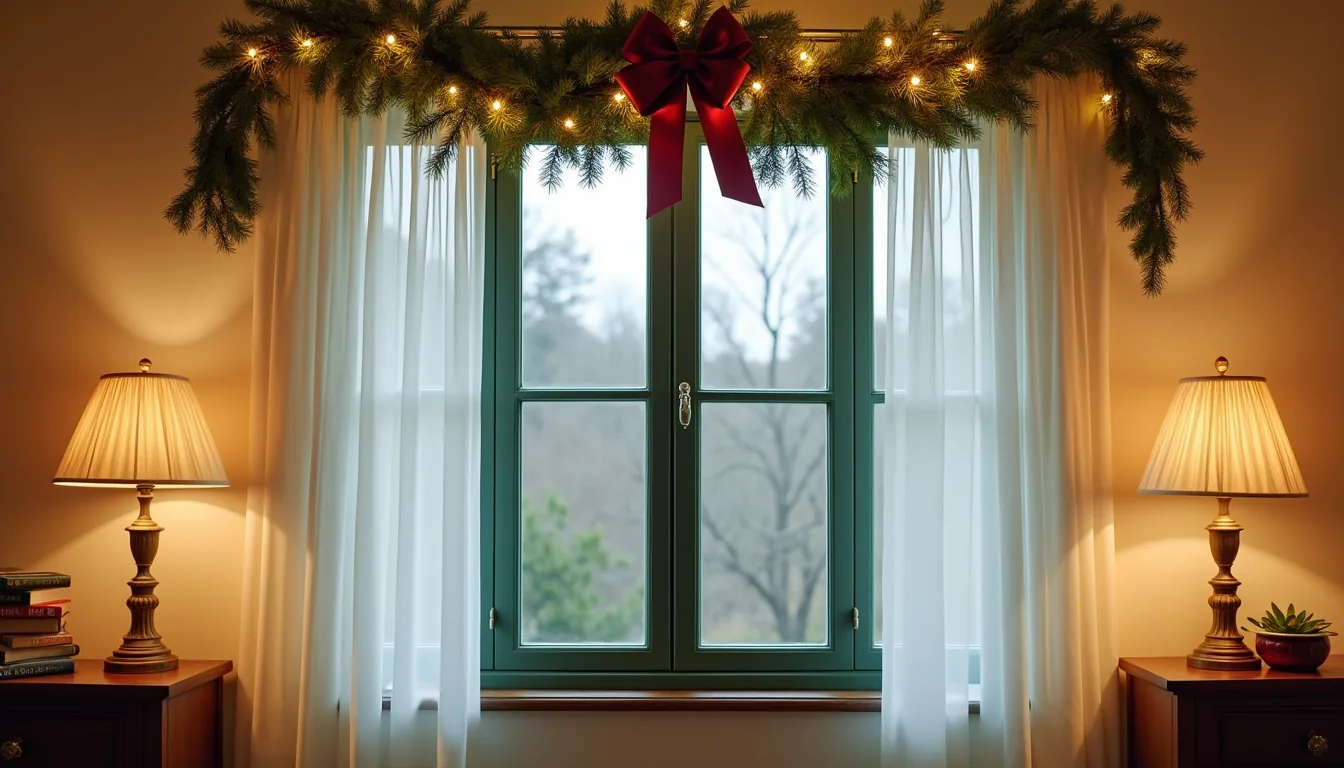
If you’ve a large casement window in a formal living room or dining area, a pre-lit garland swag delivers the most dramatic return on effort. Anchor the garland at both top corners of the frame, letting it drape naturally with a gentle downward curve. The thick evergreen coverage and warm amber bulbs spaced evenly along the branches create a symmetrical, polished frame that suits traditional and transitional interiors.
You’ll need a sturdy hook or nail at each top corner, plus a power strip rated for outdoor use if the window is old or drafty. Run the power cord down the right edge of the frame and tuck it behind the casing so it stays visible but tidy, you want it reachable for unplugging at night. A 6–8 foot pre-lit garland works for most standard casement windows; measure your frame width first and buy one 12–18 inches longer to allow for the drop.
Expect to replace the bulbs every 2–3 seasons, and check the wiring for fraying before each December. This option costs $40–$80 and takes about 15 minutes to hang, but it isn’t renter-friendly if you can’t drill into the frame.
Frosted Window Paint and Stencil Designs
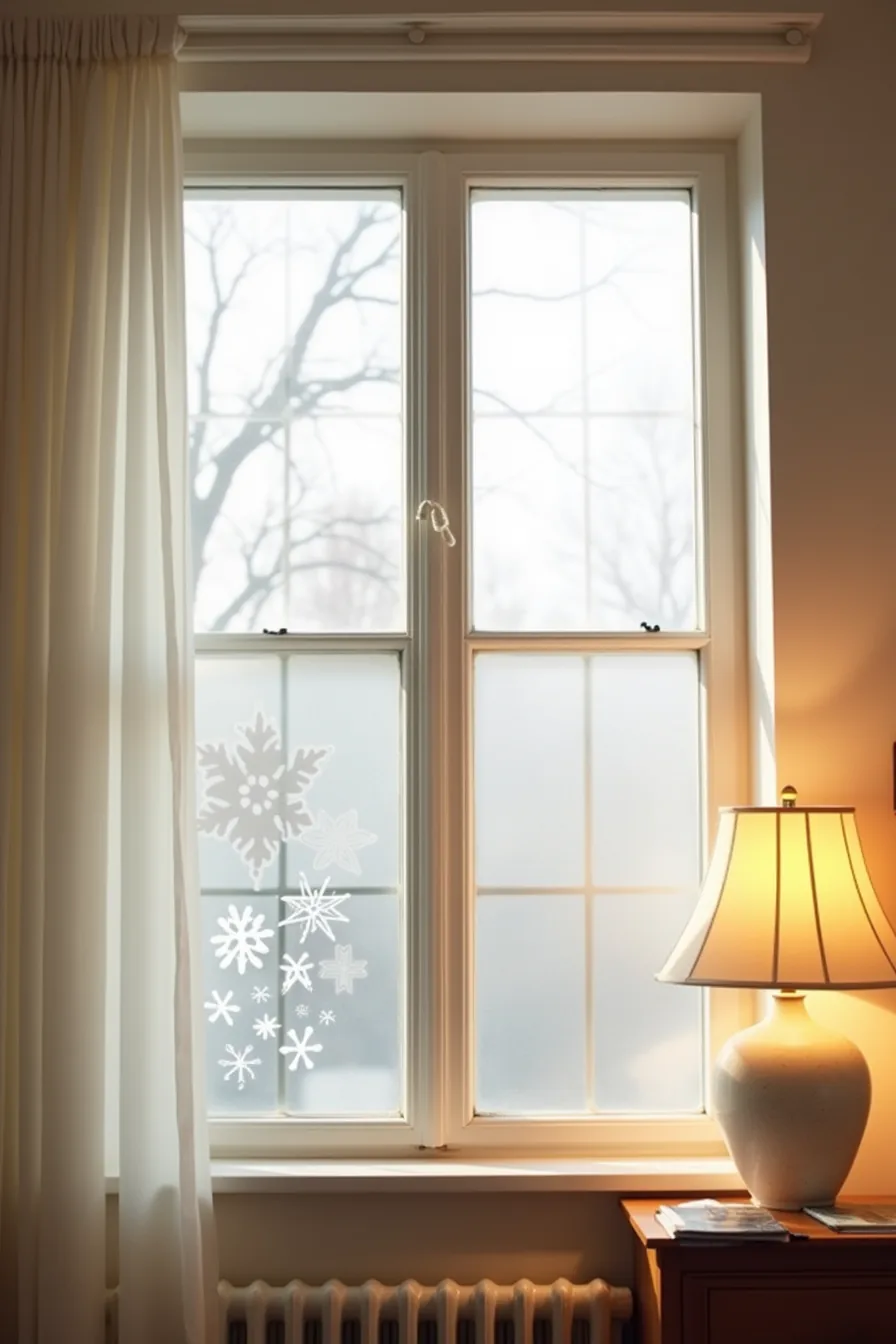
For a rent-friendly option that still looks intentional, frosted window paint paired with stencils transforms ordinary double-hung panes into a winter scene without touching the frame. Apply a peelable glass paint evenly across the lower half of each pane with a foam brush, then press a snowflake stencil into the wet surface and lift to reveal crisp geometric cutouts. The contrast between the opaque white frost and the clear upper panes keeps the room bright while framing the outdoor view, ideal for bedrooms where you want privacy without losing daylight, or a bathroom window that faces a neighbor.
You’ll need one bottle of peelable frosted glass paint ($10–$15), a reusable snowflake stencil set, and a foam roller; the entire lower-pane application takes about 30 minutes per window. Removal is simple: score the paint with a plastic scraper, then peel it off in sheets and wipe residue with a damp cloth, no chemicals, no damage to the glass. One coat lasts the full season but will show fingerprints near the latch; plan a 10-minute touch-up with a paint pen in early January.
This method suits any window size, but on smaller panes (under 18 inches wide) skip the stencil and use painter’s tape to mask diagonal stripes instead, the stencil pattern gets lost at that scale, and the clean geometry reads better from across the room.
Hanging Paper Snowflakes and Cutouts
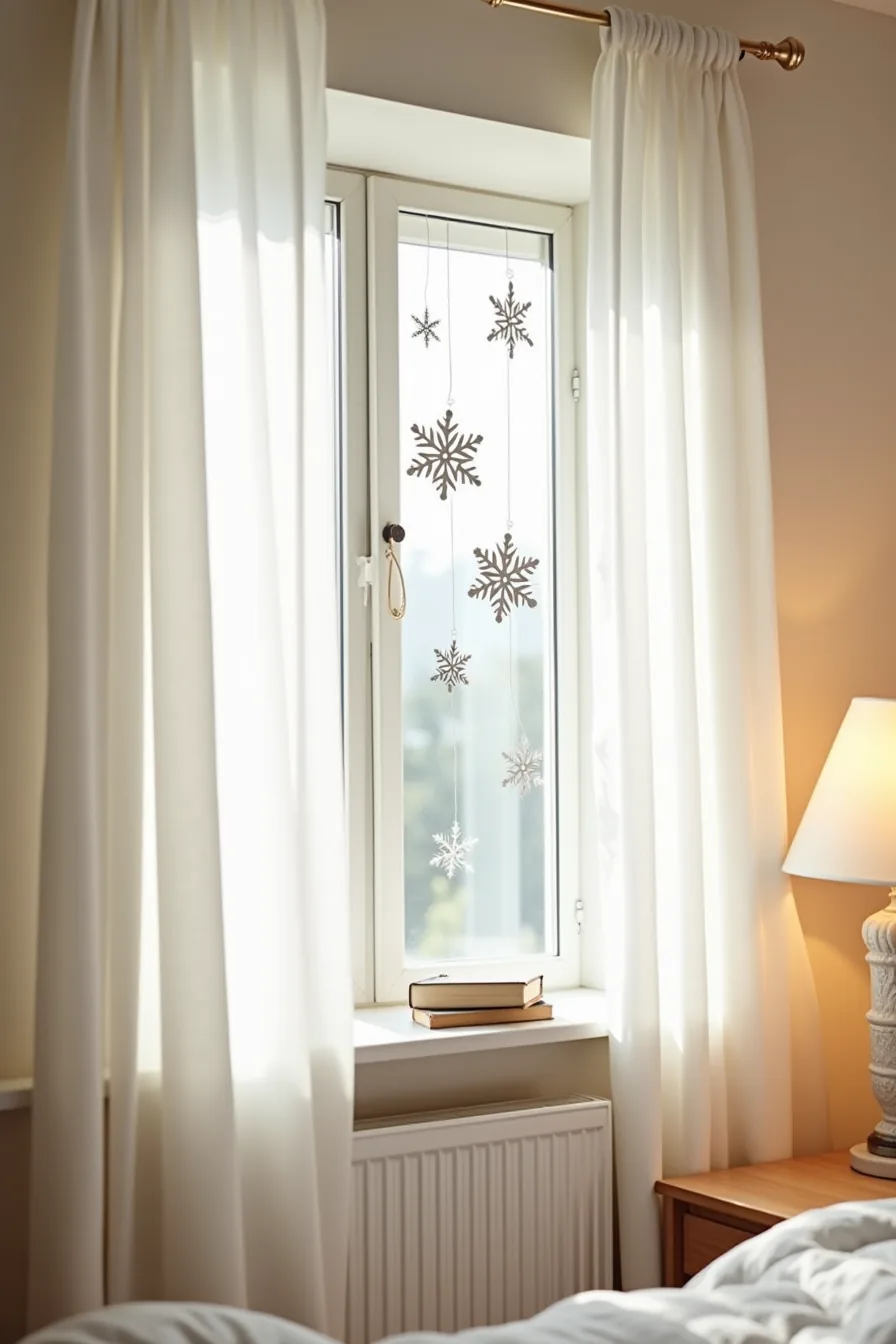
Paper snowflakes suspended at varying depths turn a flat window into a layered winter scene, and the approach costs under $10 if you already own scissors and fishing line. The setup that works best in a small bedroom uses three sizes, roughly 4, 6, and 9 inches across, cut from white and silver paper with geometric cutouts, each hung at a different distance from the glass so the daylight casts overlapping shadows that shift through the afternoon. You’ll need clear fishing line (2–4 pound test), a small hook or adhesive command hook above the window frame, and about 45 minutes to cut and hang a full arrangement of six to eight snowflakes.
For renters, the key is hanging hardware that leaves no trace: use a single adhesive hook rated for 1–2 pounds per window, and tie each snowflake to a separate length of line so you can adjust the depth individually without redoing the whole display. The fishing line becomes nearly invisible against the glass, and the paper itself is the only visual weight, which keeps the window operational, you can still tilt it open for ventilation without disturbing the strings, provided you keep the lowest snowflake at least 6 inches above the sill. At the end of the season, flatten the snowflakes between heavy books for a week, then store them in a manila envelope; with careful handling, they’ll survive two or three winters before the edges soften.
This option suits small spaces and tight budgets best, but on a large picture window you’ll need to scale up the snowflake diameters to 12–18 inches or the display reads as sparse from across the room. For practical window Christmas decor ideas planning tips, measure the glass height first and aim for snowflakes that occupy one-third to one-half of that dimension at their largest point.
Candle Displays and Flameless Alternatives
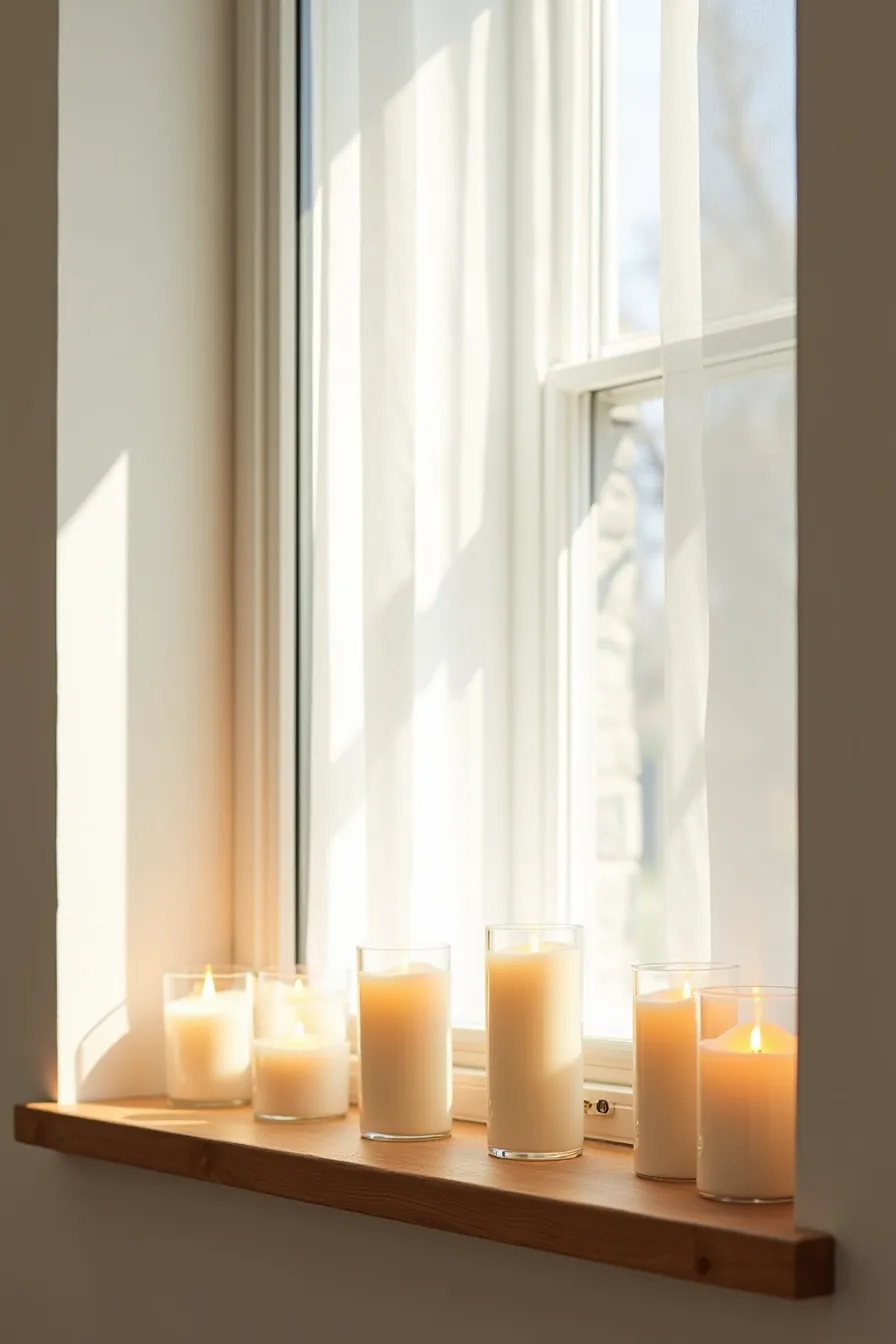
A staggered row of battery-operated candles offers the warmest glow of any window decoration, and it takes under 10 minutes to arrange once you own the pieces. The setup that works: clear glass holders paired with frosted ones at heights ranging 2 to 6 inches, spaced 4–6 inches apart along the sill. Warm amber LEDs read as flame-like from the street without the flicker fatigue that cheap cool-white versions produce; look for timers that run 6 hours on, 18 off, which cuts battery replacement to roughly once a season per candle.
This approach suits living rooms and dining areas where you want ambient light, but skip it in homes with toddlers or curious cats, even flameless units are a chew hazard, and the glass holders become projectiles. If you need pet-proofing, swap glass for solid ceramic votives that weigh enough to stay put. Because LED candles generate no heat, you can place them directly against the glass, though leaving a 2-inch gap from the curtain makes daily dusting easier.
For a bolder look on large windows, cluster three candles per grouping at varying heights rather than spreading singles, mass reads better than repetition from the sidewalk.
Wreath Placement and Sizing for Different Window Types
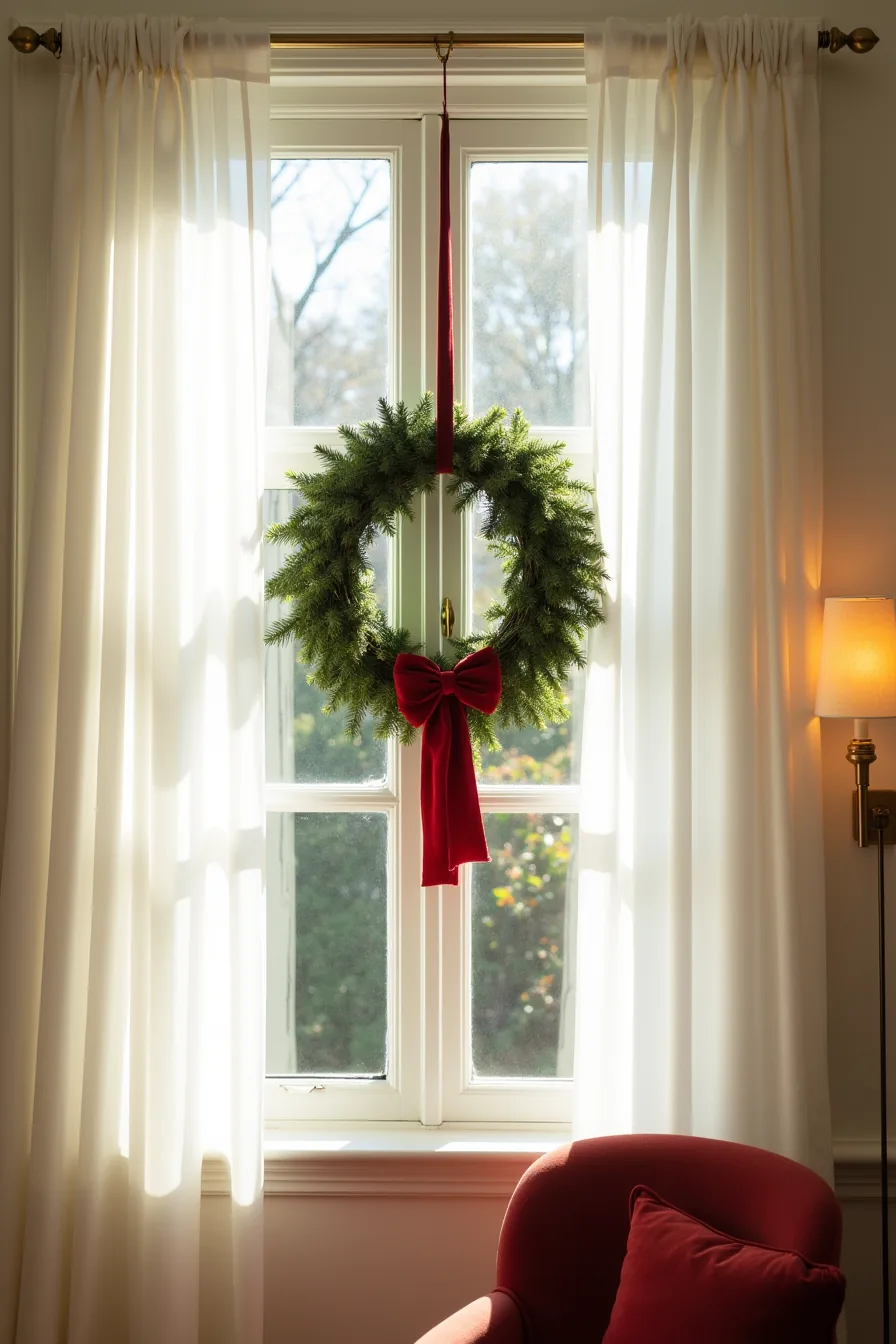
Wreath diameter should track window width, not frame height. For a 48-inch-wide picture window, a 24-inch evergreen wreath reads as balanced; scale down to 18 inches for a 36-inch double-hung window and step up to 30 inches only if the glass exceeds 60 inches. Centering the wreath above the frame, not on the glass, keeps your view unobstructed and the silhouette visible from the street.
A brass hook screwed into the exterior trim holds up to 30 pounds; skip adhesive strips, which fail in freezing weather and can pull paint.
Casement windows need a thinner wreath profile (under 4 inches deep) so the sash can still swing open. For double-hung units, hang the wreath high enough that the top sash clears it by at least 3 inches. Picture windows with no trim call for a flush-mount hanger or a ribbon loop over the frame top.
Store wreaths flat in a 30-gallon bin with silica packs; real evergreens dry out in 4–6 weeks indoors, so budget for replacement if you want freshness past mid-January. One common Window Christmas Decor Ideas mistake to avoid: choosing a wreath so large it overlaps the window locks or crank mechanism, which blocks ventilation and forces you to remove it every time you open the window.
String Lights: Patterns, Spacing, and Cord Management
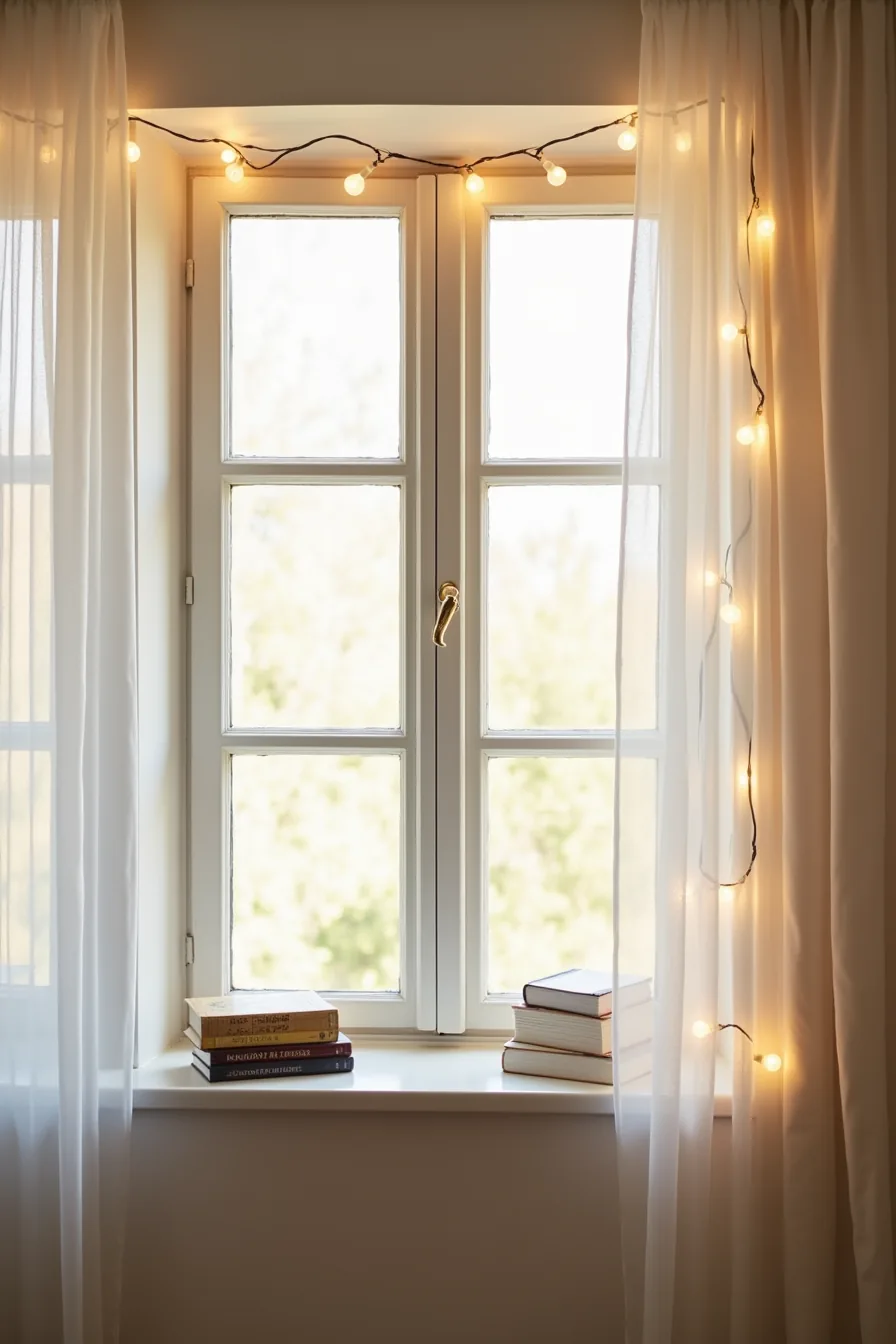
For a bay window with three panes, a swag pattern, where the string dips gently between two anchor points, creates a cohesive line without the visual clutter of a grid. You’ll need roughly two feet of lights per linear foot of window width to achieve the look. On a 48-inch-wide bay window, that translates to about 8 feet of lights, or one standard 12-foot string, leaving slack for the swags.
Space the bulbs 4–6 inches apart across the string; any closer and it looks like a solid bar of light, any wider and it reads as sparse. Anchor the first and last bulbs to the top corners of the frame using small adhesive hooks rated for at least 5 pounds, then let the cord sag naturally to create the curve. The cord should run along the bottom edge of the frame and down to the nearest outlet.
If the bay window lacks a floor outlet, a white extension cord (rated for indoor use) taped flat against the trim becomes nearly invisible against white window putty. Interior-rated string lights are fine here since they’re separated from the glass by the frame; use exterior-rated strings only if you plan to run them outdoors, as indoor cords won’t withstand moisture or cold-brittle over time. For cord management, tuck excess length into a cord shortener or wrap it around a binder clip fastened to the back of the frame.
Never daisy-chain more than two strings together, most indoor timers cap at 210 watts, and a standard string uses about 24 watts, so you’d hit the limit around eight strings, well past this window’s needs. Lights stay flexible down to about 20°F, but the plastic sockets can crack if you bend them when they’re frozen, so wait an hour after sunrise to adjust the swags on a cold morning.
Where to start
Pick one window, the one you see most often from inside or out, and apply a single idea before touching the rest. Measure the frame width and note how your window opens before buying anything, so you avoid blocking a crank or a sliding sash.
Then commit to one material family: fabric, wood, or metal. Mixing all three in one window reads as clutter, not holiday styling. Suction cups and adhesive hooks come off cleanly, but test them on a corner first; some finishes react poorly to adhesive residue.
Your next step: close the curtains, stand outside, and look back at the window. If you can’t see your chosen decor from the street or your usual seating position, reposition it before you add a second element.
Frequently Asked Questions
Can I use window Christmas decor ideas if I rent, and what won’t damage my security deposit?
Yes. Use removable adhesive hooks, suction cups, or tension rods inside the frame. Avoid nails, screws, tape on painted surfaces, or anything that leaves residue.
Stick to decorations that sit on the sill or hang from the rod.
How do I prevent window Christmas decor from blocking heat or creating condensation issues?
Keep decor at least 2-3 inches away from the glass to allow airflow. Avoid covering the bottom sill or vents. Use battery-operated lights instead of plug-in cords that trap heat.
Wipe condensation daily to prevent mold on fabric or paper decorations.
What’s the difference between indoor and outdoor-rated lights for window displays?
Outdoor-rated lights have thicker insulation and sealed sockets, making them waterproof and safer for cold, damp glass surfaces. Indoor lights are thinner and cheaper but can short-circuit or overheat near condensation. For windows, always choose outdoor-rated lights, even indoors, if the glass sweats.
How much does a complete window Christmas decor setup typically cost, and where can I save money?
A full setup, lights, garland, wreath, and window clings, runs $40 to $150. Save by using DIY paper snowflakes, repurposing last year’s string lights, or buying battery-operated LED strips in bulk packs. Skip pre-lit window frames, which cost $30–$80 alone.