
Printable Christmas decor isn’t a single look, it’s a flexible system of downloadable templates, wall art, gift tags, and window clings that you can scale from a single rented apartment wall to a full living room investment, and here’s how to choose the right route for your space, budget, and lease agreement. The practical range runs from zero-commitment paper cutouts you remove in January to laminated, reusable panels that justify a higher upfront cost. Your decision hinges on three variables: wall surface, storage space, and how many seasons you plan to reuse the pieces.
The six setups below map to specific room sizes and rental restrictions, so you can match a solution to your actual constraints rather than a generic aesthetic.
Key takeaways
- Printables scale best when you match template size to wall proportion, so a 5×7-inch frame suits a narrow entryway while a 20×30-inch poster anchors a large living room wall.
- Advent calendar templates work as a daily display system only if you commit to a consistent mounting method, magnetic strips for metal doors, washi tape for painted walls, or clothespins on a wire for renter-safe use.
- Placecard printables save real money for entertaining, but you must print on 65-100 lb cardstock to prevent curling and pair them with standing holders or folded tent designs for table stability.
- Long-term investment means designing reusable templates in a vector editor (like Canva or Adobe Illustrator) so you can swap colors, names, and dates each year without re-buying or re-searching for new files.
Printable Wall Art and Signage for Every Room Size

Start with a classic gallery wall arrangement featuring three framed prints in graduated sizes: a small 5×7 frame on the left, a medium 8×10 in the center, and a large 11×14 on the right. This staggered formation works exceptionally well above a console table, sofa, or sideboard, drawing the eye upward without overwhelming the space.
For small apartments or narrow hallways, opt for a single oversized printable, think a bold typography piece or a minimalist winter landscape. A 24×36-inch print in a slim black frame makes a strong statement in a 6-foot-wide entryway without consuming valuable floor space. Use low-tack mounting putty or command strips to hang it flush against the wall, avoiding the need for drilling.
In large living rooms, scale up your signage by creating a cohesive set of three to five coordinating prints with matching frames. Stick to a unified color palette, such as deep forest green, cream, and gold, to maintain visual harmony across a wide wall. Position the arrangement at eye level, roughly 57 to 60 inches from the floor to the center of the grouping, for optimal viewing from seating areas.
For renters, skip permanent hardware altogether. Use removable adhesive hooks designed for lightweight frames, or lean your prints directly on shelves, mantels, or the floor for a casual, layered look. This approach lets you switch out designs seasonally without leaving marks or patching holes.
When selecting printables, prioritize high-resolution files (300 DPI or higher) to ensure crisp text and clean lines at any print size. Pair your wall art with complementary textures like a chunky knit throw or a velvet cushion to soften the visual impact and tie the room together.
Advent Calendar Templates and Daily Display Systems

A printable advent calendar works best when the template itself does the organizational heavy lifting. Print a 25-box numbered grid at 8.5×11 inches, cut out the boxes, and clip each one to a wooden pegboard using small kraft envelopes and binder clips. This setup takes roughly 45 minutes to assemble, requires only a printer, scissors, and clips, and occupies a footprint of about 2×3 feet, perfect for a kitchen counter, sideboard, or hallway wall.
The grid format suits families who want a predictable daily ritual without the bulk of a traditional boxed calendar. For small spaces, scale the grid down to 5×7 inches and mount it on a magnetic board instead. In larger rooms, double the grid to 11×17 inches and space the envelopes farther apart to fill a blank wall.
Use low-tack putty on the envelope backs if you’re renting, it removes cleanly in seconds. Pair the display with a small tray of treats or handwritten notes beneath the grid, and you’ve a functional centerpiece that updates itself each morning. For practical Christmas decor ideas printable planning tips, keep a spare printed grid in a drawer so you can replace individual boxes as they wear or get lost.
Table Setting and Placecard Printables for Entertaining

Hosting a holiday dinner becomes significantly smoother when you use printable place cards and menu tags to guide your guests. A standard 5×7-inch place card folds neatly into a tent shape, giving you enough room for a handwritten name and a small festive motif like a pine sprig or star. For a cohesive tablescape, print matching menu cards on 4×6-inch cardstock and prop them against the water glasses or lay them flat on the charger plates.
The visual anchor of this setup is a crisp white tablecloth that lets your printed paper goods stand out without competing patterns. Dark wood table edges provide a natural frame, making the bright white of the place cards and napkin rings pop. Speaking of napkin rings, you can print a simple band with a repeating geometric or holly pattern, wrap it around a folded cloth napkin, and secure it with a small piece of double-sided tape.
This adds a tailored look for pennies per setting.
For material, choose a 110 lb cardstock for place cards and a slightly lighter 80 lb for the napkin bands, the thicker stock holds its shape on the table, while the lighter paper wraps easily without cracking. If you’re hosting a larger group, anticipate about 45 minutes of cutting and folding for a table of twelve. This approach works best for a formal sit-down dinner or a buffet where guests need assigned seats, but it also adapts well to a casual gathering if you skip the menu cards and keep just the place settings.
To avoid last-minute smudges, print everything a day ahead and store the stack flat in a large envelope.
Budget-Friendly Garland and Ornament Label Printables

A single 6-foot faux pine garland runs $15–$25 at most big-box retailers, but you can double its visual weight with printable paper strips cut into 1-inch-wide bands. Fold each strip accordion-style, punch a hole at one end, and thread it onto the garland’s branches using ornament hooks. The contrast of matte paper against glossy plastic needles adds texture without costing more than a few sheets of scrap paper.
On the same craft surface, you’ll find printed ornament labels cut and stacked beside clear glass bulbs. These 2×3-inch tags slide inside the ornament before you hang it, letting you personalize each one with a name, year, or short message. Because the label sits inside the glass, it never smudges or curls from humidity, and the ornaments stay dust-free year after year.
For materials, standard 20 lb printer paper works for garland strips, but spring for 65 lb cardstock for the labels, it holds its shape when slid into a narrow opening. Set aside about 30 minutes to cut labels for a dozen ornaments and another 20 to fold and attach the garland strips. This route suits anyone decorating on a tight budget, but it also works well for those who want to refresh a store-bought garland from last season without replacing it.
The trade-off: paper garland strips are single-use and will crease if you try to flatten them for storage, so plan to print fresh next year.
Renter-Safe Printable Decor Without Permanent Installation
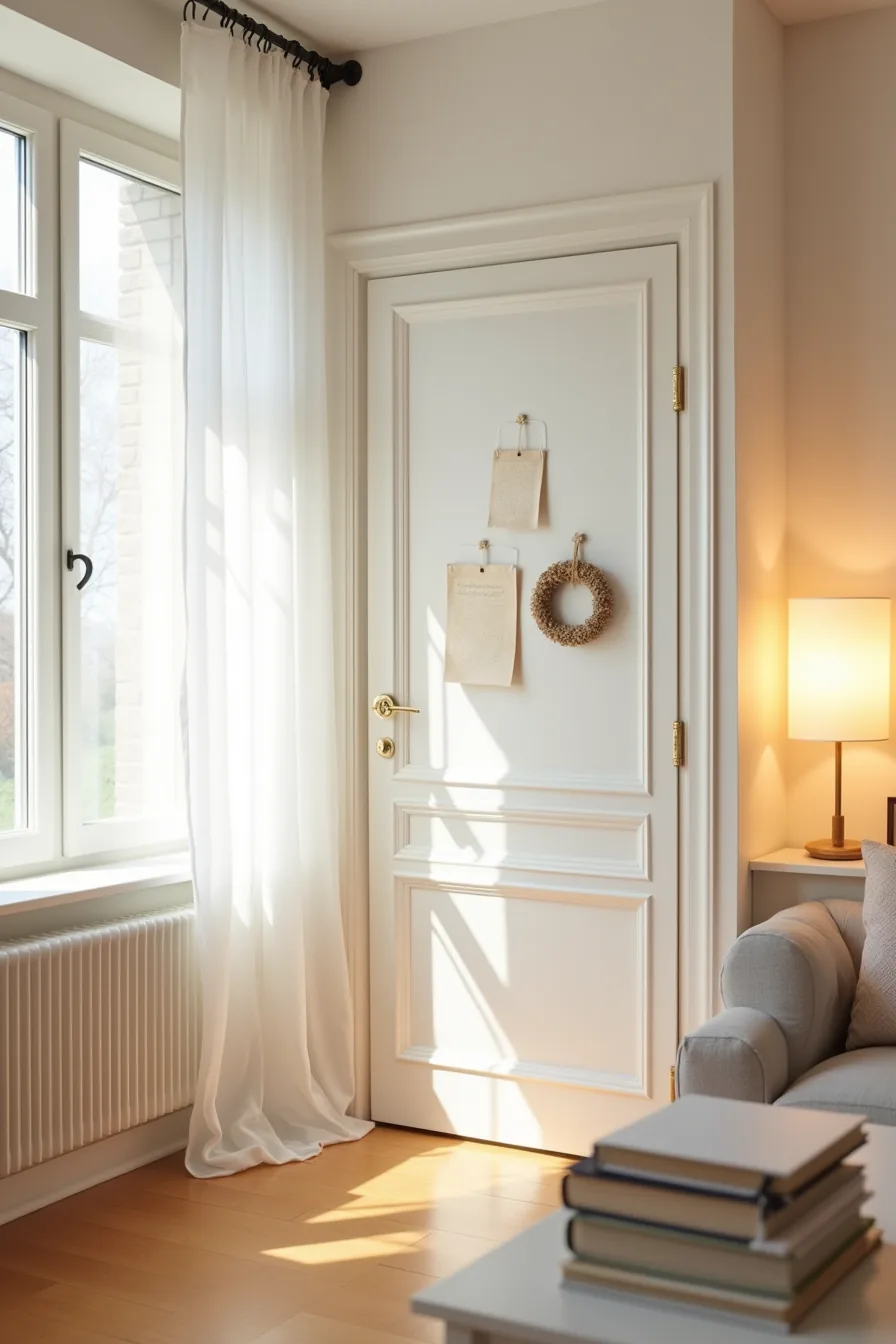
Command strips are your primary tool for hanging printed decor on painted drywall without leaving marks. Press the adhesive firmly for 30 seconds, then wait an hour before attaching your banner to ensure the bond holds. For heavy cardstock banners, use two strips per corner rather than one to distribute weight evenly.
Window clings work best on smooth glass surfaces and require zero adhesive. Apply them to the interior side of the pane after cleaning with a glass spray; they peel off effortlessly in January and can be stored flat for reuse next year. Avoid textured or frosted windows, as the cling won’t seal properly.
A door wreath made from printed paper elements needs only an over-the-door hanger. Choose a hanger with a clear plastic hook that sits flush against the top edge, and keep the wreath’s total weight under two pounds to prevent the hanger from bending. Measure the door’s thickness before purchasing the hanger, standard interior doors are typically 1.375 to 1.75 inches thick.
Long-Term Investment: Custom Template Design and Reusable Systems
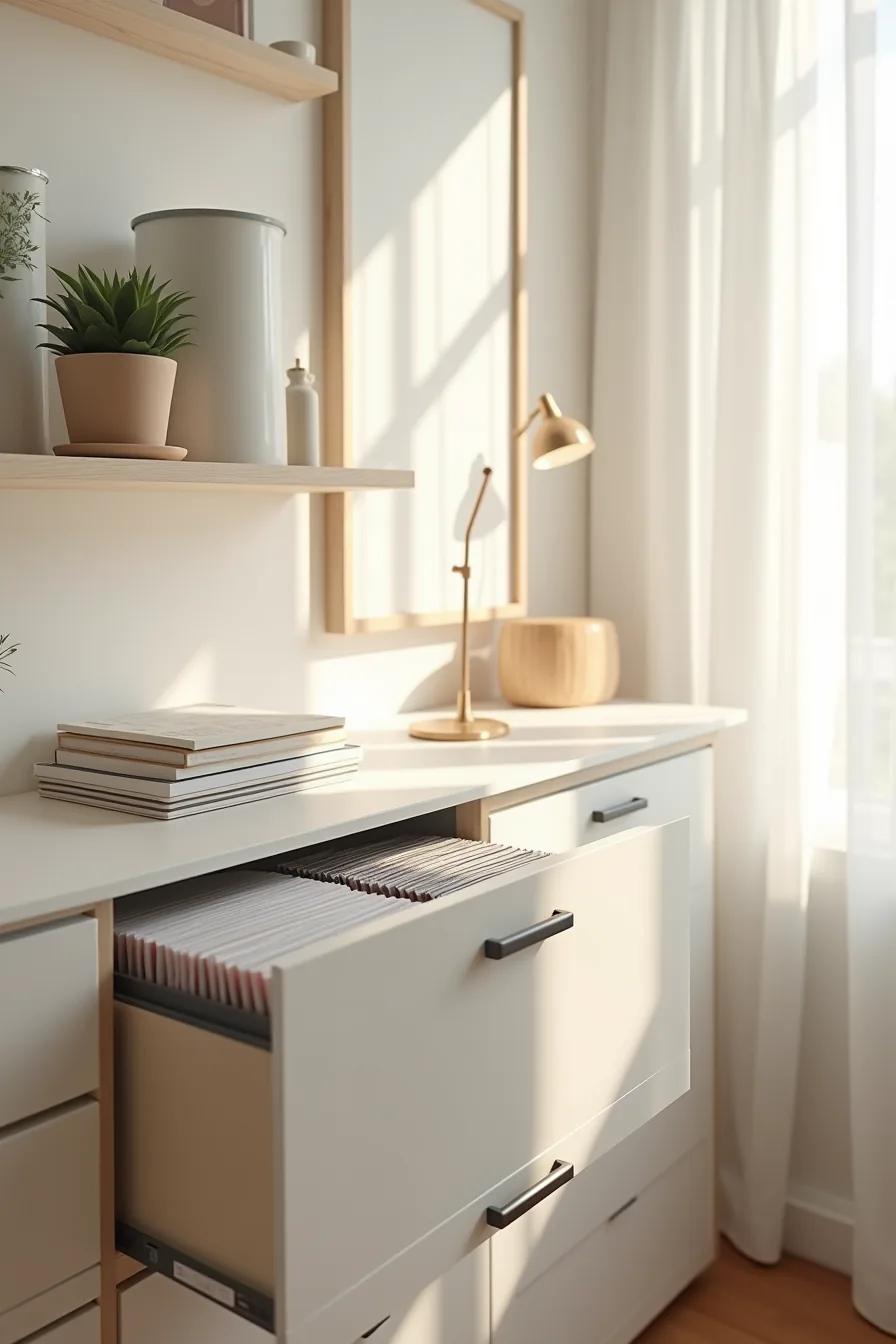
Investing in a custom template design pays off when you plan to reuse the same aesthetic for five or more seasons. A professionally designed printable set, typically costing 20–60 percent more than a generic download, gives you full control over size, color palette, and layout so it matches your permanent decor rather than competing with it. Your best route is to purchase a digital file with editable fields, then print it on 110 lb cardstock and laminate each sheet.
For storage, replicate the flat-file approach: stack laminated sheets inside clear sheet protectors, then group them into labeled plastic bins by room or theme. Sheet protectors prevent edge wear during handling, and the bins keep everything flat so corners never curl. A dedicated flat file drawer works well if you’ve the space; otherwise, stack bins horizontally on a shelf, never vertically, to avoid bending the laminates.
Custom design only justifies its cost if you commit to the maintenance cycle. Re-laminate any sheet that shows peeling edges before storing it, and replace binder clips annually, they lose tension and will drop your display mid-season. If your style changes every year or two, skip the custom route entirely; generic downloads cost less and you won’t feel guilty discarding them.
Your First Move: Pick One Wall
Start with a single focal point, your entryway console, the mantel, or the wall above the sofa. Choosing one spot keeps the project manageable and lets you test scale before committing to more rooms.
Next, take exact measurements of that wall and the furniture beneath it. A good rule: the printable’s width should be about two-thirds of your console or mantel length. Print a test version on plain paper first, tape it up, and live with it for a day.
Once you’re happy, upgrade to quality cardstock or a matte photo finish. Frame it in a lightweight material like acrylic or a slim wooden frame, easy to hang with a single nail, and painless to swap out next season.
Do this now: Measure one wall, pick three printable designs that fit that space, and order them. That’s your entire first step.
Frequently Asked Questions
What paper weight and finish work best for printable Christmas decorations that will be handled or displayed for weeks?
Use 80–100 lb cardstock for durability; matte finish reduces glare under lights. Glossy paper smudges with fingerprints and reflects harshly. For garlands or tags, consider 110 lb for extra stiffness.
Can I use Christmas decor ideas printable templates in a rental apartment without violating my lease?
Yes, because they’re temporary and removable. Use painter’s tape, command strips, or washi tape, never nails or screws. Avoid adhesive residue on painted walls; test a small corner first.
How do I scale printable Christmas decor designs for a small studio versus a large family room?
For a studio, print at 50–70% scale and cluster pieces near eye level. In a large room, print at 100–150% and space elements 12–18 inches apart to fill visual gaps. Always measure your wall before printing.
What’s the actual cost difference between printing Christmas decor at home versus buying pre-made decorations?
Home printing costs $0.50–$2.00 per sheet (ink + paper), so a full set runs $5–$15. Pre-made equivalents typically cost $20–$60. You save money only if you print multiple designs from one ink cartridge batch.