
Your dorm closet is a narrow slice of real estate that determines whether your room feels chaotic or calm, and the right organization system depends less on trends and more on your space’s dimensions, your lease terms, and how much you pack. A 24-inch-deep reach-in demands a different strategy than a 60-inch-wide double door, and what works for a lofted bed setup may fail in a standard layout. The six approaches ahead range from a $15 tension-rod fix to a modular shelving investment, each mapped to specific closet widths, rental restrictions, and daily routines so you can match the solution to your actual constraints rather than forcing a generic aesthetic.
Key takeaways
Measure your closet’s width, depth, and rod height before buying anything, since most dorm closets run 24–36 inches deep and a single 42–48-inch rod dictates what vertical systems can fit. Double your hanging capacity with stackable fabric shelves or a second tension rod for short items, which frees the bottom foot of floor space for shoes or bins. Mount over-door hooks and pocket organizers for accessories and outerwear, but confirm the door’s clearance (typically 1–2 inches) so it still swings fully without scraping the frame. Choose your route by lease length: adhesive hooks and tension rods cost under $30 and leave no damage, while a freestanding cube unit (around $50–$100) works for renters, and a custom closet system is only worth it if you’ll stay 2+ years.
Vertical Hanging Systems for Maximum Capacity
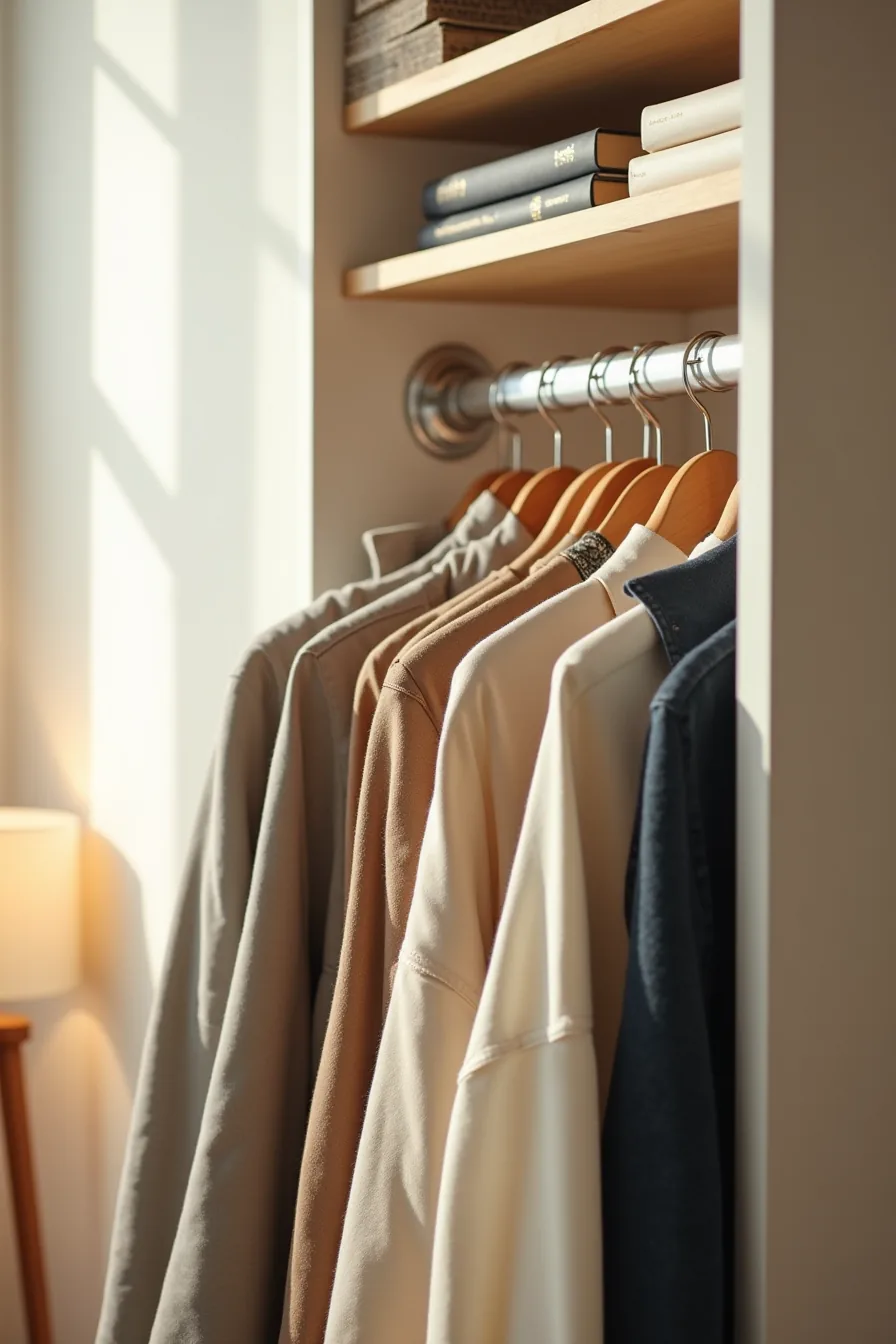
The fastest way to multiply your dorm closet’s capacity is to stop thinking in terms of the single metal rod your room came with. A cascading hanger, a rigid bar with three or four drop-down tiers, turns that one rod into a vertical column that can hold a season’s worth of pants, shirts, and jackets stacked one above the other. The setup you’re looking at uses three separate cascading tiers: the top tier carries folded sweaters on sturdy plastic hangers, the middle tier holds button-downs on slim velvet non-slip hangers, and the bottom tier uses metal clips for pants and skirts.
Because each tier hangs directly below the previous one, the total footprint on the rod is roughly the width of a single hanger, usually 18 to 20 inches, while the garments reach downward nearly 48 inches, filling air space that would otherwise stay empty.
This system suits a room where floor space is already claimed by a dresser or laundry basket, since it adds zero square footage. Reproducing it requires only a set of cascading hangers (about $10–$15 for a pack of four) and the willingness to group garments by length so the longest items, jackets or dresses, hang on the inside tier, away from the door opening. The trade-off is access: reaching the bottom tier means lifting the top two tiers aside, so reserve the lowest clips for items you wear only twice a week.
For a medium or large closet, add a second cascading unit on the opposite end of the rod to split casual and formal pieces, but keep the total weight under 15 pounds per rod to avoid sagging.
Shelf Dividers and Stacking Strategies
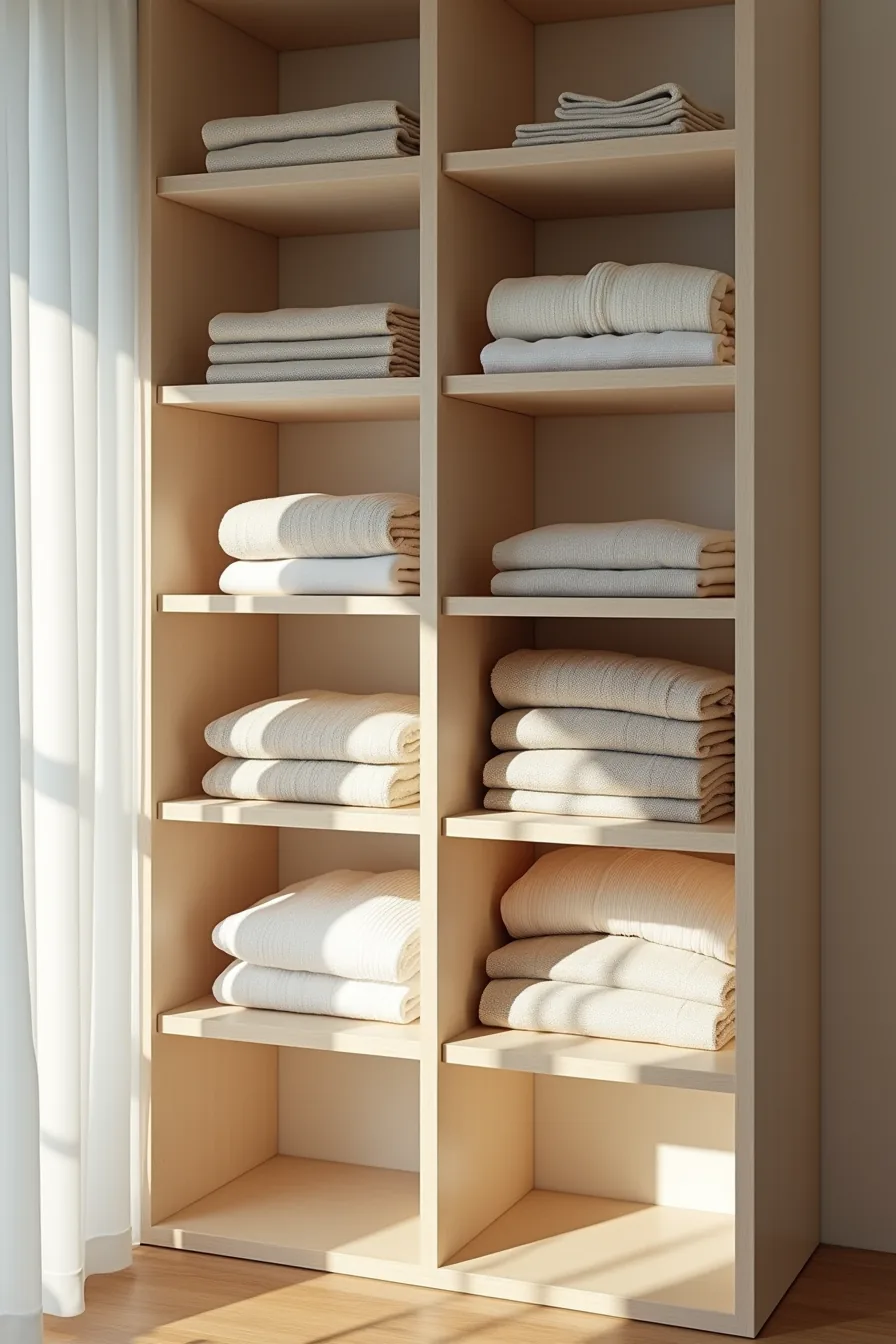
Folded stacks topple for one reason: no physical boundary holding them upright. Wooden shelf dividers, vertical slats that slide onto the shelf track or sit freestanding, split a standard 30-inch closet shelf into three distinct zones. The setup here uses two dividers to create three sections: sweaters on the left, t-shirts in the middle, and accessories on the right, with each stack aligned flush against its divider so nothing leans into the neighboring pile.
This approach suits anyone who prefers visibility over digging through bins. The KonMari fold, folding garments into compact rectangles that stand upright, works best here, because it lets you see every item at a glance and pull one without disturbing the rest. Reproducing it costs under $20: a pack of wooden dividers runs $8–$12, and you need no additional hardware if your shelf has built-in slots.
For a deeper shelf (16 inches or more), place bins behind the dividers to reserve the front row for daily-wear items, and rotate seasonal pieces to the back. Maintenance is minimal, re-fold one stack per week to keep the system from degrading into chaos.
Under-Closet Storage and Floor Optimization

The floor beneath hanging clothes is prime real estate, but only if you keep it low and breathable. This setup pairs two flat plastic storage boxes with a low-profile shoe rack, arranged side-by-side so the hanging jackets above clear both by a couple of inches. That visible air gap matters: it lets closet air circulate and prevents moisture from trapping against your footwear or stored fabrics.
Flat boxes slide out fully even when stacked two-high, making them a better choice than deep bins that force you to dig blind. They suit anyone with a reach-in closet under 6 feet wide, where vertical stacking is the only way to gain capacity. The shoe rack sits open on top, so you see every pair at a glance and can grab one without dragging out a container.
Keep the heaviest boxes on the floor and never stack more than three units high, anything taller becomes unstable and blocks airflow near the baseboard.
Door-Mounted and Over-Rod Accessories
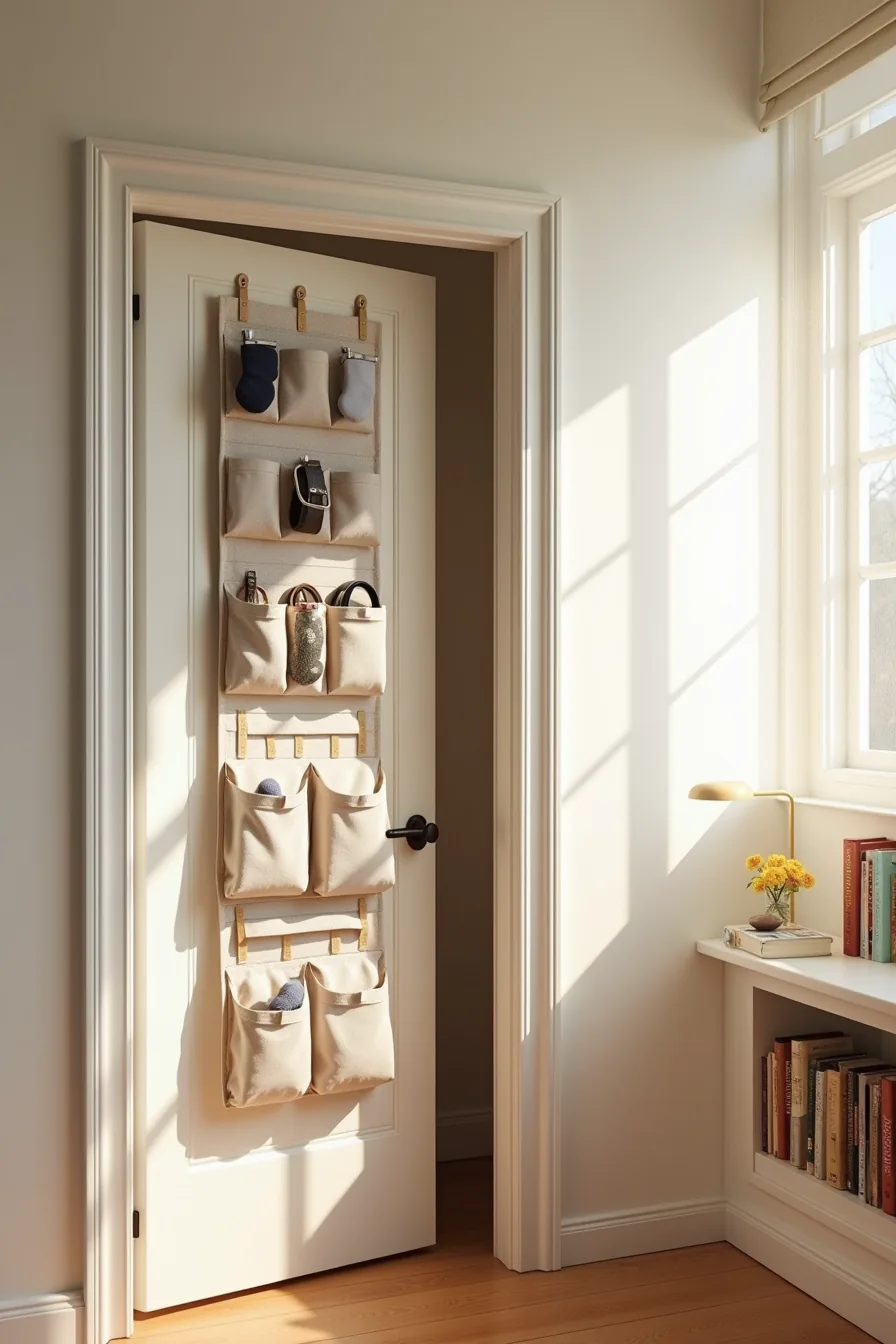
The back of your closet door turns into a vertical storage wall without a single screw. A standard over-the-door fabric organizer hangs from the top edge and gives you roughly 12–24 pockets, ideal for socks, underwear, accessories, and small electronics. Opt for a clear-pocket version so you spot what you need in seconds; opaque pockets force you to pat down each compartment like a guessing game.
Adhesive hooks rated for 5–10 pounds hold belts, lanyards, and lightweight bags, place them on the door panel itself, not the frame, where the adhesive gets less surface contact.
The hanging fabric shelf clipped to the rod adds a third tier without touching the floor, perfect for folded sweaters or shoes you want visible but off the ground. This whole system takes under 10 minutes to install and comes apart cleanly, which suits renters whose inspection checklist includes “no wall damage.” One limitation: over-the-door organizers add bulk, so measure the gap between the closed door and the frame, if it’s under an inch, the unit will scrape or refuse to close. For Dorm Closet Organization Ideas mistakes to avoid, the most common failure is overstuffing the lower pockets, which makes the organizer bulge outward and strain the door hinge over a semester.
Color Coding and Inventory Systems
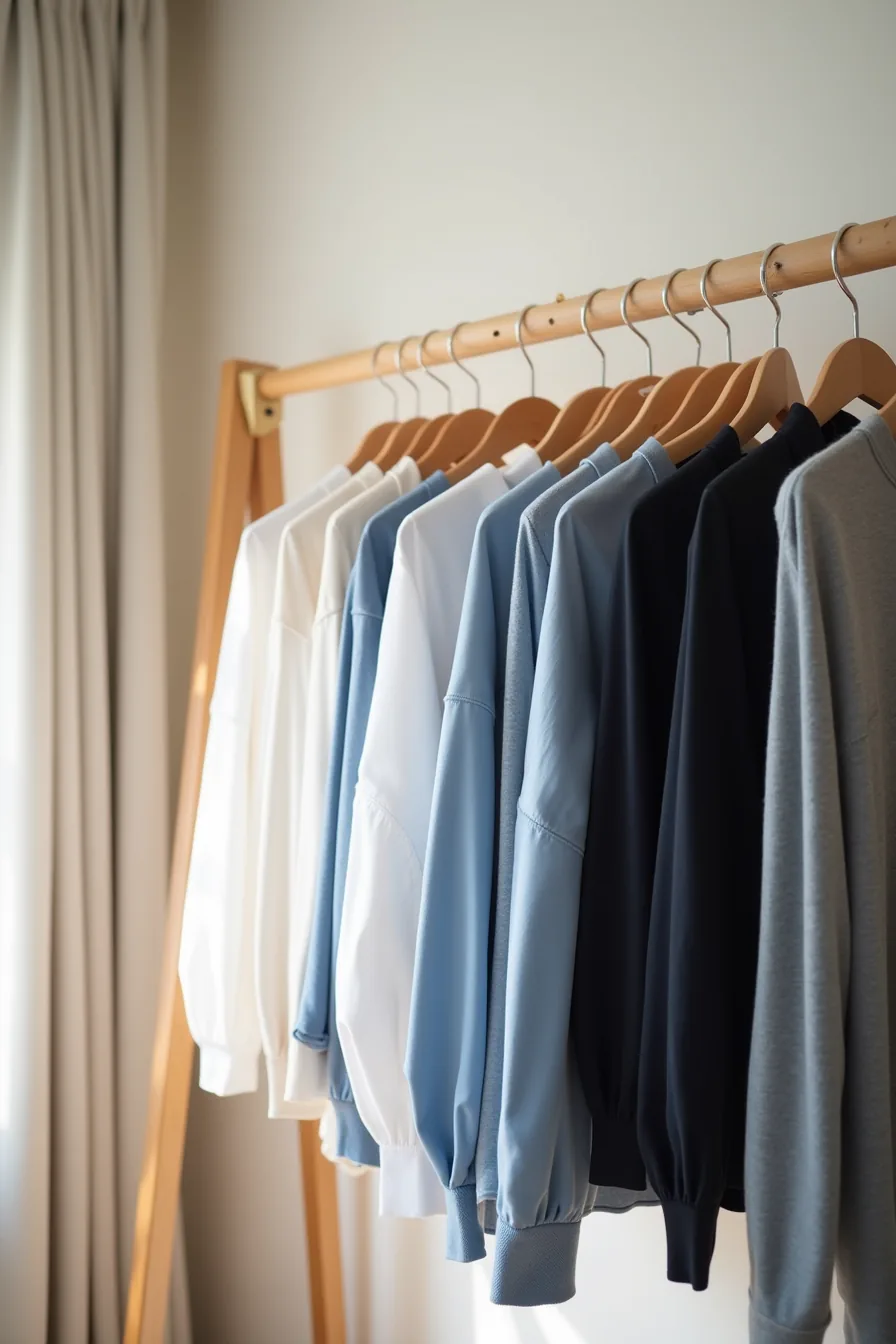
Arrange garments on the closet rod strictly left-to-right in a color progression: whites, creams, pastels, mid-tones, then deep blues and blacks. Matching hangers per color group, all wood for neutrals, all slim velvet for darks, visually separate the zones at a glance. This system suits students who dress in the dark before an 8 a.m.
Lecture; you can grab from one block without sorting through unrelated items.
Attach a small printed label tag with a paper clip to every fifth hanger, noting the category and season (e.g., “Tops – Spring,” “Bottoms – Casual”). That tag doubles as an inventory list: when you’ve worn and washed a piece, snap a quick photo on your phone instead of keeping a spreadsheet. You can spot a missing item instantly, if the label says five cardigans and you count three, you know what’s in the laundry or lost.
Color coding takes about 40 minutes to set up on a standard 4-foot rod, but you must maintain it for two weeks before it becomes habit, and the system collapses if you shove new purchases back in without re-sorting.
Budget, Renter, and Investment-Grade Routes
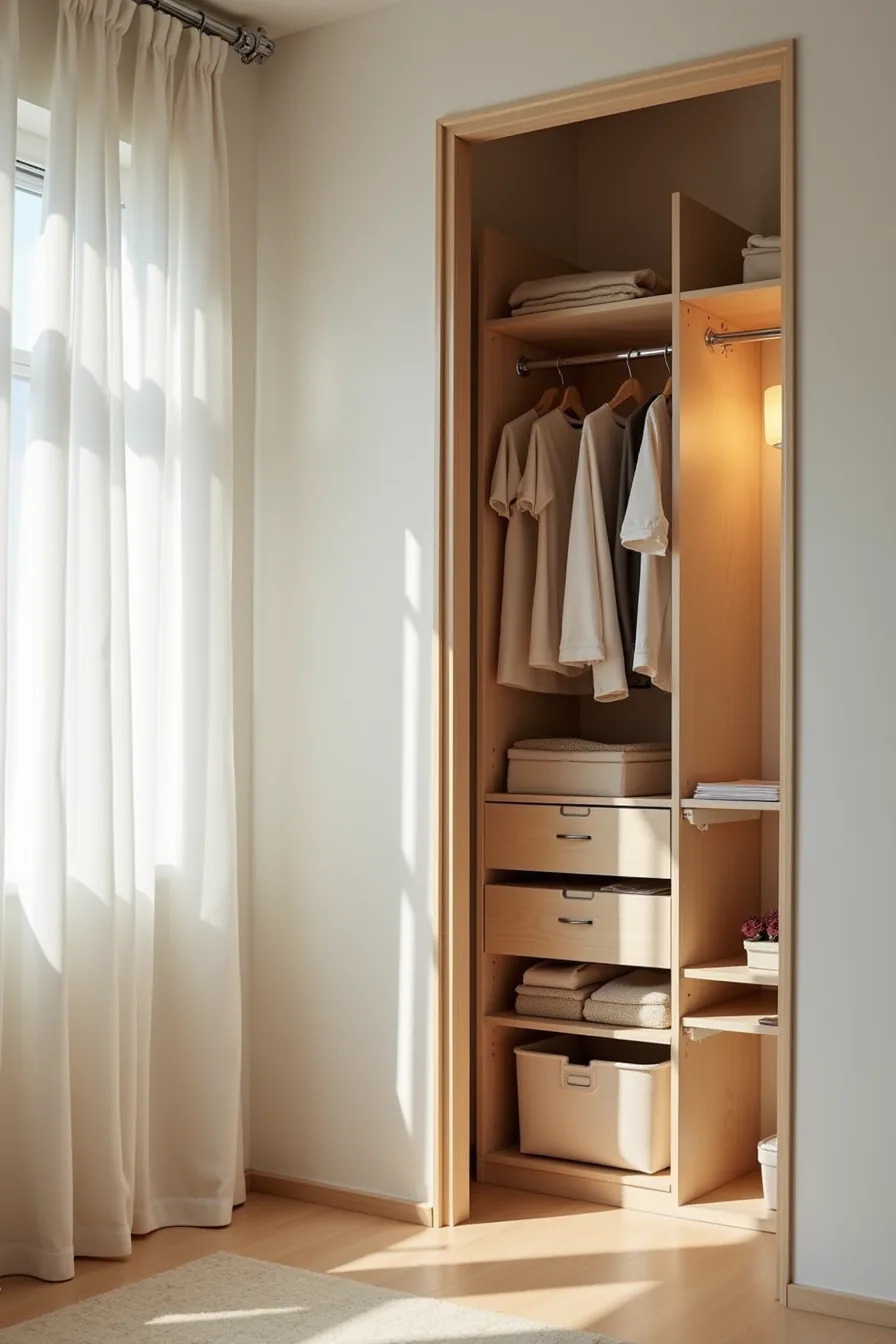
The split between a temporary tension rod and a permanent wooden system defines the three cost tiers for Dorm Closet Organization Ideas. A budget route, tension rod, command hooks, and fabric bins, runs roughly $25–$45 per rod and five hooks, assembles in 10 minutes without tools, and survives one to two years of light use. Renters favor this route because command hooks release cleanly with a 90-degree pull in May, leaving no wall damage; the trade-off is load limits, so keep the bin weight under 10 pounds or the rod will bow.
An investment-grade route, wooden shelving with metal brackets and labeled storage boxes, costs $120–$250 per closet and requires 45 minutes with a drill. It suits students who expect to move between dorms and apartments, since the brackets unscrew and reinstall on any stud wall; the labeled boxes migrate intact, retaining their inventory meaning. If you can’t drill, skip this tier and stick with tension rods; the upfront cost only pays off if you use the system for at least two consecutive years.
Your next move
You now have six distinct approaches, each with different costs, effort levels, and space requirements. Your choice depends on your budget, lease terms, and whether you want a one-term fix or a four-year system.
Start with the floor plan. Measure your closet’s width, depth, and hanging rod height before buying anything. Then pick one single change, a second hanging rod, a set of stackable bins, or a shoe rack, and install it this week.
That one action will free up more space than any decorative basket or color-coordinated hanger ever will.
Frequently Asked Questions
How much hanging space do you actually need in a dorm closet?
You need roughly 18–24 inches for coats and jackets, plus 12–18 inches for shirts and blouses. Reserve the rest for folded items; most dorm closets hold 30–40 hanging garments max.
What’s the best way to organize a dorm closet if you can’t drill or install anything?
Use tension rods for a second hanging level, over-the-door hooks for bags, and stackable fabric bins on the shelf. Command hooks work on doors and walls, no drilling required.
Should you fold or hang most items in a small dorm closet?
Fold heavy knits, jeans, and sweaters, they take less space and stretch less. Hang only wrinkle-prone items like button-ups, dresses, and blazers. Folding saves roughly 40% of vertical space.
How do you prevent mold and odors in a packed dorm closet?
Leave a 2–3 inch gap between clothes and the back wall, use a moisture-absorbing sachet or silica gel pack, and keep the door slightly ajar for airflow. Wash clothes weekly to remove trapped sweat and dust.