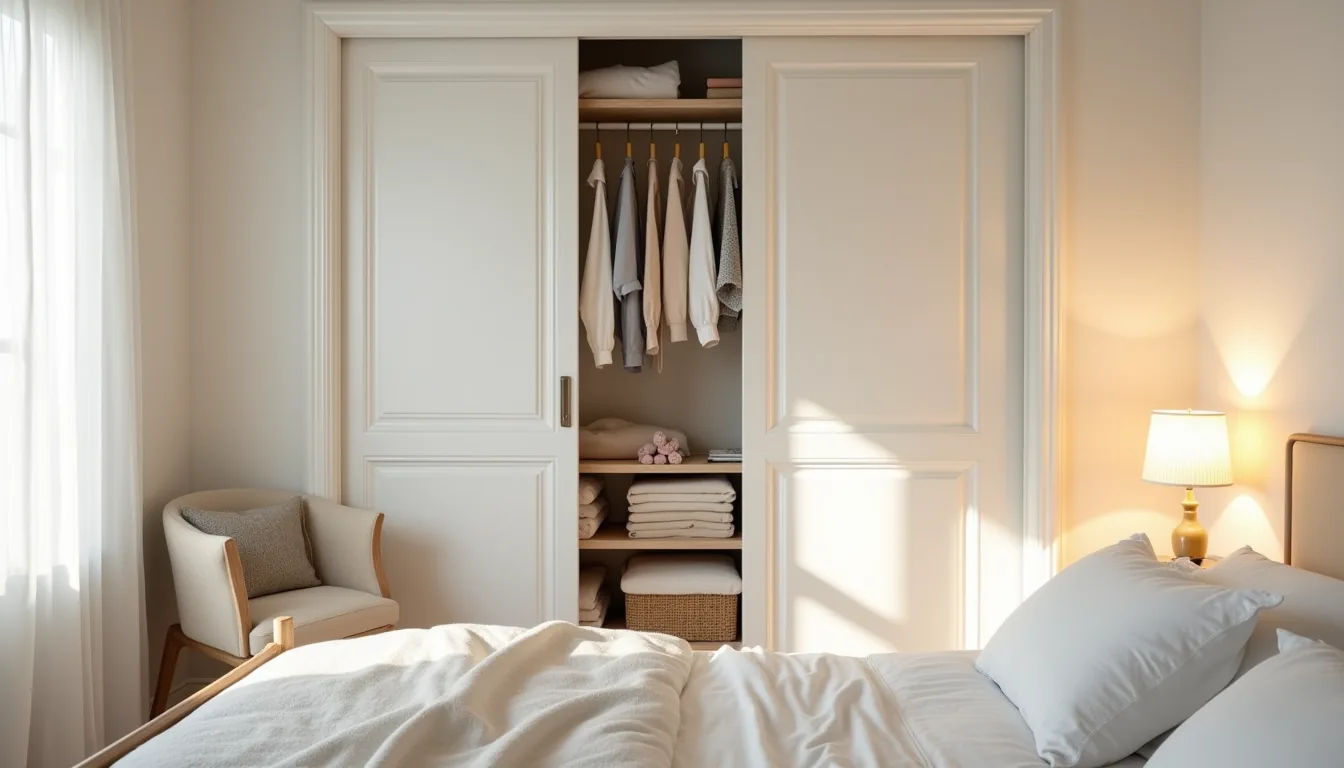

Closet organization ideas sliding door spaces rarely get the design attention they deserve, yet the door itself is your biggest organizational advantage, not a constraint. Because the track consumes zero floor space, you can run storage from floor to ceiling without fighting a swing radius. The real challenge is choosing a system that matches your door type, room size, and budget.
The six approaches ahead range from a $40 tension-rod fix to a built-in millwork investment, each with the exact measurements and trade-offs you need to decide fast.
Key takeaways
- Measure before buying: Sliding door tracks reduce usable opening width by 2-4 inches per door, so confirm your clear floor space and door overlap before choosing any storage add-on.
- Prioritize access over volume: Behind sliding doors, you only see one half at a time, so place daily-use items in the front third of each shelf or bin, not buried near the back rail.
- Match storage to door type: Mirror-backed doors double as a full-length dressing mirror but add 15-20 pounds per panel, so verify your track’s weight rating before installation.
- Budget picks work: Over-door pocket organizers and track-mounted hooks cost $15-40 and install in minutes, but they suit lightweight accessories only, avoid hanging belts, bags, or heavy tools that stress the rollers.
Rod and Shelf Dividers Behind Sliding Doors
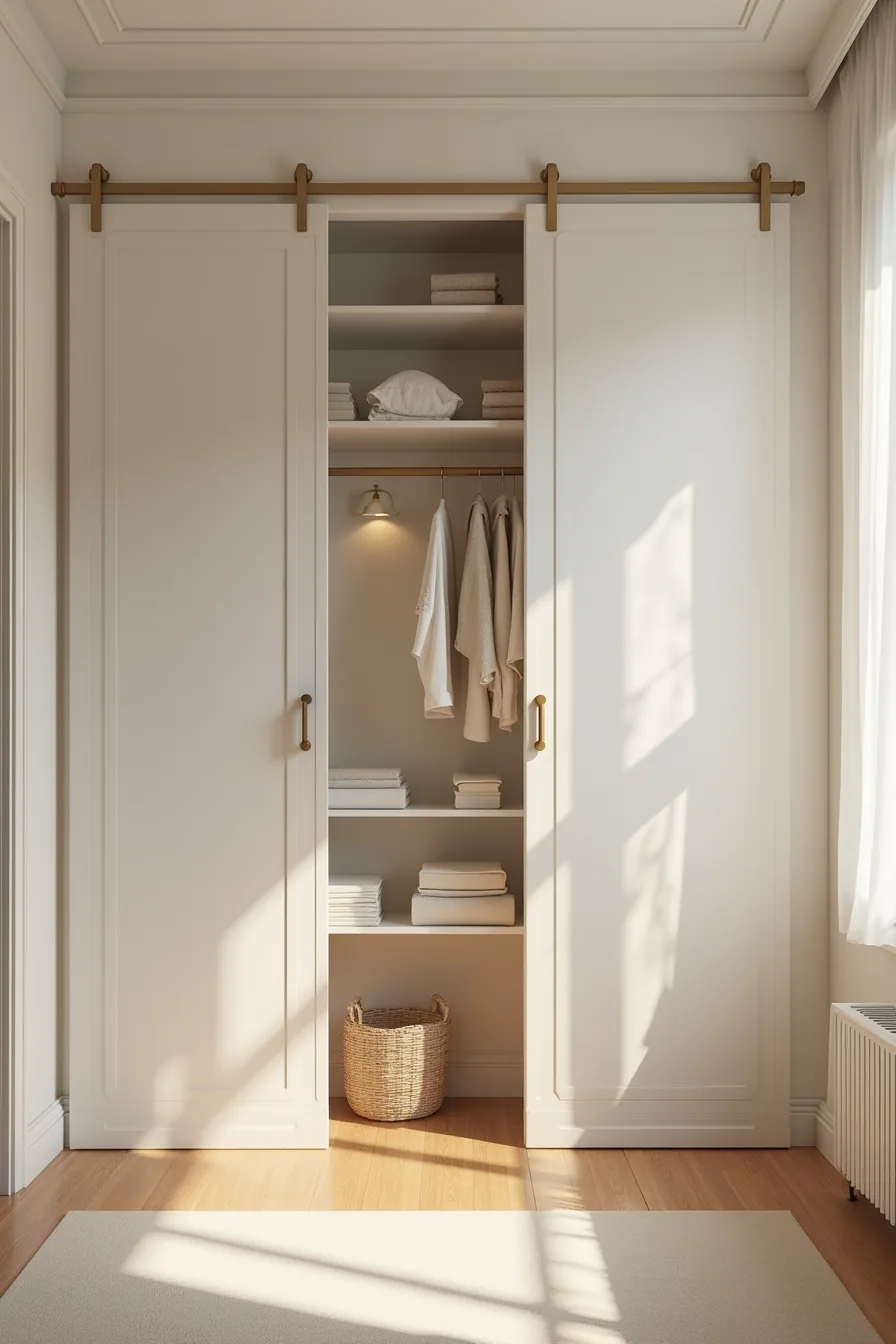
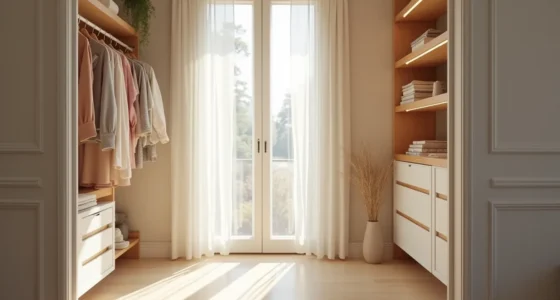
When you open a sliding door, you’re working with roughly 24 inches of usable depth at best, most standard closet systems run 20 to 24 inches deep, while reach-in closets with sliding doors often sit at 22 to 24 inches. That shallow footprint suits a hybrid arrangement: a single hanging rod mounted at 66 to 72 inches high for shirts and jackets, with adjustable metal shelves stacked below. The example here pairs a heavy-gauge steel shelving unit with vertical dividers that split each shelf into folded-goods bays, so stacks of sweaters or jeans stay upright instead of toppling sideways.
The vertical dividers are the functional core of this setup. They let you pull one item without disturbing the entire column, and they create distinct zones for different garment types, towels on one shelf, denim on another. Choose shelves rated for 50 to 75 pounds per shelf if you’re storing folded knitwear or handbags; lightweight plastic organizer shelves will bow under that weight within months.
Brackets should screw into wall studs, not drywall alone, because the combined load of hanging rods and shelf contents routinely exceeds 100 pounds.
This layout suits medium to large closets where you need both hanging and folded storage but don’t want the expense of custom built-ins. A three-shelf unit with one rod costs roughly 80 to 200 dollars retail, and you can install it in an afternoon with a level and a drill. For renters, use freestanding metal shelving that leans against the wall rather than brackets that leave holes; just confirm the unit’s depth clears the sliding door track so the door closes fully over the shelving.
Tiered Drawer Inserts and Bins for Small Spaces
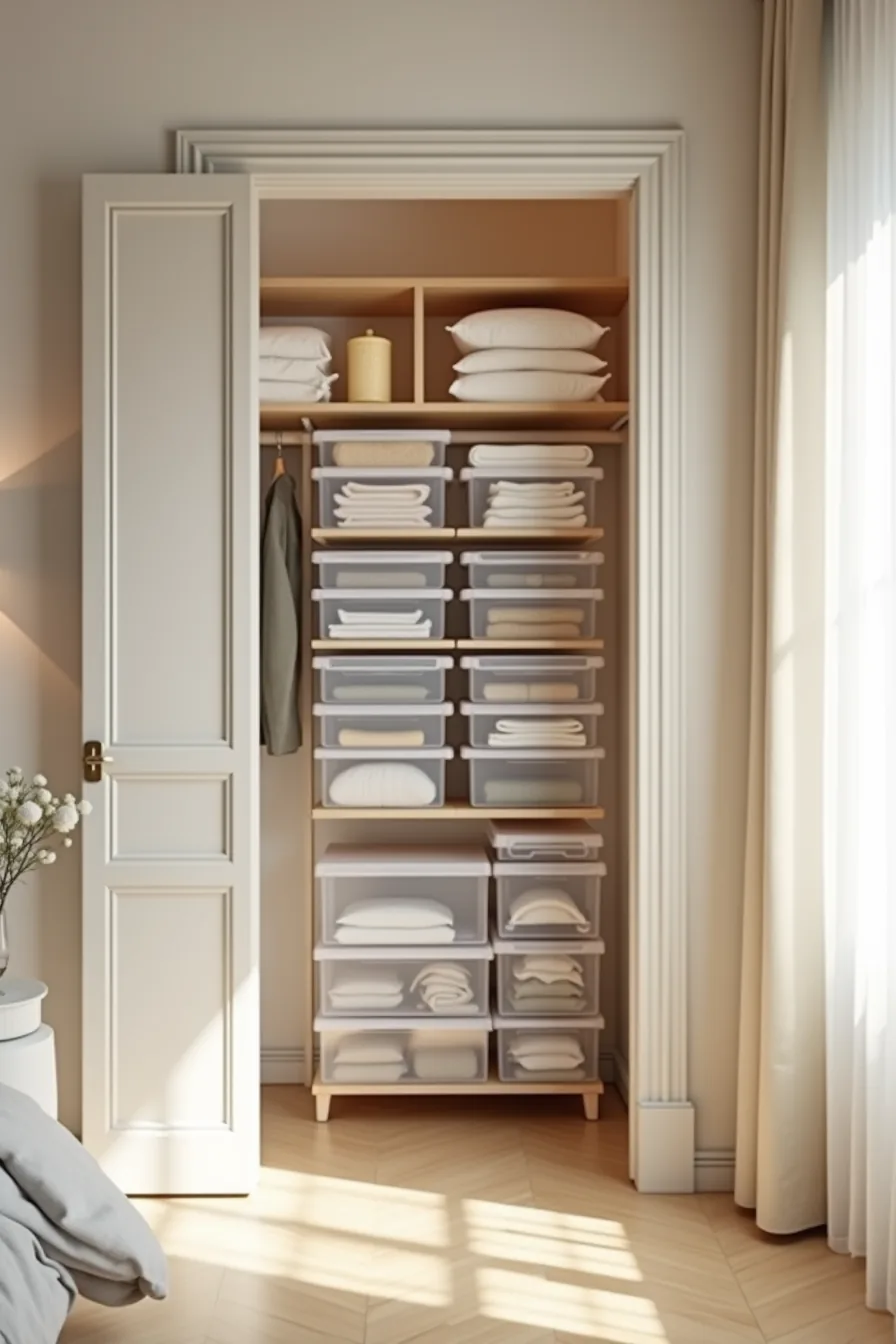
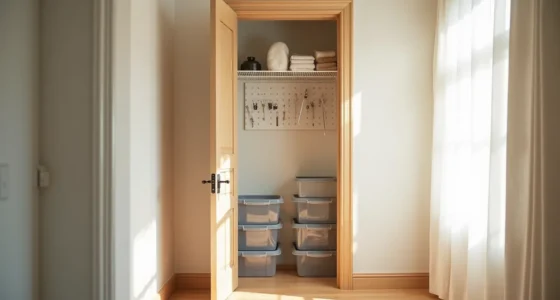
When a sliding-door closet dips under 4 feet wide, your usable depth shrinks to roughly 18 to 22 inches once the door track and hardware occupy their space. That footprint rewards tiered clear drawer inserts and stackable bins arranged in columns rather than wide shelves. A narrow closet rod mounted at 60 to 66 inches handles short-hanging items like blouses or kids’ jackets, while the floor-to-rod zone below holds two to three stacked layers of modular organizers.
Clear drawer inserts work because you see exactly where the folded tees end and the leggings begin without sliding a bin out. Choose rigid polypropylene units with reinforced corners; soft fabric cubes compress and sag when stacked. The stackable bins in the tiered arrangement should top out at 10 to 12 inches tall each, keeping the highest layer within easy reach.
For renters, skip adhesive rails and use freestanding stacking that doesn’t mark walls, just measure the track clearance so the door slides fully shut over the tallest bin. A budget-friendly route mixes two clear drawer inserts with three solid bins for roughly 40 to 70 dollars total, no tools required.
Mirror-Backed Sliding Doors with Interior Hooks
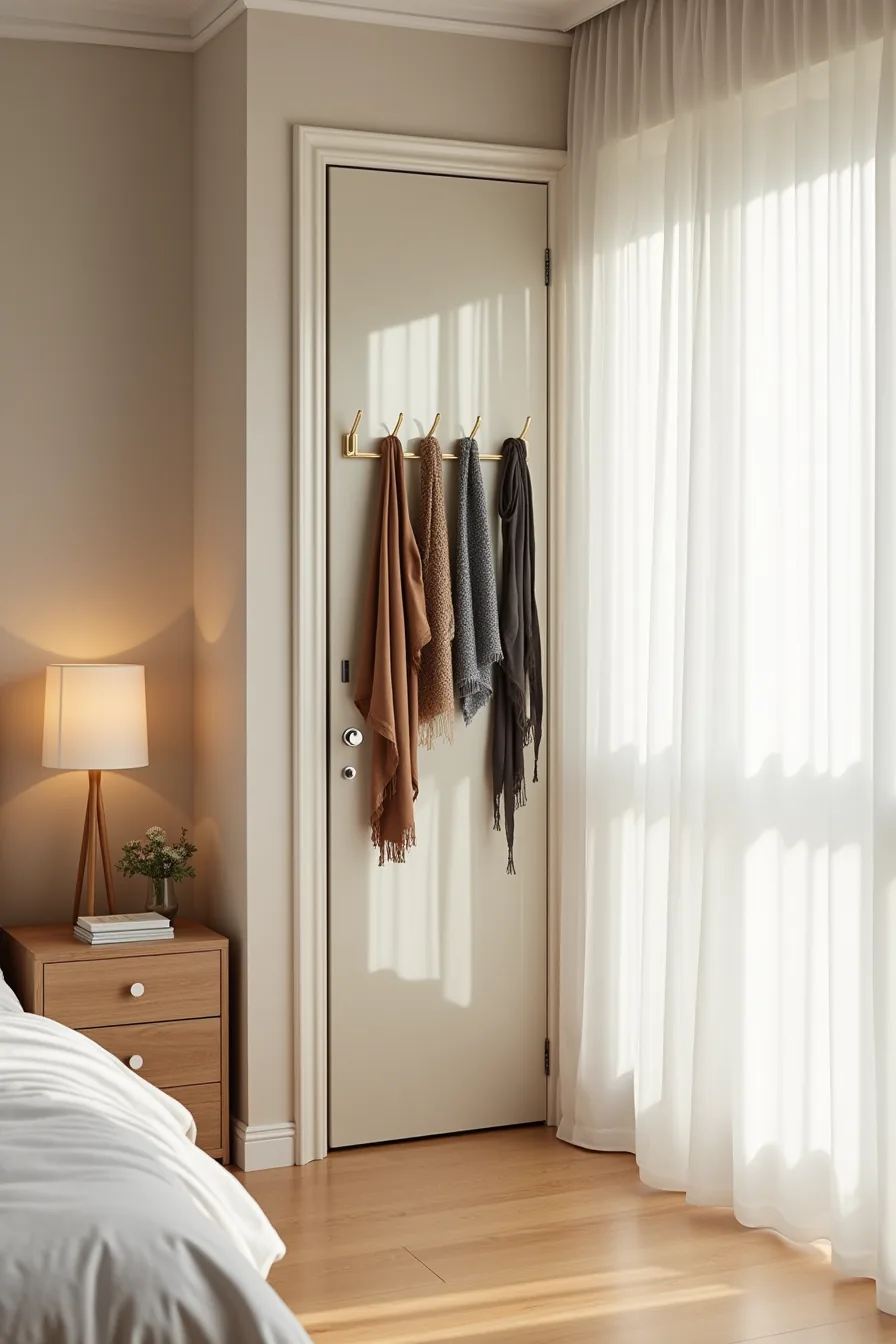
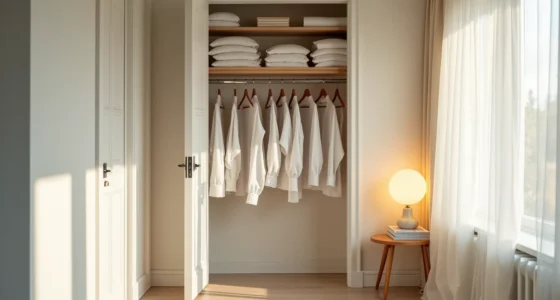
A mirrored sliding door transforms a closet’s exterior into a full-length dressing mirror while the interior face becomes prime real estate for accessories. Adhesive hooks rated for 5 to 10 pounds each mount directly onto the reflective surface, letting you hang scarves, belts, and lightweight bags without drilling through the mirror or the door frame. This setup suits small bedrooms where a separate standing mirror would consume floor space, and it works equally well in rental units since the hooks peel off with heat from a hair dryer and leave no residue.
Installation takes roughly 20 minutes: clean the mirror interior with rubbing alcohol, let it dry completely, then press each hook firmly for 30 seconds before hanging anything. Avoid placing hooks near the door’s top track or bottom rollers, where sliding motion creates vibration that loosens adhesive over time. The reflected room also amplifies natural light, making a narrow or windowless closet area feel twice as spacious.
For maintenance, wipe the mirror with a standard glass cleaner and check hook adhesion monthly, replacing a loosened hook costs about 5 dollars, far less than repairing a scratched or cracked sliding panel.
Sliding Door Track Accessories and Over-Door Storage
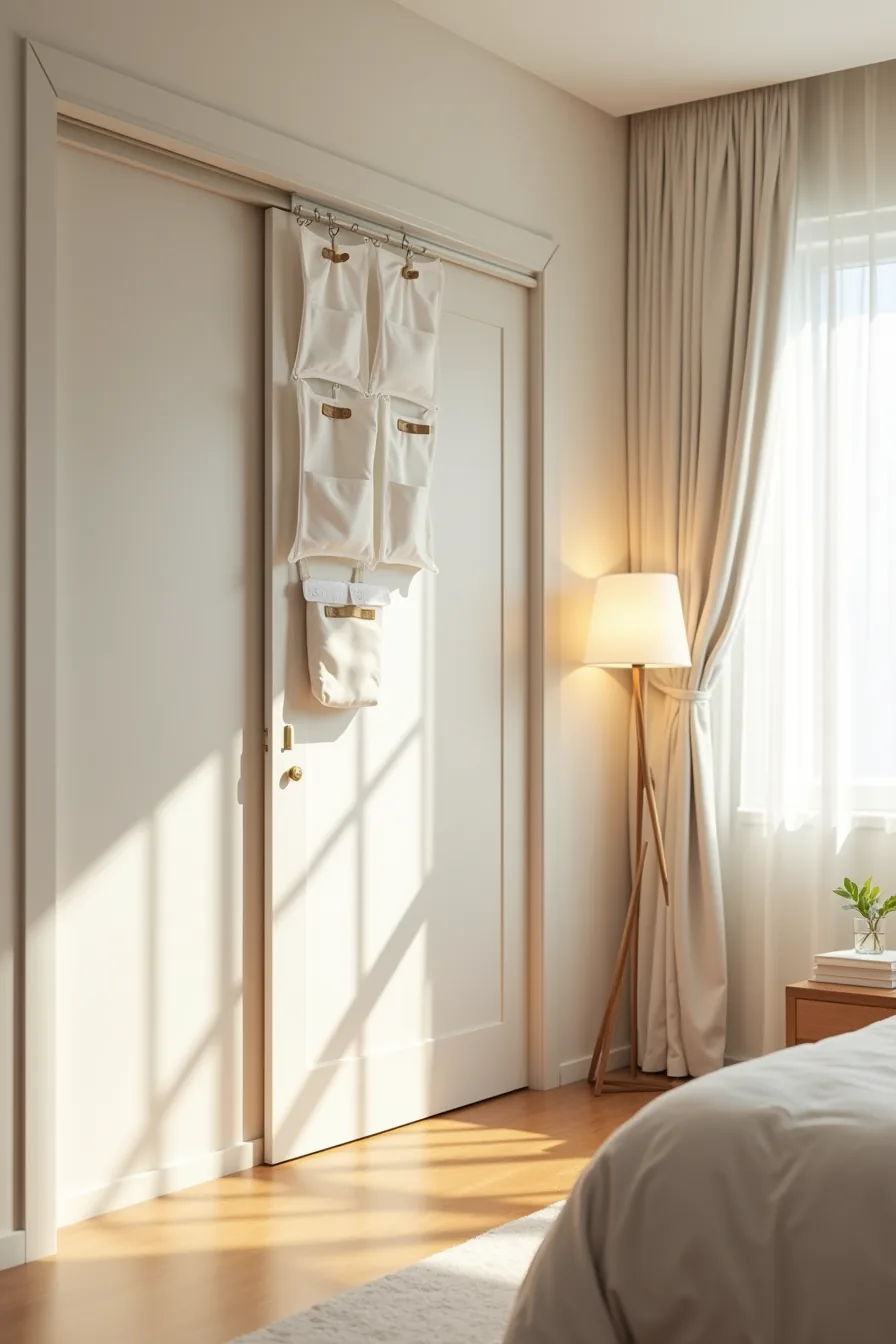
Over-door hooks rated for 15 to 25 pounds slip directly onto the top track of your sliding door, converting the frame itself into a hanging rail. A typical setup uses two hooks spaced 12 to 18 inches apart to support a hanging organizer with eight to twelve fabric pockets, plus a separate caddy for shoes or folded knitwear. This approach requires zero drilling, making it the fastest renter-friendly option, installation takes under five minutes and reverses just as quickly when you move out.
The suspended pockets sit flush against the door, so they don’t interfere with the track’s rolling mechanism or block your access to the closet interior. Choose organizers with reinforced grommets and stiffened backs; cheap alternatives sag within weeks and drag against the floor. Weight distribution matters: keep the heavy items in the bottom pockets and light scarves or accessories near the top to prevent the door from skewing on its rollers.
For practical closet organization ideas sliding door planning tips, measure your door’s track width before buying hooks, standard tracks run 1.25 to 2 inches wide, and oversized tracks require hook adapters sold separately. Dust the pockets monthly with a vacuum brush attachment, as fabric organizers collect lint faster than hard-sided bins.
Custom Built-In Shelving Systems for Permanent Installations
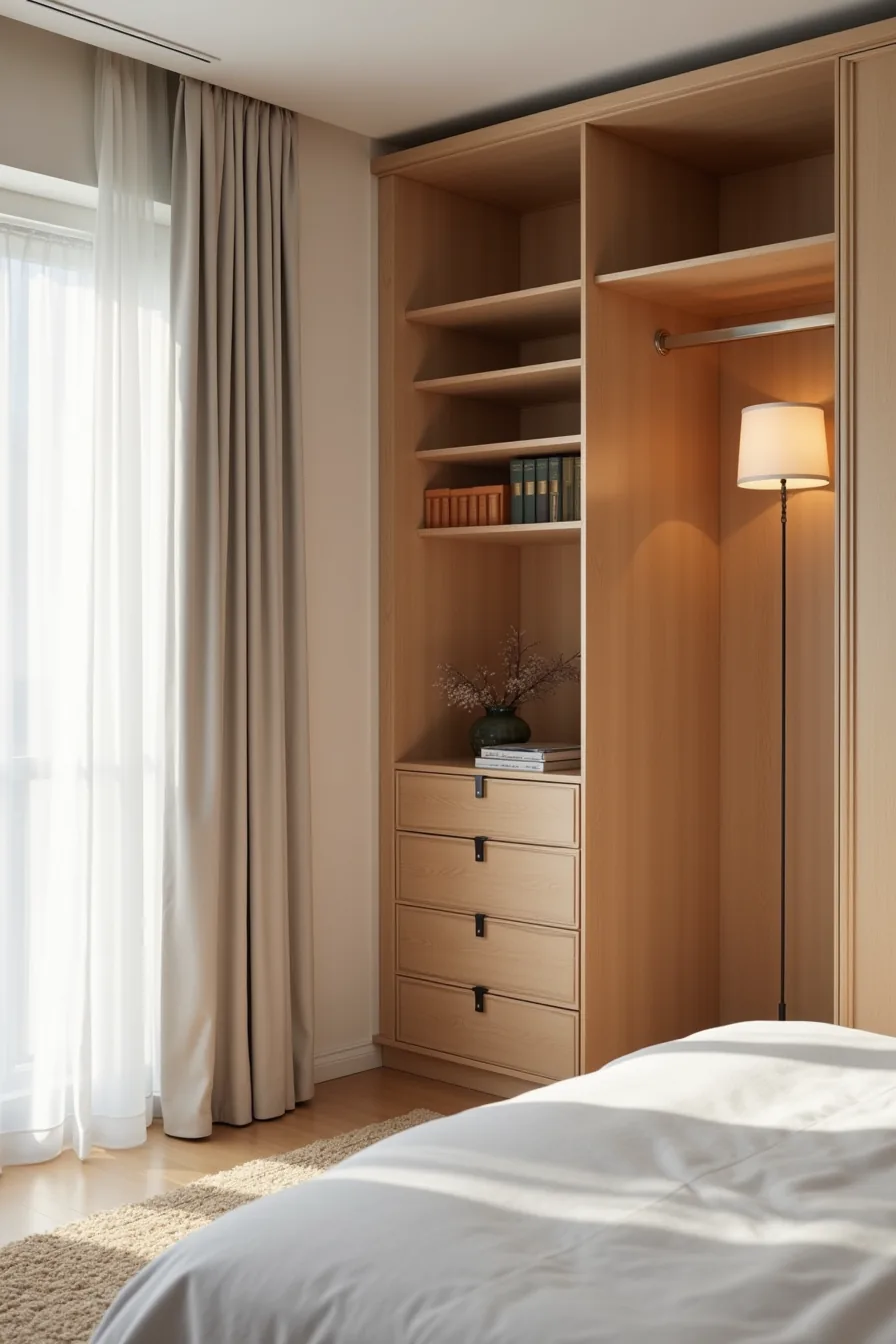
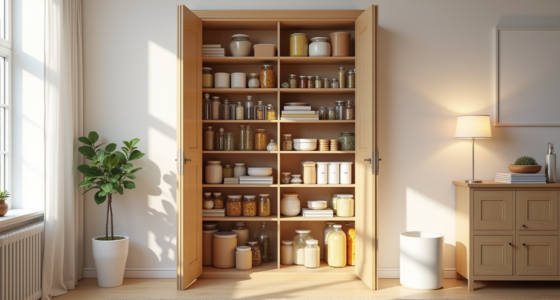
For medium to large closets with sliding doors, fixed shelving transforms dead vertical space into a permanent storage asset. A floor-to-ceiling unit built with plywood boxes and solid wood face frames typically costs $800 to $2,500 installed, roughly double a modular system, but it never racks, sags, or needs replacement. The structural framing hides behind the shelving, so the open face keeps the sliding door track fully clear while maximizing depth.
The setup that works best pairs adjustable hanging rods on one side with fixed shelves on the other, using 16-inch-deep shelves for folded items and a 36- to 40-inch rod section for long garments. Choose plywood with a hardwood veneer over particleboard; it holds screws better and survives humidity swings common in bedroom closets. Plan for a 24-inch clearance in front of the sliding door so the panels open fully without bumping the shelving face.
This is the right route if you own your home and expect to stay five-plus years, the labor is the real cost, so skimping on materials saves little. Avoid the common mistake of building shelves flush to the ceiling without a 2-inch gap for air circulation, which traps moisture and invites mildew on stored fabrics.
Lighting and Visibility Upgrades for Sliding Door Access
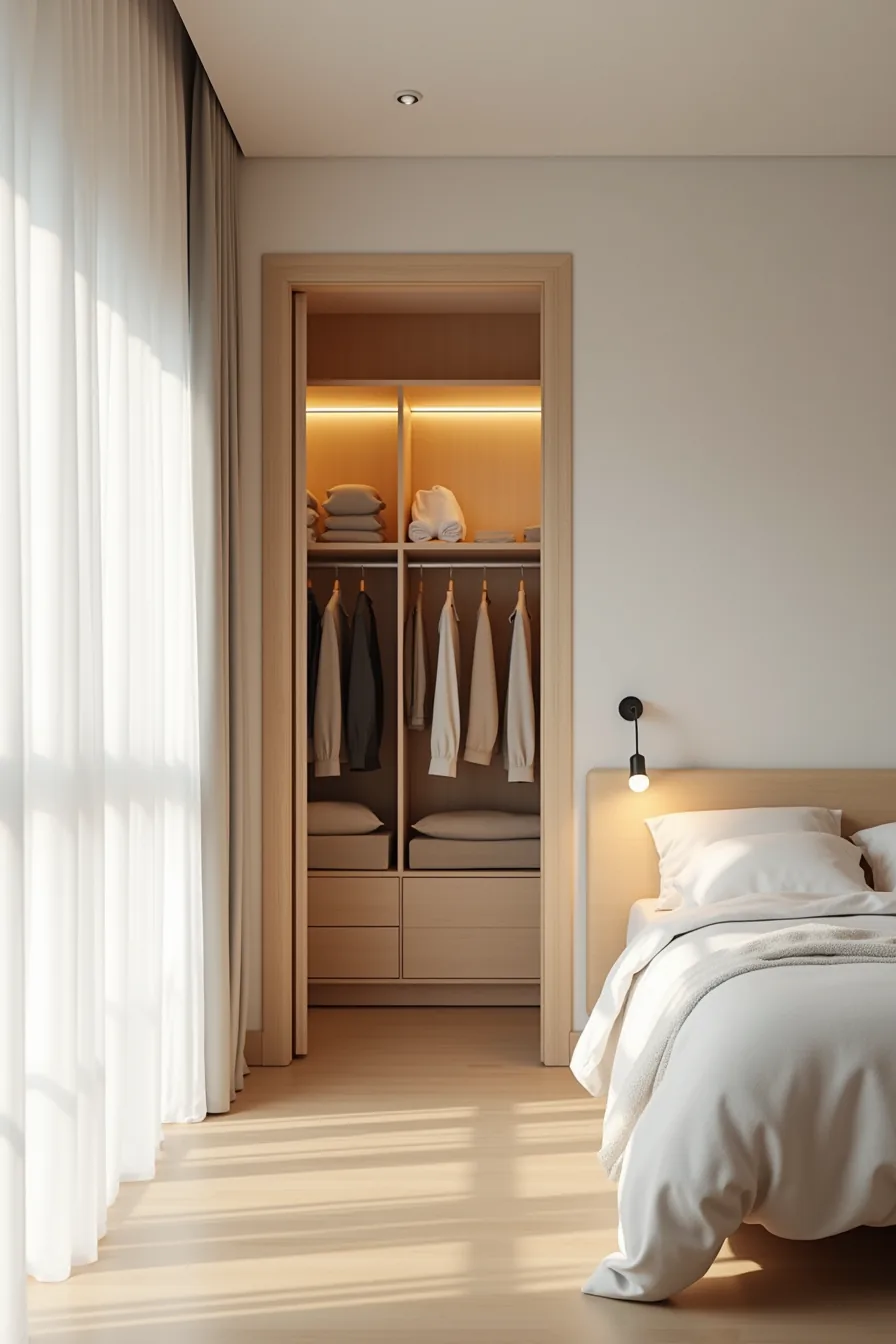
A sliding door always covers half the closet, so poor lighting turns the hidden side into a guessing game. Mount LED strip lights along the top shelf edge, angled slightly downward to wash light across hanging clothes and lower shelves without glare. This single placement gives you unobstructed sight lines even when the door sits half-open, eliminating the need to slide it back and forth to inspect contents.
Battery-operated puck lights under each shelf cost $20 to $60 per fixture and install without wiring or drilling, ideal for renters who can’t hardwire. If you own the space, a hardwired 12-volt system with a door-trigger switch runs $150 to $400 installed and turns on automatically when you slide the door. Choose warm white (2700K to 3000K) over daylight; it renders fabric colors accurately while feeling less clinical in a bedroom.
Test brightness before committing. A 3-foot strip at 400 lumens per foot is too intense for a 24-inch-deep closet and will wash out dark clothing details.
Your decision checklist
Before you commit to any sliding-door closet plan, run it through this filter. Measure your door opening width first, most bifold replacements need 60–72 inches, while single-panel sliders work in narrower 30–36 inch gaps. Confirm your ceiling height allows track clearance (usually 4–6 inches above the frame).
Check the floor path for obstructions like baseboard heaters or outlets that will interfere with the door travel. Decide your budget band upfront: tension rods and fabric panels run $30–$60, a DIY barn-door kit lands between $150–$400, and a custom bypass system with glass starts around $800. Finally, match the system to your room’s humidity, wood warps in bathrooms, so choose aluminum or PVC there.
Your next step: Measure your door opening and floor clearance right now, then write those two numbers on a sticky note. That single data point will eliminate half the options in this guide and make your material choice obvious.
Frequently Asked Questions
How deep does a closet need to be to organize effectively behind sliding doors?
Most standard sliding-door closets run 24–30 inches deep, which suits hanging clothes and shallow shelving. If yours measures under 20 inches, stick to slim bins, hooks, and fold-flat items rather than bulky organizers.
Can you add shelving inside a sliding-door closet without removing the doors?
Yes, but you must account for door clearance. Use freestanding wire or laminate units that sit within the closet’s interior depth, leaving at least 2–3 inches of gap so the sliding panels don’t scrape or jam against your new shelves.
What is the weight limit for hooks and organizers attached to sliding door frames?
Adhesive hooks on sliding door frames typically hold 5–10 pounds per hook; over-door organizers range from 20–40 pounds total. For anything heavier, anchor into wall studs behind the frame, never rely on the thin aluminum or wood track alone.
Are sliding door closet organizers suitable for rental apartments?
Yes, if you stick to non-permanent solutions like tension rods, freestanding shelving, and adhesive hooks. Avoid drilling into the door track or frame unless your lease allows it; most landlords require you to restore the closet to its original condition before moving out.