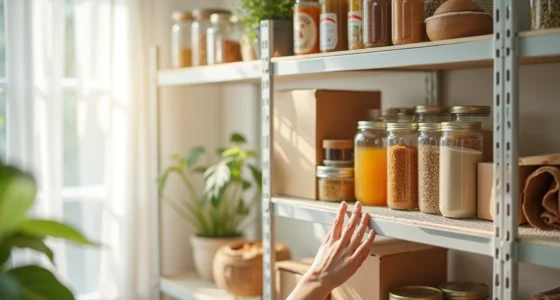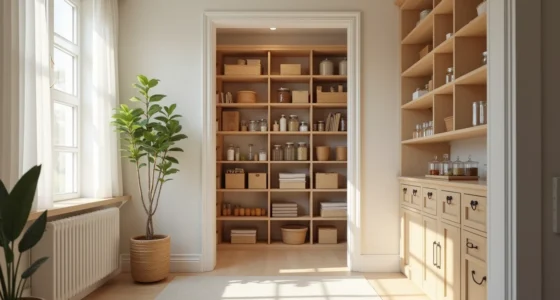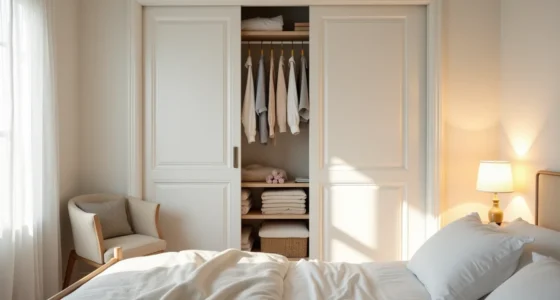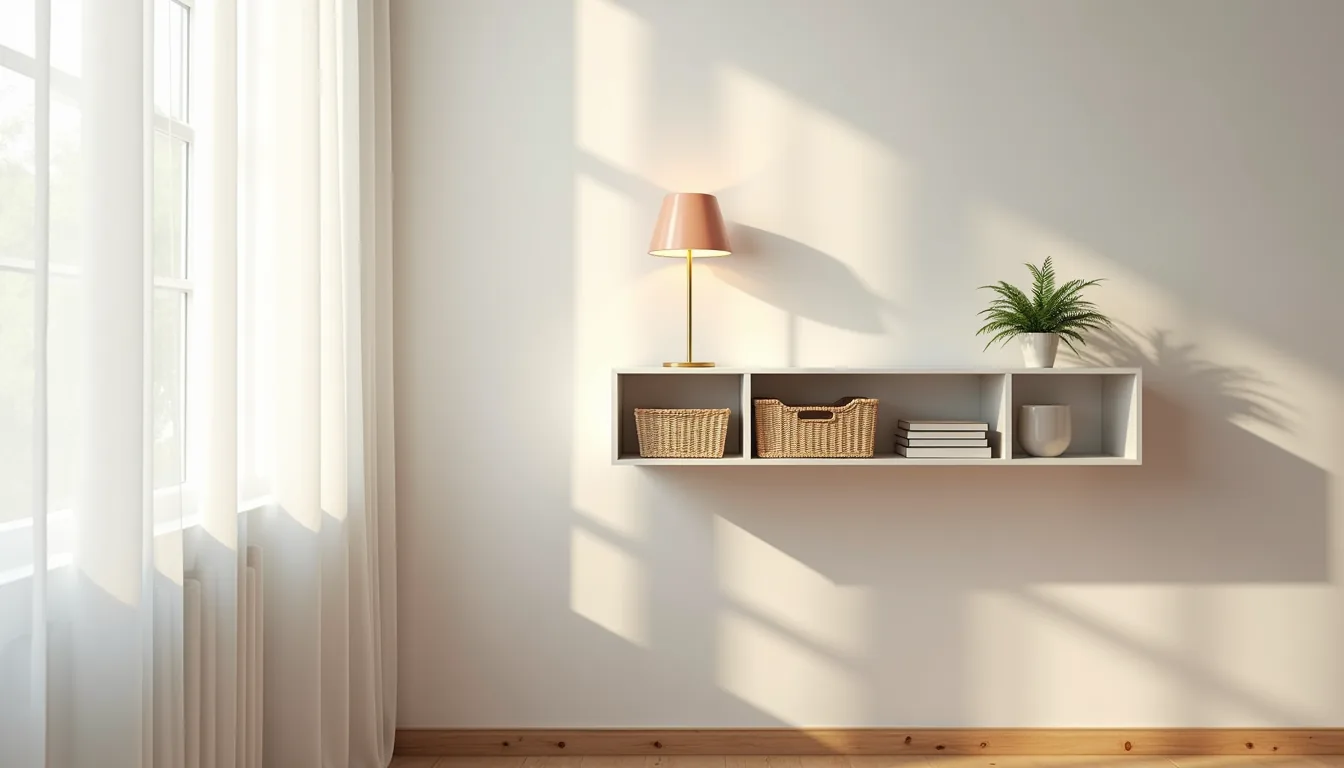
Clutter accumulates in the same places for the same reasons, flat surfaces, dead corners, and drawers without dividers, but the most effective DIY home organization ideas solve a specific spatial problem rather than just adding another bin. The distinction matters because a solution that works in a walk-in pantry will fail in a 30-inch-wide hallway closet. What follows are six approaches, each matched to a distinct room type, budget level, and maintenance tolerance, so you can match the fix to the friction instead of guessing.
Key takeaways
- Wall-mounted shelving works best in narrow spaces under 24 inches deep, but verify stud placement before buying brackets rated for your intended load.
- Drawer dividers suit shallow drawers under 4 inches tall, while compartment trays are better for deeper drawers holding bulky tools or accessories.
- Under-bed storage platforms raise the bed 6–10 inches, but measure your bed frame’s clearance first and choose lidded bins to block dust.
- Pegboard hook systems fit entryways and garages with at least 12 inches of clear wall space, and require 1/4-inch pegboard plus 1-inch standoff screws for airflow.
Wall-Mounted Shelving for Vertical Storage
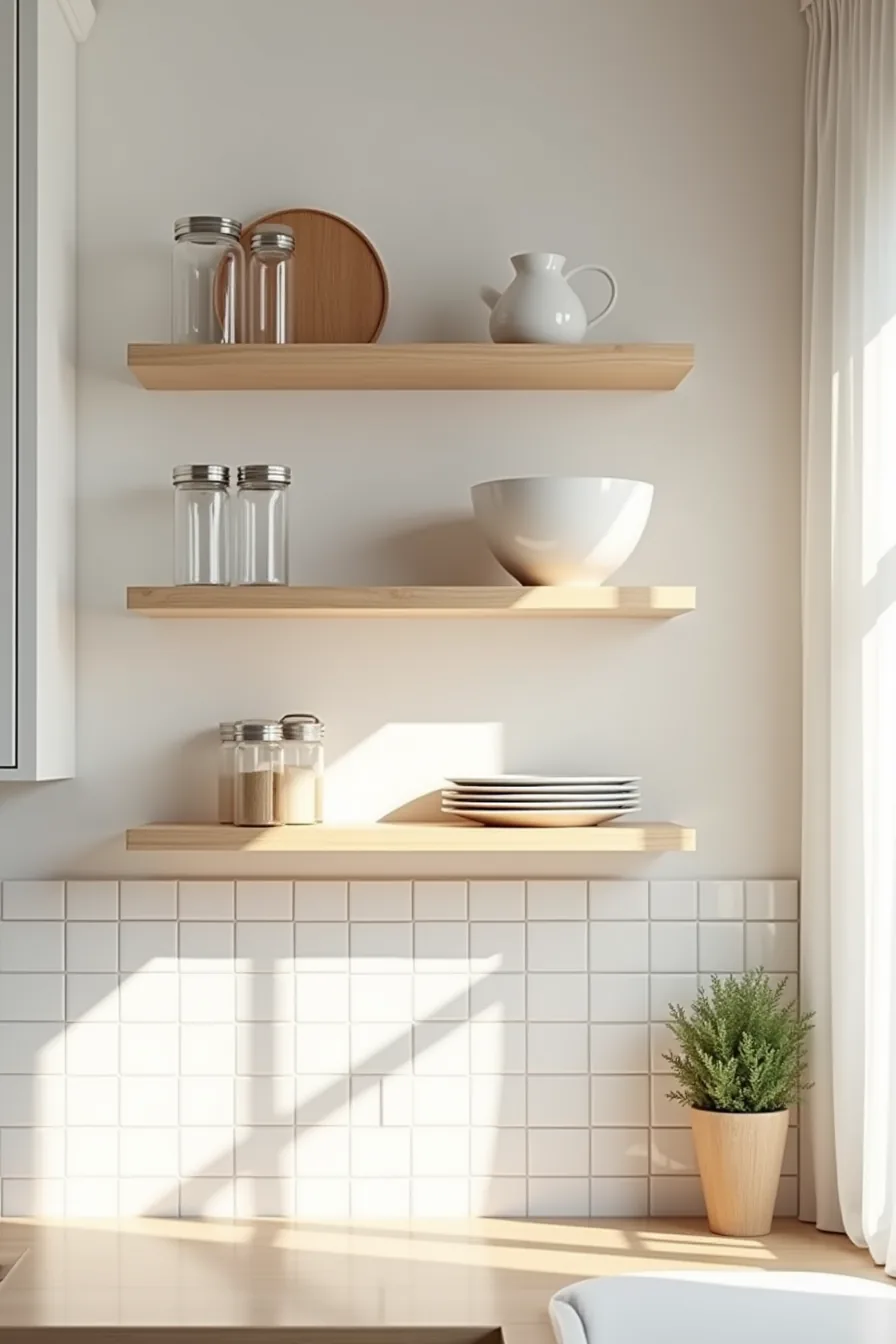
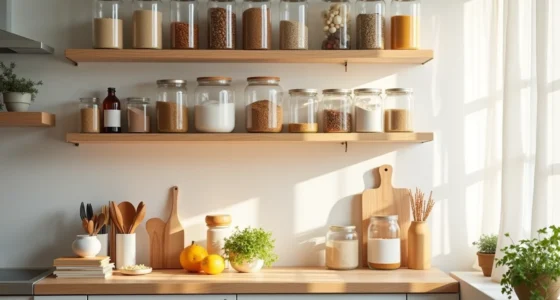
Wall-mounted shelving turns dead vertical space into functional storage, and it suits small and medium rooms where floor area is scarce. Consider three staggered floating shelves, each 24–36 inches long and set 12–14 inches apart vertically, to match the kitchen example. The lower shelf holds a small plant and a wooden utensil holder, the middle stacks plates beside a cutting board, and the upper shelves display glass storage jars and the ceramic bowl.
Floating shelves hide their brackets for a clean look, but they bear less weight than visible bracket systems. Budget-friendly floating shelves cost $15–$40 per shelf and hold 20–30 pounds per stud-mounted anchor; steel bracket systems run $50–$90 per shelf but support 50–75 pounds. Your stored plates and jars typically fall within the lighter range, but check that you mount into studs, not drywall alone, to avoid sagging or pull-out.
This setup suits renters because you can patch the few screw holes on move-out, and it works best in a galley kitchen or a tall narrow wall where cabinets would crowd the room. For a splurge Diy Home Organization Ideas route, invest in solid oak or walnut shelves ($120–$200 each) that resist bowing and last a decade with annual oiling.
Drawer Dividers and Compartment Systems
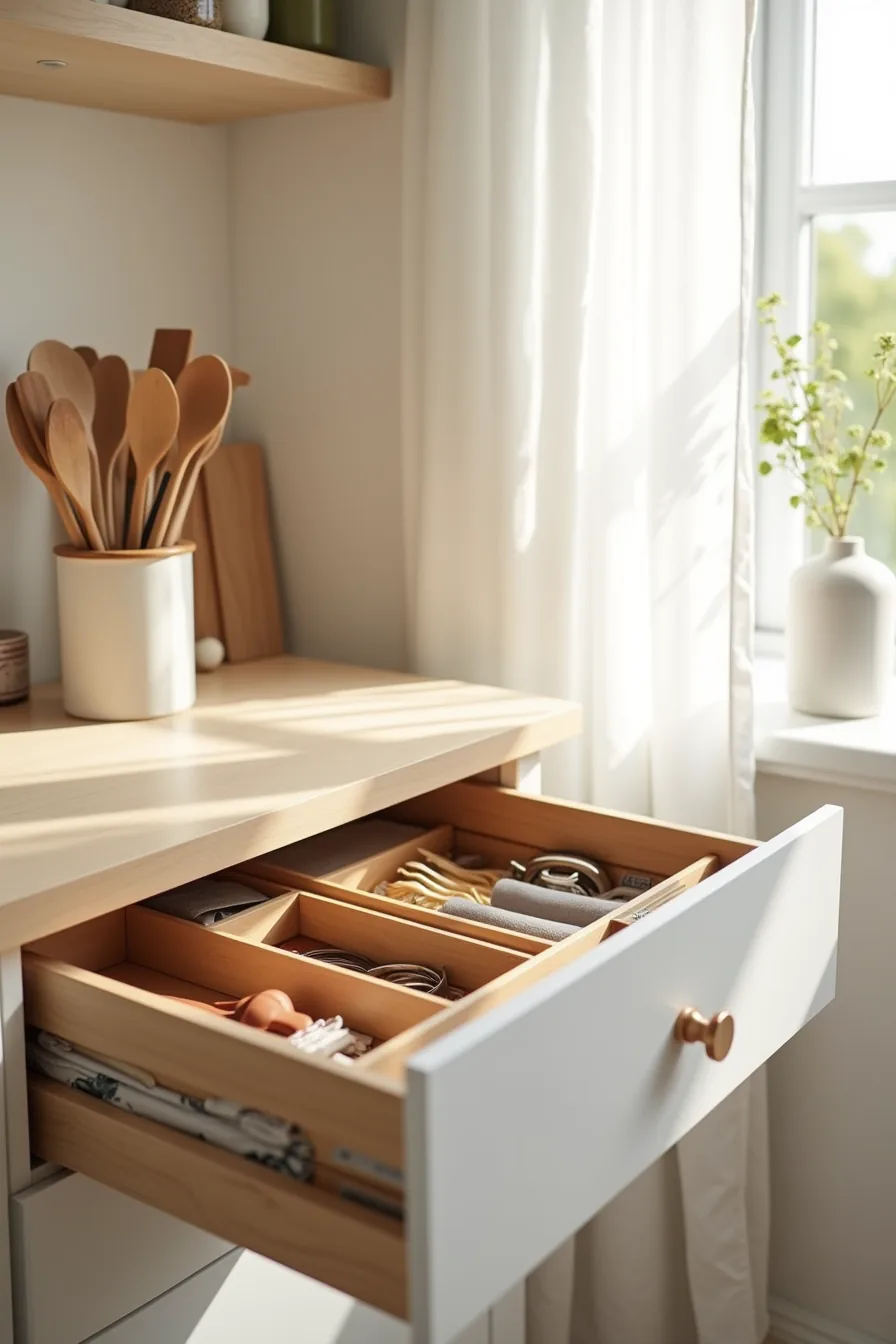
The image-style setup of a single deep kitchen drawer with six wooden dividers shows how compartmentalization eliminates the “junk drawer” entirely. Building your own dividers from 1/4-inch plywood or poplar strips costs $10–$20 per drawer and takes about two hours using a miter saw and wood glue, no fasteners needed if you cut pieces to fit snugly against the drawer walls. Standard kitchen drawers run 20–24 inches wide and 4–6 inches deep, so plan compartment widths of 3–5 inches to accommodate utensils, measuring spoons, and folded dish towels without wasted gaps.
Why it works: containers that force items into specific slots prevent pile-up and make inventory visible at a glance. This suits anyone who cooks daily, but skip it if your drawer is deeper than 8 inches, where stacked trays or dividers with a second tier will use vertical space better. Fabric inserts are the renter-friendly route at $8–$15 per set, though they absorb spills and need washing.
Wood dividers are the long-term investment, seal them with food-safe mineral oil, and they’ll resist warping for years. Before cutting, measure the drawer interior at the top edge, since most drawers taper slightly toward the bottom; ignoring this is one of the most common Diy Home Organization Ideas mistakes to avoid, and it leaves you with dividers that bind or slide loose.
Under-Bed Storage Containers and Platforms
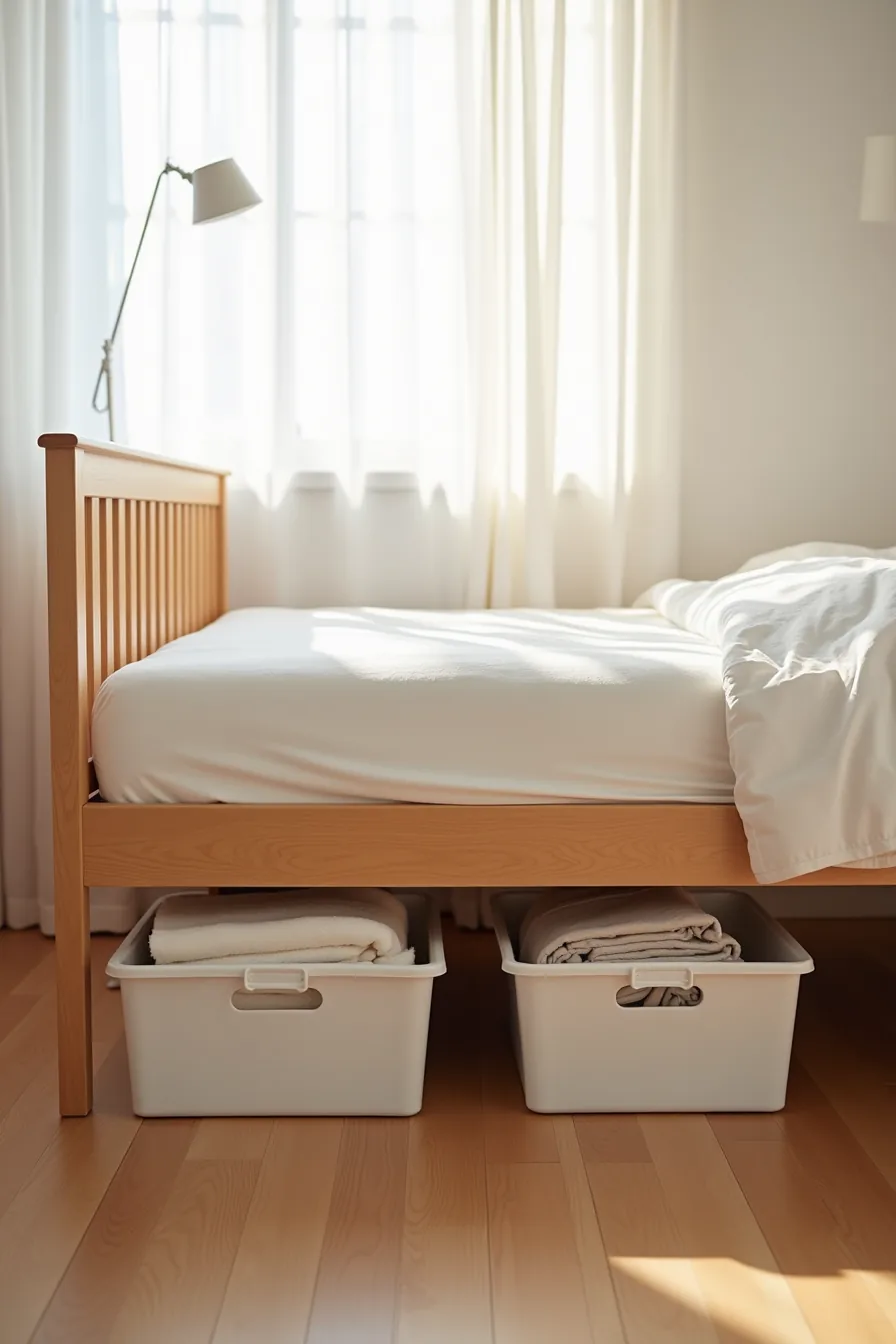
Low-profile containers with sturdy plastic handles, like the pair resting on hardwood beneath a bed frame, reclaim dead floor space without demanding a single cabinet or shelf. Before buying, measure the gap between the floor and your bed’s underside; most standard frames offer 6–10 inches of clearance, while platform beds often leave as little as 4–6 inches, which rules out taller bins entirely. Choose containers no deeper than 75 percent of that clearance so you can slide them out without scraping the slats or snagging folded blankets stored inside.
Why it works: out-of-sight storage clears visual clutter in bedrooms, but it only suits items you access seasonally, dragging bins out weekly for everyday clothes becomes a chore you’ll abandon. For renter-friendly setups, buy clear plastic tubs so contents stay identifiable without labeling, and skip adhesive casters that can mark hardwood floors. On concrete slabs or damp basements, improve containers on a 1–2 inch wooden platform or use breathable canvas bags instead, since sealed plastic traps moisture against blankets and encourages mildew.
Budget buyers can repurpose sturdy cardboard boxes covered in fabric, though they sag within a year and offer no moisture protection.
Closet Rod Doubling and Hanging Organizers
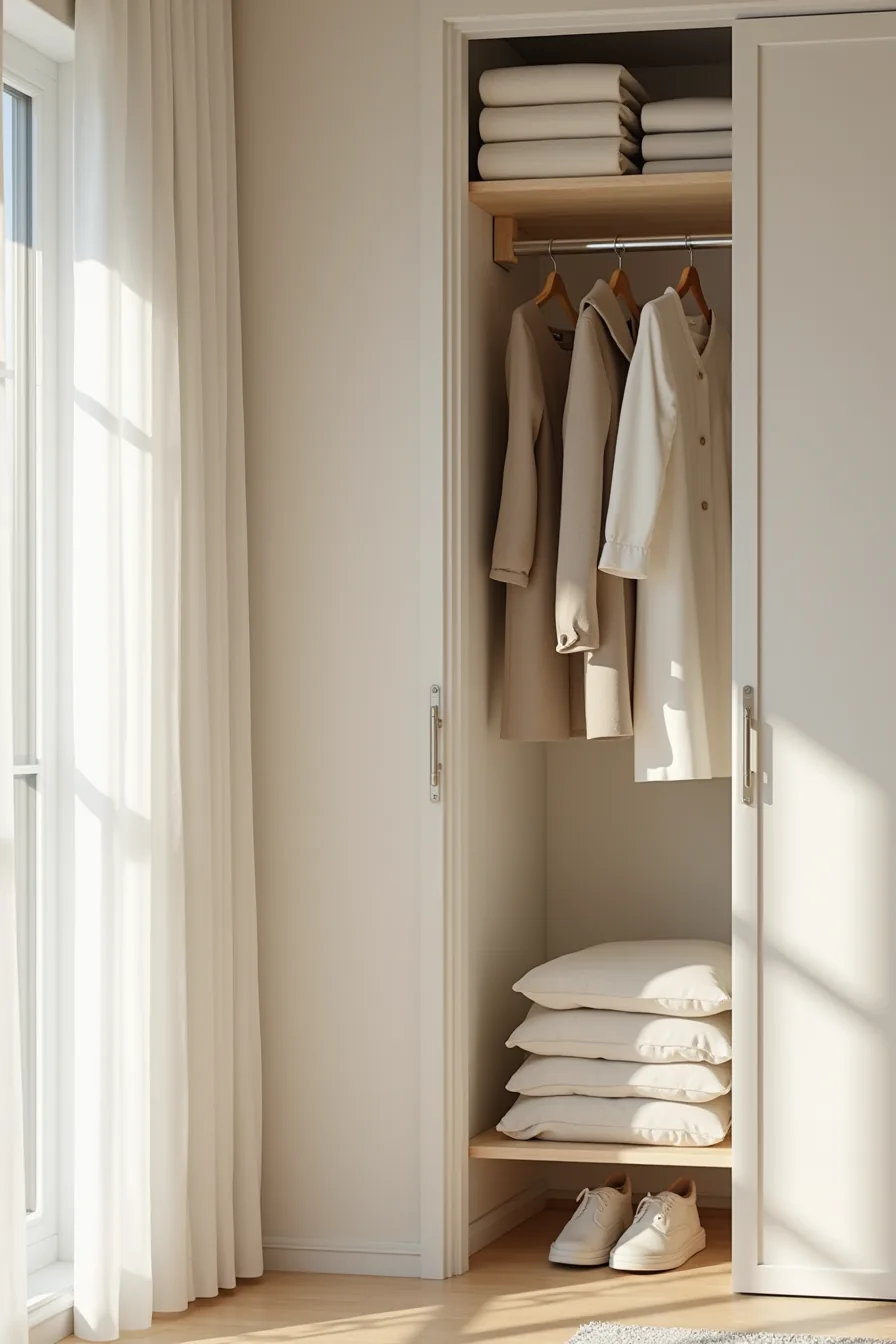
A second rod installed 12–18 inches below the primary one instantly doubles hanging capacity in a reachable band, as the setup with metal brackets supporting long coats above and folded pants below demonstrates. The upper rod holds floor-length garments that need the full vertical drop, while the lower rod suits folded trousers, shirts, and short jackets, a division that maximizes every inch of a typical 60–80 inch closet width.
Why it works: the tiered layout segments your wardrobe by length, so you stop stacking or cramming items onto a single overloaded bar. Renters can achieve this without drilling by using tension rods rated for 30–50 pounds, though these slip on textured walls; mounted brackets like the ones visible are sturdier but require screws and leave small holes you can patch with spackle before moving out. For budget DIY, chain links looped over the existing rod create a second level at roughly $10–15, but they sway with heavy loads.
Measure both rod depths first, you need at least 12 inches of clearance between rods to slide hangers freely, and 24 inches from the lower rod to the floor for longer pants.
Open Shelving Styling with Labeled Containers
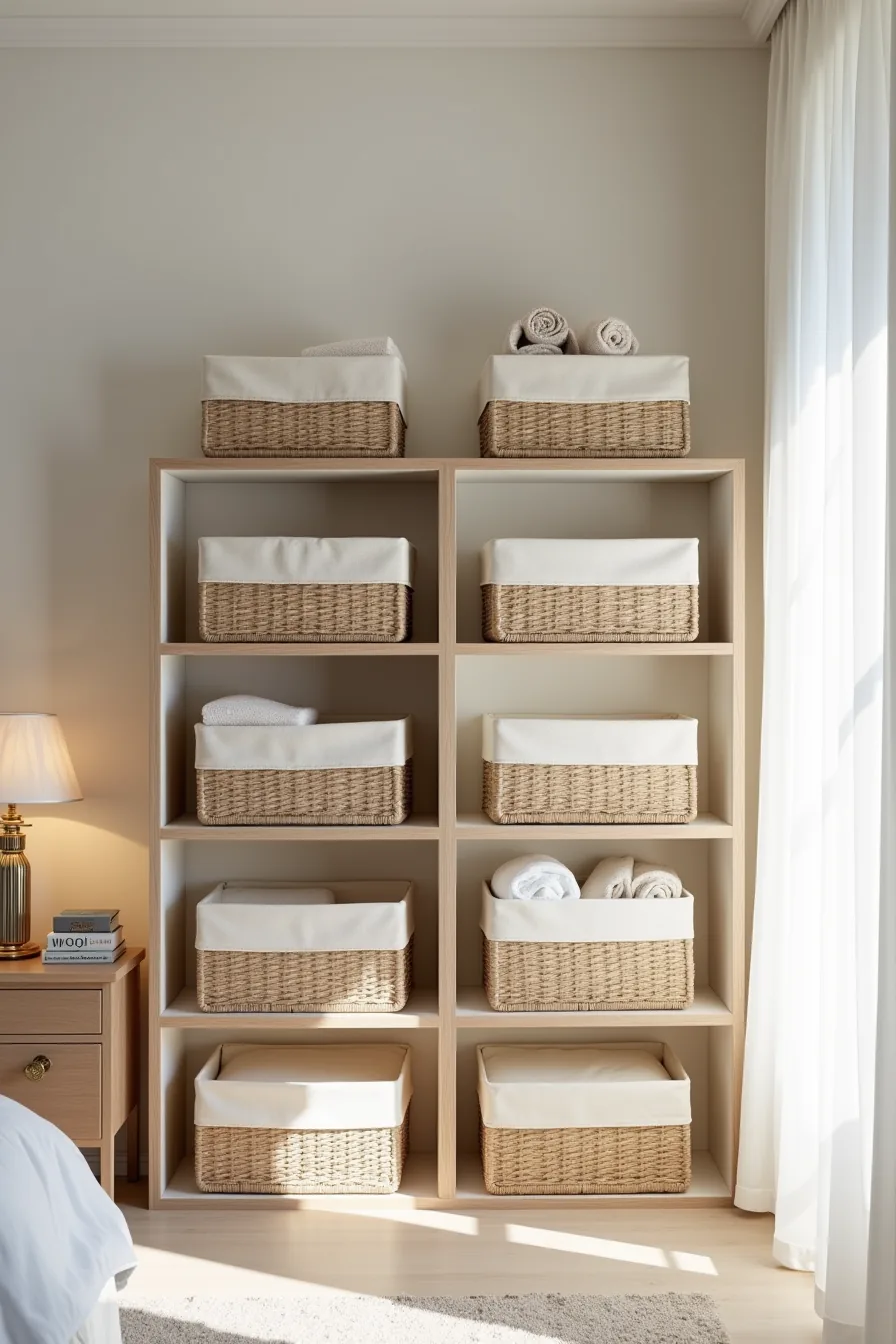
Open shelving only reads as organized when the containers commit to a system. This setup uses matching woven baskets and linen bins arranged in pairs across four wooden shelves, with rolled textiles peeking out from the edges, proof that you don’t need identical everything, just a repeated color story and consistent vessel size. The pairing trick works because it creates rhythm: two baskets side by side anchor each shelf, and the neutral wall behind lets the texture of the materials do the visual work.
Measure your shelf depth and height before buying bins, most standard shelves run 12–16 inches deep, so containers should sit 2–3 inches back from the edge to avoid a cluttered look. For labeling, use woven tags or chalkboard clips that attach to the bin lip; they survive daily pulls better than adhesive labels on fabric. Budget route: mix plain cardboard boxes wrapped in kraft paper with one or two woven baskets you actually like.
This system suits living rooms and bedrooms with visible storage, but skip it in high-humidity spaces, linen and wicker will mildew near showers or exterior walls. Dust collects on open tops, so plan a monthly wipe-down of both containers and shelf surfaces.
Pegboard and Hook Systems for Entryways and Garages
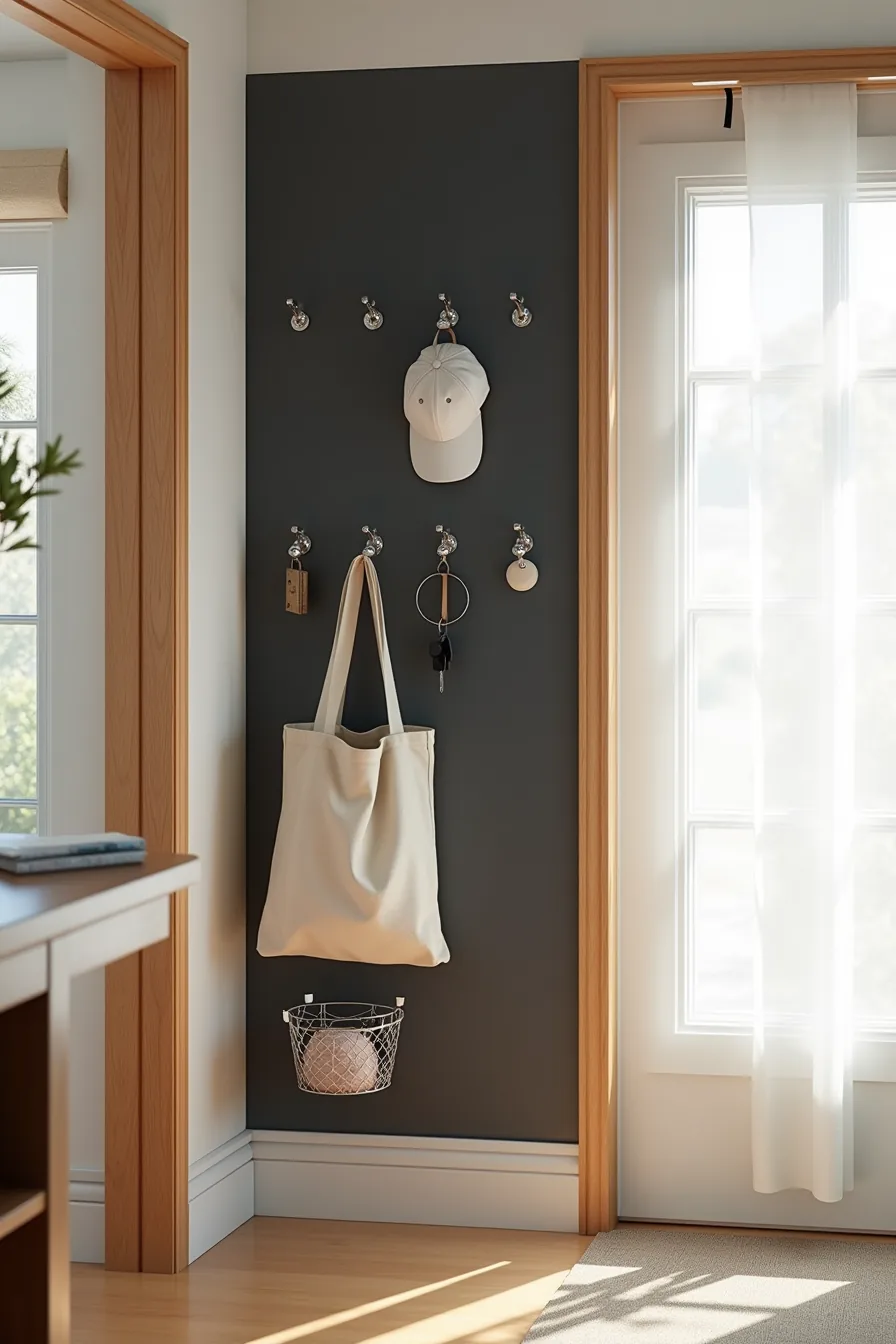
A matte black pegboard wall turns a drop zone into a command center without consuming floor space. The setup mounts a 4×2-foot board with a wooden frame, holding a canvas tote bag, a baseball cap, a key ring, and a small wire basket, each on its own hook at a different height so you can grab items by feel, not by sight. This works because the vertical arrangement keeps frequently used objects within arm’s reach while freeing the counter or bench below for mail and shoes.
Standard pegboard holes sit 1 inch apart, and hooks rated for 5–10 pounds handle coats and bags; heavier tools need reinforced metal pegboard with a ¼-inch thickness. Position the board so the most-used hooks land between your shoulder and waist height, roughly 48–60 inches from the floor, and leave 18 inches of clearance on either side for traffic flow. Paint the board before mounting, and use a spacer frame to create a ¾-inch gap behind it; this prevents items from scratching the wall and lets air circulate in garages where moisture is a concern.
You can scale this down to a 2×2-foot board for a narrow apartment entry or up to a full wall for a workshop, adding shelf brackets and bins as your needs grow.
Your First Move
Start with one drawer, not your whole house. Pick the space that annoys you most, the junk drawer, the coat closet, or the bathroom vanity, and apply a single idea from above.
Grab a tape measure, a notepad, and 30 minutes. Sketch the dimensions, list what you actually store there, and choose the solution that fits both your budget and your lease. Then buy only the containers you need for that one space.
Commit to finishing that drawer before starting another. Small wins build momentum, and you’ll see which systems survive real life before scaling them room by room.
Frequently Asked Questions
What is the difference between DIY home organization and professional organizing?
DIY puts the labor, design choices, and costs in your hands, using store-bought or upcycled materials. Professional organizing involves a paid expert who assesses, plans, and installs systems, typically costing $50–$150 per hour.
Can I use DIY organization ideas in a rental apartment without damaging walls?
Yes, use renter-friendly routes like tension rods, over-door hooks, or freestanding shelving units. Avoid adhesive strips on painted drywall, they can peel finish. Command hooks work on smooth surfaces but fail on textured walls.
How do I choose between budget and investment-level organization systems?
Budget systems (cardboard bins, tension rods) cost under $50 but wear out in 1–2 years. Investment systems (custom shelving, modular drawer inserts) run $200–$1,000+ and last a decade. Choose investment for high-use zones like kitchens; budget for seasonal storage.
What are the most common mistakes people make when organizing DIY?
Over-measuring, buying bins without checking depth or clearance, and ignoring vertical space. Another: organizing before decluttering, which just stores junk neatly. Finally, skipping labels, so systems collapse within weeks.
Always measure first, purge second, label last.