A small walk-in closet, even one that’s barely four feet deep, can hold twice what you think if you treat its vertical space as the primary storage plane rather than the floor. The difference between a cramped, chaotic space and a functional one comes down to a handful of structural decisions: where you mount rods, how you divide shelf heights, and whether you commit to modular systems you can adjust later. The six approaches below range from a $40 tension-rod setup to a custom birch plywood build, each with the specific measurements, clearance requirements, and trade-offs you need to match the option to your actual room dimensions and rental agreement.
Key takeaways
- Vertical rod systems double your hanging capacity by stacking two rods 40-42 inches apart, ideal for shirts and folded pants in closets with 90+ inches of ceiling height.
- Shelf dividers turn a 30-inch-wide folded stack into six distinct zones, cutting retrieval time and preventing topple-over when you pull a single item.
- Drawer inserts with 2-3 inch dividers transform shallow 4-6 inch drawers, but you must measure drawer depth first, most standard dresser drawers are 5-7 inches deep.
- Wall-mounted pegboards cost $15-30 and work rent-free if you use adhesive strips, but each hook holds only 5-10 pounds, so restrict them to belts, scarves, and lightweight accessories.
Vertical Rod Systems and Double-Hanging Strategies
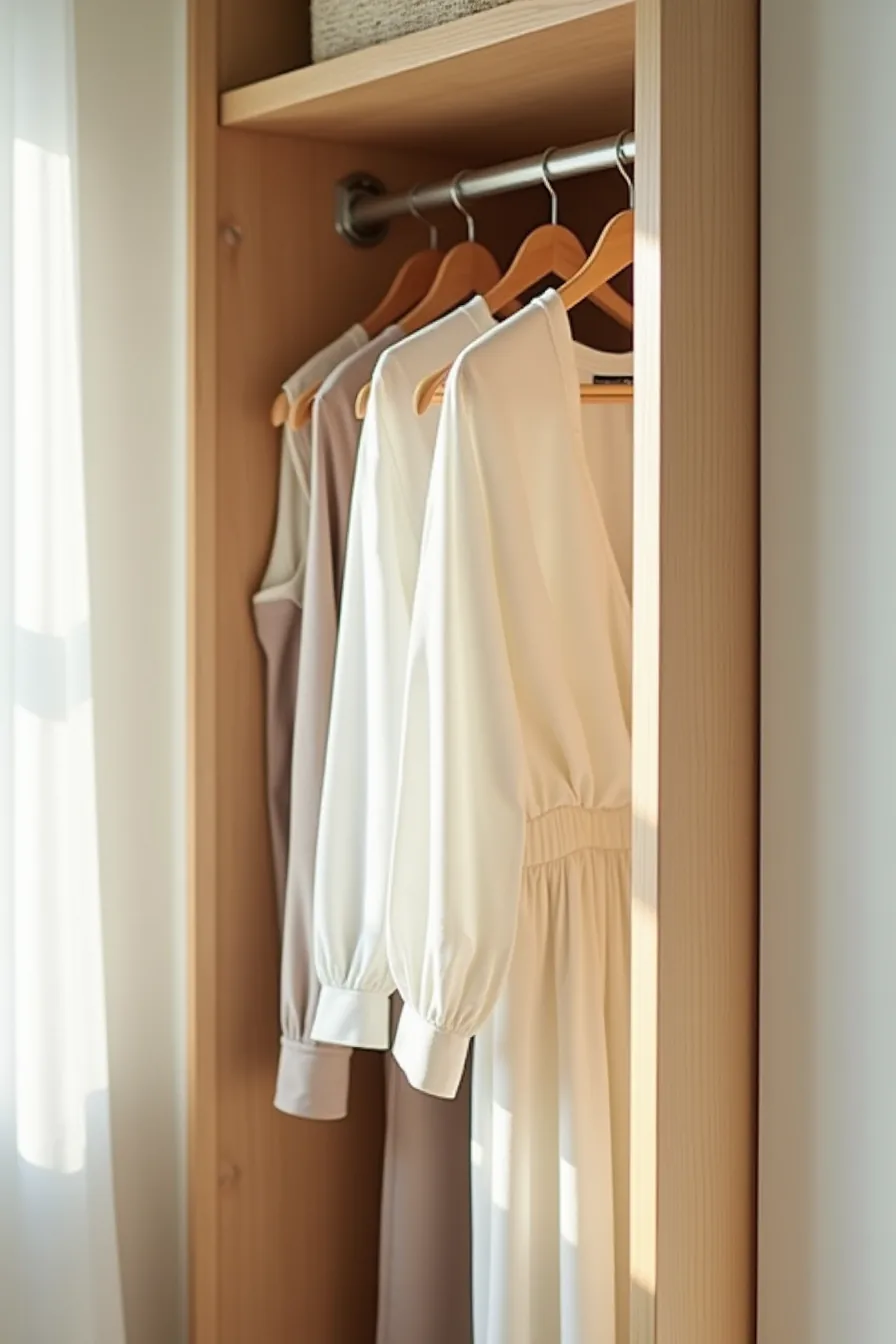
Installing a second rod underneath your primary one is the fastest way to double your hanging capacity without adding a single inch of floor space. The setup here uses two horizontal rods mounted roughly 18 inches apart, which is the minimum clearance you need for most garments to slide freely without bunching.
The upper rod carries lightweight blouses and dresses that need full length, while the lower rod holds trousers and skirts folded over hangers. This arrangement suits anyone whose wardrobe is dominated by hanging items rather than folded knits, and it works best in closets where the ceiling height exceeds 7 feet. You’ll need metal brackets rated for at least 50 pounds per pair for the lower rod, since gravity puts more stress on that mount.
Use the upper rod for items you reach for daily and the lower rod for seasonal pieces, so you aren’t crouching every morning. These are Practical Diy Small Walk-in Closet Organization Ideas planning tips that cost roughly $30 to $60 in hardware and take under an hour with a stud finder and drill.
Shelf Dividers and Folded-Item Zones
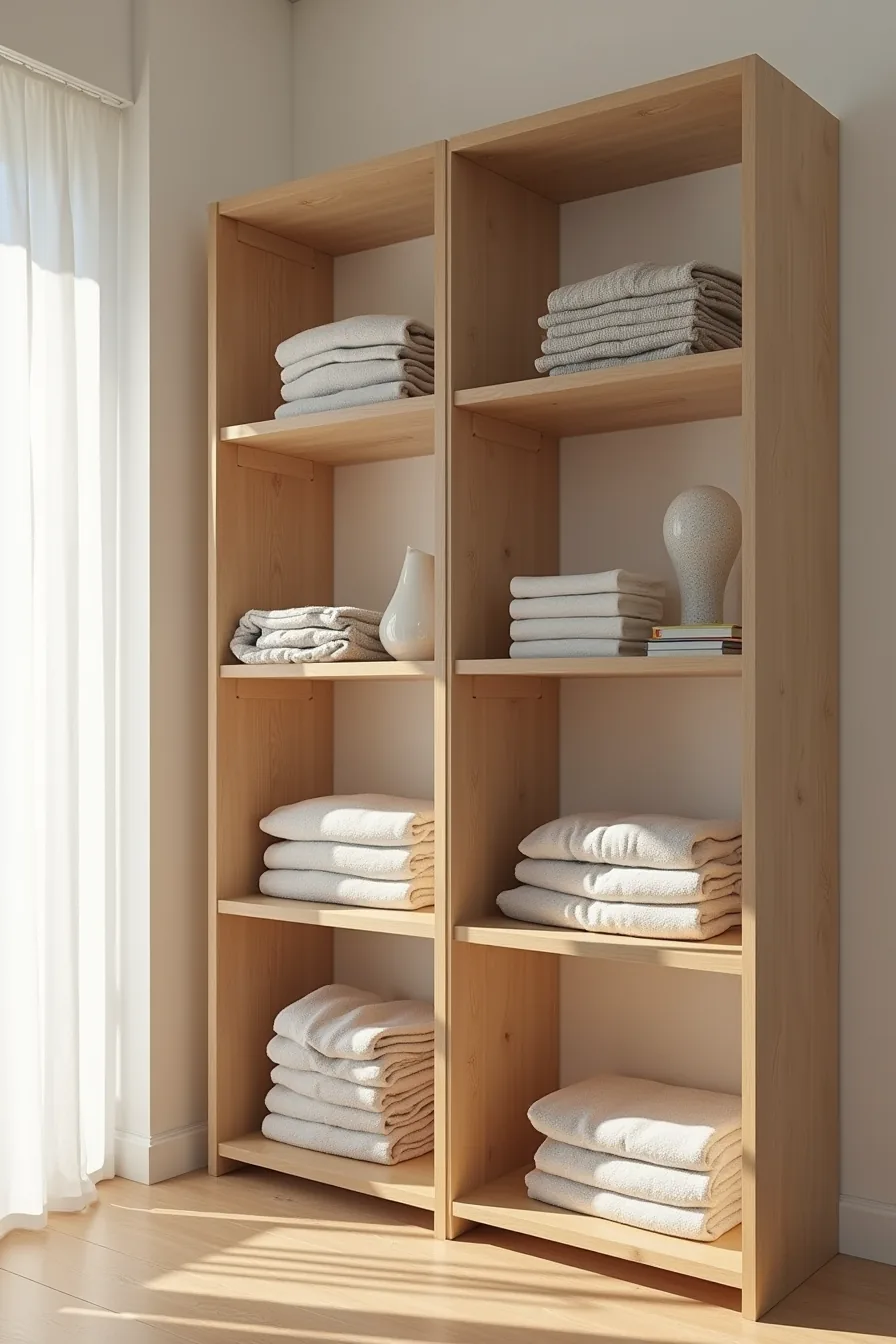
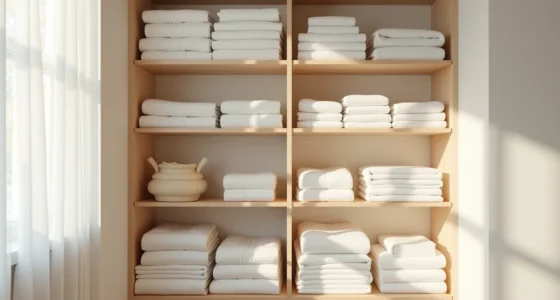
Sweaters and denim share one weakness: they topple the moment you pull out a single piece from the middle of a stack. Vertical dividers solve this by creating separate compartments that trap each stack in place, so the weight of a heavy knit doesn’t drag three other items onto the floor with it. The wooden shelving unit here runs roughly 36 inches wide with three visible compartments, each sized to hold a specific category, denim in one, sweaters in another, and everyday basics in the third.
This system suits anyone who wears more casual, folded garments than hanging pieces, and it’s particularly effective in small walk-ins where deep shelves waste space. Build dividers from 1/2-inch plywood cut to the shelf depth, spacing them 12 to 14 inches apart to match your typical folded width. Use the top shelves for lightweight basics and reserve lower compartments for heavy knits and denim, which need the structural support of the shelf below.
Sand all edges and apply two coats of polyurethane to prevent snagging on wool and cotton fibers, expect to spend $40 to $70 on materials for a three-shelf unit.
Drawer Inserts and Underbed Storage Integration
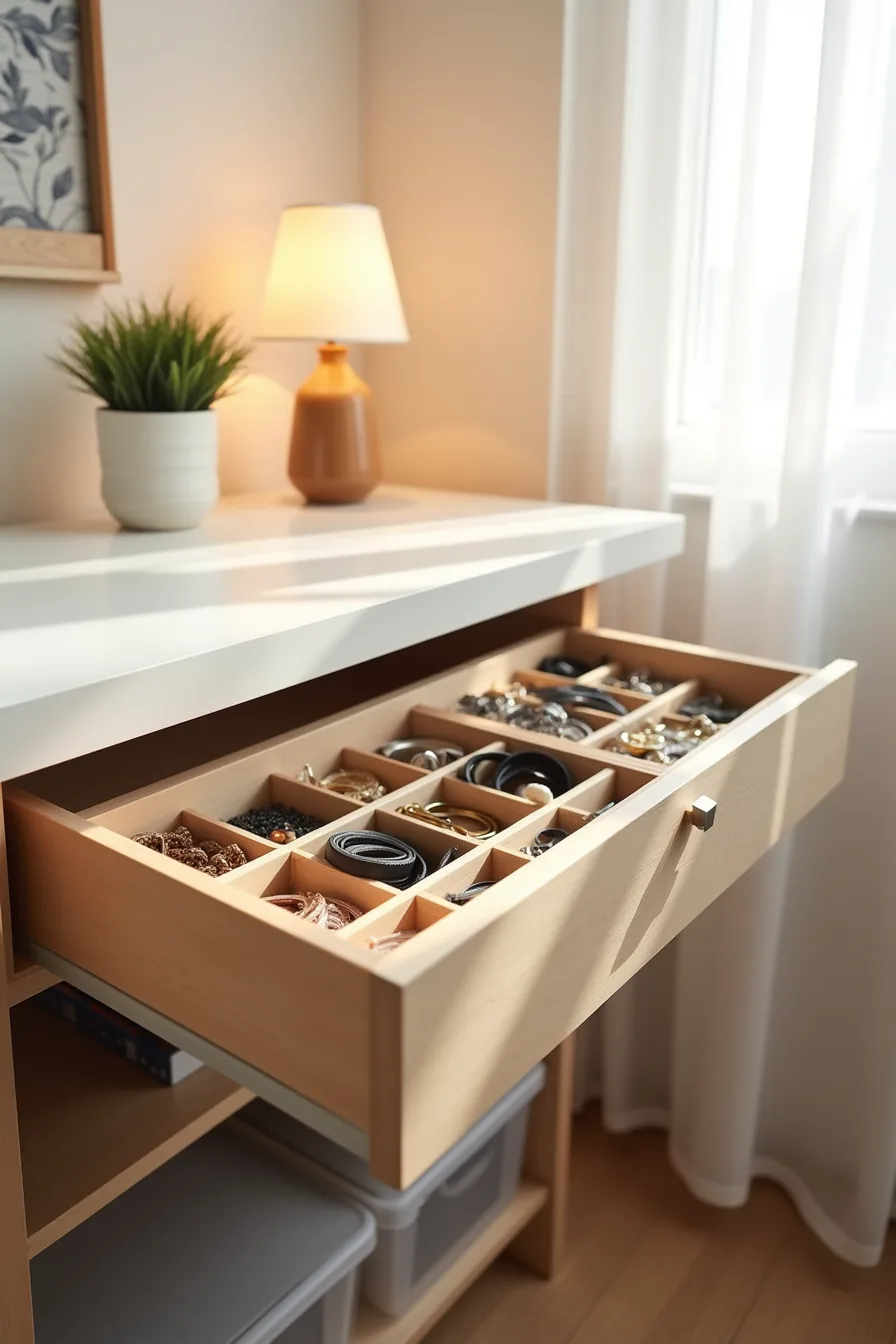
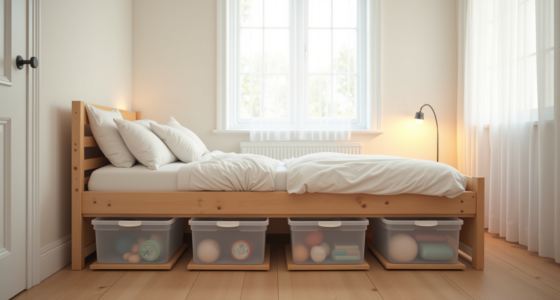
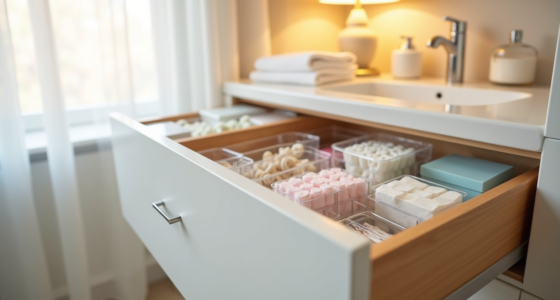
A pull-out drawer organizer with small plastic compartments turns the chaos of jewelry, belts, and accessories into a system you can scan in two seconds. The compartments keep chains from tangling and buckles from scratching watch faces, and the full-extension slide lets you see everything without digging. Translucent plastic bins beneath the shelving hold off-season scarves and rarely-used bags, the see-through material means you never unearth five bins to find one pair of gloves.
This setup suits anyone with more flat-folded accessories than hanging storage, especially in walk-ins under 8 feet wide where every vertical inch counts. Choose drawer inserts with removable dividers so you can resize compartments as your collection changes; expect to pay $25 to $60 for a bamboo or acrylic insert that fits a standard 22-inch-deep drawer. Label the translucent bins by category on the end facing out, and slide them back only after checking that the drawer clears their height, most bins need 6 to 8 inches of clearance beneath the lowest shelf.
Wall-Mounted Pegboards and Hook Configurations
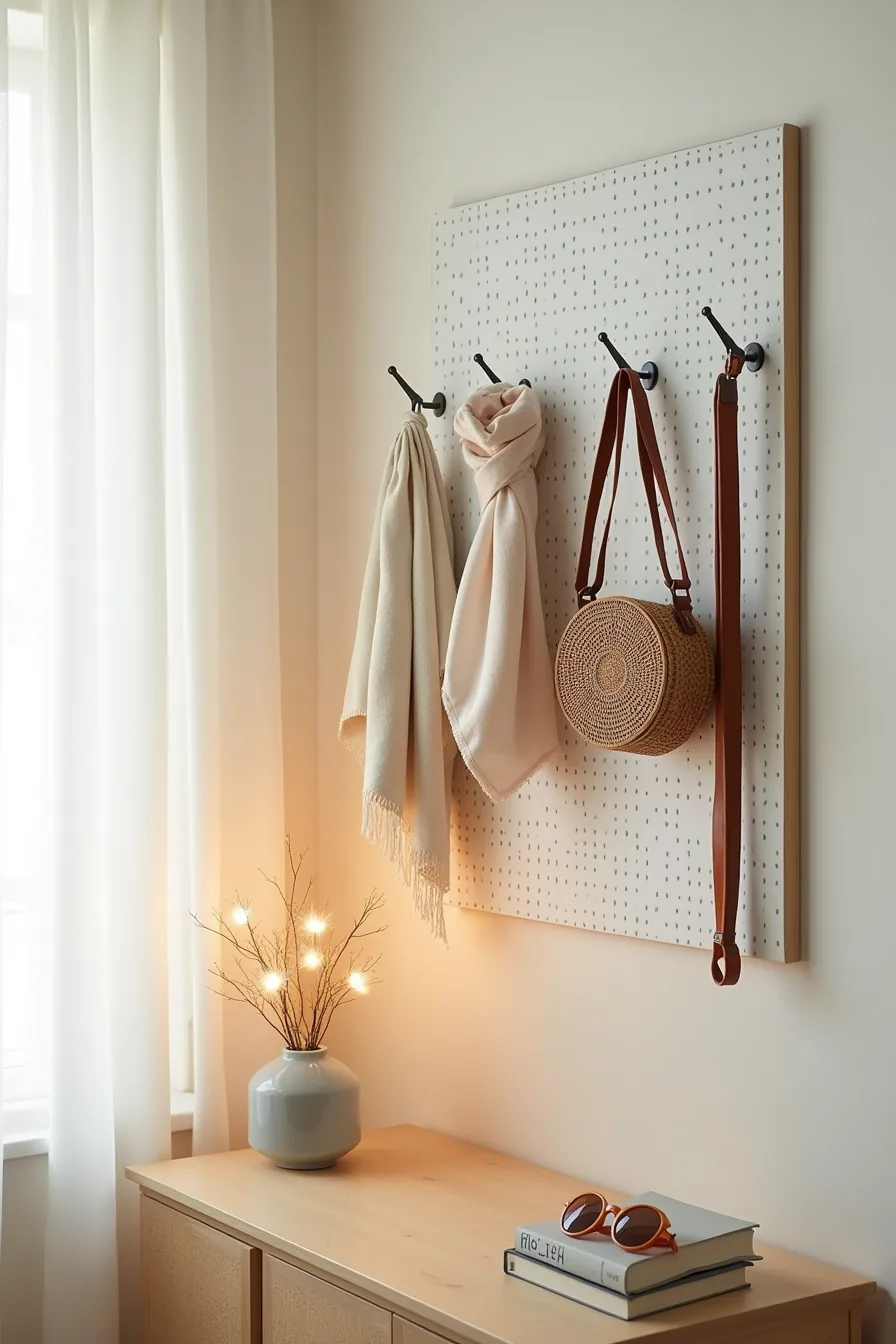
A 24-by-36-inch pegboard panel mounted with staggered hooks creates a landing zone for the items that normally tangle in drawers: scarves drape without creasing, a leather belt loops over a single hook, sunglasses hang by an arm, and a woven bag rests on two spaced hooks that support its base. The staggered arrangement matters, varying hook heights let you hang long scarves beside short items without overlap, and you can reconfigure the layout in minutes by moving hooks to unused holes.
This suits renters because the board mounts with four screws that leave holes no larger than a picture hanger’s, easily patched at move-out. It also works for anyone who dresses in a rush and wants visual access to accessories. Expect to spend $30 to $70 for a fiberboard pegboard, a dozen metal hooks, and mounting hardware; skip adhesive strips, which fail under the weight of a full bag.
To avoid the most common Diy Small Walk-in Closet Organization Ideas mistakes to avoid, overloading hooks and blocking the door swing, keep the board at least 18 inches from the entry edge and limit each hook to 5 pounds.
Open Shelving with Labeled Baskets and Bins
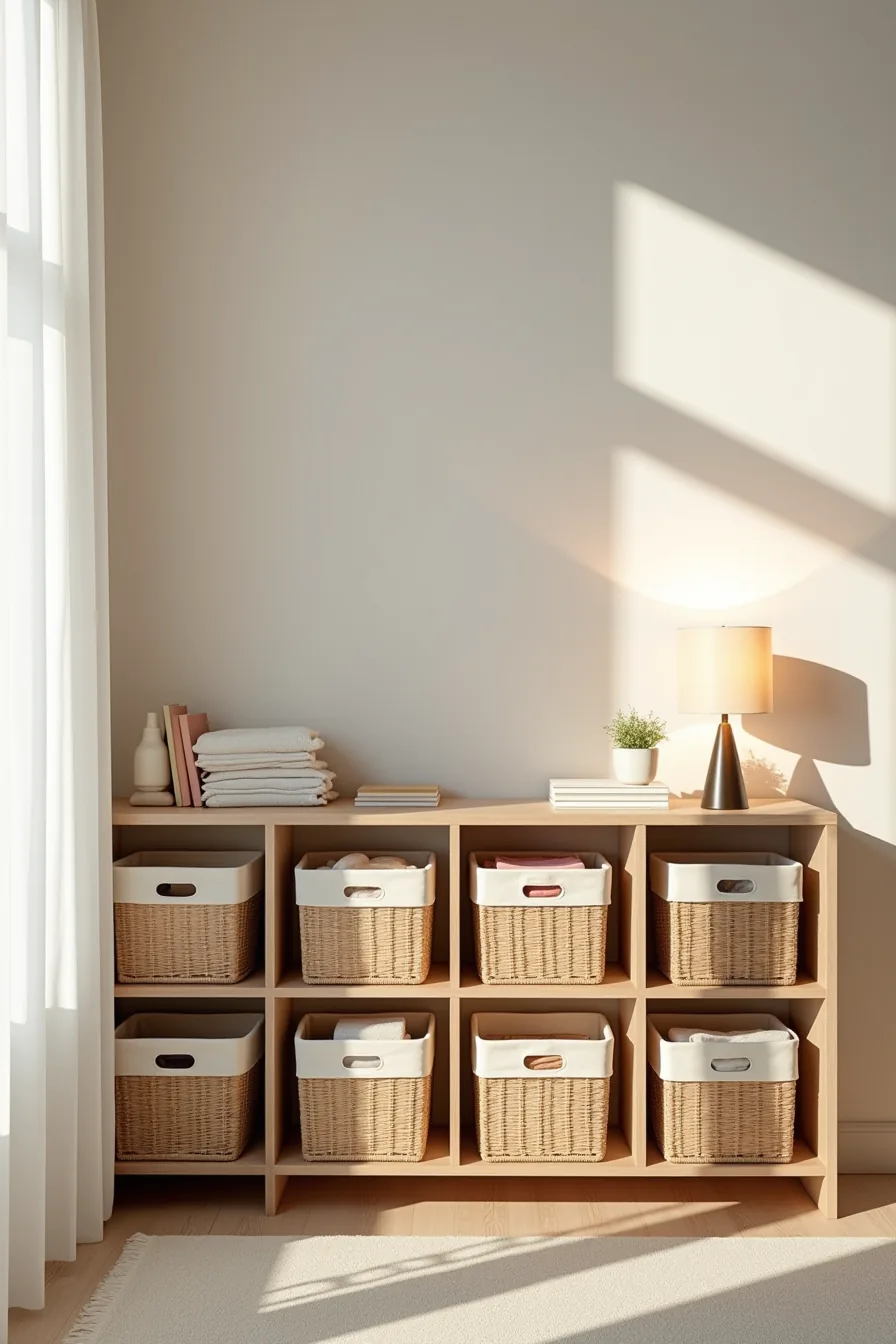
Six woven baskets and canvas bins arranged in two rows of three on a simple wooden shelf frame turn folded clothing into a color-coded system you can read at a glance. Each container holds one category, t-shirts in one basket, denim in another, and because the rims sit low enough to reveal folded stacks, you can spot what you need without pulling anything out. This is the most budget-friendly interpretation of diy small walk-in closet organization ideas: you can replicate the entire setup for $40 to $80 using resin-coated woven baskets from a big-box store and a basic pine shelf unit, with no tools beyond a drill and level.
The two-row, three-column layout works because it divides the wall into six predictable zones that stay organized through forced constraints, when a basket overflows, you know it’s time to purge. This suits households with mixed wardrobes or kids who need visual cues instead of labels, and the open design keeps air circulating around fabrics, reducing musty smells in humid climates. For maintenance, vacuum the baskets monthly to catch dust and lint, and rotate your bins seasonally to prevent the bottom layer of clothing from developing permanent creases.
If you prefer a splurge route, upgrade to solid-wood shelves with dovetailed joinery and leather-handled bins, which adds $150 to $300 but resists sagging under heavy knitwear for decades.
Custom Closet Rod and Shelf Combinations
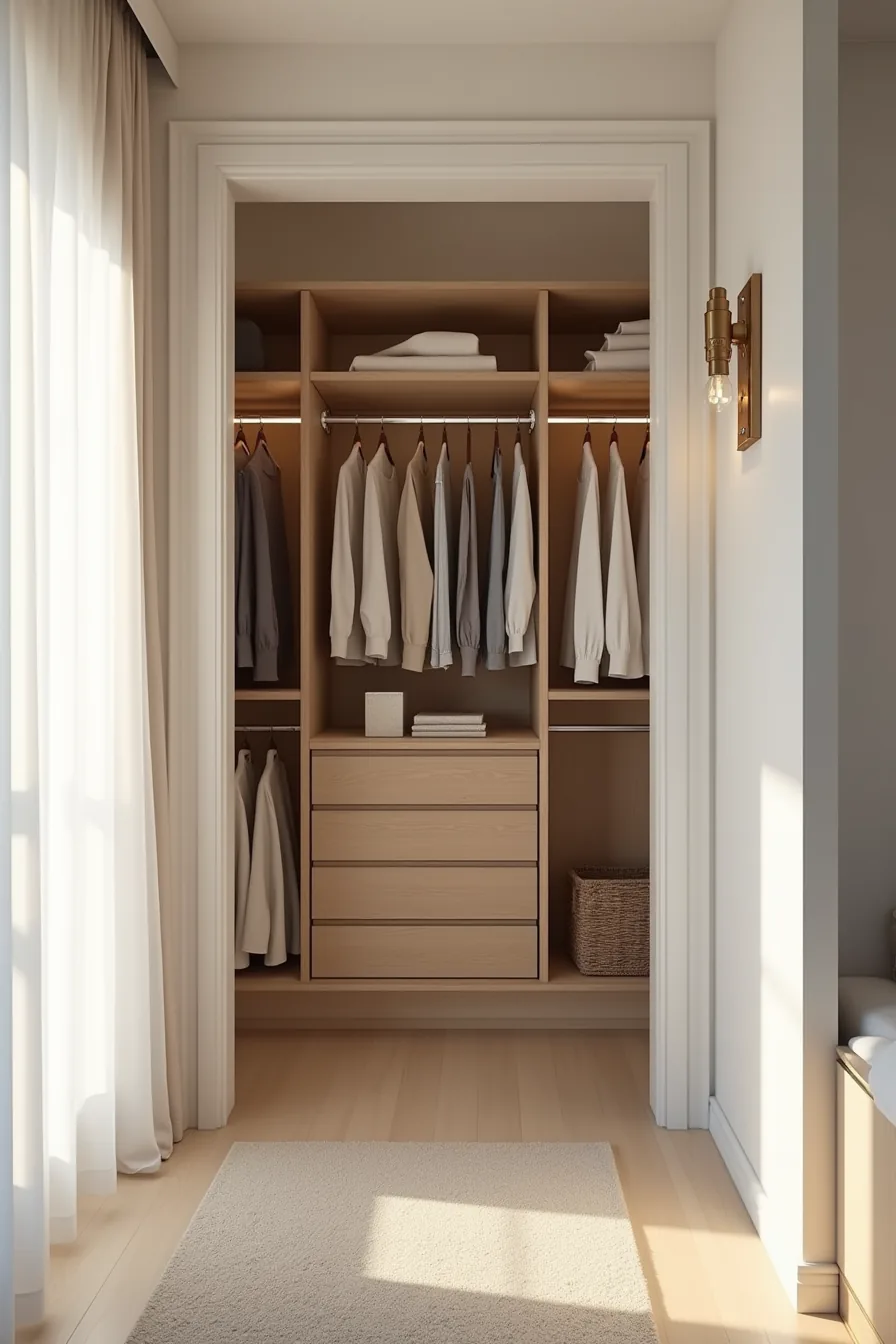
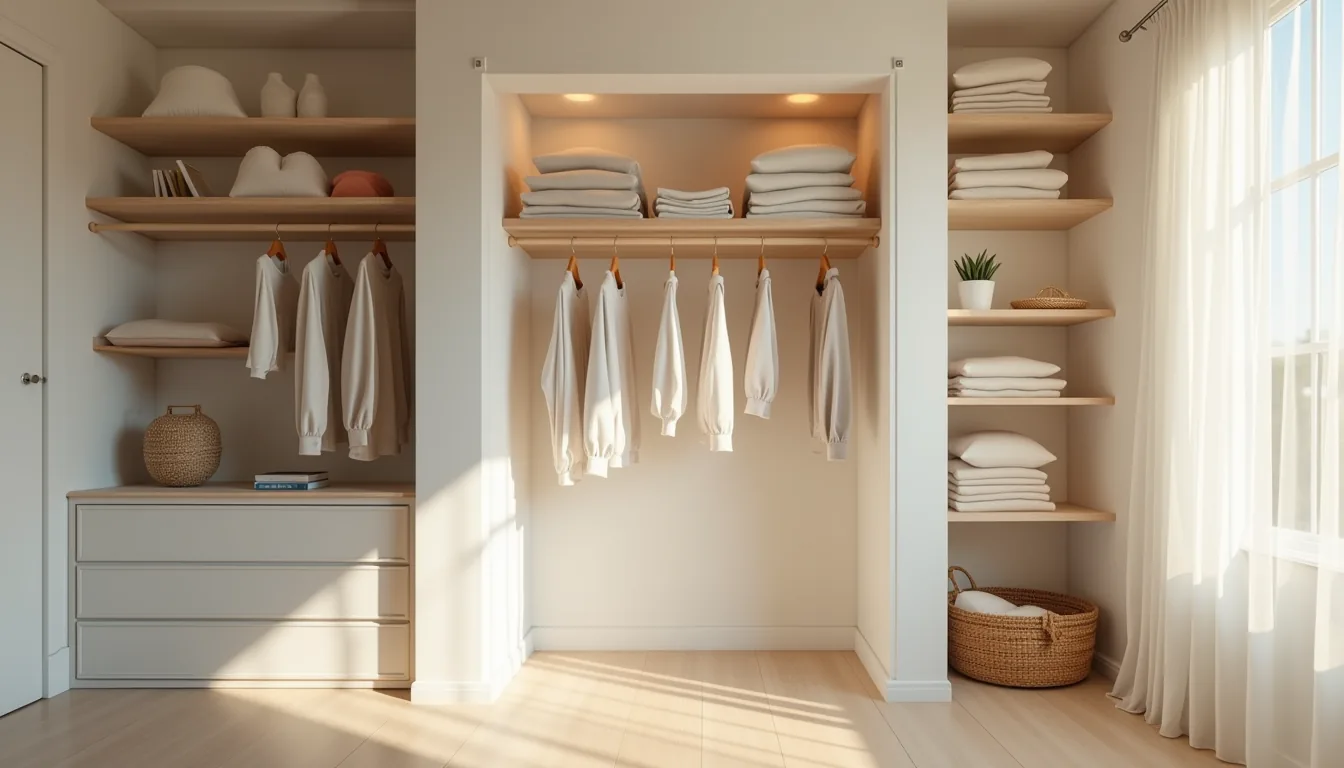
This system treats your closet as infrastructure rather than furniture. The left wall uses metal support rails screwed into studs, carrying adjustable shelves you can reposition in minutes without re-drilling. The right side layers three hanging levels: a top rod for shirts, a mid-rod at 42 inches for button-downs, anda lower rod near 30 inches for pants folded over hangers.
The LED strip light along the top shelf edge eliminates the shadow cast by overhead fixtures when your body blocks the ceiling light, a $15 to $40 upgrade that pays off daily.
This interpretation of diy small walk-in closet organization ideas suits owners who plan to stay put five-plus years and want one system that adapts as their wardrobe shifts. The metal rails cost $80 to $200 per wall dependending on height, plus $60 to $120 per rod with flanges and mounting hardware. You need a stud finder, a level, anda drill with masonry bits if your walls are plaster.
The real trade-off: install time runs a weekend, but the system survives moving, you unbolt everything and reinstall elsewhere, making it a portable investment rather than a sunk cost. Dust the shelf edges weekly; the open layout means routine vacuuming replaces deep cleaning.
Where to start
Measure your floor space and ceiling height before buying a single bin or bracket. A 5-foot by 7-foot footprint needs different shelving depths than a 4-foot square, and that number determines everything from rod placement to drawer size.
Choose one zone to tackle first, shoes, seasonal items, or everyday basics, and finish that corner before expanding. Your first completed section will show you what works in your space and what to adjust, so the rest of the closet goes faster.
Pick one idea from this guide, measure twice, and install it this weekend.
Frequently Asked Questions
How much space do you need for a functional walk-in closet?
You need at least 4 feet of depth for a single-sided layout and 6 feet for double-sided with a central aisle. Width varies, but 5–7 feet feels comfortable for one person.
What’s the difference between renter-friendly and permanent closet organization?
Renter-friendly uses tension rods, adhesive hooks, and freestanding units, no drilling, fully reversible. Permanent systems involve anchored shelving, rails, and built-ins that require wall repair upon removal.
How do you prevent shelves from becoming cluttered again after organizing?
Assign a specific category to each shelf and cap the number of items per shelf, one row deep, no stacking. Re-evaluate every season and remove anything that doesn’t fit the designated zone.
Can you install DIY closet systems in a closet smaller than 5 feet wide?
Yes, but you must prioritize vertical storage and a single rail. Use ceiling-mounted rods for hanging, slim wire baskets, and door-mounted organizers to maximize the footprint without crowding the aisle.