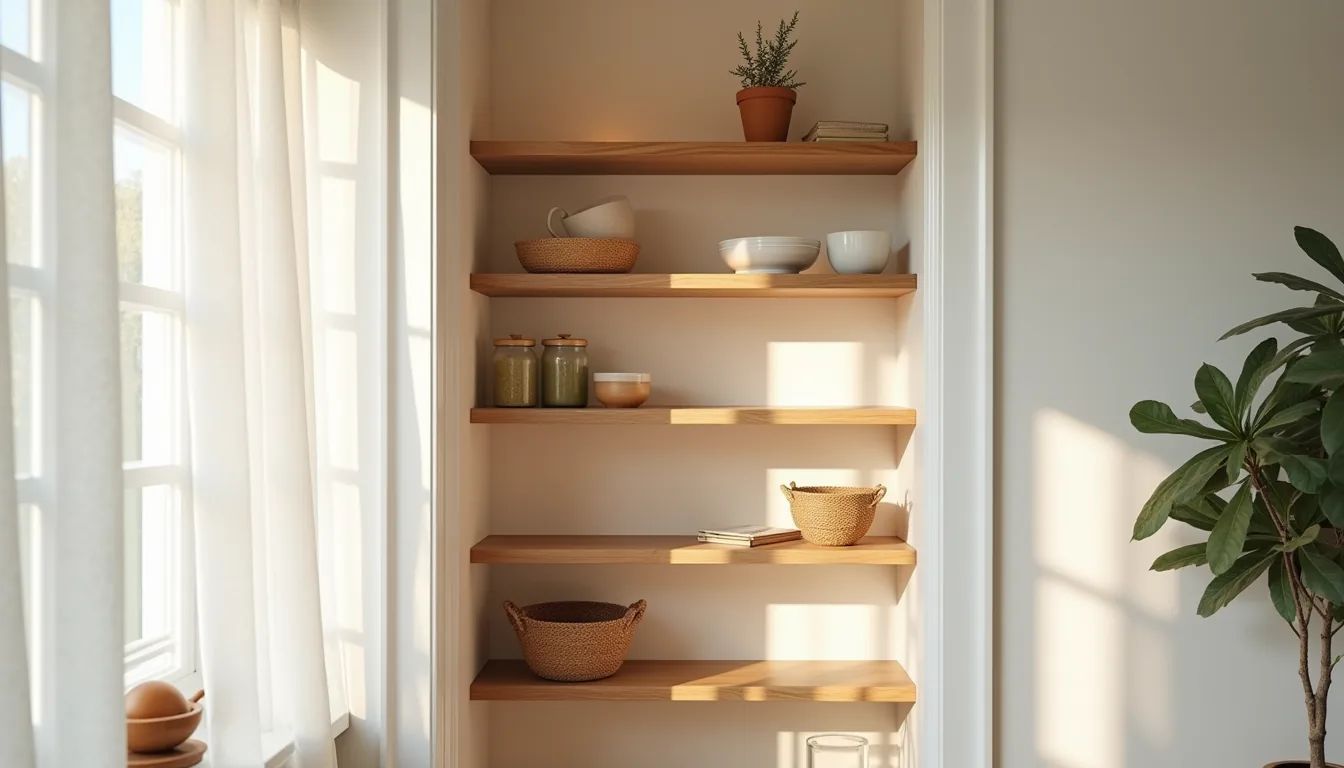

Your pantry’s corner is the most underutilized square footage in your kitchen, and organizing it effectively comes down to matching the right storage system to your space, budget, and how often you actually cook. Six distinct approaches, from lazy Susans for heavy canners to tension-rod shelving for renters, turn that dead zone into high-capacity storage. The catch is that each solution demands different clearances, assembly effort, and load limits, so choosing blindly wastes money and floor space.
Here’s how to match the option to your real pantry dimensions and habits.
Key takeaways
- Tiered shelving converts dead corner depth into usable vertical storage, but measure your cabinet’s back wall first, standard 24-inch-deep corners need stepped platforms with 6-8 inch height differences to keep cans visible.
- Lazy Susans suit lightweight staples best, not bulk; expect a 28-32 inch diameter for full-swing rotation in a 36-inch base cabinet, and budget $50-$150 for a metal unit that won’t warp under jar weight.
- Pull-out drawers cost $200-$400 per custom slide kit and require a 3-inch clearance behind the cabinet face, making them the right long-term fix for deep corners if you store heavy appliances or tall bottles daily.
- Open labeled containers work for renters at $1-$3 per bin, but only if you commit to a monthly 10-minute audit, unlabeled or mismatched sizes will turn the corner into a graveyard of half-empty bags within two weeks.
Tiered Shelving for Deep Corner Access
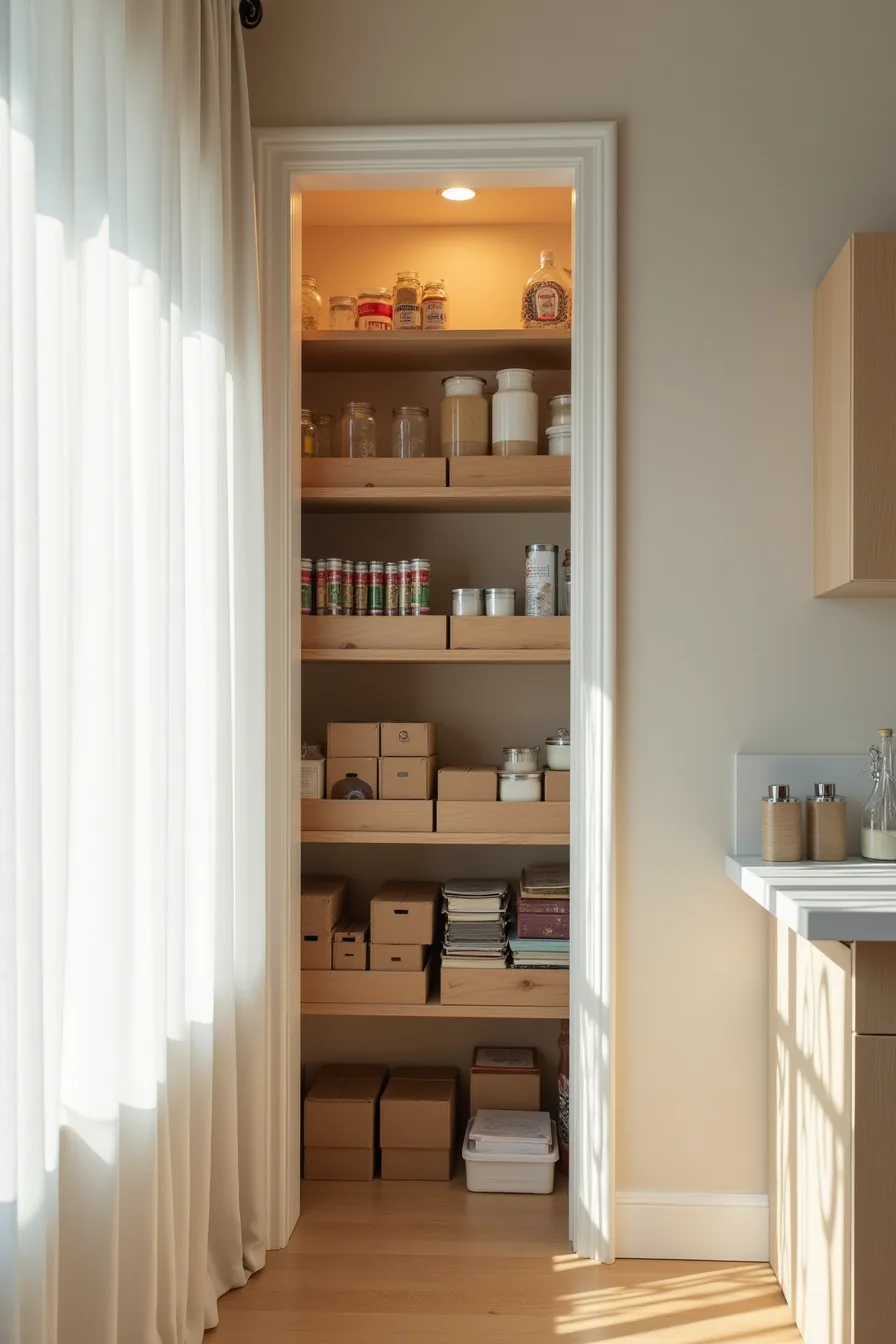
Angled shelves solve the fundamental problem of a corner pantry: the deeper the shelf, the harder it’s to see what sits at the back. By stepping each tier progressively steeper and deeper into the corner, you create a fan-shaped layout where every row of canned goods, cardboard boxes, and metal containers remains visible at a glance. The shallowest top shelf holds everyday items; the deepest bottom tier stores bulk backups you rarely touch.
This approach suits medium to large pantries with at least 36 inches of corner depth. Budget-conscious planners can mount three freestanding wooden boards on L-brackets for under $50. Renters should use adjustable utility shelving that leans into the corner without drilling.
For a permanent solution, have a carpenter build fixed stepped units with a 2-4 inch rise between levels, the steeper angle trades a little vertical storage for far better access. Wipe shelves monthly; angled surfaces collect dust faster than flat ones.
Lazy Susan Turntables and Rotating Systems
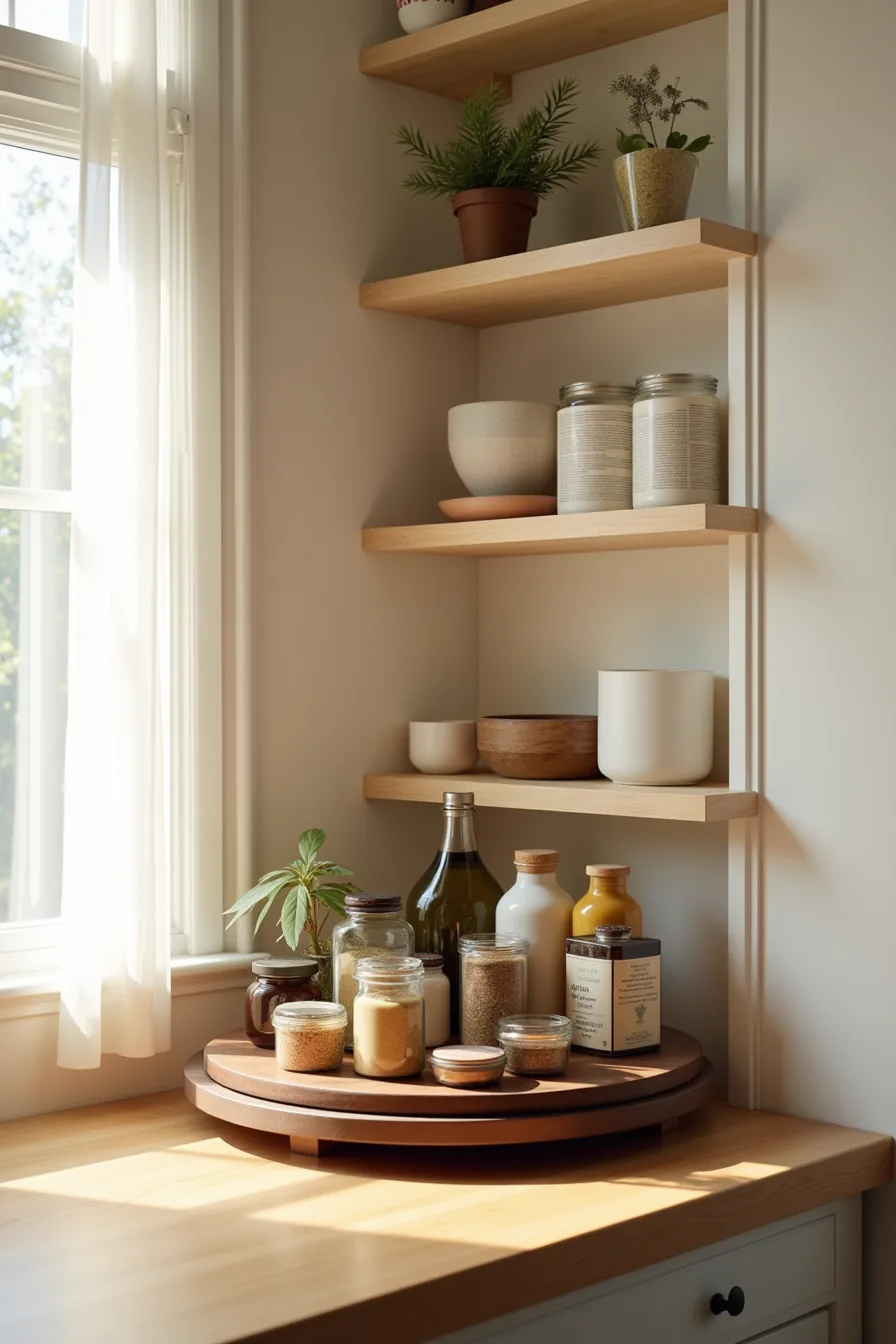
A lazy Susan turns dead corner space into a working carousel. A 24-28 inch diameter turntable suits most standard pantries; anything smaller struggles to hold oil bottles, while larger diameters can block adjacent shelves when rotated. Load capacity matters, choose a unit rated for 50-75 pounds if you store glass condiment jars.
Place the turntable on the lowest or middle shelf where you can spin it without reaching overhead. Spice jars, oil bottles, and condiment containers sit in a single layer so nothing topples during rotation. This is the best corner pantry organization ideas example for renters: a freestanding turntable requires zero drilling and moves with you.
Expect to spend $25-60 for a sturdy wooden or bamboo model with a metal bearing. Wipe the base monthly, cooking oils drip and turn sticky. This system suits shallow corners under 24 inches deep more than deep walk-ins; oversized corners waste the surrounding shelf space.
Pull-Out Drawers and Sliding Baskets
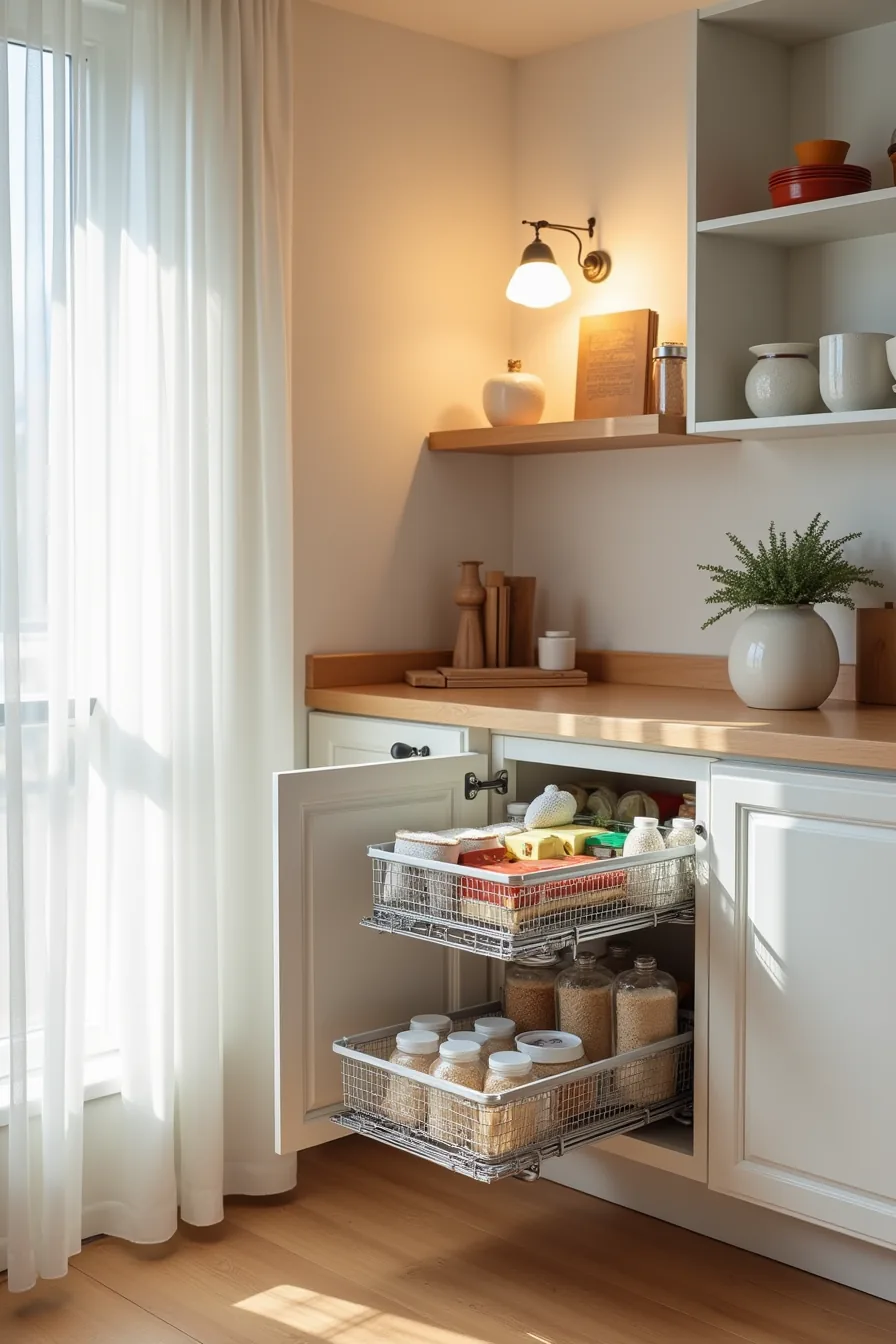
Pull-out drawers convert the corner’s depth into accessible storage, so you stop stacking cans in front of other cans. The setup in the accompanying visual uses two wire baskets on full-extension metal slides, mounted inside a standard cabinet frame. You can pull the front basket out completely, reach the back basket, and still see every packaged good, from pasta boxes to bagged snacks, without kneeling or contorting.
This is the best budget vs. Splurge corner pantry organization ideas split: a renter-friendly version uses freestanding wire drawer units (about $40-80 for two) that sit on an existing shelf and slide forward on their own rollers. The permanent route costs $150-400 per drawer when you buy slides, baskets, and mounting hardware, plus a weekend of DIY work if your cabinet has a flat interior floor. You need at least 20 inches of cabinet depth for the slides to function properly; shallow corners won’t accommodate them.
Wire baskets breathe better than solid drawers, so dry goods stay ventilated, but they let crumbs fall through, vacuum the cabinet floor monthly. This system suits medium to large pantries with standard 24-inch-deep cabinets; skip it if your corner is less than 18 inches deep.
Open Shelving with Labeled Containers
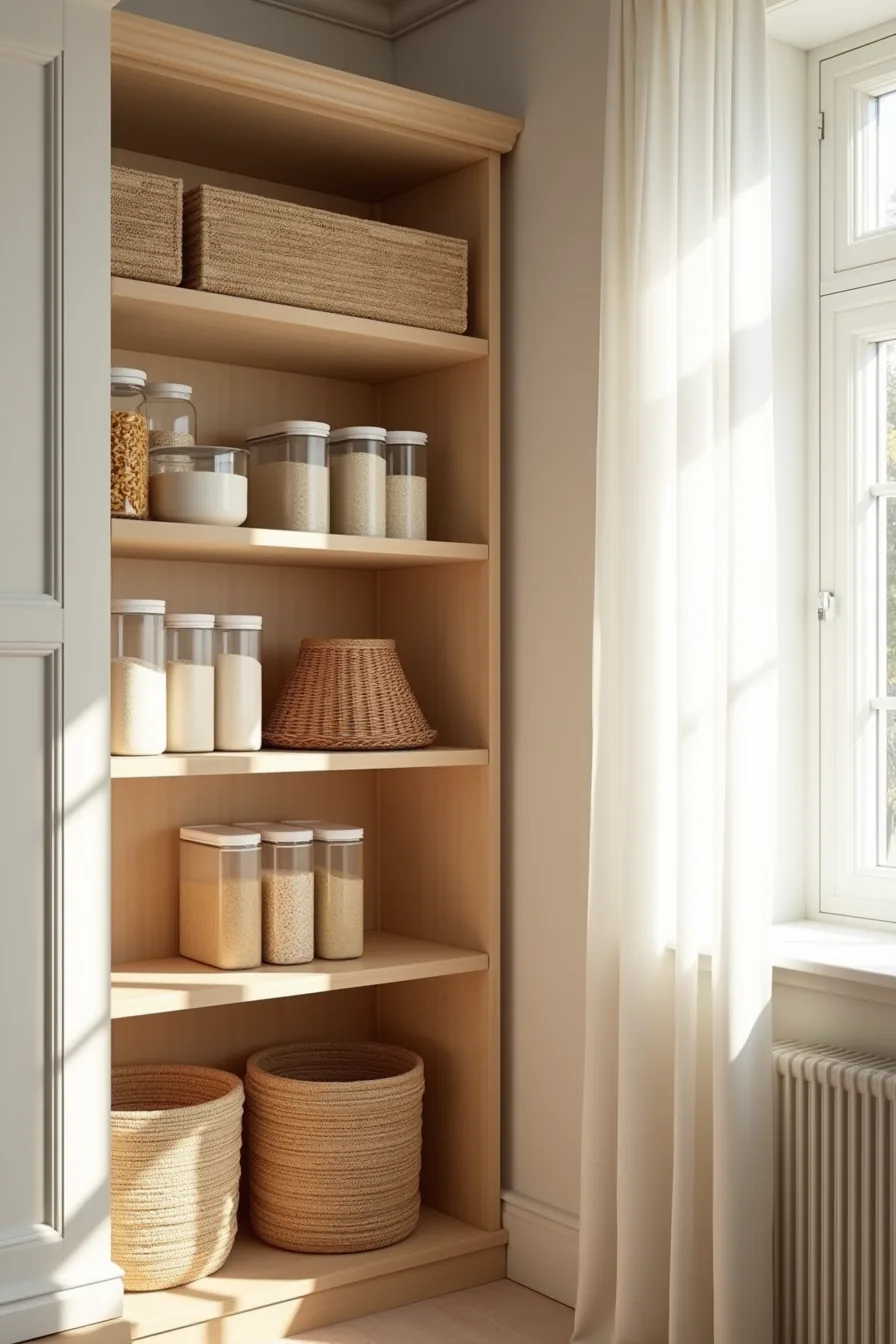
Open shelving turns the corner into a visual inventory: you see every jar, bin, and box at a glance, so nothing gets buried. The setup uses four wooden shelves holding clear plastic containers for pasta, rice, and cereal, with woven bins on the lower tiers for bulkier items like potatoes or paper goods. Unlabeled bins are fine when contents are visible, labels only earn their keep when you’ve multiple similar-looking containers stacked at eye level or above.
This is the most budget-conscious corner pantry organization ideas route at $60-150 total if you use utility shelving or reclaimed boards, and it suits renters because you can install freestanding units that lean against the wall without drilling. The trade-off: open shelving collects dust and grease, so plan to wipe surfaces every two weeks. Moisture is the real enemy, never store flour, sugar, or spices in clear containers without airtight seals, because humidity will clump them within days.
Keep the top shelf for infrequently used items you can reach on a step stool, and reserve the middle two shelves for daily-use dry goods.
Custom Corner Cabinetry and Carousels
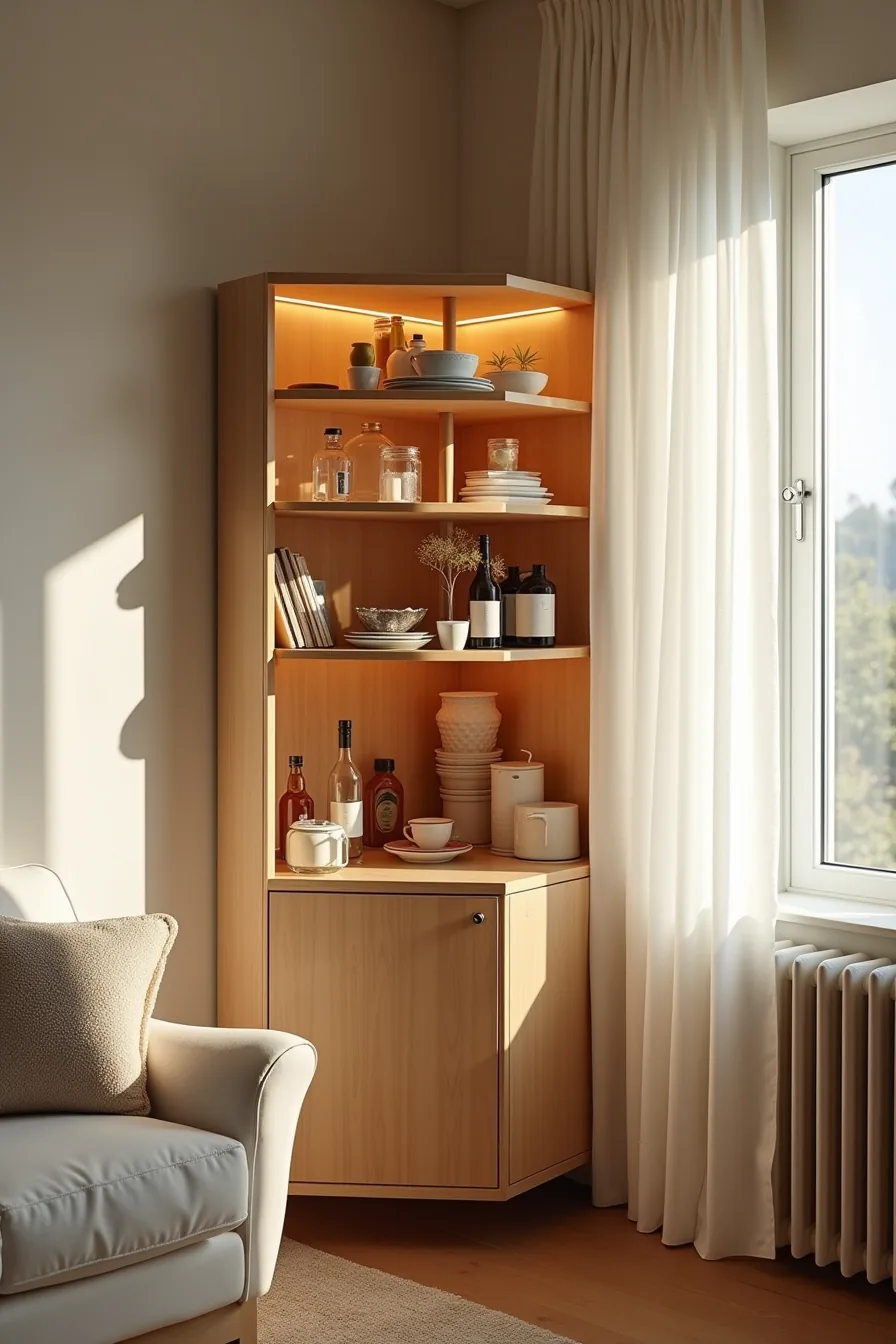
A corner carousel cabinet replaces the dead zone where two countertops meet with rotating tiers that swing every stored item to the front. The mechanism uses a central pole anchored to the cabinet floor, with two to three circular shelves that spin independently, glass bottles, jars, and packaged items ride the outer edge, where you can grab them without reaching past anything else.
This is the long-term investment route, typically running $800-2,500 installed depending on cabinet size, mechanism quality, and whether you retrofit an existing box or build new. It suits homeowners who cook daily and store many small-format items like condiments, oils, and canned goods; if your corner pantry holds mostly large bulk bags or tall appliances, a carousel wastes its capacity on undersized shelf spacing.
Critical measurements: your cabinet interior must be at least 24 inches square for a functional carousel, and 30-36 inches square is the comfortable operating range. The pivot mechanism requires annual lubrication and occasional tightening, budget 15 minutes of maintenance per year. This approach only justifies its cost when you commit to keeping the shelves no more than 70% full; overloading restricts rotation and defeats the entire purpose.
Common Mistakes That Waste Corner Space
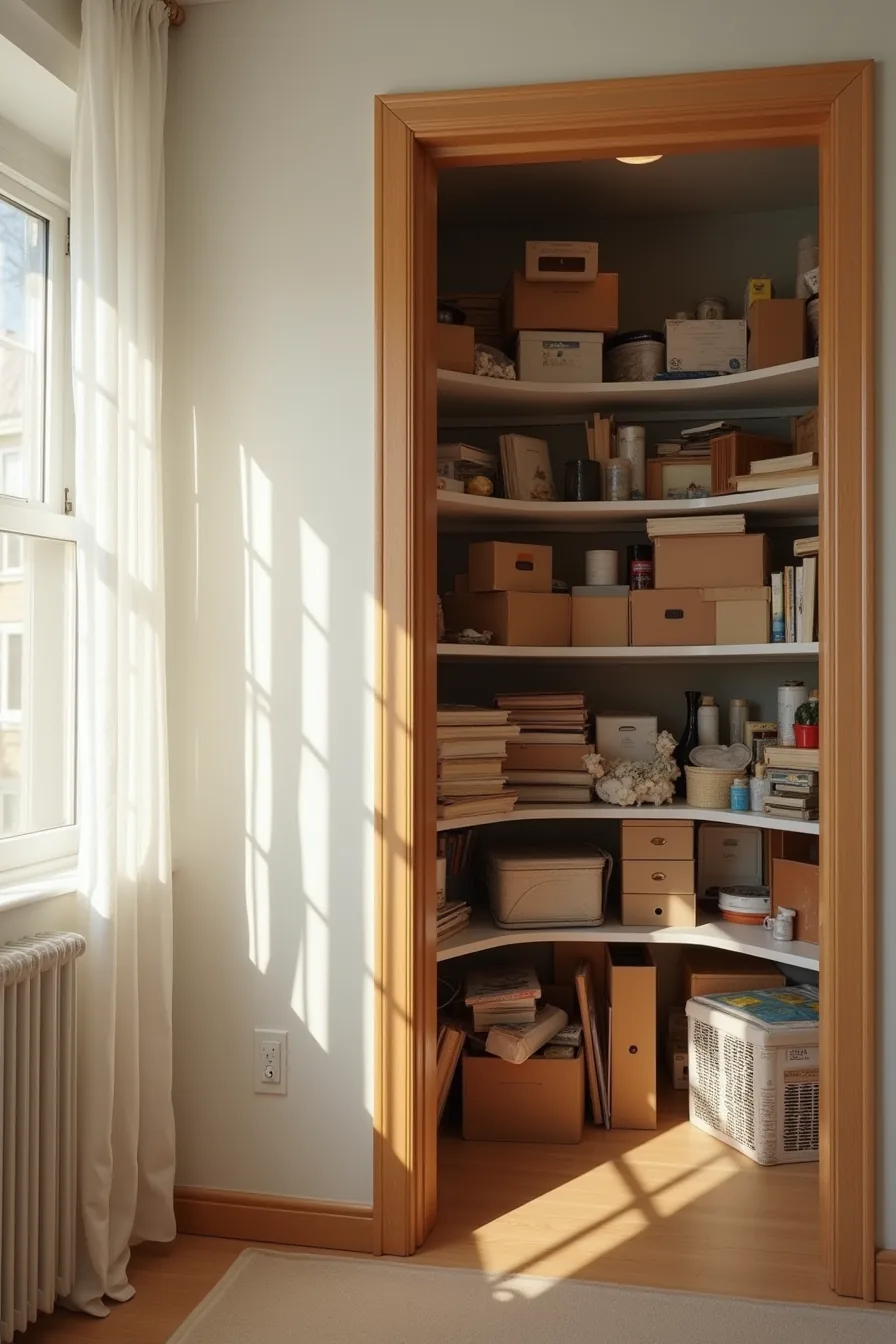
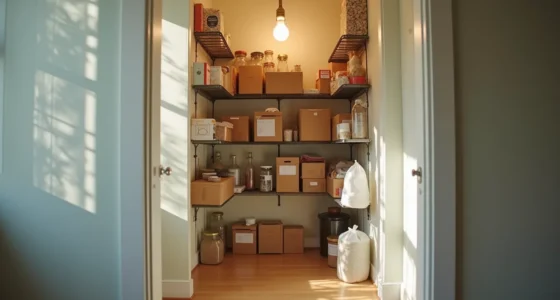
The fastest way to destroy a corner pantry is overstuffing. When you pack shelves to the back wall, you create a black hole where items shift, tumble, and disappear, the tilted boxes and displaced goods you see in most disorganized corners are the direct result of stacking without a retrieval system. Reserve the deepest 12-16 inches for items you use monthly, not daily, and cap shelf height so every container has a visible front face.
Poor lighting compounds the problem. A dark back corner with barely visible items forces you to pull everything forward to read labels, which resets your organization every time. Install battery-operated LED puck lights or a motion-sensor strip along the shelf lip, a $15-40 fix that eliminates the guesswork.
Ignoring airflow invites moisture damage, especially against exterior walls. Leave a 2-inch gap between stored goods and the wall surface, and avoid sealing items in airtight containers if the corner feels humid. If you notice musty odors or condensation on jars, add a silica gel canister and rotate your stock quarterly.
Your decision checklist
Before you buy anything, measure your corner cabinet’s door opening and interior depth. A lazy Susan needs roughly 24 inches of clearance to rotate fully; pull-out shelves require 2-3 inches of clearance on each side. If you rent, prioritize tension rods and adhesive hooks over permanent hardware.
Match the solution to your usage pattern. Daily-use items belong on the most accessible shelf; overflow and seasonal goods go to the deepest recess.
Start with one shelf. Empty it, sort everything into keep/discard piles, then install your chosen organizer on that single level before expanding to the rest. This lets you test the fit without committing to a full remodel.
Frequently Asked Questions
What is the minimum corner pantry depth that makes organization systems worthwhile?
Aim for at least 18 inches of usable depth. Below that, standard shelving and pull-out baskets become too cramped to access effectively, and you’re better off with simple hooks or door-mounted racks.
Can I install corner pantry organization in a rental without losing my security deposit?
Yes, if you use freestanding units, tension rods, or adhesive hooks. Avoid drilling into walls or replacing fixed shelving. Stick to modular carts and stackable bins that leave no marks when removed.
How do I prevent moisture and pest problems in organized corner pantries?
Place silica gel packs or a small dehumidifier in the corner, and seal all dry goods in airtight containers. Check for gaps around pipes and baseboards monthly, and wipe shelves with vinegar quarterly to deter pests.
What’s the typical cost difference between DIY shelving and custom corner cabinetry?
DIY shelving with brackets and pine boards usually runs $50–$150, while custom corner cabinetry with pull-outs starts around $800–$2,000 installed. Expect the custom route to cost 10–20 times more, depending on materials and labor.