Your pantry may be under 50 square feet, but that tight footprint still leaves you six distinct organizational routes, each with its own cost, upkeep, and space requirements, so the real decision isn’t what to buy, but which system matches how you actually cook and shop. One route costs under $40 and installs in an afternoon; another demands permanent shelving and a weekend of labor. The wrong choice wastes money and creates clutter, while the right one cuts your weekly prep time by a measurable margin.
Before you order another bin, you need to match your habits, not your Pinterest board, to the layout that follows.
Key takeaways
- Vertical shelving doubles usable capacity by stacking shelves to the ceiling, but you’ll need a step stool and a clear inventory list to avoid losing items in the upper 12–18 inches.
- Clear containers only stay organized if you commit to uniform labeling and a 10-minute monthly wipe-down; otherwise, sticky labels and smudged plastic defeat the visibility purpose.
- Door-mounted racks add 6–10 inches of depth, but they require a solid door and at least 1 inch of clearance between the rack and existing shelves to close properly.
- Rotating inventory systems rely on a “first in, first out” rule, place newest items behind older ones and check expiration dates monthly to cut food waste by a noticeable margin.
Vertical Shelving: Maximizing Height Over Floor Space
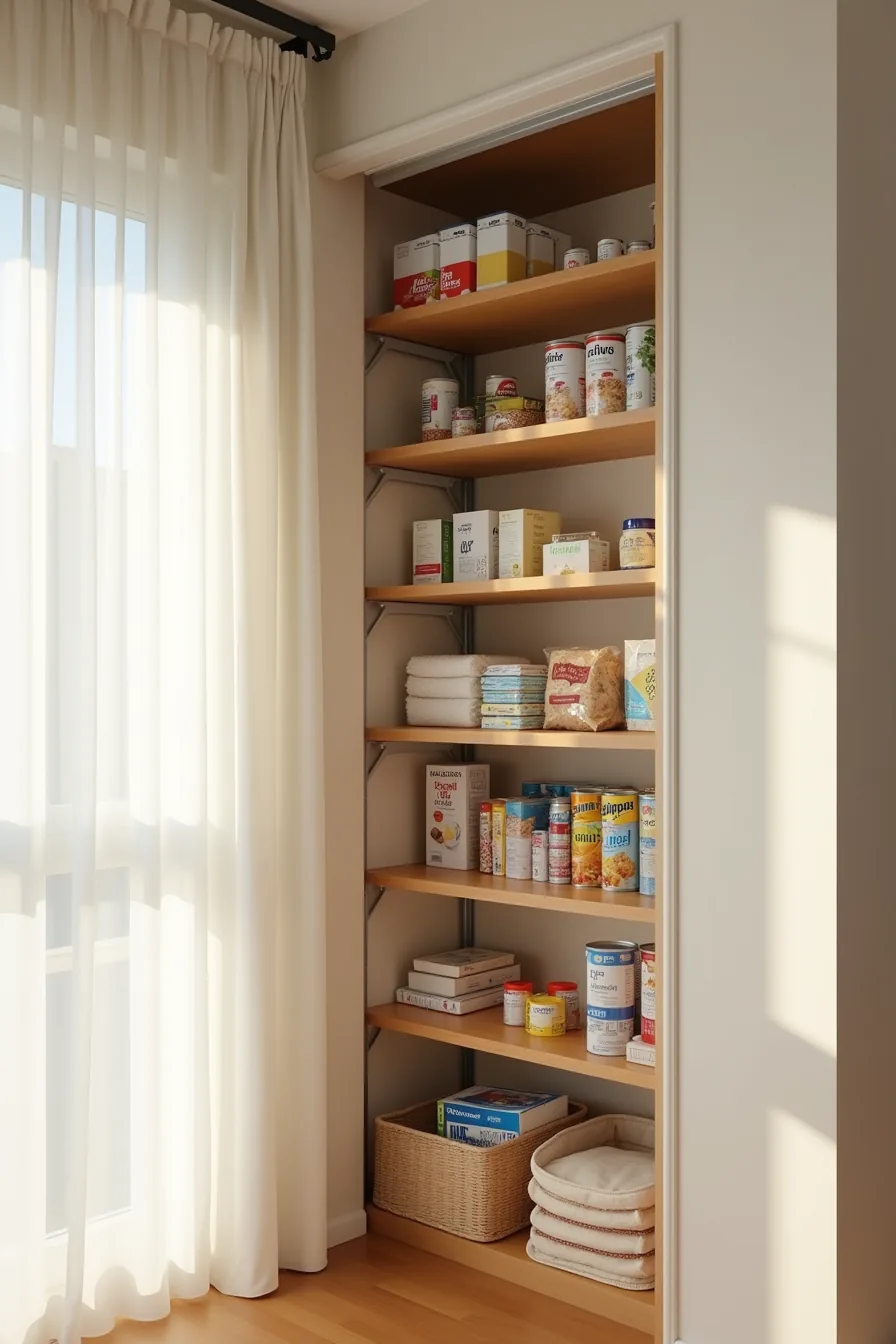
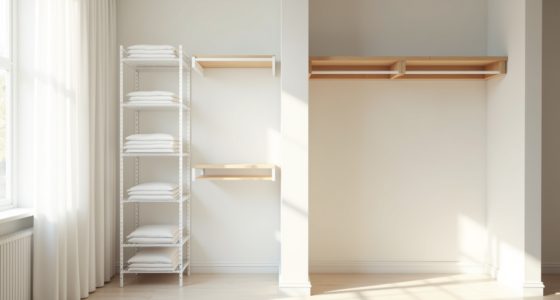
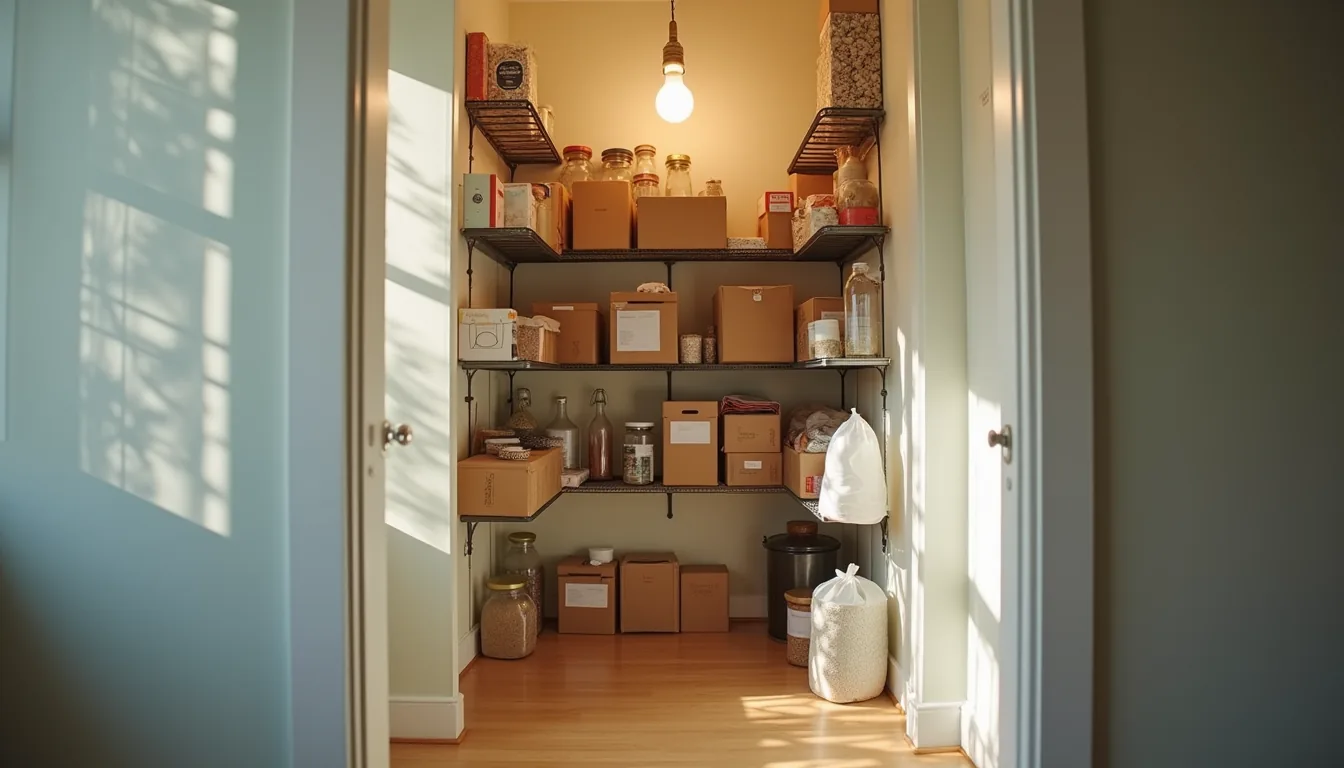
When floor space is at a premium, the only direction left to build is up. Six evenly spaced metal shelves anchored from floor to ceiling turn a narrow closet into a high-density storage unit, with each tier dedicated to a category: cereal boxes on one, canned goods on another, dry goods stacked in uniform rows. Wall brackets transfer the load to the studs, so the system holds far more weight than a freestanding unit of the same footprint.
This approach suits narrow pantries, typically under 30 inches wide, where deep shelving would make items unreachable. Metal shelving with adjustable brackets is the renter-friendly route because it installs with screws and leaves minimal patching when removed. However, if your ceiling clears 7 feet, you gain an extra tier; below that, the top shelf becomes unusable without a step stool, and the system’s efficiency drops sharply.
Budget buyers can approximate this with heavy-duty wire shelving units at roughly half the cost of custom brackets, though they sacrifice the ability to fine-tune shelf spacing for tall bottles versus short cans. For a Practical Small Pantry Organization Ideas planning tip: measure your tallest stored item and add 2 inches of clearance before setting bracket positions.
Clear Containers and Labeling: Visibility as Organization
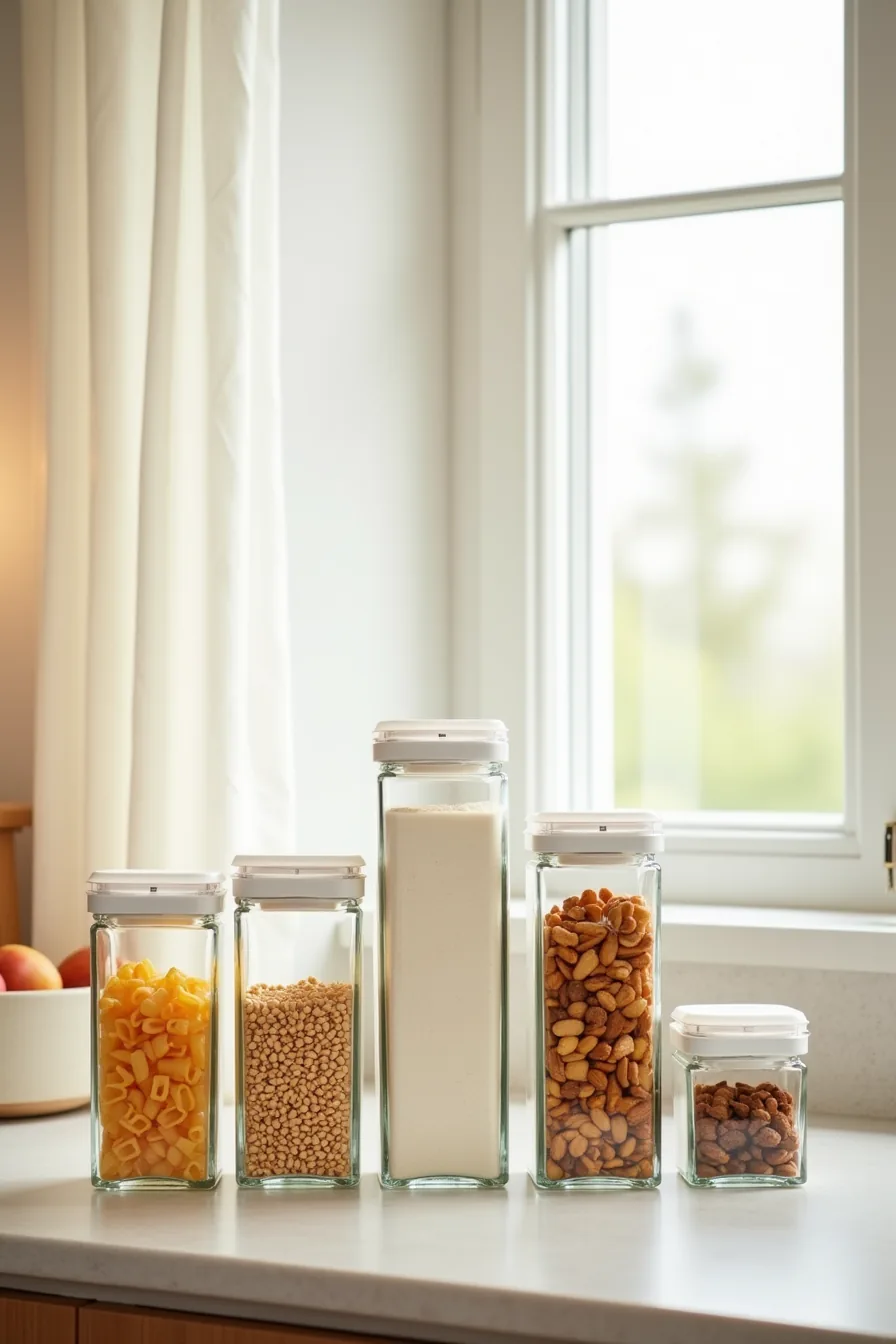
Transparent storage turns pantry chaos into a glanceable system. When you see pasta, flour, rice, crackers, snacks, and nuts in six graduated acrylic containers, you stop buying duplicates and start cooking with what you already own. That visibility cuts decision fatigue at the exact moment you’re hangry, which is when most impulse purchases happen.
Budget containers run $1–3 each and work fine for dry goods, but they crack within a year and discolor with oils. Premium acrylic or glass versions cost $8–15 per container but survive drops and stay crystal-clear for a decade. Glass is heavier and better for airtight sealing; acrylic is lighter and safer for upper shelves.
Labels fail fastest, handwritten paper smudges, printed tape peels in humidity. Use a label maker with plastic tape, or write on chalk labels with a wet-erase marker. Reapply every six months.
Match container heights to your shelf depth: if your shelf runs 12 inches deep, choose containers no deeper than 10 inches so you can pull them out without scraping knuckles. For a Best Small Pantry Organization Ideas example, commit to one container size per category and buy the same brand so lids interchange.
Door-Mounted Storage: Using Wasted Real Estate
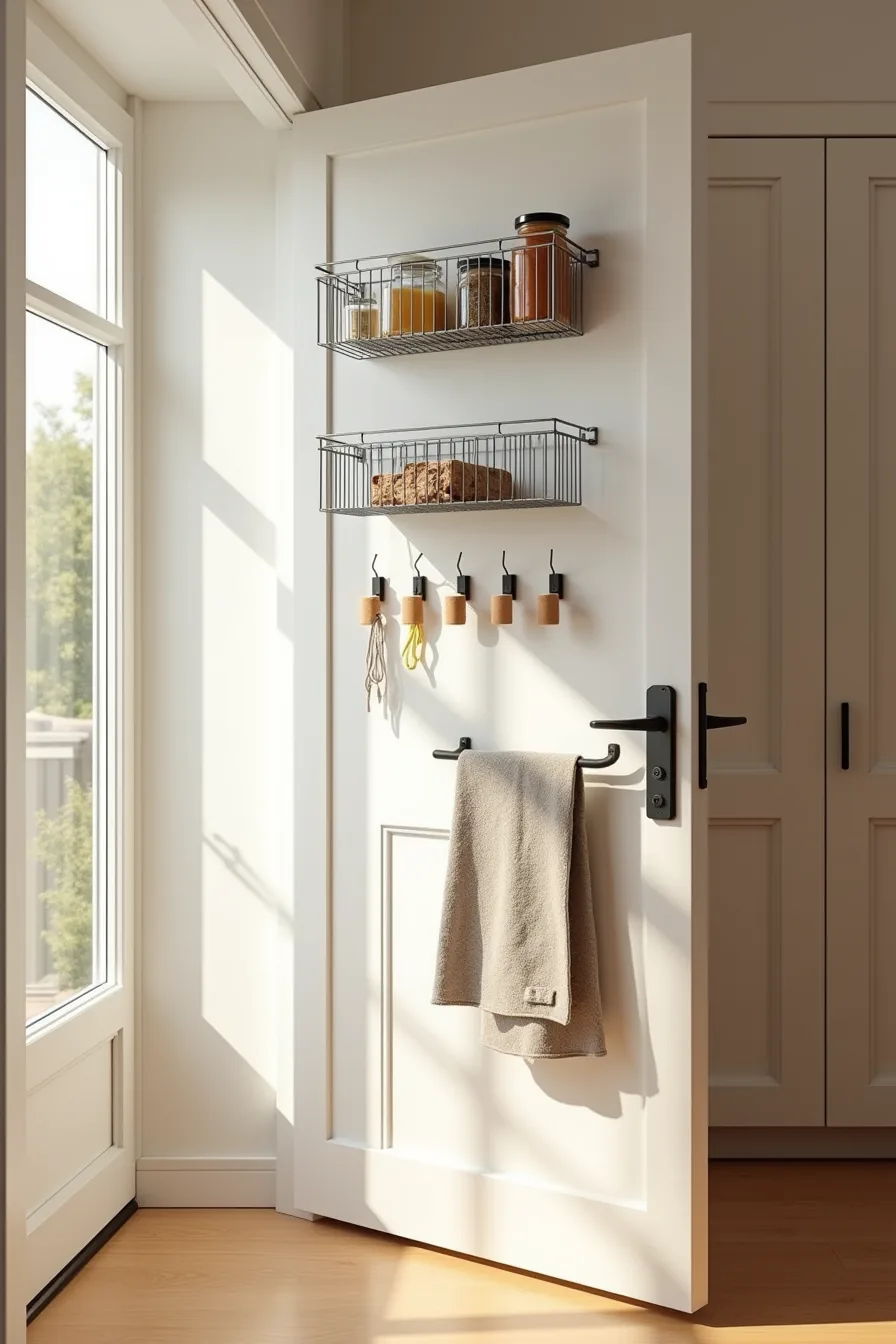
Your pantry door is roughly 30 inches by 80 inches of usable vertical space you likely ignore. Over-the-door racks and adhesive hooks convert that blank surface into extra shelf footage, and because nothing is screwed into walls, your security deposit stays intact, ideal for renters or anyone who dislikes drilling.
Mount three adhesive-backed wire baskets at eye level, mid-height, and near the bottom. The top basket holds small jars of spices you grab daily; the middle carries a cloth tote for loose produce like onions; the bottom basket catches kitchen towels within easy reach. Add four adhesive hooks along the top edge for measuring spoons or lightweight utensils.
Weight is the limiting factor, adhesive mounts typically support 5–10 pounds per hook, so store nothing heavier than a full jar of sauce. Skip this solution entirely in high-humidity kitchens, where steam loosens adhesive and moisture rusts wire finishes. For a budget-friendly start, one adhesive wire basket runs $6–12; a three-basket set plus hooks lands around $25–35.
Small Pantry Organization Ideas mistakes to avoid include overloading the top basket, it’s the hardest to retrieve from and the first to peel away from the door.
Tiered Shelf Dividers and Risers: Creating Depth Perception
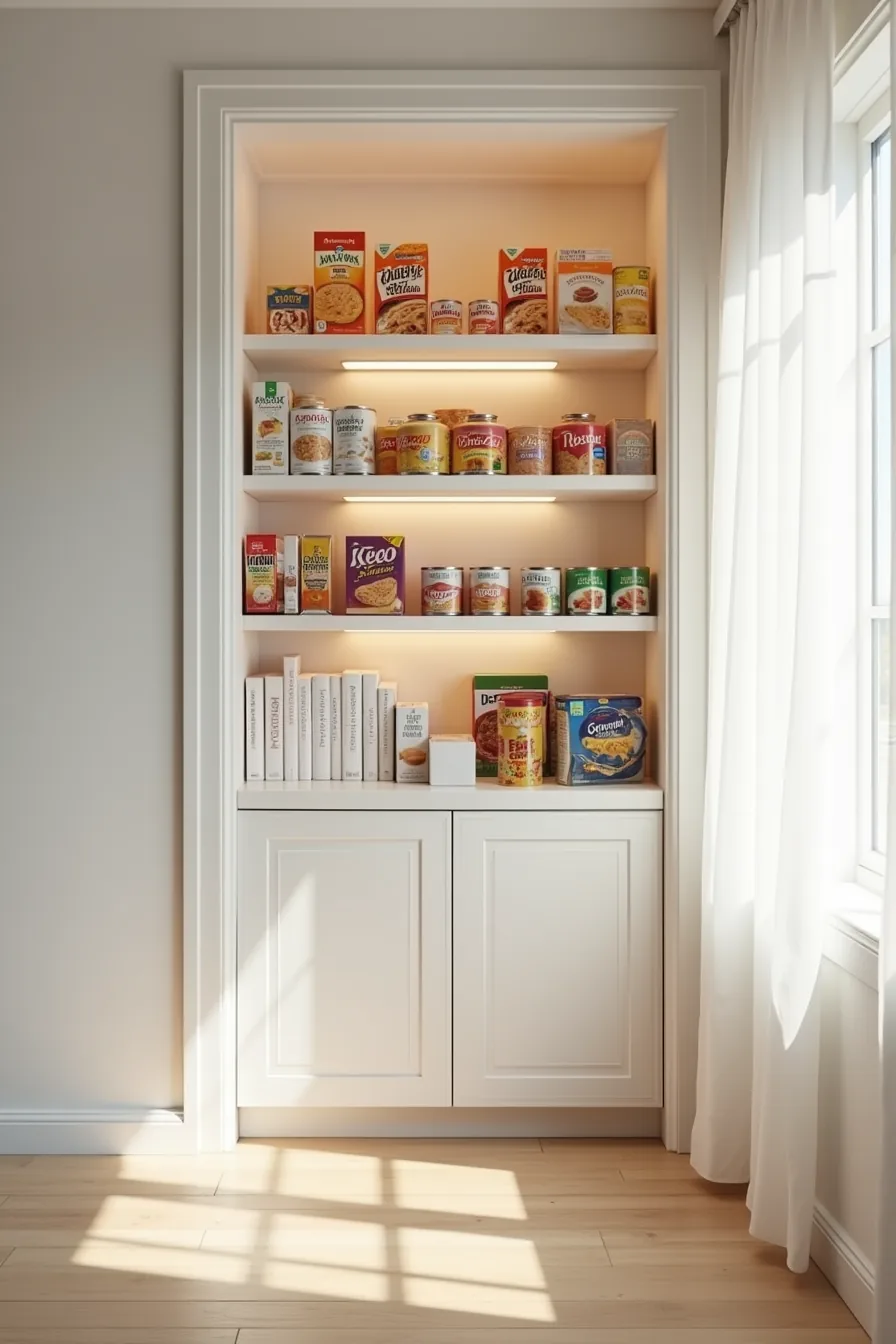
Deep shelves, typically 16–24 inches, swallow the back row of items, leaving you re-buying the canned soups you already own. Step-style risers solve this by angling inventory upward and forward, so the back row sits visibly above the front row instead of behind it. Typical riser heights run 4–8 inches, which reduces your total shelf capacity by roughly 20–30% but eliminates blind spots entirely.
The setup works best on shelves you use multiple times daily, not overflow storage. Place a tall riser at the back for cereal boxes, a mid-height one for canned soups, and a low front riser for snack boxes, each tier keeps a distinct category fully in view. You lose a little vertical clearance per shelf, so measure your tallest item before buying; a 4-inch riser still leaves room for a 10-inch cereal box on a standard 12-inch shelf gap.
Choose bamboo or coated steel risers over unfinished wood; they wipe clean and resist moisture from nearby cooking steam. Budget options start around $8 per riser, while a three-piece set for one shelf runs $20–30. This approach suits medium-sized pantries with standard-depth shelving, if your shelves are under 12 inches deep, flat bins serve you better than risers, which need that extra depth to create meaningful tiers.
Drawer Inserts and Pull-Out Baskets: Accessibility Without Reaching
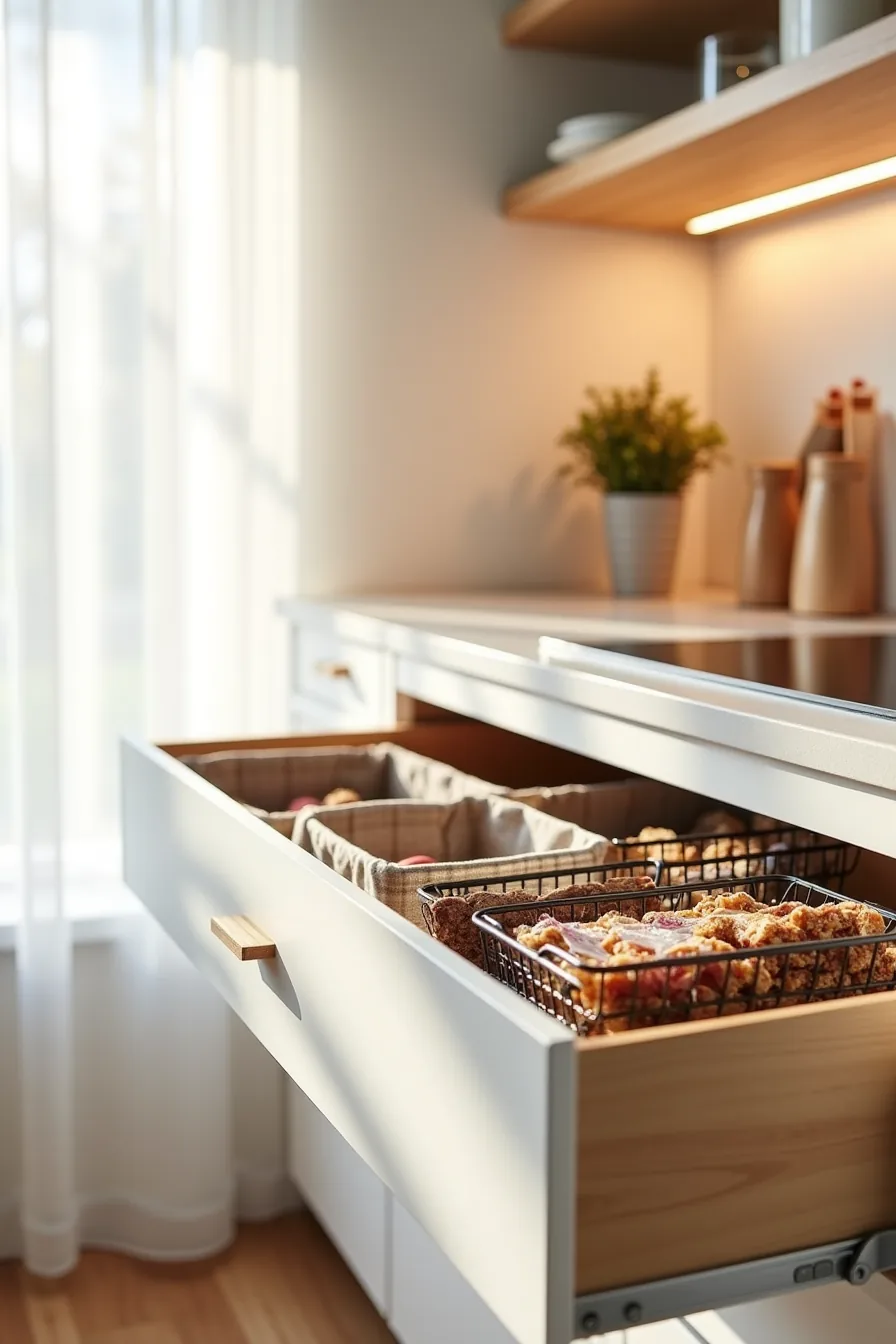
Static shelves force you to shift front items aside to reach the back, and the items at the rear inevitably get forgotten. Sliding baskets pull the entire contents into view, so every granola bar, dried fruit packet, and baking supply becomes visible in one motion. That visibility directly reduces repurchasing mistakes, you see the duplicate bag of chocolate chips before you buy a third.
For renters, this is the most flexible route among small pantry organization ideas: fabric baskets require zero installation and simply drop into an existing drawer, while wire inserts clip onto the drawer edges without drilling. Wire versions hold their shape and let you see through the mesh, but they start around $12 each; fabric options run $6–10 but sag over time, especially under heavy cans. If you’ve deep drawers (18 inches or more), use two smaller baskets side-by-side rather than one long one, lifting a fully loaded 24-inch basket strains your wrists, and splitting the load keeps each pull manageable.
Maintenance means vacuuming crumbs from the drawer base every two weeks, since both basket types trap debris underneath.
Rotating Inventory Systems: Preventing Waste and Expiration
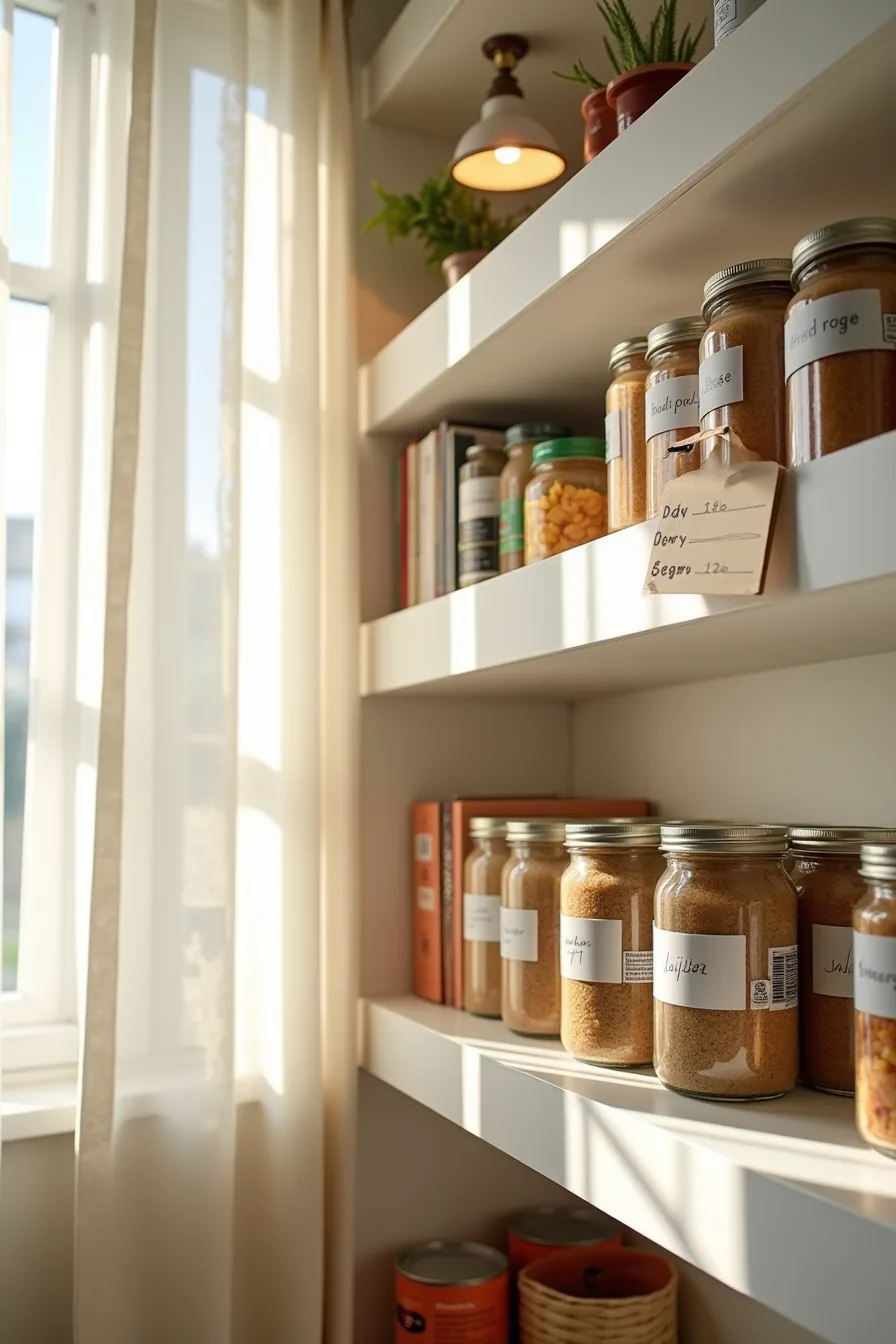
FIFO (first in, first out) labeling cuts food waste by 15–25 percent because you physically reorganize shelves every time you shop. The method is simple: after buying groceries, move older canned goods to the front and slide new items behind them, then update a date sheet so you know what needs eating first. The clipboard on the top shelf edge holds that running list, which works better than memory alone when you stock overlapping items like multiple tomato sauce brands.
This system suits households with 3+ members who shop weekly or biweekly. Time investment is roughly 10–15 minutes per restock, enough to rotate shelf contents and rewrite date entries. For a single person who shops daily, the overhead likely outweighs the benefit; you already consume items before they expire.
If you’ve deep shelves (16–20 inches), add a shallow step riser at the back so the second row of cans sits elevated and visible, preventing the rear items from becoming the forgotten ones. The trade-off: this method demands discipline. Skip rotation twice, and the system collapses into the same expiry problem you started with.
Choose your first move
Start with the shelf that annoys you most when you reach for a can or jar. Empty it, wipe the surface, and group items by how often you use them. That single shelf takes fifteen minutes and tells you whether you need bins, risers, or just fewer boxes.
If you rent, skip adhesive hooks and built-in racks; freestanding wire shelves and clear plastic bins move with you. If you own, measure your cabinet depth before buying anything, most standard pantry shelves run 12–16 inches deep, so oversized turntables waste space.
Your next step: pull one shelf and photograph it. The photo shows exactly what you need.
Frequently Asked Questions
How do I organize a pantry smaller than 4 feet wide?
Use vertical stacking with slim wire racks on the door and clear, stackable bins on shelves. Keep a single row of items per shelf, prioritizing daily-use goods at eye level. Avoid deep pull-out drawers, which waste narrow footprint.
What’s the difference between budget and premium small pantry organization systems?
Budget systems rely on adhesive hooks, tension rods, and plastic bins, costing under $50 and requiring replacement yearly. Premium systems use custom pull-out shelving, metal baskets, and bamboo dividers, lasting 10+ years but costing $200–$500 and needing professional installation.
Can renters use small pantry organization ideas without damaging walls?
Yes. Use over-the-door racks, freestanding utility carts, and stackable shelf risers that rest on existing surfaces. Skip adhesive strips on painted drywall; they can peel finish.
Instead, use tension-mounted rods or clamp-style hooks that leave no residue.
How often should I reorganize a small pantry to maintain the system?
Reorganize every 3–4 months, aligning with seasonal ingredient changes. Do a 10-minute weekly sweep to return misplaced items and check expiration dates. If you stock bulk goods, shift to a monthly rotation to prevent forgotten items.