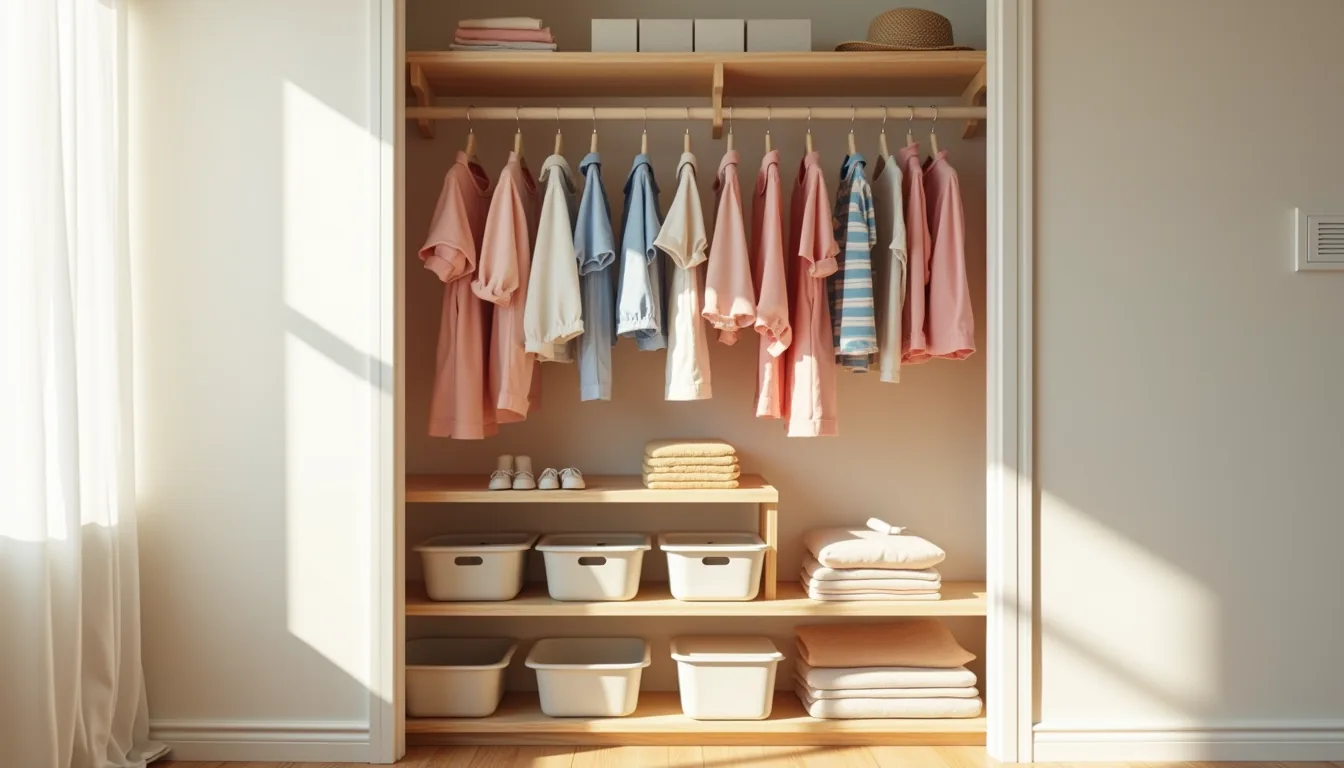
A child’s closet is the one room in your house where a perfect system today can become a chaotic avalanche by tomorrow, so the right organization strategy depends less on aesthetics and more on your space, your lease, and your tolerance for weekly resets. You need a plan that matches how fast your child grows, how much you can drill into walls, and how much you’re willing to spend. The six approaches below range from a $30 tension-rod setup to a permanent custom build, each with clear trade-offs in maintenance and durability.
By the end, you’ll know exactly which route fits your situation without guessing.
Key takeaways
- Standard closets benefit most from a fixed hanging rod paired with one adjustable shelf, giving you roughly 60-70% hanging space and 30-40% flat-fold storage for shirts, pants, and bins.
- Small spaces gain the most usable square footage from drawer dividers and labeled bins, which convert dead vertical depth into categorized zones for socks, accessories, and toys without adding furniture.
- Modular systems with adjustable brackets and shelves pay off for children aged 5-12, since you can raise rod heights by 6-12 inches every two years instead of replacing the entire unit.
- Renter-friendly setups using over-the-door hooks and tension rods require no drilling, install in under 10 minutes, and hold up to 15-20 pounds per rod when properly anchored, enough for daily-wear jackets and backpacks.
The Hanging Rod + Shelf Combo for Standard Closets
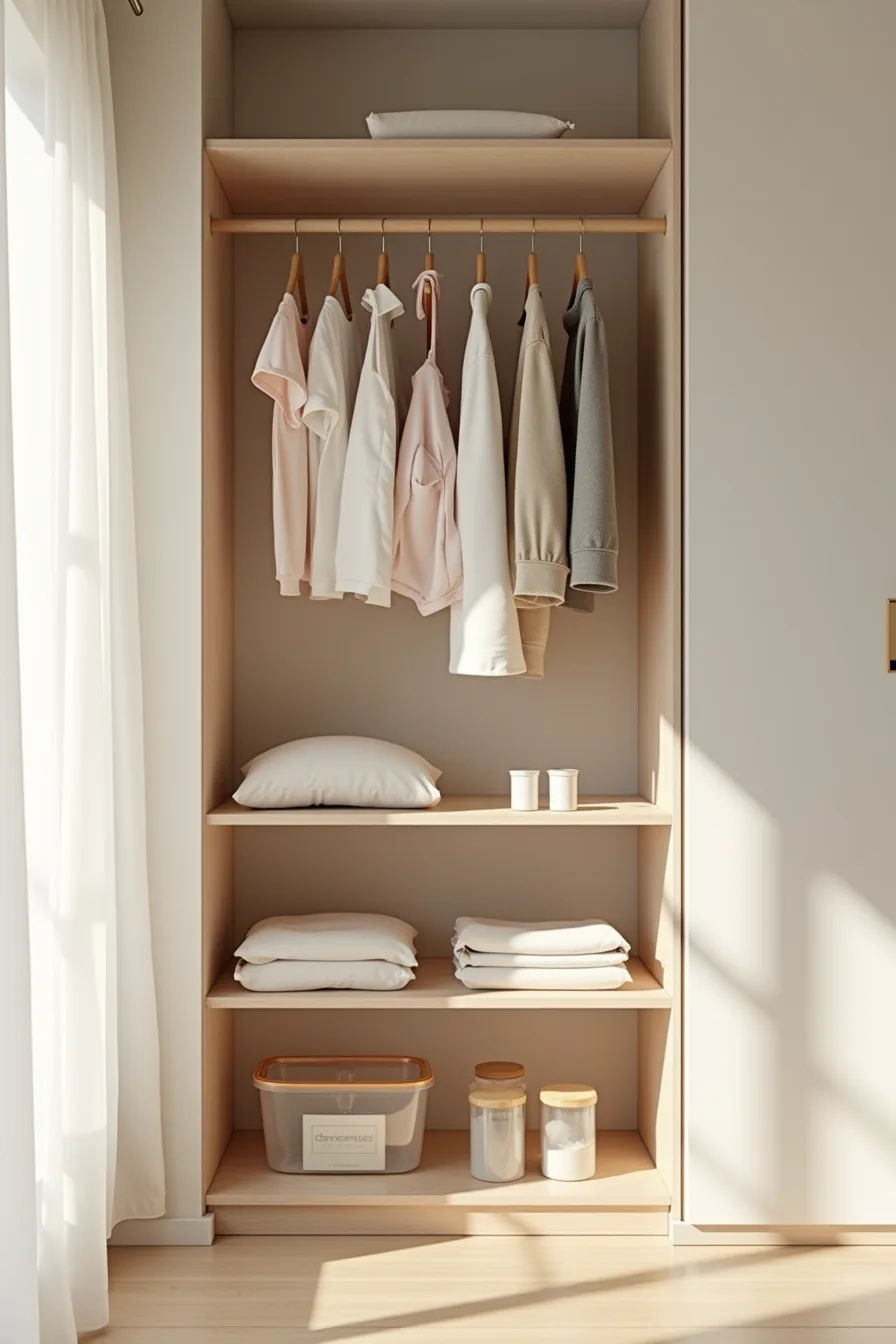
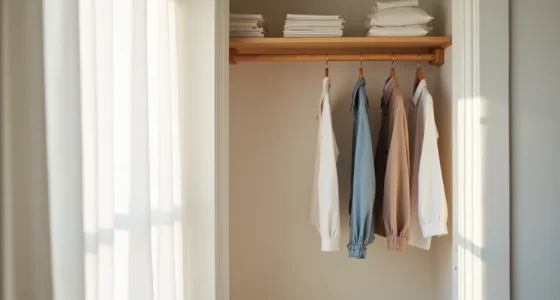
For a closet that runs 24–36 inches wide with 4–6 feet of usable height, this dual-rod layout gives you roughly double the hanging capacity of a single rod. The upper rod holds dresses and shirts at a height where you can still see the hems; the lower rod keeps pants and jackets within arm’s reach for a preschooler or early elementary-age child. Between and below the rods, three wooden shelves catch the overflow, rolled t-shirts and sweaters stay visible and grab-and-go, while clear plastic containers on the bottom shelf hold out-of-season shoes or accessories you don’t need daily.
This works best for kids who dress themselves but still need visual cues, because everything hangs or stacks at eye level. To reproduce it, you’ll need a closet rod bracket rated for at least 50 pounds, standard shelving boards 12–16 inches deep, and roughly an hour with a drill and stud finder. The trade-off: it’s a permanent install, so skip it if you rent without wall-mounting approval.
For a standard reach-in closet, this is the most cost-efficient, typically $60–$150 in materials, and it adapts to medium spaces by swapping shelf spacing as your child grows.
Drawer Dividers and Labeled Bins for Small Spaces
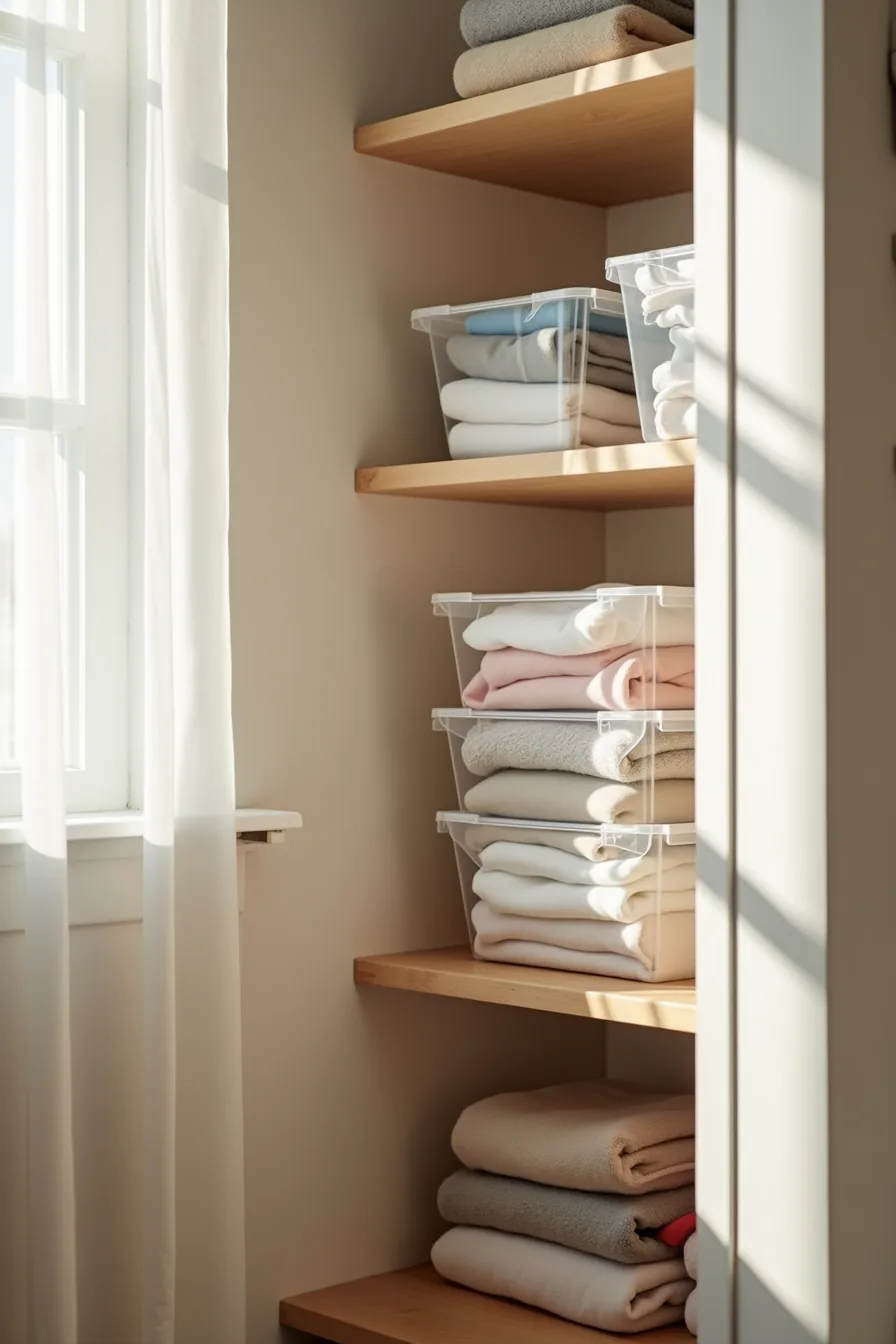
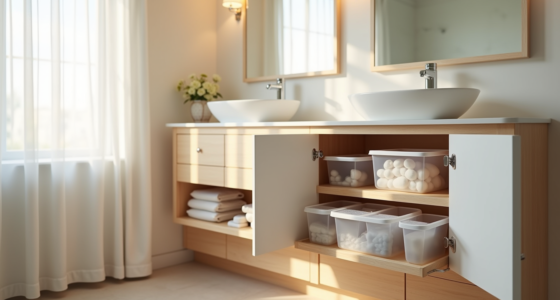
When your closet is narrower than 24 inches, vertical stacking replaces horizontal spread. Five clear plastic bins stacked three-high on a shallow shelf turn a sliver of wall space into a complete accessory station, folded socks go in the bottom bin, underwear in the middle, and hair ties or belts in the top. Clear bins matter here because you can spot an empty bin from across the room without pulling anything down; opaque bins force you to open each one, which children under six rarely do reliably.
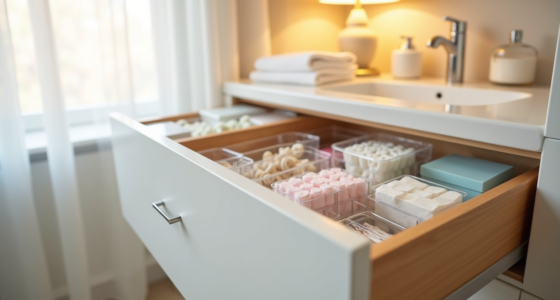
Inside a single dresser drawer, adjustable drawer dividers create four to six compartments sized to your child’s actual clothing volume, typically 2–3 inches wide for folded socks, 4–5 inches for underwear stacks. This setup suits toddlers and early elementary kids who still need to see everything at once. Reproduce it for about $25–$50: eight clear bins, two packs of spring-tension dividers, and a label maker.
Expect to re-sort monthly because children will shove items into the nearest bin regardless of labels.
Modular Closet Systems for Growing Children
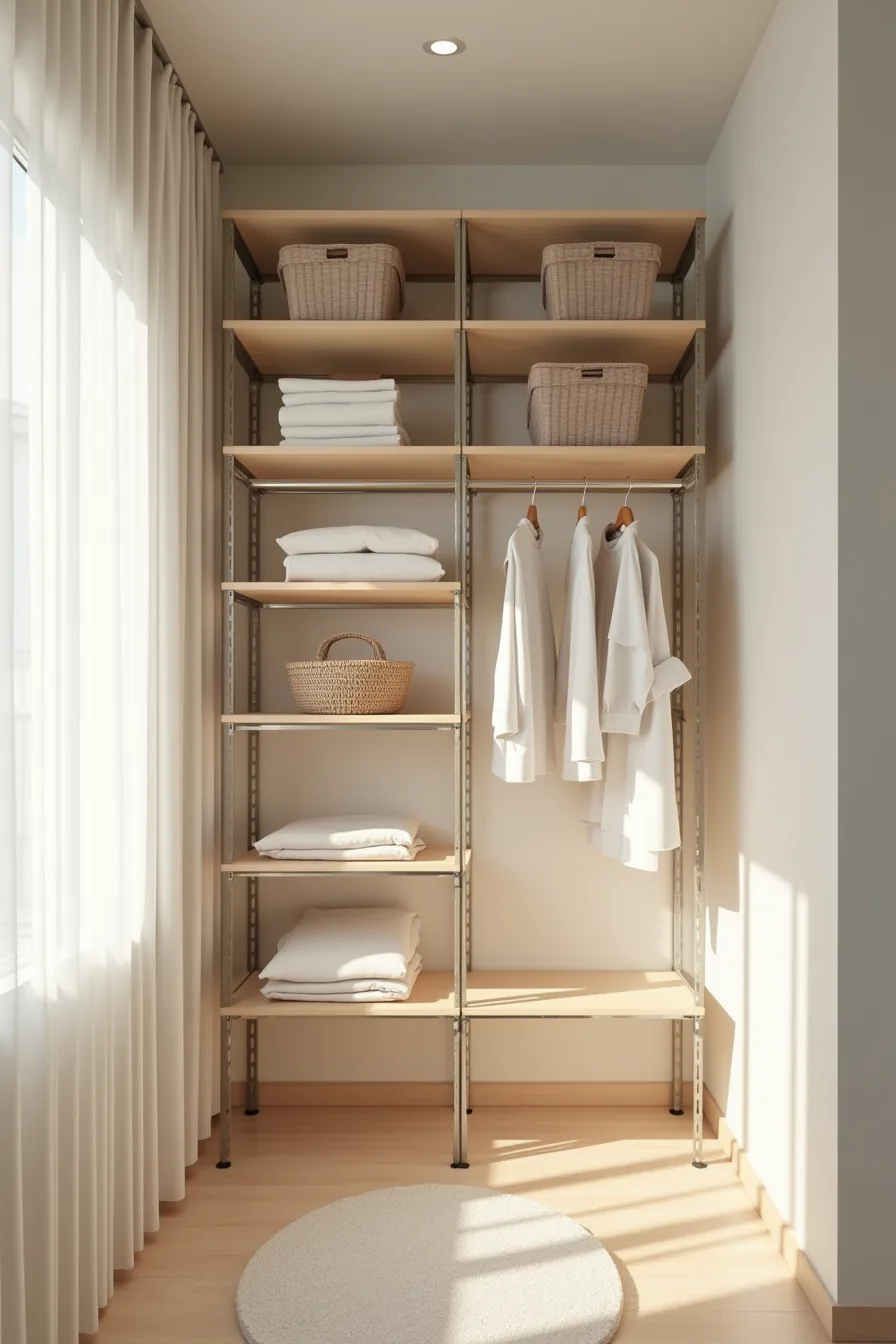
Freestanding modular systems with adjustable metal shelving solve the core problem of children’s wardrobes: they double in size every few years. A unit with four shelves ranging 12 to 16 inches deep plus a bolt-on hanging rod gives you roughly 70 percent usable configuration flexibility versus a fixed builder-grade closet. You lift the rod from 48 inches to 60 inches when your child outgrows toddler-length garments, and you move shelf brackets in 1-inch increments as stack heights change, all without tools beyond a hex key.
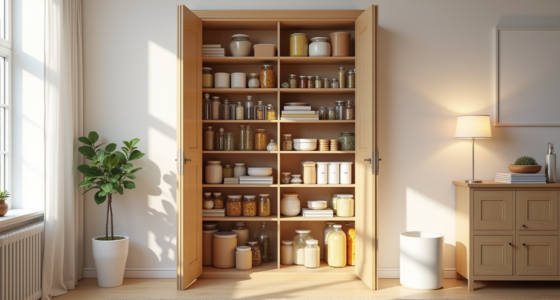
The setup photographed here works because the metal shelf supports and adjustable hanging rod share one vertical track, letting you dedicate one side to hung jackets and dresses while the opposite bays hold folded sweaters and those clear storage bins. This suits parents who expect to use the same closet from ages 2 through 8, a realistic 5- to 6-year window before you might want a full wardrobe system. Expect to pay $100 to $250 for the basic frame and brackets; budget vs. Splurge Kids Closet Organization Ideas hinge on whether you buy powder-coated steel (rust-resistant, heavier) or lighter epoxy-coated wire shelving that flexes under heavy bin loads.
Plan 30–45 minutes for the initial install and a 10-minute adjustment session every season change. The trade-off: metal systems read utilitarian rather than playful, so you’ll want to mask that with colorful bins and fabric baskets.
Renter-Friendly Over-the-Door and Tension Rod Solutions
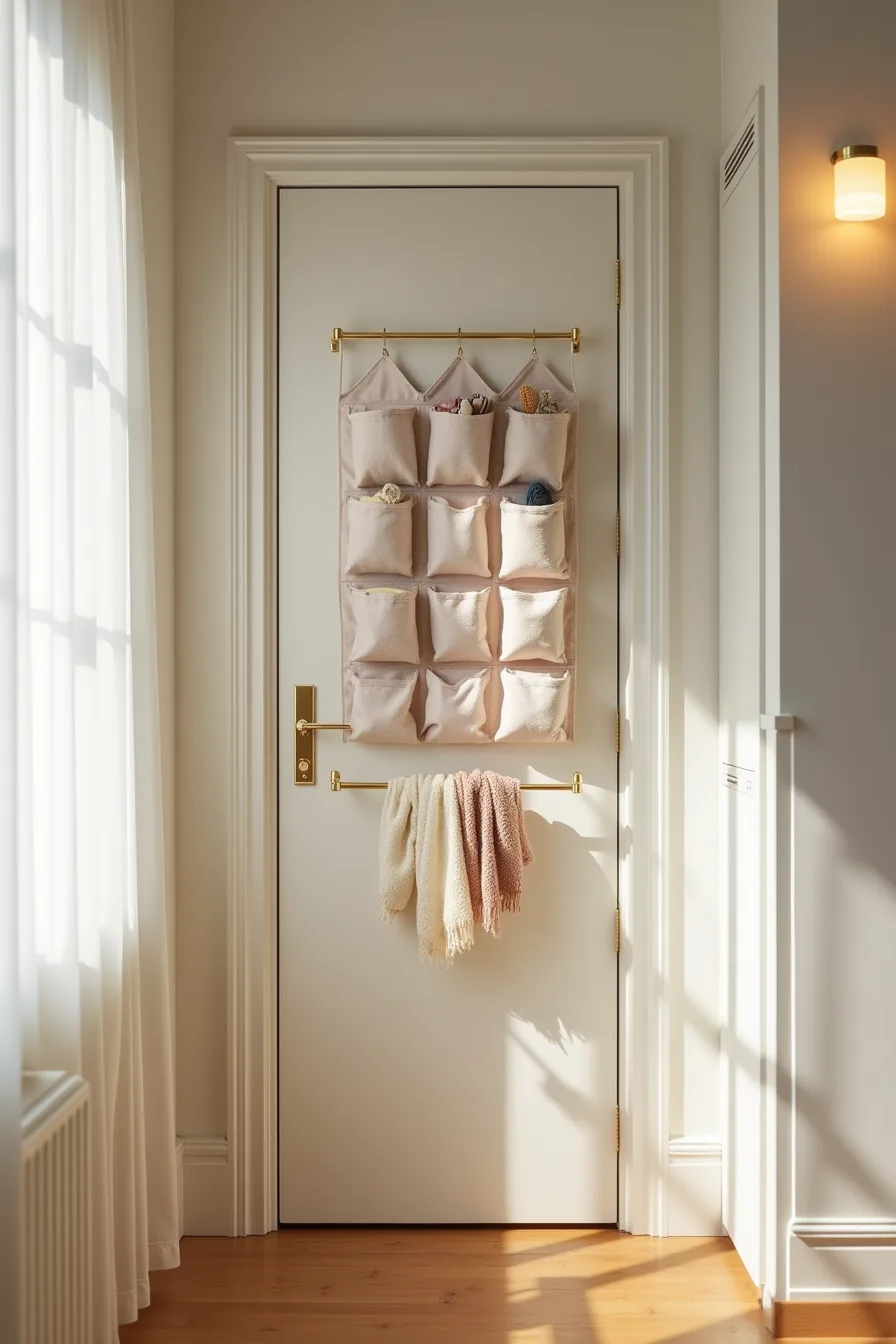
No-drill hardware turns the back of a closet door into prime vertical storage, and it all comes down in under five minutes when you move. An over-the-door organizer with 10 to 12 fabric or clear pockets handles socks, underwear, and accessories; stash pajamas in the bottom tiers and hair ties or sunscreen in the top ones so your child can reach everything without your help. You pay $15 to $35 for the organizer, and it fits standard doors up to 1.75 inches thick.
The tension rod mounted horizontally below the door frame catches items that ruin folded stacks: scarves, lightweight cardigans, and dress-up capes. Choose a spring-loaded rod rated for 10 to 15 pounds, and drape items over it rather than hanging them from hangers, which will drag the rod down at the center. This setup suits toddlers and early elementary kids who grab and go, and it works best in narrow closets where a traditional hanging rod sits out of reach.
The wall damage is zero, the organizer hooks over the door’s top edge, and the rod’s rubber ends compress against the frame, but check the door’s swing clearance before you commit. A full organizer holds 20 to 30 pounds of fabric, which can make a hollow-core door sag permanently; reinforce with a tension rod kit that includes top-edge clips if your door feels light.
Color-Coded Zones and Visual Systems for Independence
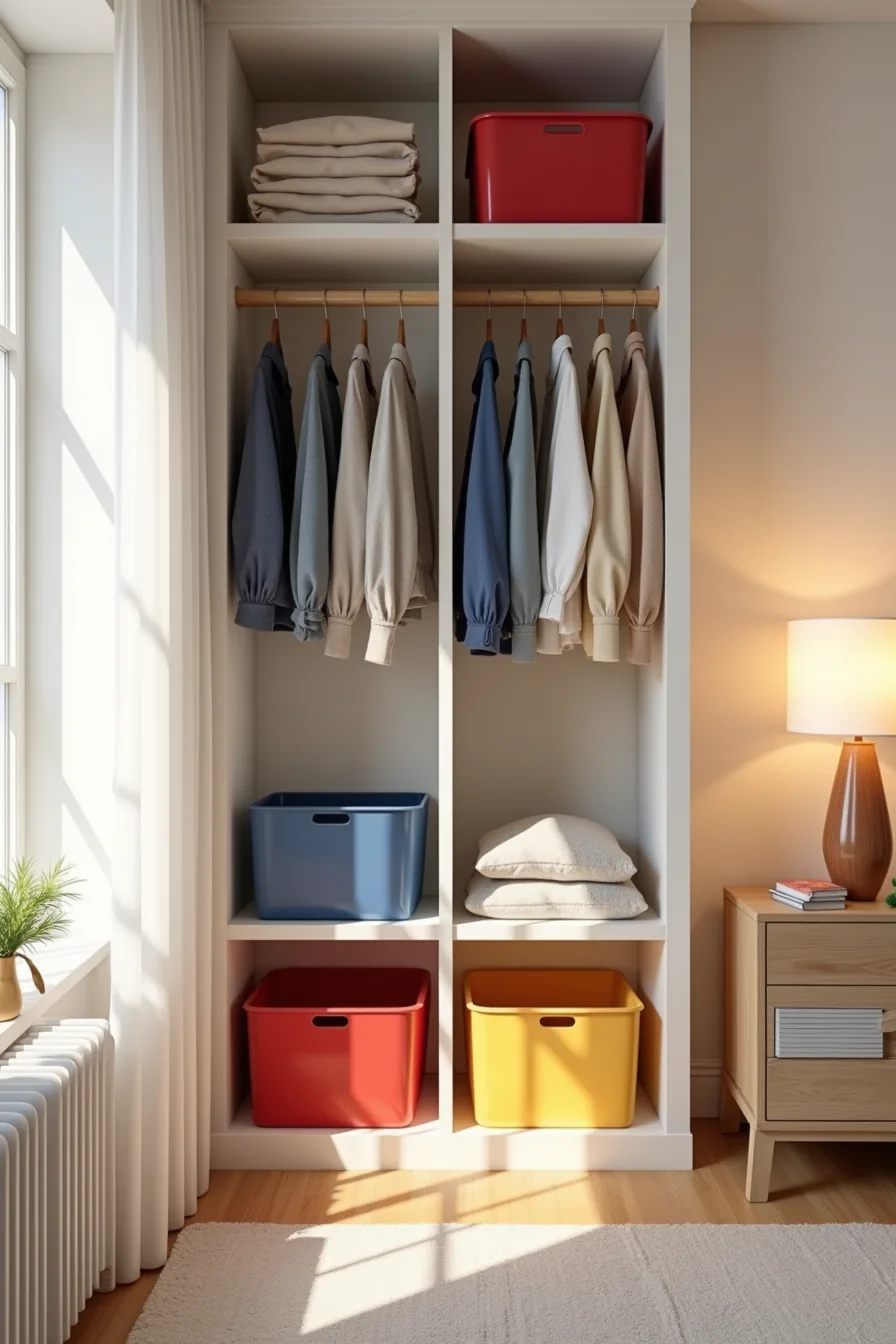
Three primary-colored bins on open wooden shelves turn “where does this go?” into a game your child can win without asking. Assign red to tops, blue to bottoms, and yellow to accessories or pajamas, then sort each bin internally by color families, all red tops together, then orange, then pink, so the system works at two levels: first the bin color signals the category, then the rainbow order within it signals the specific item. This suits children ages 3 to 7, an age range where pre-reading visual cues outperform text labels, and it requires about 30 minutes of setup plus a consistent two-week habit-building period from you.
Choose open, cubby-style bins no deeper than 12 inches so small hands can see and retrieve the bottom item without excavating. Clear-front bins work too, but solid colors provide a stronger category signal from across the room. Label the front of each bin with a matching color swatch and a simple icon, a shirt, pants, socks, so non-readers still know the rule.
Budget $2 to $4 per bin if you reuse household baskets, or $8 to $15 per bin for rigid, stackable versions that hold their shape. For small closets, use a single shelf with three slim bins side by side; for medium closets, stack two shelves of bins vertically with the most-used category at your child’s eye level (roughly 24 to 36 inches from the floor); for large walk-ins, dedicate a full wall to this system and add a fourth bin color for seasonal items. Fabric bins need monthly spot-cleaning and will sag within a year; rigid plastic bins last through multiple kids but cost more upfront.
The real payoff is behavioral: once your child internalizes the color map, they can dress themselves and return laundry independently, freeing you from the daily “where are my shorts?” hunt.
Common Mistakes and Maintenance Habits That Derail Organization
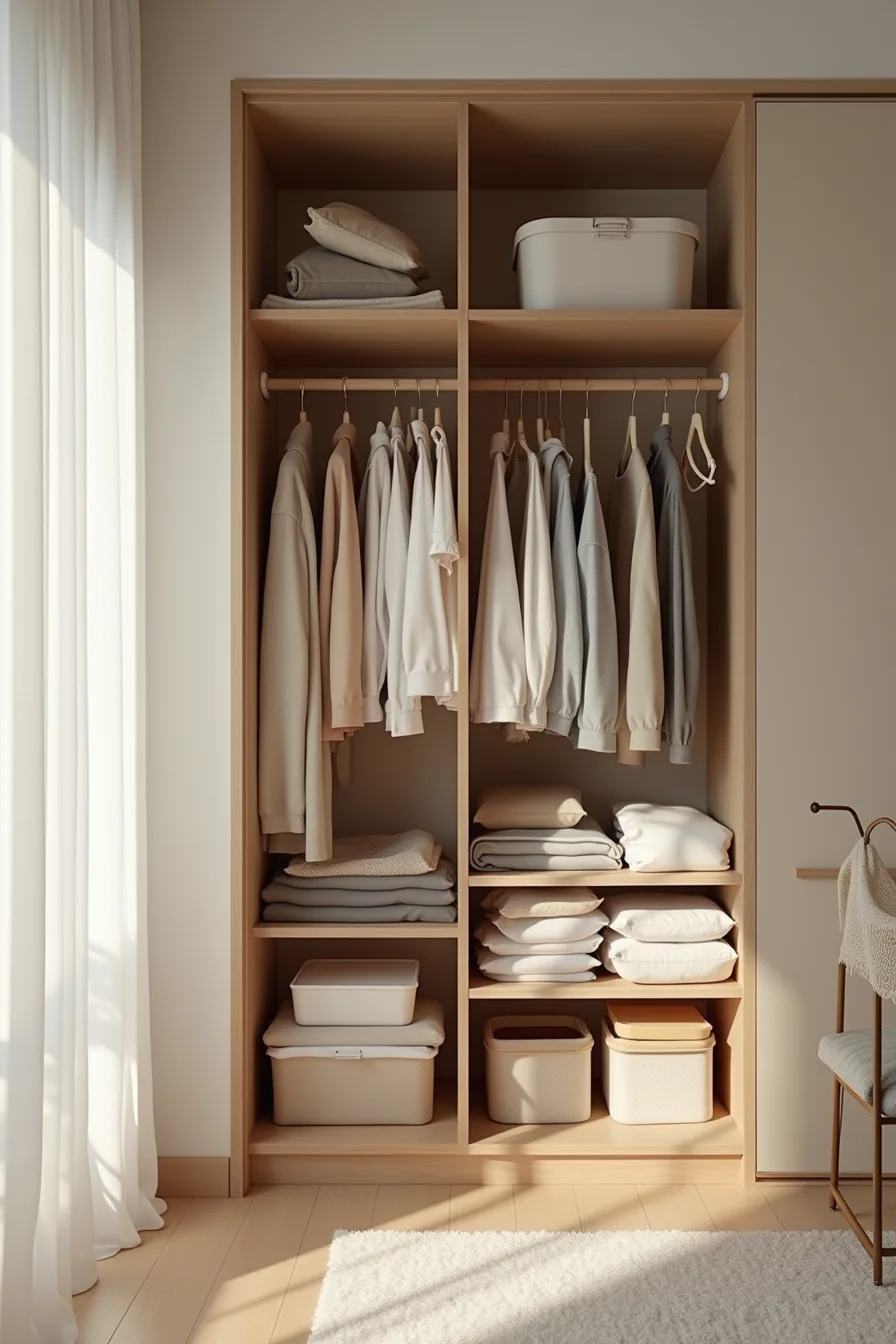
You can build the perfect system and watch it collapse within a month if you overstock from day one. When you stuff shelves with every outgrown onesie and half-used craft kit, bins overflow onto the floorhol, and the misaligned shelf divider becomes useless because nothing fits in its designated slot. The rule of thumb is to keep 20 percent of each shelf empty; if you can’t close the closet door without pushing items back, you’ve exceeded capacity.
Shelf heights cause the second most common failure. Hanging rods set above your child’s reachable height, typically over 54 inches for a 5-year-old, force them to tug clothes down, which stretches shoulders and creates the sagging rod you see under excess weight. Set the rod at your child’s raised-hand height plus 2 inches, and adjust it every growth spurt rather than waiting for seasonal changeovers.
Labeling fails when you make it text-only. A 4-year-old can’t read “accessories,” so the bin becomes a catch-all. Use a picture plus word on every label, and reprint them when the system changes.
Seasonal rotation is the maintenance habit most families skip. Schedule a 45-minute swap at daylight saving time changes, twice yearly, to move off-season items to high shelves or storage bins. Between rotations, do a 10-minute tidy every Sunday: return strays, flatten folded stacks, and note which categories overflow so you can adjust before the next cycle.
Skipping this weekly reset is what turns a working system back into a pile on the floor.
Your decision checklist
Before you buy a single bin, measure the closet’s depth and clear floor space. A 12-inch-deep closet needs different solutions than a 24-inch one, and every system you pick must leave a 24-inch walking path.
Match the storage to your child’s independence level. Labels with photos work for ages 2-5; written labels suit readers. If you rent, choose tension rods and adhesive hooks over permanent fixtures.
If you own, invest in adjustable shelving that grows with them.
Start with one zone only. Clear out the floor, install your chosen system for just shoes or just tops, and run it for two weeks before touching the rest. That single proof of concept will tell you what needs adjusting.
Frequently Asked Questions
What is the ideal hanging rod height for kids closets?
Install the rod at 36–48 inches from the floor for ages 2–6, then raise it to 54–60 inches as they grow. This lets children reach clothes independently without risking falls or stretching.
How often should I reorganize my child’s closet as they grow?
Reorganize every six months, or whenever your child outgrows a size or season changes. A quick quarterly audit catches too-small items and prevents clutter from accumulating silently.
Can kids closet organization systems work in closets smaller than 3 feet wide?
Yes, but skip full systems. Use over-door hooks, stacked bins, and a single low rod. Measure depth first, most systems need at least 24 inches of depth to function without blocking access.
What is the difference between renter-friendly and permanent kids closet organization?
Renter-friendly options use tension rods, adhesive hooks, and freestanding units that install without drilling or altering walls. Permanent systems involve screwed-in shelving, custom rods, and built-in drawers, which add value but require landlord approval and removal costs if you move.