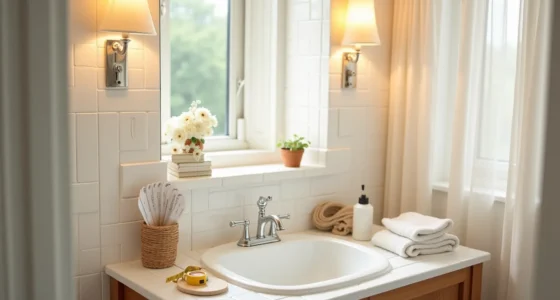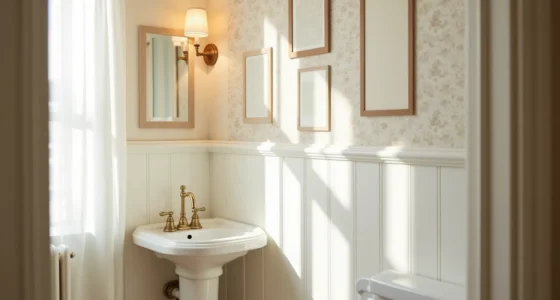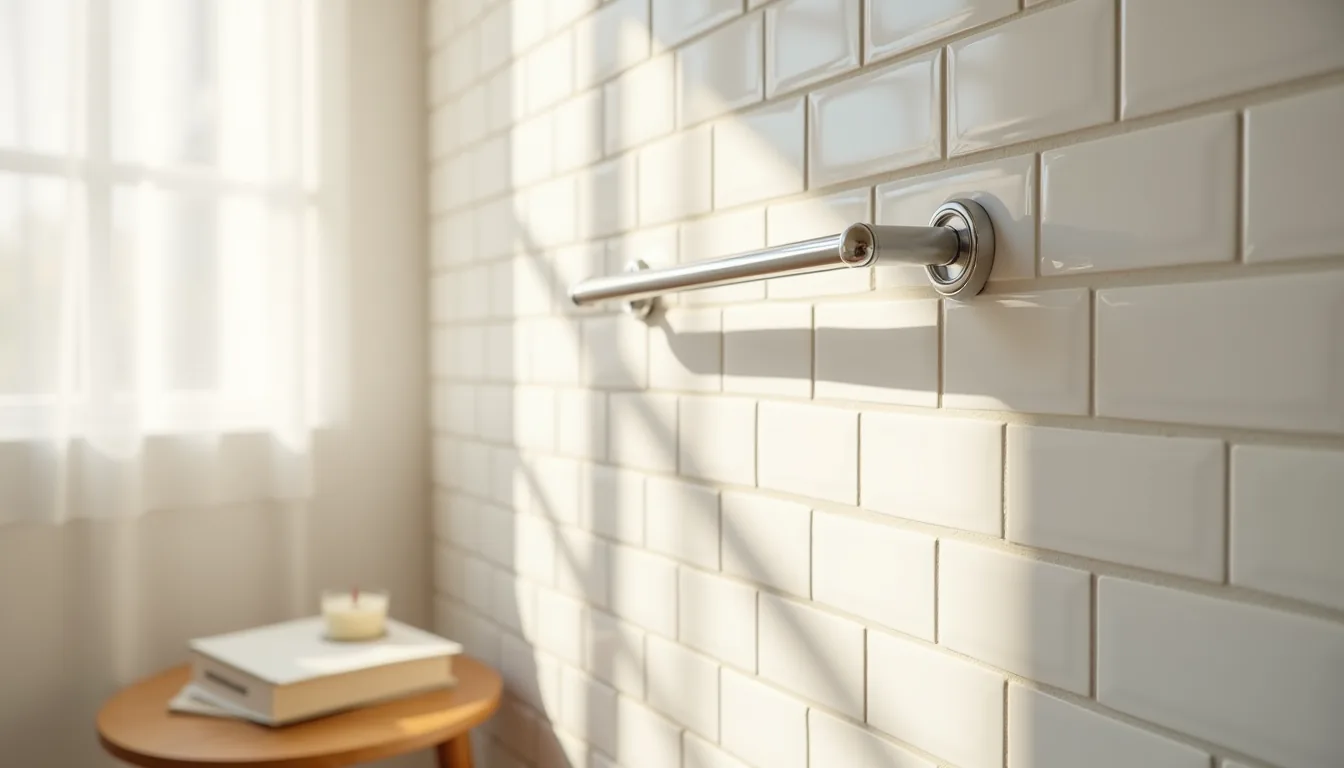

Bathroom wall tile is the single most impactful surface decision you’ll make in the room, and choosing the right format, material, and placement pattern determines everything from daily maintenance to how spacious the space feels. Six distinct approaches, from large-format porcelain that minimizes grout lines to peel-and-stick panels that require zero demolition, cover the full spectrum of budgets and skill levels. Each option below includes the specific dimensions, installation requirements, and cleaning trade-offs you need to match the tile to your actual bathroom conditions.
Key takeaways
- Subway tile layouts change the entire room feel: vertical stacks add height to low ceilings, while herringbone patterns cost more labor but hide minor wall imperfections better than straight grids.
- Large-format tiles (12×24 inches or larger) cut grout lines by roughly half compared to standard 4×12 subway, making small bathrooms feel bigger and reducing cleaning time, but they require perfectly flat walls or lippage becomes visible.
- Peel-and-stick wall tile works for renters only if the surface is smooth, clean, and dry; expect each sheet to cover about 1 square foot, and removal is easiest within the first 12 months before adhesive cures permanently.
- Textured or 3D tiles suit accent walls behind vanities or tubs, not full coverage, because their relief patterns trap soap scum and demand weekly scrubbing with a soft brush, use them on just one wall to keep maintenance manageable.
Subway Tile: The Workhorse Layout
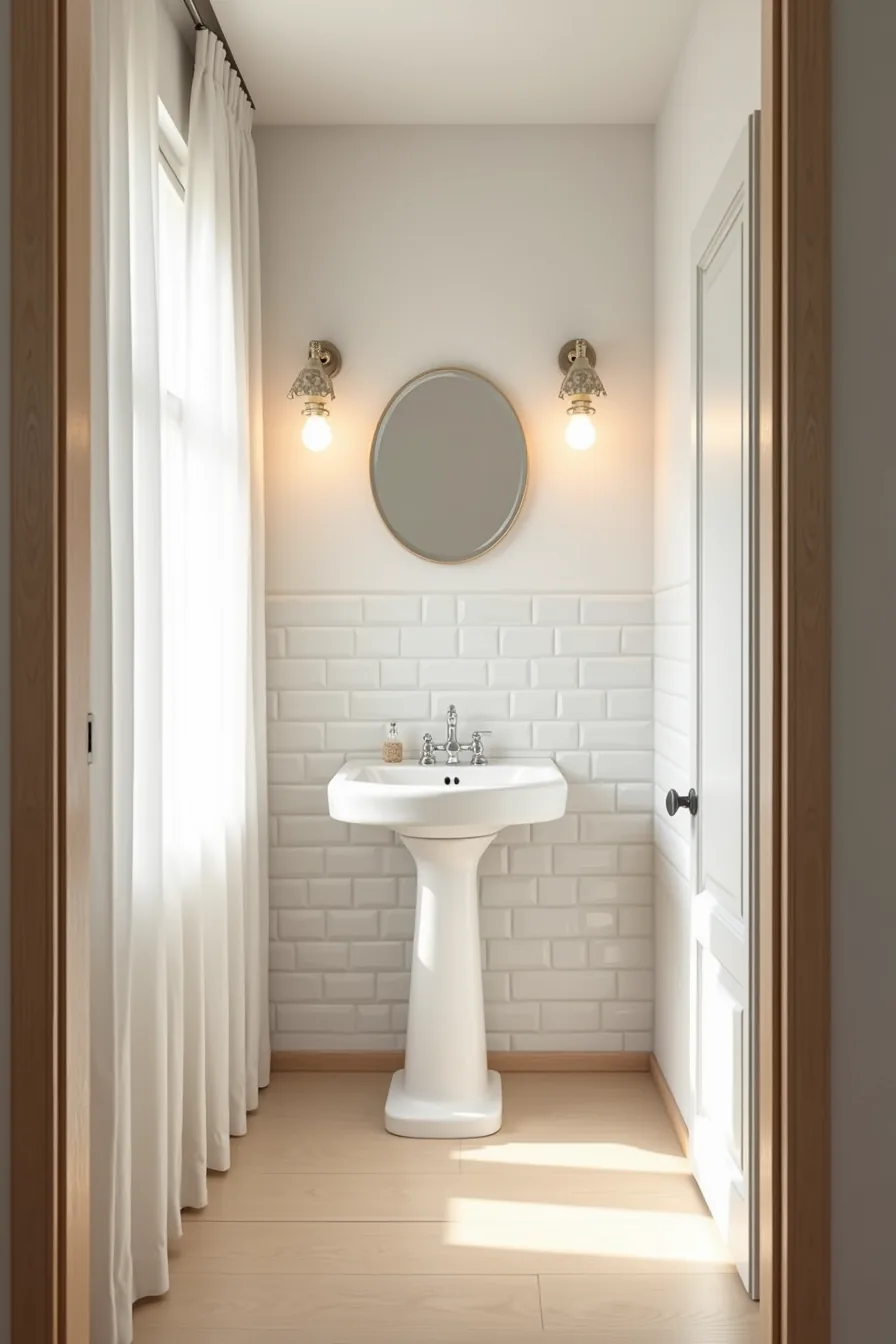
The classic 3×6 subway format remains the most dependable choice in bathroom wall tile design, and this compact 5-by-7-foot room demonstrates why. White subway tiles running floor-to-ceiling behind a pedestal sink reflect light across the space, making the room feel larger than its footprint. The even 3mm grout joints create a clean grid that reads as intentional rather than busy, a critical detail when the tile covers every wall surface.
This layout suits small bathrooms because the horizontal offset pattern draws the eye along the longer wall dimension, visually widening a narrow footprint. For renters, standard-size subway tile is also the easiest to patch or replace if a section gets damaged, and white remains the most landlord-neutral color you can install. Keep grout lines tight at 2-3mm in showers to reduce cleaning surface area, and use a sanded grout only if you need joints wider than 3/16 of an inch.
Choose a matte finish over glossy if your bathroom gets hard water, it hides spotting far better.
Large-Format Tile: Fewer Seams, Bigger Impact
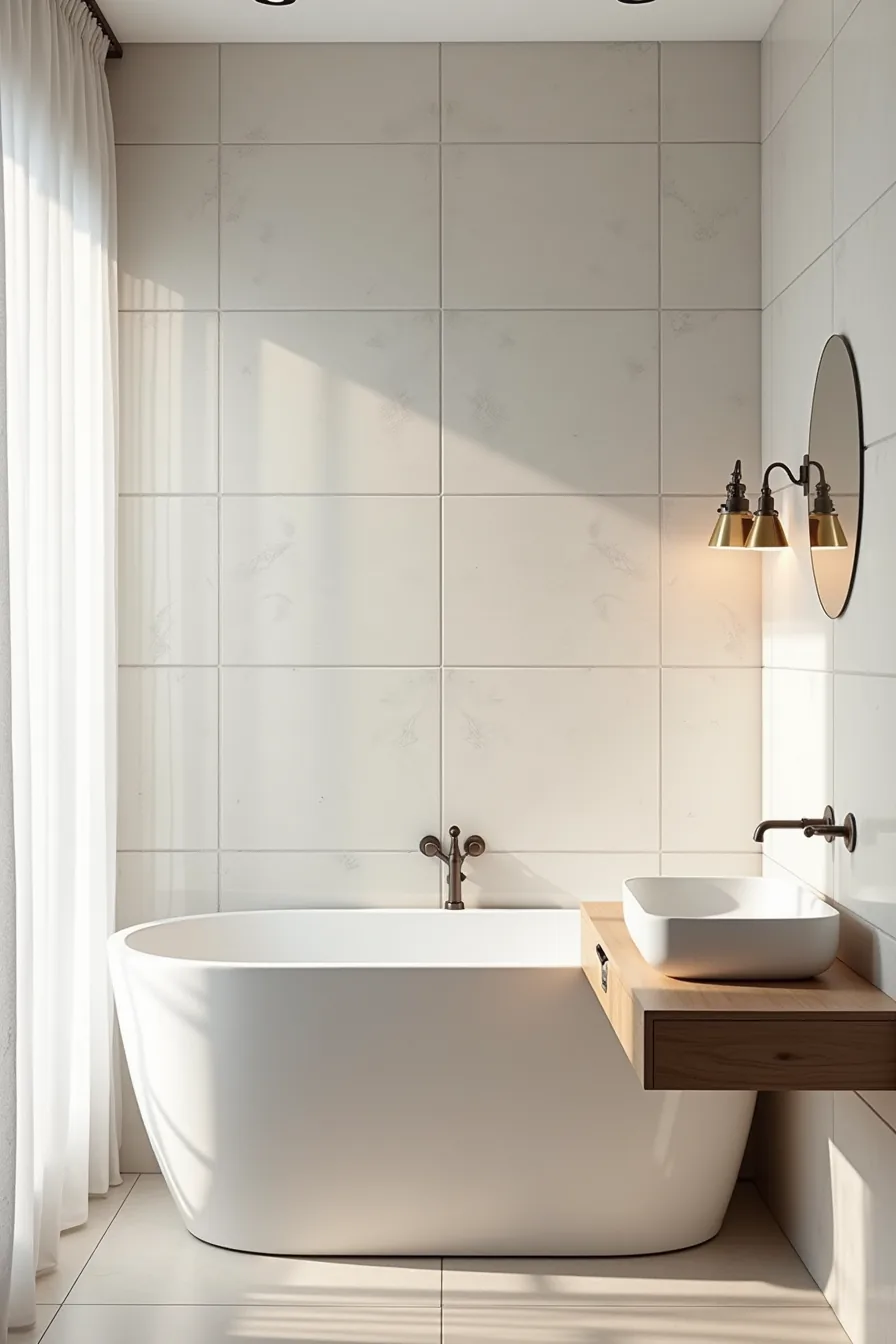
When you’re working with a medium or large bathroom, 12×24 or 18×36 porcelain tiles deliver a distinctly modern wall treatment that small-format tile simply can’t match. In this 8-foot-wide installation, the light gray 12×24 tiles in a running bond pattern produce only two horizontal and four vertical grout lines across the entire wall surface, letting the recessed lighting wash over an unbroken plane of material.
The visual effect is immediate: fewer joints mean the eye reads the wall as a single surface, which visually expands the room’s perceived width. That makes large-format tile your most effective stylish wall tile design for medium bathrooms where subway tile would read as busy or cluttered.
The trade-off is installation. Large tiles demand a flat substrate, any bow in your drywall or old plaster translates directly into lippage at the seams. Budget for a skim coat or backer board if your walls aren’t true.
You’ll also need a tile leveling system, which adds roughly 15-20 percent to your labor cost. For the long-term investment, though, this pays off: porcelain in 18×36 format is denser and more chip-resistant than smaller equivalents, and the reduced grout surface means significantly less annual maintenance. Use a rectified-edge tile with 1/16-inch grout lines for the cleanest result, and seal once, you’ll recoup the prep cost in years of easier cleaning.
Mosaic and Accent Strips: Strategic Color Breaks
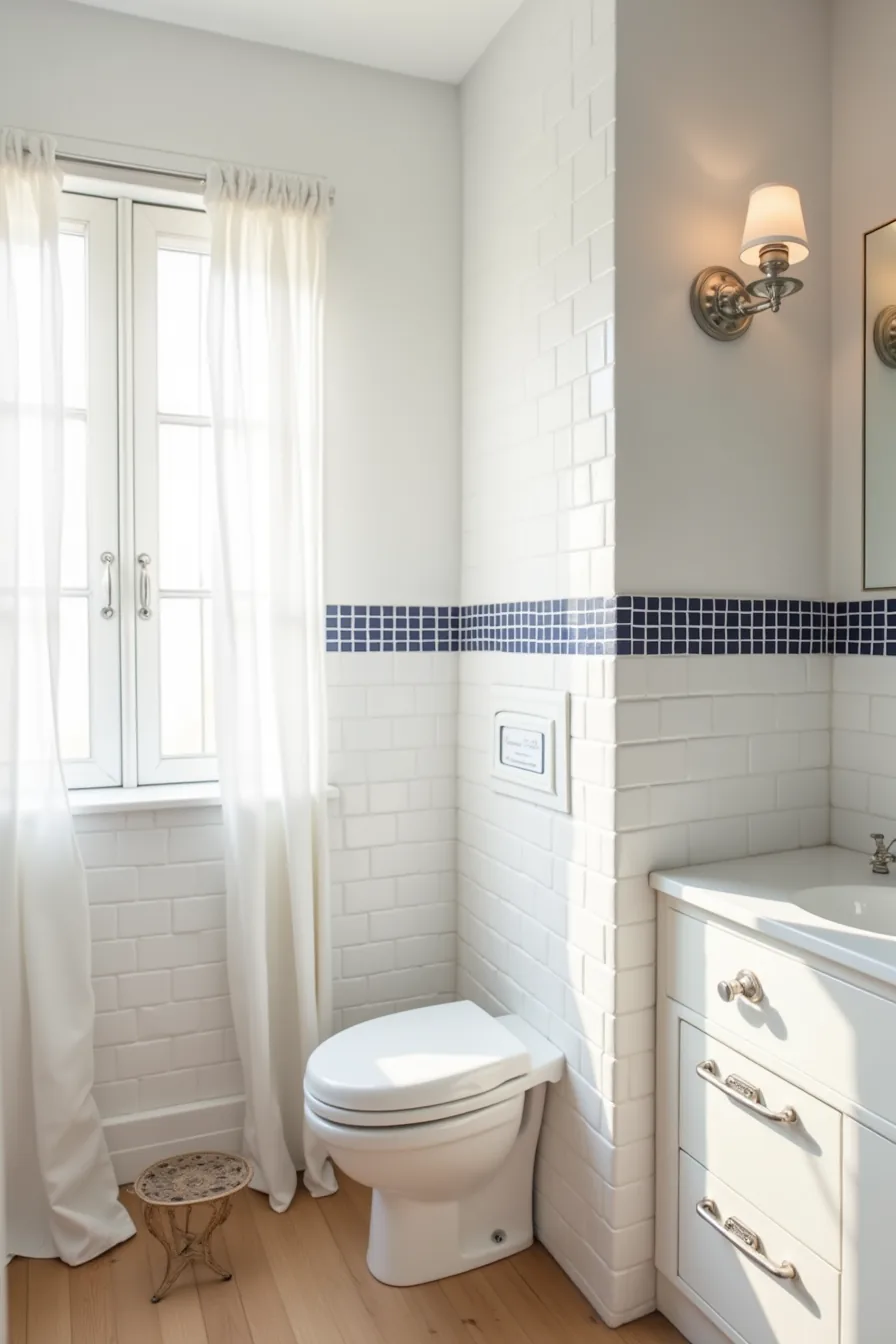
A 6-inch band of 1-inch navy mosaic tiles set at eye level breaks up a field of white subway tile without swallowing a small bathroom in color. The contrast grout between those tiny squares adds texture and depth that a solid painted stripe can’t replicate. This approach suits renters who can’t commit to full-wall color and homeowners who want a focal point without committing to a full accent wall.
Placement matters more than proportion here. Install the band at 54-60 inches from the floor so it lands at natural sight lines, not arbitrarily mid-wall. For a 6-foot-wide tub surround, one continuous band reads as intentional; two parallel bands create a more graphic, decorative effect that suits powder rooms better than daily-use family baths.
Mosaic sheets run 12×12 inches and install quickly over flat surfaces, but the tiny grout joints demand regular sealing, budget for reapplication every 12-18 months. For your bathroom tile inspiration, pair a matte navy band with glossy white subway tile for contrast that stays crisp under steam and humidity.
Peel-and-Stick Tile: Renter-Friendly Wall Coverage
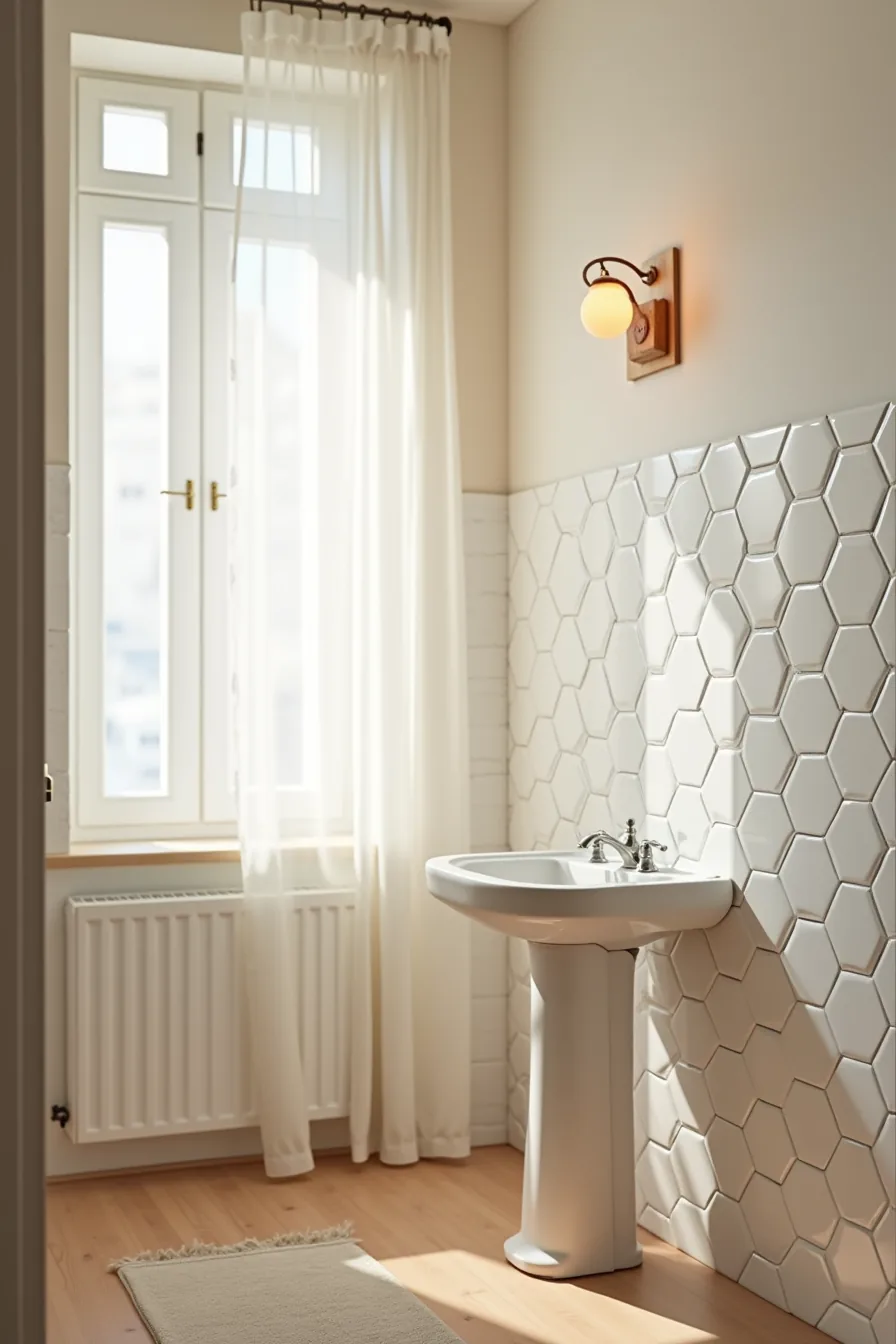
Peel-and-stick vinyl tiles deliver the geometric look of hexagon tile without a lease-breaking commitment. The self-adhesive backing presses directly onto smooth drywall, and a hair dryer applied to one corner softens the adhesive for clean removal that leaves no residue on standard painted surfaces. This makes it the strongest option if your security deposit depends on the walls staying untouched.
The setup around a pedestal sink works because the application area is small and interruption-free, roughly 3-4 square feet above the basin. Surface prep is non-negotiable: degrease the drywall, sand away any gloss, and wipe down with rubbing alcohol. Any bump or dust speck will telegraph through the vinyl as a visible lump.
The trade-off is durability; expect 3-5 years of light use before edges curl in steamy conditions, and avoid placing it directly in the splash zone behind a shower head. For a temporary upgrade that reads as intentional from arm’s length, it beats painted drywall on effort-to-impact ratio.
Textured and 3D Wall Tile: Depth Without Paint
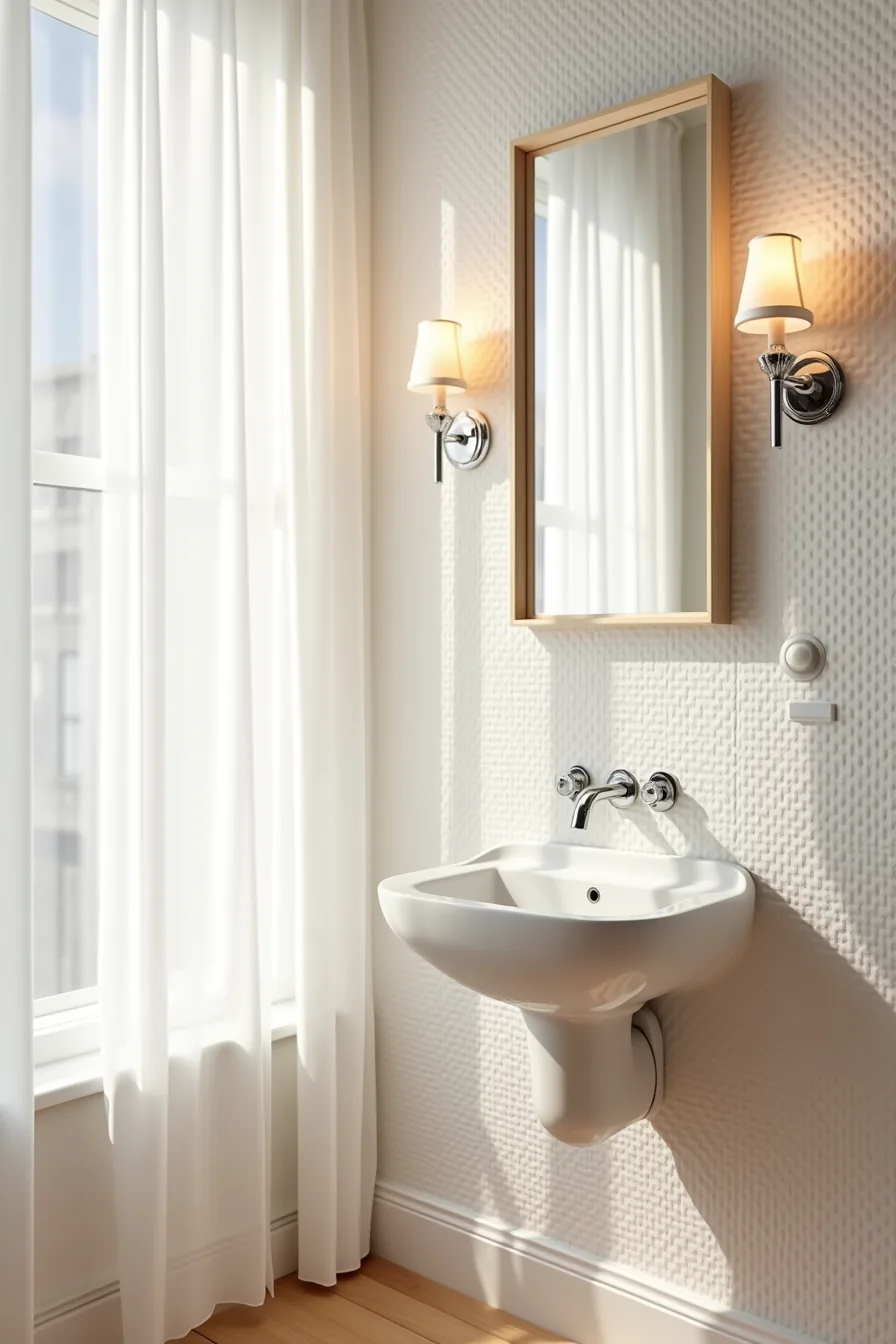
Waffle, wave, and geometric relief tiles create shadow lines that change throughout the day, adding architectural interest without a single coat of paint. In a powder room finished with soft white 3D tiles, the raised pattern becomes the entire decorative statement, you can skip artwork, shelving, and accent colors entirely. The visible texture reads clearly from three feet away, which matters in a compact space where guests stand close to the wall.
This approach suits powder rooms and dry areas far better than wet zones. The recessed grooves trap soap scum and hard-water residue, and scrubbing every ridge with a brush adds 10-15 minutes to your cleaning routine. In a shower, you would face constant grout maintenance across hundreds of small crevices.
The chrome fixture and mirror frame mounted on the textured surface work because the metal provides a smooth counterpoint; avoid brushed finishes that visually compete with the relief pattern. Budget roughly $4-8 per square foot more than flat subway tile for the added depth, and confirm your adhesive is rated for vertical tile installation before you start.
Mixed Materials: Combining Tile with Shiplap or Paneling
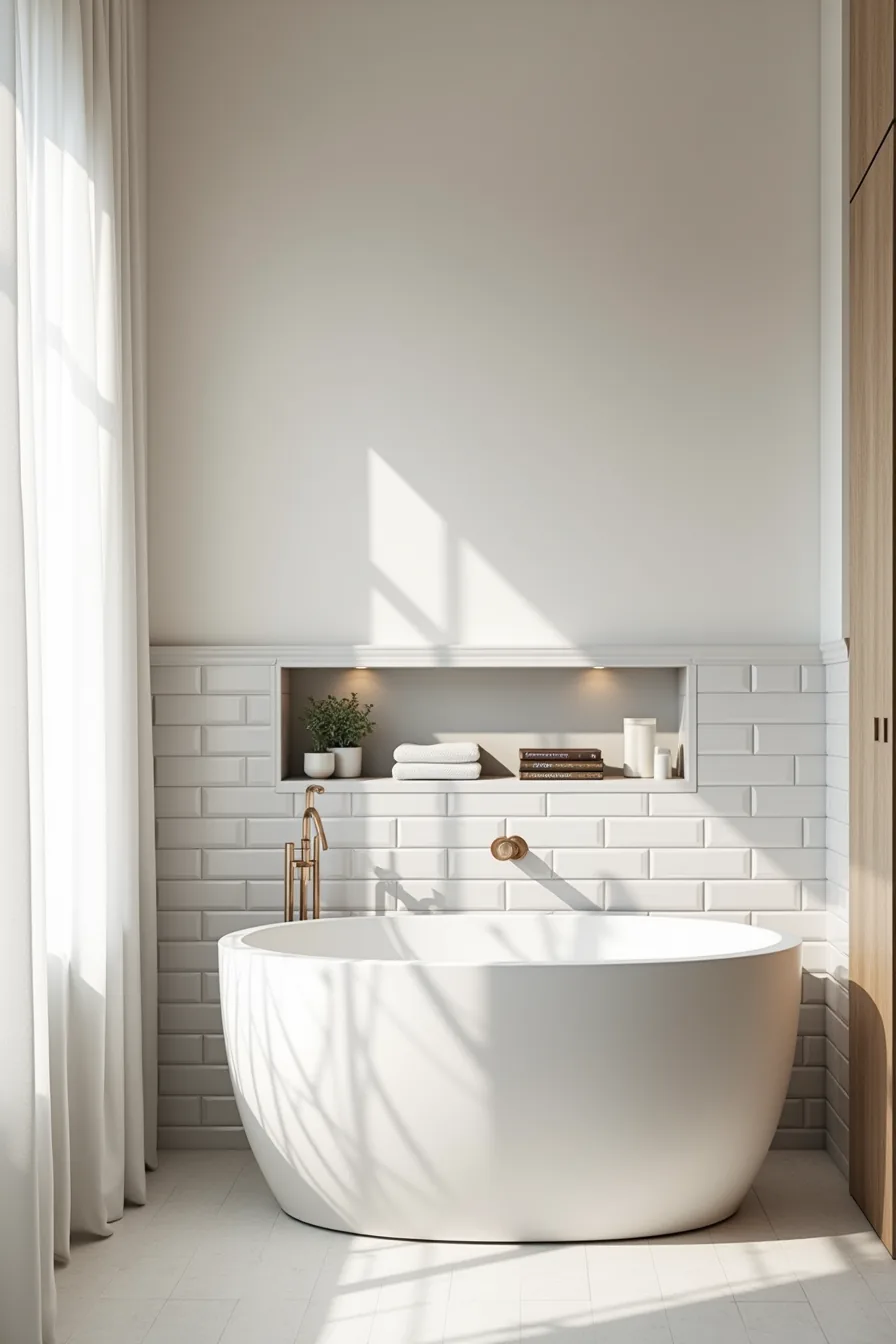
The horizontal split is the most forgiving way to mix materials: tile the lower 4 feet around the tub or shower, the true wet zone, and run shiplap from that line to the ceiling. White subway tiles handle standing water and repeated scrubbing, while the soft gray shiplap above adds warmth and texture without ever facing direct spray. The clean, level transition line between the two surfaces is the detail that makes the look intentional rather than accidental; use a matching metal trim strip to protect the shiplap’s bottom edge from splash-back.
This strategy suits medium and large bathrooms best, since a low ceiling can make the upper paneling feel cramped. In a smaller room, keep the shiplap to a single accent wall behind the vanity and tile the other three fully. You must use moisture-rated paneling (marine-grade plywood or PVC shiplap) in any bathroom, not standard interior boards, and seal every cut edge before installation.
A recessed shelf cut into the shiplap provides storage while preserving the clean line; budget $2-4 per square foot more for the paneling than a fully tiled wall, and expect to re-caulk the transition seam annually to keep water from wicking upward.
Where to start
Pick one wall, the vanity backsplash or the shower niche, and commit to a single tile family there before expanding elsewhere. Measure the surface in square feet, then add 10-15 percent for cuts and breakage. Order a full sample box, not a single sheet, and live with it for three days under your actual lighting.
For renters, test the peel-and-stick route on a primed section first. For permanent upgrades, verify the wall’s waterproofing with a moisture meter before any adhesive touches it.
Your next move: measure one wall today, then order samples tonight.
Frequently Asked Questions
How high should bathroom wall tile go, full wall, halfway, or just around the tub?
Full-wall tiling (floor to ceiling) suits showers and wet zones, protecting every surface. Halfway tiling (typically 48–54 inches) works for powder rooms or budget projects, pairing with moisture-resistant paint above. Tub surrounds need tile at least 6 inches above the showerhead.
What’s the difference between ceramic, porcelain, and natural stone tile for bathroom walls?
Ceramic is porous, glazed, and budget-friendly, ideal for low-splash areas. Porcelain is denser, less water-absorbent, and better for showers or floors. Natural stone (marble, travertine) requires sealing every 1–3 years, costs 2–4 times more, and stains easily with acidic cleaners.
Can you install large-format tile in a small bathroom without it looking cramped?
Yes, use 12×24-inch or 24×48-inch tiles in a horizontal offset pattern. Fewer grout lines visually expand the space. Avoid tiles wider than half the wall length, and pair with light grout to reduce visual segmentation.
How do you maintain grout lines to prevent mold and mildew in a humid bathroom?
Seal grout annually with a penetrating sealer, and wipe walls dry after showers. Clean weekly with a 1:1 white vinegar-water solution (avoid on natural stone). Replace cracked grout promptly, moisture seeps behind tiles, causing structural damage within months.