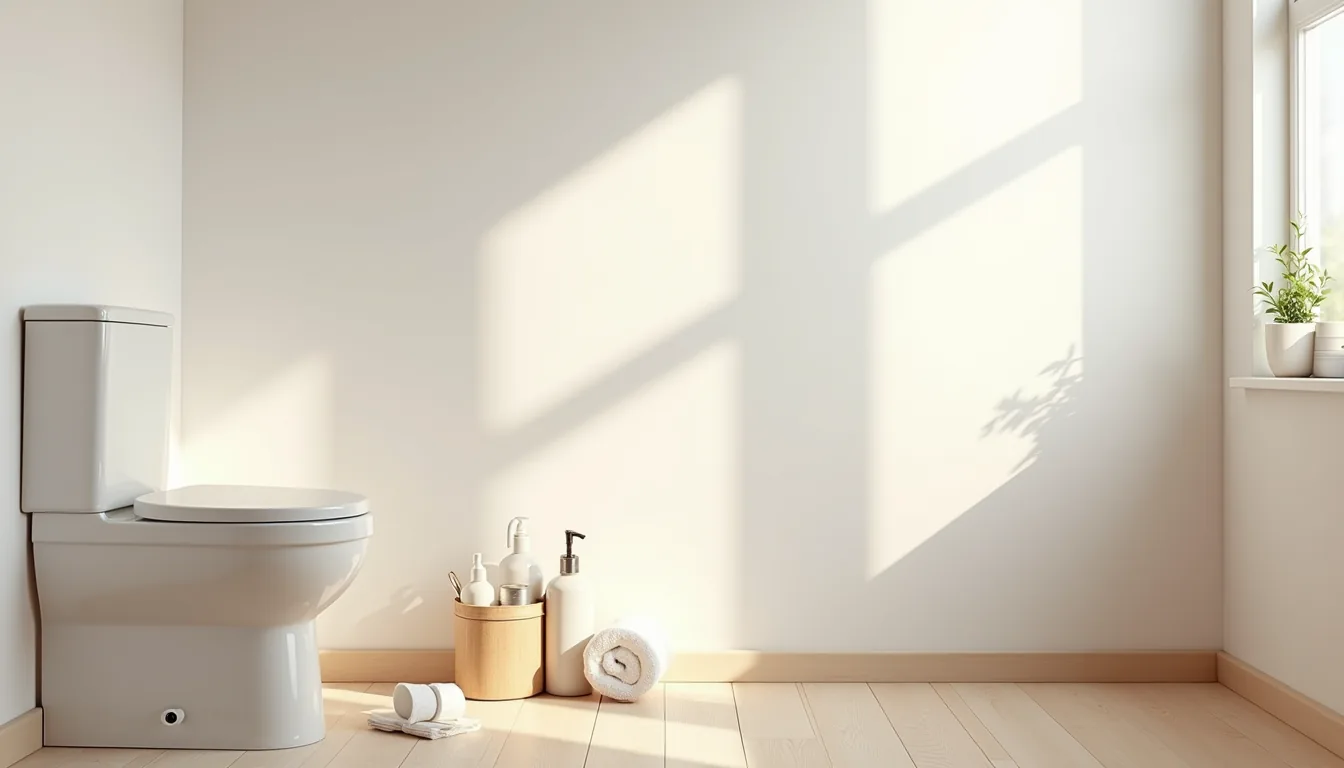

Before you buy a single basket or shelf, empty every cabinet, drawer, and countertop in your bathroom, sort items into keep, relocate, and toss piles, and measure the wall space you actually have, only then can you choose a storage system that fits both your routine and your square footage. That upfront audit separates a functional wall display from a cluttered collection of pretty but useless containers. Once you know your real inventory and dimensions, you can match six proven wall-storage approaches to your specific layout, traffic flow, and budget, without guessing at scale or risking a renovation headache.
Key takeaways
- Audit before you buy: Count every item you actually use weekly, then measure the wall space you can dedicate, so you purchase containers sized to your real inventory rather than aspirational capacity.
- Prioritize access over looks: Choose open shelves for items you grab daily (towels, skincare) and reserve fixed cabinets above the toilet for backup stock, since reaching over a toilet is awkward for frequent retrieval.
- Match the system to your lease: For renter-friendly setups, use tension rods or adhesive hooks rated for 5–10 pounds per fixture, and confirm they can be removed without damaging paint or tile before committing.
- Build in a cleaning buffer: Leave at least 2 inches of clearance between stored items and the wall to prevent moisture trapping, and wipe shelving surfaces weekly to avoid mildew buildup behind bottles.
Audit Your Bathroom Inventory Before Buying
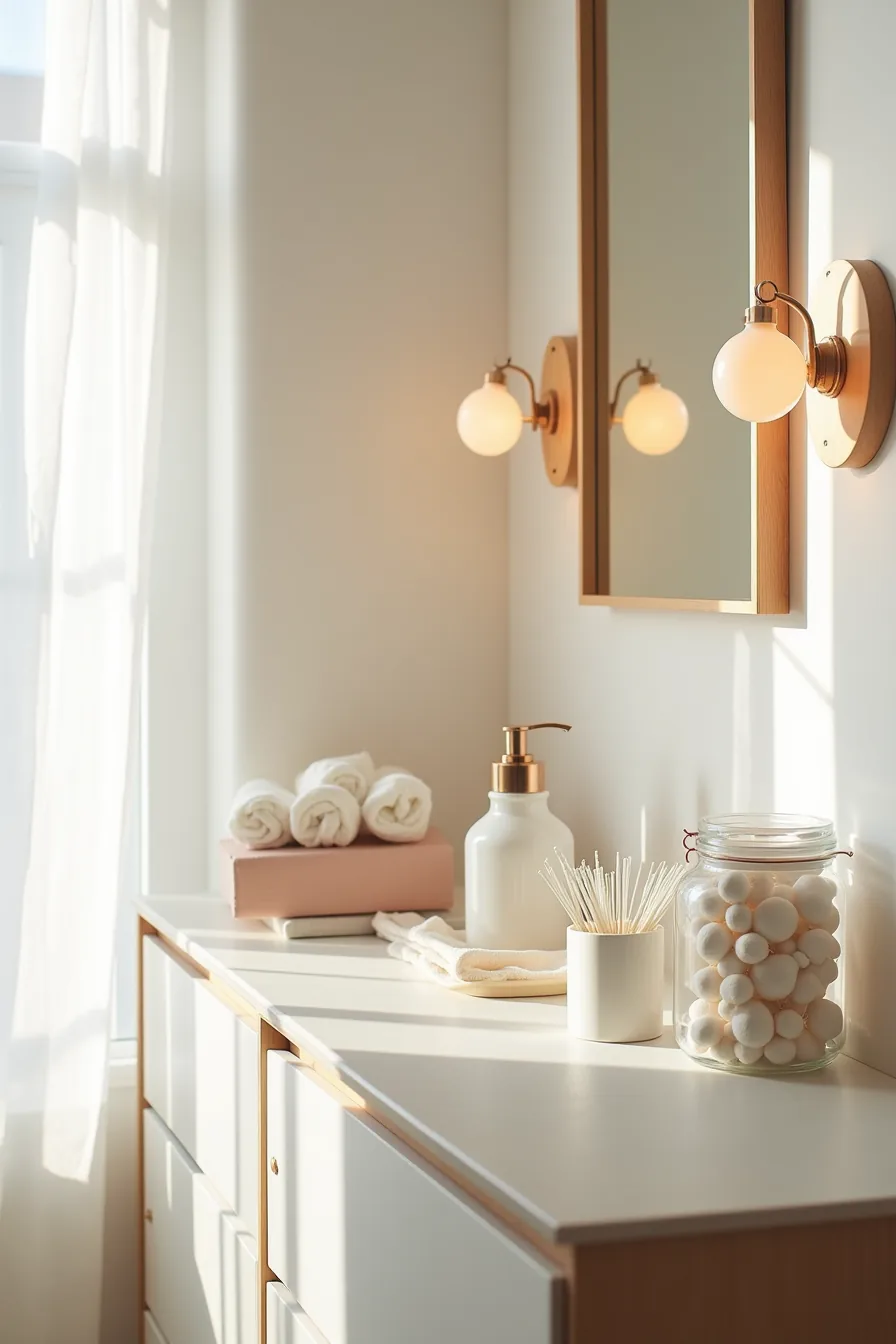
Before you shop for any bathroom wall storage, empty your cabinets and lay everything out on the counter in clear plastic bins and small glass jars. Sort the cotton balls, hair clips, medications, rolled washcloths, and spray bottles into categories, then group them by how often you reach for them. Daily-use items like your toothbrush or moisturizer need the most accessible spot at eye level, while weekly extras like backup soap or styling tools can live higher or lower.
Measure the footprint of each category with a tape measure, stack the bins and jars to see their combined height and depth. Compare that total against the shelf depth and weight limits of any system you consider; most floating shelves support 20-40 pounds when anchored into studs, but open baskets hold less than solid bins. If your inventory exceeds what one shelf can hold, prioritize installing a cabinet with doors to hide the visual clutter of everyday products.
Fixed Shelving: Permanent Storage Above Toilet
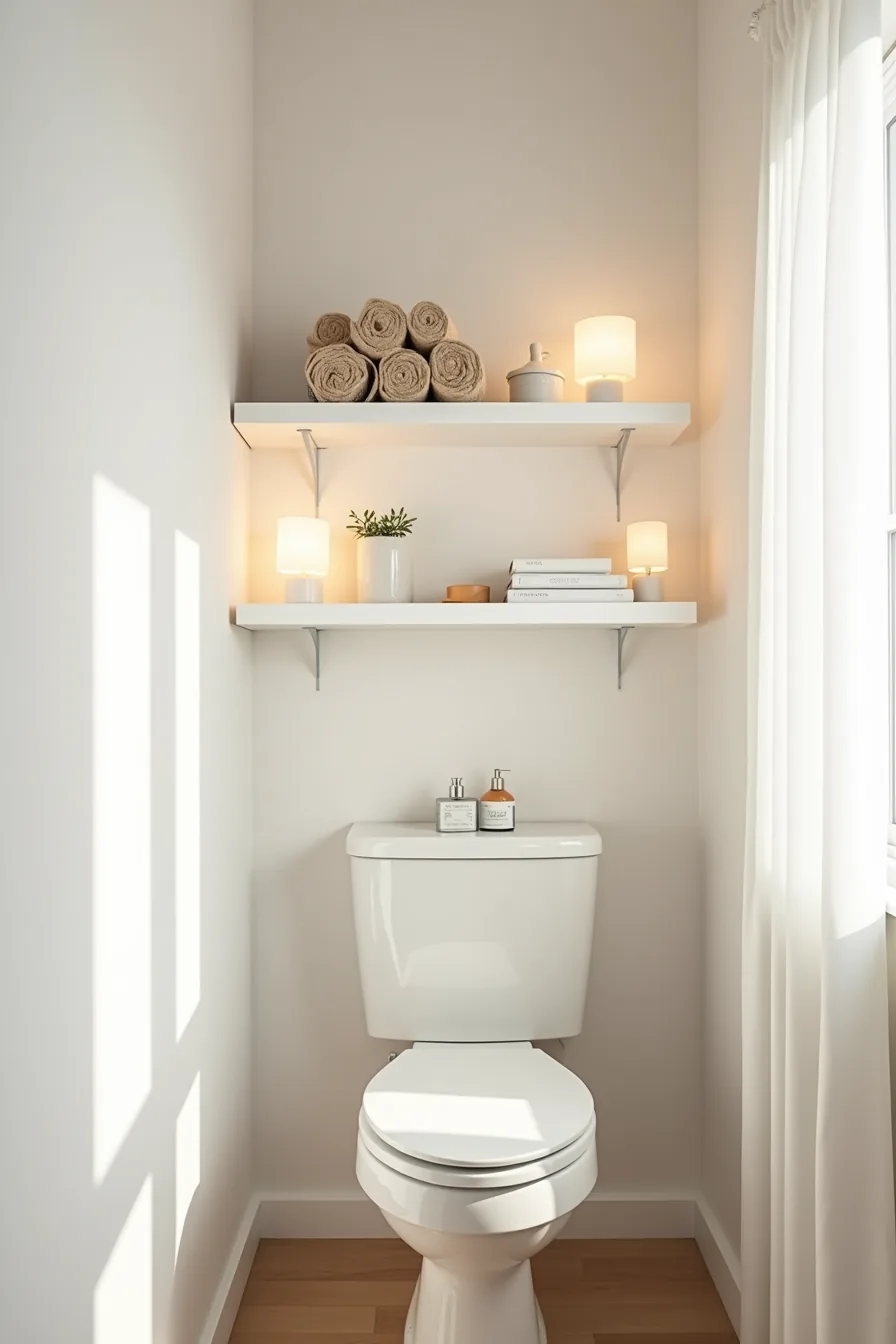
The space above the toilet tank is often dead air, but floating shelves convert it into prime storage without eating into floor area. Install them 6-10 inches above the tank lip so you can still lift the lid for maintenance; most standard tanks sit 28-32 inches high, so your bottom shelf ends up around 38-42 inches from the floor. Stagger the shelf heights rather than aligning them to keep the visual rhythm dynamic while maintaining a consistent 12-16 inch gap between each level.
Three shelves give you a natural zoning system: rolled towels on the top tier stay dry and visible, a woven basket and ceramic container on the middle conceal smaller items like hair ties or cotton rounds, and cleaning supplies on the bottom remain within easy reach without dominating the view. Use wall anchors rated for 50+ pounds if you can’t hit studs, but you’ll get the most secure hold by screwing through the drywall into the framing. Expect to wipe the shelves weekly, as the toilet area collects fine dust and aerosolized particles from flushing more quickly than other wall zones.
Adjustable Wall Cabinets vs. Open Shelves
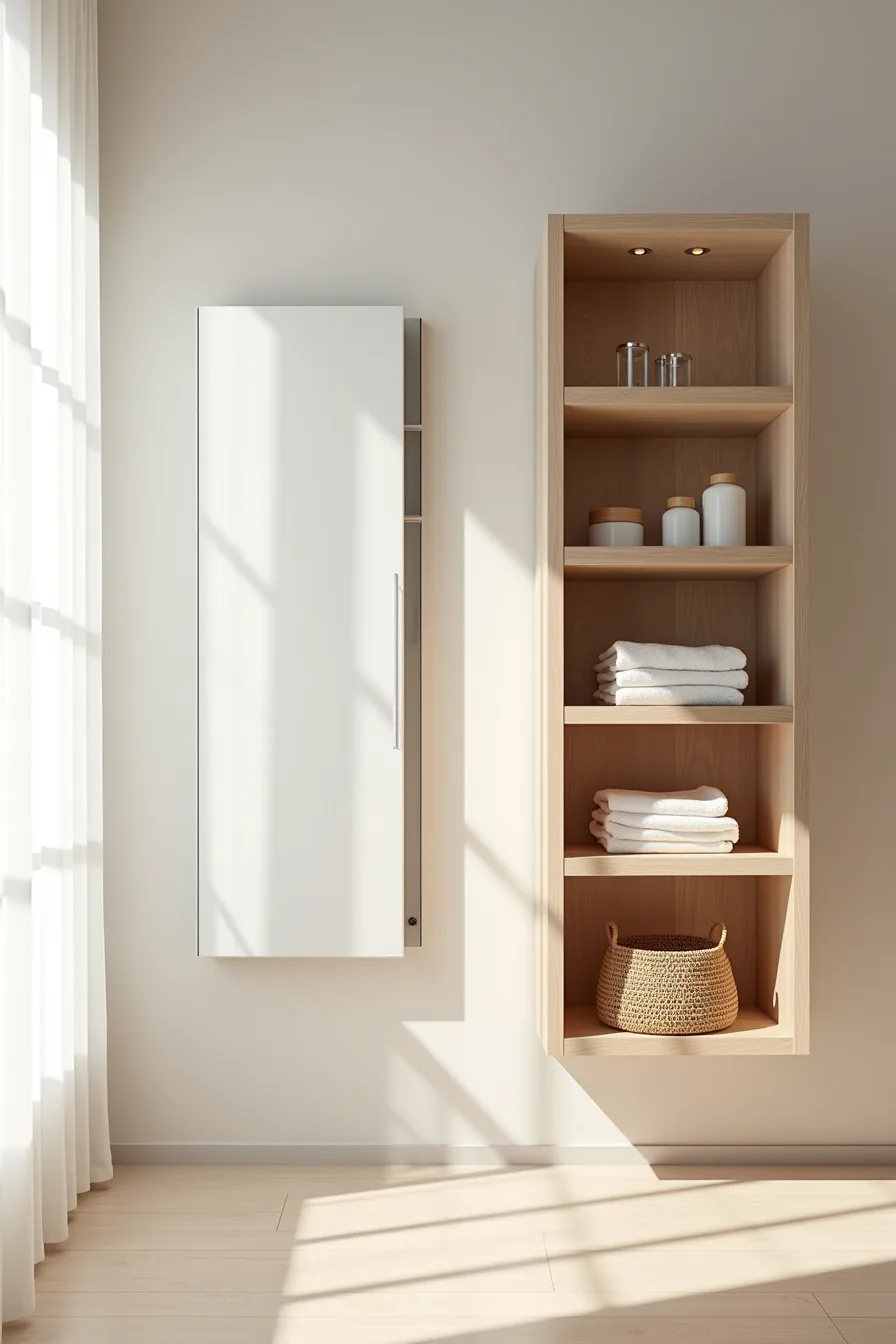
The closed medicine cabinet and open shelving unit mounted side by side demonstrate the core trade-off: dust control versus access speed. With the cabinet, you reach for glass bottles behind a door that swings open, adding two seconds per retrieval but keeping toiletries dust-free for weeks. The open unit with stacked towels, glass bottles, and woven containers puts everything in immediate sight, though expect to wipe surfaces every five to seven days in a working bathroom.
Shelf vs wall cabinet costs diverge meaningfully. A quality pre-finished cabinet runs roughly twice the price of comparable open shelving in most home centers, largely due to hinges, door hardware, and a finished interior. Adjustable cabinet systems let you reposition interior shelves without tools, but they require precise wall mounting since doors misalign if the frame racks even a quarter-inch.
Open shelves forgive minor installation errors; a cabinet that hangs crooked is visibly off-kilter every time the door closes.
Mirrored doors double as a grooming mirror, which suits smaller bathrooms where separate vanity mirrors eat wall space. Open shelving suits medium and large bathrooms where you can afford the visual noise and have room to style items in groups rather than squeezing them into a tight footprint.
Renter-Friendly Vertical Storage Without Drilling
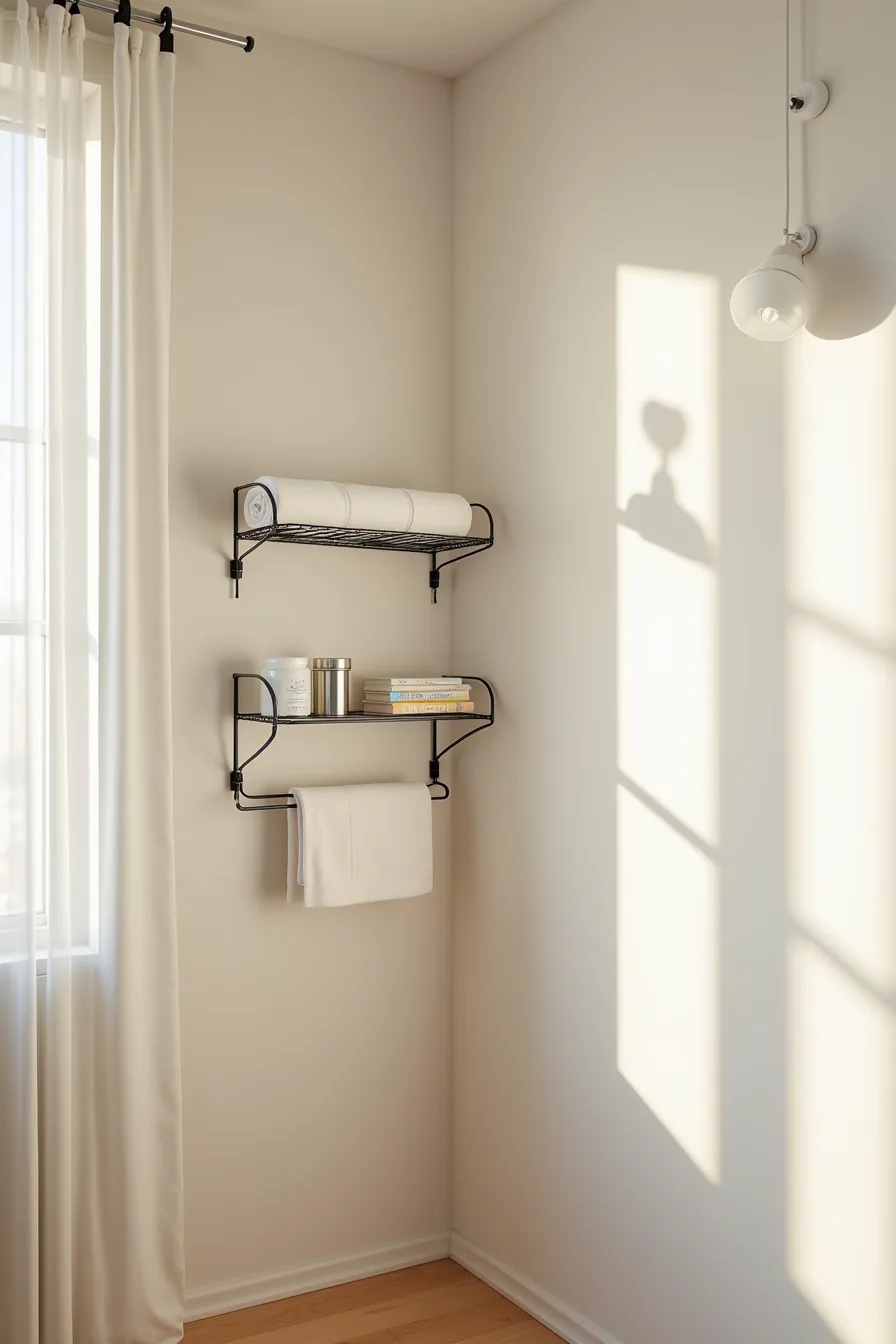
Adhesive-backed wire shelving solves the drill-free dilemma, but respect its limits. Most quality strips rated for bathroom humidity hold 10–15 pounds per shelf when mounted on smooth tile or painted drywall; textured surfaces cut that capacity roughly in half. Press each strip firmly for 30 seconds, then wait 24 hours before loading anything.
Removal takes a slow pull downward at a 45-degree angle, followed by rubbing alcohol to clear residual adhesive.
A tension rod wedged between two walls or a shower surround holds rolled towels or lightweight baskets with zero hardware, though it requires a clean, level gap of 20–60 inches. Magnetic strips on a side wall keep metal containers, tweezers, and nail tools accessible, but only on steel surfaces, place a small adhesive metal plate first if your walls are drywall.
Leaning shelves, like the wire unit in this corner, transfer weight to the floor rather than the wall, so they handle heavier loads without anchoring. Fit a rubber foot or gripper pad under the base to prevent sliding on tile, and confirm the top rests against the wall at a stable angle. Each of these options leaves the wall intact, which makes them ideal for a one-year lease or a bathroom you plan to repaint before selling.
Scaling Storage to Bathroom Size and Layout
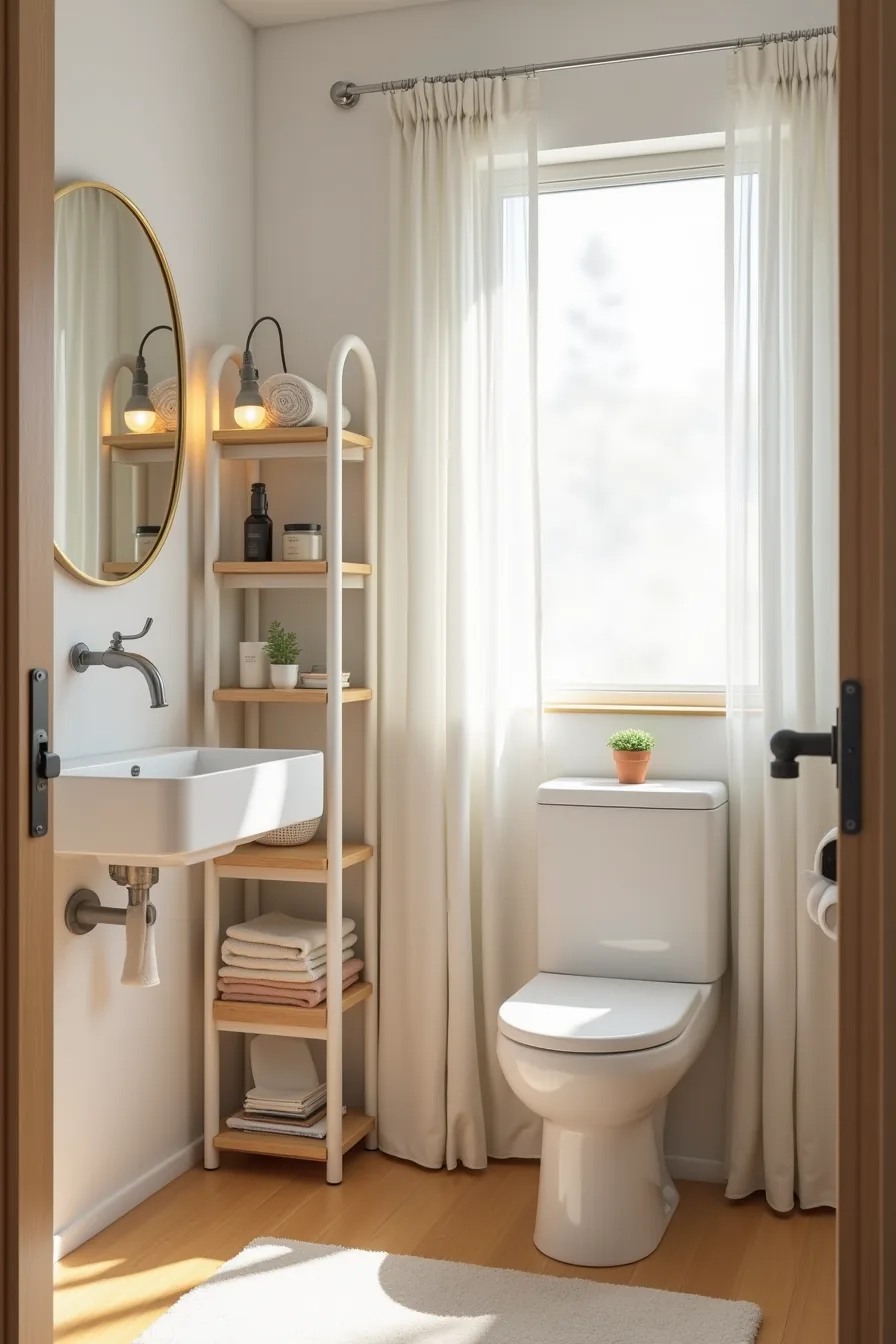
Your layout dictates placement before you shop. In a tiny bathroom, prioritize verticality and unused zones: a narrow shelf unit beside the sink captures slim floor space without crowding the door swing, while a compact three-shelf rack above the toilet exploits dead air. Keep 12–18 inches clear in front of the sink and toilet for comfortable use, and never let a shelf interrupt a window, blocked light makes the room feel smaller.
Standard layouts give you more freedom. Mount shelves between the mirror and the ceiling at a height of 6–7 feet to keep the vanity zone open, or place them at 48–54 inches beside the tub for bath essentials. In larger bathrooms, distribute storage across two walls instead of concentrating it, splitting weight and preserving the sense of open floor.
The common denominator: take measurements of the wall, door arc, and fixture clearance before you commit to a unit’s dimensions.
Labeling, Cleaning, and Safety for Daily Use
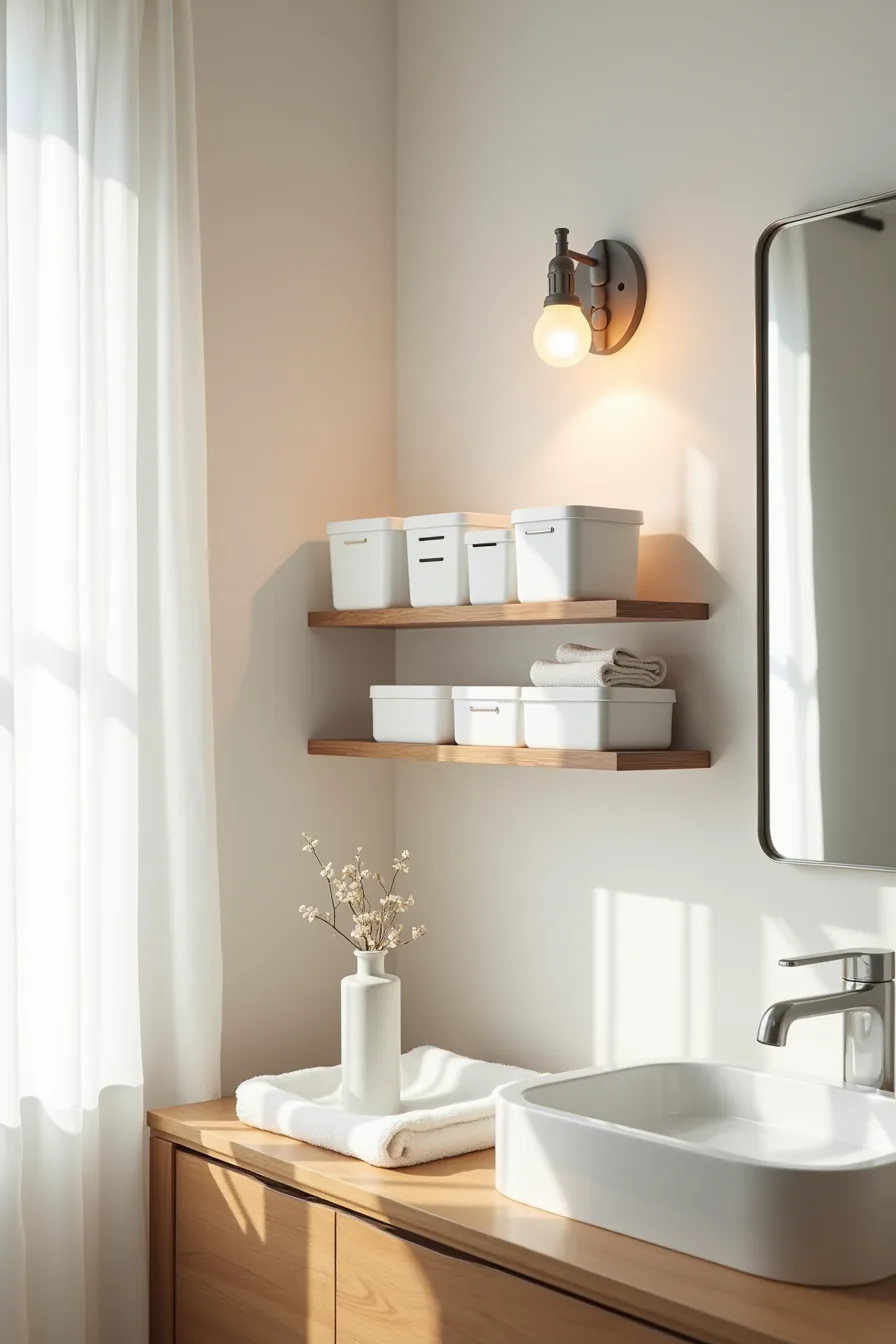
Your labeling system determines whether the shelf works at 7 a.m. Or becomes another surface to ignore. Affix clear, waterproof labels to the front of each plastic container listing its contents and a rough restock date, you’ll find that thirty seconds of labeling saves five minutes of rifling during rushed mornings.
Use a label maker with laminated tape or write with a permanent marker on painter’s tape; both survive humidity better than paper labels. Group containers by morning sequence: skincare first, then grooming tools, then styling products.
Choose moisture-resistant materials that tolerate daily steam exposure. Powder-coated stainless steel organizers resist corrosion better than chrome, which pits over time, and wipe down quickly with a microfiber cloth, the one draped over the shelf edge in this setup lives there for daily condensation sweeps. For households with children or elderly residents, install clear silicone corner bumpers on exposed shelf edges; they cost under $10 for a pack of eight and prevent head injuries during slips.
Keep the cleaning spray bottle on the lowest shelf so you can grab it without stretching, and adopt a weekly ten-minute routine: wipe all containers, air-dry the microfiber cloth, and check each label against its contents to catch clutter creep before it starts.
Your decision checklist
Before you buy anything, measure your wall space and inventory what actually needs storing. Count items by category, towels, toiletries, cleaning supplies, and assign each a home. That number determines whether you need one shelf or a full system.
Match the solution to your living situation: renters should prioritize adhesive hooks and tension rods; homeowners can commit to fixed shelving. For budgets under $50, over-the-toilet units and ladder shelves deliver the most capacity per dollar.
Your next step: Grab a tape measure and sketch your wall dimensions tonight. That single drawing will eliminate half your options before you spend a cent.
Frequently Asked Questions
How much weight can bathroom wall shelves hold?
Most drywall-anchored shelves support 20–50 pounds per shelf. For heavier items like stacked towels, use stud-mounted brackets rated for 75–100 pounds. Always check the packaging’s weight rating before loading.
What’s the best height to install storage above a toilet?
Install the bottom shelf 12–18 inches above the toilet tank. This leaves clearance for opening the lid and cleaning. Keep the top shelf within 60 inches from the floor for easy reach without a step stool.
Can I use bathroom wall storage in a rental without losing my deposit?
Yes, use adhesive hooks, tension rods, or freestanding over-toilet units. Avoid drilling unless your lease permits it. Peel-and-stick shelves rated for moisture hold up to 15 pounds and remove cleanly with heat and gentle pulling.
How do I prevent mold and moisture damage in wall-mounted bathroom storage?
Choose sealed wood, powder-coated metal, or plastic. Leave a 1-inch gap between shelves and walls for airflow. Wipe surfaces weekly and run the exhaust fan during and 20 minutes after showers to keep humidity below 60%.