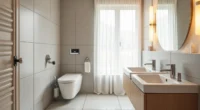
Black is a valid choice for a small bathroom, but only if you pair it with deliberate lighting, reflective surfaces, and a clear plan for scale, otherwise, the room reads as a cave. The payoff, when executed correctly, is a space that feels intimate rather than cramped, and dramatically more expensive than its square footage suggests. The six approaches that follow break down exactly which materials, placement, and lighting ratios separate a successful black bathroom from a costly mistake, so you can match the strategy to your budget, layout, and tolerance for upkeep.
Key takeaways
Limit black to one surface, a single feature wall behind the vanity or toilet keeps the drama without shrinking a room under 50 square feet. Match your lighting to the finish, gloss black tile reflects roughly twice the light of matte, so use matte only if you can add a dedicated sconce or LED strip. Choose a black vanity in a light shell, a matte black cabinet with white quartz and brushed nickel hardware reads as intentional, not cave-like, and suits renters who can swap the faucet back. Budget route: paint, not tile, a peel-and-stick black mosaic backsplash or painted wainscot costs under $150 and reverses cleanly, while a full black tile floor is a permanent, high-maintenance choice that shows every water spot.
Dark Feature Wall Without Overwhelming the Space
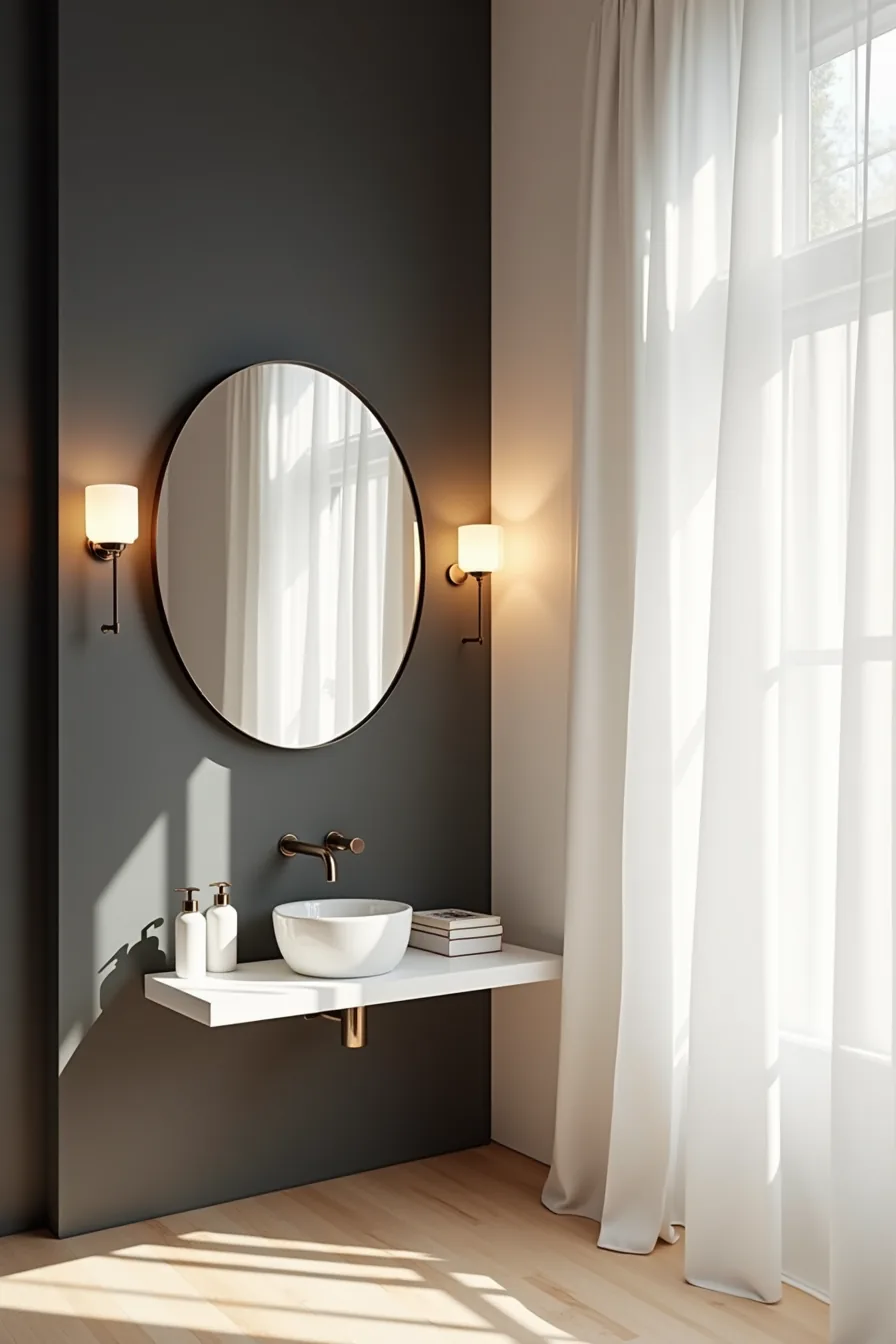
A matte black painted wall works best on the narrowest wall in the room, typically the one behind the toilet or beside the vanity. For a small bathroom, limit the dark treatment to a single wall; covering more than one surface will visually compress the space. The setup reflected here, black wall, white adjacent surfaces, and a large round mirror, creates a depth illusion: the mirror bounces daylight and artificial light back across the room, while the white shelf below adds a crisp line that anchors the vanity area.
This approach suits bathrooms under 50 square feet where full black coverage would swallow the light. Paint is the budget route, costing roughly $30–$60 per gallon, and you can repaint in a weekend. Matte finish hides minor wall imperfections better than satin or gloss, but it requires a quality primer and touch-up paint for future scuffs.
For a more permanent feature, swap the painted wall for large-format black tiles (12×24 inches or larger), which reduce grout lines and cleaning effort, expect to pay 2–3 times more than paint but gain water resistance in splash zones.
Black Vanity as the Focal Point
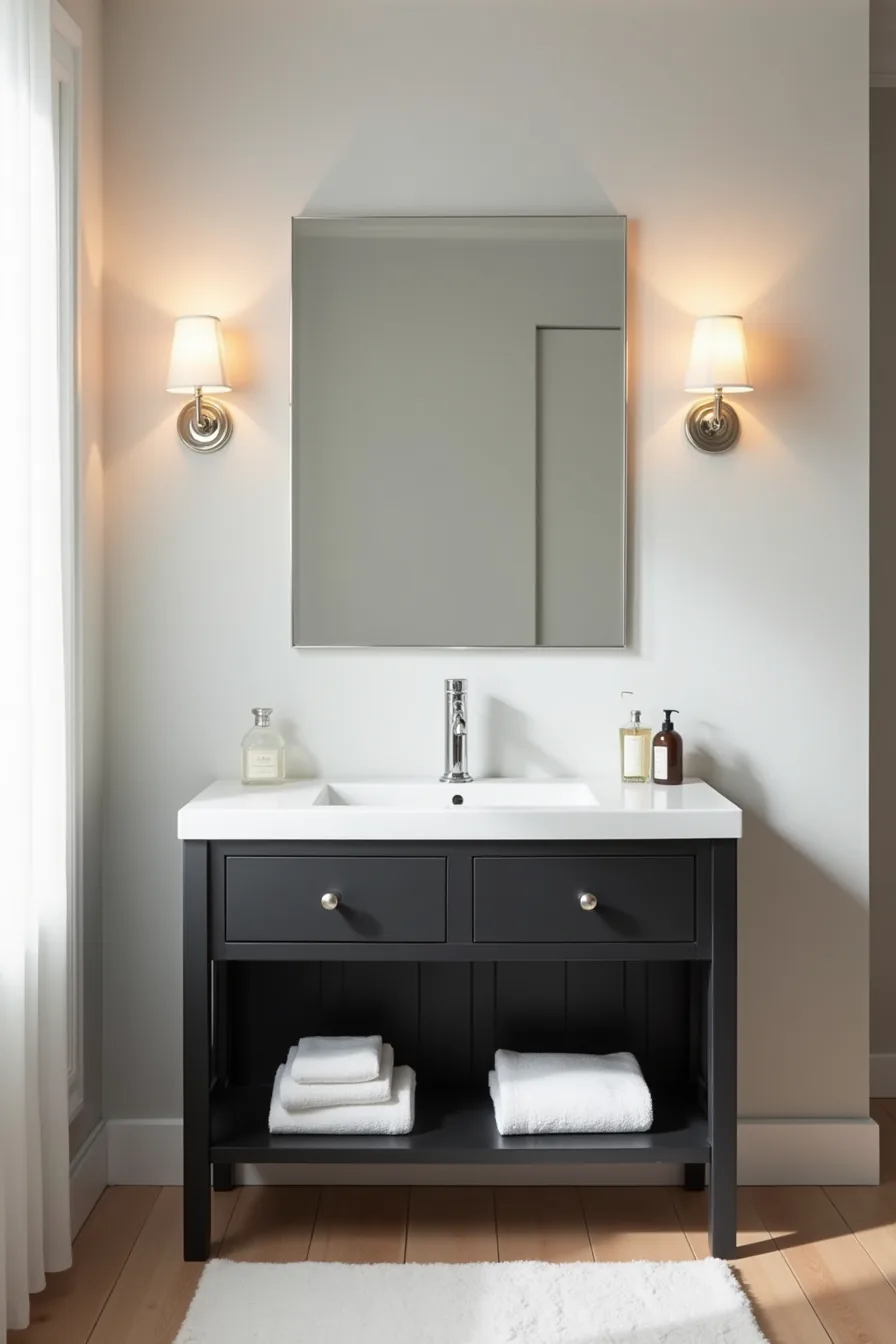
A black vanity delivers the drama of a dark bathroom without committing your walls to it. In the setup visible here, the black vanity anchors the room while the pale gray wall keeps it airy, the contrast prevents the space from feeling like a cave. The white ceramic sink basin and chrome faucet act as functional highlights, drawing the eye upward toward the rectangular mirror that reflects available light.
This works best in bathrooms 40–70 square feet where you want a furniture-like centerpiece rather than a total color shift. Standard vanity depths run 18–21 inches; shallower models (12–16 inches) suit tight layouts but sacrifice counter space. For durability, opt for plywood construction with a matte lacquer or thermofoil finish, solid wood warps in humid conditions unless properly sealed.
Budget for $400–$900 for a quality piece; budget vanities below $200 typically use MDF that swells near water. Balance the dark mass with bright or mid-tone walls, and pair with LED vanity lighting at eye level to prevent shadows across your face.
Small Room Lighting Strategies for Dark Bathrooms
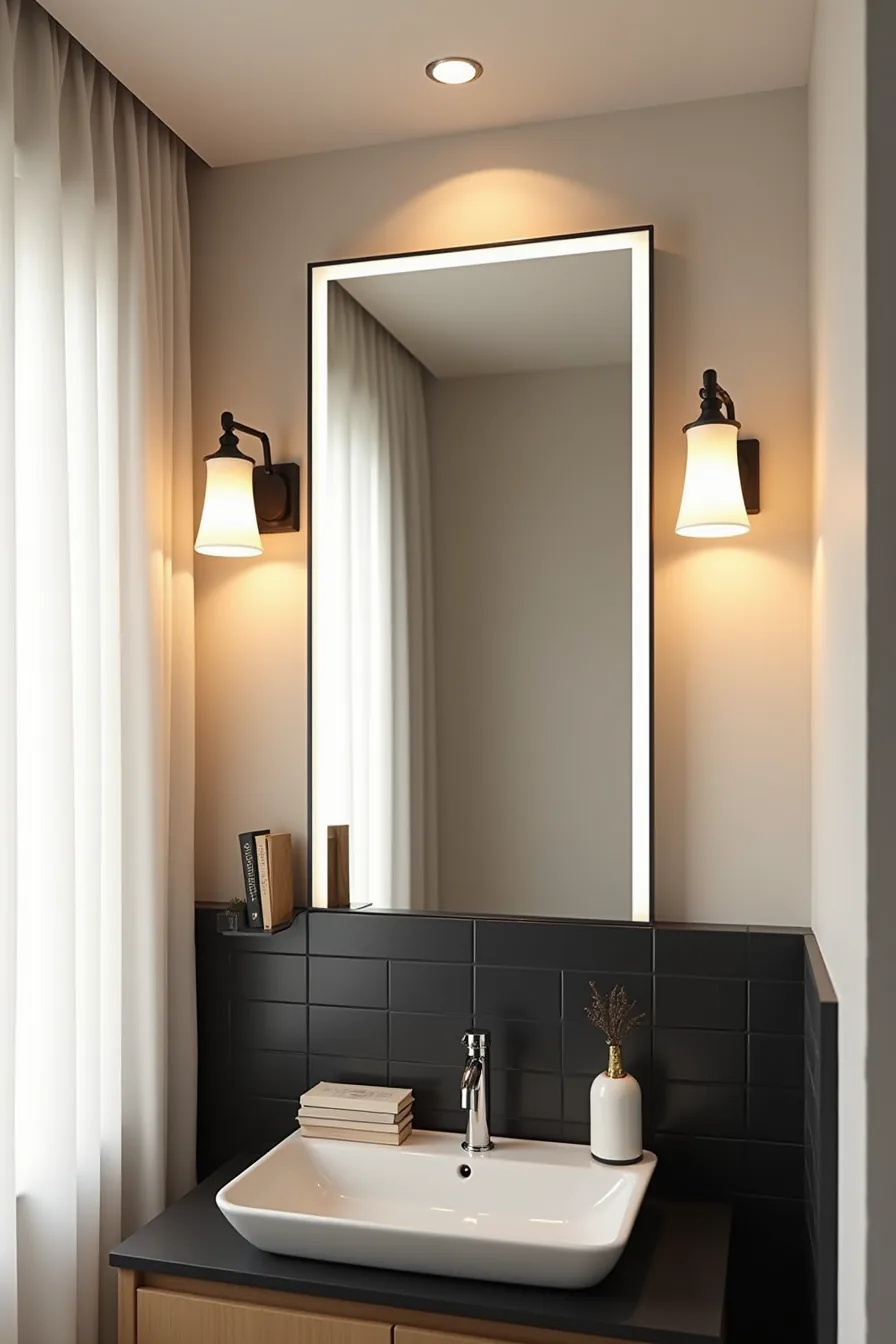
Dark surfaces absorb light, so your fixture plan matters more here than in any white bathroom. The setup pictured relies on three layers: a recessed ceiling light for general illumination, a wall sconce for task lighting, and an LED strip integrated into the mirror frame for shadow-free face lighting. Each serves a distinct job, and you need all three to avoid a gloomy, cavernous feel.
For compact black bathrooms, aim for 50–75 lumens per square foot at floor level, roughly 2,500–4,000 lumens total for a 50-square-foot room. Place the recessed fixture directly above the vanity, not centered in the room, so light lands where you need it. Mount sconces at eye level (60–66 inches from the floor) on either side of the mirror for even facial illumination; a single overhead source alone casts shadows under your brow and chin.
The LED mirror frame acts as your third layer, bouncing light off the black tile to create depth. Choose mirrors with 4000K–5000K color temperature for true skin tones, warmer lights distort makeup application. Position the mirror opposite any window or doorway to double the available light through reflection, and keep the glass clean since dark tiles show dust and splatter more readily than light ones.
Black Tile Accents: Floors, Borders, and Niches
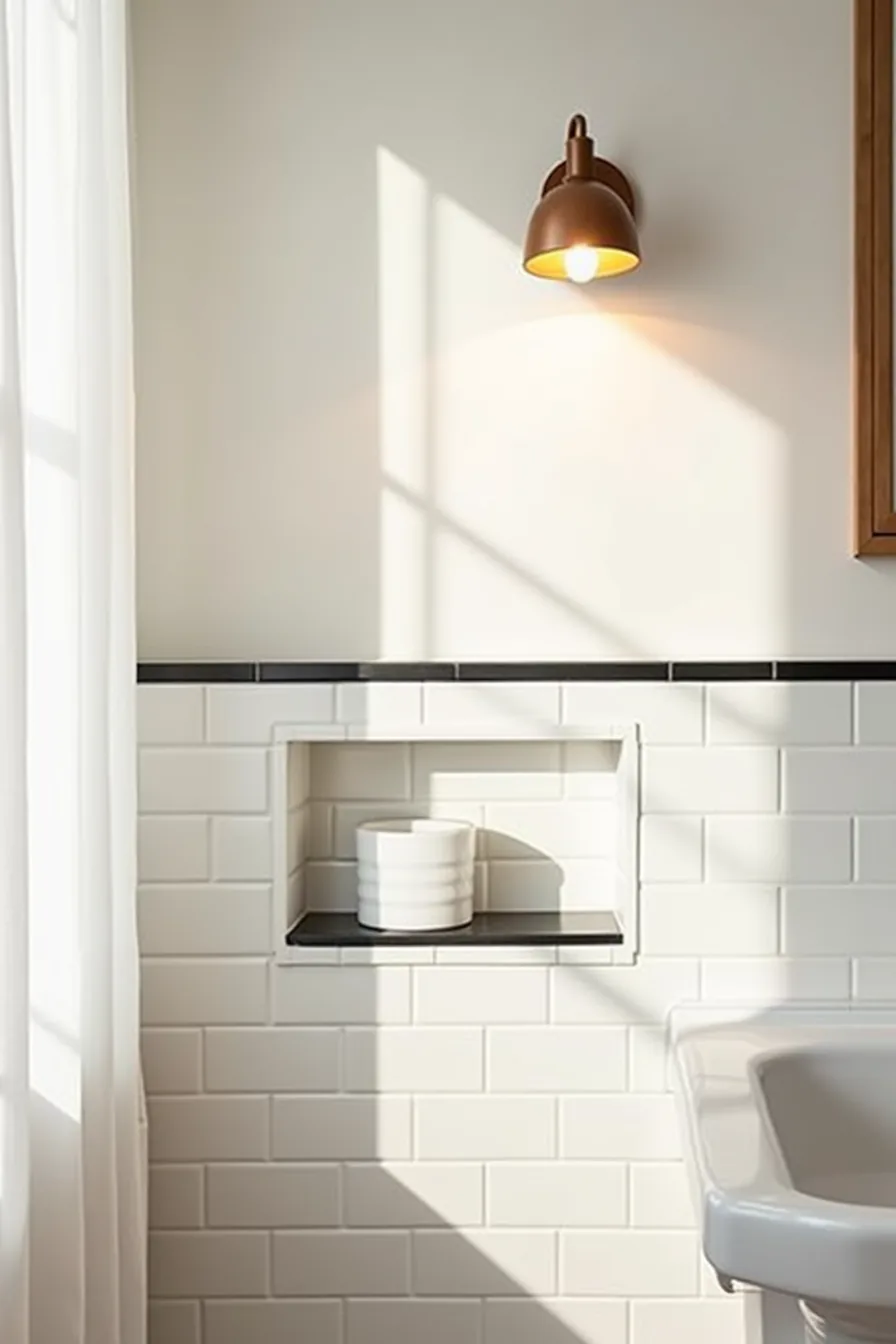
A horizontal black tile border at waist height, typically 36–40 inches from the floor, visually anchors a small bathroom without the cost or weight of full black coverage. The white subway tile above and below keeps the walls light-reflective, while the dark strip adds contrast that draws the eye around the room. This approach suits renters or budget-conscious renovators because you install only one or two rows of black tile instead of an entire wall, cutting material costs by roughly 60–70 percent.
The recessed niche cut into that border serves double duty: it breaks the visual monotony and provides storage without protruding into your walkway. In a narrow bathroom, a niche deeper than 4 inches can eat into circulation space, so keep it shallow and position it away from the door swing. The white ceramic container inside offers a practical touch, dark tiles show soap scum and toothpaste residue quickly, so a light-colored vessel gives you a visible cue to wipe down.
For grout, use a dark charcoal or epoxy-based variety on the black tiles; light grout reads as dirty within weeks in a humid environment. Choose matte or textured black tile for floor accents rather than polished, since glossy finishes become slippery when wet, a genuine safety concern in a shower-adjacent space.
Creating Openness with Black and Contrast Colors
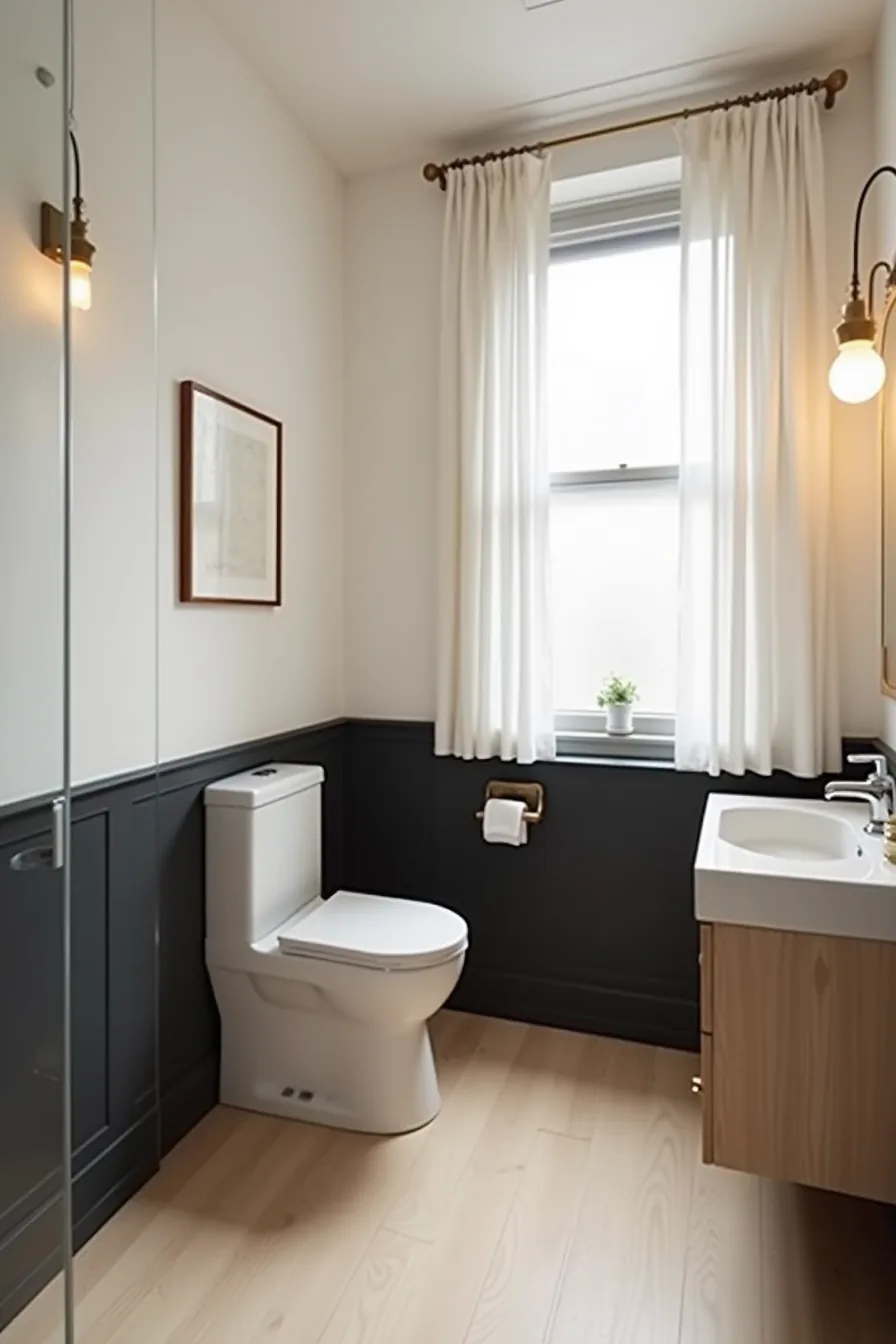
The black-and-white half-wall split, black below the trim line, white above, uses a proportion ratio of roughly 1:2 to trick the eye into reading the room as taller than it’s. Because the white upper wall catches and bounces natural light from your window, the dark lower half recedes rather than closing in around you. This setup suits narrow layouts or windowless powder rooms where full black coverage would feel like a cave.
Anchor the black section with a pale wood vanity and a white toilet to keep the contrast deliberate, not stark. The clear glass shower enclosure, not a framed or frosted panel, maintains an uninterrupted sightline across the room, which is essential in spaces under 50 square feet. Keep the trim line at 36–42 inches from the floor, just below your sightline, so it reads as architectural rather than accidental.
Budget-wise, this approach costs about the same as painting two colors; the black section hides scuffs near the baseboard, cutting your cleaning frequency in half compared to all-white walls. If you want to adapt this to a medium bathroom, push the black portion to 48 inches and add a second black accent inside the shower niche.
Renter-Friendly and Long-Term Investment Routes
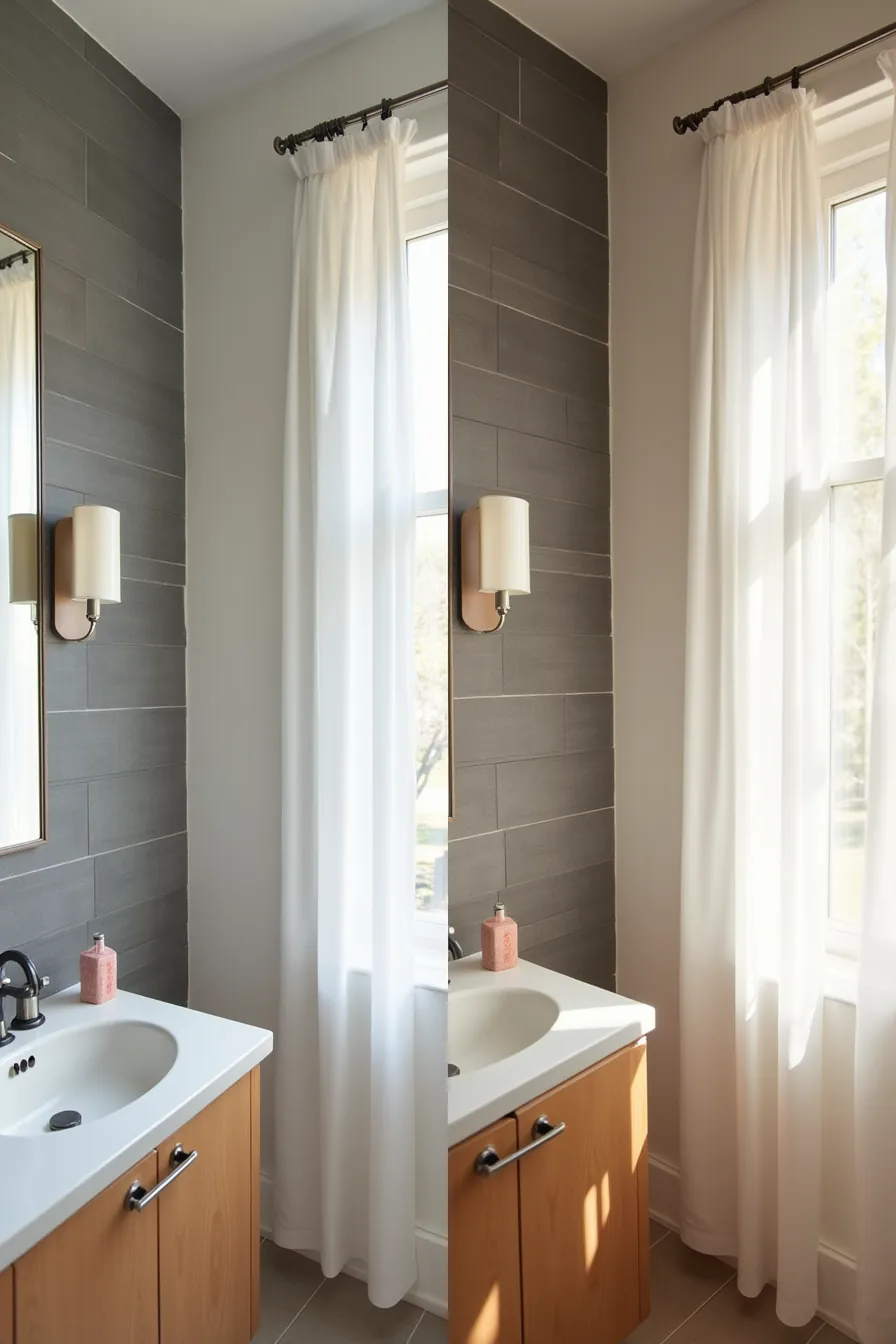
If you can’t paint or replace fixtures, peel-and-stick tile sheets deliver the black bathroom look without permanent commitment. The application shown here involves pressing a full sheet onto a clean, dry wall, then tracing the grout lines with a grout pen to mimic real tile joints. Most quality sheets use a thick adhesive backing that holds firmly on smooth surfaces; removal typically takes under an hour per wall and leaves no residue if you heat the edges with a hairdryer first.
This route suits renters or anyone testing the aesthetic before committing, with a realistic lifespan of 2–4 years in a humid environment before edges may lift.
For a long-term investment, replace the vanity with a matte black or dark-stained cabinet and add built-in shelving in the shower niche. These permanent changes cost 3–5 times more upfront than temporary wallpaper but eliminate recurring replacement costs and boost resale appeal. The maintenance trade-off matters: invest in a factory-sealed, moisture-resistant finish, because untreated black surfaces show water spots and soap scum within weeks.
Built-in shelving also reclaims floor space, making a small room feel larger than freestanding storage ever would.
Pick the one that fits your risk level
If you want to test black without commitment, start with a matte black vanity and white walls, it delivers the contrast for under $300 and reverses in an afternoon. Renters should use peel-and-stick black tile on one wall behind the mirror; it removes cleanly and costs roughly $2–4 per square foot.
Homeowners with permanent budgets should invest in black zellige tile and a black freestanding tub. That combination holds resale value and hides water spots better than gloss finishes.
Measure your room’s smallest dimension first. If it’s under five feet, skip black on all four walls and use it on one focal surface only.
Your next step: order three black samples, matte, gloss, and textured, and tape them to your bathroom wall for 48 hours. Observe them at morning, noon, and night before buying anything else.
Frequently Asked Questions
Will a black bathroom make my small space feel smaller?
Not necessarily. High-gloss black surfaces reflect light and recede visually, especially on walls. Pairing black with white grout, bright fixtures, or a statement mirror prevents a cave-like effect.
Avoid matte finishes on all four walls.
What lighting wattage or lumen count do I need for a black bathroom?
Aim for 2,500–4,000 lumens total in a standard 40–60 square foot bathroom. Use layered lighting: a 600–800 lumen vanity light, a 300–500 lumen ceiling fixture, and accent lighting. Darker surfaces absorb more light, so exceed typical recommendations by 30%.
Can I use black tile on a small bathroom floor without it being slippery?
Yes, if you choose textured, matte, or honed finishes with a coefficient of friction above 0.6. Small-format tiles (2×2 or 1×1 inches) with more grout lines also add traction. Avoid large-format polished porcelain, which becomes hazardous when wet.
How do I balance a black vanity with the rest of a compact bathroom?
Anchor the vanity with a light countertop, white quartz or marble-look porcelain, and mount it off the floor to open up visual space. Use a large mirror, backlit or framed in chrome, to bounce light. Keep walls and floor in lighter neutrals or high-gloss white to contrast the dark piece.