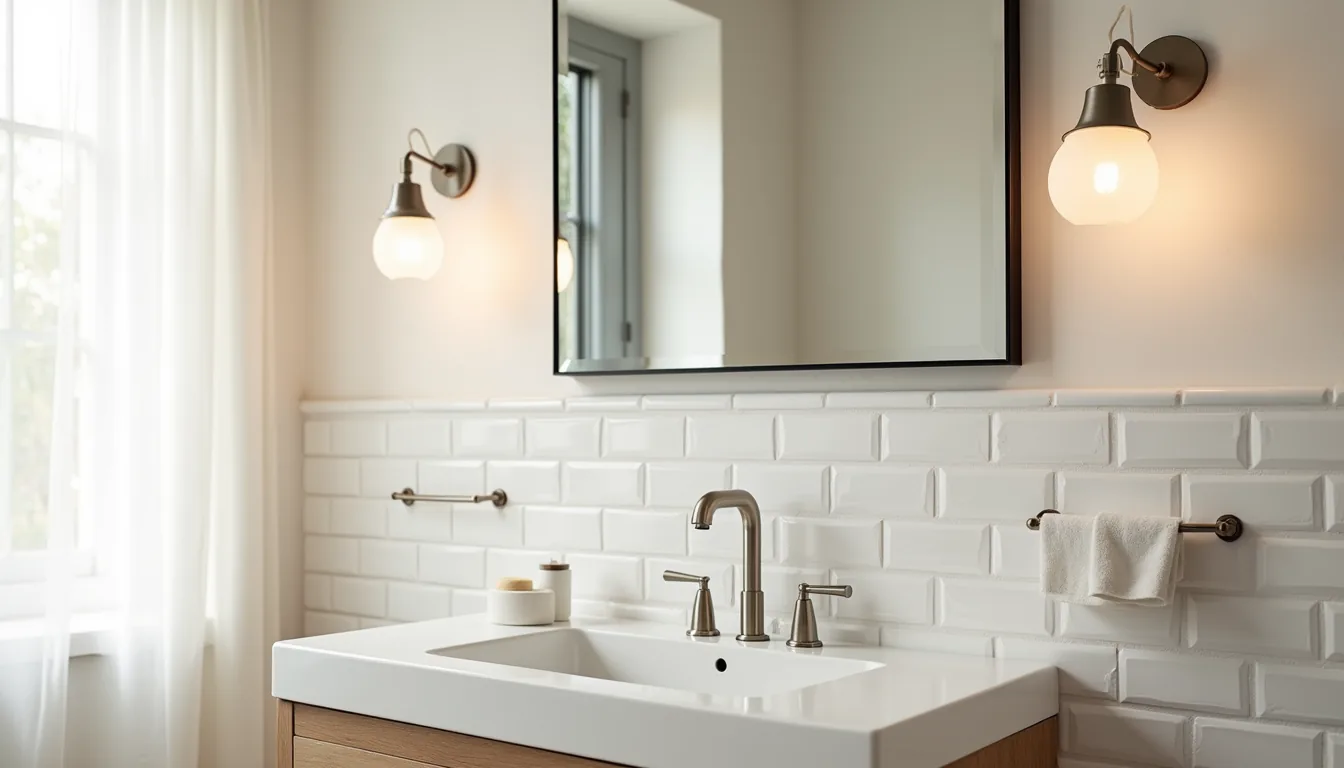

Choosing the right bathroom fixtures determines whether your daily routine feels effortless or frustrating, so here are six distinct approaches, ranging from renter-friendly swaps to permanent upgrades, that balance style, function, and real-world budgets. You’ll find one budget route, one renter-friendly route, and one long-term investment route, each explained with the scale, materials, and maintenance required to pull it off. The goal is to match each fixture to your space and habits, not to chase a trend.
Key takeaways
Match your metal finishes to the room’s dominant hardware (cabinet pulls, shower valve, towel bar) and commit to one finish for all visible fixtures in a single bathroom, mixing brass and chrome rarely reads as intentional without a clear design thread. Scale fixtures to your vanity width so a faucet’s spout reach (typically 4–6 inches for a 24-inch sink) clears the bowl’s back edge, and keep wall-mounted taps at least 2 inches above the sink rim to avoid splashing. Choose finishes by real wear patterns: brushed nickel hides water spots best for daily use, matte black shows fingerprints quickly, and unlacquered brass requires monthly polishing, pick based on how often you actually wipe down the room. For renter-friendly swaps, replace the showerhead and faucet aerator with a handheld model or a high-pressure version (both install in under 15 minutes with pliers) and store the originals in a labeled bag for a zero-deposit move-out.
Matching vs Mixed Metals: When to Commit to One Finish
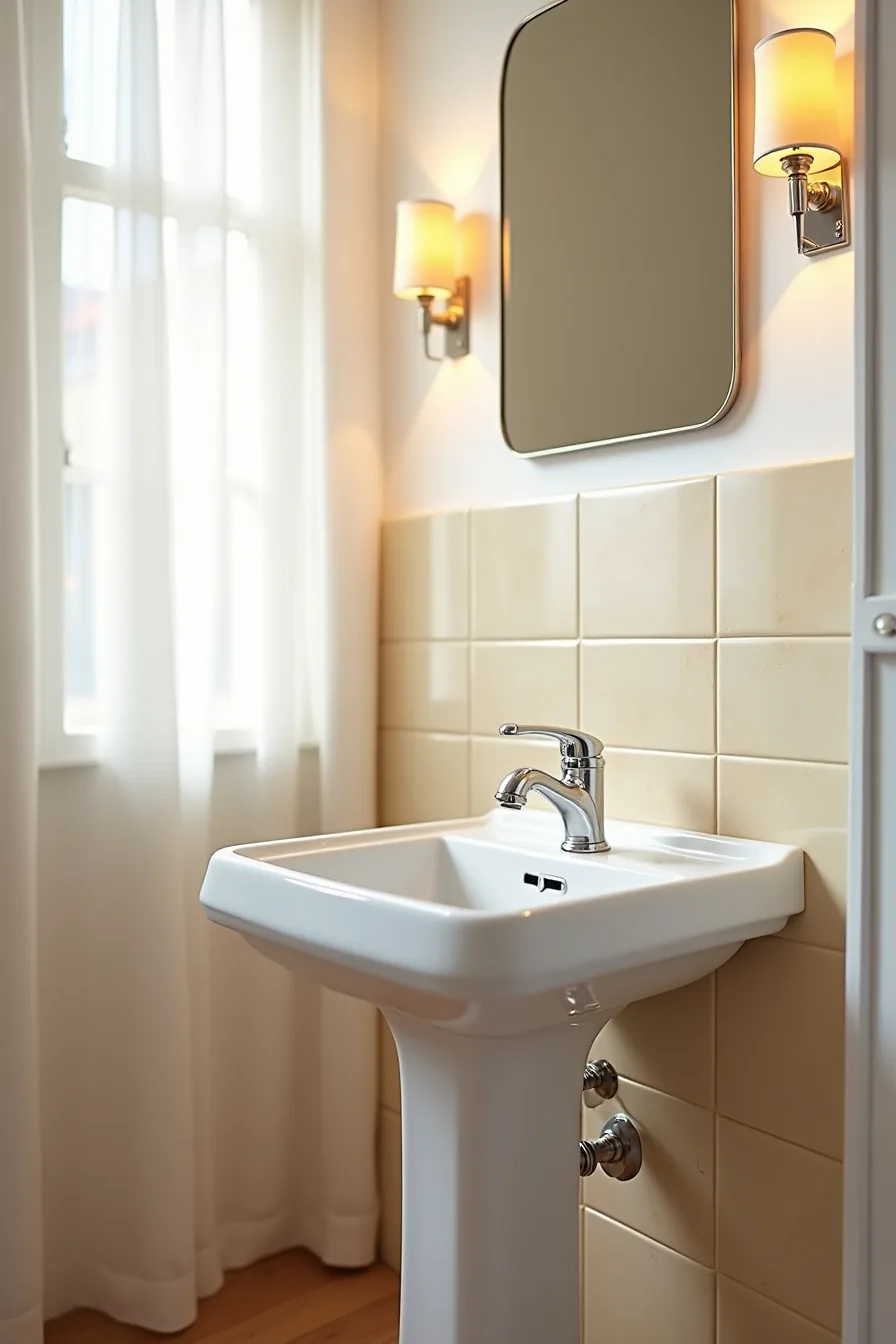
A matching finish across every metal element delivers visual calm, and it pays off most in compact bathrooms where your eye takes in the whole room at once. The pedestal sink setup here demonstrates the logic: polished chrome faucet, chrome handles, chrome drain escutcheon, and a chrome soap holder all read as one continuous system against the beige ceramic tile, so the small room feels orderly rather than busy.
Choose this route if your bathroom is under 50 square feet, your tile has strong color or pattern, or you simply don’t want to think about coordination. The trade-off is that matching metals can look monotonous in a large bathroom, where mixed finishes add depth across a wider visual field. If you do mix, limit yourself to two finishes, assign one to plumbing (faucets and shower valves) and the other to accessories (towel bars and hooks), and keep the dominant finish at roughly 70 percent of visible metal.
Polished chrome remains the safest single choice for rentals and resale because it pairs with any tile and hides water spots reasonably well.
Modern vs Classic Fixture Shapes: Scale and Proportion Rules
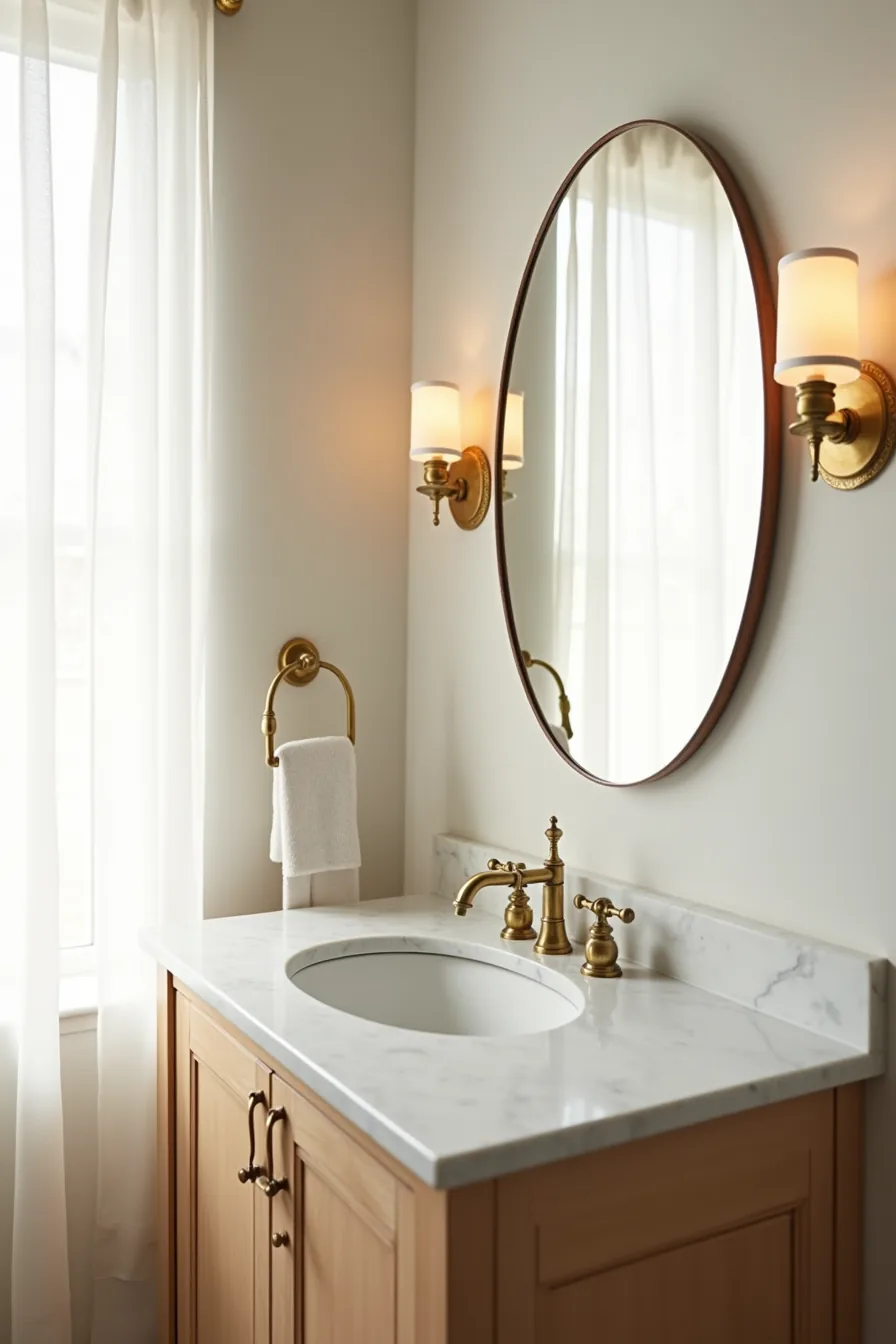
The visual mass of a fixture matters more than its finish. A wall-mounted vanity with a marble countertop demands a faucet with enough presence to anchor the sink area; the cross-handle brass faucet in this setup works because its vertical spout and wide-set handles fill the space between the countertop edge and the curved mirror above. Compact single-handle levers would leave the same vanity looking under-furnished, while an overly tall gooseneck would crowd the mirror’s sightline.
Classic silhouettes with exposed cross handles suit vanities 36 to 48 inches wide, where they add a traditional focal point without overwhelming the surface. Modern geometric fixtures, by contrast, pair best with floating vanities and minimal mirrors, relying on clean lines to keep the eye moving horizontally. Match faucet height to your sink depth: a spout that extends 5 to 7 inches above the basin rim prevents splashing, and the brass towel ring should sit 6 inches from the countertop edge so towels clear the marble without brushing the floor.
Fixture Finish Map: Durability, Maintenance, and Real-World Performance

Chrome remains the workhorse of bathroom fixtures. Its hard plating resists corrosion well, but every water droplet leaves a visible spot, so expect to wipe it down every two to three days in regular use. Polishing with a microfiber cloth restores its mirror shine, though abrasive cleaners will dull the surface permanently, stick to pH-neutral soap sprays.
Brushed nickel offers the same silver tone with a satin texture that hides fingerprints and mineral deposits far longer; a weekly rinse usually suffices. Its brushed surface is more forgiving of scratches than chrome, making it the better choice for busy family bathrooms where faucets get daily handling.
Matte black hides water spots almost completely but reveals every chalky mineral deposit as a white film, particularly in hard-water areas. You’ll need a monthly vinegar soak on the aerator and a soft cloth wipe to prevent buildup that etches the coating over time. Brass, whether polished or unlacquered, develops a natural patina that actually masks spotting; unlacquered versions require oiling every few months to prevent green verdigris, while coated brass needs only routine dusting.
For humid bathrooms, brushed nickel offers the best balance of low maintenance and longevity, typically outlasting chrome’s finish by several years before replating becomes necessary.
Budget Route: Renter-Friendly Fixture Swaps That Stick
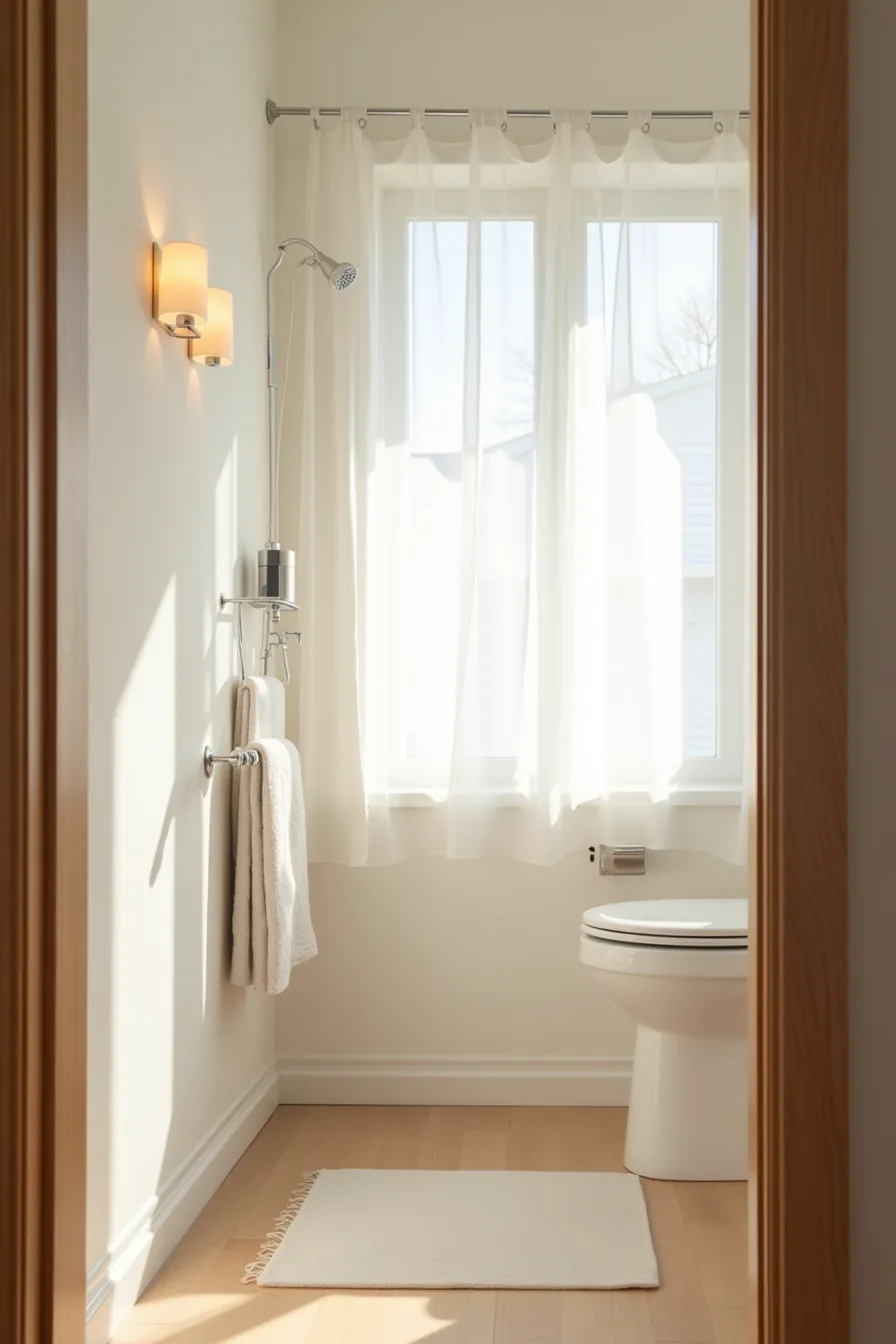
Your lease likely permits temporary fixture upgrades, provided you restore the originals before move-out. The safest approach targets items that mount without drilling: a tension-mounted shower caddy, an adhesive-backed towel bar, and a removable wall-mounted soap dispenser. All three install in under fifteen minutes and remove cleanly with dental floss or a heat gun when your lease ends.
On neutral tile, this setup works because it layers function over the existing builder-grade faucet you can’t touch. Choose adhesive towel bars rated for 8–10 pounds of pull force; anything heavier risks failing on textured or painted surfaces. For the soap dispenser, verify the adhesive plate bonds fully to the tile, grout lines prevent a flush seal.
A corner placement, like the one in this arrangement, keeps the caddy out of the splash zone while leaving the shower head’s spray pattern unobstructed.
Before committing, photograph the original hardware and keep every screw in a labeled bag. Landlords typically allow these swaps when no permanent alteration remains, but confirm your lease’s exact wording on adhesive strips. Some prohibit any wall-mounted accessory, even removable ones, a free-standing caddy becomes your fallback there.
Expect to spend $40–$80 total for all three pieces in brushed nickel or matte black, finishes that visually upgrade the room without clashing with chrome builder fixtures.
Investment Route: Permanent Fixtures for Long-Term Bathrooms
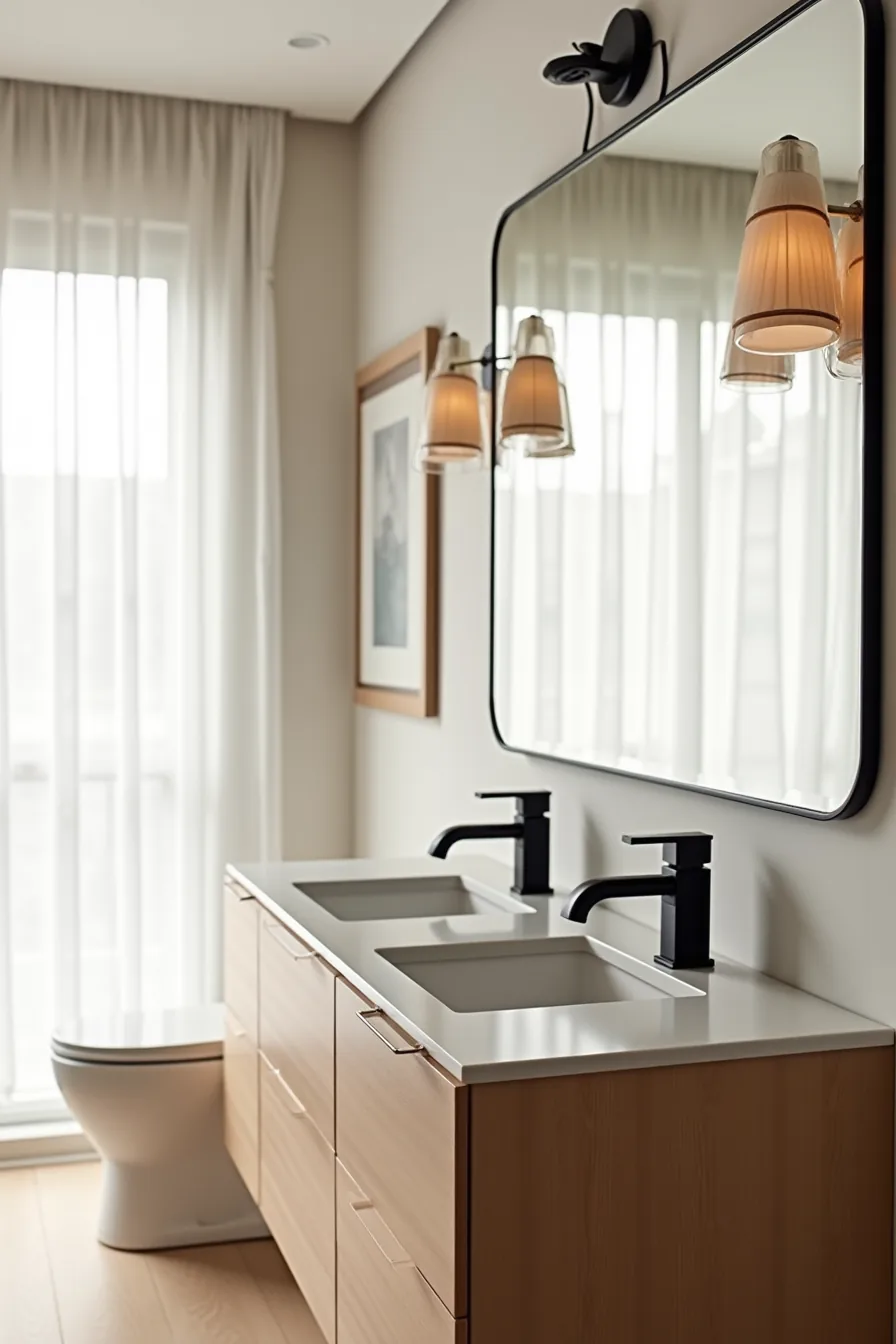
For a 10-plus-year commitment, your fixture choices hinge on rough-in sizing and water pressure before aesthetics. That double-sink vanity with dual matte black faucets requires a 1/2-inch supply line delivering 45–60 psi; anything below 40 psi will produce weak spray from both taps simultaneously. Verify your wall rough-in measurements, standard centerset faucets need 4 inches between supply lines, while widespread styles demand 8–16 inches, before selecting anything.
The integrated drain systems visible beneath the quartz countertop eliminate the exposed P-trap that collects grime, but they demand professional installation since the drain body mounts inside the cabinet’s subfloor. Hardwired lighting above the mirrors replaces surface outlets, a task requiring an electrician in most jurisdictions, budget $200–$400 for that labor alone. Plan for $1,200–$2,800 for dual faucets in matte black, a finish that hides water spots but shows hard-water scale more readily than brushed nickel.
Hire a plumber for any work touching supply lines or drains; DIY risk here means water damage that voids your warranty. The payoff: zero maintenance beyond monthly wipe-downs and no fixture replacement for the next decade.
Adapting Bathroom Fixtures to Room Size: Small, Medium, and Large Spaces
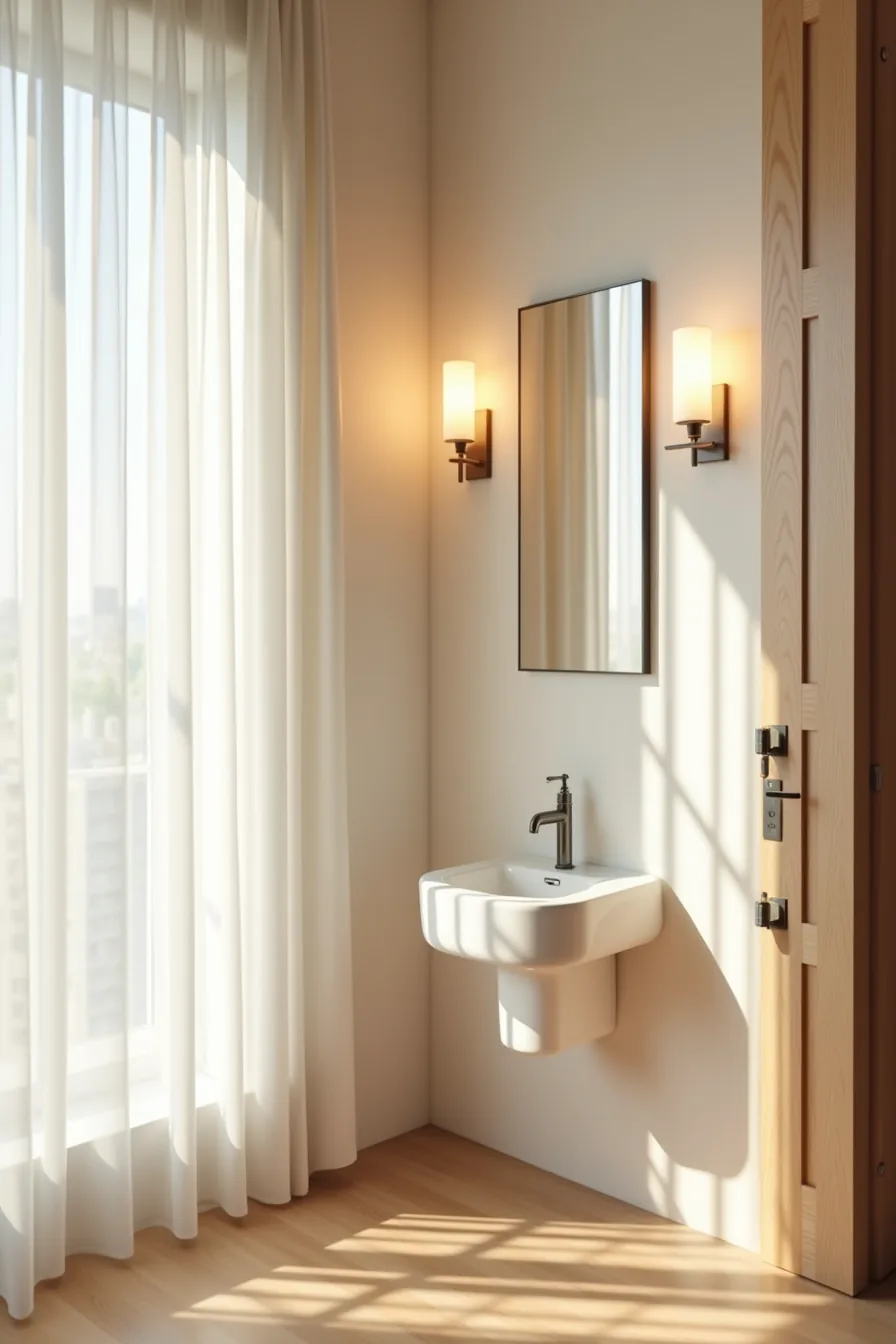
In a compact bathroom, every inch of fixture placement determines whether the room feels usable or cramped. A wall-mounted faucet on a pedestal sink frees up the counter edge entirely, letting you place the sink basin closer to the wall, saving 4–6 inches of deck depth compared to a standard countertop mount. That narrow towel bar mounted at 48–52 inches above the floor keeps the visual plane high, leaving the lower wall clear for a small stool or hamper without obstructing your turning radius.
For medium bathrooms around 50–75 square feet, maintain at least 30 inches of clear floor space in front of any fixture; anything less forces you to squeeze past the vanity when the door swings open. In larger rooms, resist spreading fixtures apart arbitrarily, cluster them within a 6-foot radius of the entry line so you never walk more than two steps from the door to the sink. The mirror above the sink should span roughly 60–75% of the vanity width; wider mirrors in big spaces make the room feel cavernous, not luxurious.
Scale your towel bar length to the wall section, not the room size, a 24-inch bar suits the compact sink setup, while 30–36 inches works in medium and large layouts without overwhelming the wall.
Your decision checklist
Before you order anything, measure your rough-in distance (wall to toilet bolt center) and your vanity depth. Verify your water pressure if you’re considering a rainshower head. Then match fixtures to your actual routine: a family bathroom needs durability over style, a guest bath can take more visual risk.
Your next step: pick one fixture to replace first, set your budget range, and order a finish sample from two different brands. Compare them against your existing hardware in natural light. That thirty-minute test saves you from a costly mismatch.
Frequently Asked Questions
Can I mix chrome and brushed nickel fixtures in the same bathroom?
Yes, but limit it to two finishes max. Use one finish for visible plumbing (faucets, showerheads) and the other for accessories like towel bars or toilet levers. Keep them separated visually, don’t place them side by side on the same wall.
What’s the difference between rough-in size and trim ring size for faucets?
Rough-in size refers to the distance between the water supply lines behind the wall, typically 8, 12, or 14 inches for widespread faucets. Trim ring size is the decorative cover plate that hides the rough-in holes. Rough-in determines fit; trim ring only affects aesthetics and gap coverage.
How often do I need to clean different fixture finishes to prevent water spots?
Polished chrome and stainless steel need wiping every 2–3 days in hard-water areas. Brushed nickel tolerates weekly cleaning; oil-rubbed bronze can go 10–14 days. Matte black shows spots quickly, wipe daily after use. Always dry with a microfiber cloth to prevent mineral buildup.
Can I install a wall-mounted faucet in a rental bathroom without drilling?
No. Wall-mounted faucets require cutting into the wall for supply lines and mounting brackets, that’s permanent modification. Instead, use a deck-mounted faucet with existing sink holes, or a freestanding basin mixer that connects to floor supply lines. Both avoid wall damage and satisfy most rental agreements.