Small open plan kitchen dining living spaces work best when you treat the entire footprint as one continuous room, not three separate zones fighting for attention. That single shift, unifying your floor, lighting, and sightlines, unlocks the practical layouts that make compact homes feel expansive. The six approaches ahead range from renter-friendly tweaks to structural investments, each matched to a specific room shape and budget.
Key takeaways
- Zone by furniture, not walls: a slim console or rug defines the dining area, while a sofa back acts as the living-room boundary, preserving sightlines and airflow.
- Anchor the island 36–48 inches from counters or cabinets to keep walkways clear, ensuring two people can pass and drawers open fully without obstruction.
- Match wall and cabinetry colors to within one shade of each other so the kitchen visually recedes, making the combined space feel larger than its square footage.
- Install shelving up to ceiling height on one wall to store less-used items above eye level, freeing lower cabinets for daily essentials and reducing visual clutter at counter height.
The Compact Three-Zone Plan with Minimal Barriers
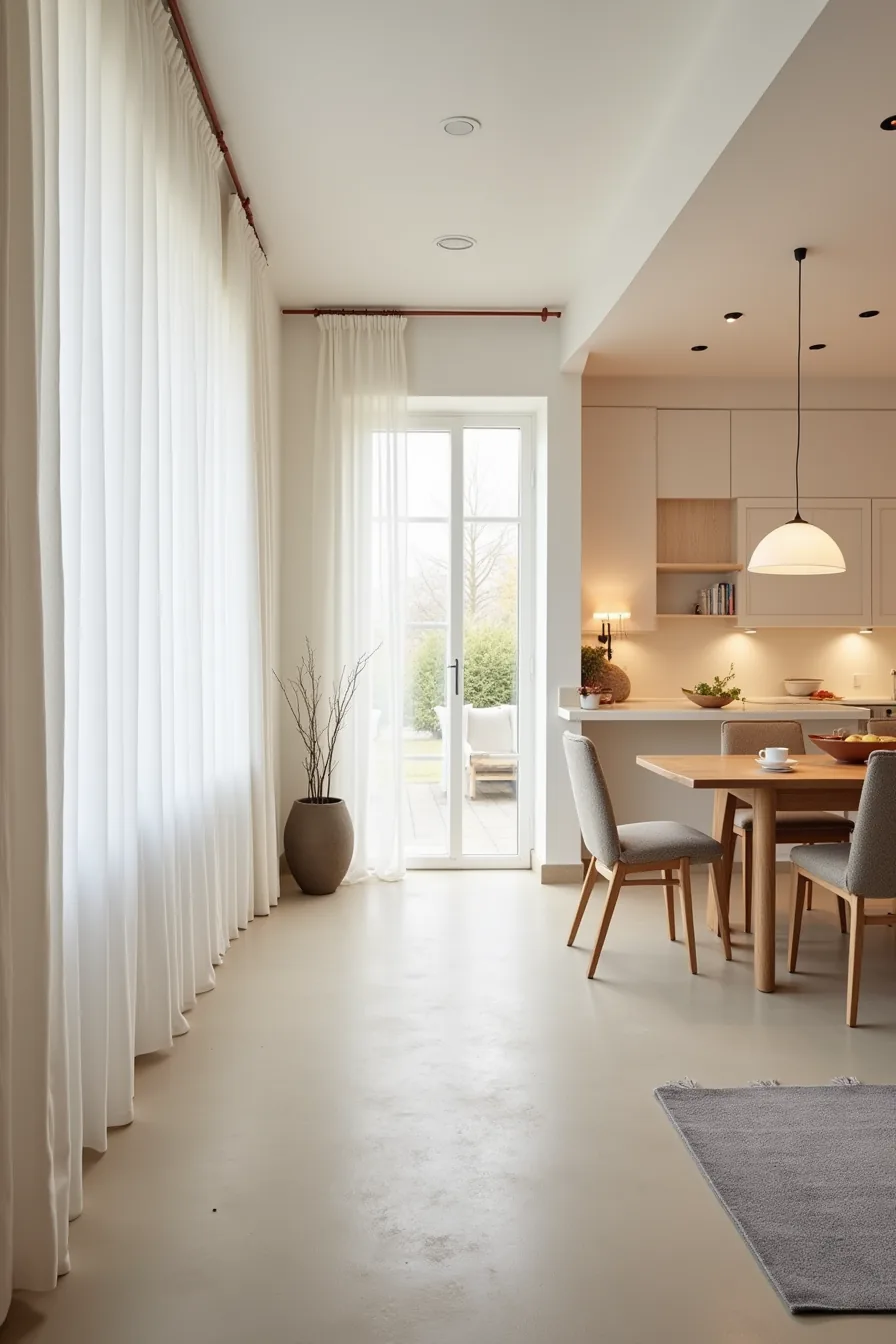
The most reliable way to make a small open plan kitchen dining living work is to stop fighting for one unified aesthetic and instead give each function a distinct floor. Matte concrete flooring across the kitchen defines the work zone and tolerates spills and dropped utensils without visible staining. A light oak transition, typically a 1-2 centimeter height change or simply a change in plank direction, announces the dining area, where chairs scrape and crumbs fall without damaging the surface.
The living zone finishes with warm gray carpet, which absorbs sound and visually softens the hardest-working part of the room. Recessed ceiling lights above each zone reinforce the boundaries: task lighting over the counter, a pendant over the table, and dimmable downlights near the sofa. This layout suits renters who can’t paint or remove walls, and it costs less than a full renovation, expect to spend $800–$2,500 on flooring transitions and lighting alone, depending on room size.
The trade-off is maintenance: concrete needs sealing every 2–3 years, and carpet requires professional cleaning annually to avoid trapping kitchen odors.
Island-Anchored Layout for Workflow and Gathering
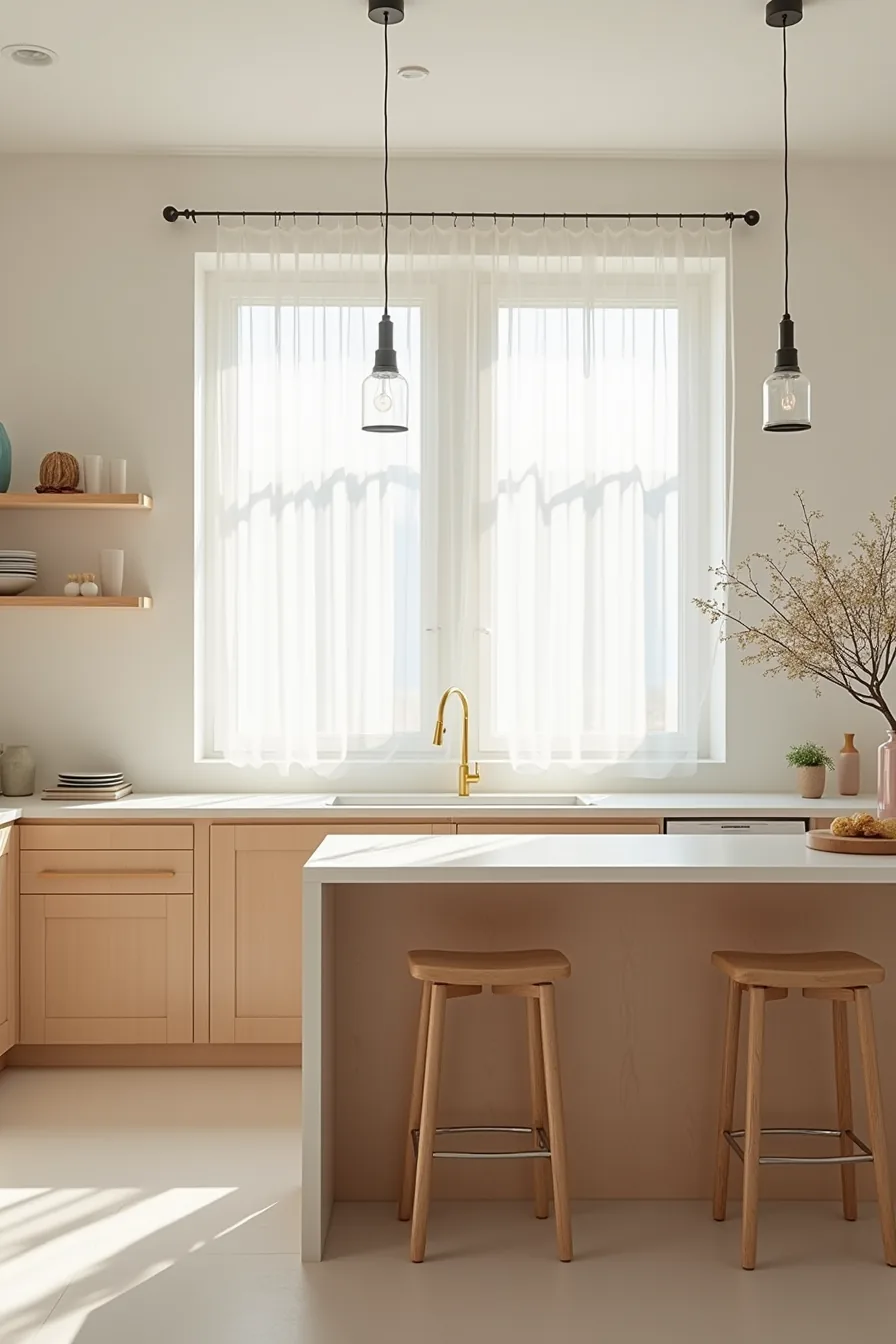
A two-tier island solves the classic small open plan kitchen dining living dilemma: you need a prep surface and a place to eat, but you lack floor space for both. The higher counter facing the stove handles chopping and plating, while the lower bar side, typically 10–15 centimeters lower, accommodates three stools without blocking your view of the room. This arrangement suits couples or small families who cook and host simultaneously; guests can chat without crowding your work zone.
The waterfall edge eliminates visible legs and seams, which reduces visual clutter in tight quarters, though it costs 15–25% more than a standard overhang. Keep at least 90–110 centimeters of clearance on the seating side so chairs can slide out without trapping anyone against the wall. Since the island replaces both a dining table and a freestanding cart, you free up roughly 2–3 square meters of floor area, space you can redirect to a larger sofa or a slim console behind the seating line.
Visual Continuity Through Color and Material Strategy
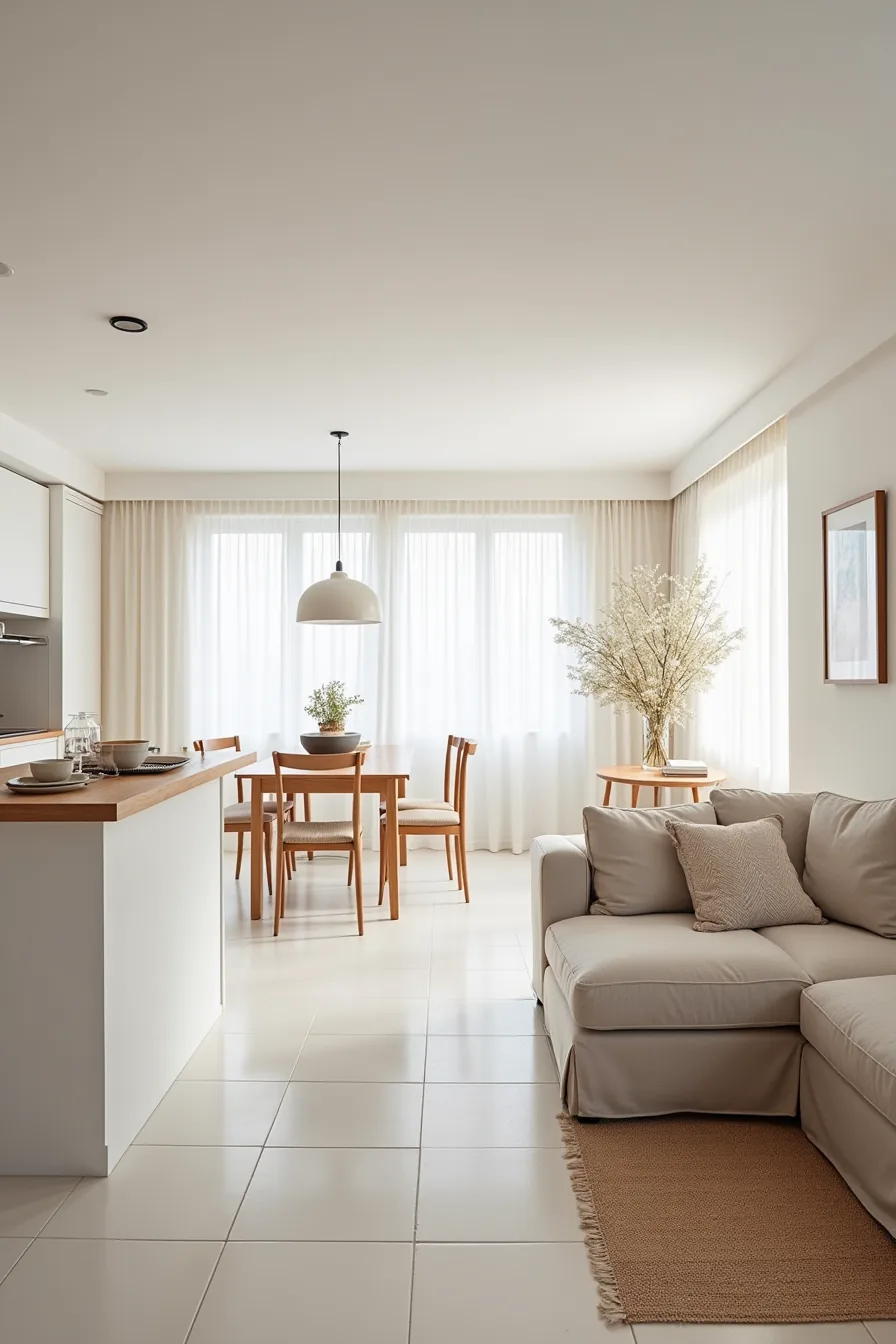
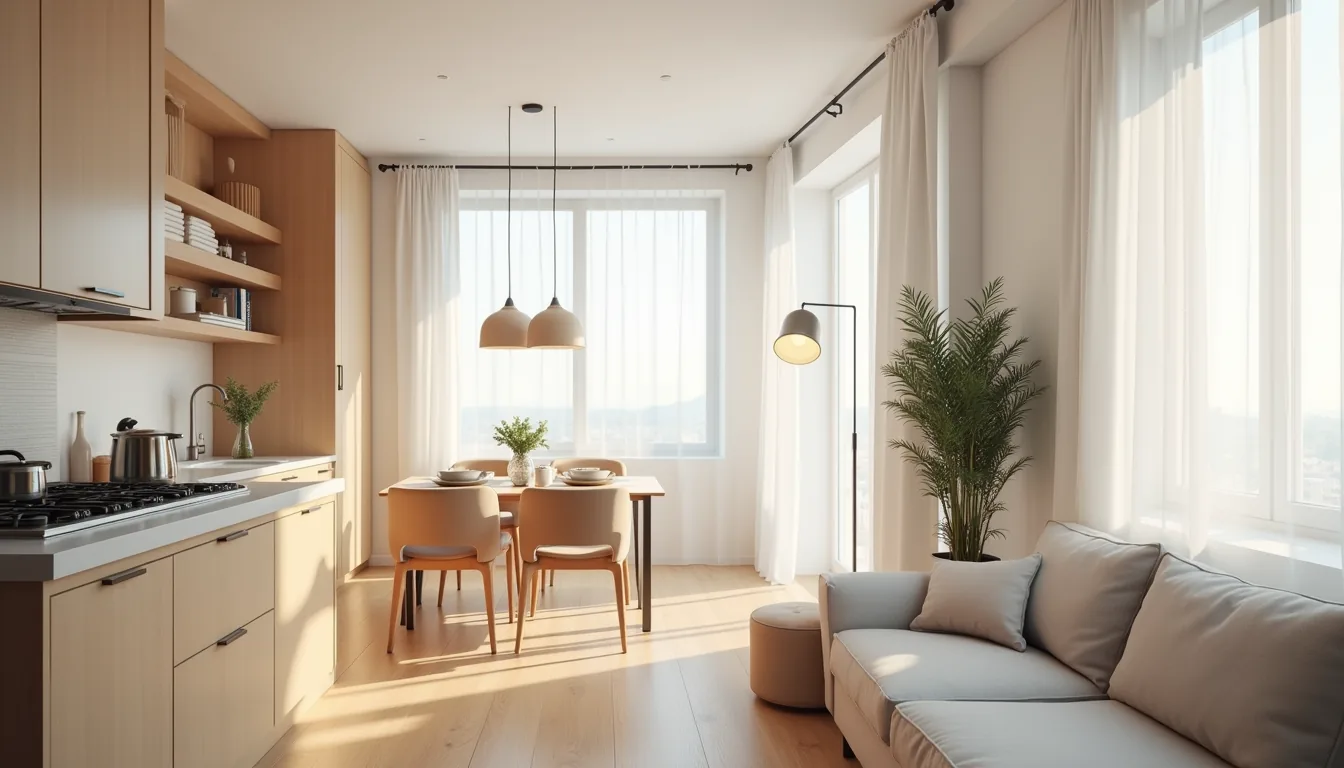
When every zone shares the same visual language, your eye reads the entire footprint as one volume rather than three cramped compartments. The white cabinetry, pale gray walls, and light wood table create an unbroken line of sight from the kitchen counter to the sofa, so the room’s true dimensions feel less like a constraint and more like a deliberate choice. A neutral rug under the living area anchors that zone without introducing a color boundary that would signal “end of room” to your brain.
Match your flooring material across all three zones, consistent tile, wood, or vinyl planks eliminate the visual break that separate floor finishes create. Choose wall paint with a slight warmth (greige or warm white) rather than stark white, because it absorbs rather than reflects the boundaries between zones. This strategy suits renters especially well: you can achieve the effect with removable peel-and-stick flooring accents, a single coat of landlord-approved paint, and a rug that ties the palette together, no structural changes required.
The trade-off is that you sacrifice the character of distinct room finishes, so if you prefer bold color or dramatic material shifts, this route will feel too restrained.
Vertical Storage and Shelving to Reclaim Floor Space
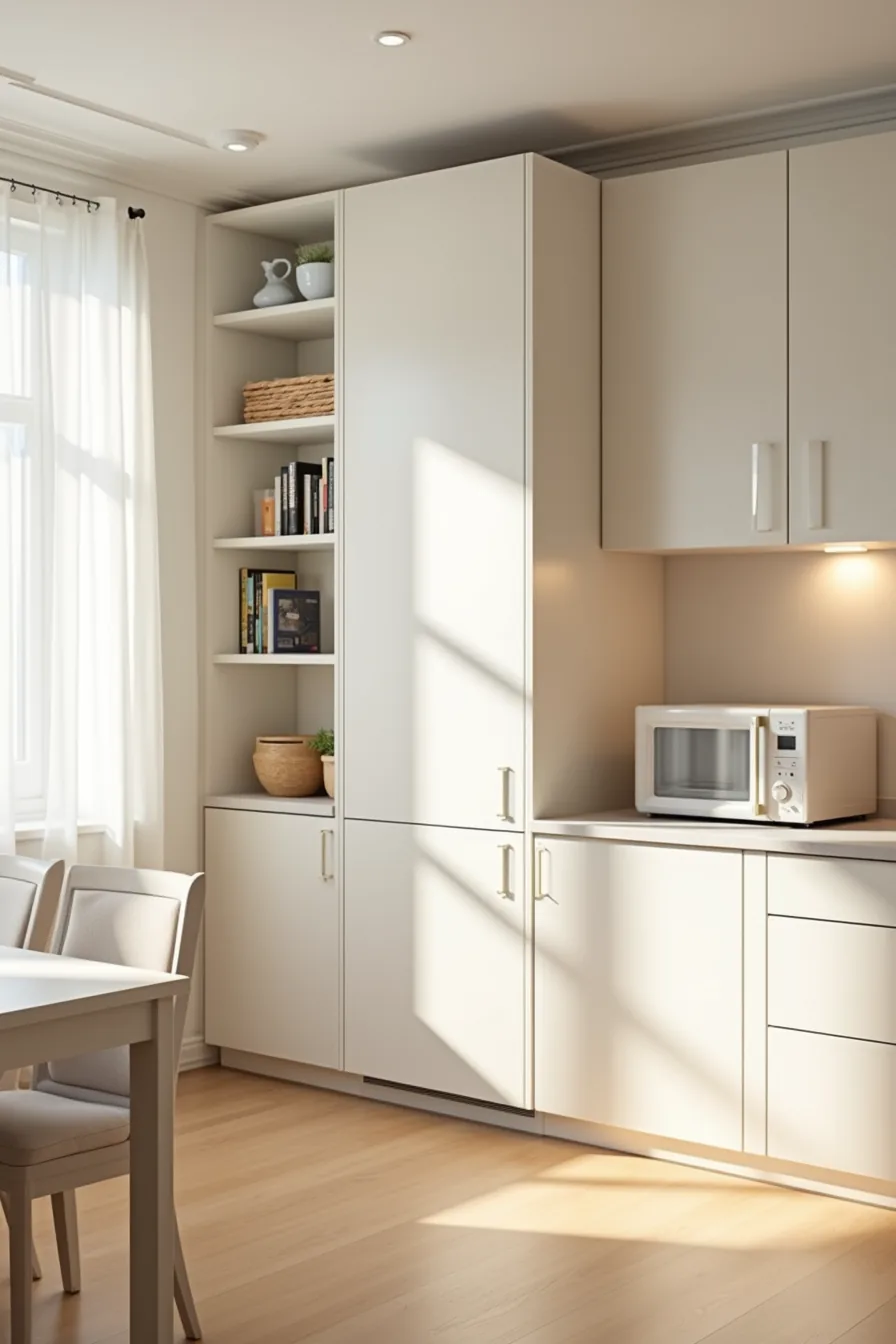
You gain usable square footage the moment you move storage off the floor and onto the walls. Floor-to-ceiling open shelving against one wall holds everyday dishware and cookbooks within reach while drawing the eye upward, which visually raises the ceiling height. A tall, narrow pantry unit tucked into the corner takes over dry-goods storage that would otherwise demand a bulky freestanding cabinet, most corner pantries run 18–24 inches wide and 70–84 inches tall, enough for a week of groceries without stealing counter space.
Wall-mounted cabinets above the counter keep rarely used appliances behind closed doors, leaving only one small appliance on the clear countertop. Open shelving requires honest editing, dust settles on everything within two weeks, so reserve it for items you use weekly. This setup suits renters because it needs only a stud finder, wall anchors, and landlord permission for holes; the long-term investment route involves custom cabinetry that reaches the ceiling, eliminating the dust-collecting gap above standard units.
Furniture Placement and Scale for Small Open Plan Spaces
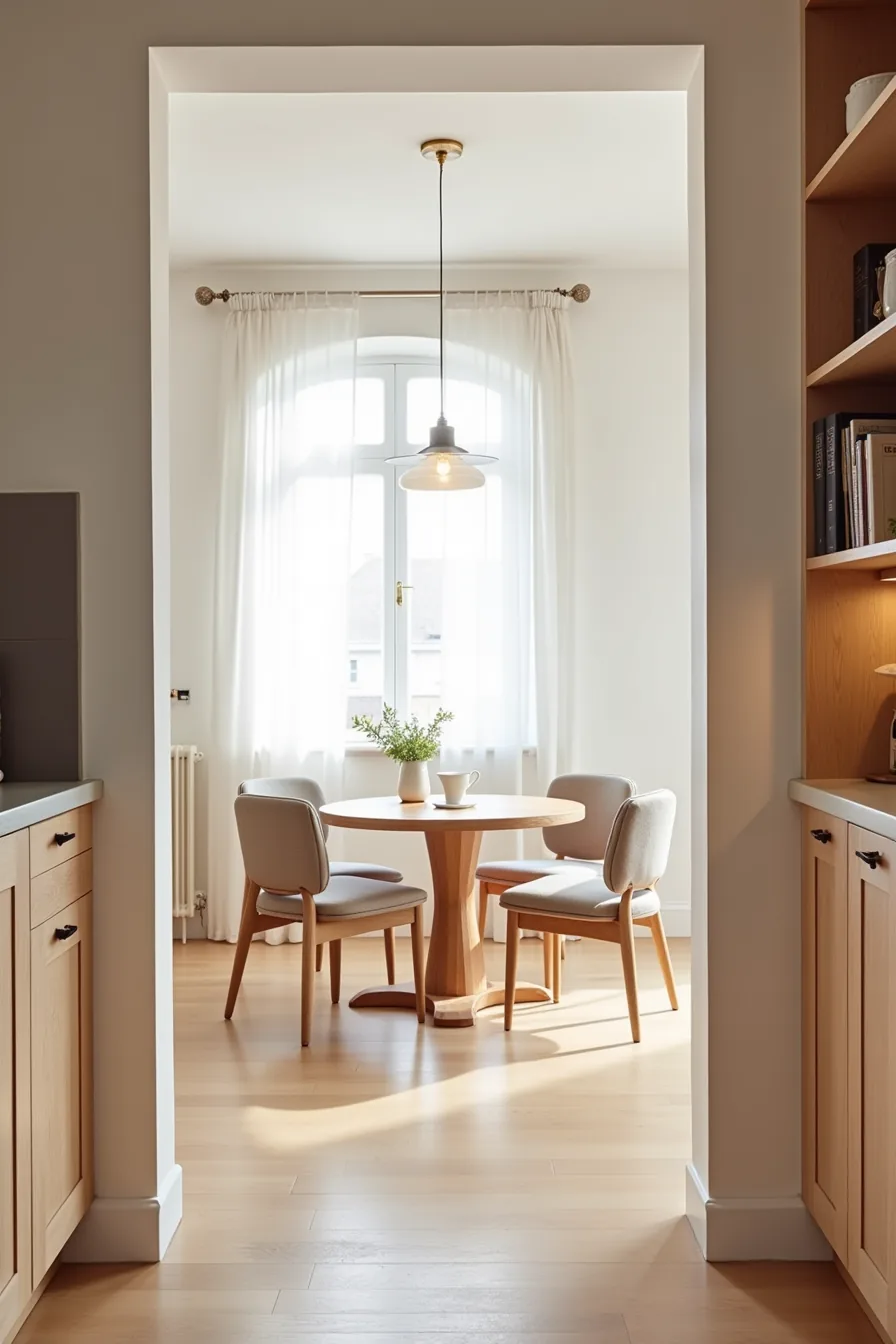
Proportion does the heavy lifting in a compact open plan. A round dining table for four, typically 36–48 inches in diameter, creates a tighter footprint than a rectangular equivalent while preserving the same seating capacity. Pair it with armless dining chairs that tuck fully under the table when not in use, keeping the walking path between the kitchen threshold and living zone unobstructed.
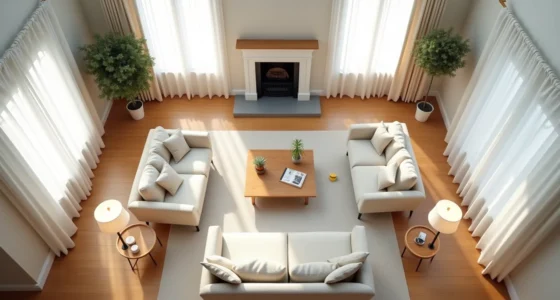
The two-seat sofa anchors the living area without dominating it; look for a model no deeper than 36 inches so it doesn’t push into the circulation corridor. Place the sofa with its back to the dining zone rather than against a wall, which visually splits the room into two distinct areas while leaving sightlines open across both. You should maintain a clear path of at least 36 inches between the table edge and the sofa front, anything narrower makes daily movement feel like an obstacle course.
This arrangement suits small open plan spaces that feel bigger precisely because every piece leaves visible floor area exposed, and it’s a small dining solution that works whether you rent or own.
Lighting Zones to Define Areas Without Walls
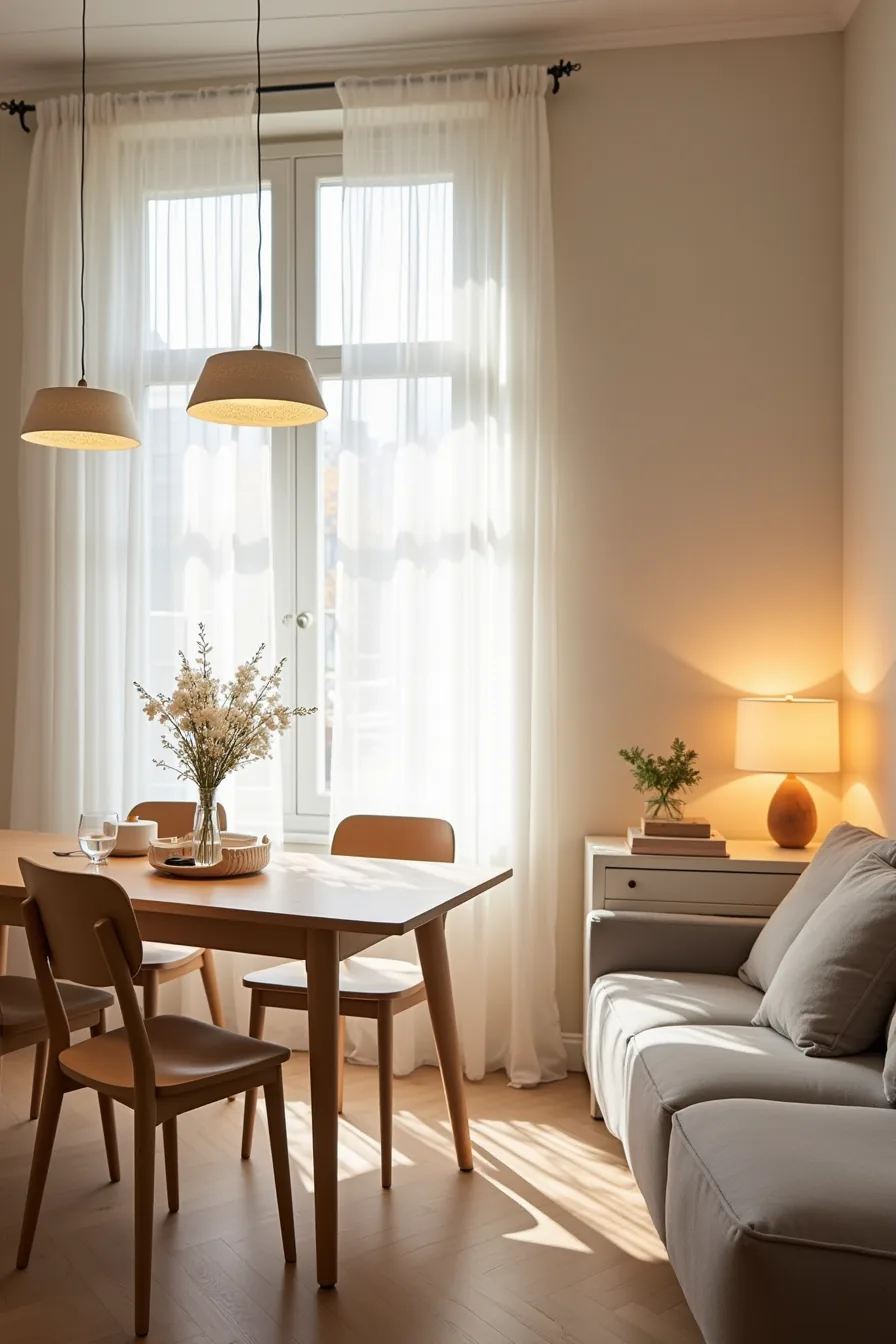
Lighting replaces walls as your room divider in a compact open plan. Hang pendant fixtures directly over the dining table, positioning them 28–34 inches above the surface, low enough to pool light on plates, high enough to avoid head bumps for average-height adults. A pair of smaller pendants works better than one oversized shade on a 36–48-inch round table, since two fixtures distribute illumination evenly across the full diameter.
Under-cabinet task lighting in the kitchen serves a purely functional role: it eliminates body shadows on the countertop so prep work stays safe and precise. Choose warm-white LED strips with a color temperature around 2700–3000K to match the pendants rather than casting a clinical blue cast across the room. In the living zone, a table lamp beside the sofa provides the third layer, ambient, low-level light that signals “relax” while the brighter kitchen and dining areas handle activity.
This three-tier approach costs roughly $150–$400 total for quality fixtures and requires no structural changes, making it the most renter-friendly way to create separate moods in one continuous space.
Where to start
You now have six distinct routes through a small open plan kitchen dining living layout. Match the option to your non-negotiable: budget, rental terms, or resale value. Measure your longest wall before you shop, and verify your ceiling height if you plan to hang anything.
Pick one zone to solve first, usually the dining area, since it bridges both functions. Sketch a simple floor plan with door swings and traffic paths marked.
Your next step: tape out your proposed furniture footprints on the floor with painter’s tape. Live with the layout for 48 hours before buying anything. That single test will reveal circulation problems no mood board can.
Frequently Asked Questions
How small can an open plan kitchen dining living space be and still work?
A combined footprint of 250–350 square feet is the practical minimum. Below that, zones blur into one another, and circulation suffers. You need roughly 36 inches between each functional zone to move comfortably.
What is the minimum counter depth and island size for a small open plan kitchen?
Standard counter depth is 24 inches, don’t go shallower, or appliances won’t fit. For an island, aim for at least 36 inches wide and 18–24 inches deep if it’s purely prep. A seating island needs 60 inches width minimum.
Can you fit a dining table in a small open plan, or should you use a bar counter instead?
Yes, a table works if you’ve 60–72 inches of clear floor space. A 30–36 inch round or square table seats two to four. Bar counters suit narrower rooms, but they sacrifice comfort for everyday meals, table height is more ergonomic.
How do you prevent cooking smells and noise from affecting the living zone in a small open plan?
Install a ducted range hood rated at 400 CFM or higher, recirculating hoods only filter grease, not odors. Add soft surfaces like rugs and curtains to absorb noise. Closeable pocket doors or sliding panels are the only true sound barrier.