
An LED mirror isn’t a single product but a lighting strategy, edge-lit, backlit, or strip-integrated, that turns your reflection into the primary light source for a room, and choosing the right configuration depends less on aesthetics and more on your wall space, electrical access, and daily grooming needs. The difference between a mirror that flatters and one that frustrates comes down to placement and light temperature, not wattage. Before you buy, you need to know which of the six configurations matches your bathroom’s existing wiring and your tolerance for a permanent fixture.
Key takeaways
Backlit vs. Edge-lit comes down to light spread: backlit panels cast an even, shadow-free glow ideal for makeup, while edge-lit designs create a sharper halo that suits accent lighting. Round LED mirrors work best in compact baths under 30 inches wide, where their curved silhouette prevents visual crowding and bounces light into tight corners. A budget LED strip retrofit costs roughly $20–$50, but you must place it behind the mirror’s perimeter, not on the glass surface, to avoid hot spots and glare. Renter-friendly options include plug-in backlit mirrors with adhesive mounting brackets, which install in under 15 minutes and leave no wall damage when removed.
Backlit vs Edge-Lit: Which LED Look Suits Your Space
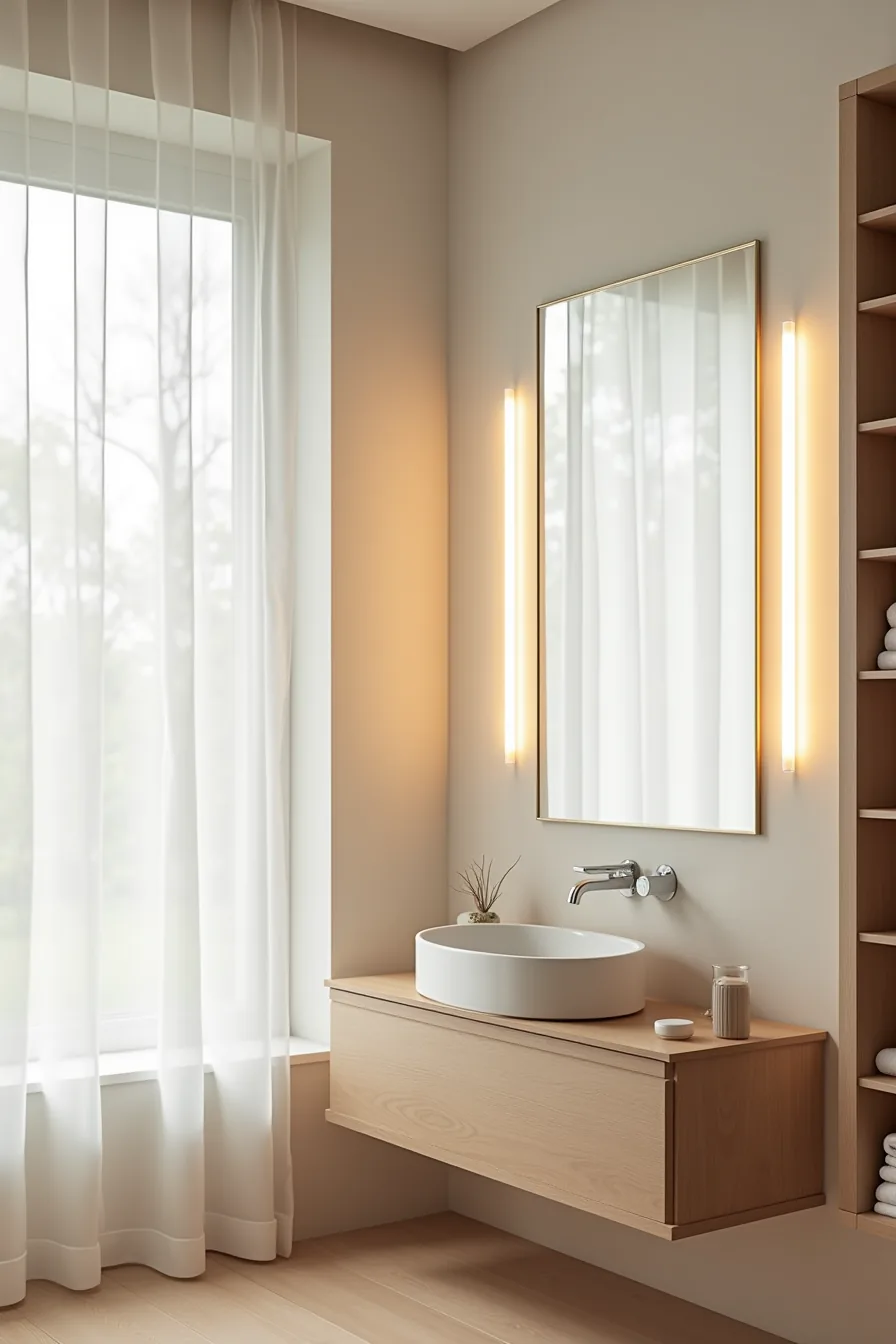
The core distinction comes down to where the light lives. A backlit mirror emits a diffused glow from behind the entire glass surface, casting soft, even illumination onto your face with minimal shadows. An edge-lit mirror channels LEDs through the glass from the perimeter, producing a crisp, defined halo of light that reads as more graphic and modern.
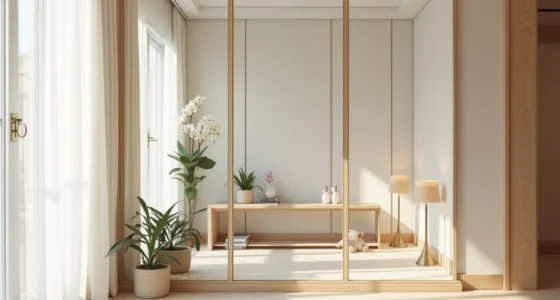
A backlit mirror suits a larger vanity where you need shadow-free task lighting for makeup or shaving, and it typically requires a deeper recess behind the glass. The edge-lit version works better in a compact corner, like the one with glass shelving beside a floating vanity, since its slimmer profile protrudes less and installs almost flush against the wall.
Backlit options generally run brighter and more expensive, plus they need more clearance behind the wall. Edge-lit mirrors are simpler to retrofit, lighter on the wall, and easier to position near outlets, making them the pragmatic choice for rentals or quick upgrades.
Round LED Mirrors for Compact Bathrooms
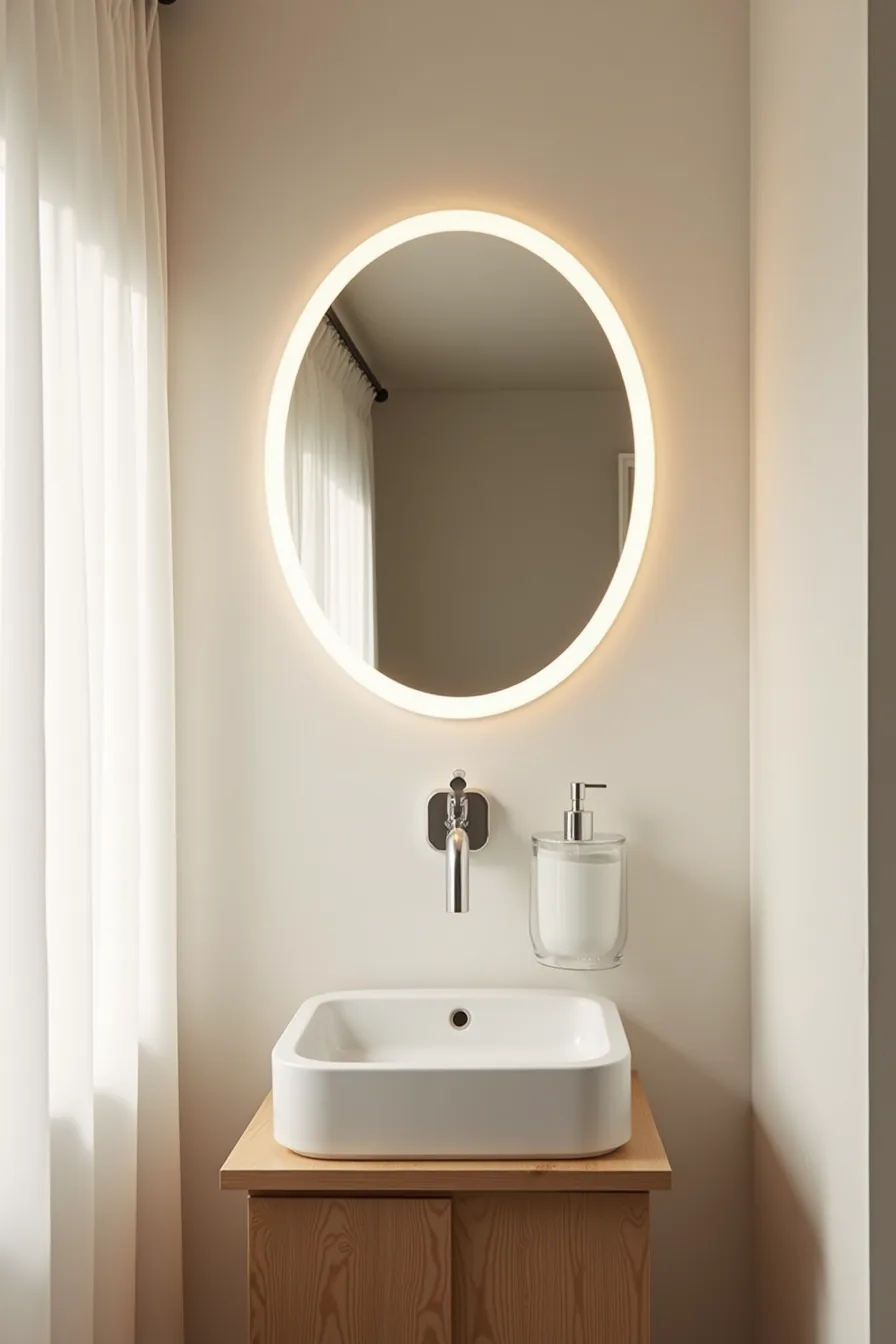
A round LED mirror solves the tight-fit problem that rectangular mirrors create in narrow spaces. Most round models run 16–36 inches in diameter, and a 24-inch version suits a single-sink vanity in a powder room where you’ve just a few inches of clearance on either side. The circle’s absent corners visually open up the wall, so the mirror reads as a deliberate design element rather than a squeezed-in necessity.
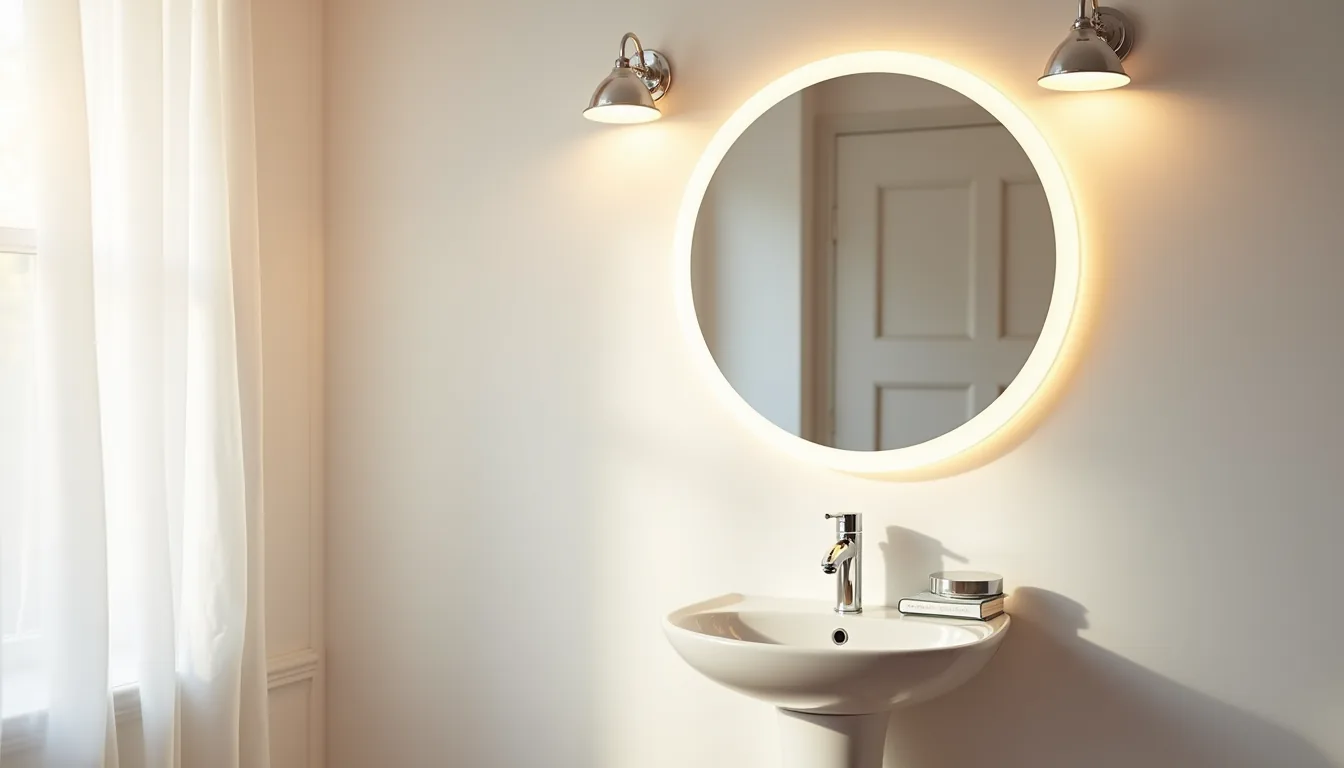
Mount the center at your eye level, typically 60–66 inches from the floor, and keep at least 4–6 inches between the mirror edge and any wall or fixture. The slim profile of an edge-lit round mirror protrudes only about an inch, so it won’t crowd the wall-mounted soap dispenser beside it. Cool-white LEDs around the perimeter provide shadow-free task light for daily grooming, and the compact footprint means you can position it closer to the sink without blocking the faucet swing.
If your vanity is under 24 inches wide, drop to an 18-inch round to maintain proportion.
Rectangular LED Mirrors for Modern Vanity Setups
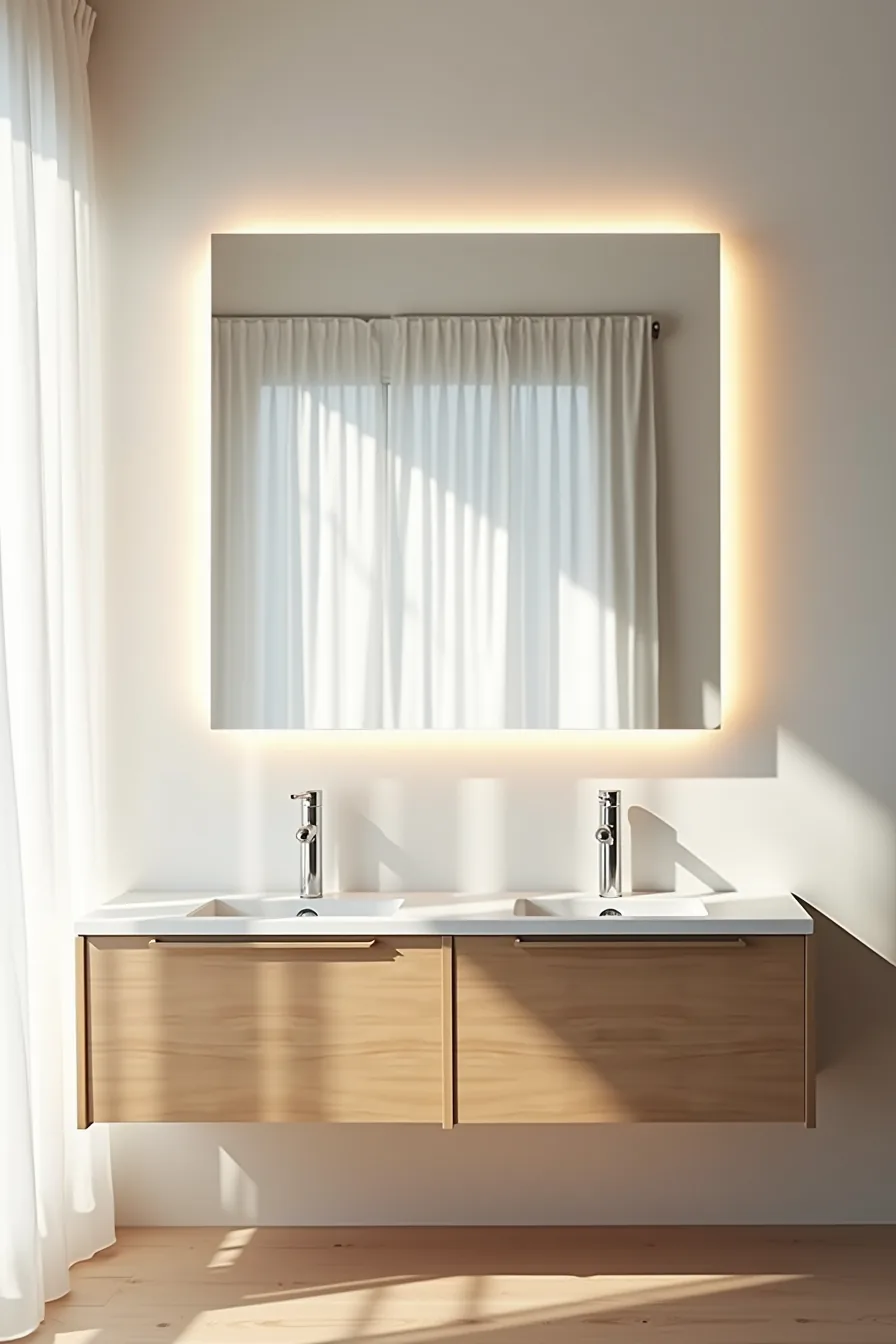
A 48-inch-wide rectangular LED mirror anchors a double-sink vanity by matching the countertop’s span, creating a clean horizontal line that ties the two basins together. For most double vanities, choose a mirror width that equals 75–90% of the countertop length, leaving 2–4 inches of wall visible on each side. At 48 inches wide, the mirror accommodates a 60-inch vanity with 6 inches of clearance per sink, enough for two people to groom simultaneously without crowding elbows.
Mount the bottom edge 6–10 inches above the backsplash, or roughly 50–55 inches from the floor, so it clears the faucet spouts and still captures your face at standing height. The 1:2 height-to-width ratio suits standard 36-inch vanities; taller mirrors risk blocking the sconce wiring or the cabinets that flank the sinks. If your vanity runs longer than 66 inches, scale to a 60-inch mirror rather than installing two smaller rectangles, which break the visual continuity of a modern vanity setup.
Budget-Friendly LED Strip Installation Over Existing Mirrors
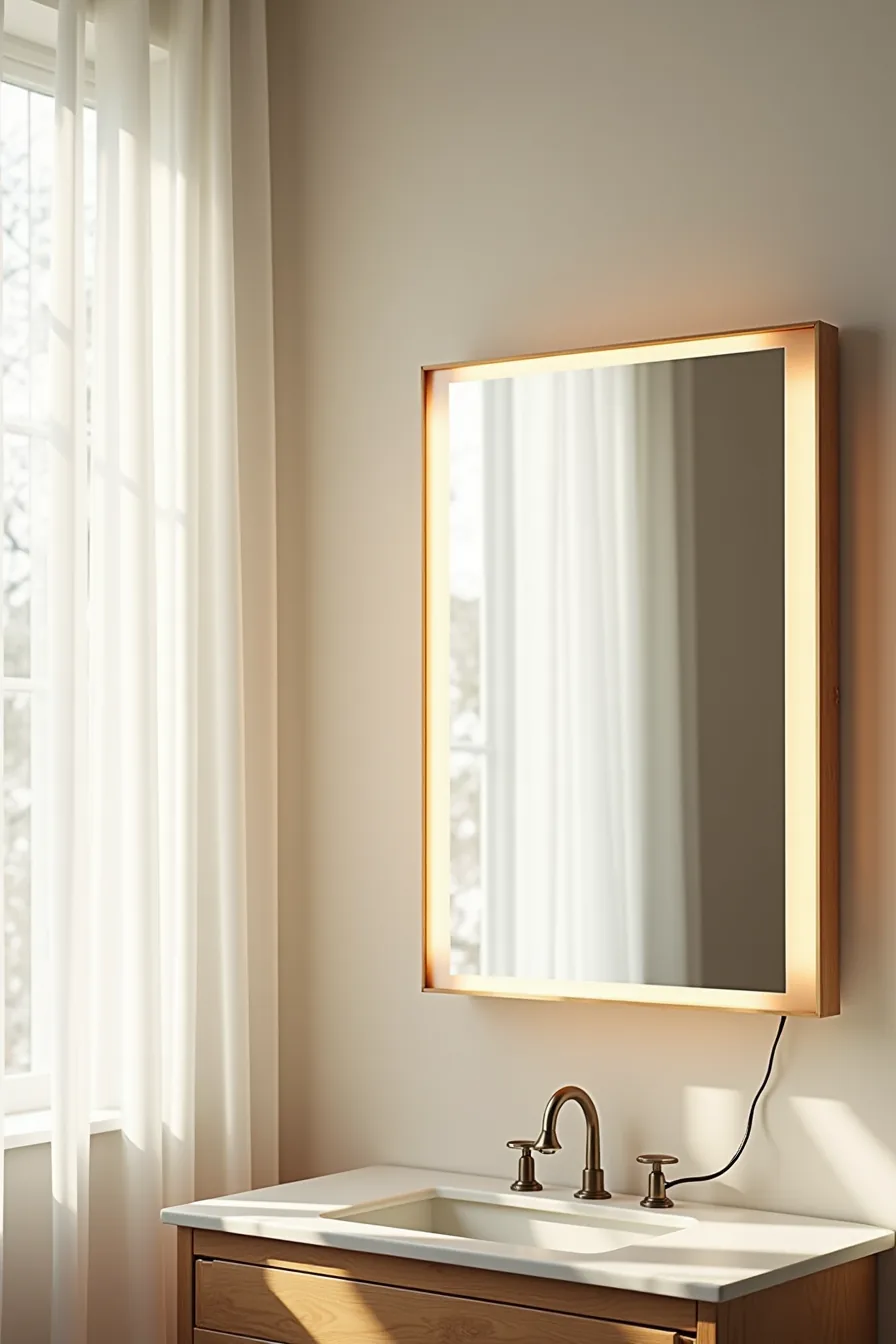
Retrofitting your current mirror with adhesive-backed LED strips costs roughly $20–$60, a fraction of a new fixture’s price, and takes about 30 minutes with no tools beyond a damp cloth and scissors. A set of 16–20 feet of strips at 400–600 lumens per meter delivers enough brightness for daily grooming when run along the top and both sides. Position the strips 0.5–1 inch from the mirror’s edge, angled slightly inward, to avoid hotspots and reflect glare off the glass surface.
The power cord routes down one side and behind the frame, plugging into a standard wall outlet, no electrician required, which makes this a genuinely renter-friendly option. Choose strips with a UL-listed adapter and IP44 water-resistance rating if the mirror sits near a sink; bathroom humidity can shorten the lifespan of unsealed strips to under two years. Adhesive backing holds firmly on clean, dry frames, but expect to reapply every 6–12 months in steamy bathrooms, use a few small binder clips as a fail-safe if the frame is curved or textured.
The vintage frame in this setup keeps its character while the warm-white strips add a soft, even halo that flatters skin without harsh shadowing.
Frameless Backlit Mirrors as Long-Term Investments
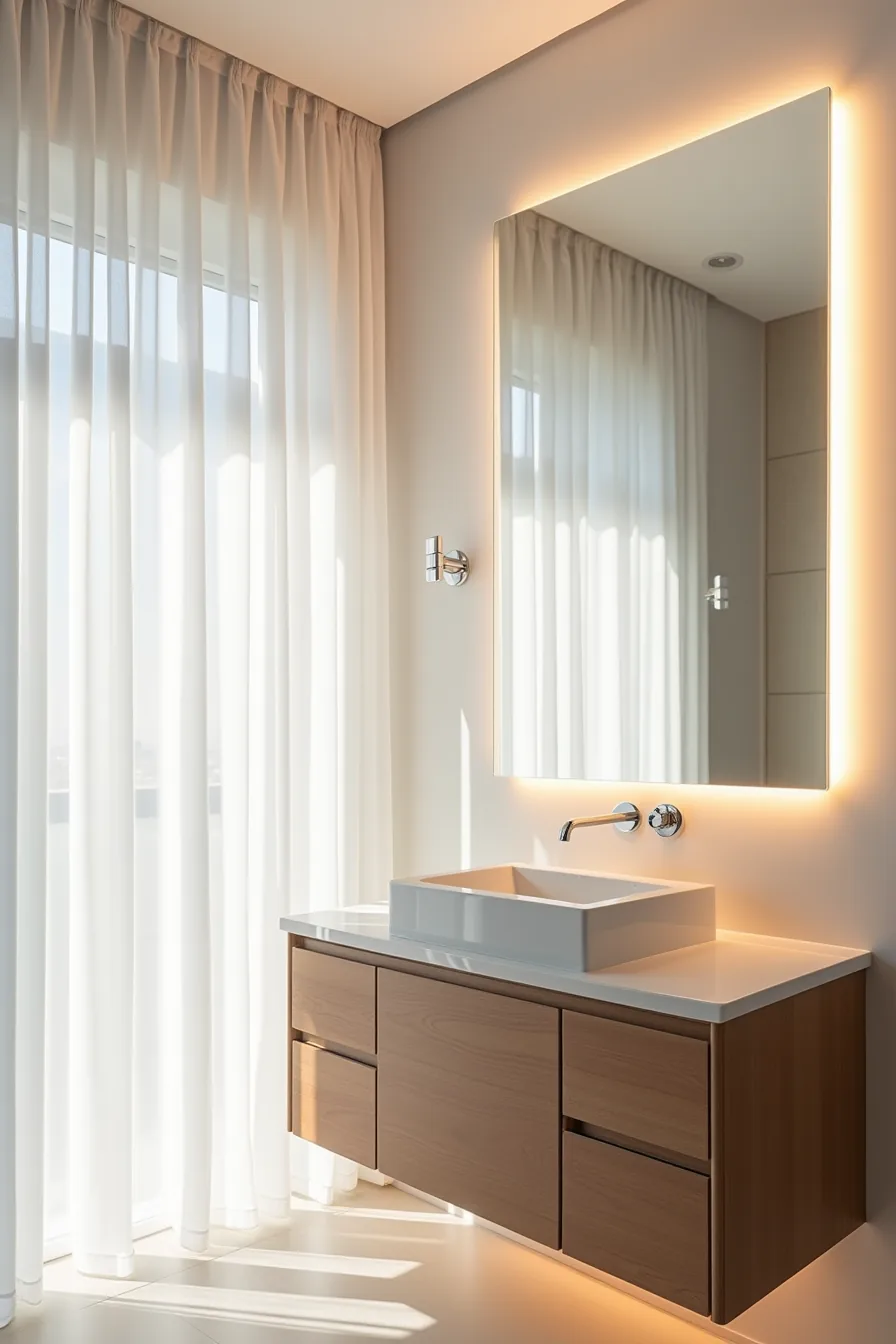
Integrated backlit mirrors cost $300–$1,200 installed, but the premium buys components that surface-mounted strips can’t match. The frameless design in this master bathroom uses a sealed LED panel rated for 50,000 hours, roughly 15 years at typical morning-and-evening use, with a five-year warranty covering both the light source and the proprietary driver. The polished chrome fixtures and built-in vanity countertop below anchor the mirror visually, while recessed lighting in the ceiling works with, rather than against, the mirror’s even glow.
Professional installation runs $150–$400 and typically requires a dedicated electrical box behind the wall, which means hardwiring isn’t a DIY weekend project. Over a decade, you avoid the recurring costs of replacing adhesive strips or upgrading dimmers, and the sealed aluminum frame prevents the humidity damage that shortens cheaper options’ lifespans. If you plan to stay in your home five-plus years)Skip mirrored strip maintenance entirely, the higher upfront cost pays back in convenience and consistent color temperature, and the mirror moves with the house, adding resale appeal.
LED Mirror Placement and Lighting Quality for Daily Use
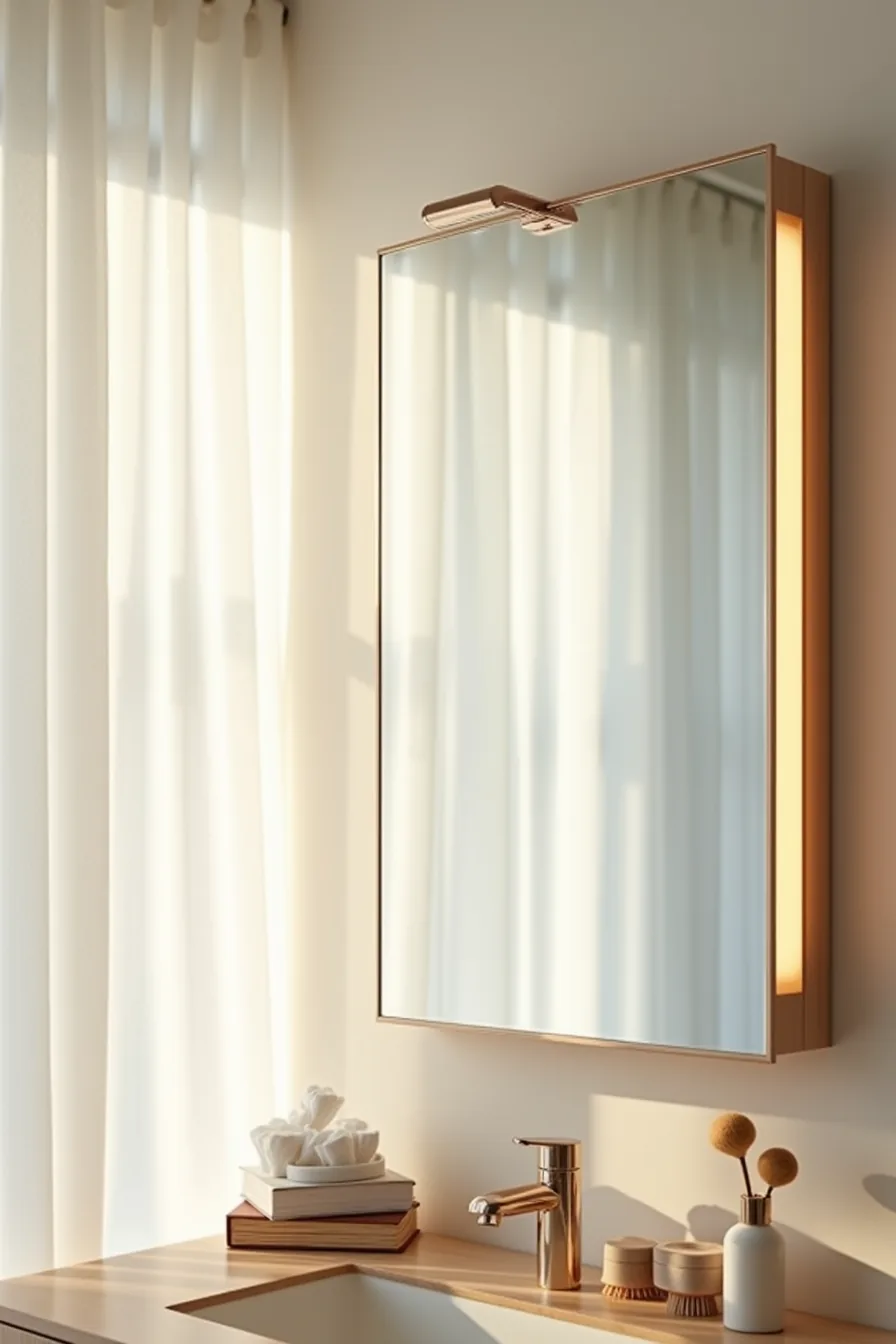
The single most important placement decision is the vertical height of the mirror’s center: position it 40–42 inches from the floor to the midpoint of the glass. This aligns the reflected face with the light source at eye level, eliminating the chin shadows that occur when a mirror sits too high and the dark over-hang that results when it sits too low. For grooming tasks like shaving or applying makeup, select a color temperature between 4000K and 5000K, cooler whites render skin tones accurately, whereas 2700K warm light flatters the room but obscures blemishes and stubble.
Your rectangular LED mirror’s brightness should reach 800–1,200 lumens for task work; anything dimmer forces you to lean in, and anything brighter creates glare off the vanity countertop’s faucet and grooming tools. Place the mirror so its light source faces the side of your face, not directly behind you, to prevent silhouette effects. Wipe the glass weekly with a microfiber cloth and mild glass cleaner, and dust the LED strip’s edge vent monthly, accumulated lint causes the panel to overheat and dim prematurely.
Where to Start
Start by measuring your wall space and identifying the mirror’s primary job, task lighting, depth perception, or ambiance. That single decision narrows your options faster than any style preference.
Match your electrical situation to your chosen model. Hardwired mirrors demand professional installation (typically $150-$400), while plug-in and battery options work anywhere.
Commit to one mirror this weekend. Measure twice, choose your mounting height (eye level or slightly above), and order, your bathroom or hallway will feel transformed by Monday.
Frequently Asked Questions
What is the difference between a backlit LED mirror and an edge-lit LED mirror?
A backlit mirror places LEDs behind the glass, creating a soft, even halo around the entire perimeter. Edge-lit mirrors embed LEDs along the edges, producing a sharper, more directional glow that suits task lighting.
Can I install an LED mirror in a small bathroom, and what size should I choose?
Yes, you can. For a small bathroom, choose a mirror 18–24 inches wide for a single vanity, or 24–30 inches for a double. Keep at least 4 inches clearance from fixtures and ensure the mirror’s depth stays under 2 inches to avoid crowding.
How do I retrofit an existing mirror with LED lighting on a budget?
Use adhesive-backed LED strip lights rated for damp areas, placed along the mirror’s back edge. Plug into a nearby outlet with a dimmer switch. Expect to spend $30–$60 and 30 minutes; ensure the strip is UL-listed for bathroom humidity.
What color temperature LED mirror is best for makeup application and shaving?
Choose 5000K–6500K (cool white) for makeup and shaving, as it mimics daylight. Warmer 2700K–3000K flatters skin but distorts color accuracy. Look for a mirror with adjustable color temperature to switch between task and ambient lighting.