An open plan kitchen living room merges two distinct functional zones into one continuous space, and getting it right depends less on knocking down walls and more on how you define boundaries, manage circulation, and balance hardworking surfaces against relaxed seating. The six solutions that follow range from renter-friendly screens to full structural investments, each paired with the exact layout, material, and maintenance trade-offs you need to decide if it suits your home. No single blueprint fits every square meter, your choice hinges on traffic flow, cooking habits, and how much visual clutter you can tolerate.
Key takeaways
- Island-anchored layouts work best in rooms over 300 square feet, where a central island with seating defines cooking and lounging zones without blocking traffic flow.
- Flooring changes, like transitioning from tile in the kitchen to hardwood in the living area, visually separate zones while keeping a unified color palette, ideal for medium-sized rooms under 400 square feet.
- Pendant lights and dimmable track lighting over the kitchen and living areas respectively cost $200–$600 total and create distinct activity moods without any structural work.
- Repeating a single material, such as oak or matte black metal, across countertops, shelving, and coffee tables ties the open plan together for under $150 in DIY upgrades, and suits renters since all changes are removable.
The Island-Anchored Layout for Medium to Large Spaces
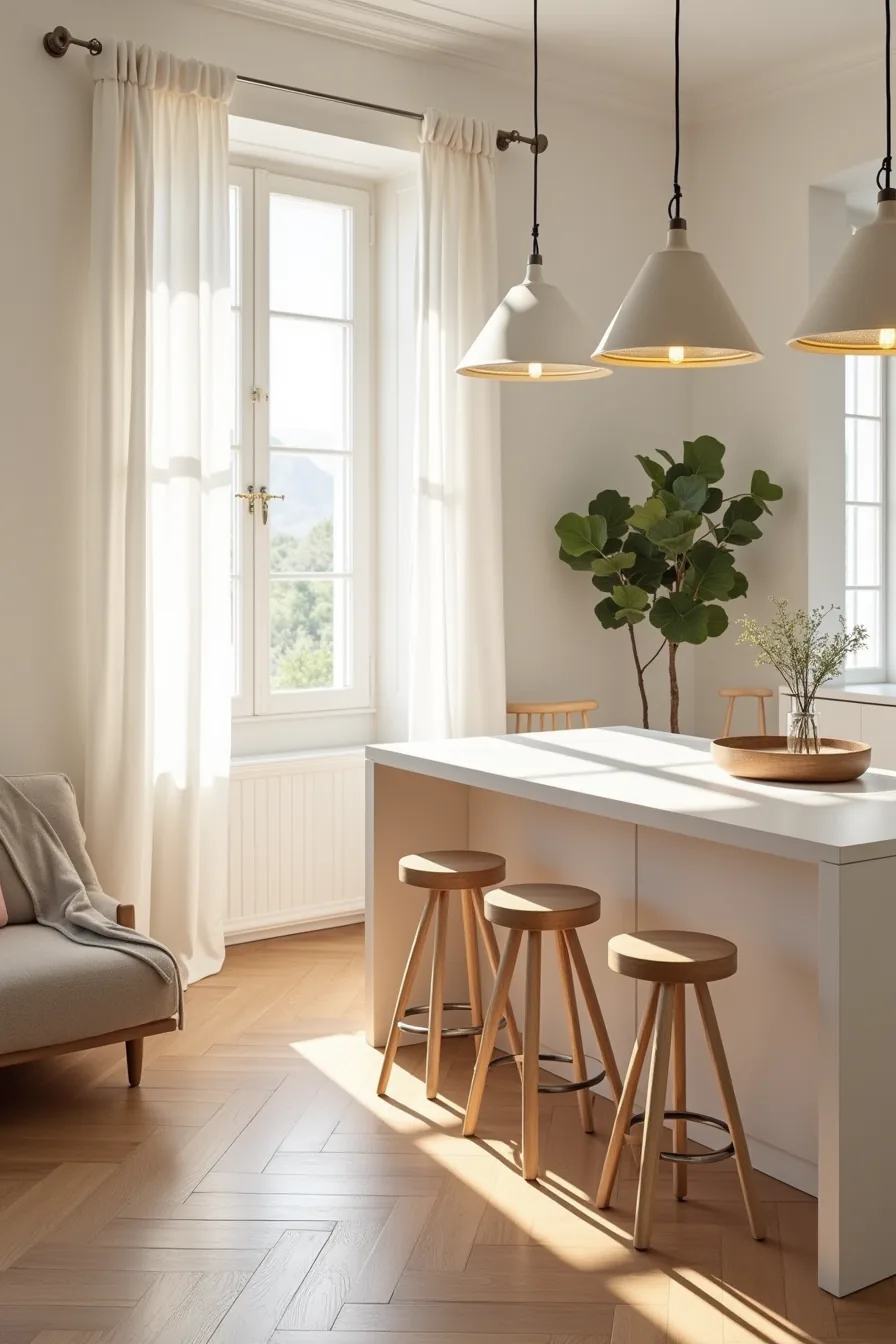
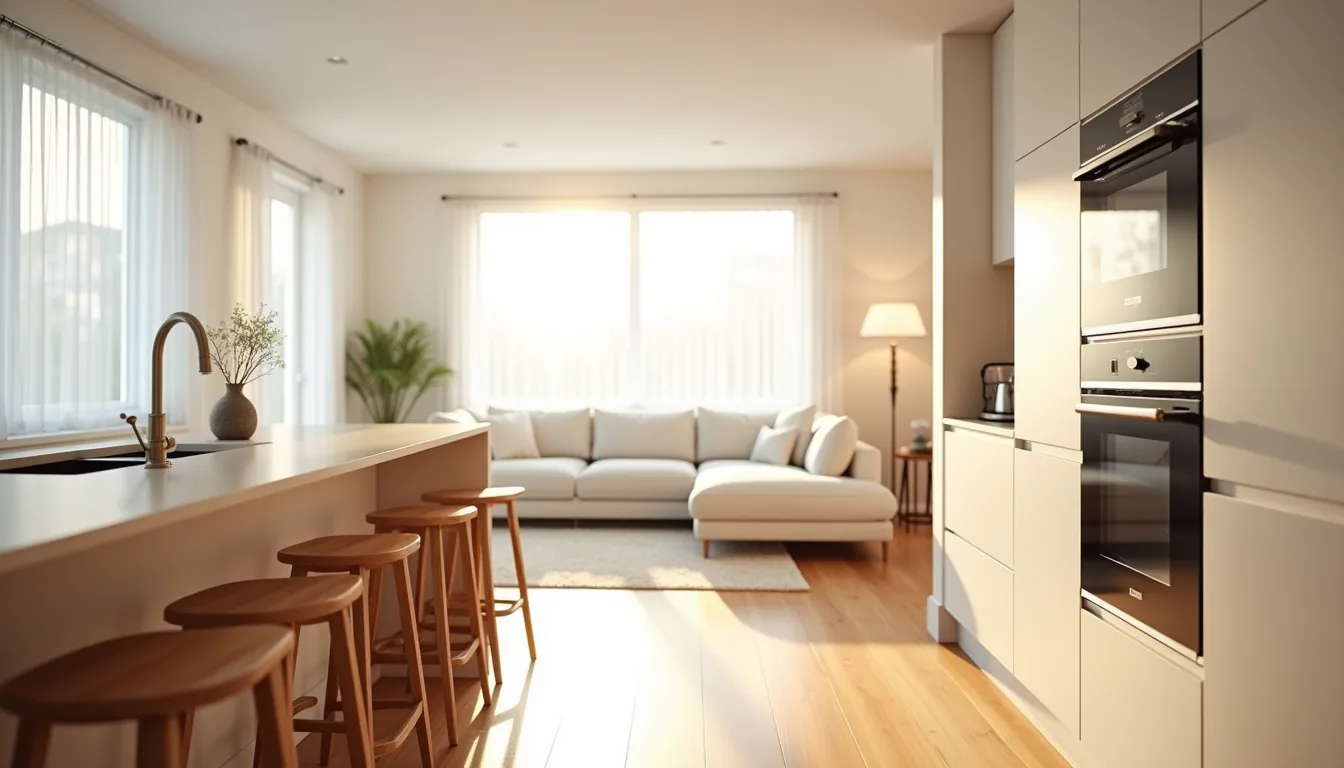
A central island anchors this open plan kitchen living room by giving the kitchen a physical edge while leaving sightlines to the sofa uninterrupted. The setup works best when you’ve 12–15 feet of clear depth from counter to living area, enough for the island, bar seating, and walkways behind seated guests. For active cooks who entertain often, this layout lets you prep and chat simultaneously without turning your back on the room.
The island’s overhang extends roughly 15–18 inches past the base cabinets to accommodate three bar stools, with pendant lights hung 30–36 inches above the countertop to define the eating zone without blocking sightlines. Keep at least 36–42 inches of open floor space on all sides of the island; anything less forces people to squeeze past each other mid-conversation. This layout suits medium-to-large rooms with a rectangular footprint, but it fails in narrow spaces where the island becomes a traffic obstacle rather than a gathering point.
Expect to invest more here than in other open plan configurations, the island itself, plus the deeper countertop and stool seating, add 20–40% to a standard kitchen remodel.
Same Palette, Different Zones Through Flooring
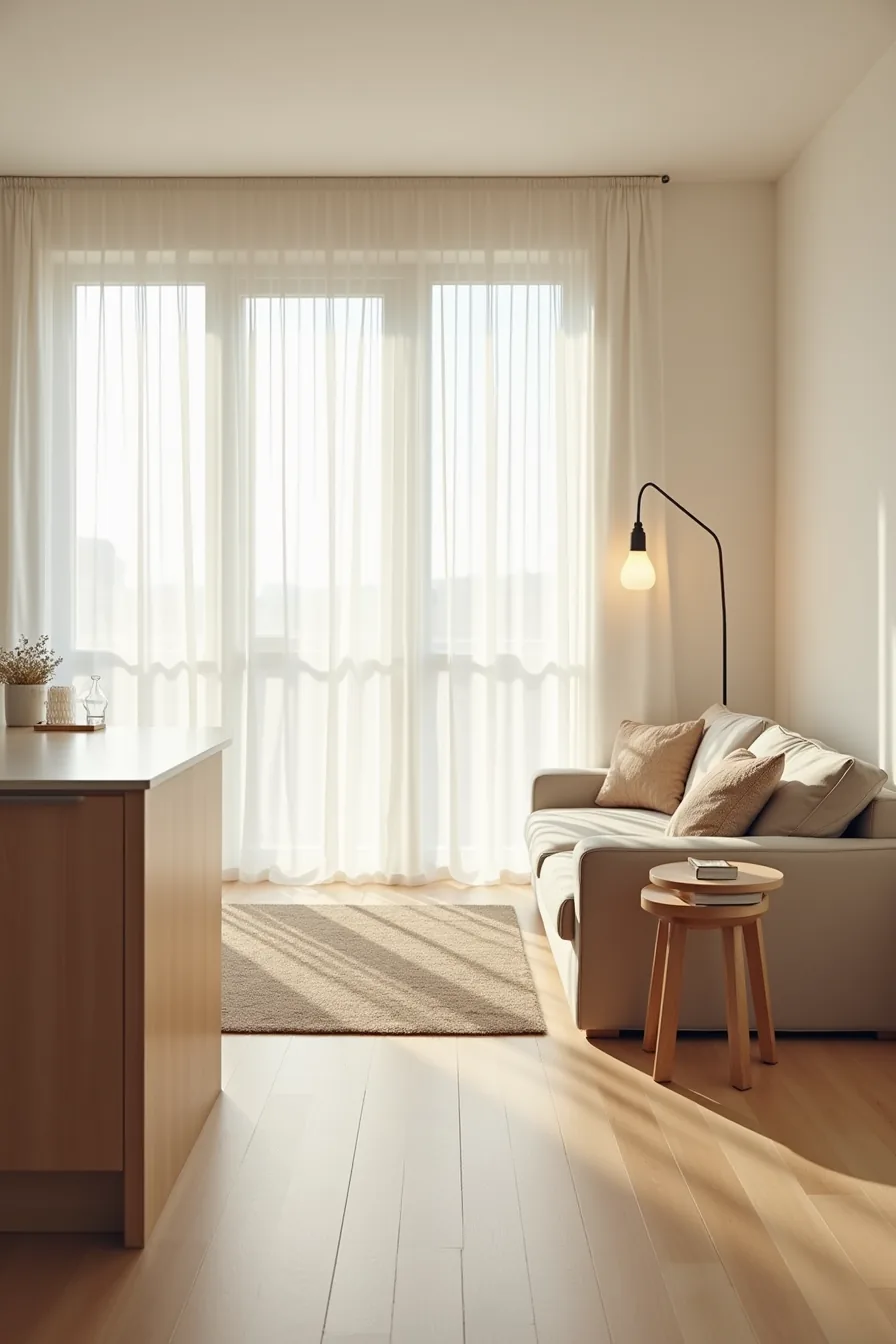
Run one tile from the kitchen into the living area and you get visual continuity, but you lose the subtle cue that tells your brain the cooking zone has ended. The opposite extreme, contrasting materials slammed together at a hard line, can make a small room feel chopped in half. The middle ground is a shared color story: light tile in the kitchen zone meeting warm wood plank in the living zone, both in the same tan-to-oatmeal family, with a clean threshold line where they meet.
That single seam creates an intentional boundary without introducing a second palette that competes for attention.
The area rug anchored on the wood side pulls the seating cluster together and absorbs the acoustic echo that hard flooring leaves behind. This approach suits open plan kitchen living rooms where you want distinct zones but can’t afford a full partition, and it costs roughly 15–25% more than using one material throughout because you’re buying two floor products and paying for a transition strip. Maintenance is the trade-off: the tile side tolerates spills and mop-ups, while the wood side needs area rugs in high-traffic paths to prevent premature wear.
Lighting Transition to Separate Activities
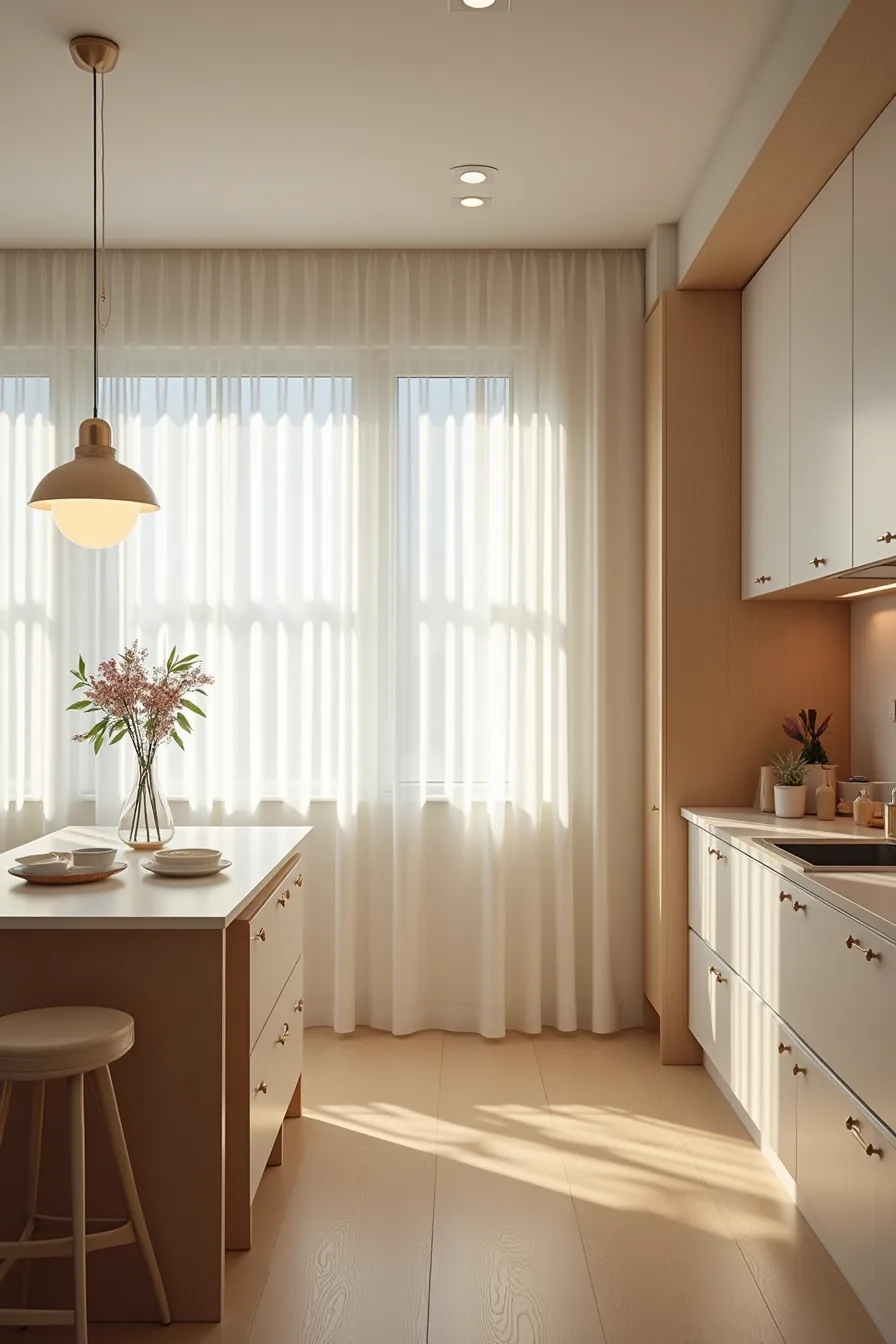
A single ceiling fixture bathing the entire open plan kitchen living room in uniform light leaves both zones feeling flat after dark. The solution is a lighting transition: three layers that shift in intensity and height as you move from counter to sofa. In a typical setup, recessed ceiling lights over the kitchen counter deliver bright, shadow-free task illumination for prep work, while a pendant fixture above the island drops the light lower to define the eating and gathering point.
In the living zone, a table lamp on a side table introduces a warm, low-level glow that signals relaxation.
This approach works because the eye reads the change in light levels as a change in purpose, without any physical divider. It suits anyone who cooks and entertains simultaneously, since you can dim the pendant and lamp while keeping the recessed lights functional. Budget-wise, you’re looking at roughly 8–12 fixtures total for a medium-sized space, typically costing $150–$400 per fixture installed, depending on quality.
The maintenance requirement is modest: clean recessed trims and pendant shades quarterly to prevent dust from dulling the light output.
Material Repetition Across Kitchen and Living Areas
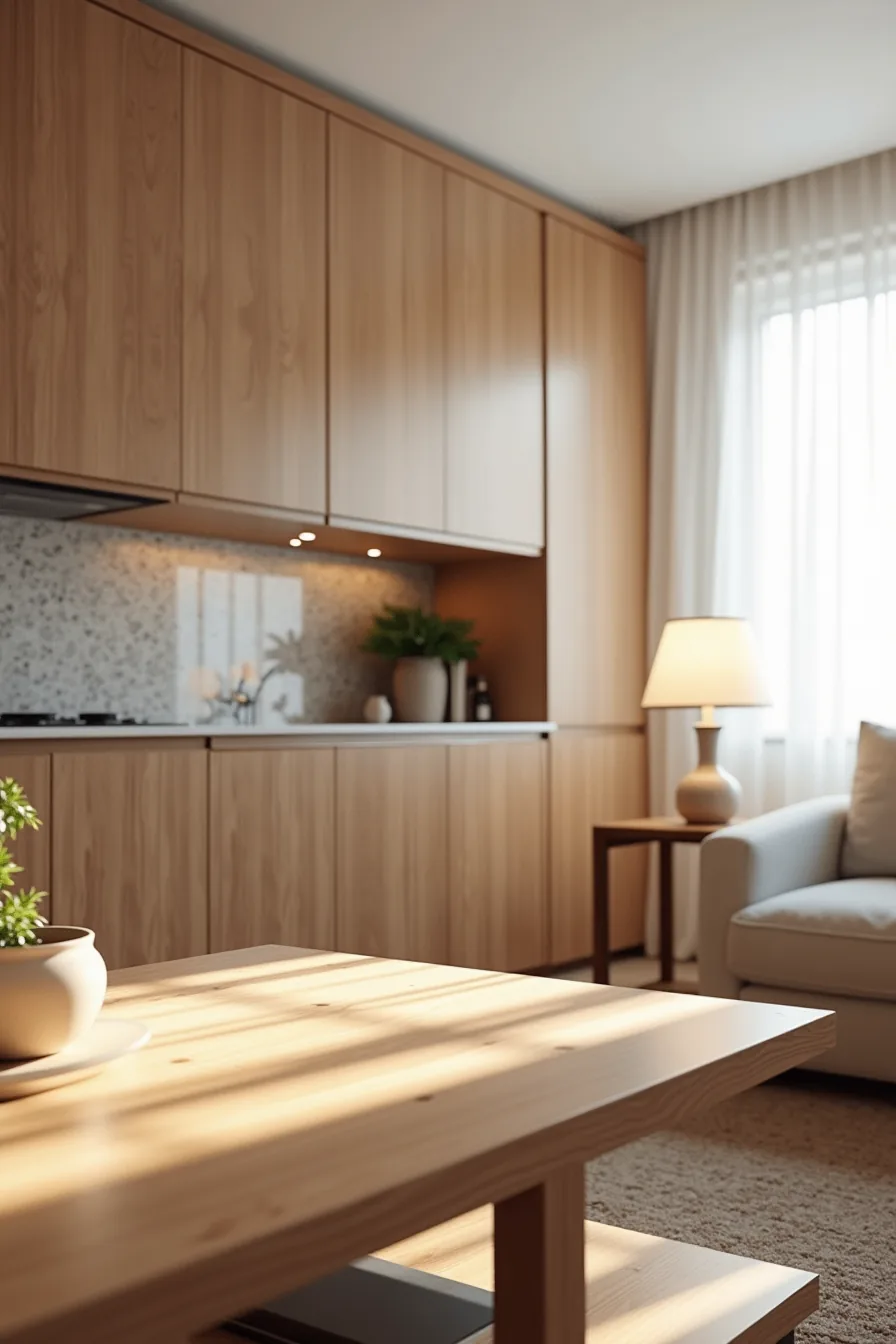
The quickest way to make an open plan kitchen living room feel intentional rather than accidental is to repeat three key materials across both zones. In a typical setup, walnut-stained cabinetry anchors the kitchen, and a matching wood coffee table in the foreground carries that same tone into the seating area. The stone backsplash behind the cooktop then reappears as the fireplace surround behind the sofa, creating a visual bracket that holds the entire space together.
Consistent metal hardware on cabinet pulls and light fixtures completes the loop, tying the two zones without a single wall.
This strategy works because the eye subconsciously connects matching textures and colors, registering the room as one cohesive design even when the furniture styles differ. It suits homeowners who prefer a curated, showroom-like finish and are willing to source materials across multiple purchases. Reproduction cost varies widely: walnut cabinetry runs $8,000–$20,000 installed, while matching wood furniture and stone veneer can add another $2,000–$5,000.
Maintenance is straightforward but non-negotiable, stone requires annual sealing, and wood needs periodic conditioning to prevent drying and color drift between the two zones.
Renter-Friendly Zoning Without Structural Changes
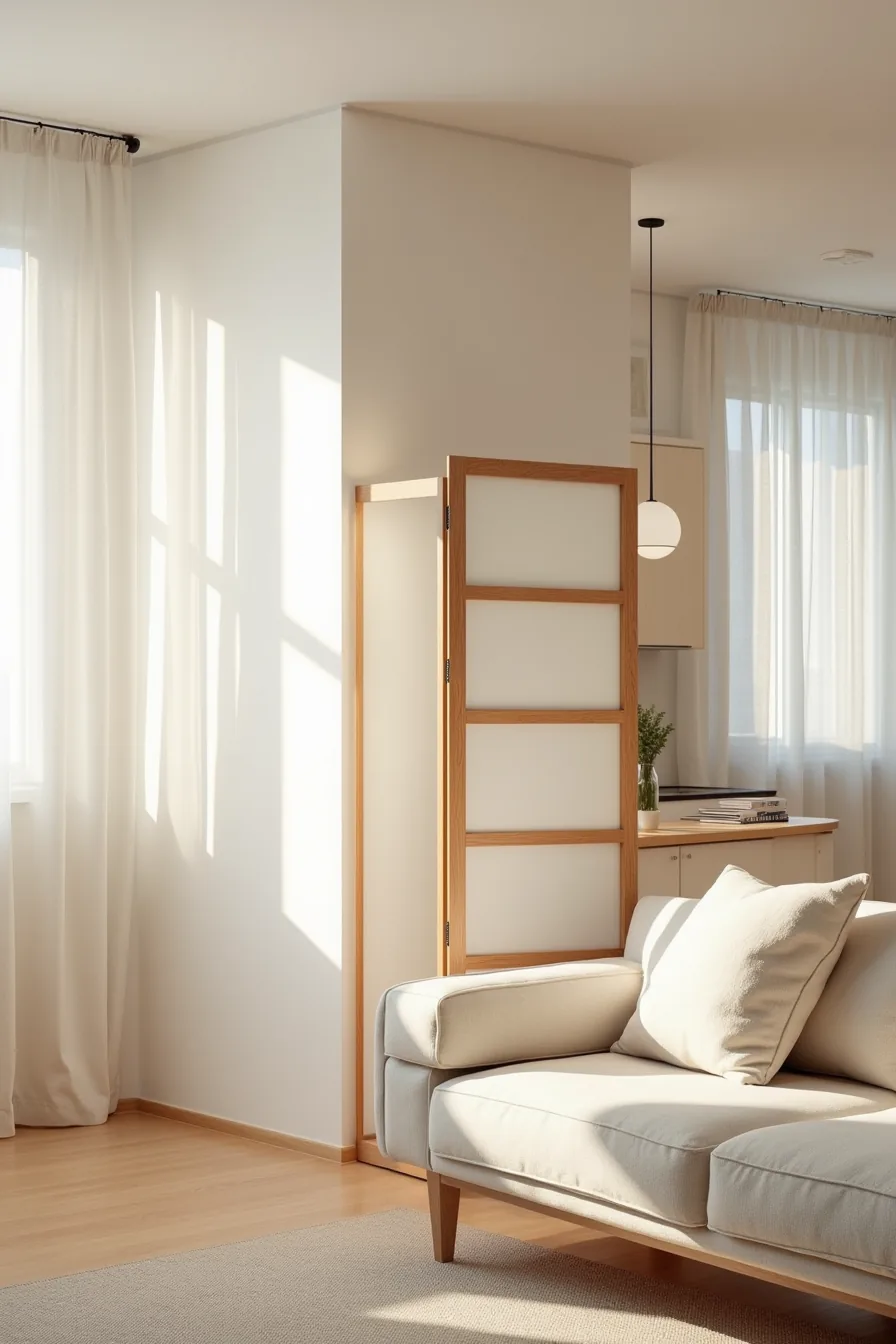
A freestanding folding screen divider, typically 70–80 inches tall, gives you instant visual separation between cooking and lounging without touching a wall. Position it between the kitchen cabinetry and the sofa, leaving a 36-inch walkway on each side so traffic flows naturally around it rather than through the conversation zone.
Anchor the seating area with a large area rug that extends at least 12 inches beyond the sofa’s front edge; this single element does more to define the living zone than any partition. Freestanding shelving units placed perpendicular to the kitchen run act as a lightweight visual buffer while doubling as storage for cookbooks or display pieces. Every element here can be rearranged in minutes and packed into a moving truck, ideal for renters who want the open plan kitchen living room experience without permanent commitment.
Open Plan Kitchen Living Rooms for Easy Hosting
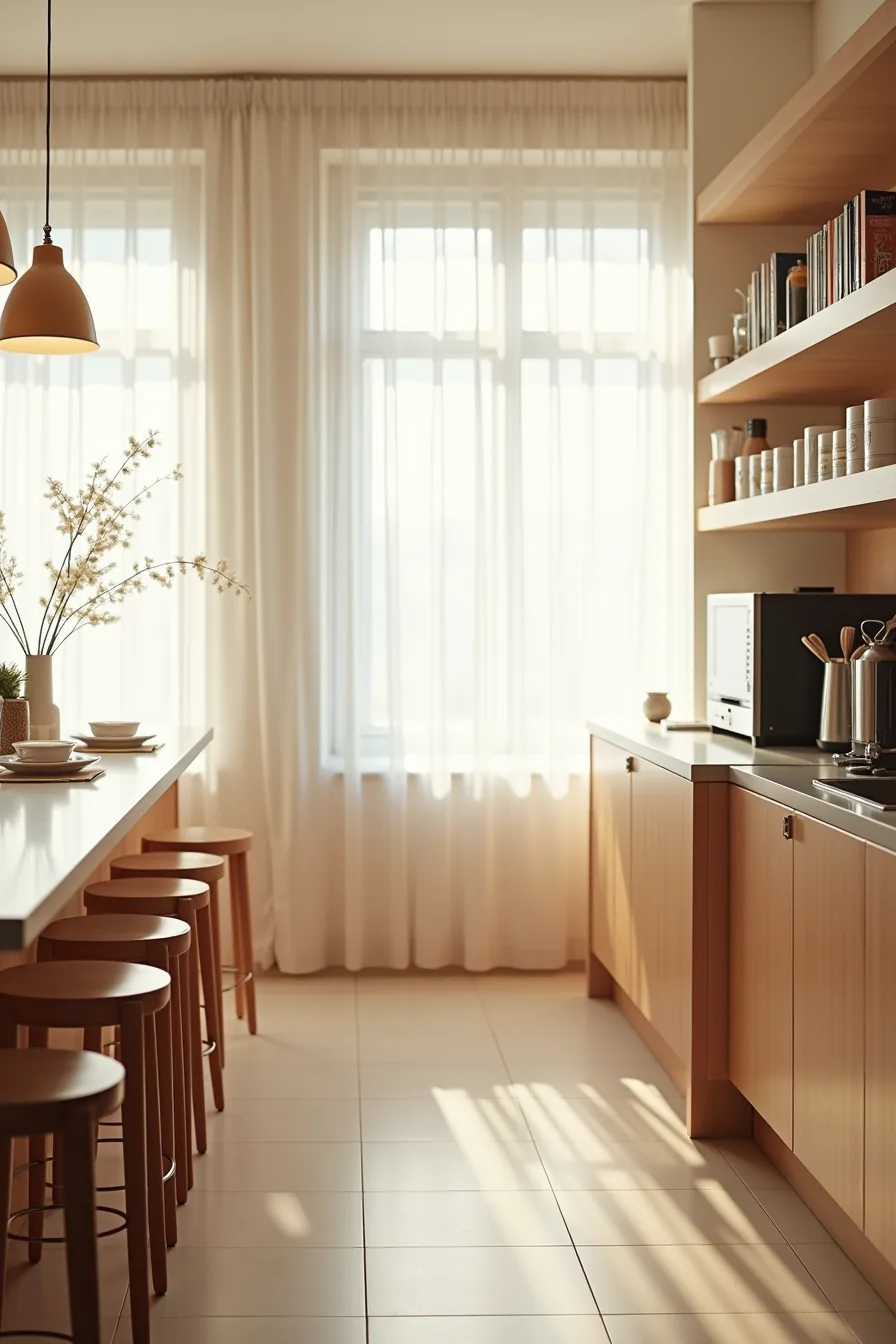
Successful hosting hinges on circulation, not just sightlines. Keep at least 42 inches between the prep counter and the seating area’s edge so guests can pass behind seated friends without forcing anyone to shuffle their chair forward. A prep counter with three stools works best when the counter overhang extends 15–18 inches beyond the cabinetry, enough knee room for comfort, not so much that the counter becomes a table and blocks your access to the sink.
Position the beverage station on the side counter closest to the living zone, not at the main cooking end. This keeps refill traffic away from your prep surface, cutting bottleneck risk by roughly half during peak mingling. A clear line from the prep counter to the seating area ensures you can hand off plates without walking around the island, but verify the route is unobstructed before guests arrive.
For larger gatherings, pull the stools away from the counter entirely and treat them as auxiliary seating near the sofa, freeing the full counter edge as a buffet landing zone.
Your Next Step: Measure, List, and Commit
Before you buy anything, measure your space and map the traffic flow. Sketch where people walk most, through doorways, between the sofa and island, from stove to sink, and keep those paths clear of furniture. You now have six routes to an open plan kitchen living room that works for your budget, lifestyle, and square footage.
Pick the one that matches your space and your tolerance for renovation. Commit to it, then start with the single change that improves your daily flow the most.
Frequently Asked Questions
What is the minimum square footage needed for a functional open plan kitchen living room?
A combined space of roughly 300–400 square feet works for most households. Below that, zones blur and circulation suffers. Measure your island clearance, you need at least 36 inches on all sides.
How do you prevent cooking smells from spreading through an open plan kitchen living room?
Install a range hood vented outdoors with at least 400 CFM airflow. Recirculating hoods trap grease but recycle odors. Add a window or cross-ventilation fan near the cooking zone for backup.
Can you add a partial wall or peninsula to an open plan kitchen living room without losing the open feel?
Yes, keep the wall below eye level, typically 42–48 inches high, and extend it only halfway across the space. A peninsula preserves sightlines and adds seating or storage without blocking light or conversation.
What flooring works best for an open plan kitchen living room that gets heavy foot traffic?
Porcelain tile or luxury vinyl plank rated for commercial use handles spills and scratches best. Choose a matte finish for slip resistance. Add area rugs in the living zone to soften sound and define the seating area.