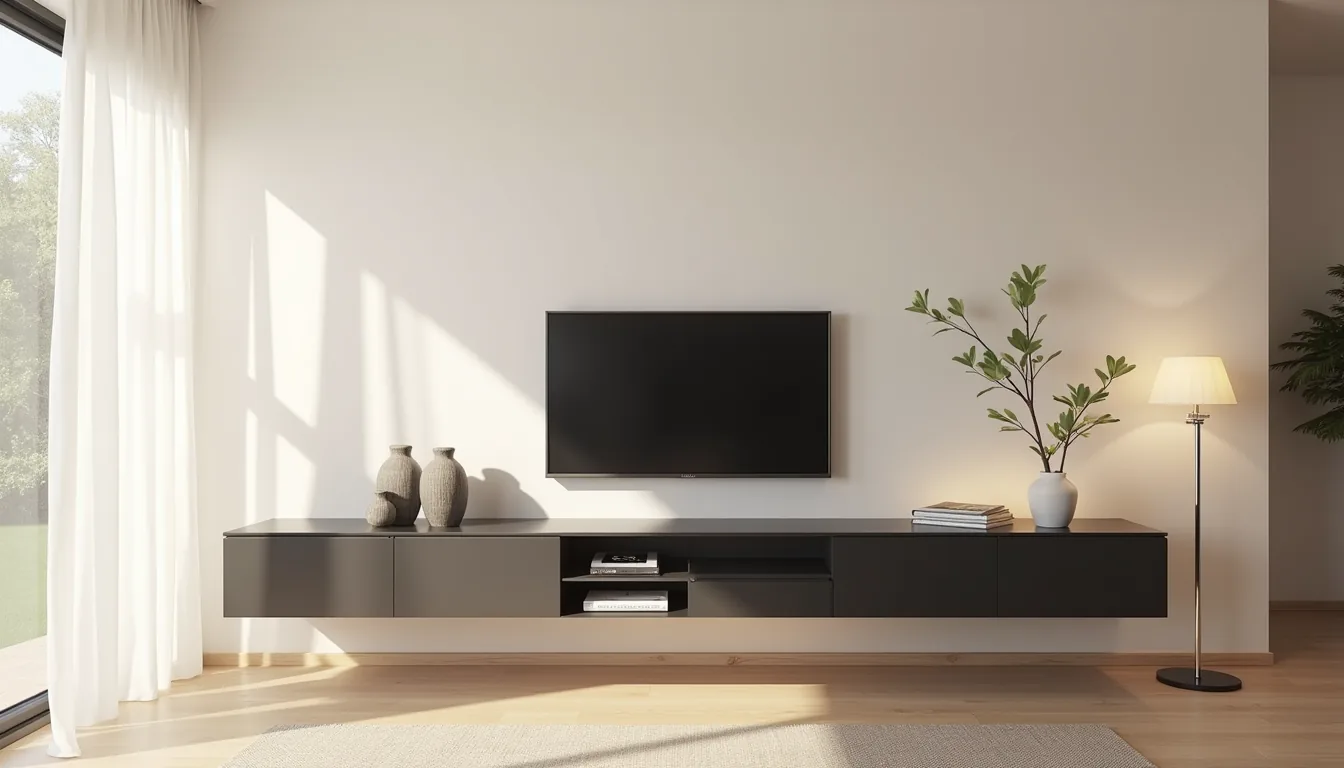

Your TV unit is the one piece of furniture that anchors the entire living room, and in a modern space, it needs to do more than just hold the screen, it has to manage cables, house media components, and visually balance the wall without overwhelming the room. A modern approach is less about a specific style and more about how the unit handles hidden storage, floating mass, and open shelving proportions. The right solution depends entirely on your wall width, viewing distance, and whether you rent or own.
Below are six distinct routes that solve real layout problems, with the scale, material, and budget trade-offs each one demands.
Key takeaways
- Floating consoles suit renters best because they mount to studs with minimal wall damage, but confirm your wall is drywall or plaster before drilling.
- Full-wall built-ins are a long-term investment that adds storage and hides cables, yet they cost two to three times more than a freestanding unit and require professional installation.
- Scale your TV unit to the screen size: for a 55-inch TV, choose a console at least 55–60 inches wide, and leave 6–8 inches of clearance on each side for balance.
- Match the unit’s visual weight to your room’s style, glossy white or light oak blends in for small spaces, while matte black or walnut stands out as a focal point in larger rooms.
Floating Console: The Renter-Friendly Route
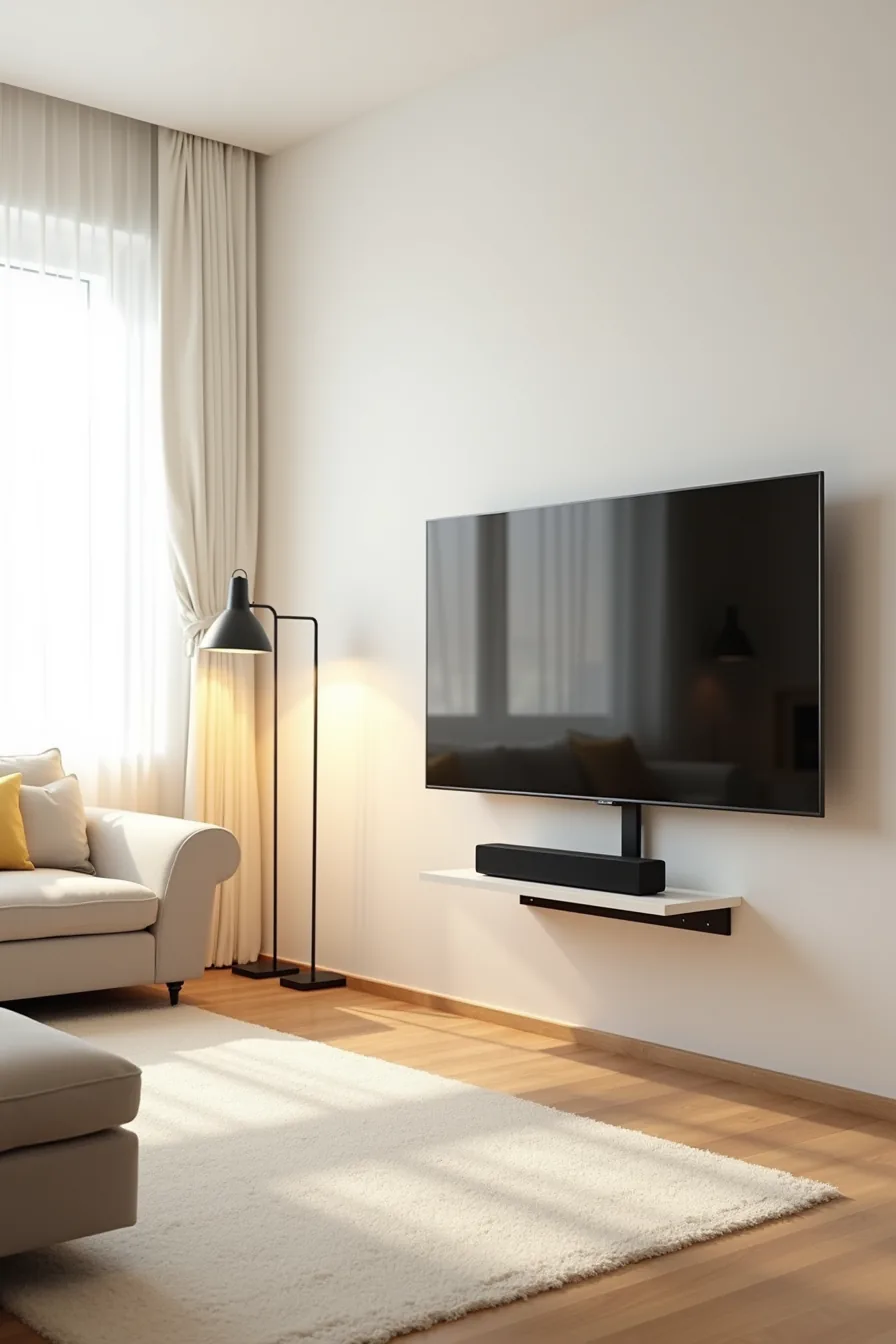
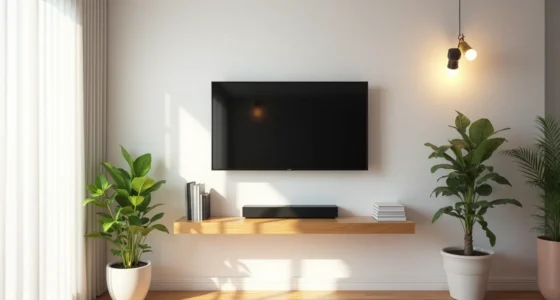
A floating console does the job without a single hole in your wall. The steel bracket system mounts to the structure behind your drywall and holds the TV securely, while the frame carries a single floating shelf for your soundbar. Position the screen roughly 20 inches above the carpet so sightlines stay comfortable from a standard sofa.
This setup suits apartments and temporary homes because you can remove the bracket, patch two small points, and restore the wall completely.
You lose storage compared to a full wall vs console approach, so you need a separate media cabinet or shelving nearby for devices and decor. The exposed steel reads as intentionally industrial rather than unfinished, which suits smaller rooms by keeping visual weight off the floor. Reconfiguration takes minutes: unscrew the shelf, adjust the bracket height, or move the entire unit to a new wall.
Expect to pay a modest amount for the bracket and shelf, but you save on carpenter fees and leave no permanent commitment behind.
Full-Wall Built-In: The Long-Term Investment
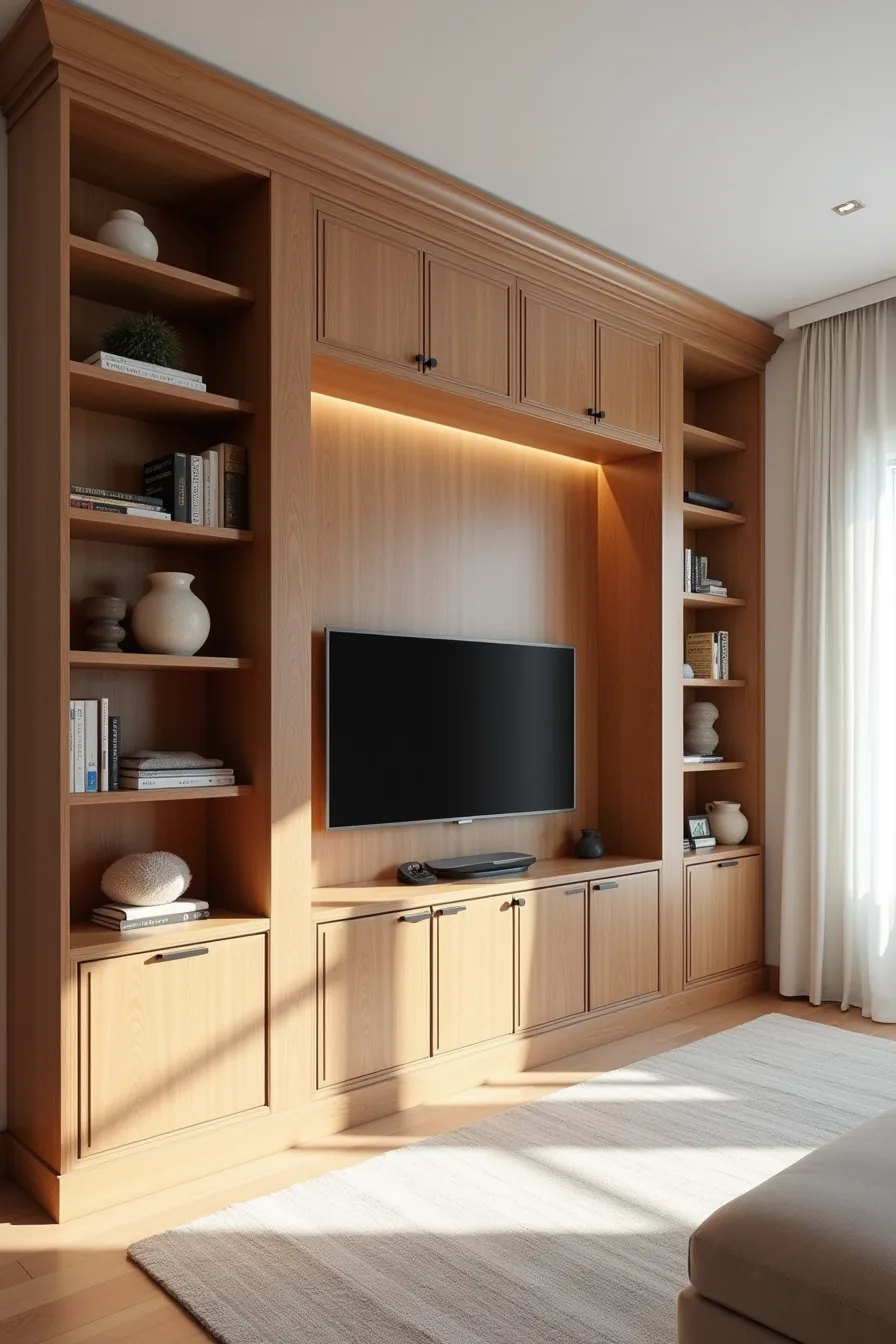
A floor-to-ceiling built-in transforms your TV wall into the room’s architectural anchor. The walnut veneer cabinetry running 12 feet across creates a continuous line from baseboard to ceiling trim, with the television recessed into a central niche at 48 inches high. Upper shelves display decorative objects while closed lower cabinets hide cables, game consoles, and everyday clutter behind flush doors.
This approach suits homeowners planning to stay five years or more, because the investment pays off through daily usability rather than resale novelty. Professional installation involves scribing the cabinetry to your specific wall and ceiling irregularities, which is why the result looks smooth where a freestanding unit would show gaps. You sacrifice flexibility entirely, reconfiguring this setup means demolition, so your room layout and TV position must be final before you commit.
Expect the project to cost several times more than a quality console, but the storage capacity is unmatched and the full wall vs console trade-off becomes obvious: you gain integrated lighting, dedicated media drawers, and zero floor footprint in exchange for permanence.
Blend In or Stand Out: Choosing Your Visual Strategy
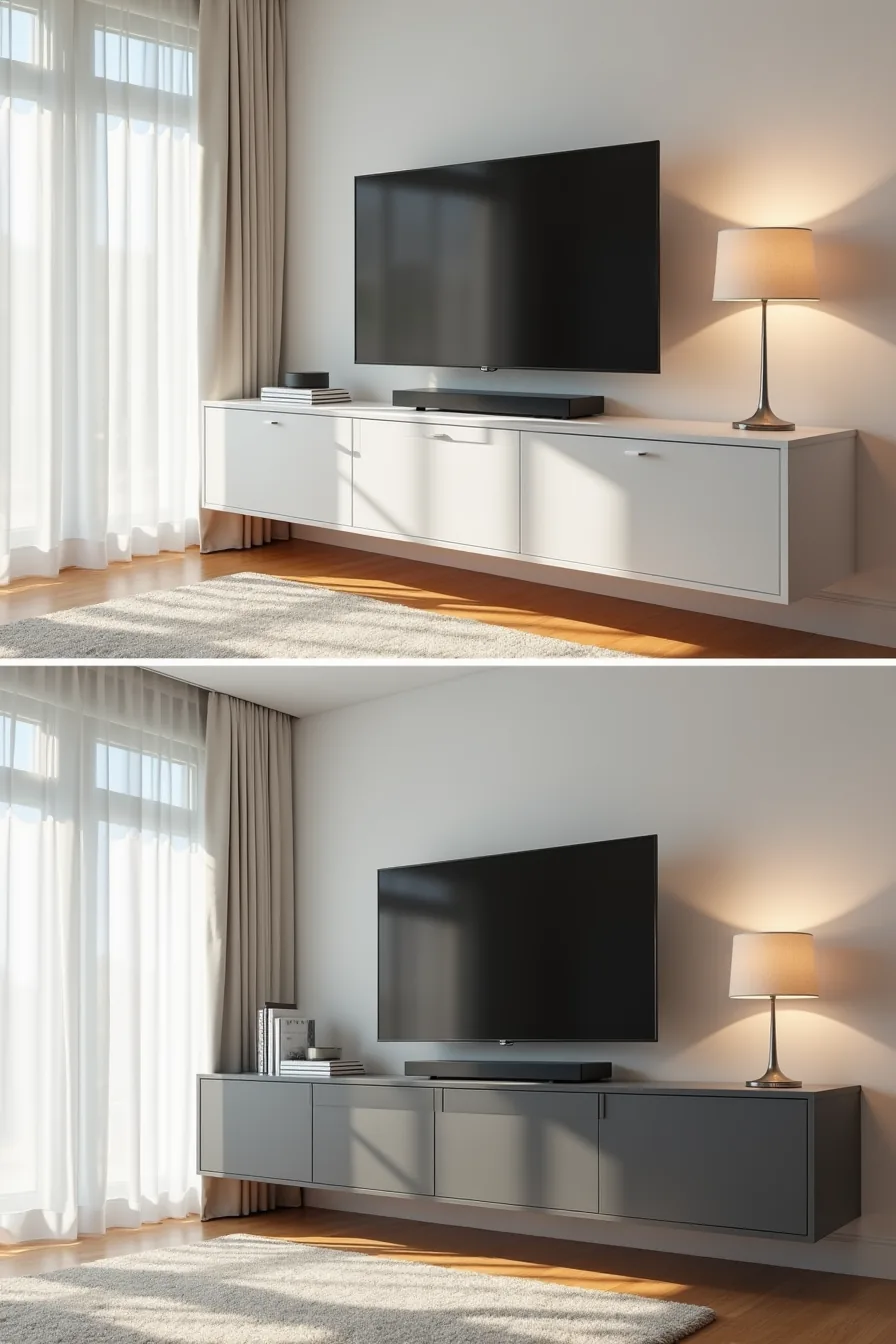
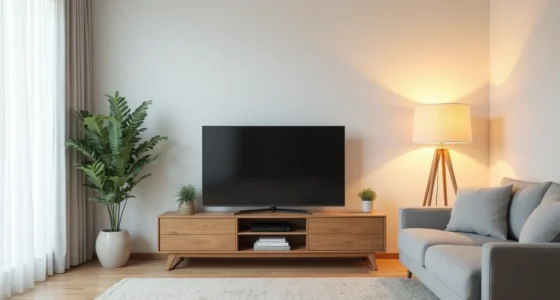
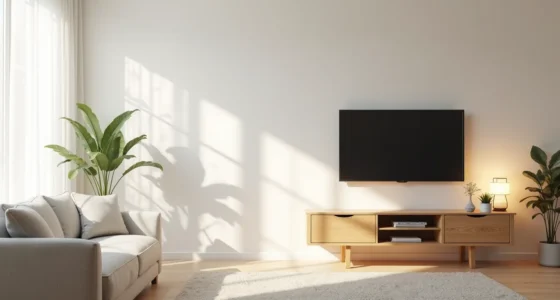
The same television and console height produce completely different rooms depending on whether you match the wall or break from it. A matte white unit on white walls and trim recedes visually, letting art, furniture, and natural light carry the space, ideal for open-plan layouts where the TV shares sightlines with the dining area. This recessive approach also forgives a messier setup, since shadows mask minor clutter and the screen itself becomes the only dark object on the wall.
A charcoal-gray lacquered unit holding the identical TV creates the opposite effect: the wall becomes a deliberate focal point, anchoring the seating arrangement with weight and depth. Choose this route when your room lacks architectural interest such as a fireplace or large window, or when you want to define a dedicated media zone within a larger space. Keep in mind that high-gloss lacquer demands regular dusting and shows fingerprints, so weigh the drama against your tolerance for upkeep.
Match the trim for calm, or commit to contrast for presence, there’s no neutral middle that serves either purpose well.
Scaling TV Units to Your Room Size
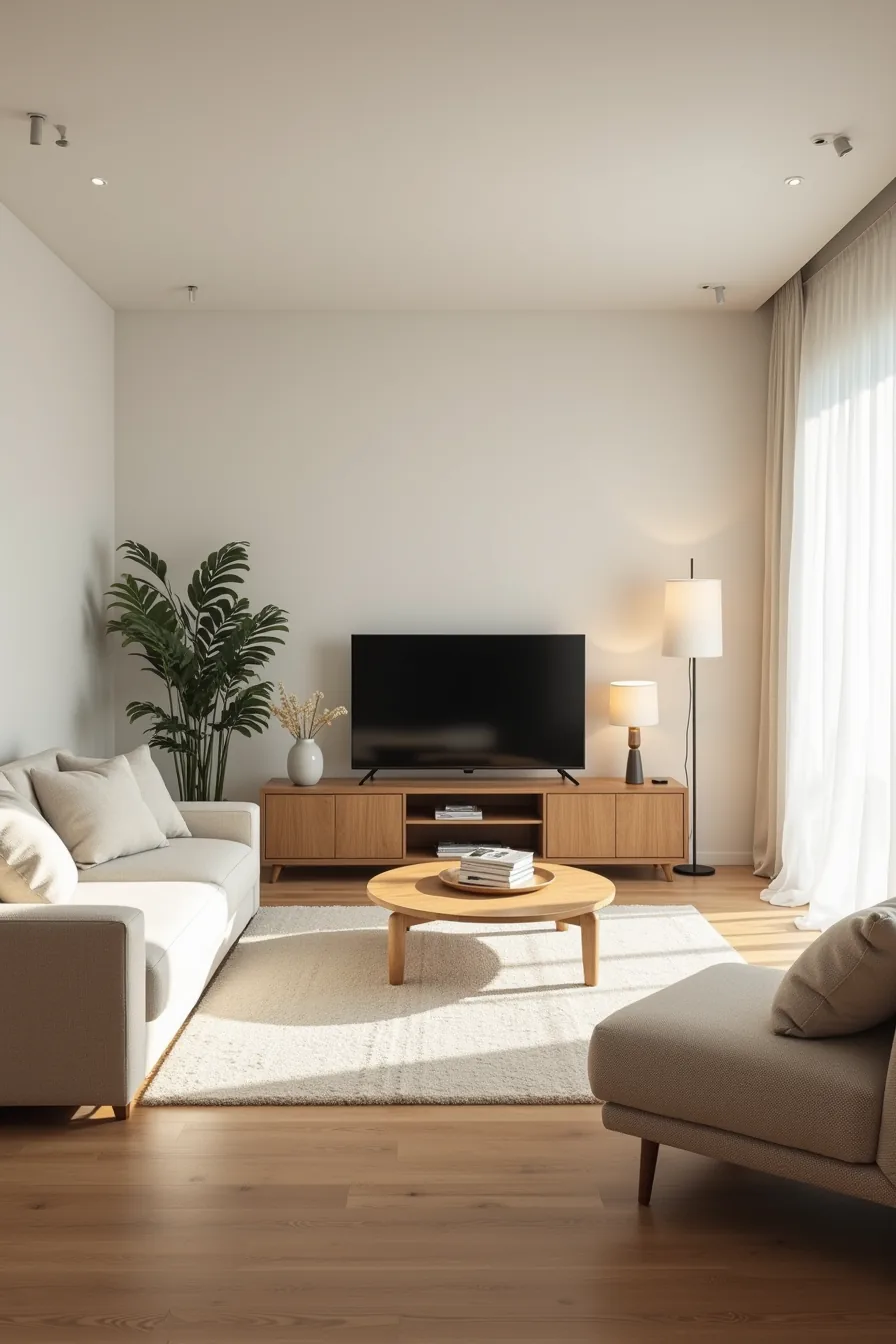
The television and console should grow with the room, not with your wish list. In a compact living room under 150 square feet, a 32-inch TV on a 24-inch-wide console keeps the wall from feeling crowded, the narrow footprint leaves floor space for seating, and the smaller screen suits a viewing distance of 5 to 7 feet. This scale works best in apartments or secondary lounges where the TV competes with other functions.
A medium living room between 150 and 250 square feet demands more presence: a 55-inch TV paired with a 48-inch wide unit balances the wall without overwhelming it. Seat your primary viewing position 8 to 10 feet back, and let the console span roughly two-thirds of the TV’s width for proportional stability. In large rooms exceeding 250 square feet, commit to a 65-inch screen set within a 72-inch built-in, anything smaller reads like a postage stamp against generous proportions.
This arrangement suits open-plan spaces where the TV must hold its own against tall ceilings and expansive sightlines. Modern living room scale always starts with the room’s footprint, then the screen, then the furniture around it.
Material Choices and Maintenance Reality
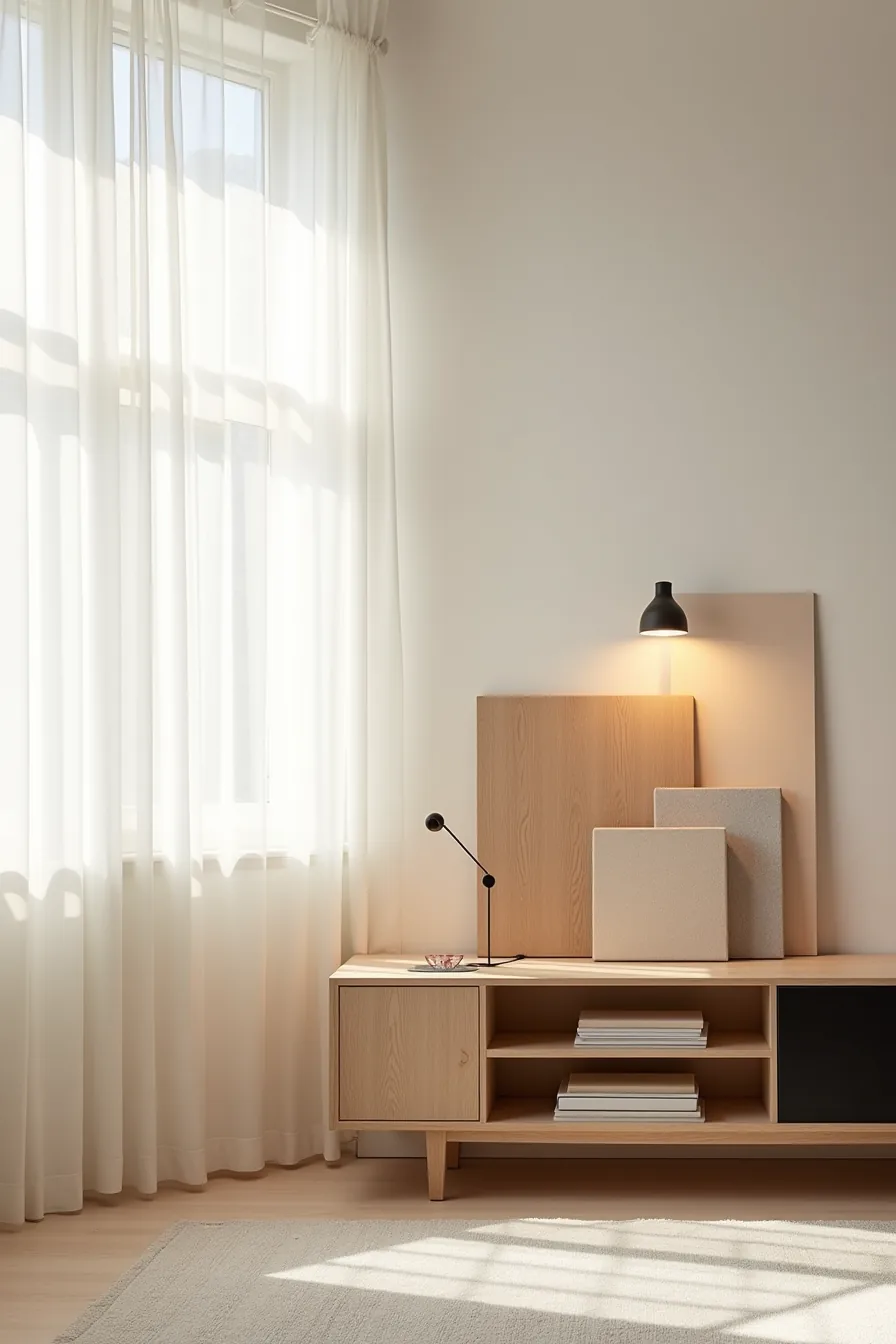
The four finishes you see in front of you define how much weekly effort a TV unit will demand. Solid oak with visible grain is the long-term play: it hides minor dents, ages with character, and takes decades of use without structural failure, but it requires occasional oiling every 12 to 18 months to prevent drying and cracking in heated rooms. Light wood veneer splits the difference, it gives you the timber look for roughly half the cost of solid wood, yet a 1/16-inch veneer layer scratches permanently, so budget for coasters and dusting with a dry microfiber cloth only.
Matte black lacquered MDF suits households that prioritize a smooth, furniture-like finish. The lacquer resists moisture and fingerprints, but it chips along edges if you slide equipment across it, and touch-up paint rarely matches exactly after fading. Sealed raw concrete delivers an industrial statement that never goes out of style, though the sealant needs reapplication every two to three years; skip it if you live in a high-humidity climate where moisture can creep beneath the finish and cause efflorescence.
Your choice is less about appearance and more about how much repair tolerance you actually have.
Refresh a Modern Living Room With Cleaner TV Units
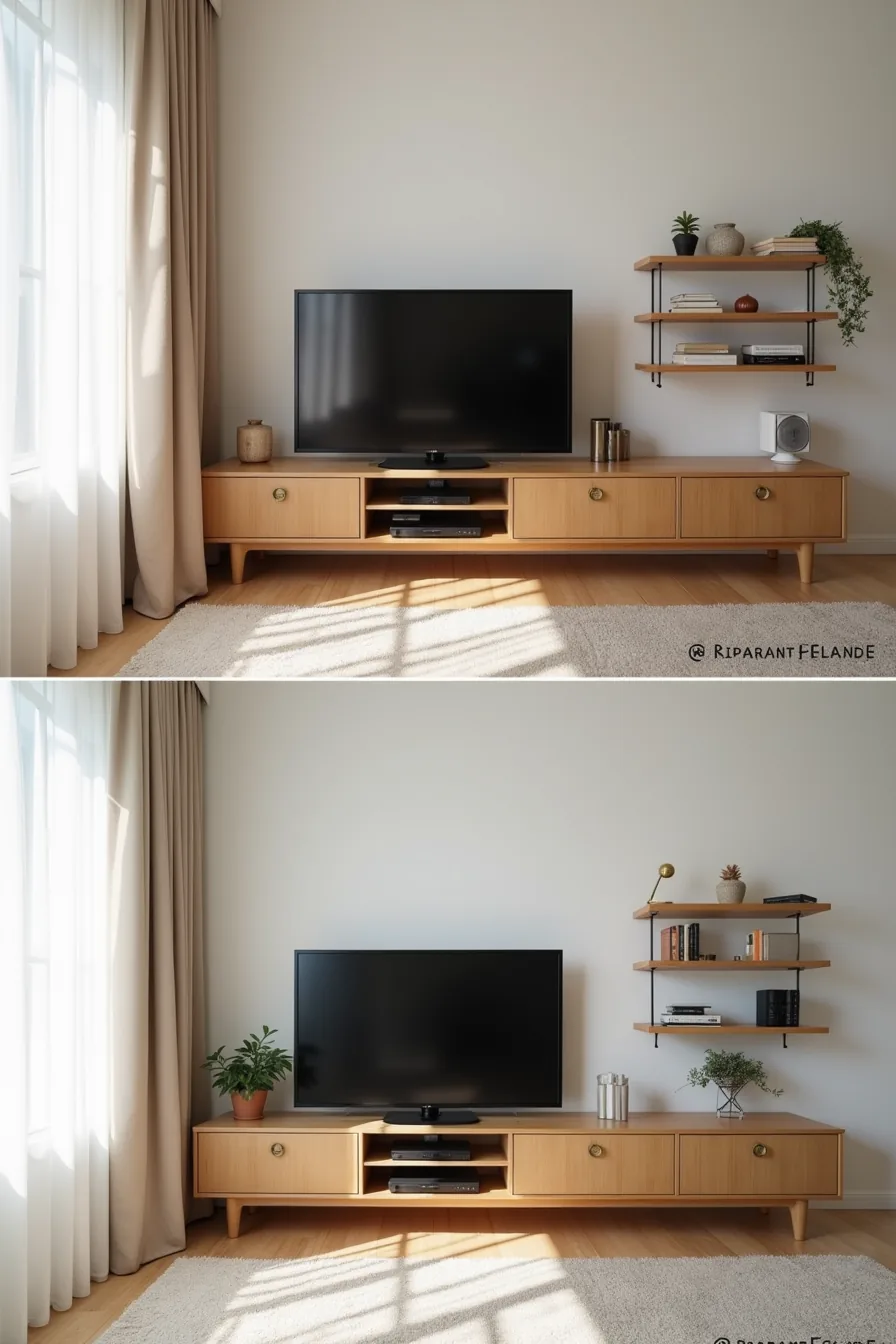
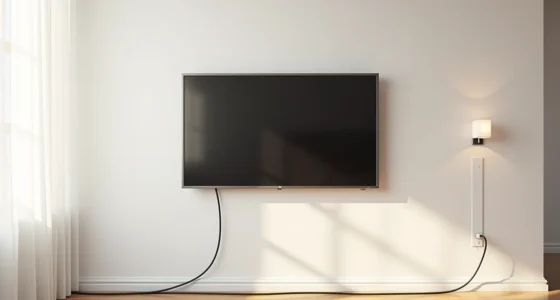
If your current setup looks dated, you don’t need a new piece of furniture, you need a re-styling pass. Reposition the unit so it sits flush against the wall, then route every cable through a stick-on matte black conduit that runs down the back leg and along the baseboard. This one swap, costing roughly $15 to $25, eliminates the visual noise that makes an otherwise fine unit read as cluttered.
Clear the shelves down to three objects per shelf: one functional item (a console, a soundbar), one personal piece (a ceramic vase, a stack of books), and one green element. Mismatched accessories and exposed wiring are what age a space, not the wood grain itself. For renters, skip the conduit adhesive; use a cable sleeve that threads through the unit’s existing grommet holes.
The before-and-after difference comes from restraint, not replacement, you keep the unit, change the styling, and the room reads as intentionally modern within an afternoon.
What to do first
Start by measuring your wall and seating distance before browsing anything. A TV unit should be roughly two-thirds the width of your TV wall for balance, while the screen center should sit at eye level when seated.
Choose your route: a floating shelf for under $150, a closed credenza for $400-800, or a custom built-in for $1,500-plus. Match the style you can maintain, not just admire.
Write down your room’s dimensions, identify your furniture anchor point, and search for units that fit those numbers first. That single measurement session will save you hours of scrolling and prevent a return trip to the store.
Frequently Asked Questions
What’s the difference between a floating TV console and a full-wall built-in?
A floating console is a compact, wall-mounted shelf unit that leaves floor space open, ideal for small rooms. A full-wall built-in is a permanent, floor-to-ceiling structure with cabinetry, which suits large spaces but requires bigger investment and planning.
How do I know if my TV unit should match my wall color or contrast with it?
Match your wall color to visually minimize the unit and draw attention to the screen, perfect for clutter-free, minimalist spaces. Choose a contrasting finish (walnut, black, or brass) when you want the unit to act as a focal point or anchor a neutral, oversized wall.
Can I install a modern TV unit in a rental apartment?
Yes, if you stick to freestanding consoles, ladder shelves, or wall-mounted units using removable adhesive strips or tension rods. Avoid drilling into plaster or load-bearing walls unless you’ve landlord permission, most renters prefer clip-on cable management and lightweight MDF units under 20 kg.
What’s the right TV unit depth for a small living room?
Aim for 14–18 inches (fetch ranges 35–45 cm), which keeps cables hidden yet leaves 24–36 inches of walkway clearance. Deeper consoles (20+ inches) eat valuable floor space; shallower 10–12 inch units force you to mount the TV separately, so match your TV’s thickness for a smooth fit.