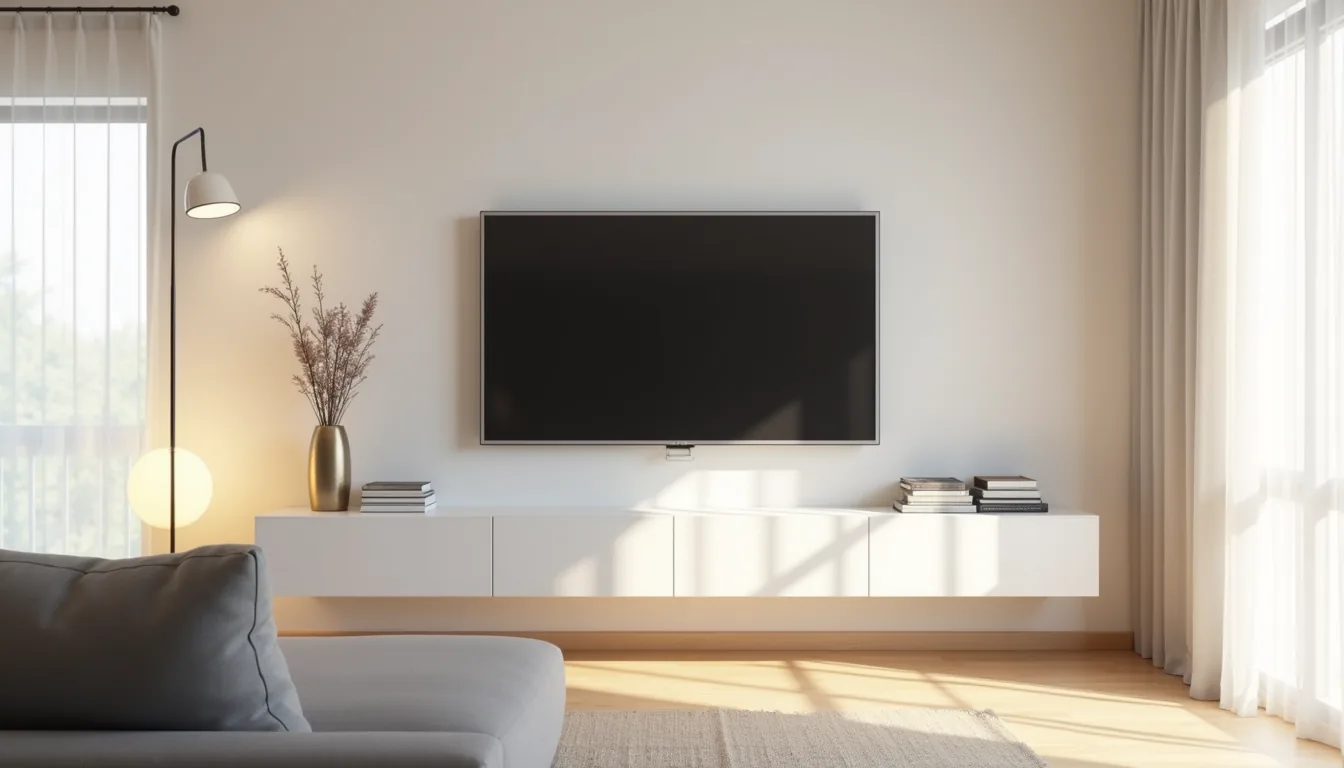

A floating TV unit is a wall-mounted media console that frees your floor space, and choosing the right one comes down to balancing your room’s dimensions, your viewing habits, and your tolerance for cable management. Because the term covers everything from a slim oak shelf to a full built-in cabinet, the practical differences are substantial. The following six approaches clarify what each style demands in terms of installation, storage, and budget, so you can match the concept to your actual living situation.
Key takeaways
- Floating TV units work best when the bottom edge sits 12–18 inches above the floor, aligning with your seated eye line for comfortable viewing.
- Wall-mounted box units conceal clutter and suit small rooms, but require solid studs or reinforced drywall to support the weight of a TV and media gear.
- Open shelving floating designs keep the room feeling airy but demand frequent dusting and careful cable routing; they fit minimalist, low-traffic living spaces best.
- Drawer-front floating units offer hidden storage and a clean facade, yet cost 20–30% more than open-shelf equivalents and need soft-close hardware to avoid slamming over time.
Wall-Mounted Box with Closed Storage

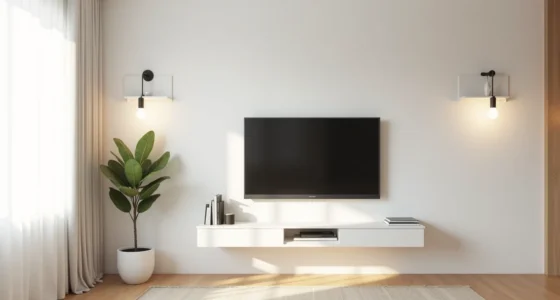
A wall-mounted box with solid door fronts is the most literal interpretation of a floating TV unit: a sealed cabinet that hides every cable, console, and remote. The matte black finish on a white wall creates a deliberate contrast that anchors the room without competing with the artwork beside it. This setup suits living rooms where you want a finished, architectural look rather than a display shelf.
Closed storage demands a trade-off: you lose the visual warmth of open shelving, but you gain the ability to stow everything behind flush doors. You’ll need to mount directly into wall studs or use heavy-duty toggle anchors rated for the cabinet’s weight plus your electronics, typically 50–100 pounds. For drawer vs door fronts, doors are the better choice here because they conceal taller items like soundbars and game consoles without requiring precise interior clearance.
Budget-minded builds achieve this with painted MDF and soft-close hinges; the matte finish hides fingerprints, though it will show dust more readily than a satin sheen.
Open Shelving Floating Unit

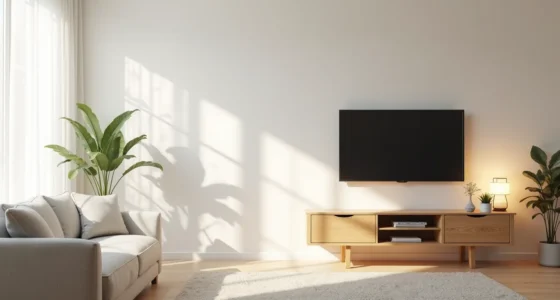
Open shelving turns your floating TV unit into a deliberate display moment. The natural oak planks here support the television at eye level while leaving the wall behind them visible, which keeps a compact living room from feeling boxed in. The potted plant adds organic contrast to the electronics, and the vinyl records lean against the uprights in a way that signals mid-century taste without requiring a single custom cabinet.
This interpretation suits renters because it relies on 4–6 individual shelf brackets rather than one massive cabinet. You can mount each bracket into studs independently, and removal leaves only small holes to patch. The trade-off is cable visibility: you’ll need cord clips or a raceway running vertically behind the shelves, because nothing hides the wires otherwise.
Open fronts also demand disciplined styling, dust settles on every surface, and clutter reads instantly. If you prefer a minimalist aesthetic with curated objects rather than storage for the sake of storage, this is your route.
Floating Unit with Drawer Fronts

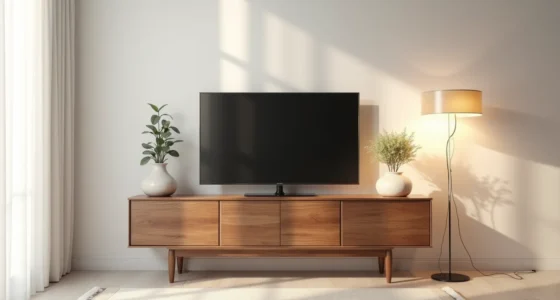
Adding pull-out drawers beneath the screen gives you the best of both worlds: concealed storage for controllers, cables, and media, paired with open display space above for decor. The walnut finish in this setup warms the wall without dominating it, which suits transitional interiors where you’re blending modern lines with traditional textures. Drawer fronts keep everyday clutter out of sight, so the unit reads as furniture rather than a wire-management problem.
The trade-off is that drawer boxes require more hardware depth than a simple shelf, typically extending 16–20 inches from the wall. That makes this option less ideal for tight hallways or narrow rooms where clearance is under 36 inches. For renters, look for a unit with a French cleat or removable mounting brackets so you can take the entire piece with you and patch only four screw holes.
When comparing drawer vs door fronts, drawers win for low-level access, you never have to kneel and reach into a dark cavity, but doors hide taller items like soundbars or game consoles that drawers can’t accommodate.
How High Should It Float?

The center of your TV screen should sit at eye level when you’re seated, which for most adults means 48–60 inches from the floor. In a room with seating positioned 8–10 feet away, this places the bottom edge of a 55-inch TV roughly 40–48 inches off the ground, leaving room for a floating unit beneath. Mark the center point on the wall first, then work downward to size the cabinet against that fixed reference.
Wall construction determines what you can mount where. Drywall alone holds nothing, you need a stud finder to locate framing, because a floating unit carrying 30–60 pounds of equipment requires lag bolts into wood or metal studs at both mounting points. If studs land awkwardly relative to your desired height, mount a plywood backer panel across the studs before installing the unit, or adjust the height by up to 3 inches to align with framing.
For rooms with deep seating or sloped ceilings, raise the center to 54–60 inches so the screen clears sightlines from reclined positions without forcing you to tilt your neck upward.
Cable and Cord Management Behind Floating Units
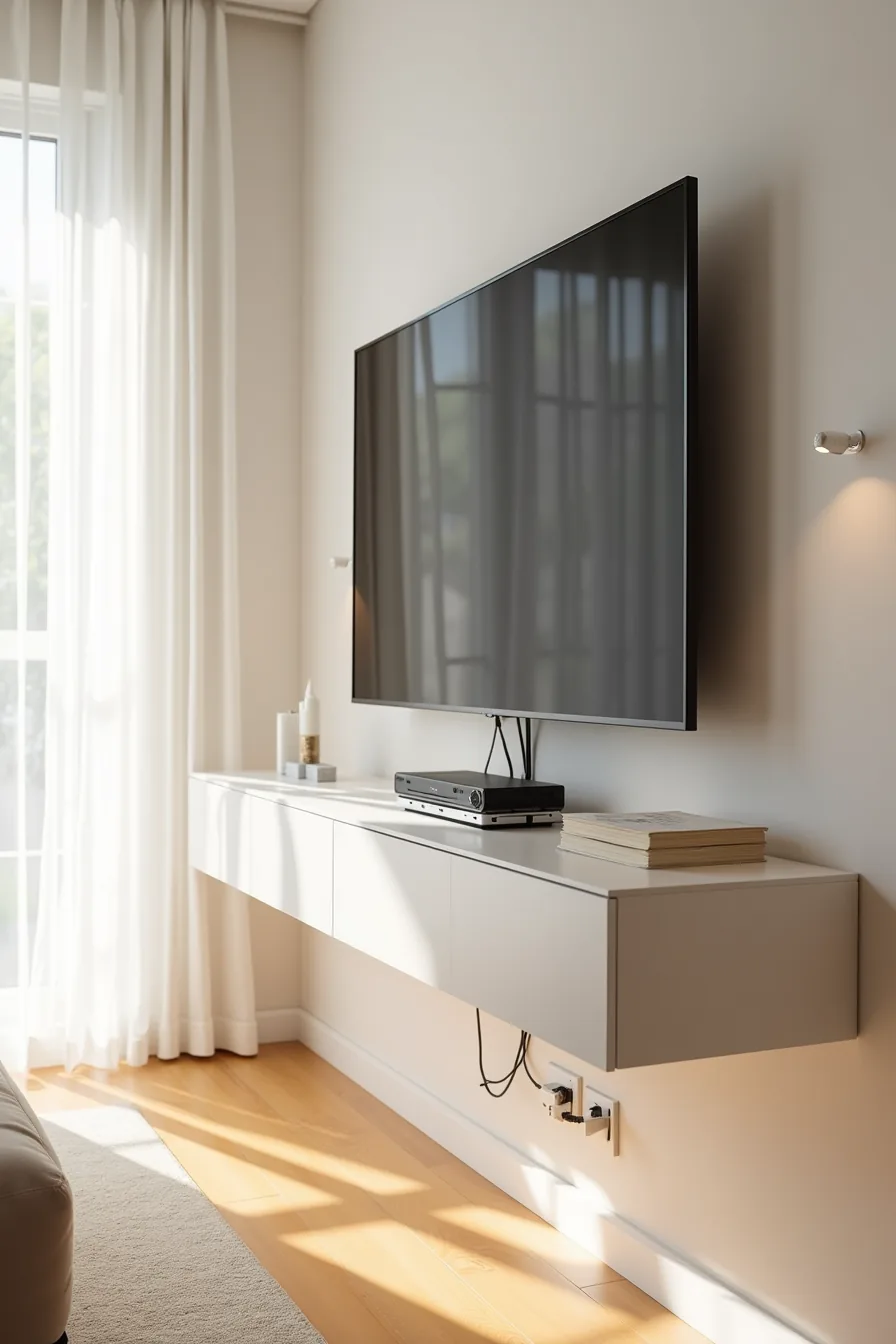
The clean front profile of a floating TV unit is only half the battle, the rear view decides whether the installation looks professional or chaotic. A conduit system fixed vertically to the wall, painted to match the wall color, carries HDMI and power cabling from the unit down to a floor outlet, hiding everything inside a slim channel that disappears at a glance.
You need three layers of organization behind the cabinet. First, a surge-protected power strip mounted inside the unit’s back panel so you plug everything in once and never crawl behind again. Second, Velcro ties or spiral wrap bundling cables by direction, those running to the TV upward, those to speakers or gaming consoles horizontally.
Third, a wall-mounted conduit with a removable cover, typically 1–2 inches wide, that lets you add or swap cables later without cutting drywall.
For a minimal cable setup, the key decision is where power terminates. A floor outlet directly beneath the unit keeps the wall conduit short and clean, but if you lack one, run the conduit all the way to a baseboard, just account for the extra 6–12 inches of cable length when you cut your bundles. Leave roughly 10% slack in every cable to accommodate future repositioning of the unit or components.
Scaling Floating TV Units Across Room Sizes
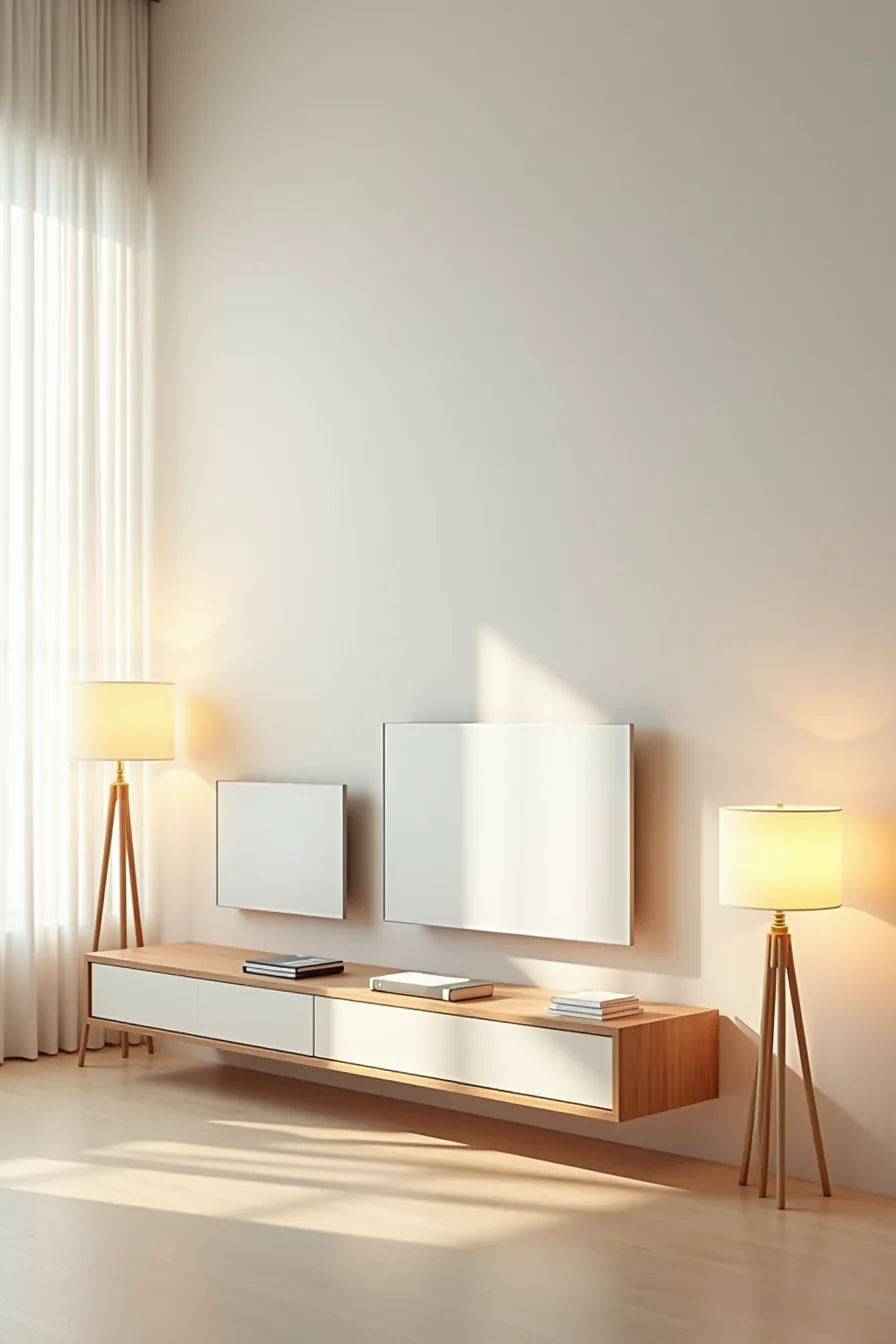
Proportional sizing starts with the wall itself, not the room. In a compact apartment, a 36-inch unit on a 96-inch wall leaves roughly 30 inches of breathing room on each side, which keeps the space from feeling crowded, go wider and the floor area shrinks visually. For a small room, prioritize depth over width: a unit 12–14 inches deep holds a soundbar and media console without eating into walkways, whereas a shallow 8-inch unit forces components to stick out past the front edge.
Medium family rooms typically suit a 48-inch unit mounted on a 60–72-inch wall span. At this scale, the unit should occupy 60–70% of the TV’s width; pairing a 55-inch television with a 48-inch cabinet keeps the silhouette balanced. Choose matte wood finishes in this size range, they mask fingerprints from daily use better than glossy lacquer, which shows smudges within a week of routine handling.
For large open-plan spaces, a 60-inch unit anchors the viewing zone without dominating it. Use a floating shelf above the unit to draw the eye upward and connect the installation to the room’s vertical plane, and match the unit’s finish to the floor tone, lighter oak with pale flooring, walnut with darker planks, to keep the piece grounded in the overall palette. Depth matters here too: a 16–18-inch cabinet accommodates larger AV receivers that need 4–6 inches of rear clearance for ventilation, so verify the receiver’s manual before committing to a shallower build.
Your decision checklist
Before you commit, run your plan against these five criteria:
- Measure twice, your floating TV unit should span 60–75% of your wall width, and the bottom edge should sit 10–12 inches above the floor.
- Check the studs, any unit over 40 pounds needs mounting into wall framing, not drywall alone.
- Confirm cable path, decide whether wires will run through the wall or along a concealment channel before you drill.
- Test airflow, leave 4–6 inches clearance above any AV receiver or gaming console.
- Match the room, a 12-inch-deep unit suits compact living rooms; go 16–18 inches deep only if you’ve 3 feet of walkway clearance.
Start today: sketch your wall with exact measurements, then snap a photo to reference when you shop. That single step will prevent most sizing mistakes.
Frequently Asked Questions
What is a floating TV unit and why does it open up floor space?
A floating TV unit mounts directly to the wall, leaving the floor beneath completely clear. This eliminates the visual bulk of legs or a plinth, making the room feel larger and simplifying floor cleaning.
Can I install a floating TV unit as a renter without damaging walls?
Yes, with a heavy-duty wall-mounted bracket system that uses four or more substantial screws into studs. Use paintable caulk to fill screw holes upon removal, or opt for a tension-mounted rail system if your wall permits.
What’s the difference between drawer and door fronts on a floating TV unit?
Drawers suit frequent access to remotes, games, and media, pull out fully for easy viewing. Doors hide clutter behind a clean face but require you to step back to open them fully, so allow 30-40 inches of clearance in front.
How do I hide cables in a floating TV unit setup?
Run cables through a concealed channel behind the unit, exiting through a small grommet hole near the TV mount. Use a cord cover painted to match your wall for the vertical run, and keep a power strip anchored inside the unit’s rear cavity.