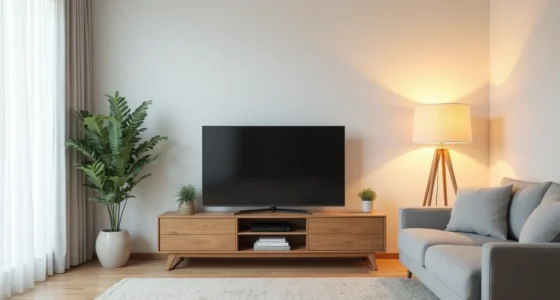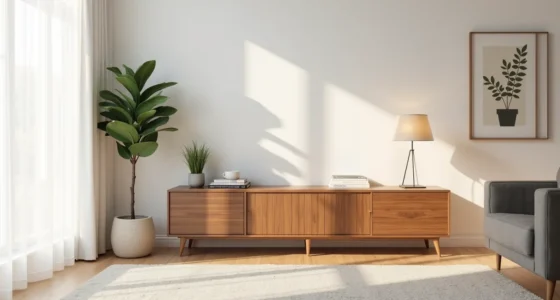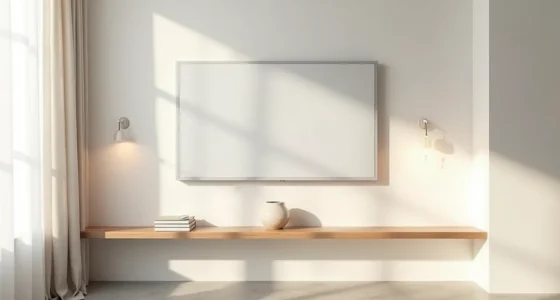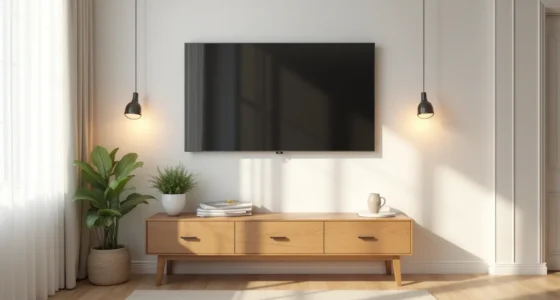
A simple TV cabinet isn’t a single piece of furniture, it’s a design decision that trades visual noise for essential storage and breathing room around your screen, and the right version for you depends less on style trends and more on your room’s dimensions, your wall space, and how many devices you actually need to hide. In practical terms, “simple” means a low horizontal form with closed or minimal open storage, a depth under 16 inches to keep walkways clear, and a finish that either blends with your floor or contrasts just enough to anchor the wall. The six approaches that follow range from a $150 floating shelf hack to a solid-wood credenza built to last two decades, so you can match the piece to your budget, your lease, and your long-term plans.
Key takeaways
- Proportion beats style: A cabinet’s width should fall within 10–20 cm of your TV’s width, and its height should sit at or below eye level when seated, regardless of finish.
- Flat-pack budgets work best with matte laminate or melamine over MDF, which hides scratches and costs 30–50% less than solid wood, but expect particleboard backs to sag if you exceed the 15–20 kg rated load.
- Renters should pair a low-profile freestanding base (under 45 cm tall) with a wall-mounted TV above it, avoiding permanent holes for the cabinet while still gaining hidden cable routing.
- Closed cabinets suit small rooms because they hide clutter and reduce visual noise, but open shelving only works if you commit to editing displayed items down to 5–7 pieces per shelf.
Why Simple Cabinet Proportions Matter More Than Style
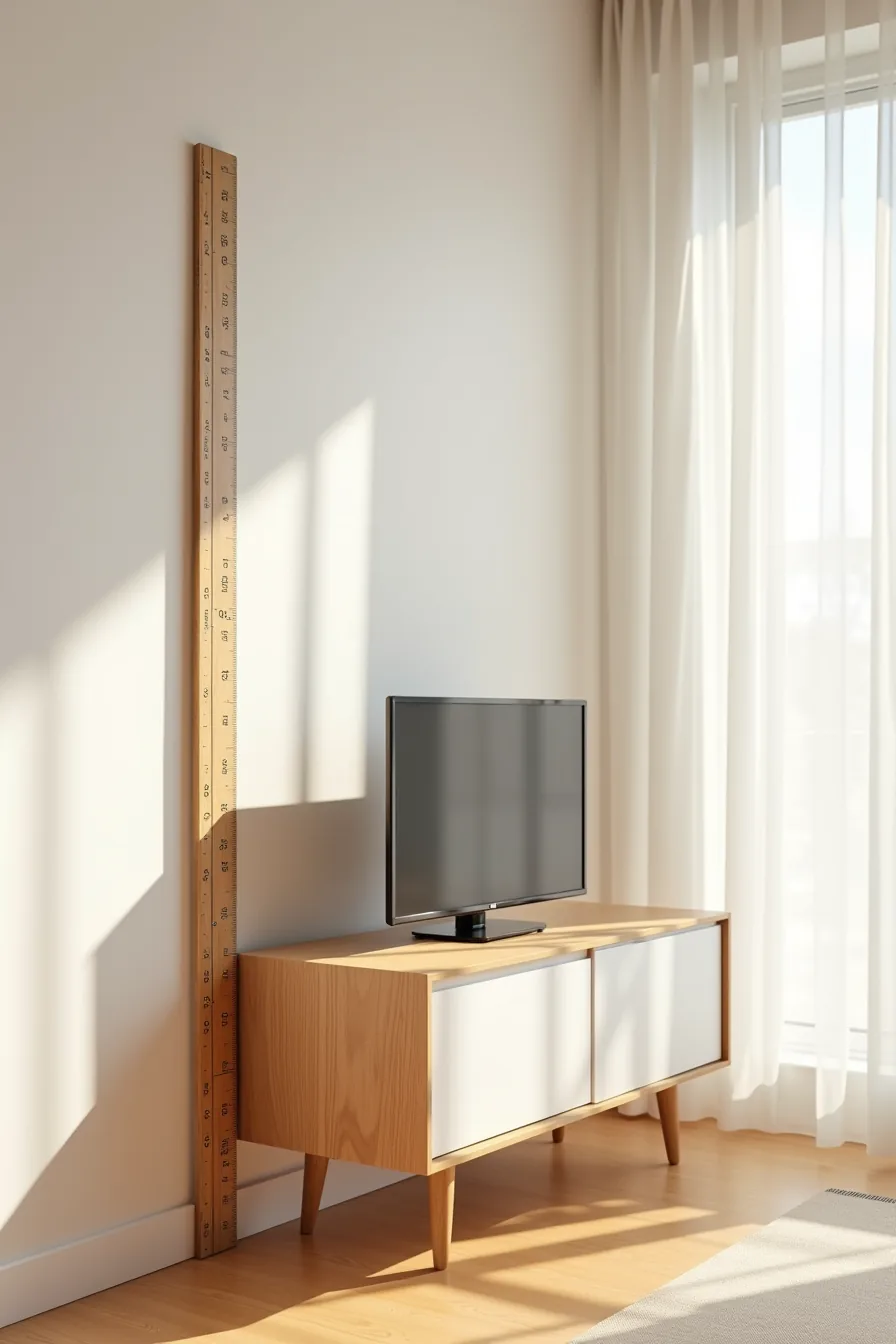
A minimalist facade won’t save a cabinet that’s too deep for your walkway or too tall for your seated eye line. Before you browse finishes, measure your wall and furniture sightlines: the cabinet’s height should fall between one-third and one-half of your TV’s mounting height, with a common range of 45–55 cm for low-profile units in standard living rooms. The depth is the silent killer, anything over 40 cm in a narrow space will make the room feel cramped, regardless of how clean the design is.
Take the setup where a measuring ruler leans against the cabinet’s side against a plain wall. That ruler exposes the two numbers that matter: height from floor to top edge, and depth from wall to front face. The shadow line cast beneath tells you the clearance, ideally 10–15 cm for airflow and floor cleaning.
Match those figures to your TV’s bottom edge (leave 10–20 cm of visual breathing room), and the cabinet will feel intentional rather than bulky. Simple cabinet proportions, not ornament, dictate whether the room reads as calm or cluttered.
Budget Route: Flat-Pack Cabinets With Honest Materials
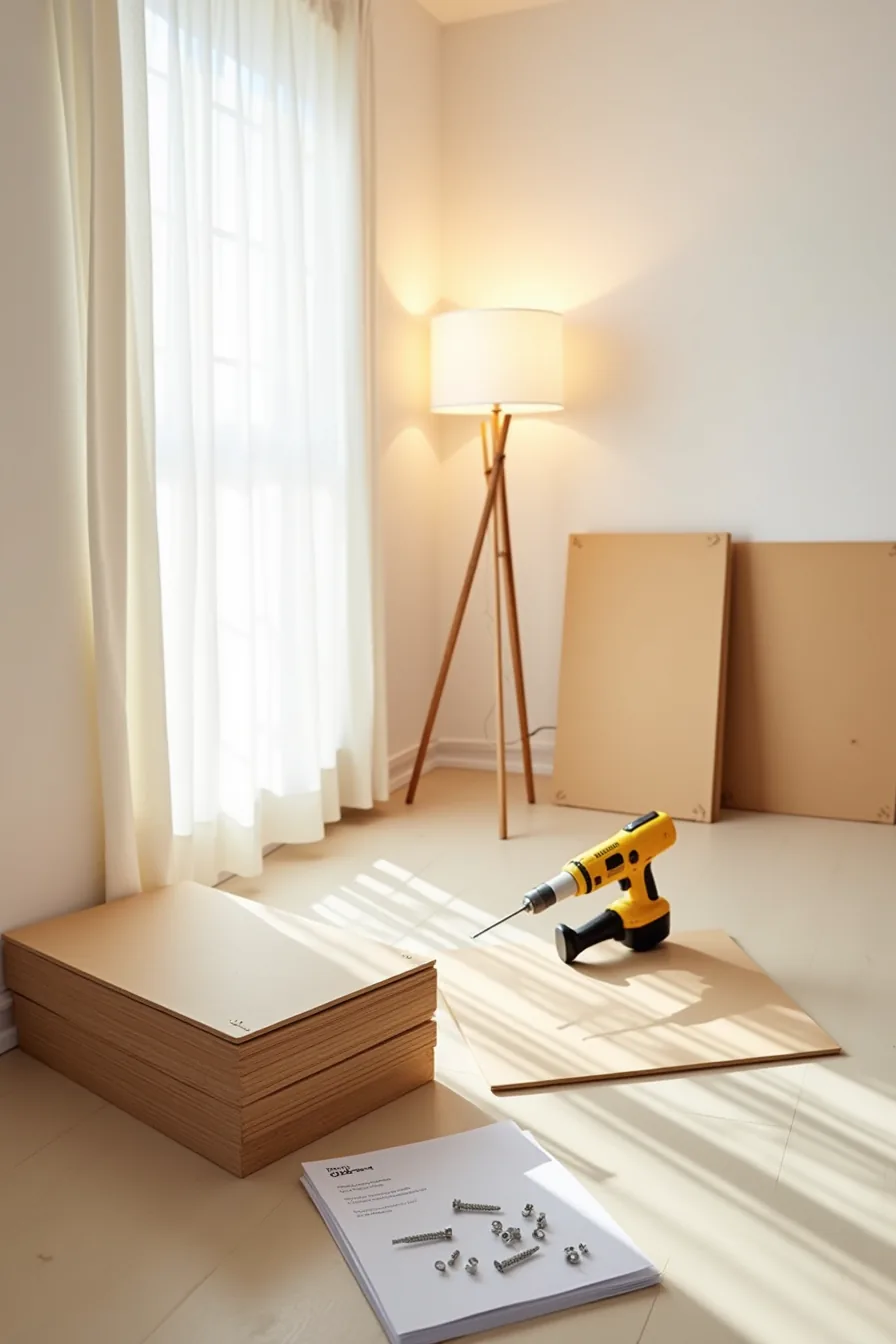
If your priority is a Simple Tv Cabinet under $200, a flat-pack unit with particle-board panels and metal brackets delivers the look without the price tag. Most models under 48 inches wide come with pre-drilled holes and cam locks, so you need only a power drill and a screwdriver, expect assembly to take 60–90 minutes for two people. The instruction sheet will tell you to tighten every bracket twice; do it, because particle board strips easily and repairs start with loose joints.
The trade-off is real: expect a 3–5 year lifespan, not a lifetime piece. Edges will chip if you move it, and moisture in humid rooms makes the board swell. Match it to a rented apartment or a first home where the next stop is a bigger space.
Skip any unit with a back panel thinner than 3 mm, it will buckle under the TV’s weight. You get clean lines and a flat front, but you’re buying the finish, not the foundation.
Rental-Friendly Living Rooms: Wall-Mounted and Freestanding Hybrids
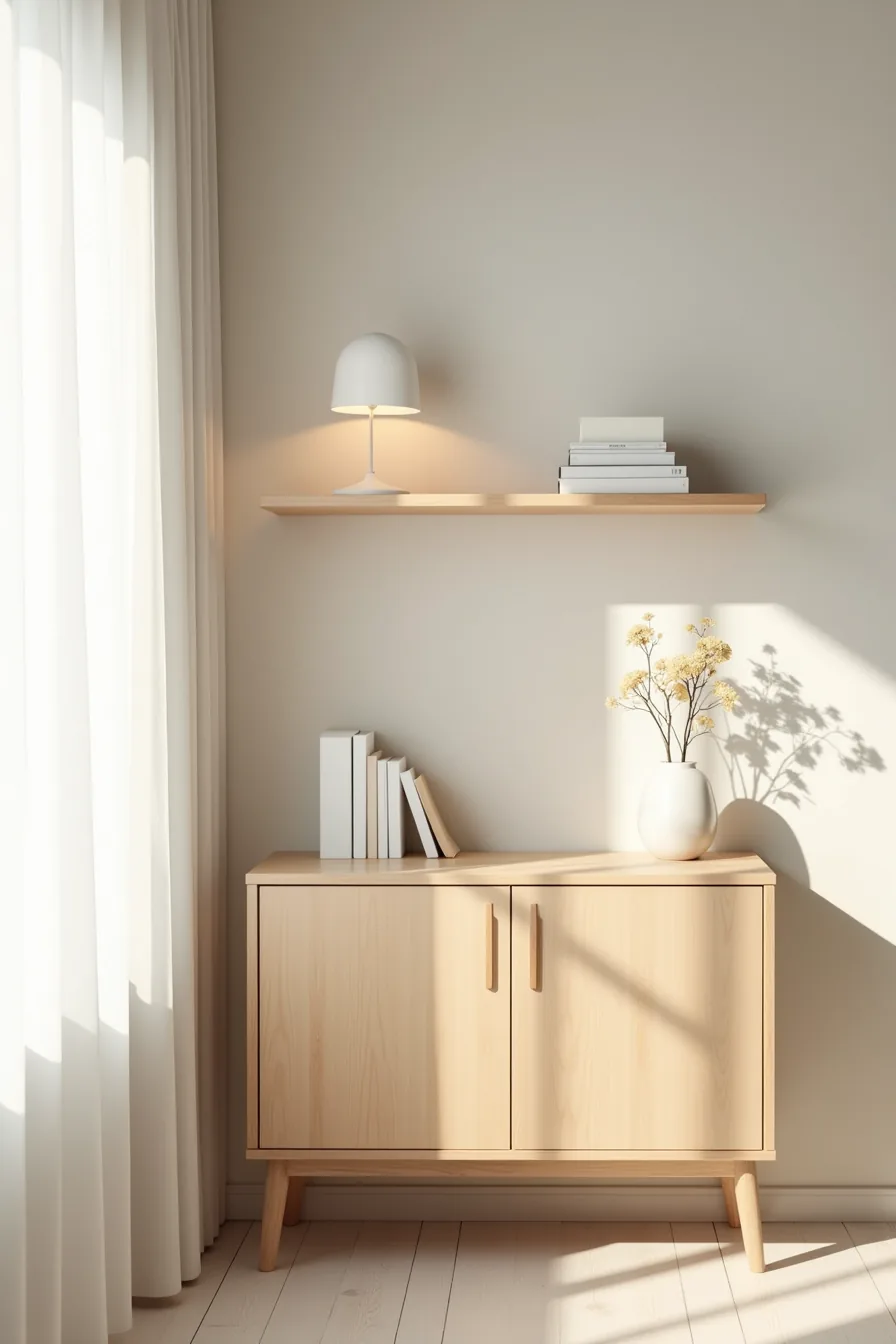
The hybrid setup works best when you treat the wall above the cabinet as negative space. Mount a floating shelf 14–18 inches above the freestanding cabinet, then leave the gap between them completely empty. You get visual interest at eye level without committing to a full wall unit, and the cabinet itself remains entirely removable, no brackets, no wall anchors, no patching on move-out day.
Position the cabinet so its back sits flush against the wall but its base leaves the floor clear for easy vacuuming. Spin the shelf to hold a soundbar, framed art, or a trailing plant, keeping the cabinet face itself minimal. This suits renters who want definition around the TV without drilling into plaster, and it adapts well to rooms where the wall is shared with a neighbor, you leave that wall space open for soundproofing or future repairs.
The trade-off: the floating shelf is the only permanent element, so choose a finish that matches the cabinet’s tone or you’ll create visual noise rather than calm.
Essential Storage Only: Closed Cabinets Versus Open Shelving
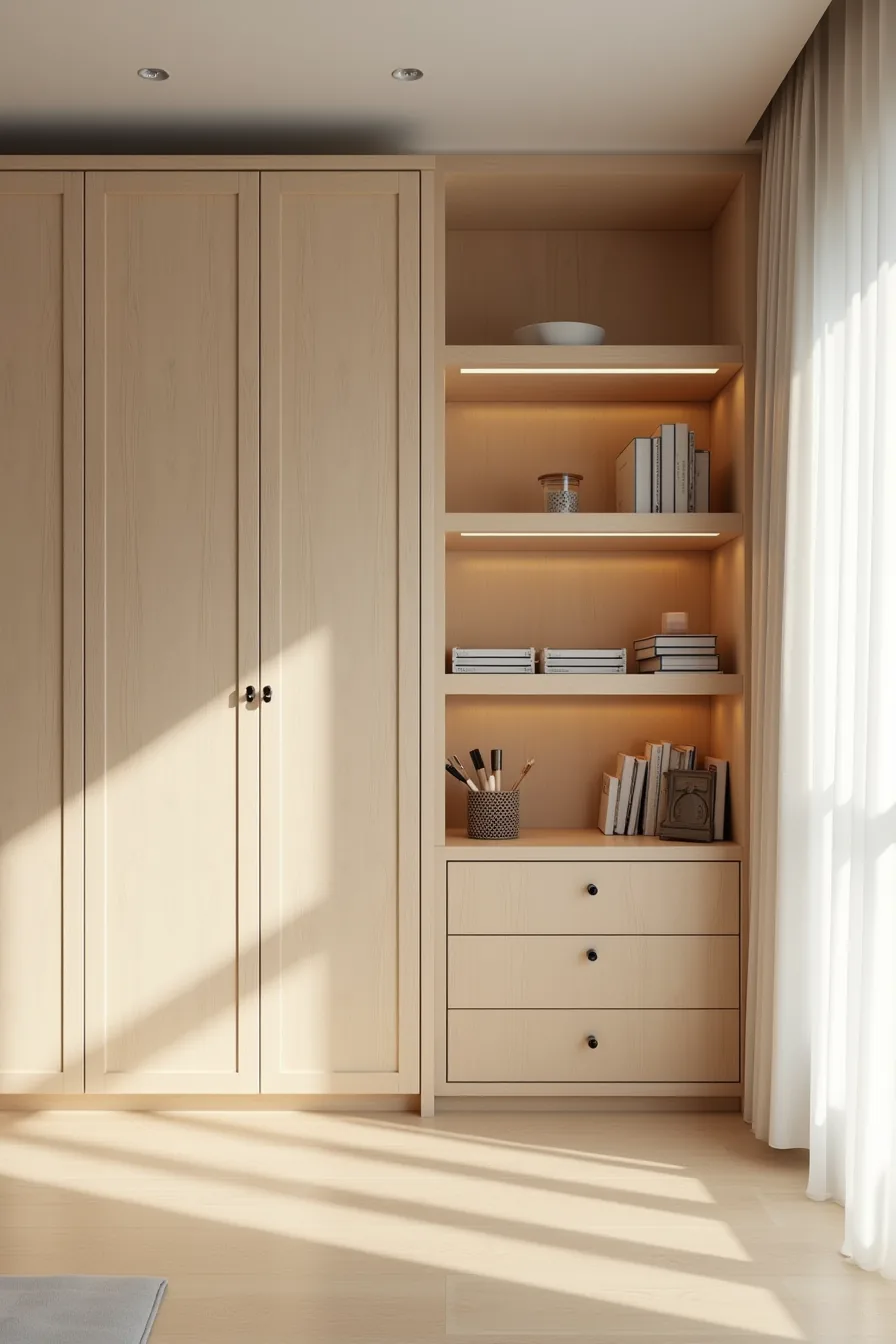
The choice between closed doors and open shelves is a decision about what you want to see every time you enter the room. A closed cabinet hides the tangle of HDMI cables, power strips, and streaming boxes behind a clean face, which preserves a sense of calm in smaller rooms where visual clutter reads as physical clutter. You sacrifice quick access, expect to pull everything out to reach the router when the connection drops.
Open shelving on the same cabinet frame flips the trade-off. You gain one-touch access to cables and equipment, and you can turn the display into a styling opportunity with coiled cables, neatly stacked storage boxes, and a few small objects that match the room’s palette. The cost is daily visibility: if you don’t commit to managing the cords and containers behind those shelves, the essential storage only look dissolves into disorder within a week.
Most open-shelf users find the honest approach suits a media room or a dedicated gaming corner, while closed doors win in shared living spaces where the TV cabinet shares sightlines with the dining area.
Long-Term Investment: Solid Wood Cabinets With Modular Potential
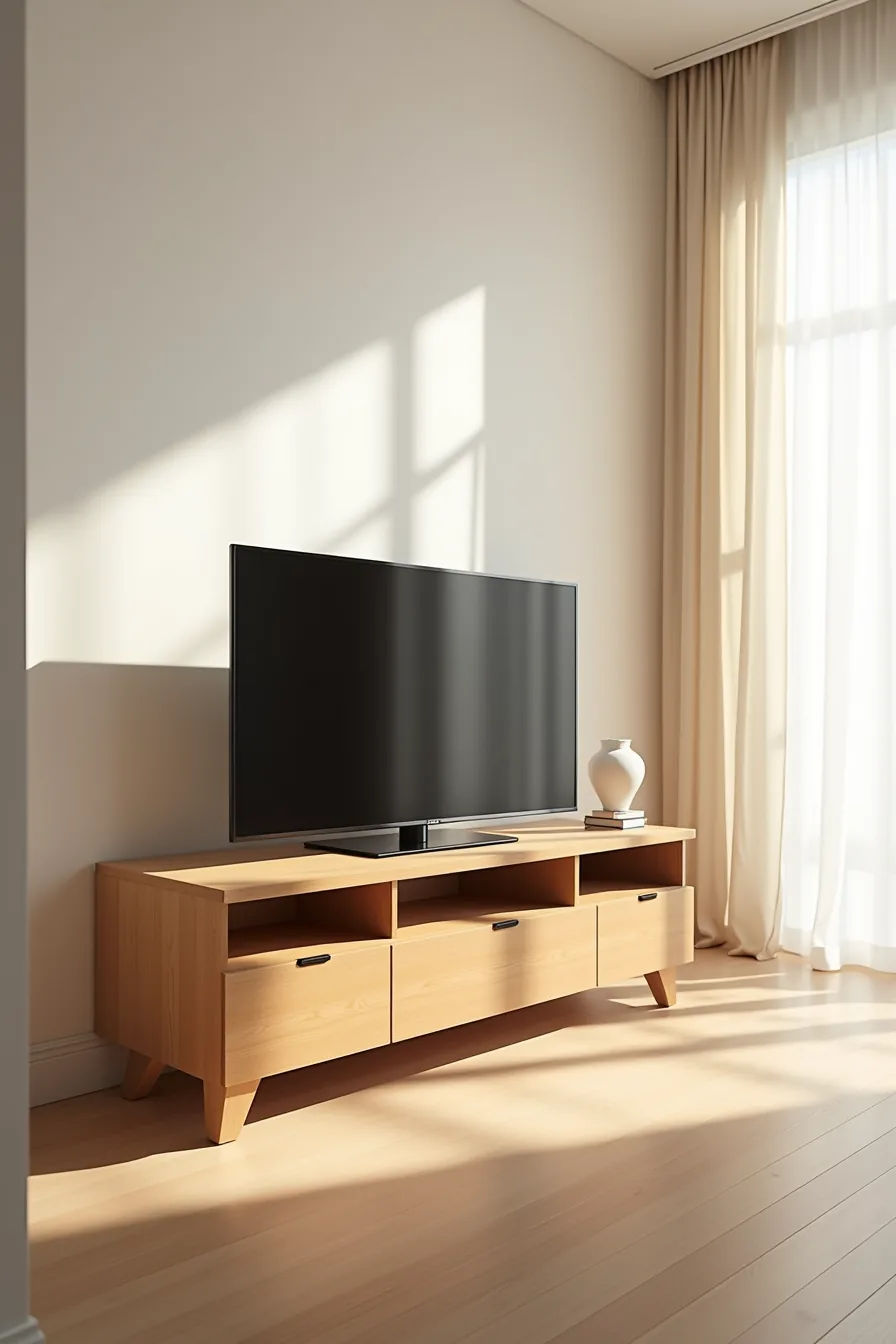
If you expect your TV setup to evolve, adding a soundbar, a games console, or a display cabinet for collectibles, a solid wood cabinet with modular potential pays off within a few years. The base unit alone typically costs 30-50% more than a particleboard equivalent, but the connection brackets and add-on units let you expand vertically or sideways without replacing the core piece. You’re buying the ability to change your mind later, which is exactly what most media setups need after a major purchase or a room rearrangement.
A solid oak or walnut base cabinet with visible wood grain and steel connection brackets on the top and side faces gives you a clear upgrade path. Position a matching add-on unit beside the base to create a longer run for a larger TV, or stack one on top to add closed storage above the screen. The bracket system is the deciding factor: look for units where the add-on locks into place with no visible gap, and confirm the manufacturer still sells the matching modules, some brands discontinue lines within two or three years, leaving you with a dead-end design.
This route suits homeowners who plan to stay put for five years or more and want a piece that ages alongside their equipment rather than a stopgap that ends up in the garage.
Adapting Simple TV Cabinets to Room Size and Layout
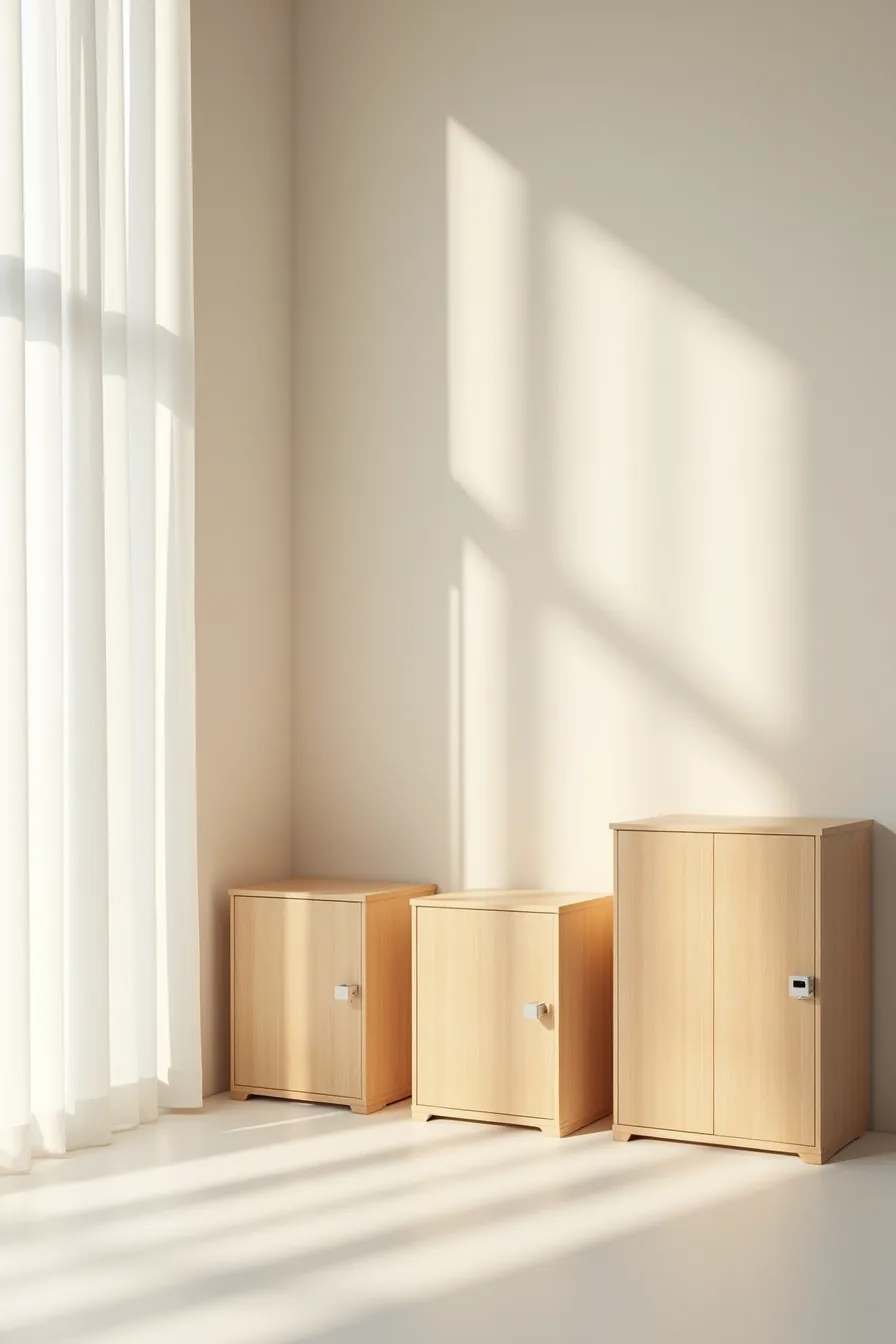
The three cabinets in this setup illustrate the scale rule: your console should span roughly two-thirds to three-quarters of your TV’s width, not the wall behind it. For a small apartment with a 43-inch TV, a narrow cabinet under 40 inches wide keeps walking paths clear, you need at least 24 inches of clearance in front of it, so depth matters more than width in tight spaces. A medium cabinet, 48-60 inches wide and 16-18 inches deep, suits most living rooms with 55-65 inch TVs; it balances the screen without dominating a 10-12 foot wall.
For large open-plan areas, a 72-inch-plus cabinet anchors the seating zone and can double as a room divider, but only if you leave 18-24 inches of breathing room on each side to avoid a wall-to-wall look. Match the cabinet height to your seated eye level, typically 24-30 inches for the screen center, and choose a depth under 18 inches to keep the unit from protruding into the room’s circulation path. A floating mount frees floor space in small rooms, while a solid base provides stability in homes with children or pets.
Where to start
Measure your wall and seating distance first, that single number will eliminate half your options before you shop. Then pick your constraint: budget, lease terms, or longevity. Each path leads to a different cabinet, and none is wrong.
Commit to one material family and one finish. Match it to your floor tone, not your wall color, for the most forgiving result.
Your next step: grab a tape measure, note your TV’s width, and add at least 8–12 inches on each side. That’s your minimum cabinet width. Shop within that number only.
Frequently Asked Questions
What is the ideal depth for a simple TV cabinet to avoid blocking airflow or looking bulky?
Choose a depth of 12–16 inches. This clears most wall-mounted TVs and prevents a boxy silhouette. Deeper cabinets, 18 inches plus, suit larger rooms but crowd small spaces.
Can I use a simple TV cabinet in a rental without losing my security deposit?
Yes, if you avoid drilling. Use freestanding cabinets or adhesive furniture anchors instead of wall-mounting. Protect floors with felt pads, and patch any small holes with spackle before moving out.
How much wall space should I leave open around a TV cabinet for a minimal look?
Leave at least 12–18 inches of open wall on each side and 24 inches above the cabinet top. This negative space prevents visual clutter and keeps the cabinet feeling intentional rather than crowded.
What materials hold up best in a simple TV cabinet if I plan to keep it for 10+ years?
Solid hardwood, like oak or walnut, with a sealed finish resists warping and scratches. Plywood with a veneer is a stable, budget-friendly alternative. Avoid particleboard, which sags under heavy electronics within a few years.