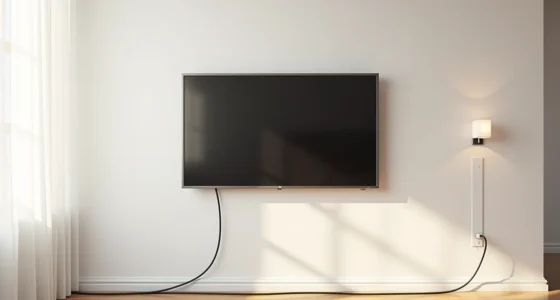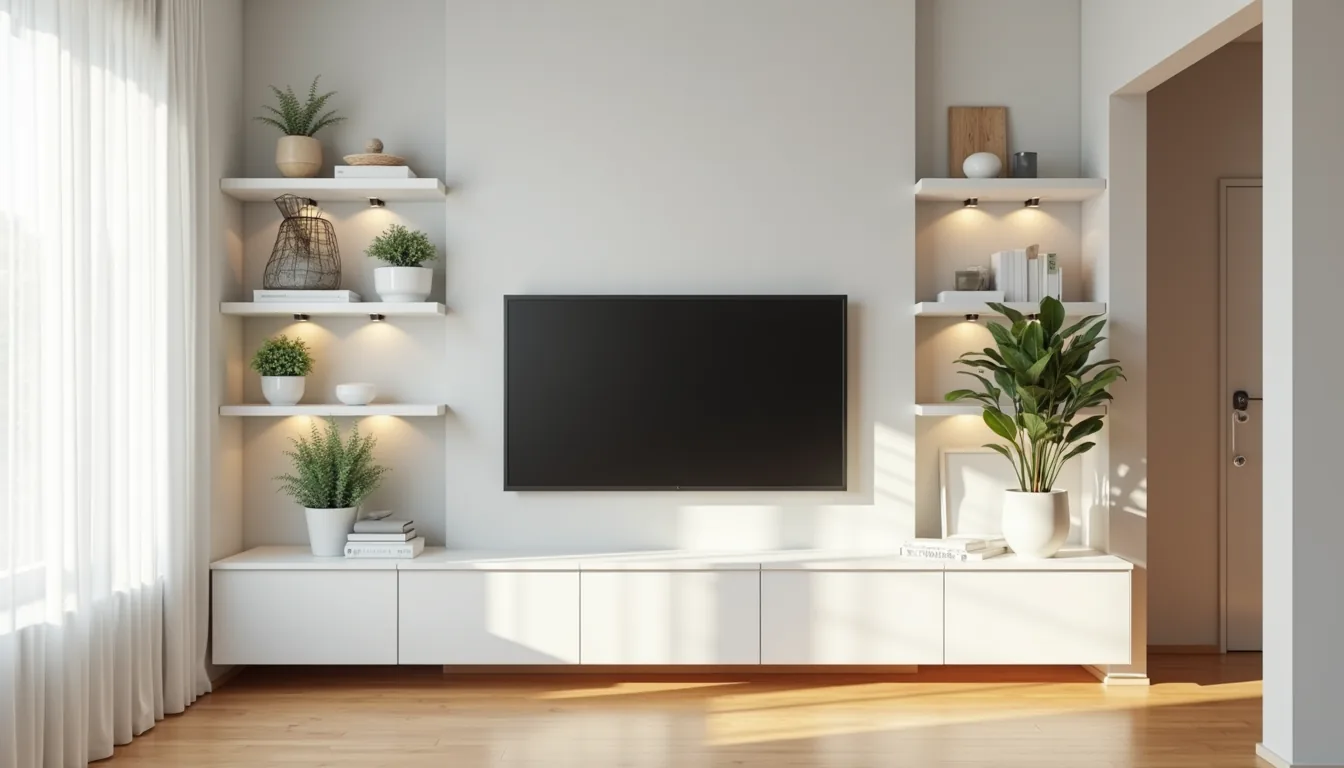
A wall TV unit design only works when it solves three problems at once: your viewing angle, your storage needs, and the visual weight of the screen in the room. Getting those three elements right separates a smooth focal point from a bulky afterthought. The following six approaches range from a floating shelf on a budget to a full built-in that anchors a large living room, each with specific dimensions, material choices, and maintenance trade-offs you can apply directly.
Key takeaways
- Anchor floating shelves 16-24 inches above the TV to hide cables through a wall-mounted conduit kit, which costs $30-60 and requires a stud finder plus drywall saw.
- Invest in built-in media cabinets with adjustable shelving and vented back panels, adding 10-15% to your renovation budget but eliminating visible wiring and dusting gaps for 15+ years.
- Choose a modular TV unit with interlocking panels and clip-on cable trays, letting you reconfigure the layout in under 30 minutes without tools when you move or change rooms.
- Scale your wall unit to leave 6-12 inches of clear wall on each side of the TV, and mount the screen center at eye level (42-48 inches from floor) to avoid neck strain in any room size.
Floating Shelves with Integrated Cable Management
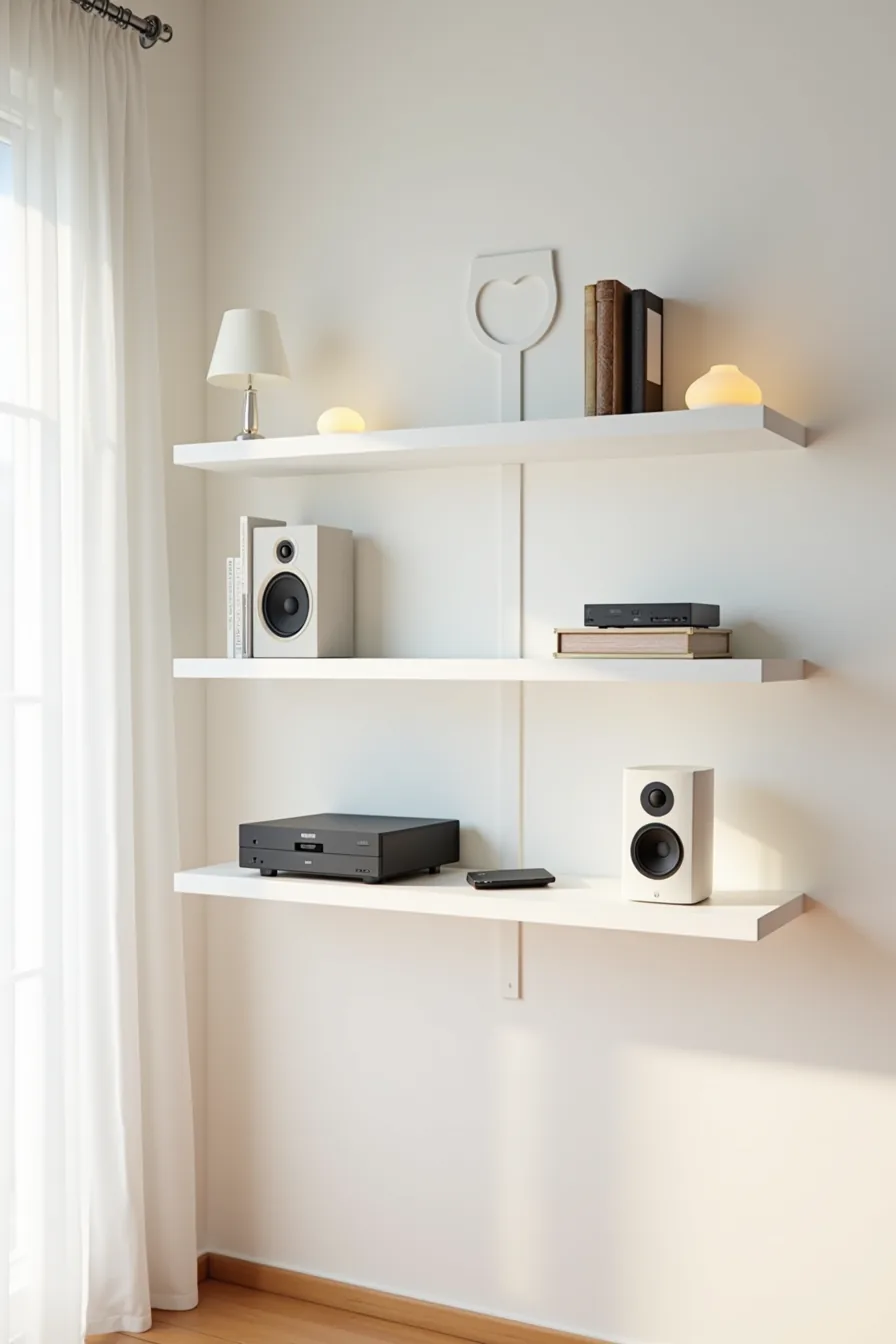
Floating shelves are the most renter-friendly wall TV unit design because they require only a few drilled brackets, not a full cabinet build. Mount three 24–30 inch white shelves vertically spaced 12–18 inches apart, then place small speakers and a media box on the lower shelves with decorative objects above. Run a white cable raceway down the wall center between shelves; it hides cords without cutting into drywall, and you remove it with zero repair work when you leave.
This setup suits small spaces and renters because the shallow shelf depth, 10–12 inches, keeps the visual footprint minimal while still supporting lightweight components. Avoid placing heavy amplifiers or subwoofers on these shelves; typical floating-shelf weight limits range from 15–30 pounds per bracket pair. For cable management, buy a raceway kit with adhesive backing and choose one matching your wall color; measure the vertical drop before sticking so you know exactly how much channeling you need.
Built-In Media Cabinets for Long-Term Investment
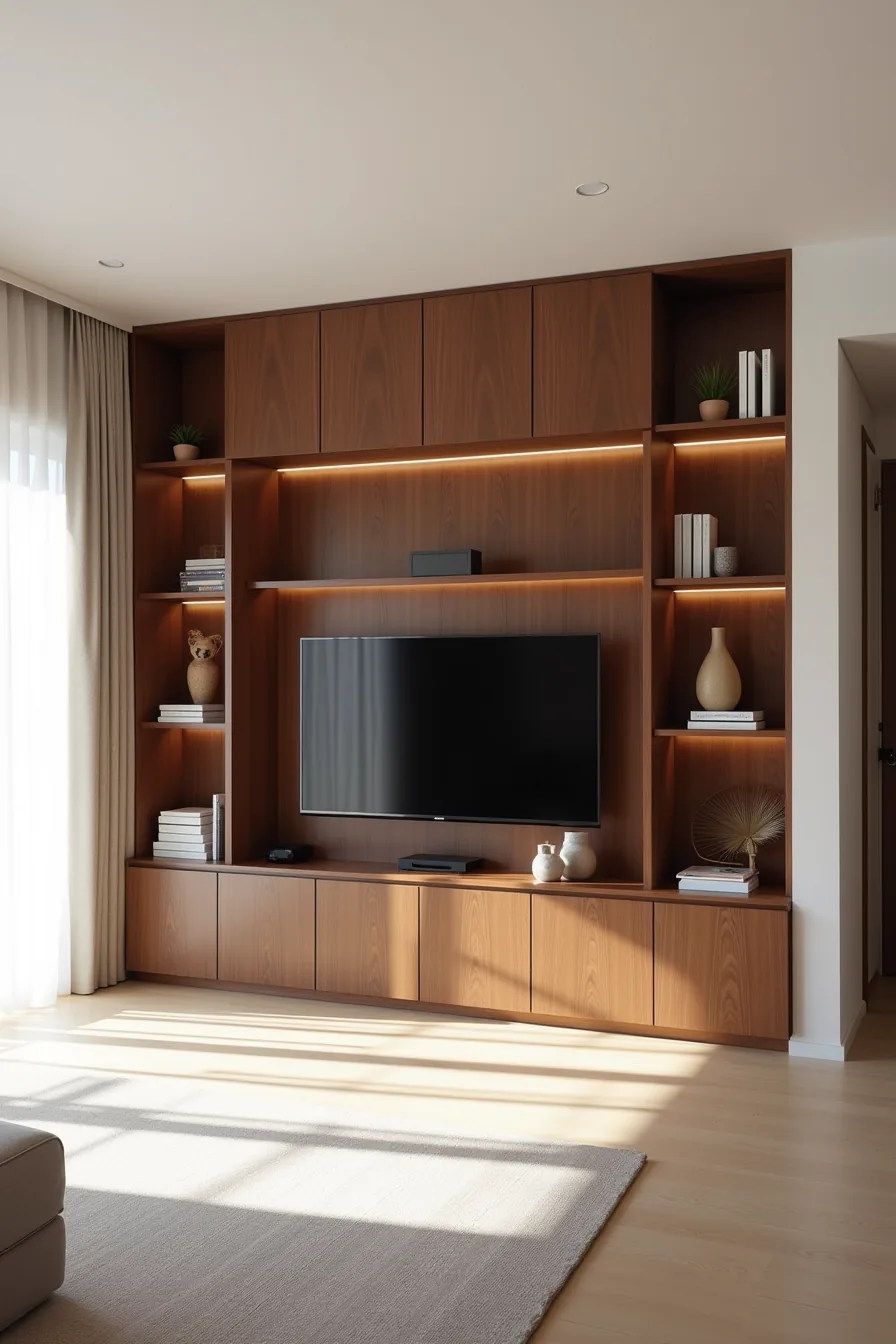
If you own your home and plan to stay for five-plus years, built-in media cabinets represent the most durable interpretation of a practical wall TV unit design. The setup pictured here uses floor-to-ceiling dark walnut cabinetry with a recessed TV niche at eye level, flanked by closed lower cabinets with soft-close doors and open upper shelves for display pieces. Integrated LED strip lighting inside the niche adds ambient glow without washing out the screen during evening viewing.
Built-ins justify their higher cost, typically $3,000–$8,000 installed depending on materials and labor, through two returns: they add resale value, and they eliminate freestanding furniture that collects dust and shifts out of alignment. Because the cabinets anchor to studs, you gain zero wobble and can safely house a 65–85-inch television with proper ventilation clearance of 2–4 inches around the recess. Choose soft-close hardware and plywood box construction with solid wood doors; they withstand daily use far longer than particleboard alternatives.
Account for 8–12 weeks from templating to installation if you commission custom work, and budget for a licensed electrician to run low-voltage wiring behind the wall before the cabinets go in.
Accent Wall Backdrop with Wall-Mounted TV
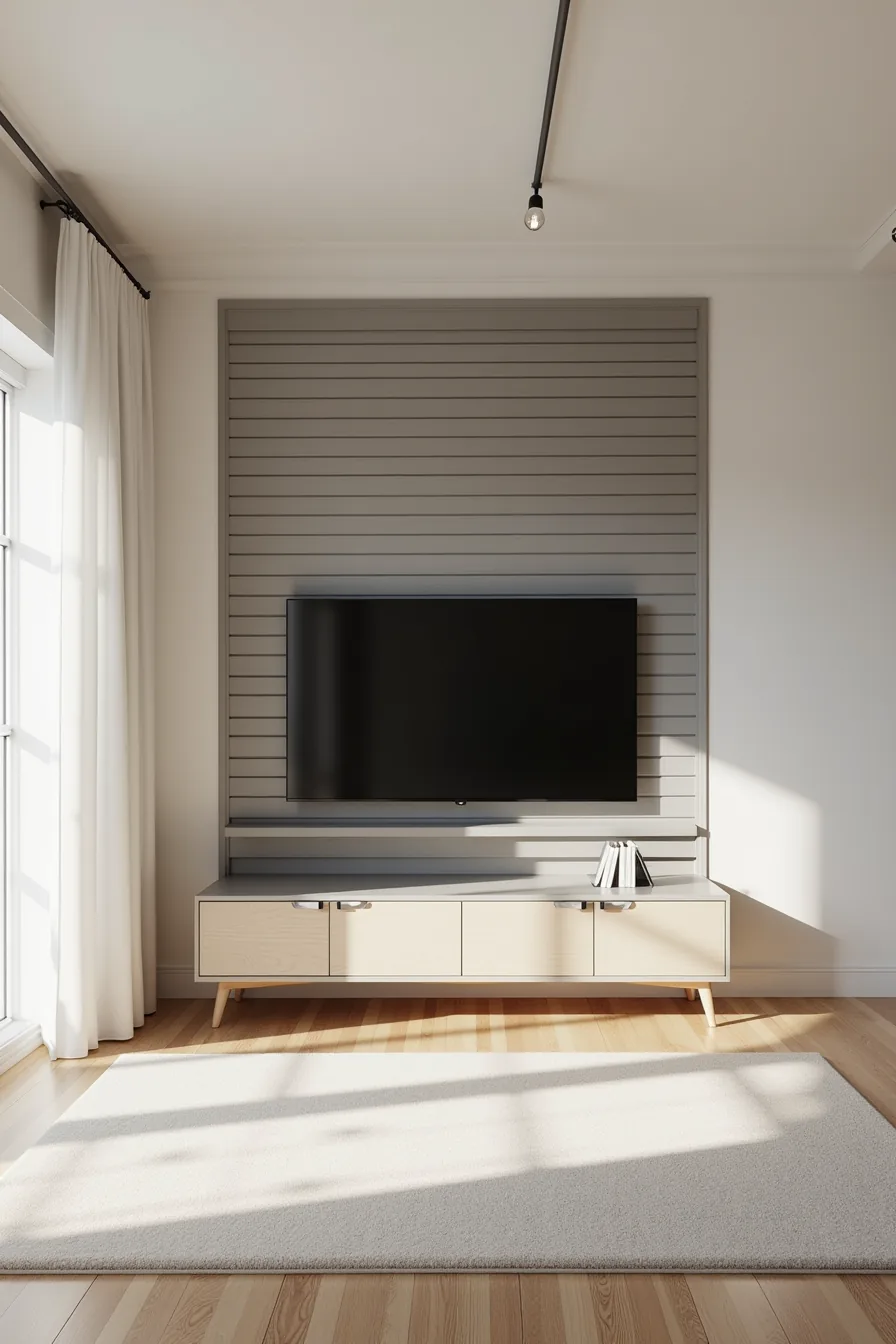
A charcoal-gray shiplap accent wall with horizontal planks turns the TV into a deliberate focal point without adding a single inch of depth, a crucial advantage in rooms where floor space is at a premium. The setup works best with a 55-inch screen centered on the wall, leaving generous negative space on either side that visually widens narrow rooms under 12 feet across. For wider spaces, extend the shiplap across the full wall or add a floating shelf on one side only to avoid cluttering the sightline.
This approach suits renters and budget-conscious homeowners alike. Shiplap panels run $2–$4 per square foot, and peel-and-stick versions lift off cleanly with minimal wall damage when you move. DIY installation takes a weekend for a standard 8-foot wall: cut planks to length, secure with finishing nails or adhesive, and paint before mounting the TV.
Dark tones like charcoal hide cable shadows better than white, but you’ll still need a cord-hiding kit or in-wall rated cable pass-through to keep the silhouette clean. Maintenance is straightforward, occasional dusting between planks and a damp cloth wipe-down. If you prefer wallpaper, select a textured or grasscloth pattern that doesn’t compete with the screen’s brightness during daytime viewing.
Modular TV Unit Systems for Flexibility
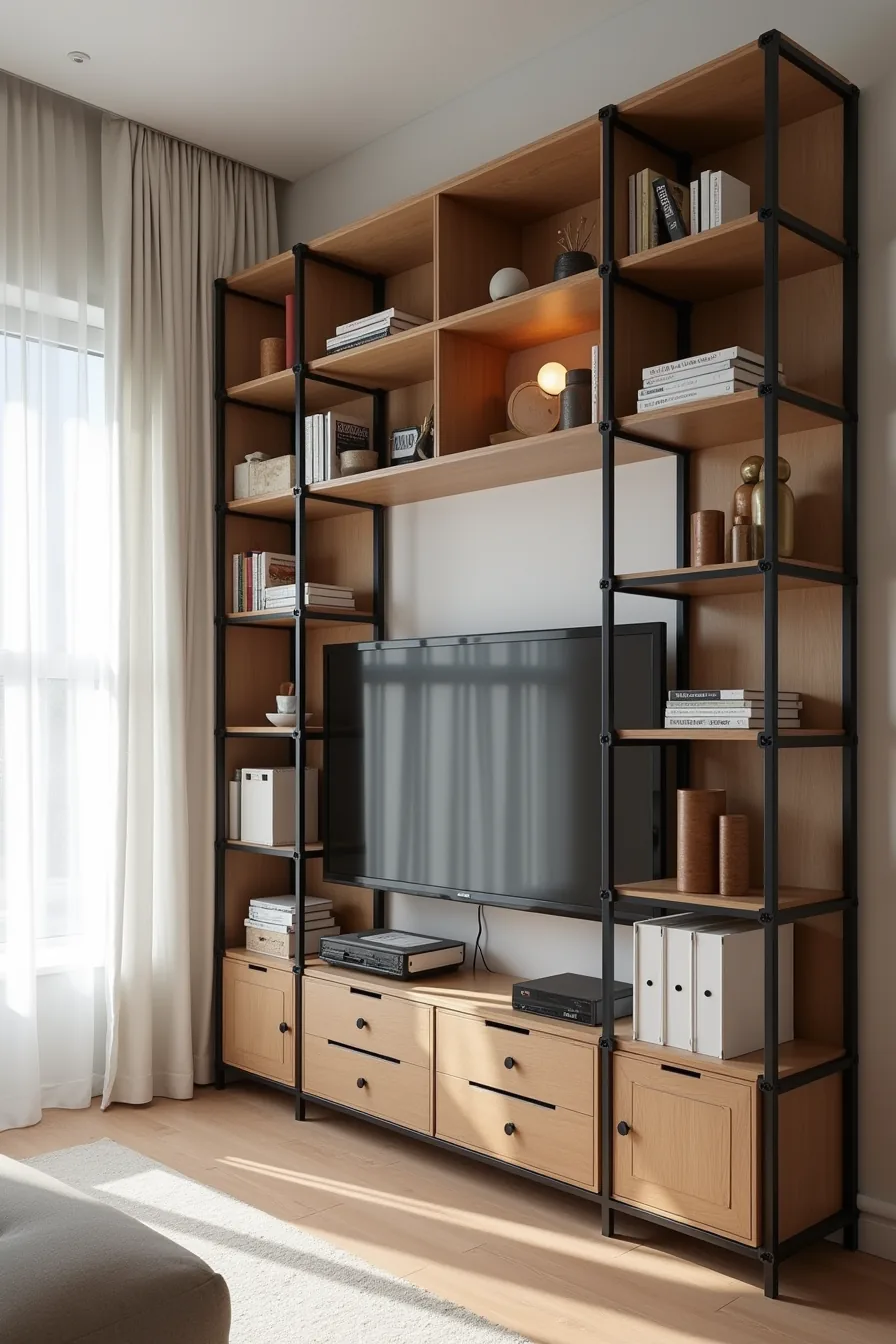
Modular systems trade a custom-built look for something arguably more valuable: the ability to rearrange your functional wall-mounted TV units as your needs change. The prefabricated setup photographed here pairs matte black metal frames with interchangeable wooden compartments, stacked asymmetrically with the TV mounted center-left, a configuration that suits renters or anyone who expects to move within five years.
Each module typically runs $100–$300, with a complete 60-inch-wide configuration costing $400–$800. Assembly takes 2–4 hours with basic tools, and you can break the system down and reinstall it in a new layout without patching more than a few screw holes. The open shelves and closed boxes mixed together let you hide cables and gaming consoles while displaying decor on the open spans.
Because the frames mount to a single horizontal rail, weight distribution stays manageable, though you’ll want to confirm the rail supports the combined load of your TV and stored items, most rails handle 80–120 pounds.
Corner TV Placement with Angled Viewing
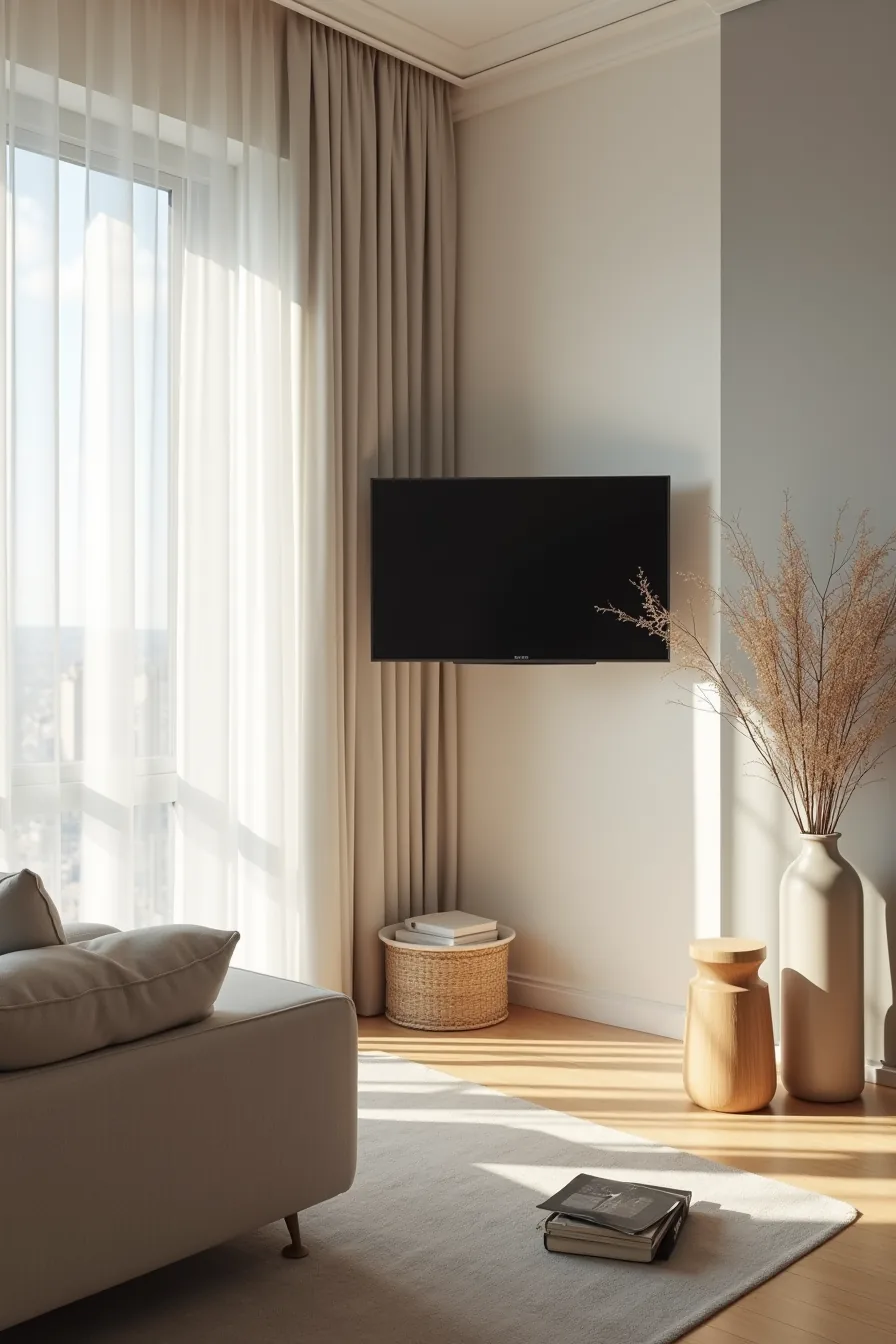
Corner mounting turns an awkward dead zone into the room’s focal point, making it the strongest option for L-shaped living areas, open-plan layouts, or rooms where the only clear wall sits behind a doorway. The angled TV bracket in this setup positions the screen at roughly 55 inches to the center, which places your eyeline at the upper third of the panel when seated, the recommended height for reducing neck strain over a two-hour movie.
The 30-degree outward angle widens your effective seating zone, so the sofa positioned perpendicular to the corner, 8–10 feet back, gets a straight-on view without anyone craning their neck. That distance suits 55–65-inch screens; push a 75-inch set closer than 7 feet and you’ll be scanning the picture edge to edge. The gray accent wall behind the TV absorbs visual noise, but you’ll still need a full-motion bracket rated for your TV’s weight, most corner installations require 80–140-pound capacity arms to handle the offset load.
Cable management gets trickier here: plan for surface-mounted raceways or an outlet relocation before the TV goes up, since corner walls rarely have power where you need it.
Scaling Wall TV Unit Design to Your Room Size
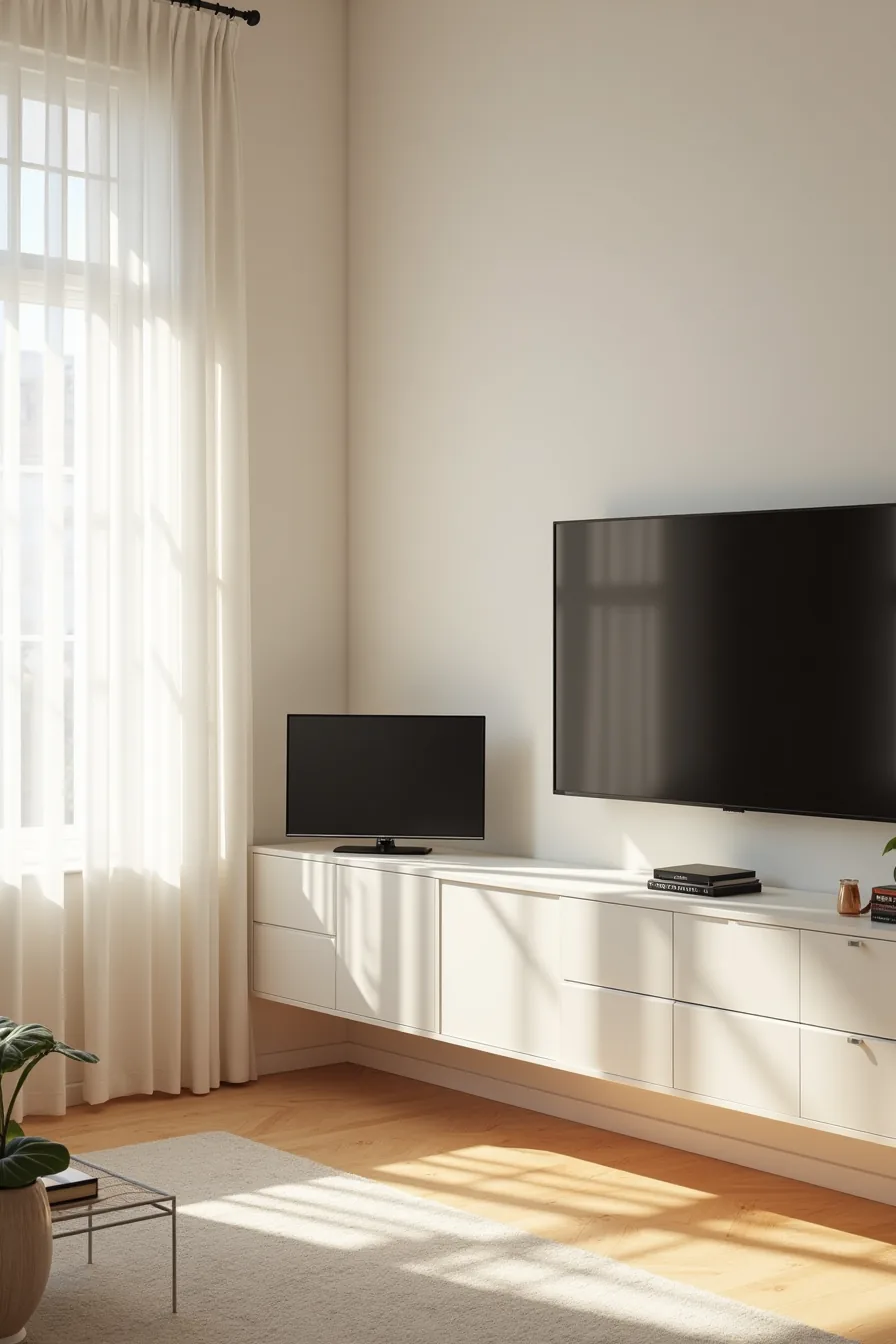
Your room’s square footage dictates the TV size, unit depth, and mounting height more than any style preference. In a small space under 150 square feet, an 8-foot wall supports a 43-inch TV on a floating shelf no deeper than 10–12 inches, anything bulkier eats valuable floor area and makes the room feel tighter than it’s. Mount the shelf so the TV center sits 42–48 inches from the floor, and pair it with a low media console underneath only if you’ve at least 18 inches of walkway clearance.
For medium rooms between 150–300 square feet, a 12-foot wall accommodates a 55-inch TV within a built-in unit that extends 12–14 inches from the wall. Keep the cabinetry height to 24–30 inches above the floor so the unit reads as furniture, not a wall. In large spaces exceeding 300 square feet, a 16-foot wall supports a 65-inch TV set into floor-to-ceiling cabinetry, but cap the unit’s depth at 16–18 inches to avoid a cavernous, furniture-store feel.
The upper cabinets should float 6–8 inches above the lower section, with the TV centered at eye level when seated, regardless of the surrounding scale.
Your decision checklist
Before you commit to any wall TV unit design, work through these five questions. Does the unit clear walkways by at least 36 inches? Can you reach the TV for cable adjustments without climbing over furniture?
Will the finish tolerate your humidity and sunlight without warping or fading? Is the mounting wall solid enough for your TV’s weight plus the cabinet? And does the design work with your existing seating distance, not just look good in photos?
If you answered yes to everything, you’re ready. If not, adjust the plan before buying materials.
Your next step: Measure your wall space and seating distance first thing tomorrow morning, then write down both numbers. That single sheet of paper will decide every booking you make from the wall mount to the storage shelves.
Frequently Asked Questions
What is the ideal height to mount a TV on a wall?
Center the screen at your seated eye level, typically 42-48 inches from the floor. Adjust for your sofa height and viewing distance, higher for recliners, lower for floor seating.
Can I install a wall TV unit in a rental apartment without damaging walls?
Yes, use freestanding media consoles or rail-mounted brackets that grip the wall without screws. For a mounted TV, patch holes with spackle before moving out, most landlords accept small, repairable damage.
How do I hide cables in a wall-mounted TV setup?
Run cables through an in-wall conduit kit (requires drilling) or use a snap-on cord cover painted to match the wall. For a no-drill route, route cables behind a floating shelf or inside a hollow media console.
What’s the difference between floating shelves and built-in cabinets for a TV wall?
Floating shelves are lighter, cheaper, and easier to rearrange, ideal for renters or minimalist setups. Built-in cabinets offer concealed storage and a custom look but cost more, require permanent installation, and reduce flexibility. Choose based on your storage needs and lease terms.