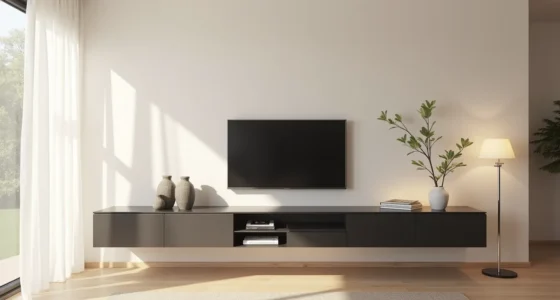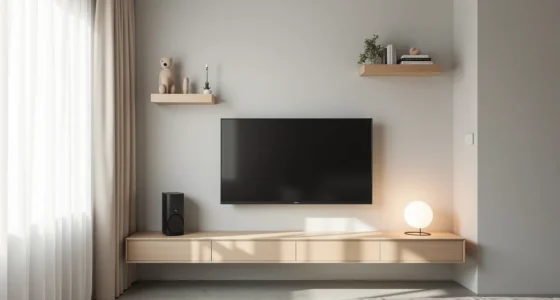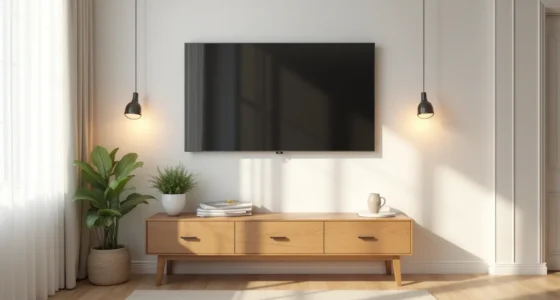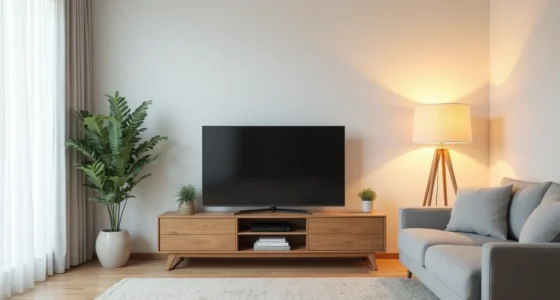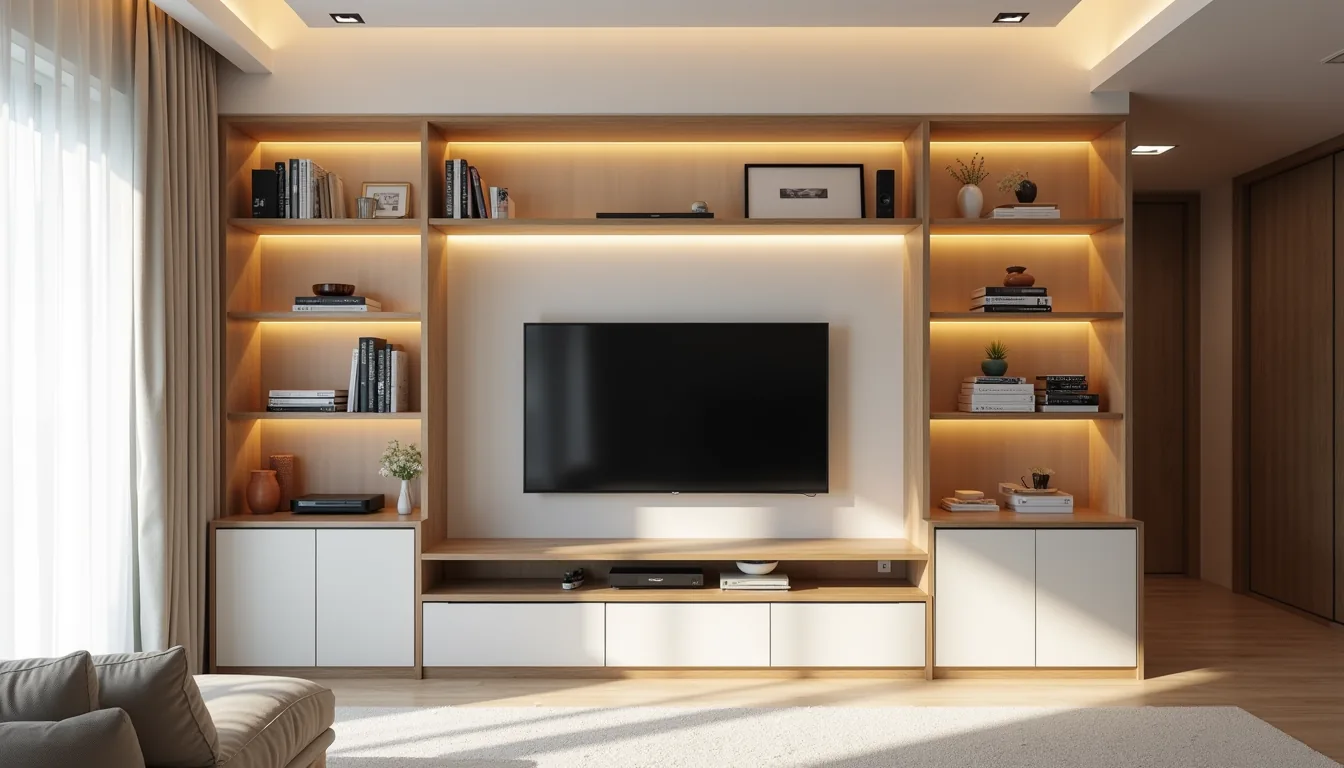

Before you buy a single shelf or bracket, empty the area around your TV and sort every item you intend to store, cables, consoles, remotes, books, and decor, into keep, relocate, and toss piles, because the right media wall with storage is built on what actually remains, not what you think should fit. This sorting step determines whether you need a closed cabinet system, open shelving, or a hybrid approach. The six configurations that follow each solve a different space and access problem, from rental-friendly tension poles to floor-to-ceiling built-ins.
Your job is to match your inventory and room dimensions to the right system before you measure a single wall.
Key takeaways
- Audit first: Count every device, cable, and remote you own before choosing a media wall system, since the average living room holds 5–7 active electronics that need dedicated slots.
- Choose modular over fixed: Opt for adjustable shelving and removable panels if you rent or plan to rearrange, as built-in units cost 2–3 times more and require permanent wall attachment.
- Balance open and closed: Keep frequently used items like game controllers on open shelves for quick access, but hide cables, power strips, and rarely touched DVDs behind closed doors to reduce visual clutter.
- Mind the heat gap: Leave at least 4–6 inches of clearance above your TV and amplifier inside the media wall to prevent overheating, and install a cable management tray to simplify cleaning and airflow.
Audit Your Content Before Choosing Storage
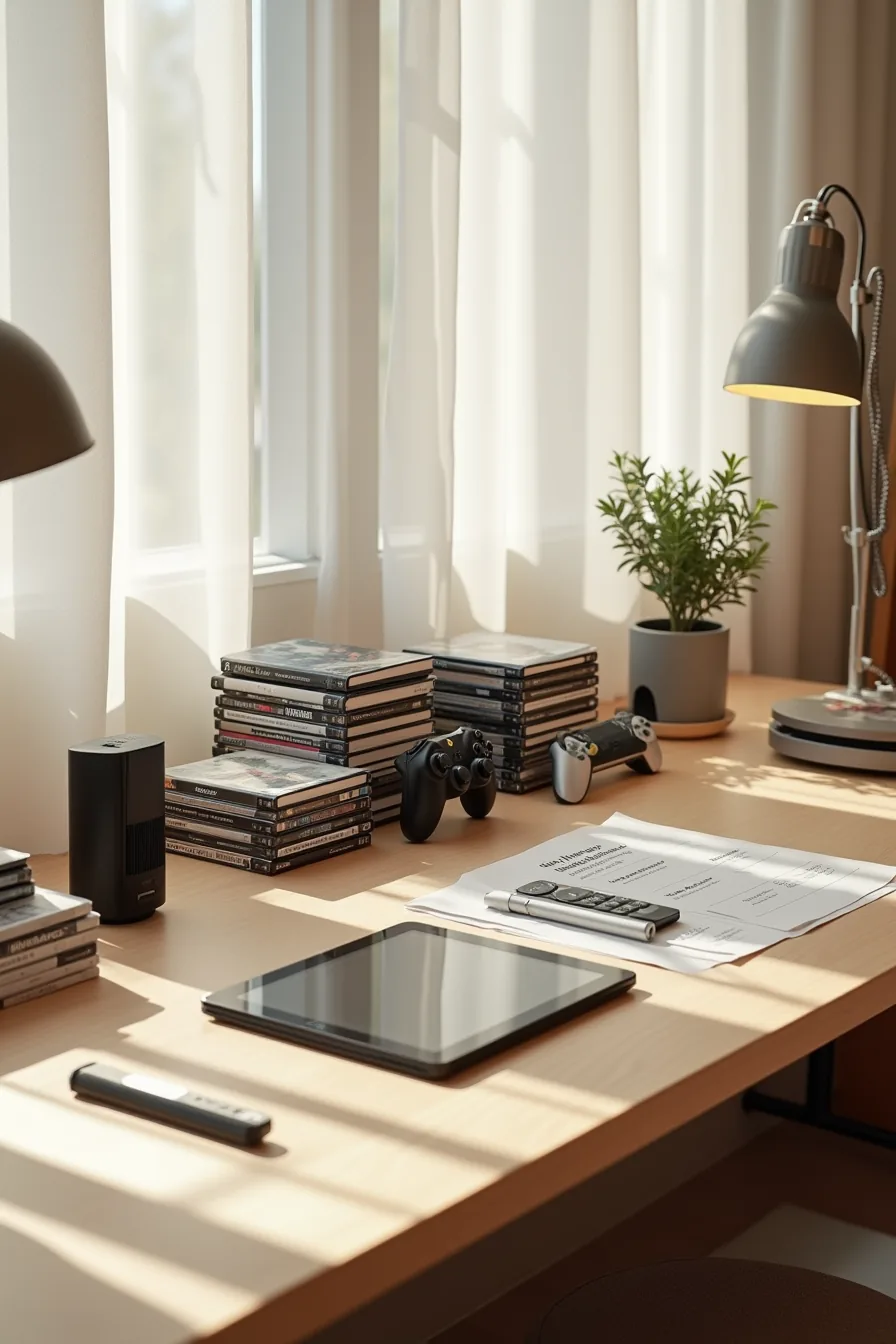
Before you measure a single wall, pull everything out and group it on a flat surface, a desk works well. Stack your DVDs, set the gaming console aside, gather remote controls, and coil every cable into loose loops. Add your wireless speaker and open a tablet with a simple checklist app to log each item as you go.
The goal is to see the full volume of what you own, not what you think you own.
This inventory step determines three things: total capacity, access frequency, and cable management needs. High-use items like the remote and console need open, reachable zones; DVDs you watch monthly can live behind closed doors. Count the cables you actually use and note which devices need ventilation, this audit will tell you whether your Media Wall With Storage needs a dedicated media unit, floating shelves, or a mix of both.
Everything you don’t use daily gets tucked away, and everything you do use gets a permanent, logical home.
Fixed Built-In Storage vs. Modular Systems
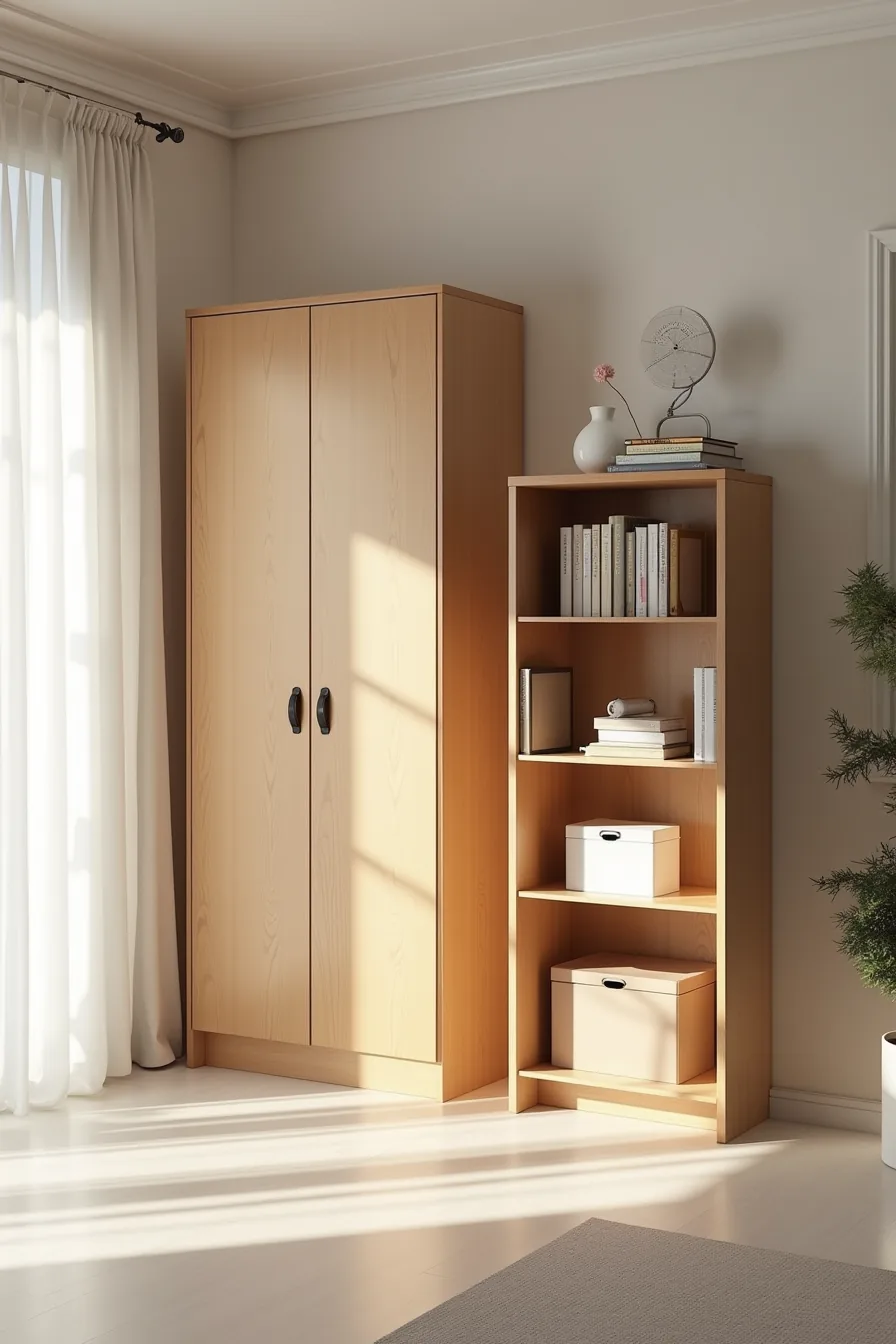
A wall-mounted fixed cabinet unit, with hinged doors and integrated shelving, performs best when you own the property and your device collection is stable. Expect installation to take a full day if you’re handy, or a professional carpenter for a smooth result; material and labor typically range from $800 to $3,500 depending on cabinetry grade and wall complexity. The trade-off is permanence: you gain flush, built-in aesthetics and concealed cable routing, but you lose the ability to reconfigure zones when your console setup changes.
A freestanding modular cube system with removable boxes suits renters and evolving collections. Each cube carries roughly 30–40 pounds, and you can rearrange the arrangement in under ten minutes without tools. The visible trade-off is exposed shelving, dust collects on horizontal surfaces, and you must account for the unit’s depth (most run 14–16 inches) so it doesn’t crowd walkways.
For a balanced approach, use a fixed lower cabinet for heavy equipment and modular cubes above for media you rotate seasonally.
Open vs Closed Zones in Media Wall Storage
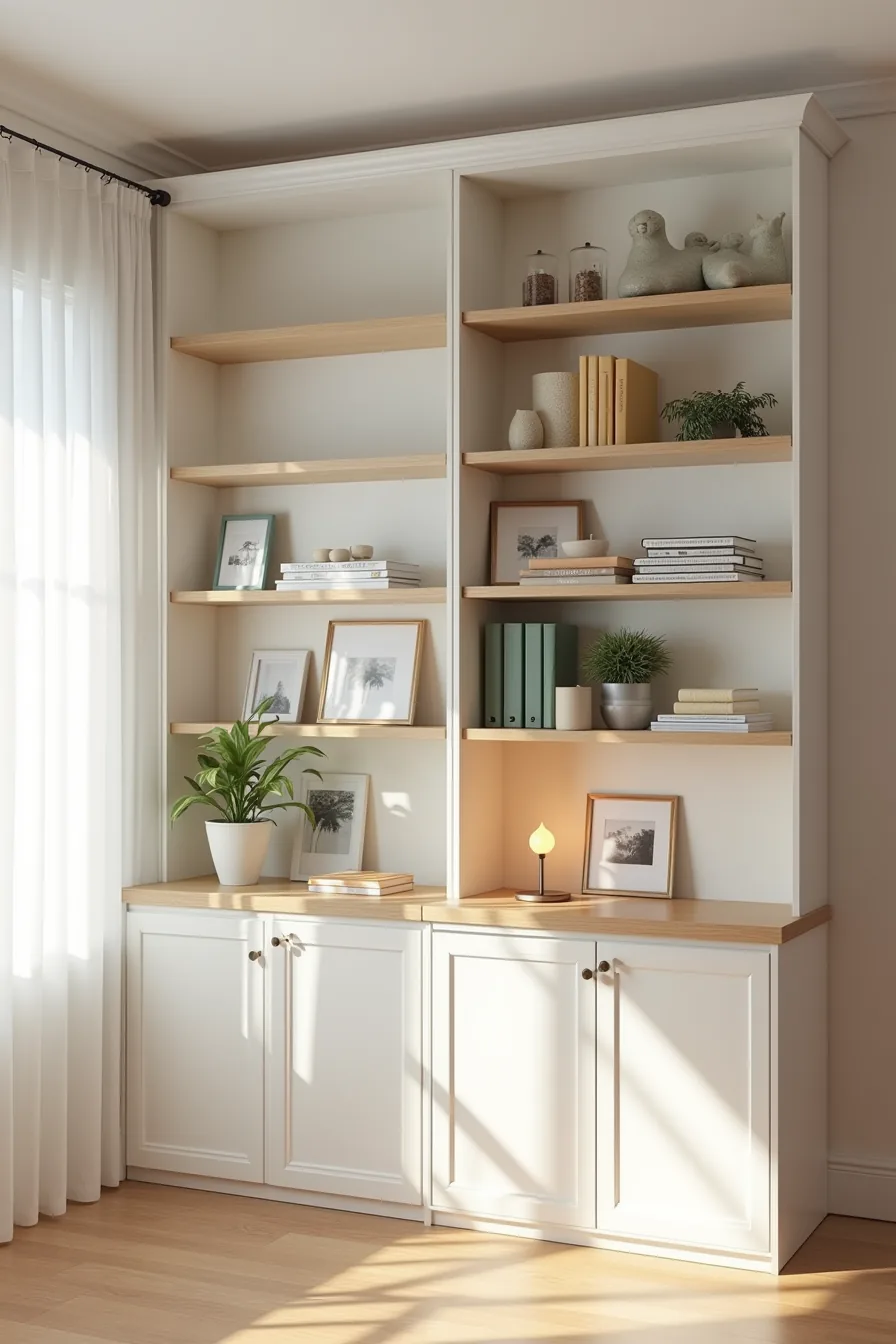
Balanced wall storage hinges on the ratio between what you display and what you hide. A vertical split, open shelves on one side, solid cabinet doors on the other, works because it separates quick-access items from permanent clutter. The open shelves hold framed photos, potted plants, and decorative objects that you rotate seasonally, while the closed cabinetry absorbs the visual noise of cables, game controllers, and rarely used devices.
This configuration suits households with mixed priorities: one person wants the warmth of displayed collections, the other demands a clean sightline. Open zones are ideal for items you access weekly; closed zones should store anything you touch less than once a month. When assigning space, reserve roughly 60–70 percent for closed storage if your media collection is average size, the visible shelf area will feel curated rather than chaotic.
For a balanced wall, keep open shelves shallower (10–12 inches deep) than their closed counterparts (16–18 inches) to prevent a bulky silhouette and keep the unit visually proportional to the room.
Scaling Media Wall Storage for Smaller Living Rooms
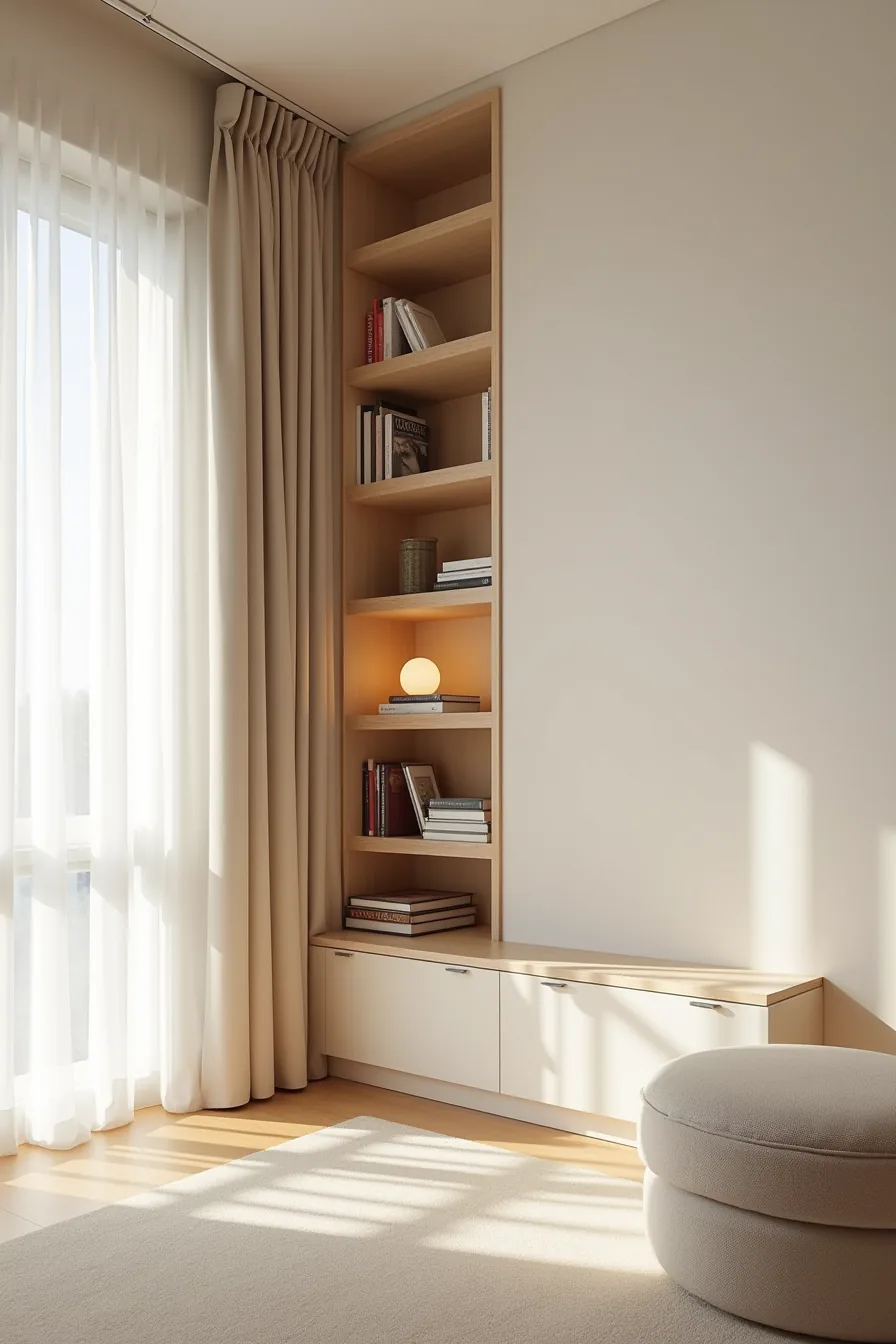
When floor space is tight, the wall becomes your most valuable asset. A floor-to-ceiling corner unit exploits the two largest surfaces in the room simultaneously, converting dead corner air into usable storage. Tall, narrow cabinetry (typically 24–30 inches wide, extending 90–96 inches up) keeps the footprint minimal while roughly doubling your capacity compared to a low console of the same width.
Shallow shelf depths of 10–12 inches are non-negotiable in compact rooms. They prevent the unit from visually eating into your seating area while comfortably holding media components, books, and display objects. The corner bracket detail on the unit’s face reinforces the vertical movement, drawing the eye upward and making the ceiling feel higher.
For a small living room, prioritize vertical stacking over horizontal spread: reserve two lower doors for heavy equipment and keep every shelf above eye level for lighter decorative items. This configuration suits apartments, narrow townhouses, or any room where a 20-inch-deep cabinet would force your sofa into an awkward position.
Family Media Organization: Labeling and Access
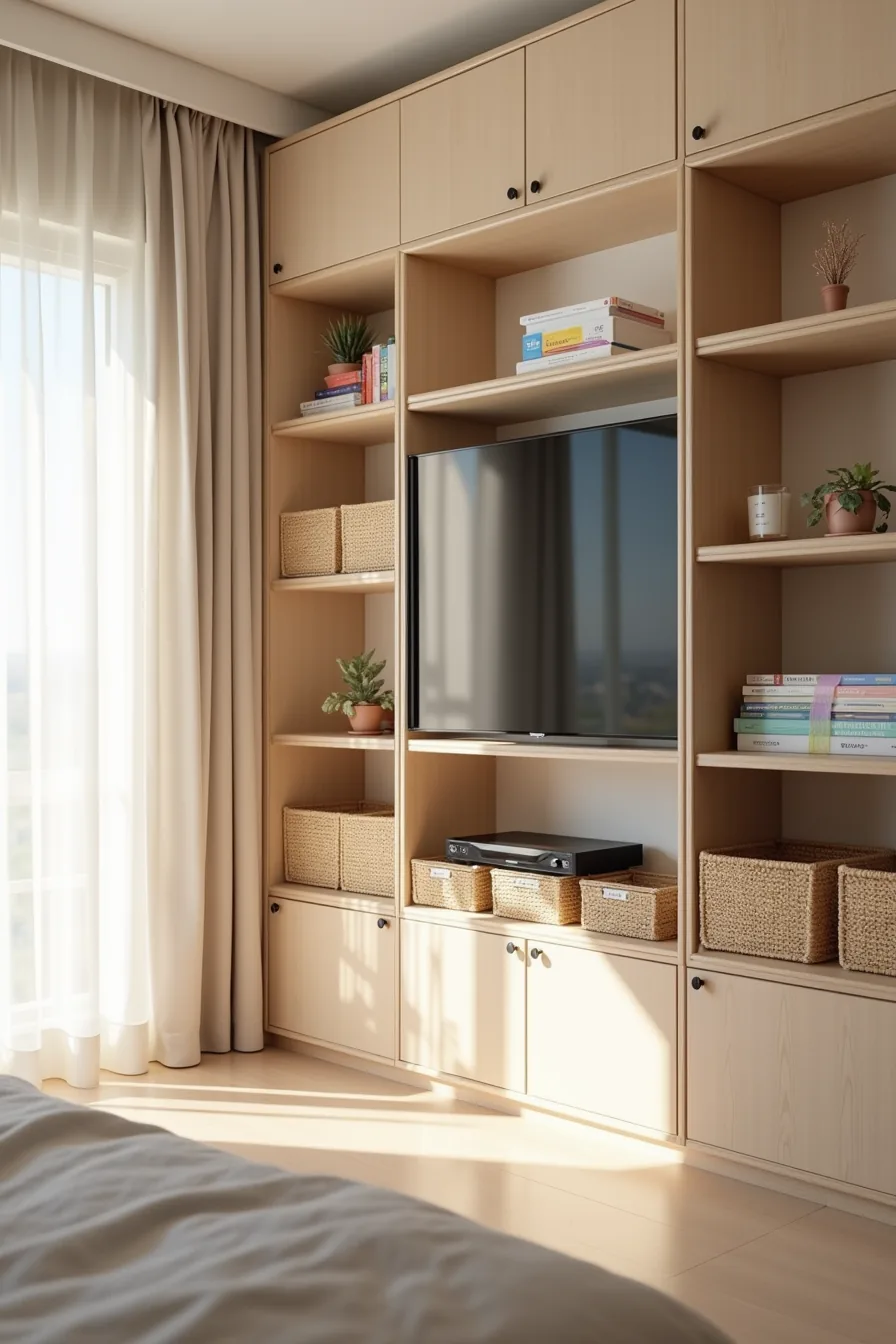
A media wall only earns its keep when everyone in the household can find what they need without a scavenger hunt. Categorize by user and frequency: reserve the lower shelves, typically 24–36 inches from the floor, for children, and place adult-controlled devices (game consoles, streaming boxes, routers) on upper shelves out of small hands’ reach. Position the most-used remotes and controllers in open baskets at the front edge of a shelf, not buried behind cabinet doors.
Labeling makes the system self-sustaining. Use colored tags that correspond to a family category, blue for movies, green for games, red for kids’ shows, and attach them to opaque bins holding the actual discs or accessories. Transparent bins work for quicker visual scanning, but opaque containers with bold labels hide visual clutter better in a shared room.
For younger children, skip text and use pictogram labels or color-matched bin rims they can recognize before they can read. Assign one “return bin” at kid height where everything lands at the end of the evening; you redistribute it to permanent shelves once a week, which cuts daily friction dramatically.
Maintenance, Ventilation, and Safety Considerations
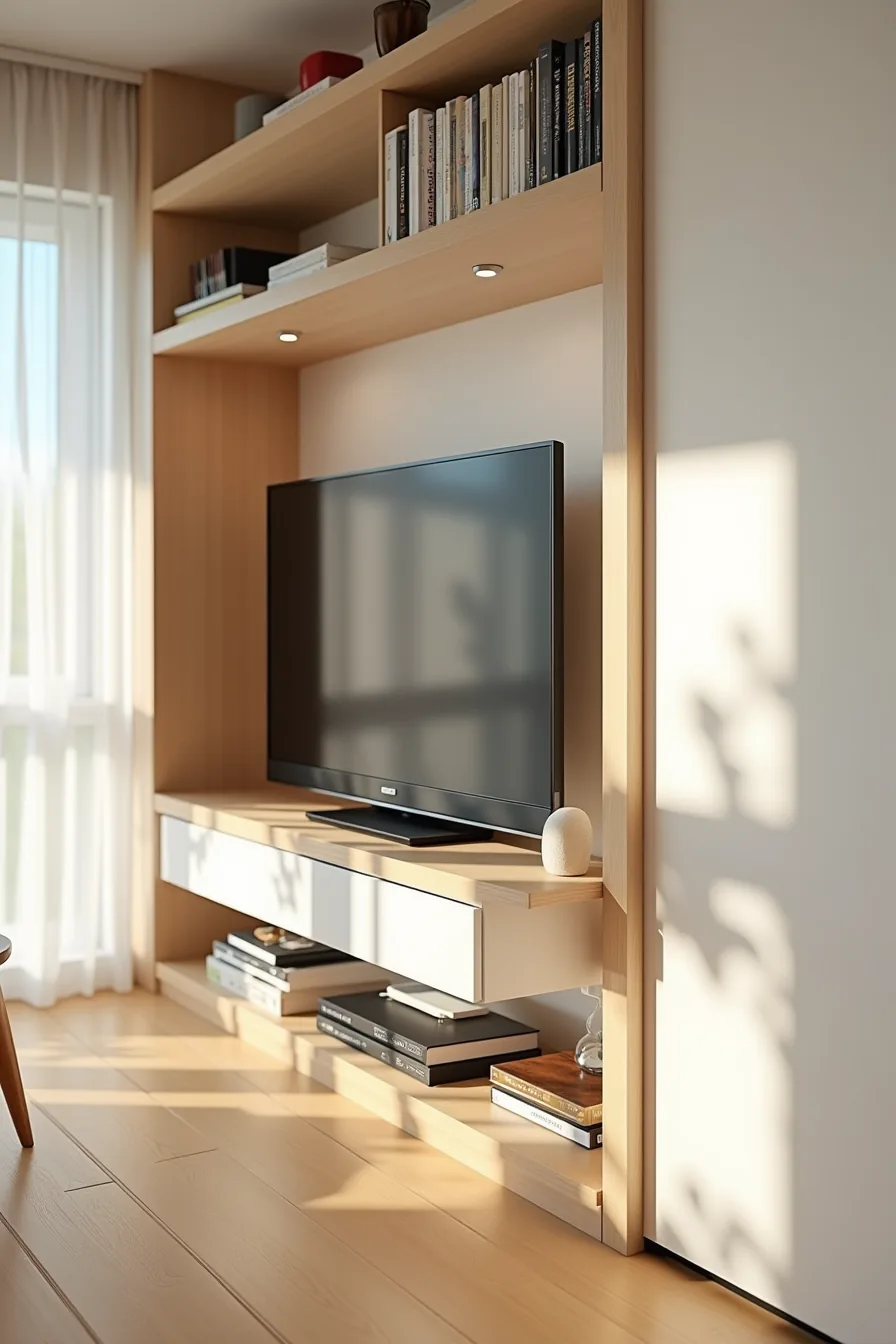
Stacked electronics generate heat that shortens component lifespan unless you plan for airflow. Leave a clearance gap of roughly 2–4 inches above each device that exhausts heat upward, and avoid enclosing game consoles and receivers in fully sealed cabinets, keep their front IR sensors unobstructed and their rear vents at least 3 inches from the wall panel. The setup pictured handles this with open vertical gaps between the stacked devices, letting hot air rise naturally instead of pooling inside a confined shelf cavity.
Dust is your second enemy; every 4–6 weeks, run a microfiber cloth over vent grilles and use a compressed-air duster on the routed cables where dust accumulates in the clips. That enclosed shelf above the electronics stays visibly cleaner because it traps less airborne debris than open shelving, so reserve it for items you handle less often. Cable management clips along the back route wires, but verify each clip allows some slack so you can pull a device forward without disconnecting it.
Check the combined weight against your wall anchor rating, standard drywall anchors handle light shelving, but full media walls with heavy equipment need anchors rated for 2–3 times the total load. Route power cords separately from signal cables (ethernet, HDMI) along the back to prevent interference, and confirm that vertical cable runs avoid the vent gaps used for heat escape.
Your 30-minute first step
Before you browse another inspiration photo, grab a tape measure and a notepad. Record your wall width, ceiling height, and the depth of your deepest media component, most AV receivers need 15-20 inches of clearance for cabling and airflow.
Walk through your living room and count every item that currently sits on shelves or in cabinets. Group them into “daily use,” “weekly,” and “seldom touched.” That third pile tells you exactly how much hidden storage you need versus open display space.
Then sketch three rough layouts on grid paper: one with a single tall unit flanking the TV, one with low cabinets beneath, and one with closed doors covering everything. Choose the sketch that keeps your viewing distance at least 1.5 times your screen’s diagonal measurement. That sketch becomes your shopping list, take it to a showroom this weekend and test door swings and drawer pulls in person before committing to anything.
Frequently Asked Questions
What is the typical depth of a media wall with storage, and does it vary by content type?
Most media walls run 12–16 inches deep for general shelving, but increase to 18–24 inches for AV equipment with deep connections and cable bends. Books and decor need less, around 10–12 inches.
Can I build a media wall with storage in a rental apartment without damaging walls?
Yes, use freestanding modular units or tension-mounted systems that lean against the wall. Avoid adhesive strips for heavy loads; instead, use floor-to-ceiling pressure poles or furniture with leveling feet that don’t require drilling.
How do I prevent dust buildup on open shelves in a media wall storage system?
Install glass or acrylic doors on lower shelves, and add a felt strip along the shelf front edge to block airflow. Vacuum with a brush attachment weekly, open shelves collect visible dust within 3–5 days in most homes.
What weight capacity should I expect from adjustable shelving in a media wall unit?
Quality adjustable shelves typically hold 30–50 pounds per shelf when brackets are anchored into studs or solid backing. Particleboard shelves with metal pins support less, around 20–30 pounds, so check the manufacturer’s rating before loading heavy receivers or vinyl.