Closet cube organizer ideas only work if you first clear the shelves and sort what you actually own, otherwise, you’re just arranging clutter into a neater grid. A functional cube system starts with a hard inventory: empty every bin, categorize by use frequency, and measure your available depth and height before buying a single unit. The payoff is a storage layout that matches your habits, not a generic photo.
What follows are six tested configurations, each with the specific trade-offs in cost, access, and upkeep you need to decide which fits your space.
Key takeaways
- Start with inventory: Count and categorize every item you plan to store before buying any cube system, since this determines the number of cubes and bin types you actually need.
- Choose fixed cubes for heavy, long-term storage (they hold up to 30–50 lbs per cube) and adjustable shelving for frequently changing items like seasonal shoes or folded sweaters.
- Use open cubes for items you grab daily (e.g., hats, bags) and labeled bins for rarely used gear, but expect open cubes to collect dust and require weekly wiping.
- Anchor any cube unit over 36 inches tall to the wall with anti-tip brackets, especially in kids’ rooms, and verify weight limits before stacking heavy bins on upper cubes.
Declutter and Inventory Before Buying Containers
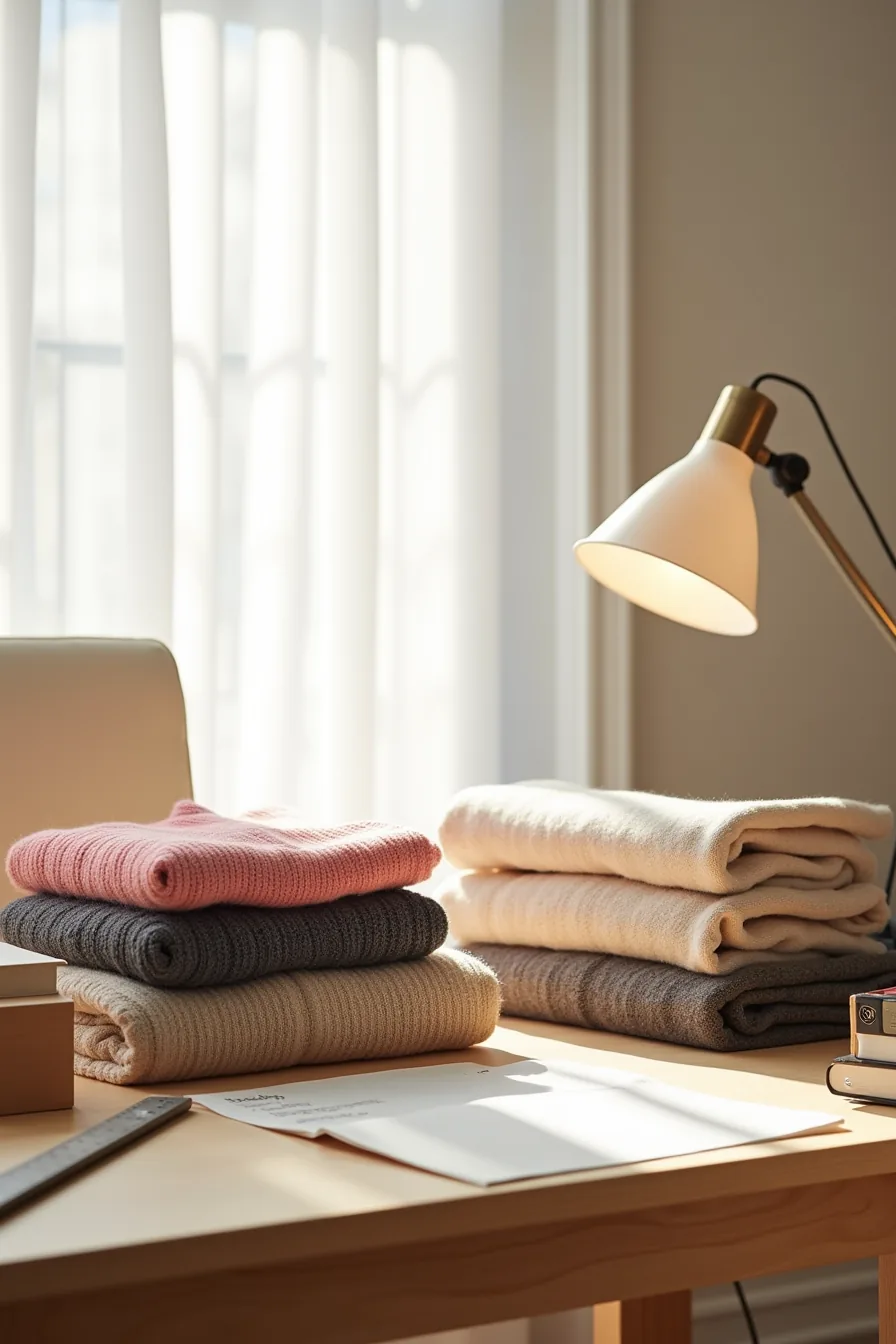
Before you shop for any closet cube organizer, sort everything you own into piles on a flat surface. Group like items together: sweaters in one zone, belts in another, scarves in a third. This single step takes 30–60 minutes and prevents the most common mistake, buying cubes that are too small for bulky knits or too deep for accessories.
Once sorted, measure both your items and your available shelf space. Use a ruler or tape measure to record the stack height of your folded sweaters, the rolled diameter of your belts, and the folded length of your scarves. A typical closet cubby runs 11–13 inches deep, but your items may demand more or less.
Compare those numbers against your actual shelf dimensions before committing to any cube size.
Your inventory list becomes your shopping blueprint. Write down the count of each category and the measured dimensions beside it. If you’ve 14 sweaters that stack 6 inches high, you know you need multiple cube openings dedicated to knits alone, not one.
This process also reveals what you should donate, so you never buy containers for items you no longer wear.
Fixed Cube Systems vs. Adjustable Shelving
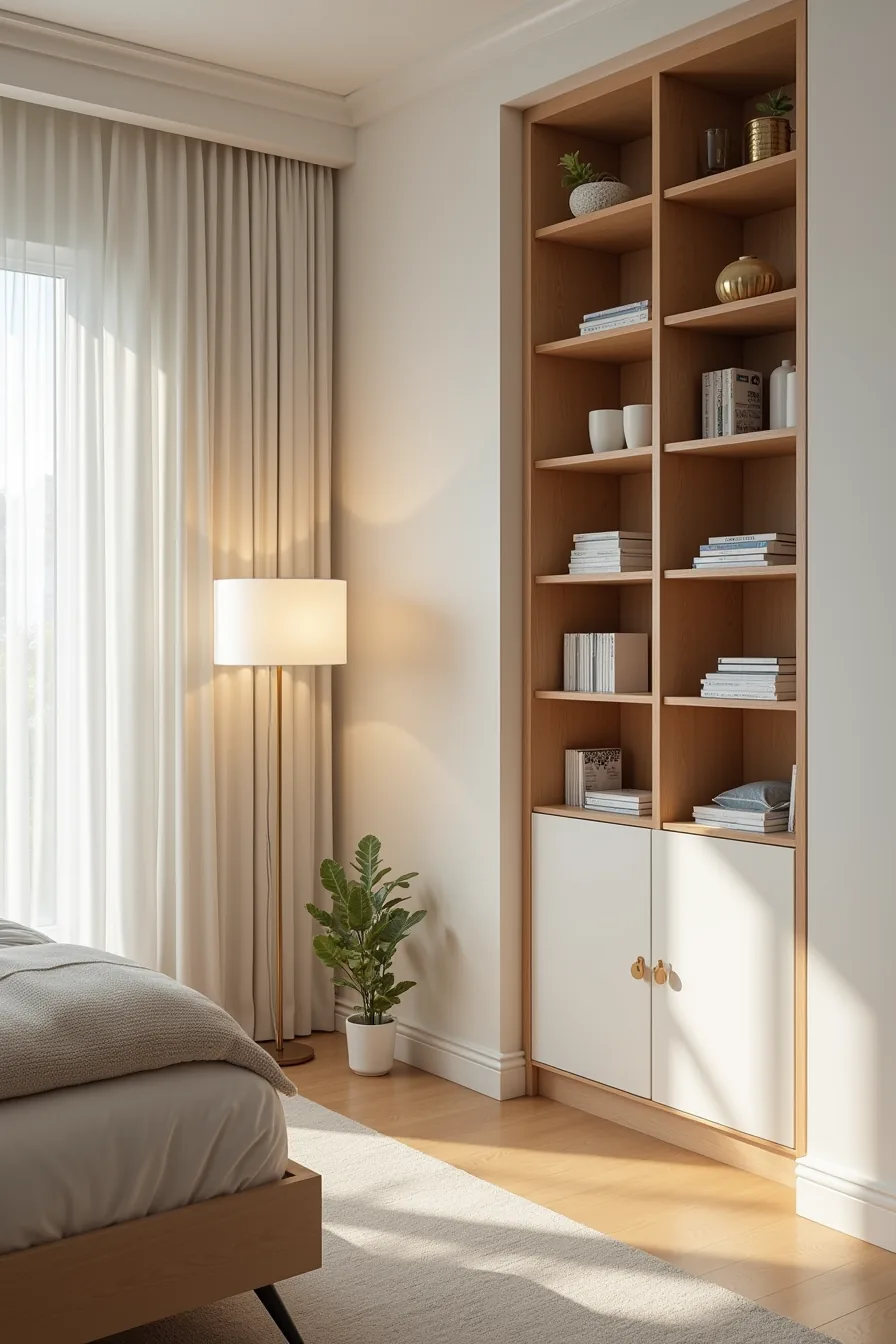
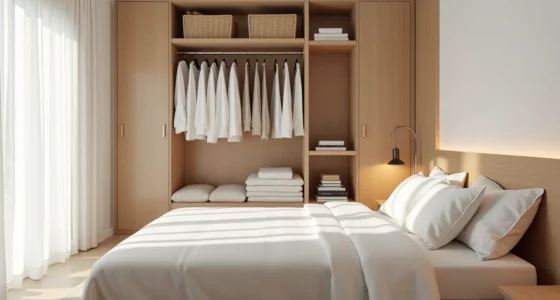
The built-in wooden cube unit recessed into your wall delivers a smooth, furniture-grade look, but it comes with permanence. You’re committing to fixed 13-inch openings that can’t accommodate a future vacuum cleaner, luggage, or bulkier seasonal gear. Expect to pay roughly two to three times more for materials and carpentry than a freestanding system, and plan for a full day of installation if you’re handy, or a professional contractor if you aren’t.
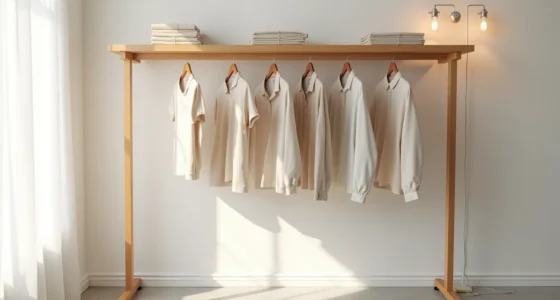
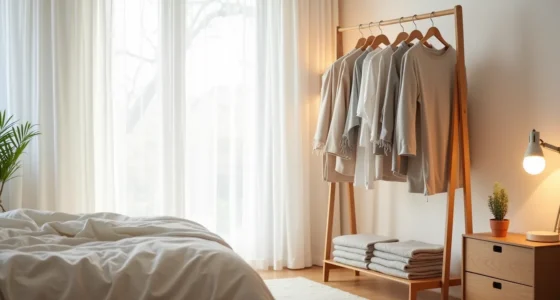
A modular metal shelving unit with adjustable shelves solves the flexibility problem at a fraction of the cost. You can reposition shelves in minutes to shift from folded sweaters to hanging coats, and the open wire construction improves air circulation compared to solid wood cubbies. The trade-off is visual noise: metal frames and exposed contents read as utilitarian, so this option suits utility closets, mudrooms, and kids’ rooms better than a polished primary suite.
Most freestanding units assemble in under an hour with no wall mounting required, though you should anchor any unit over 60 inches tall to prevent tipping.
Bins vs. Open Cubes: Access and Visibility Trade-offs
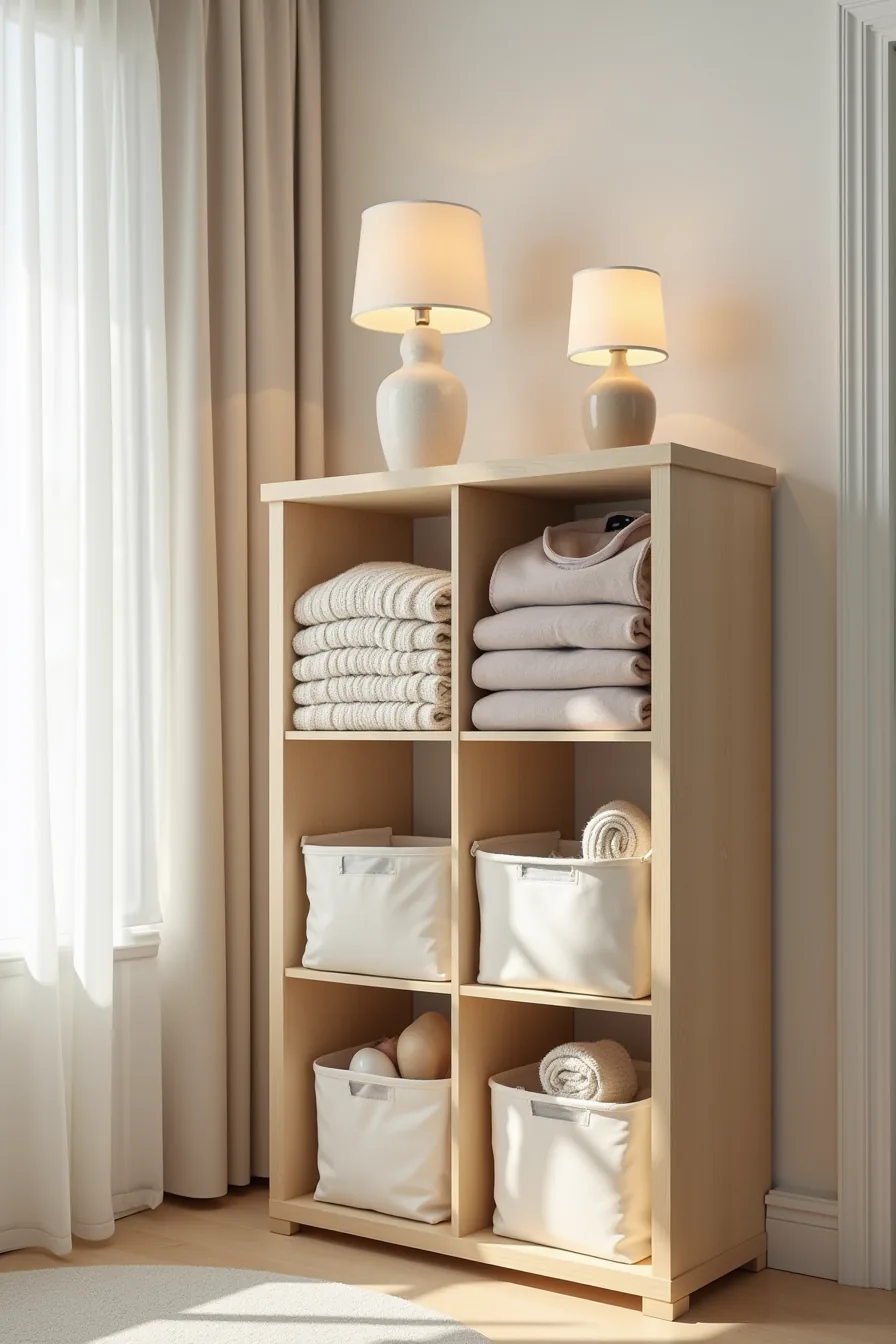
The split-level approach, stacked sweaters on the top two cubes, fabric bins concealing items below, works because it aligns each storage mode with how often you reach for what’s inside. Open cubes give you instant visual inventory: you see exactly which sweater is navy and which is charcoal without touching a thing, making them ideal for daily-rotation items you’d otherwise rummage through. Fabric bins, by contrast, protect lower shelves from dust, fading, and the perpetual chaos of odds-and-ends, while their opaque fronts keep the visual load low.
Choose open cubes for items you grab weekly or want to display, and reserve bins for seasonal pieces, accessories, or anything you’d rather not see daily. Bins with rigid frames cost roughly $12–$25 each and hold their shape when partially empty, while collapsible versions run $8–$15 but sag under heavy loads. One caveat: closed bins on lower cubes slow down access slightly, you must pull the bin forward to see contents, so keep your most-used items at waist height or above.
Accessory Storage Grid for Small Items
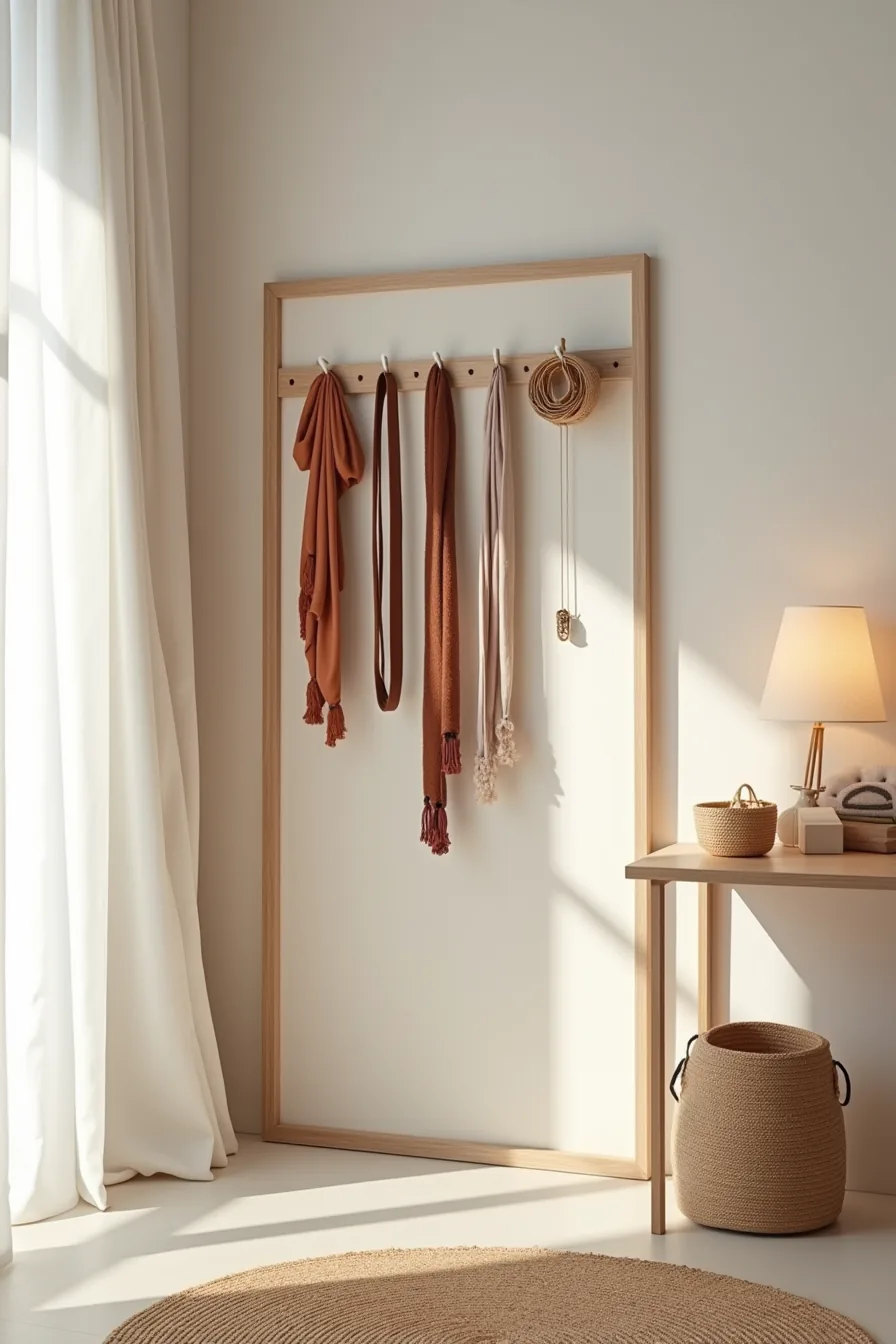
A wall-mounted pegboard transforms the back panel of an open cube frame into an accessory storage grid. The vertical surface becomes prime real estate for scarves draped on hooks, belts coiled neatly, and small woven baskets holding jewelry and hair clips. This setup solves the classic wardrobe problem where belts and scarves tangle into a drawer void, by moving them out of drawers entirely.
Mount the pegboard flush to the cube frame’s interior back, leaving four to six inches of clearance between the pegboard face and the cube’s front edge so hooks and baskets hang without blocking the next cube column. Wall-mounted grids work best for lightweight items under roughly five pounds total, so keep heavy purses or shoes in floor-level cubes instead. You’ll need a drill, wall anchors (if you’re fixing into drywall), and pegboard hooks costing $8–$15 per set.
Choose baskets with rigid woven walls so they support their own weight; flimsy versions will droop and dump your earrings onto the shelf below. The trade-off: vertical storage means you sacrifice one cube’s depth for the pegboard inset, typically losing two to three inches of usable depth per cube.
Cube System Styling for Shared Kids Storage
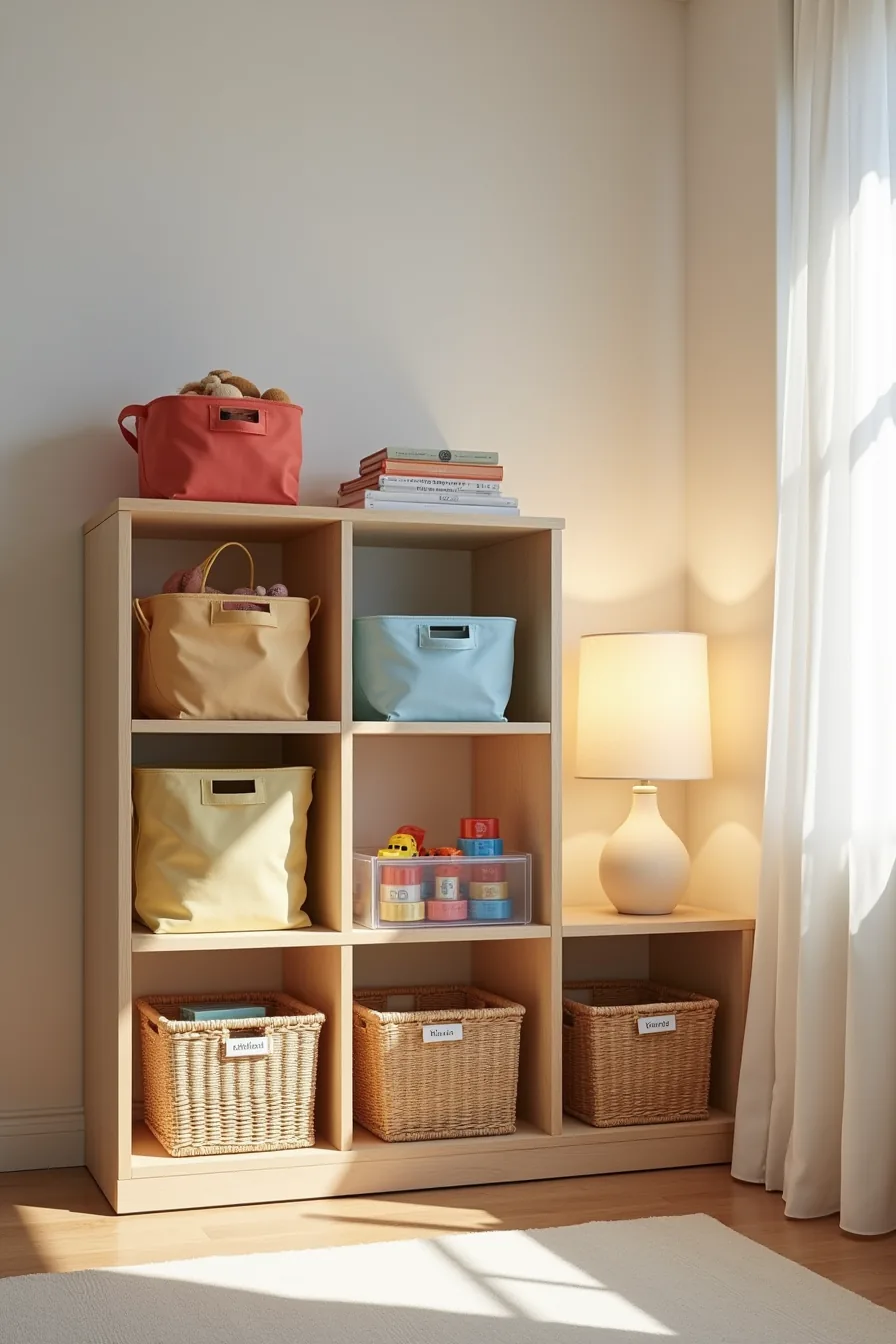
Color-coding transforms a six-cube wall unit into a system even pre-readers can handle. Assign each child a primary color, red, blue, or yellow, and match fabric bins in that shade to their designated row. The top row holding those color-coded fabric bins works best for items used less frequently, like out-of-season hats or dress-up pieces, since younger children typically can’t reach above shoulder height.
The middle row should carry the daily drivers. Clear acrylic organizers showing toy cars and building blocks let kids spot what they need without rummaging, which cuts down on “I can’t find it” complaints during morning routines. Use shallow bins roughly 6–8 inches deep here; anything deeper becomes a black hole for small pieces.
Labeled woven baskets on the bottom row handle the heaviest and least structured items, stuffed animals, sports gear, or oversized toys. Print labels with both a word and a matching picture icon (a shoe, a ball, a dinosaur) at the child’s eye level, roughly 24–30 inches from the floor. Rule of thumb: if a bin weighs more than 5% of your child’s body weight when full, it’s too heavy for them to manage safely.
Felt or cotton labels attached with Velcro allow you to swap categories as interests change, typically every 3–6 months.
Renter-Friendly and Budget Cube Solutions
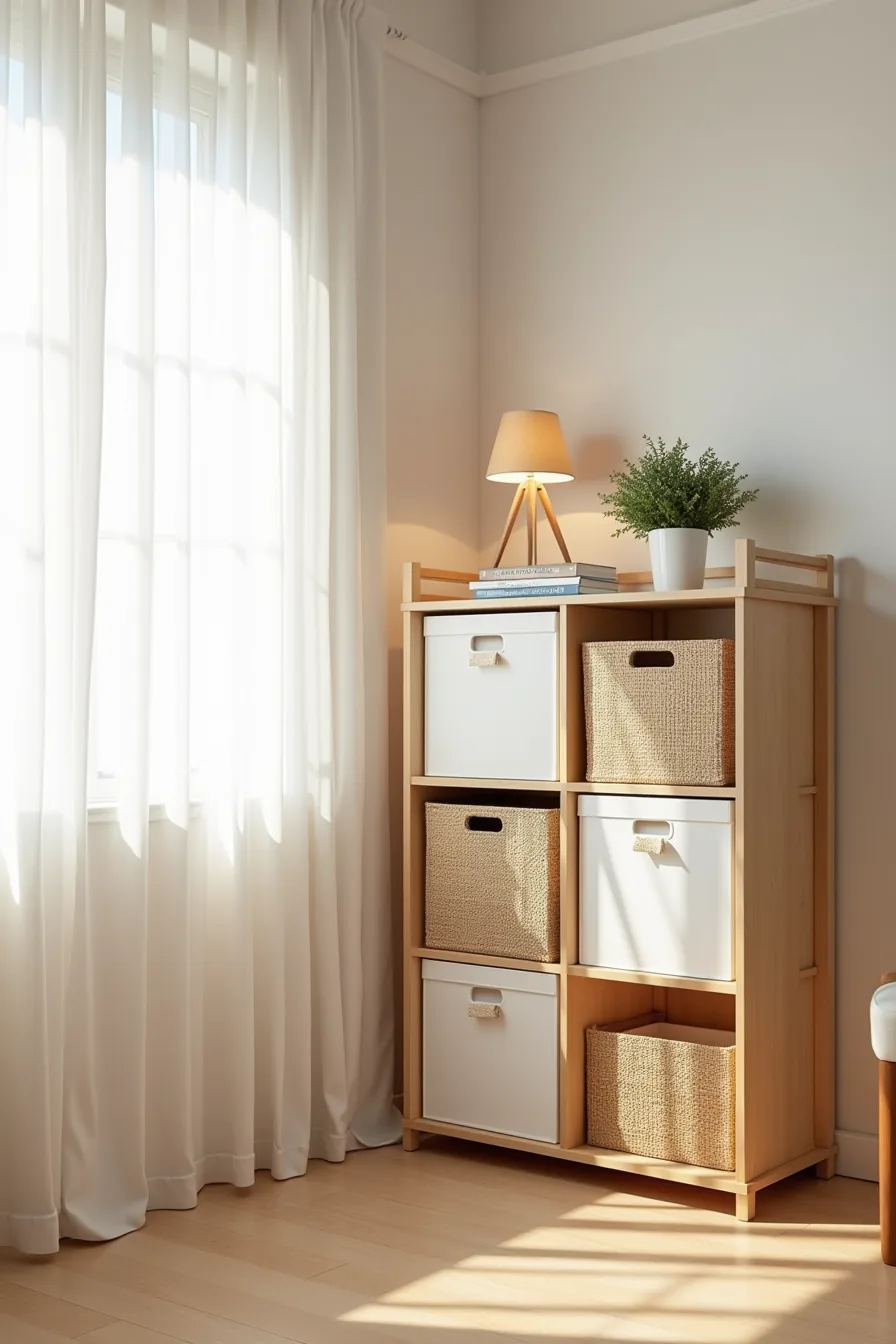
Renters face a classic dilemma: storage that works but doesn’t cost you your security deposit. A freestanding cube tower solves this, no wall anchors, no patchwork, no drill. Look for lightweight units made from laminated particleboard or compressed cardboard; they typically weigh 15–25 pounds empty and assemble in under 20 minutes with zero tools.
Pair that tower with fabric storage boxes instead of rigid plastic bins. Fabric boxes collapse flat for moving day, cost $8–$15 each versus $15–$25 for comparable plastic, and flex slightly to squeeze into tight corners. Woven bins add texture and durability for heavier items, though they run $20–$35 apiece, a worthwhile upgrade only for the two bottom shelves.
Position the entire unit in a corner with 18–24 inches of clear floor space in front so bottom drawers pull out fully. Without wall anchoring, keep the tower on a level surface and load the heaviest bins at the base; a top-heavy cube tower becomes a tipping hazard if you overload the upper shelves.
Your first move
Before you buy a single cube, measure your available footprint and count the items you actually need to store. That 30-minute inventory tells you whether you need 6 cubes or 16, and whether you need open shelves or door-front bins.
Start with one zone, shoes, folded sweaters, or kids’ toys, and build outward. This keeps your first project small, affordable, and easy to adjust if the system doesn’t fit your habits.
Your next step: Grab a tape measure, clear one shelf, and list what belongs there. Then match that list to the cube sizes and accessories from the options above.
Frequently Asked Questions
How do I know what size cube organizer fits my closet?
Measure your closet’s depth, width, and ceiling height. Standard cube openings range from 10 to 15 inches, so choose a unit that leaves at least 24 inches of walking space and fits entirely within your shelving cavity.
Can I mix bins and open shelves in the same cube unit?
Yes. Use open cubes for frequently used items like everyday shoes or folded jeans, and reserve fabric bins for off-season gear or accessories you rarely need. Just keep the open cubes below eye level to maintain a tidy visual line.
What’s the best way to label bins for kids to use independently?
Use a photo label for pre-readers: print a small picture of the item and tape it to the bin’s front. For older kids, write the category name in large, bold letters. Place labels at the bin’s top edge so they’re visible even when stacked.
Are fabric bins or plastic bins better for long-term closet storage?
Fabric bins are lighter and fold flat when empty, but they absorb dust and can sag. Plastic bins repel moisture and stack cleanly, yet they cost more and crack in cold garages. Choose plastic for basements or attics, fabric for dry, temperate closets.